
Are your once-vibrant plastic lawn chairs looking faded, worn, or just plain boring? Don’t rush to buy new ones! A simple and incredibly effective solution lies in your hands: spray painting. This guide will walk you through the process of transforming your old plastic patio furniture into stylish, fresh pieces, just as we did with a pair of beige chairs left behind by previous homeowners. The result? Crisp, new-looking chairs that instantly elevate our outdoor space. Painting plastic might seem daunting, but with the right approach and products, it’s an easy, budget-friendly DIY project that yields impressive results.
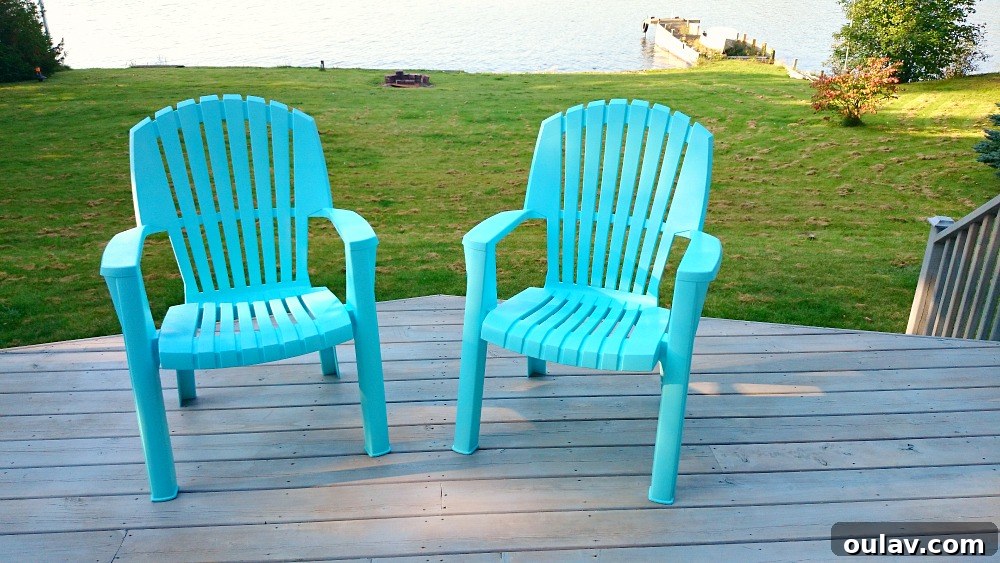
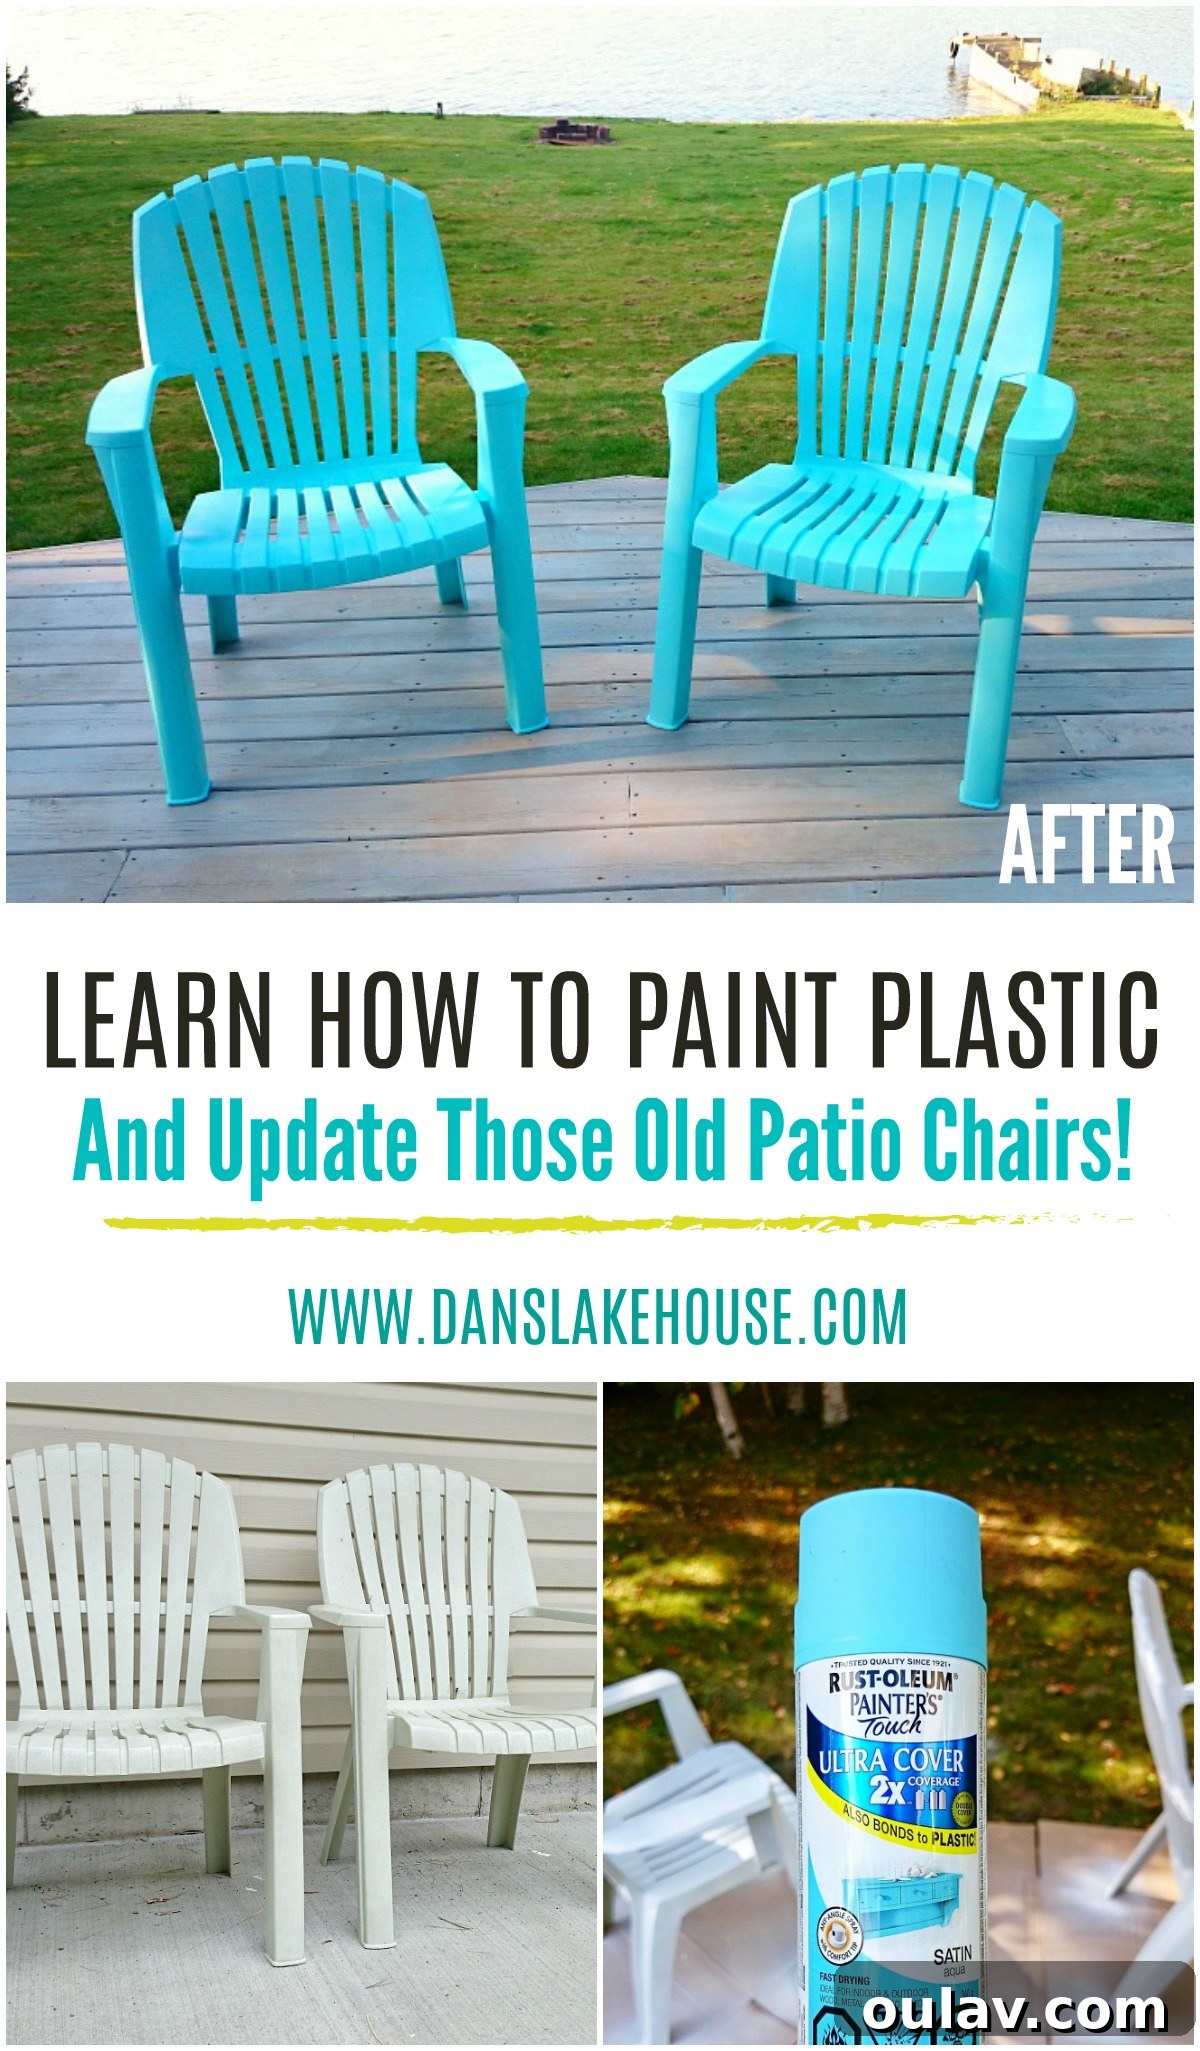
Here’s a sneak peek at our newly refreshed aqua lawn chairs:
And here’s what they looked like before their stunning transformation:

Why Spray Paint Your Plastic Furniture?
Plastic patio furniture is known for its durability and affordability, but it often lacks style and can quickly show signs of wear from sun exposure and elements. Instead of contributing to landfills or spending a fortune on new pieces, refreshing your existing chairs with spray paint offers numerous benefits:
- Cost-Effective: A few cans of paint are significantly cheaper than purchasing new furniture.
- Sustainable Choice: Reusing and upcycling reduces waste and gives your items a second life.
- Customization: Choose any color to match your existing outdoor decor or create a completely new aesthetic.
- Quick Transformation: Most of the work is in the preparation and waiting for coats to dry, with active painting time being surprisingly short.
- Enhanced Durability: Modern spray paints designed for plastic offer excellent adhesion and a protective layer against future wear.
This project is perfect for anyone looking to update their outdoor living area on a budget, adding a personal touch without extensive effort.
Essential Materials and Tools for Success
Achieving a professional-looking finish on plastic chairs starts with selecting the right products. Here’s what you’ll need to gather:
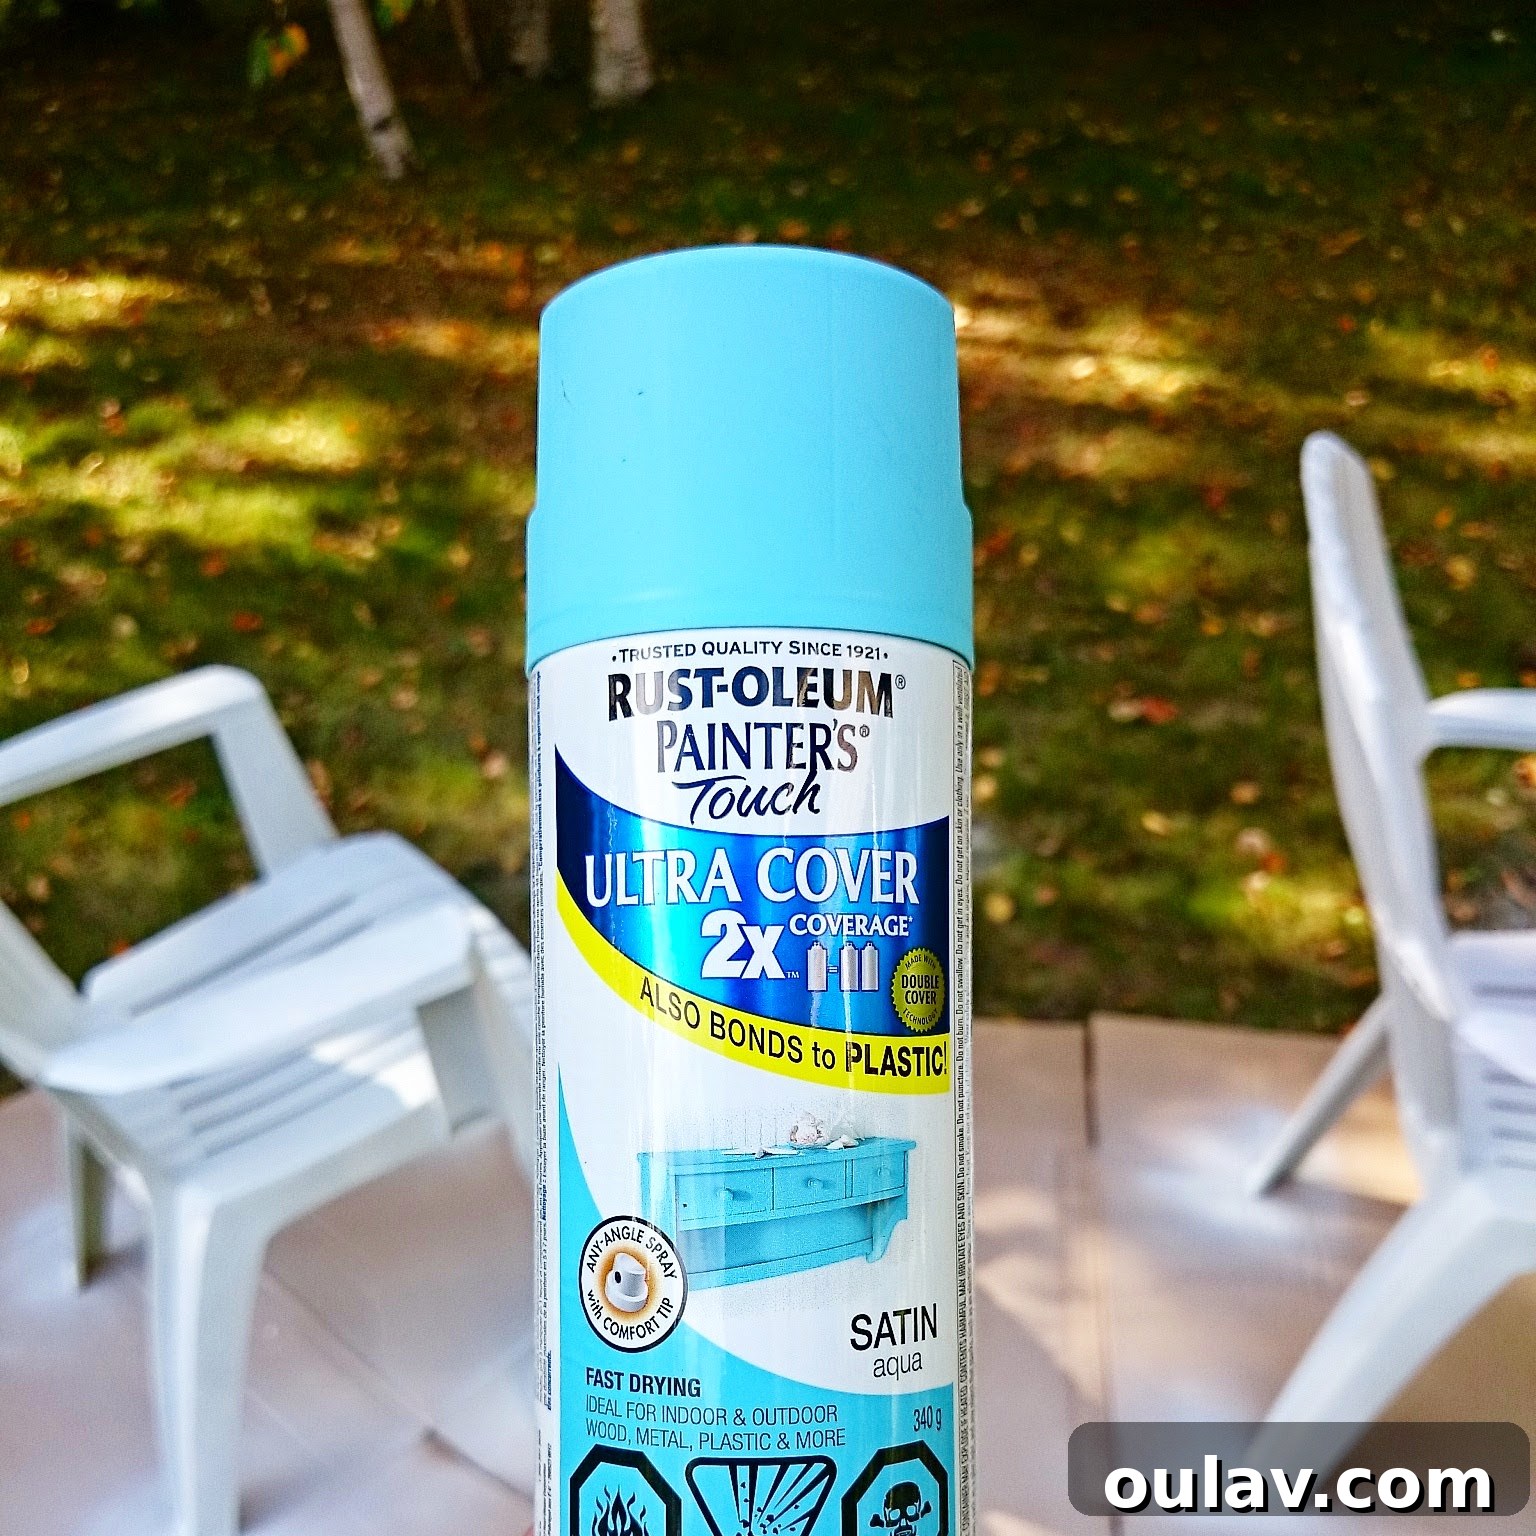
- Plastic-Specific Spray Paint: Look for paints explicitly formulated for plastic. Brands like Rust-Oleum Painter’s Touch 2X Ultra Cover Paint + Primer are excellent as they adhere well to plastic surfaces and often include a built-in primer, saving you a step. I opted for a flat white paint + primer combo for the first coat before applying my chosen color. For the final color, I used Painter’s Touch in Satin Aqua, which provided a beautiful, smooth finish.
- Cleaning Solution: A strong household cleaner like Mr. Clean or a degreaser.
- Scrub Brush or Sponge: For thorough cleaning.
- Q-tips or Small Brushes: For reaching tight corners and crevices.
- Garden Hose: For rinsing.
- Drop Cloths or Cardboard: To protect your work area from overspray.
- Painter’s Tape (Optional): If you need to mask off any areas.
- Safety Gear: Gloves and a respiratory mask are highly recommended for ventilation and protection from paint fumes.
For two average-sized lawn chairs, I found that one can of primer (or paint+primer) and approximately three cans of colored spray paint were sufficient. This can vary based on the size and complexity of your chairs, as well as wind conditions which can cause overspray.
The Step-by-Step Guide to Spray Painting Plastic Lawn Chairs
The process of painting plastic shares many similarities with painting other surfaces, but specific attention to preparation and application technique ensures a lasting finish. Follow these steps for a successful plastic chair makeover:
1. Thorough Cleaning is Paramount
- Scrub Away Grime: Begin by thoroughly scrubbing your chairs with a powerful cleaning solution like Mr. Clean. Plastic, especially outdoor furniture, can accumulate layers of dirt, dust, pollen, and even mold. Use a scrub brush for flat surfaces and a rag for general cleaning. Don’t forget the nooks and crannies! I found Q-tips incredibly useful for getting into tight corners and intricate designs where gunk tends to hide.
- Rinse Completely: After scrubbing, rinse the chairs meticulously with a garden hose. It’s crucial to remove all traces of soap residue, as any lingering film can interfere with paint adhesion.
- Allow to Dry Fully: Let the chairs air dry completely. Moisture trapped on the surface or within crevices can cause paint bubbling or peeling. Ideally, let them dry in the sun for several hours, or even overnight, to ensure no moisture remains.
2. Priming for Optimal Adhesion
While many paints for plastic now include built-in primers, applying a dedicated primer specifically designed for plastic can significantly enhance adhesion and durability, especially for heavily used items like outdoor chairs. If your chosen colored paint doesn’t have a primer in it, or if your chairs are particularly slick, a separate primer is highly recommended.
- Apply Thin, Even Coats: Hold the spray can about 8-12 inches from the surface and apply multiple, thin, even coats of primer. Avoid thick coats, as they are prone to dripping and will take longer to dry. Overlap your spray passes slightly to ensure complete coverage.
- Follow Drying Times: Always refer to the primer manufacturer’s instructions for drying times between coats. Rushing this step can lead to a less durable finish.
In my case, I “cheated” a little by using a Rust-Oleum paint + primer combo in flat white as my first coat. This served as both a base and a primer, which worked perfectly for the condition of these chairs and the convenience of having it on hand.

3. Applying Your Chosen Color
Once your primer (or paint+primer base coat) is dry and ready for recoating, it’s time to add the color that will bring your chairs to life!
- Maintain Proper Distance: Just like with the primer, hold the can at the recommended distance (usually 8-12 inches) from the surface.
- Use Sweeping Motions: Apply the paint in continuous, sweeping motions, moving past the edge of the chair before releasing the nozzle. This prevents paint buildup at the edges.
- Multiple Thin Coats are Key: This cannot be stressed enough. Applying several thin coats is far superior to one or two heavy coats. Thin coats dry faster, adhere better, and are much less likely to drip or run.
- Respect Drying Times: Allow at least one hour (or as specified by the manufacturer, sometimes up to 24 hours) between coats. This allows each layer to set properly before the next is applied. Patience here prevents sticky finishes and ensures even coverage.
Advanced Tips and Tricks for a Flawless Finish
While the basic steps are straightforward, a few expert tips can elevate your spray painting project and ensure long-lasting results.
Strategic Coverage and Angles
When painting, it’s tempting to only focus on the most visible parts. However, outdoor furniture is often viewed from various angles. I didn’t completely flip the chairs over to paint the undersides, as they would never be seen. Instead, I carefully painted what was visible from underneath the seat with a few blasts of spray paint.
- Utilize Multi-Directional Cans: Modern spray cans that can spray at any angle are a game-changer. They allow you to crouch down and spray upwards, easily covering visible areas underneath the seat and arms without constantly flipping heavy furniture. This saves time, effort, and paint.
- Thoroughness Matters: Ensure you thoroughly spray the backs of the chairs, the undersides of the arms, and the insides of the legs. These areas are often overlooked but contribute significantly to the overall finished look. It’s a bit of an aerobic workout, but ensuring even coverage from all angles is crucial for a professional appearance.
Understanding Curing Time for Plastic
This is perhaps the most critical tip for plastic furniture. While spray paint on plastic might be dry to the touch in as little as an hour, it takes significantly longer for the paint to fully cure and harden. For plastic, this curing process can take approximately one week.
- Patience is a Virtue: During this curing period, the paint is still vulnerable to scratches, dings, and peeling. Avoid using the chairs or placing heavy objects on them until they are fully cured.
- Proper Storage: Store the freshly painted chairs in a protected area where they won’t be disturbed or exposed to harsh weather conditions during the curing process. This ensures the paint bonds properly and forms a durable, long-lasting finish.
- Plastic-Specific Challenges: Unlike metals or woods, not all plastics accept paint equally well due to their non-porous and sometimes waxy surfaces. However, with the right plastic-specific products and proper preparation, most plastic lawn chairs will take paint beautifully, as ours did.
Here are a few more detailed shots of the finished chairs, showcasing the even coverage and vibrant color:


Maintenance for Lasting Beauty
After all your hard work, you’ll want to ensure your newly painted plastic chairs stay beautiful for years to come. Here are some simple maintenance tips:
- Gentle Cleaning: Clean your chairs regularly with mild soap and water. Avoid abrasive cleaners or harsh chemicals, which can damage the paint finish.
- Seasonal Storage: If possible, store your chairs indoors during harsh weather conditions, such as extreme heat, cold, or prolonged sun exposure, to minimize fading and wear.
- Touch-Ups: Keep a can of your chosen spray paint handy for quick touch-ups if minor scratches or chips occur over time.
Conclusion: Reclaim Your Outdoor Space with DIY Spray Paint!
If you’ve ever contemplated how to spray paint plastic lawn chairs, hopefully, this guide has empowered you to tackle the project. As long as you choose the right products and dedicate time to proper preparation and application, it truly is an easy and rewarding DIY. The immediate visual impact and the satisfaction of transforming something old into something new are immense.
This entire process, including thorough scrubbing but excluding dry time between coats, took less than an hour of active work for two chairs. The primary reason for needing three cans of paint (versus one can of primer) was the intricate design and numerous nooks and crannies at the back of my chairs, coupled with a slightly windy day by the lake that led to a bit of overspray. Despite these minor challenges, the results were well worth the minimal effort and cost.

Ready to try more easy spray paint furniture makeovers? Check out these inspiring projects:
DIY Dipped Stool Makeover,
Mid-Century Tulip Table Makeover,
Vintage Typewriter Table Makeover, and
Spray Chalk Paint Cabinet Makeover.