
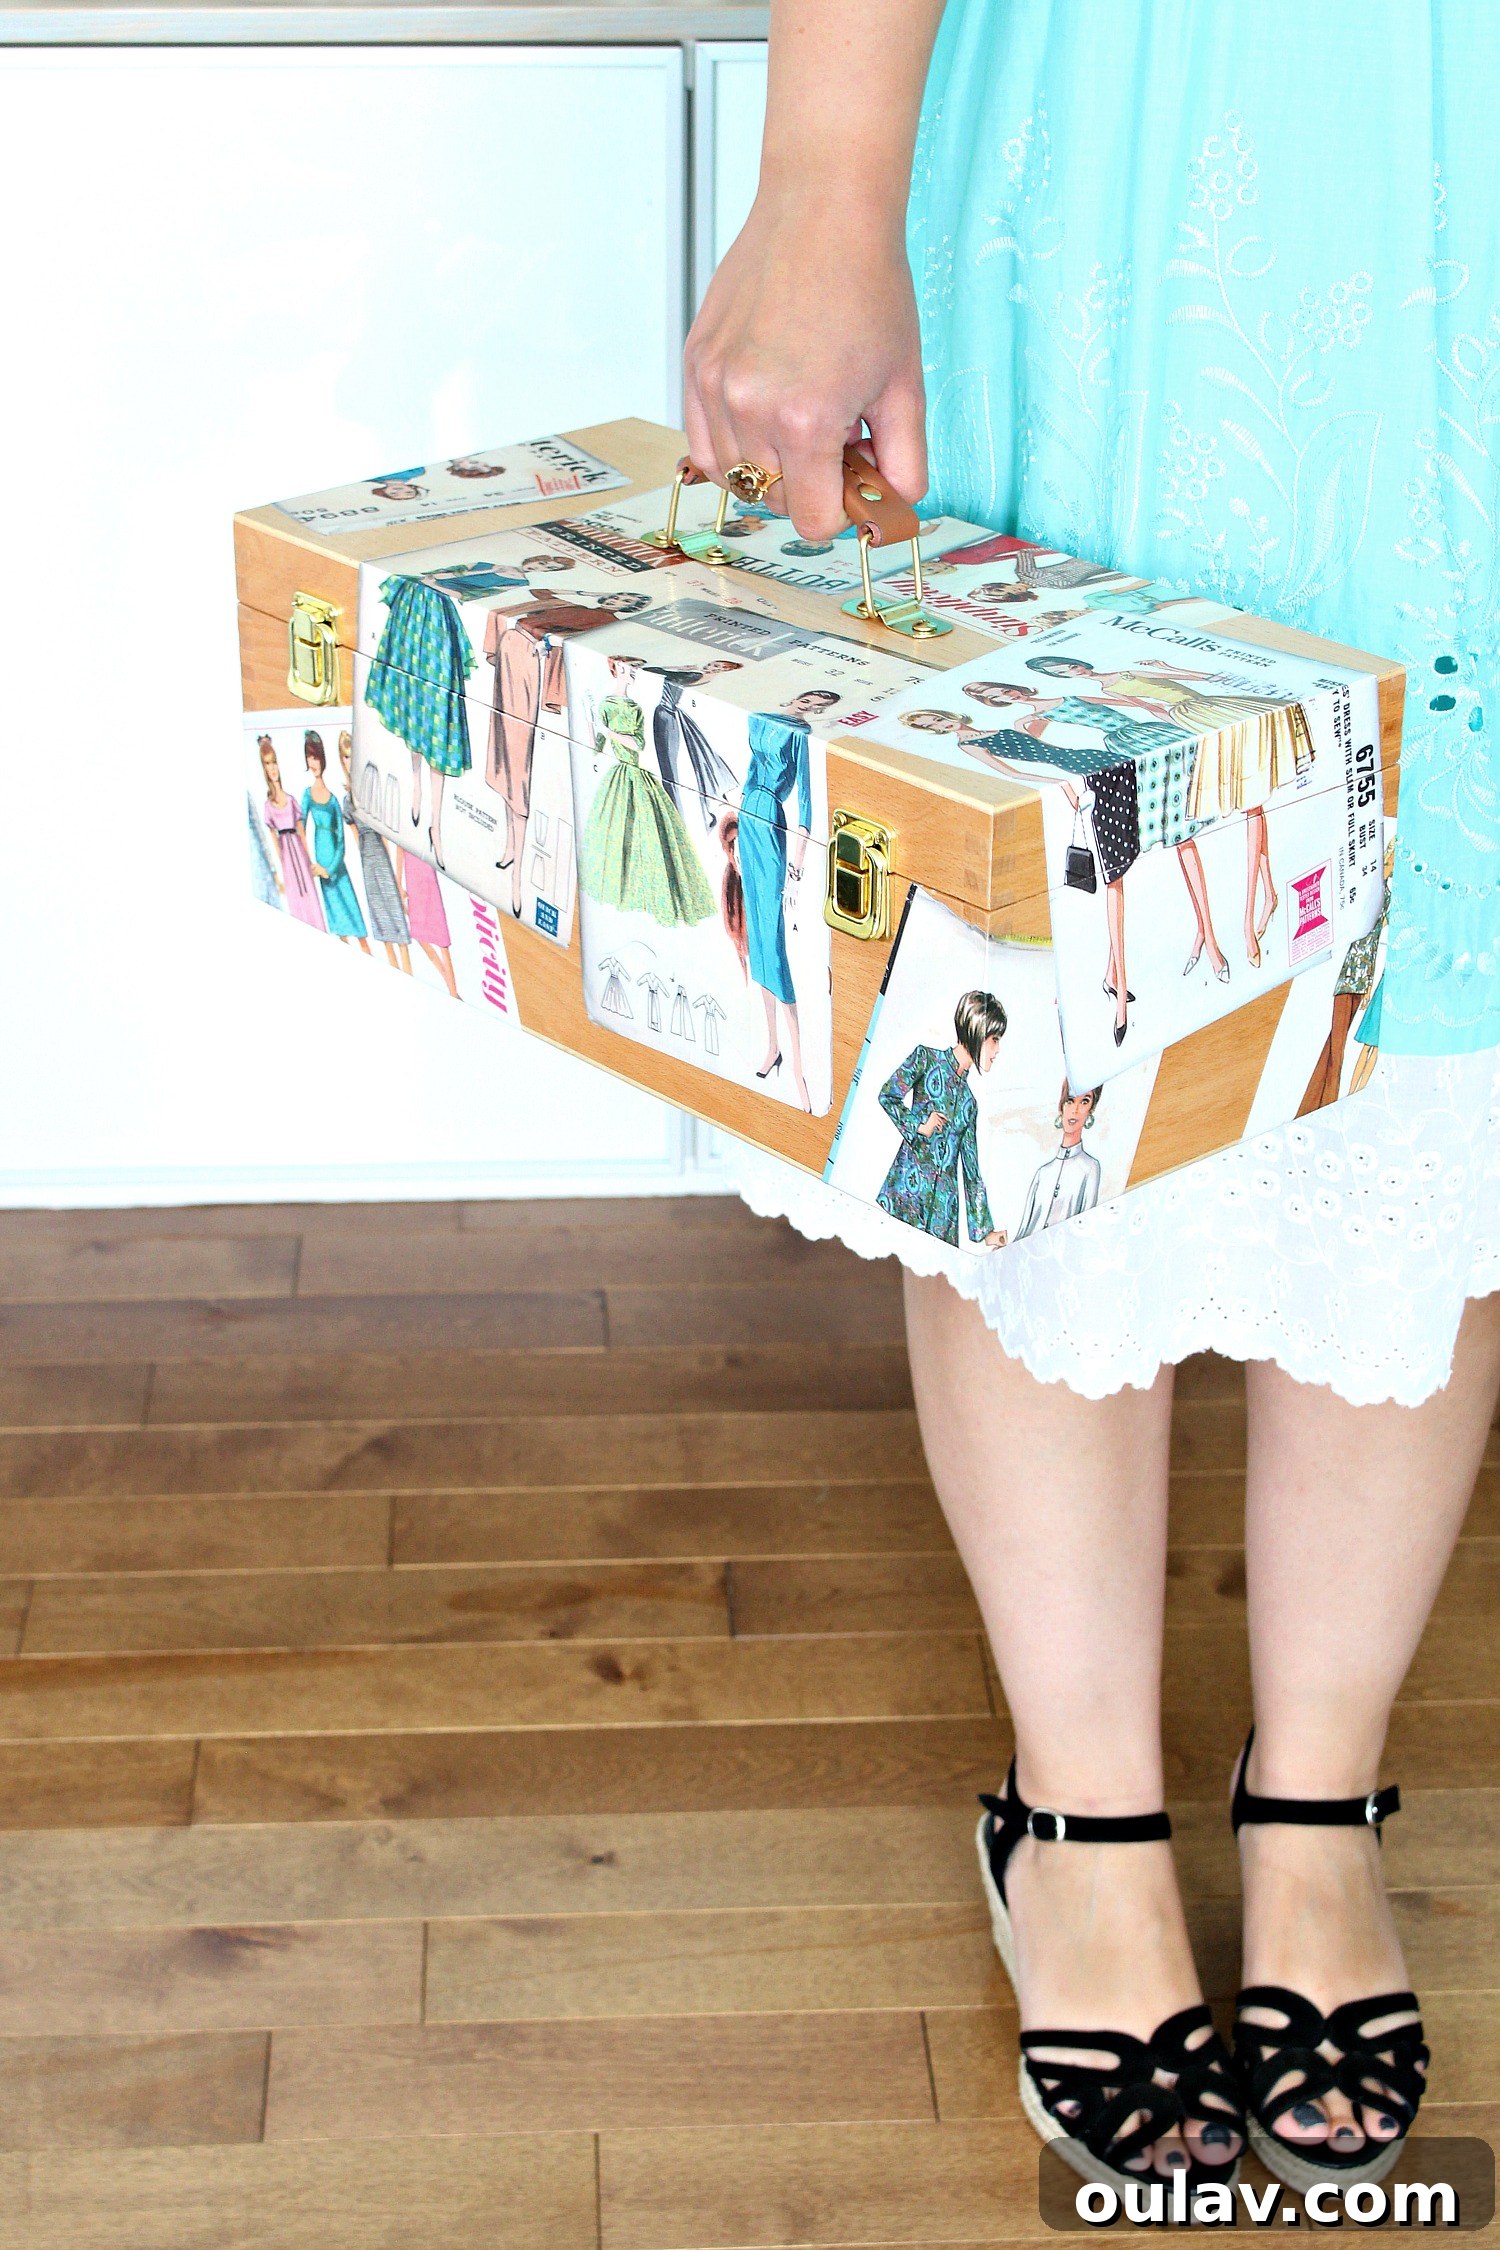
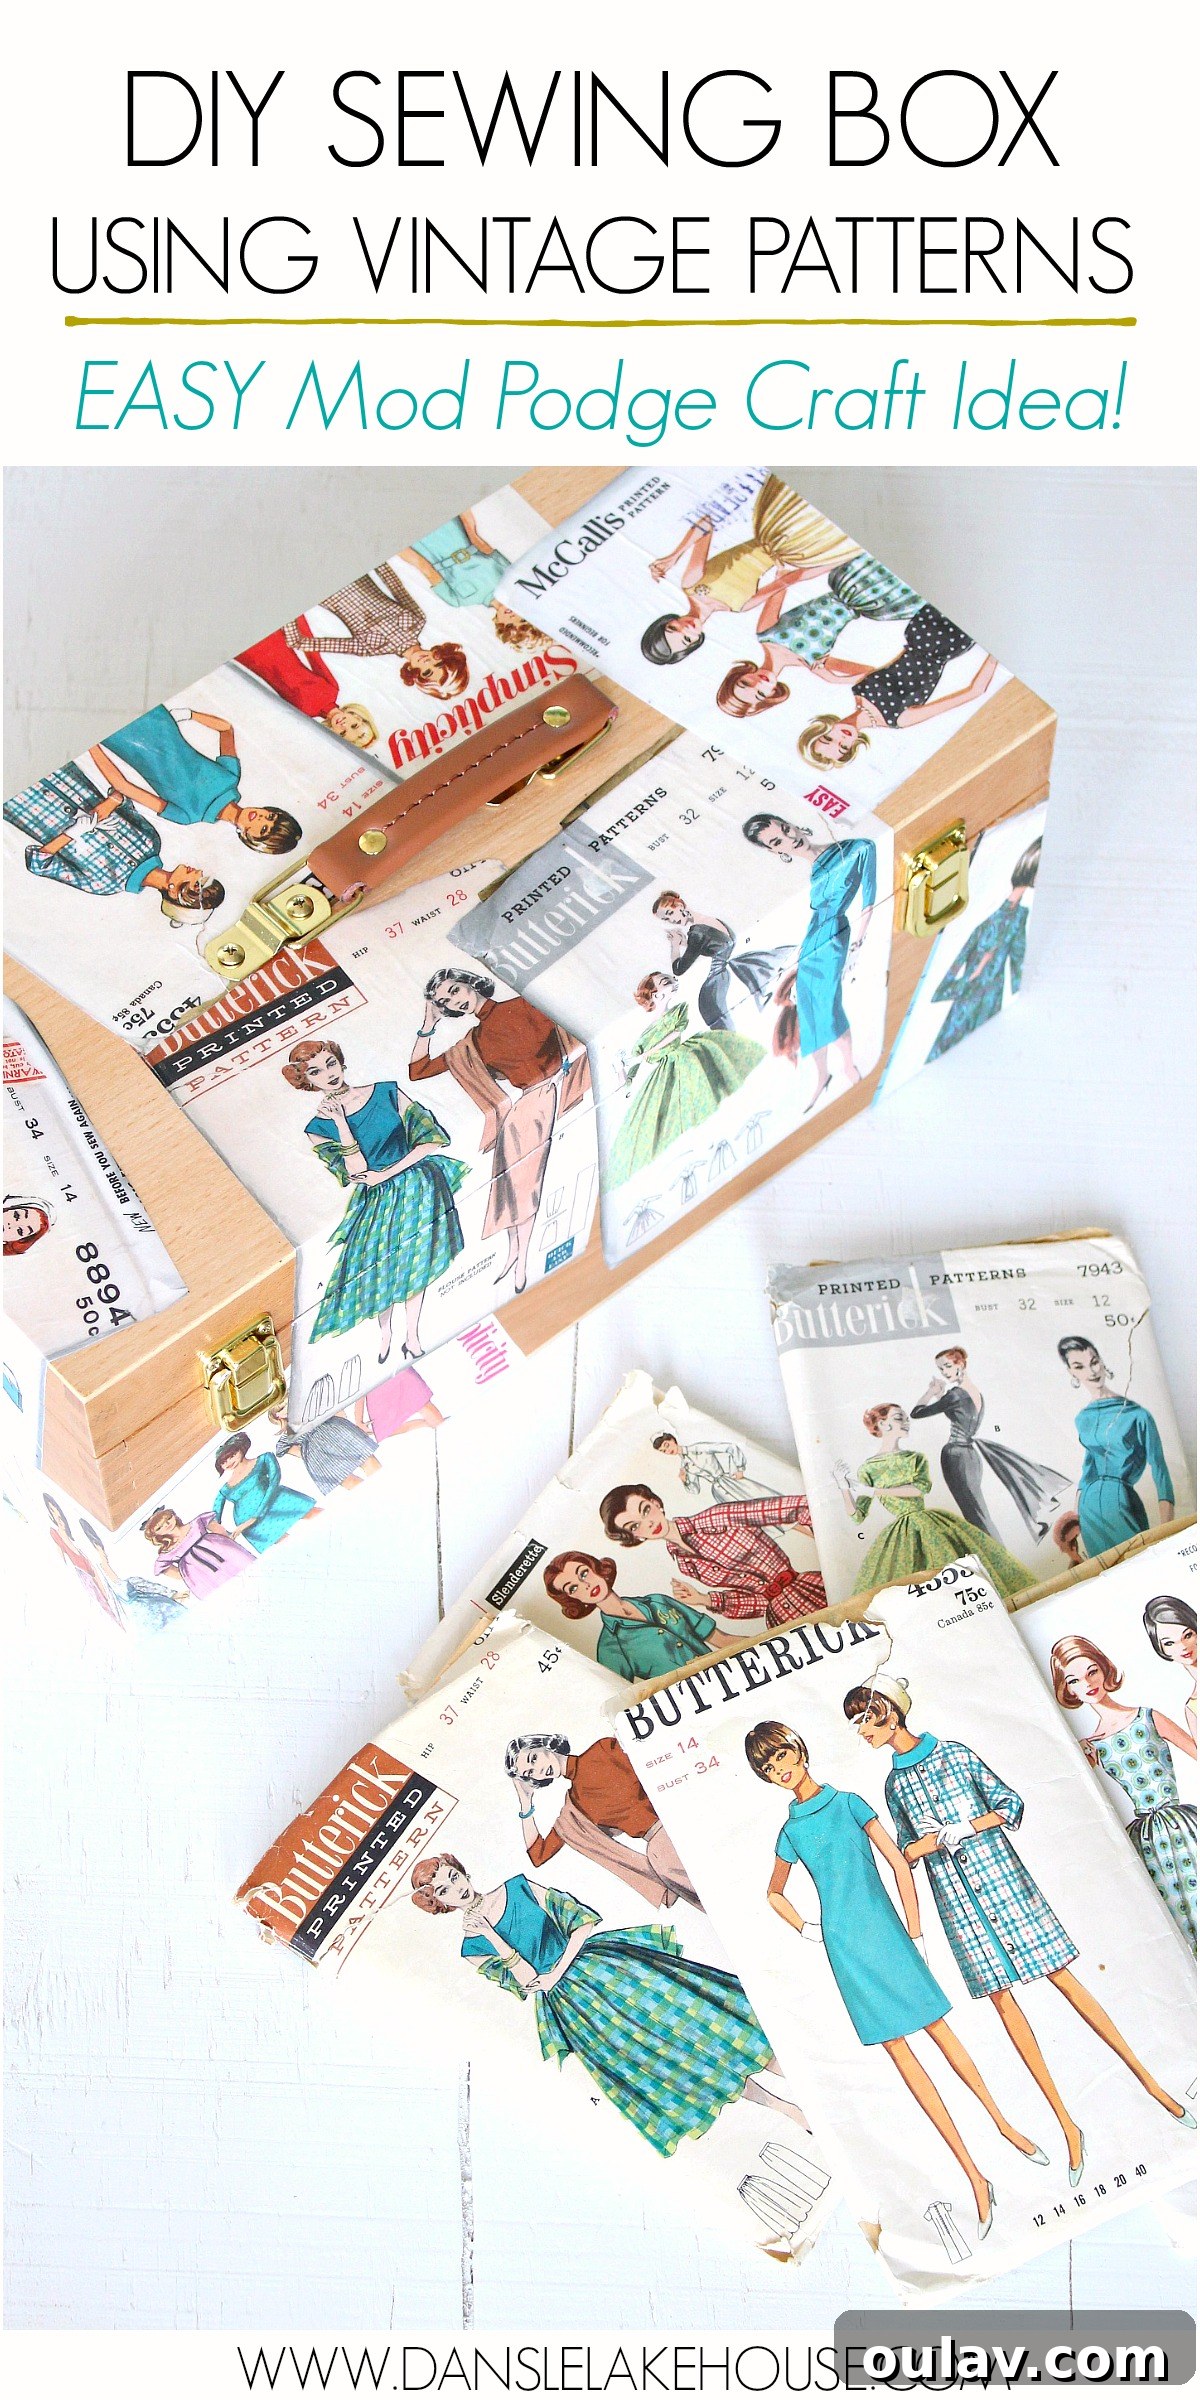
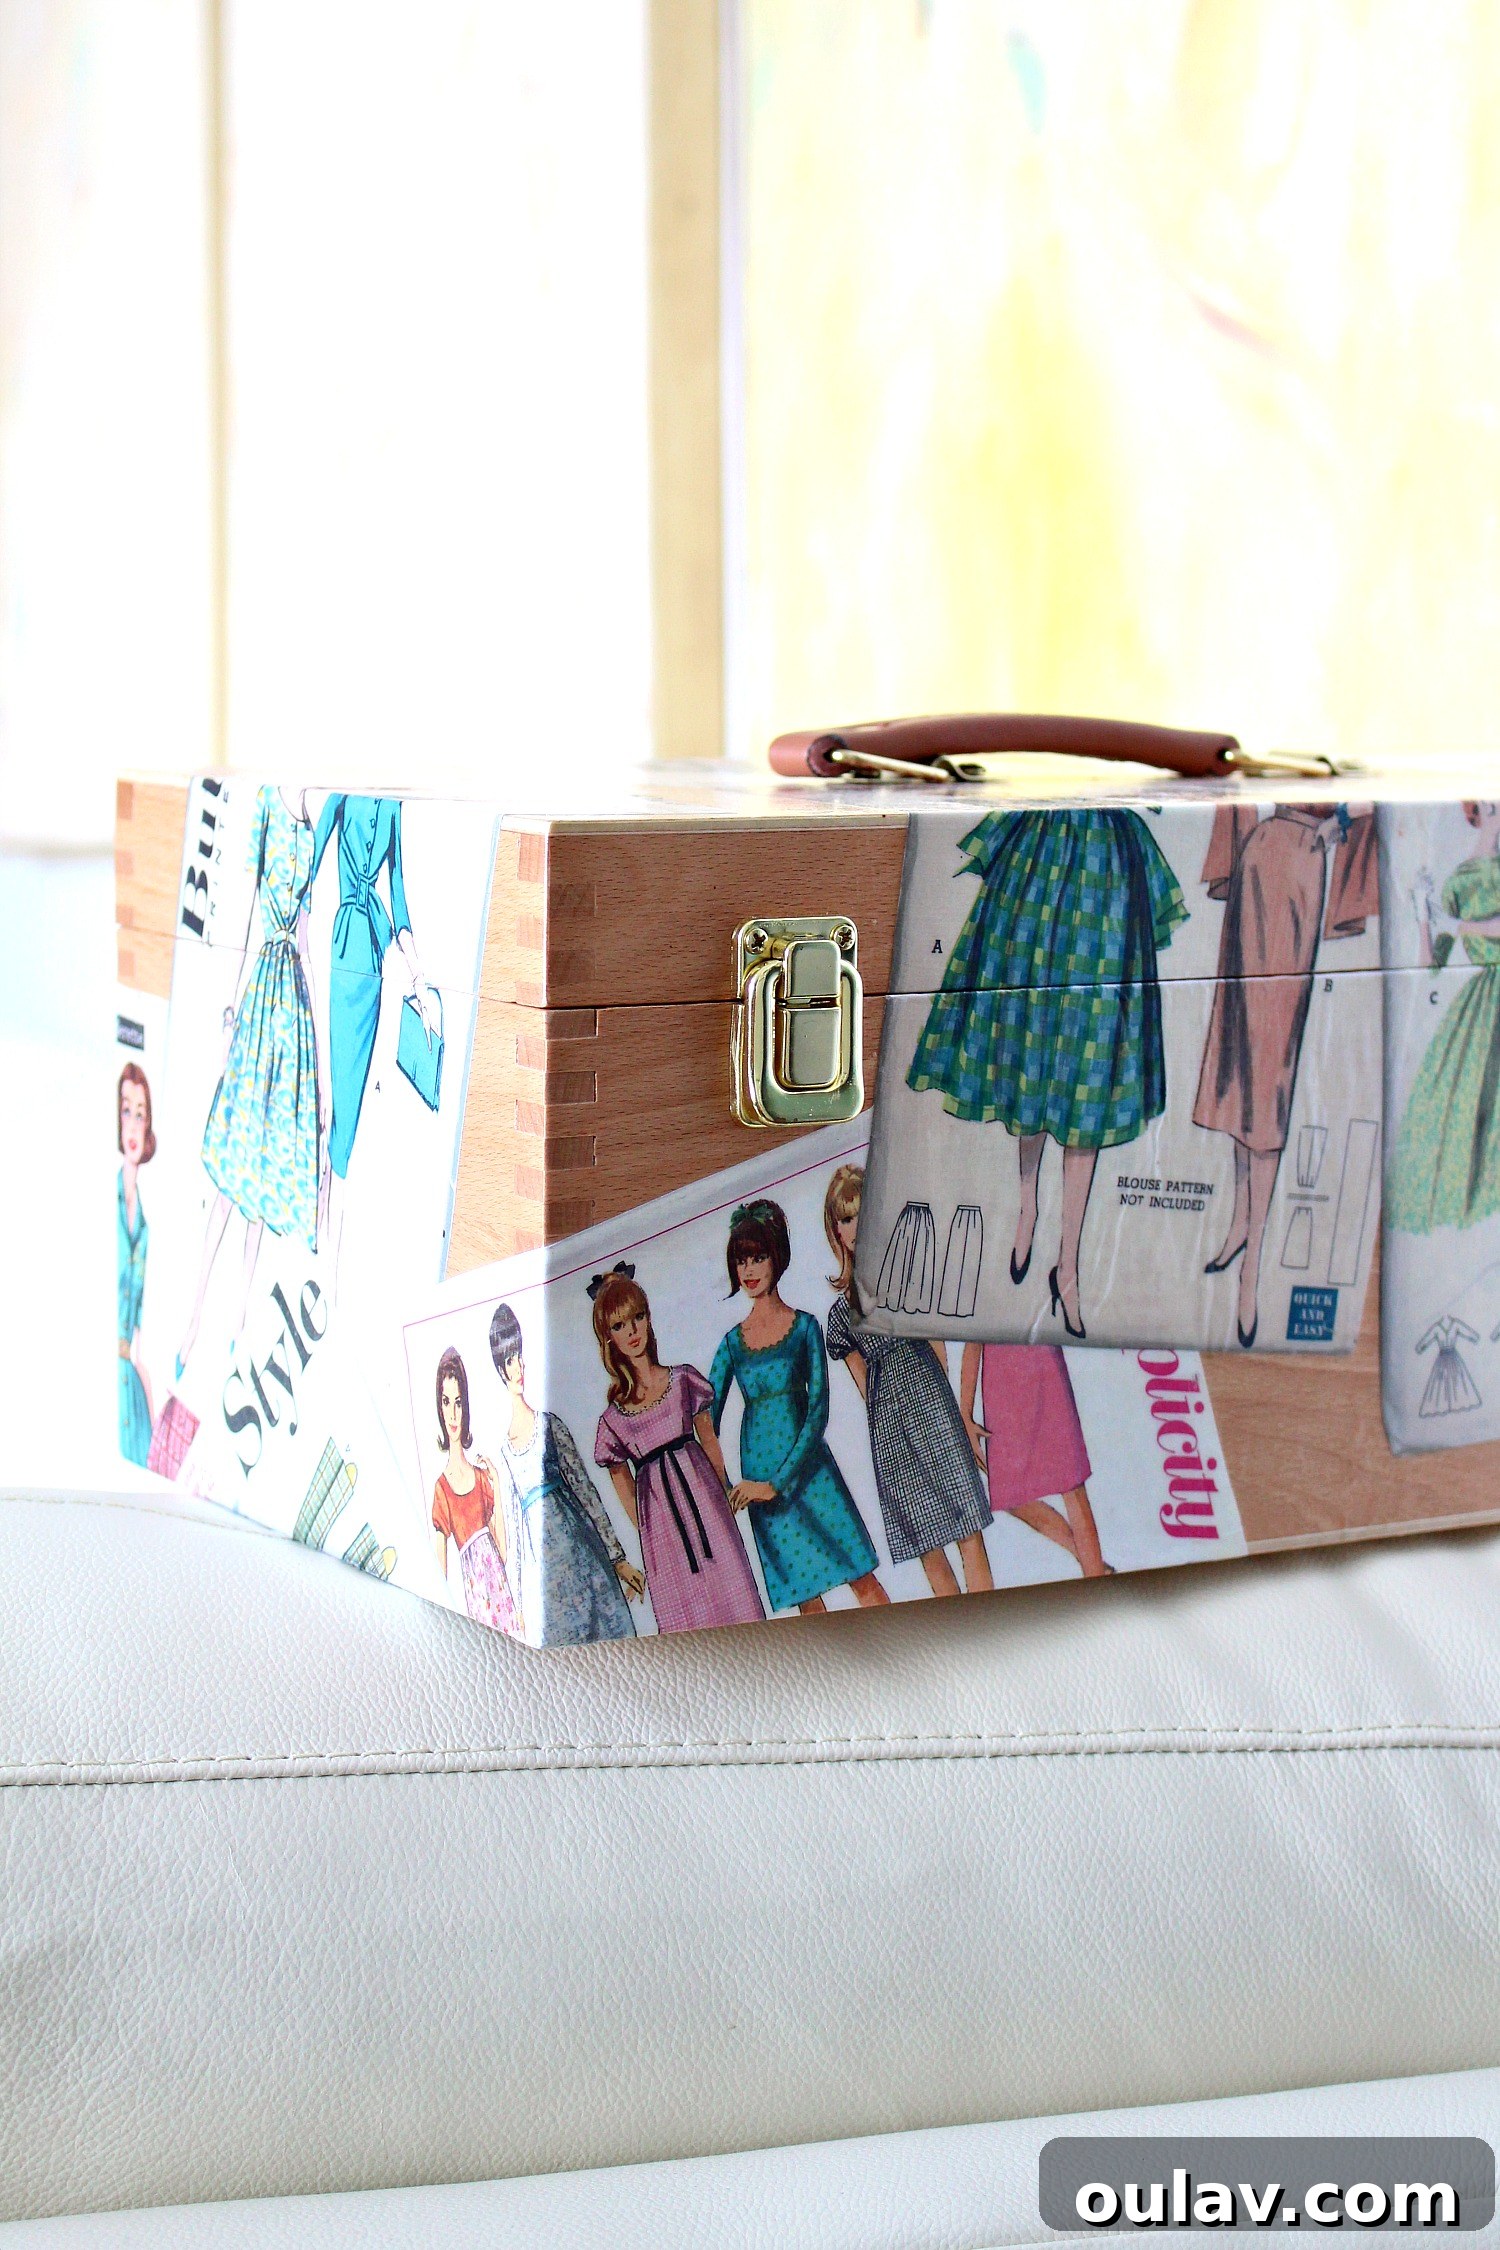
Are you looking for an inspiring way to breathe new life into classic designs? Perhaps you’re wondering what truly captivating things you can do with vintage patterns beyond their original purpose. While the undeniable allure of sewing beautiful garments from these historical treasures is a pursuit many of us dream of – a project perpetually residing on my DIY bucket list – the intricate artistry found on vintage pattern envelopes deserves a spotlight of its own. These stunning illustrations, often evocative of bygone eras, are miniature works of art waiting to be repurposed. The idea struck me like a bolt of creative lightning: why not transform a simple wooden box into a charming and highly functional sewing box using the timeless appeal of decoupage and vintage patterns?
My old, fabric-covered sewing box had seen better days; it was bursting at the seams, overflowing with supplies, and quite literally falling apart. Upgrading to a larger, more organized, and aesthetically pleasing storage solution was a thrilling prospect. And what could be more fitting for a sewing box than adorning it with the very patterns that inspire countless creations? The finished project turned out so beautifully that it’s become a decorative focal point in my craft room, proving that utility and vintage elegance can coexist perfectly. This comprehensive guide will walk you through creating your own exquisite decoupage sewing box, offering not just instructions but also tips for achieving a professional, charming finish.
Unlocking the Charm: Why Vintage Patterns are Perfect for Decoupage
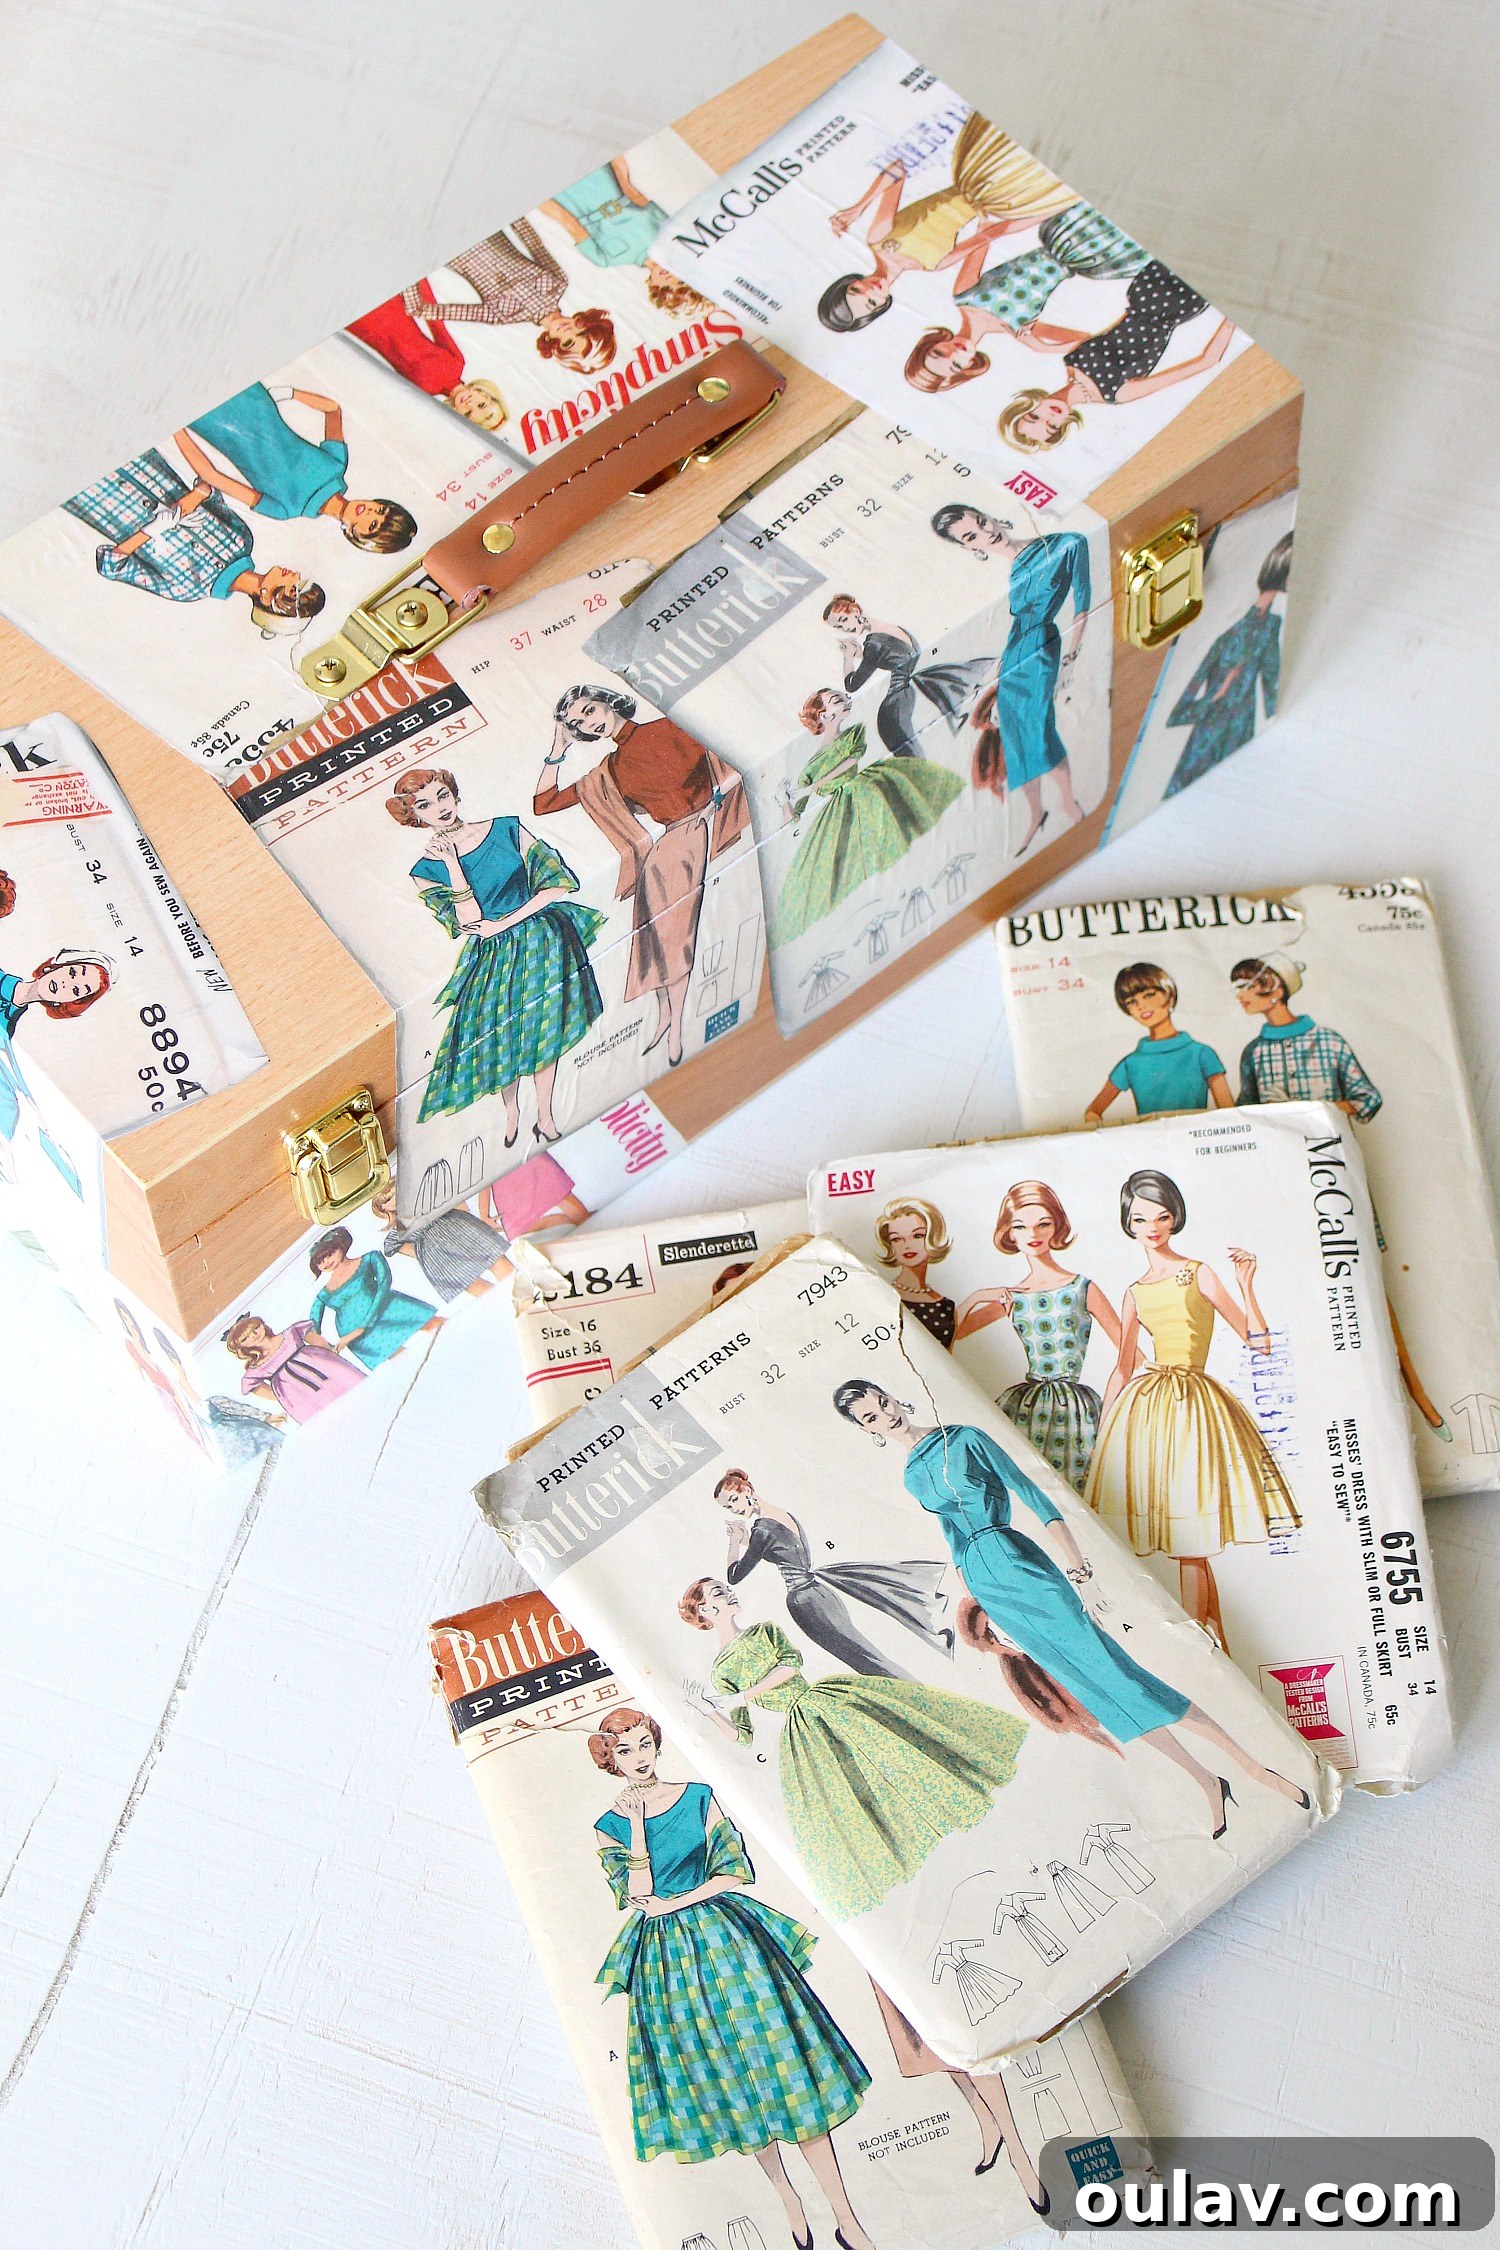
Vintage patterns offer a unique blend of nostalgia, artistry, and historical charm that makes them ideal for decoupage projects. Each pattern envelope tells a story, showcasing fashion trends, artistic styles, and advertising sensibilities from decades past. The intricate illustrations, often hand-drawn with exquisite detail, depict elegant figures, stylish garments, and often vibrant color palettes that are difficult to replicate with modern designs. Using these patterns for decoupage isn’t just about decorating a box; it’s about preserving a piece of design history and giving these forgotten works of art a new, functional life.
Beyond their aesthetic appeal, vintage patterns are also incredibly versatile. They come in various sizes and shapes, making them easy to cut and arrange into a cohesive design on almost any surface. Their aged look, complete with natural creases and subtle yellowing, adds an authentic, rustic charm that enhances the decoupage effect. This project celebrates the beauty of these patterns by transforming them into a permanent display piece, ensuring their artistic legacy continues to be appreciated.
Gather Your Essentials: Supplies for Your Decoupage Sewing Box
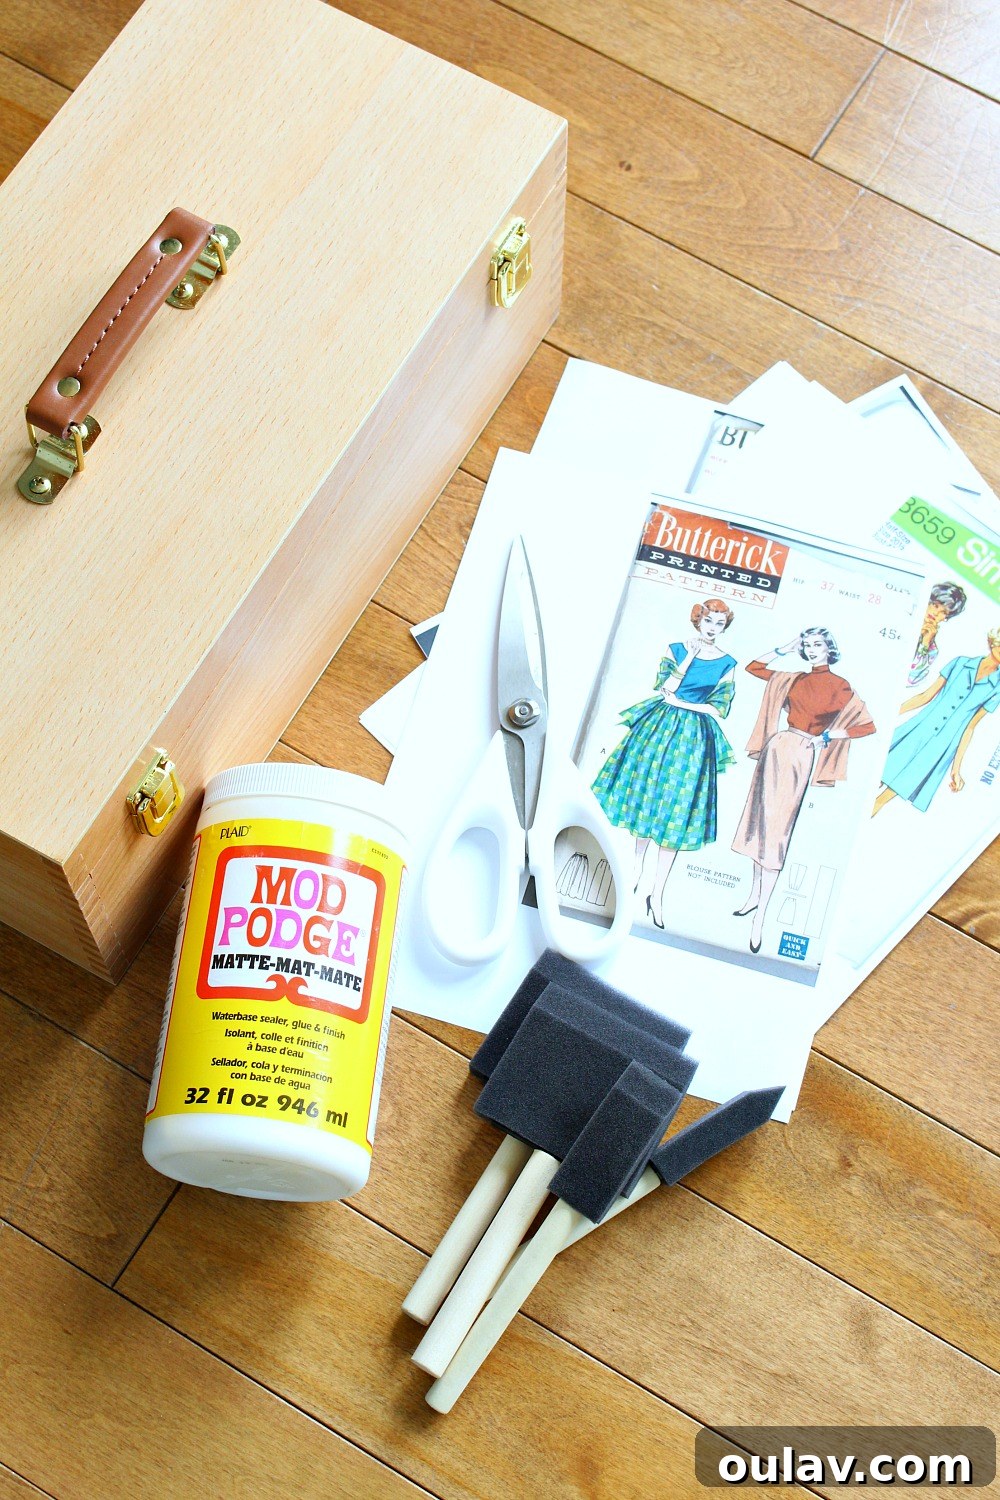
Before diving into the creative process, gathering all your materials is key to a smooth and enjoyable crafting experience. Here’s a detailed list of what you’ll need to create your own vintage pattern covered sewing box:
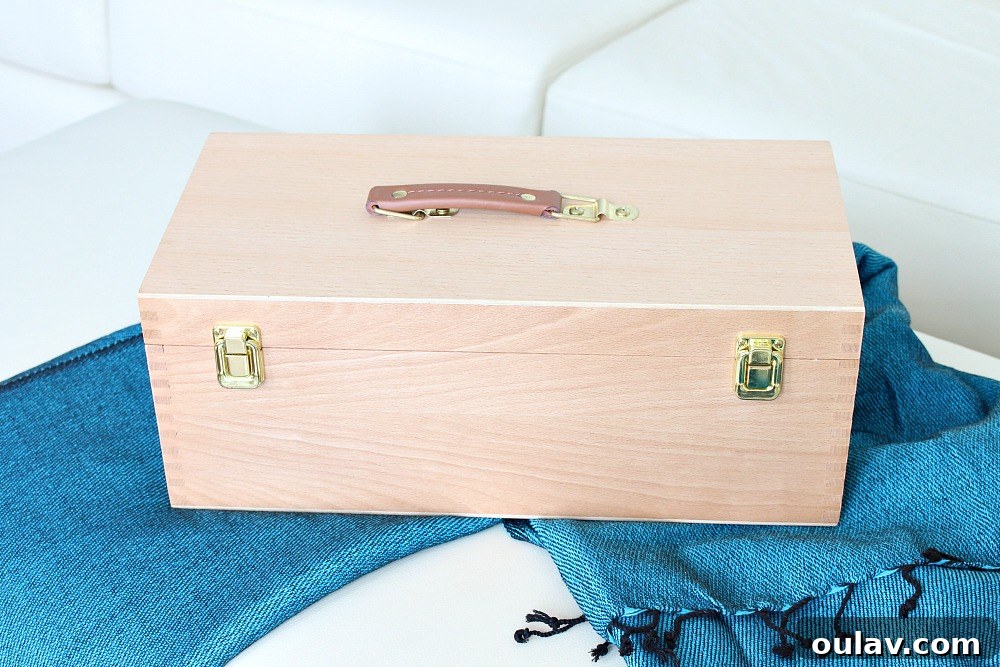
- Wooden Box: The foundation of your project! I highly recommend opting for a sturdy wooden box. The one I used, and have linked to here, is designed for art supplies, making it perfect with its built-in cubbies for organizing various sewing notions. The faux leather handle on this particular box also adds a beautiful, sophisticated touch. Look for a box that offers both functionality and a smooth, unvarnished surface for optimal decoupage results.
- Vintage Patterns (Color Photocopied): This is where the magic happens! While original vintage patterns are relatively inexpensive at thrift stores (often less than a dollar, sometimes just 25 cents), I couldn’t bring myself to potentially damage them. Photocopying them in color is an excellent alternative, preserving the originals while providing you with vibrant, realistic copies to work with. Aim for a variety of designs and sizes for a dynamic collage.
- Mod Podge: The quintessential decoupage medium! Mod Podge acts as both an adhesive and a sealant, creating a durable, glossy (or matte, depending on your preference) finish. Ensure you have enough for multiple coats.
- Small Foam Brushes: These brushes are ideal for applying Mod Podge smoothly and evenly without leaving brush strokes. Having a few on hand is useful for different stages of the project.
- Scissors: A good pair of sharp scissors is crucial for precise cutting of your photocopied patterns.
- Garbage Bag or Drop Cloth: Decoupage can be a bit messy, so protect your work surface with a garbage bag, old newspaper, or a dedicated drop cloth.
- Small Screwdriver (Optional but Recommended): If your box has a handle or other hardware you wish to remove for easier application, a small screwdriver will be invaluable.
Having everything laid out and ready will prevent interruptions and help you maintain your creative flow. A clean, well-lit workspace is also highly recommended to ensure you can clearly see your design as it comes to life.

Step-by-Step Guide: Crafting Your Decoupage Sewing Box
Now that your supplies are ready, let’s embark on the creative journey of transforming your wooden box into a bespoke vintage sewing pattern decoupage masterpiece.
1. Preparing Your Vintage Patterns: The Art of the Photocopy
The first crucial step is to prepare your vintage patterns. As mentioned, while it’s tempting to use the originals, I highly recommend photocopying them in color. This allows you to preserve your collectible patterns while still capturing their vibrant hues and intricate details. Use a high-quality color copier to ensure the reproductions are crisp and true to the original. Experiment with different scale settings if you wish to adjust the size of the patterns to fit specific areas of your box.
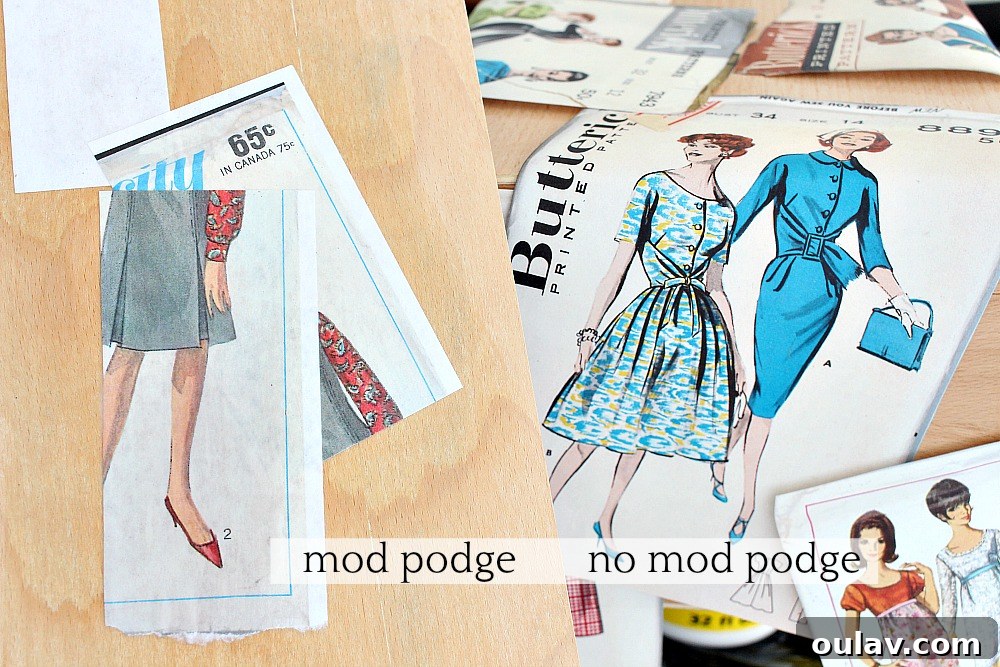
Once you have your photocopies, the cutting process begins. Instead of simply cutting out basic rectangular shapes, embrace the natural contours, tears, and creases of the original patterns. This technique emphasizes the authenticity and aged quality of the designs, making the paper sheets look like real, treasured patterns rather than mere photocopies. This artistic approach adds significant character and depth to your decoupage, contributing to that “perfectly imperfect” vintage aesthetic.
2. Arranging Your Design: The “Perfectly Imperfect” Layout
Before you even think about cracking open the Mod Podge, the most critical step for a visually appealing finish is to dry-fit your layout. This means arranging your cut-out patterns on the box without any adhesive. Achieving that perfectly imperfect, seemingly random arrangement can be surprisingly challenging and often takes more time than you’d expect. In my experience, perfecting the layout took a good 45 minutes, so don’t rush this stage!
Experiment with overlapping patterns, mixing different sizes and orientations, and ensuring a balanced distribution of color and imagery across all surfaces of the box. For this step, I chose to remove the handle of my box using a small screwdriver, which made it easier to lay patterns flat and visualize the overall design. This is optional, as you can certainly work around the handle if you prefer not to remove it. Once you’re satisfied with an arrangement, use small pieces of painter’s tape or masking tape to temporarily hold each pattern in place, allowing you to fine-tune and ensure everything is exactly where you want it.
3. The Decoupage Process: Adhering Your Vintage Charm
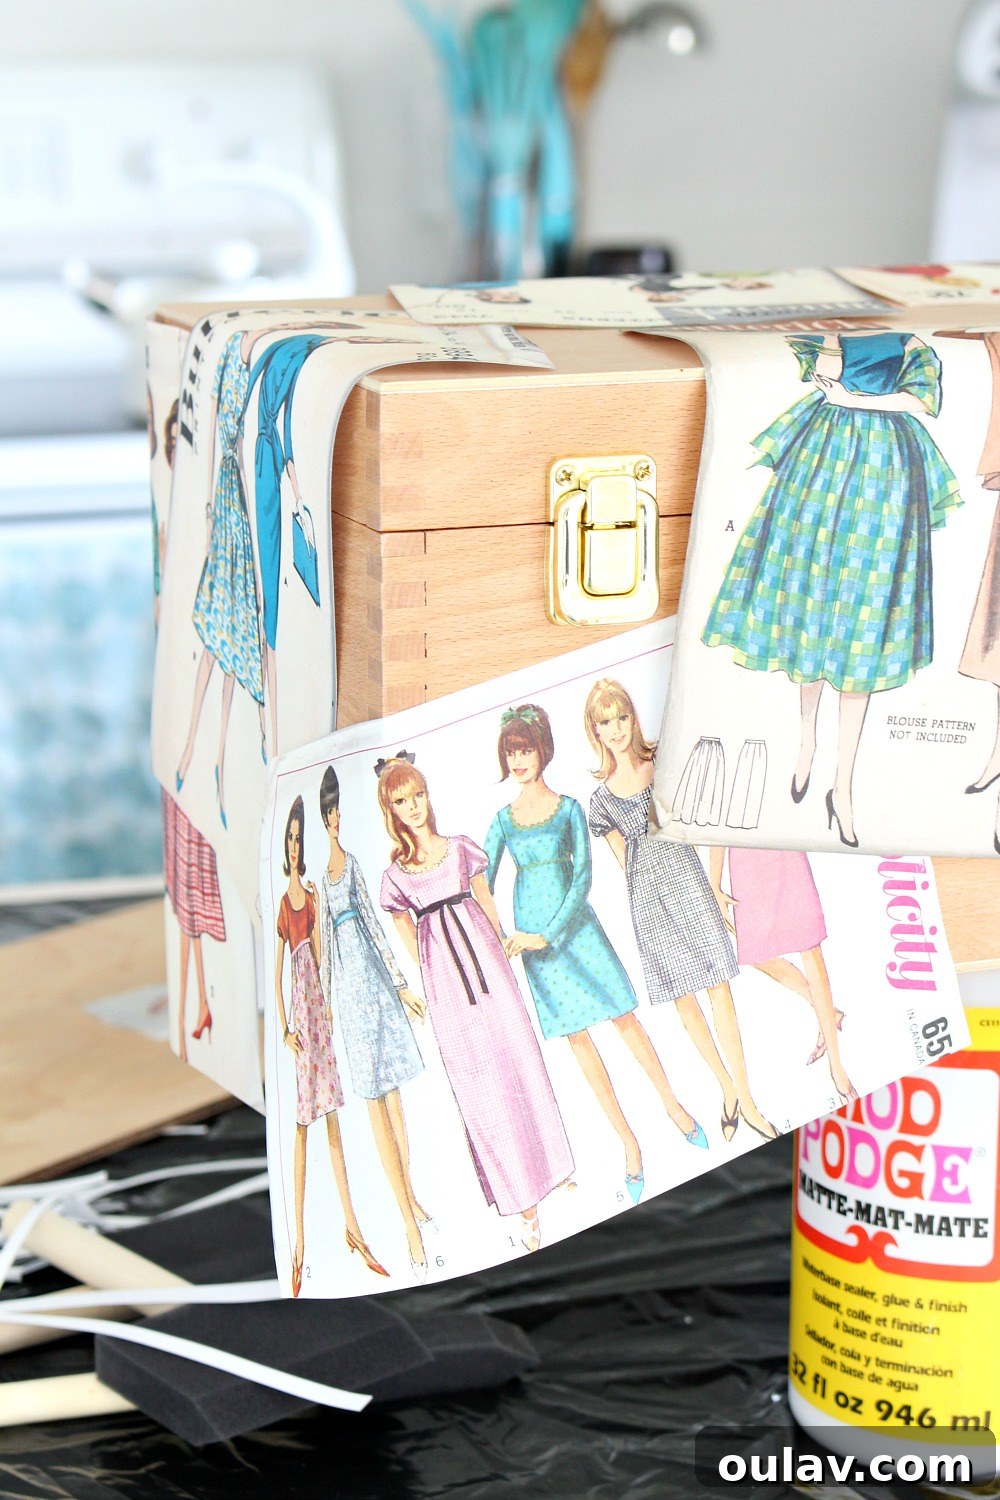
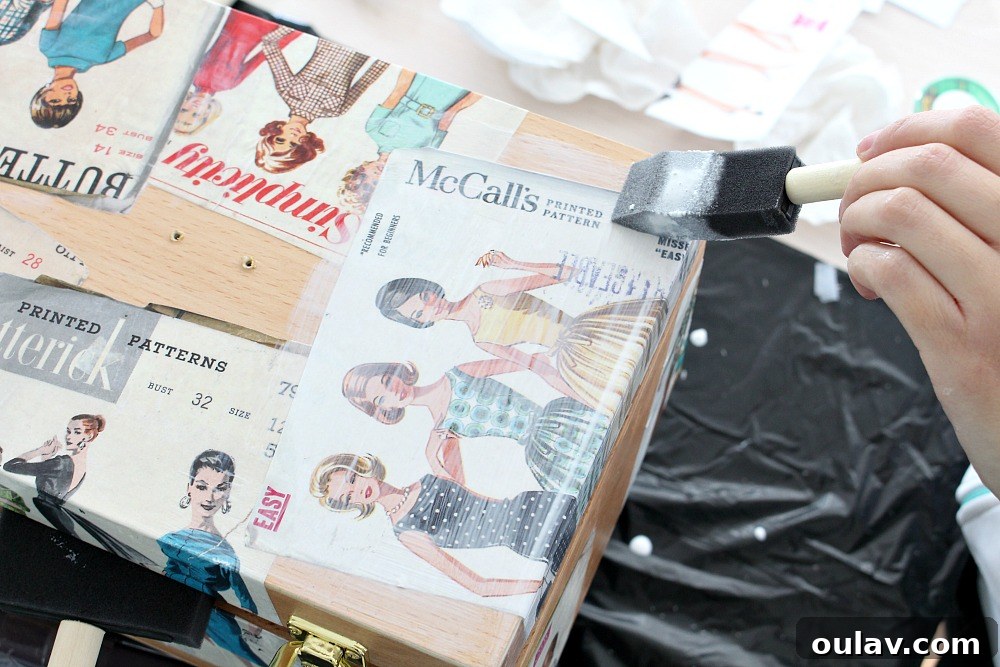
With your layout meticulously planned, it’s time to secure your patterns using Mod Podge. Work systematically, focusing on one pattern at a time or small sections of the box. Using a cheap foam brush, apply a thin, even layer of Mod Podge directly onto the wooden surface where you intend to place your first pattern. This initial layer acts as the adhesive.
Carefully lay your cut-out pattern onto the wet Mod Podge. Gently smooth out any air bubbles or wrinkles using your fingers, a credit card, or a brayer, working from the center outwards. Once the pattern is in place and smoothed, apply another thin, even layer of Mod Podge over the top of the pattern. This top layer seals the paper and begins the process of creating a durable finish. Continue this process, piece by piece, working your way around the entire sewing box. Overlapping patterns slightly can create a beautiful, layered effect. Ensure each piece is fully adhered and smooth before moving on to the next section.
4. Mastering the Lid: A Touch of Precision
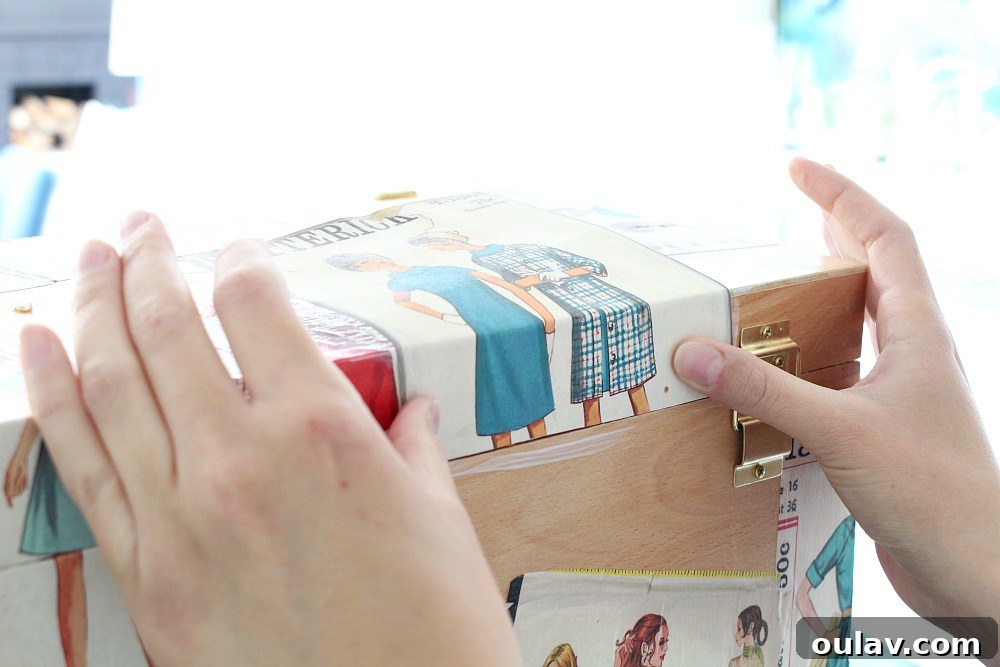
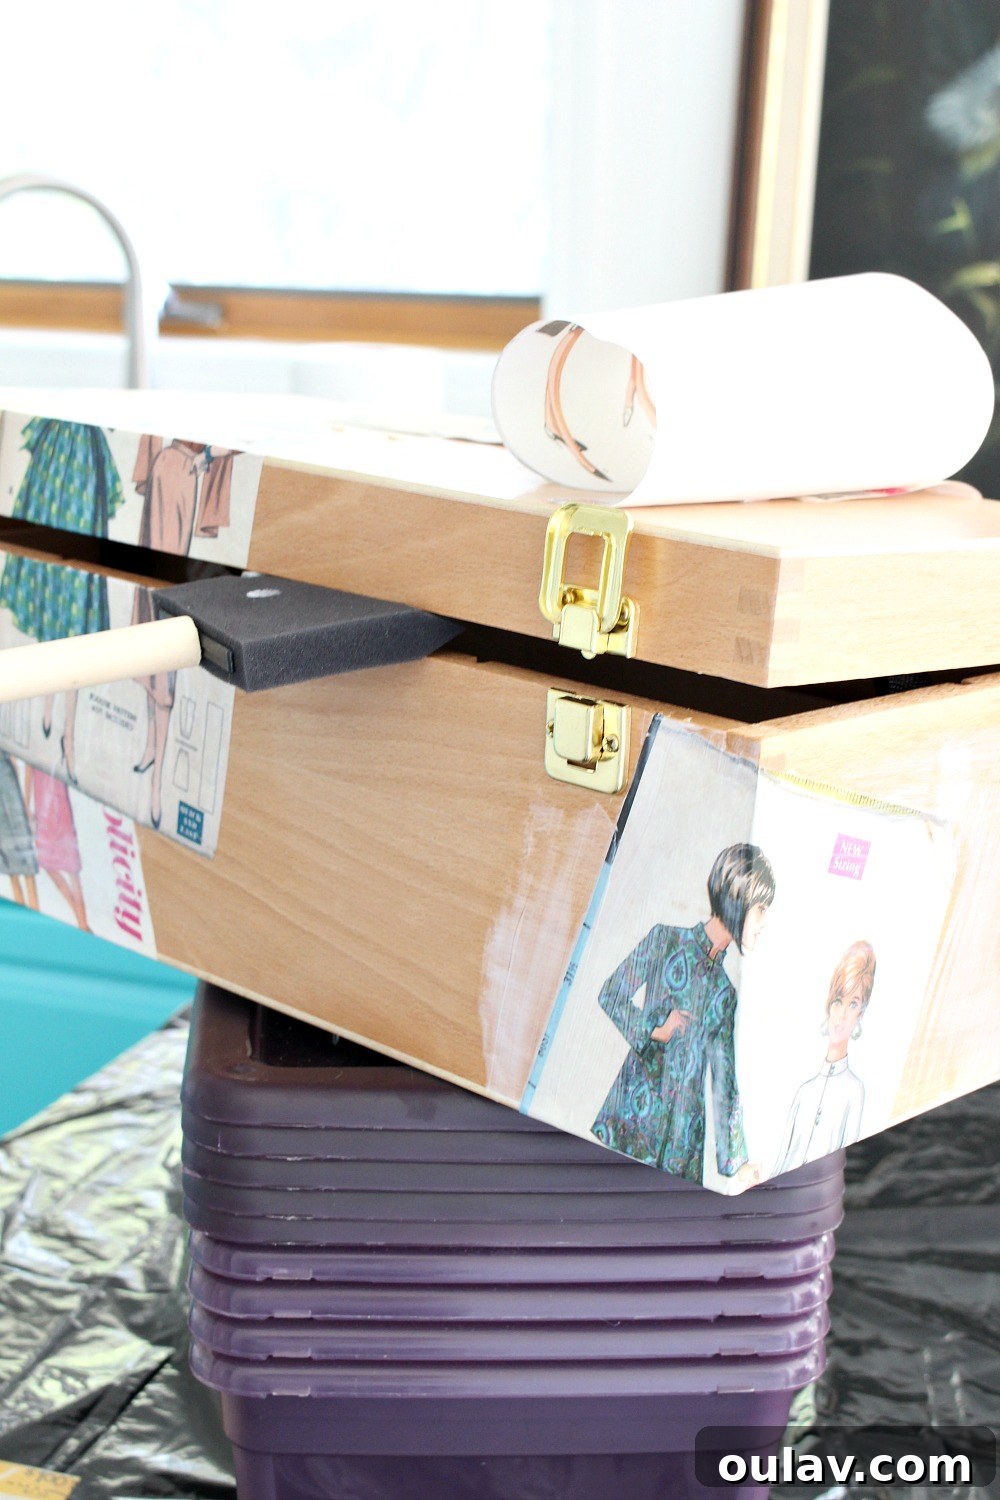
The lid can be one of the trickiest parts of decoupaging a box, as it requires careful alignment to ensure a seamless look when closed. For the lid, I found it easiest to close it and lay the pattern directly over it. Then, using my fingernail, I gently ran it along the opening of the lid, effectively tracing the exact line where the lid separates from the base.
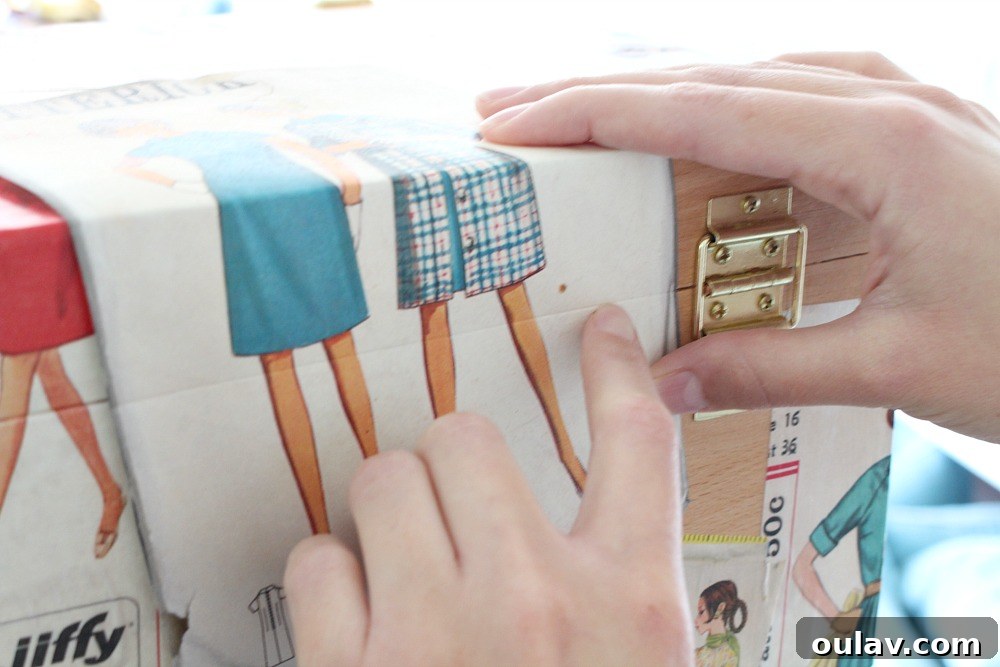
Once marked, I carefully cut the pattern with scissors along the traced line. Then, I secured each piece with Mod Podge, paying meticulous attention to ensure that the two separated pieces lined up perfectly when the lid was closed. This step requires patience and a steady hand, but the effort is well worth it for a professional and polished finish.
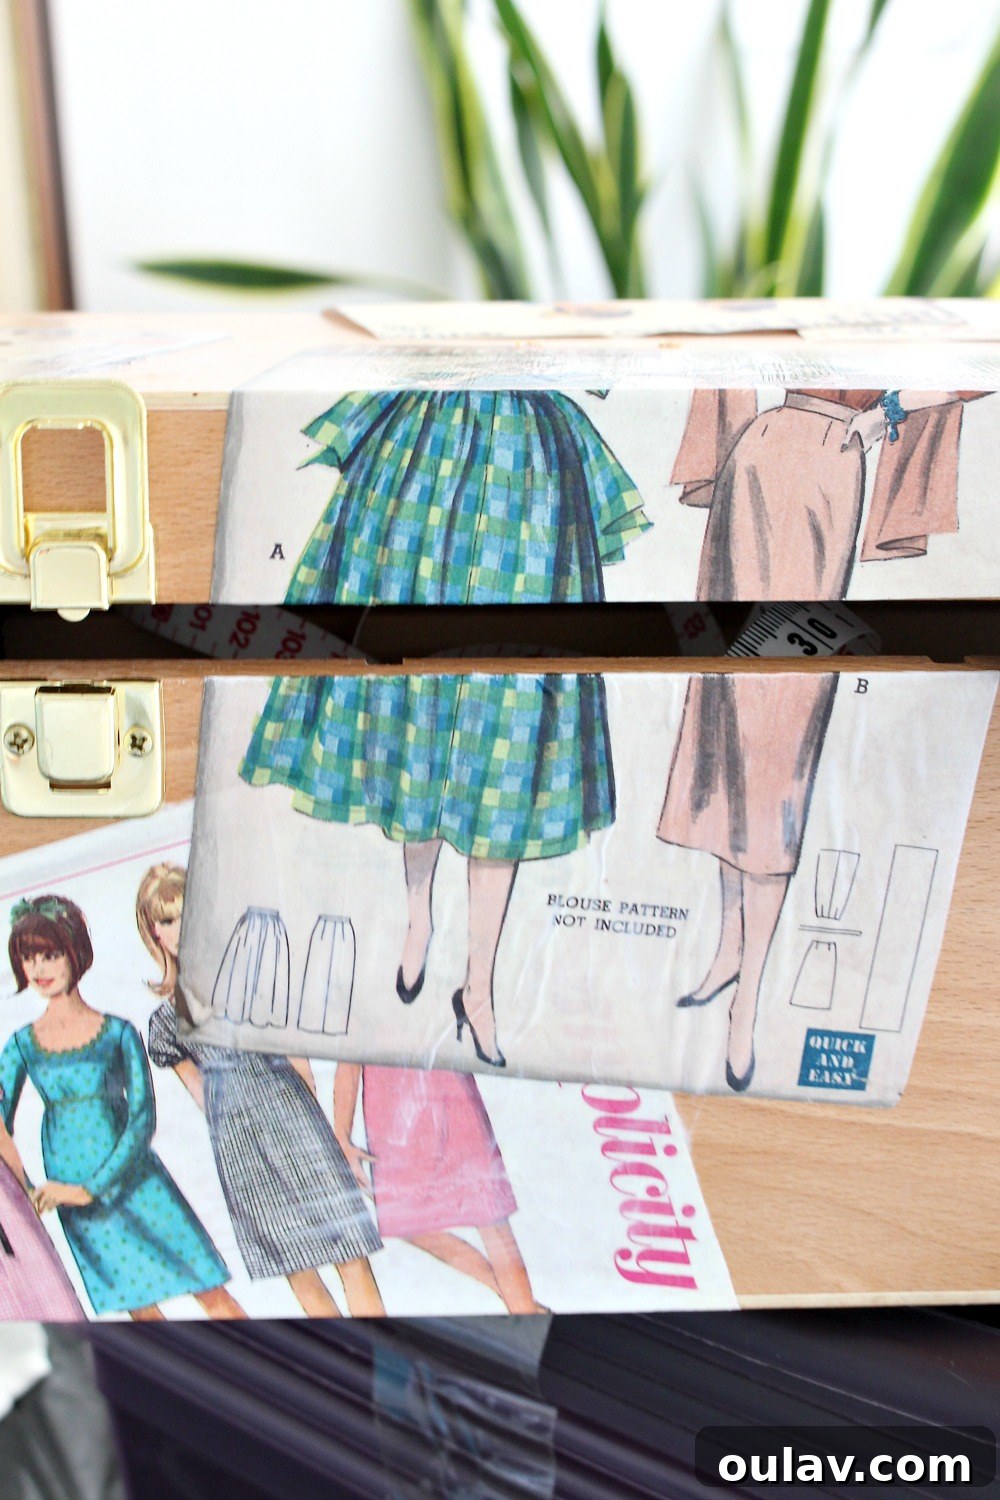
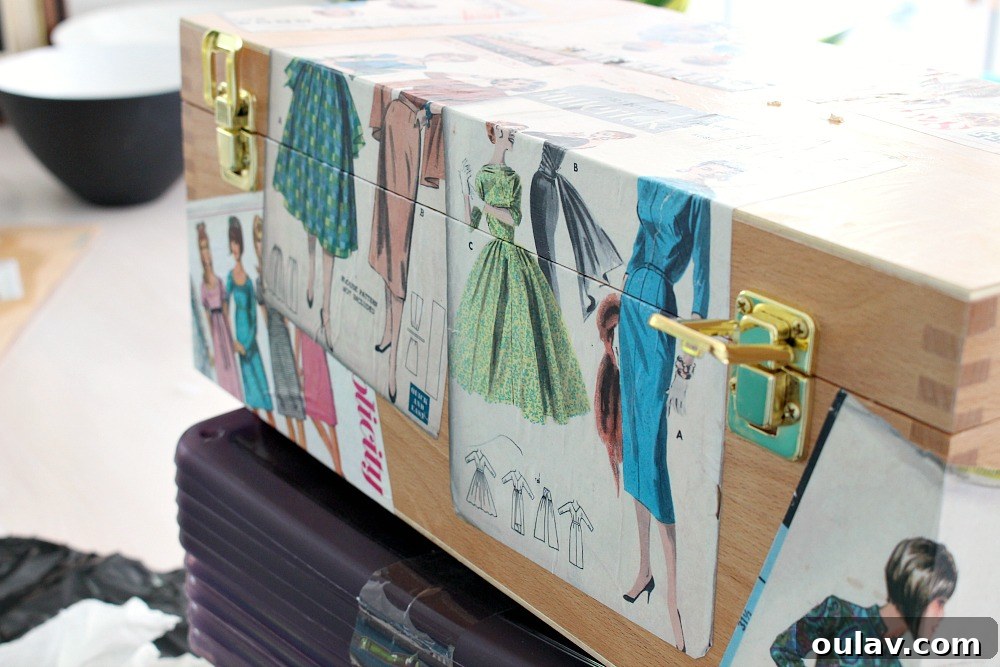
Successfully navigating the lid is truly the most challenging aspect, but it’s also incredibly rewarding once you see the cohesive result.
5. Sealing and Finishing: Protecting Your Masterpiece
Once all your patterns are securely in place and you’ve allowed the initial Mod Podge layers to dry completely (check the product instructions for specific drying times, usually 15-20 minutes between coats), it’s time for the final sealing. Apply an additional, generous coat of Mod Podge over the entire box, ensuring complete coverage. This step is crucial for two reasons:
- It creates a durable, protective layer that seals the paper and makes the box resistant to wear and tear.
- It ensures color uniformity. Mod Podge can slightly deepen or change the tone of the wood and paper; covering the entire surface uniformly guarantees a consistent finish without patchy discoloration.
Allow this coat to dry fully, then apply one more final coat for maximum protection and a beautiful, even sheen. As you apply the Mod Podge, be mindful of any screw holes or hardware attachments. I made sure to keep the screw holes clean of Mod Podge so that the handle could be easily re-installed without any adhesive buildup interfering.
The Grand Reveal: Your Stunning Vintage Decoupage Sewing Box
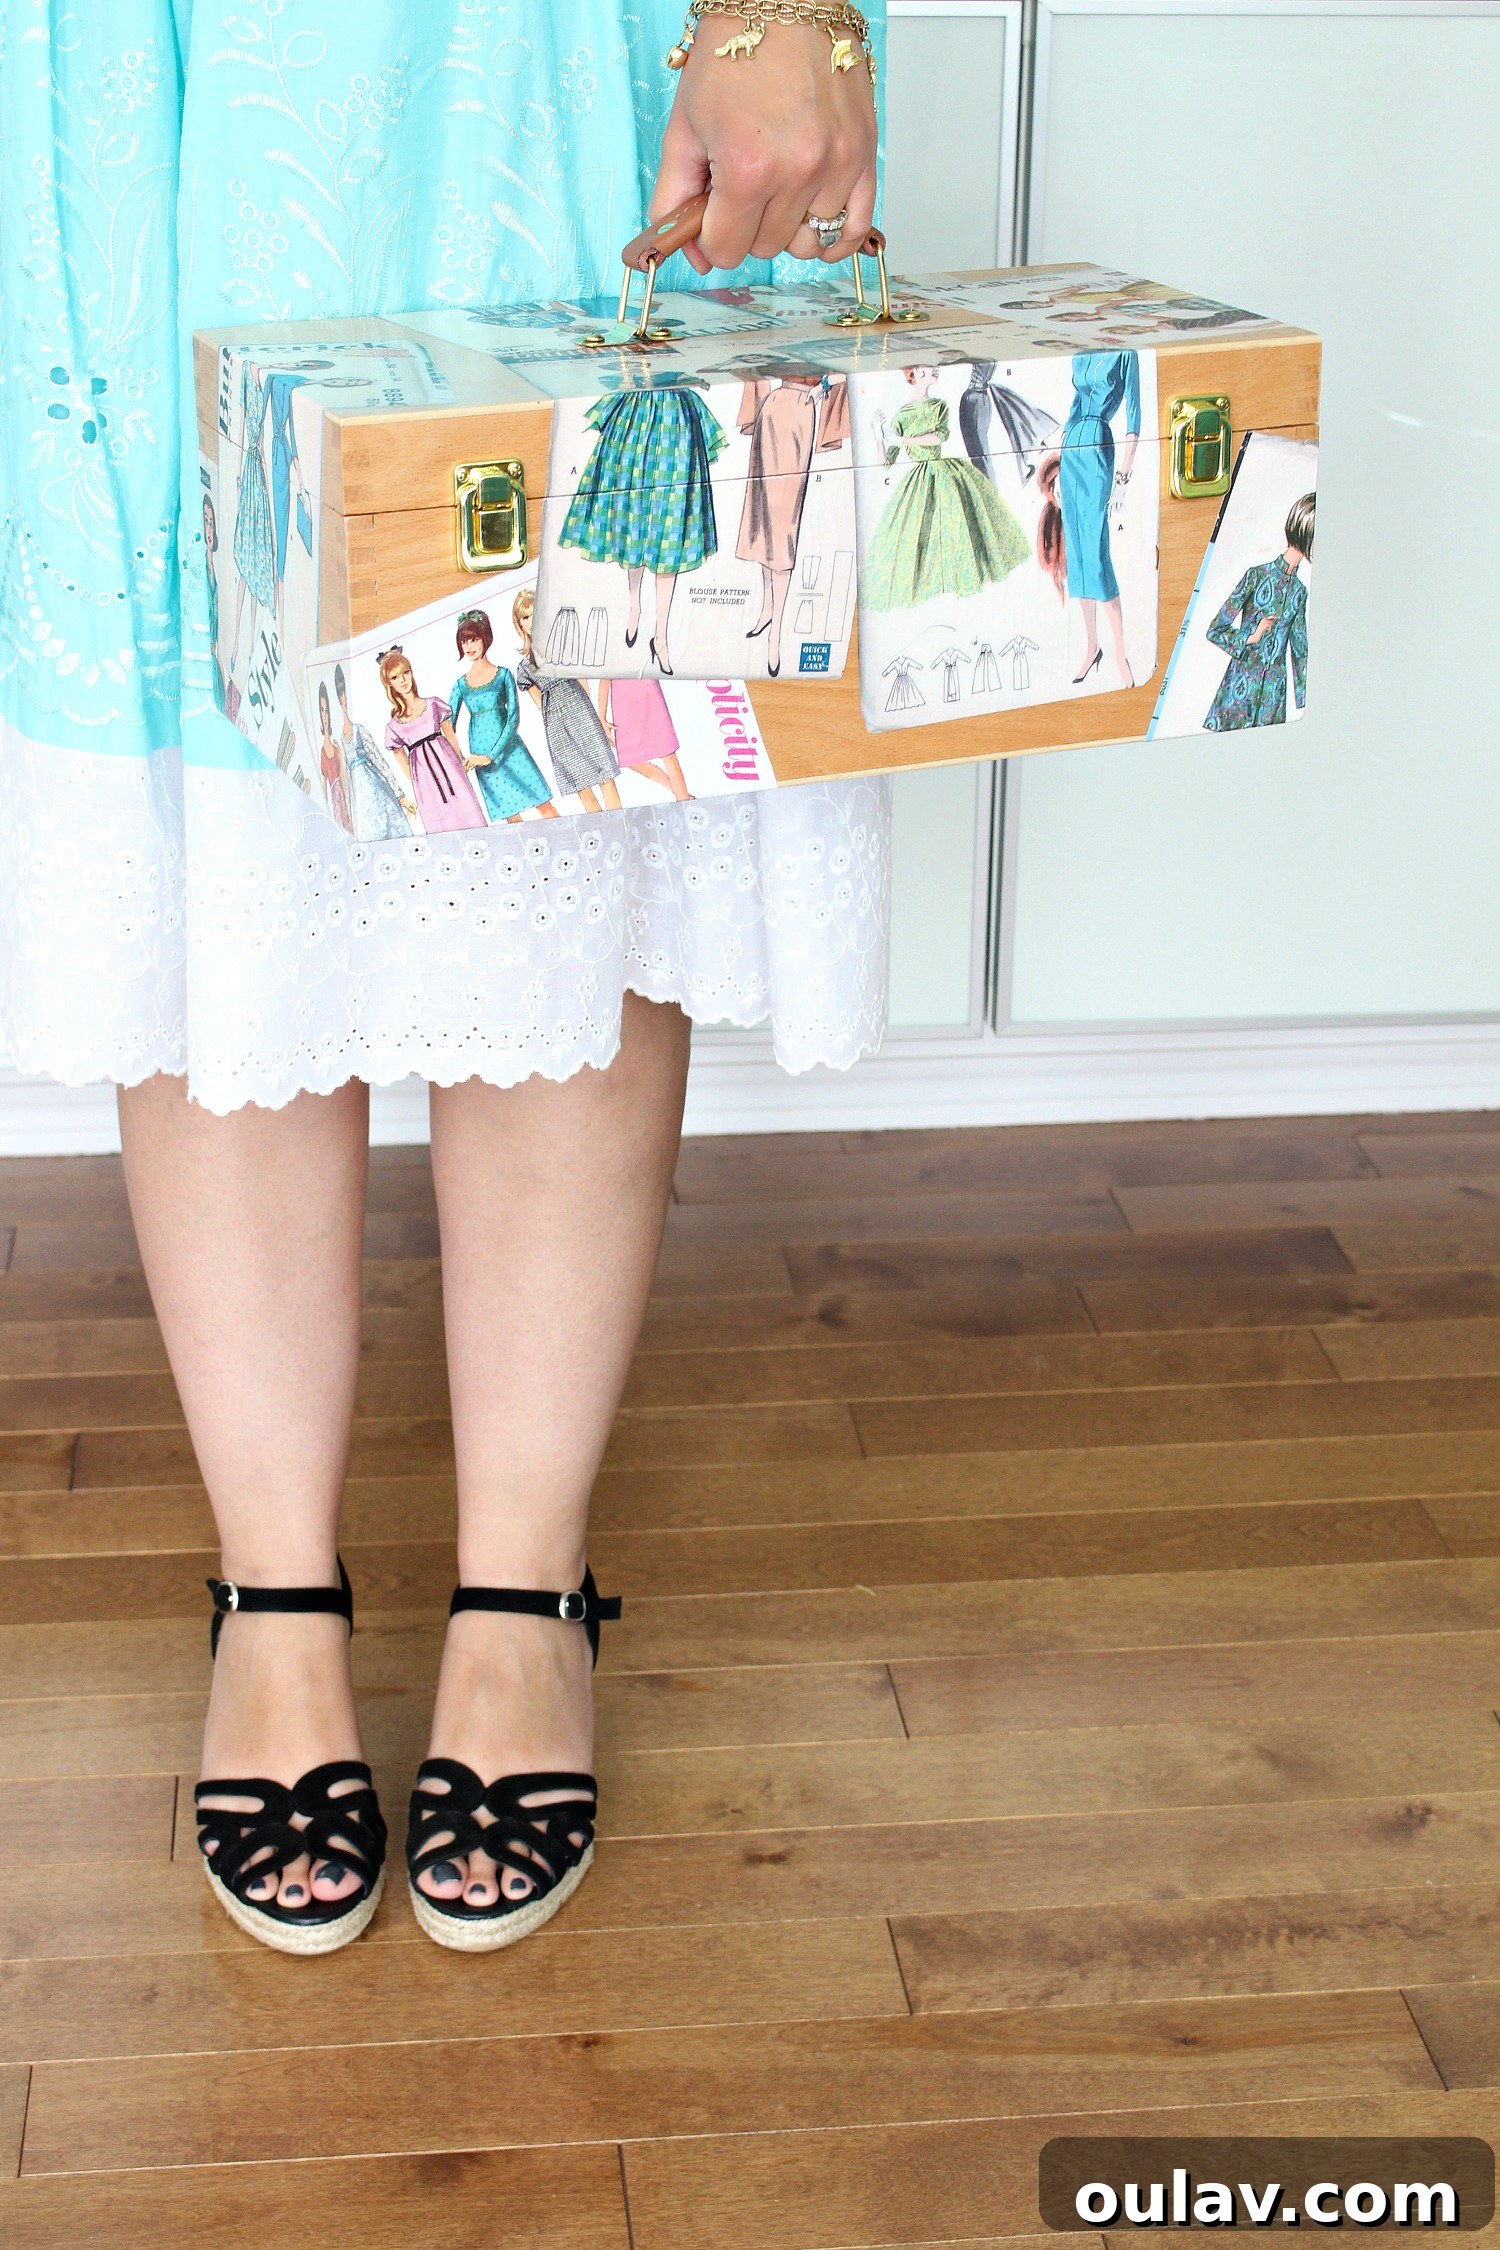
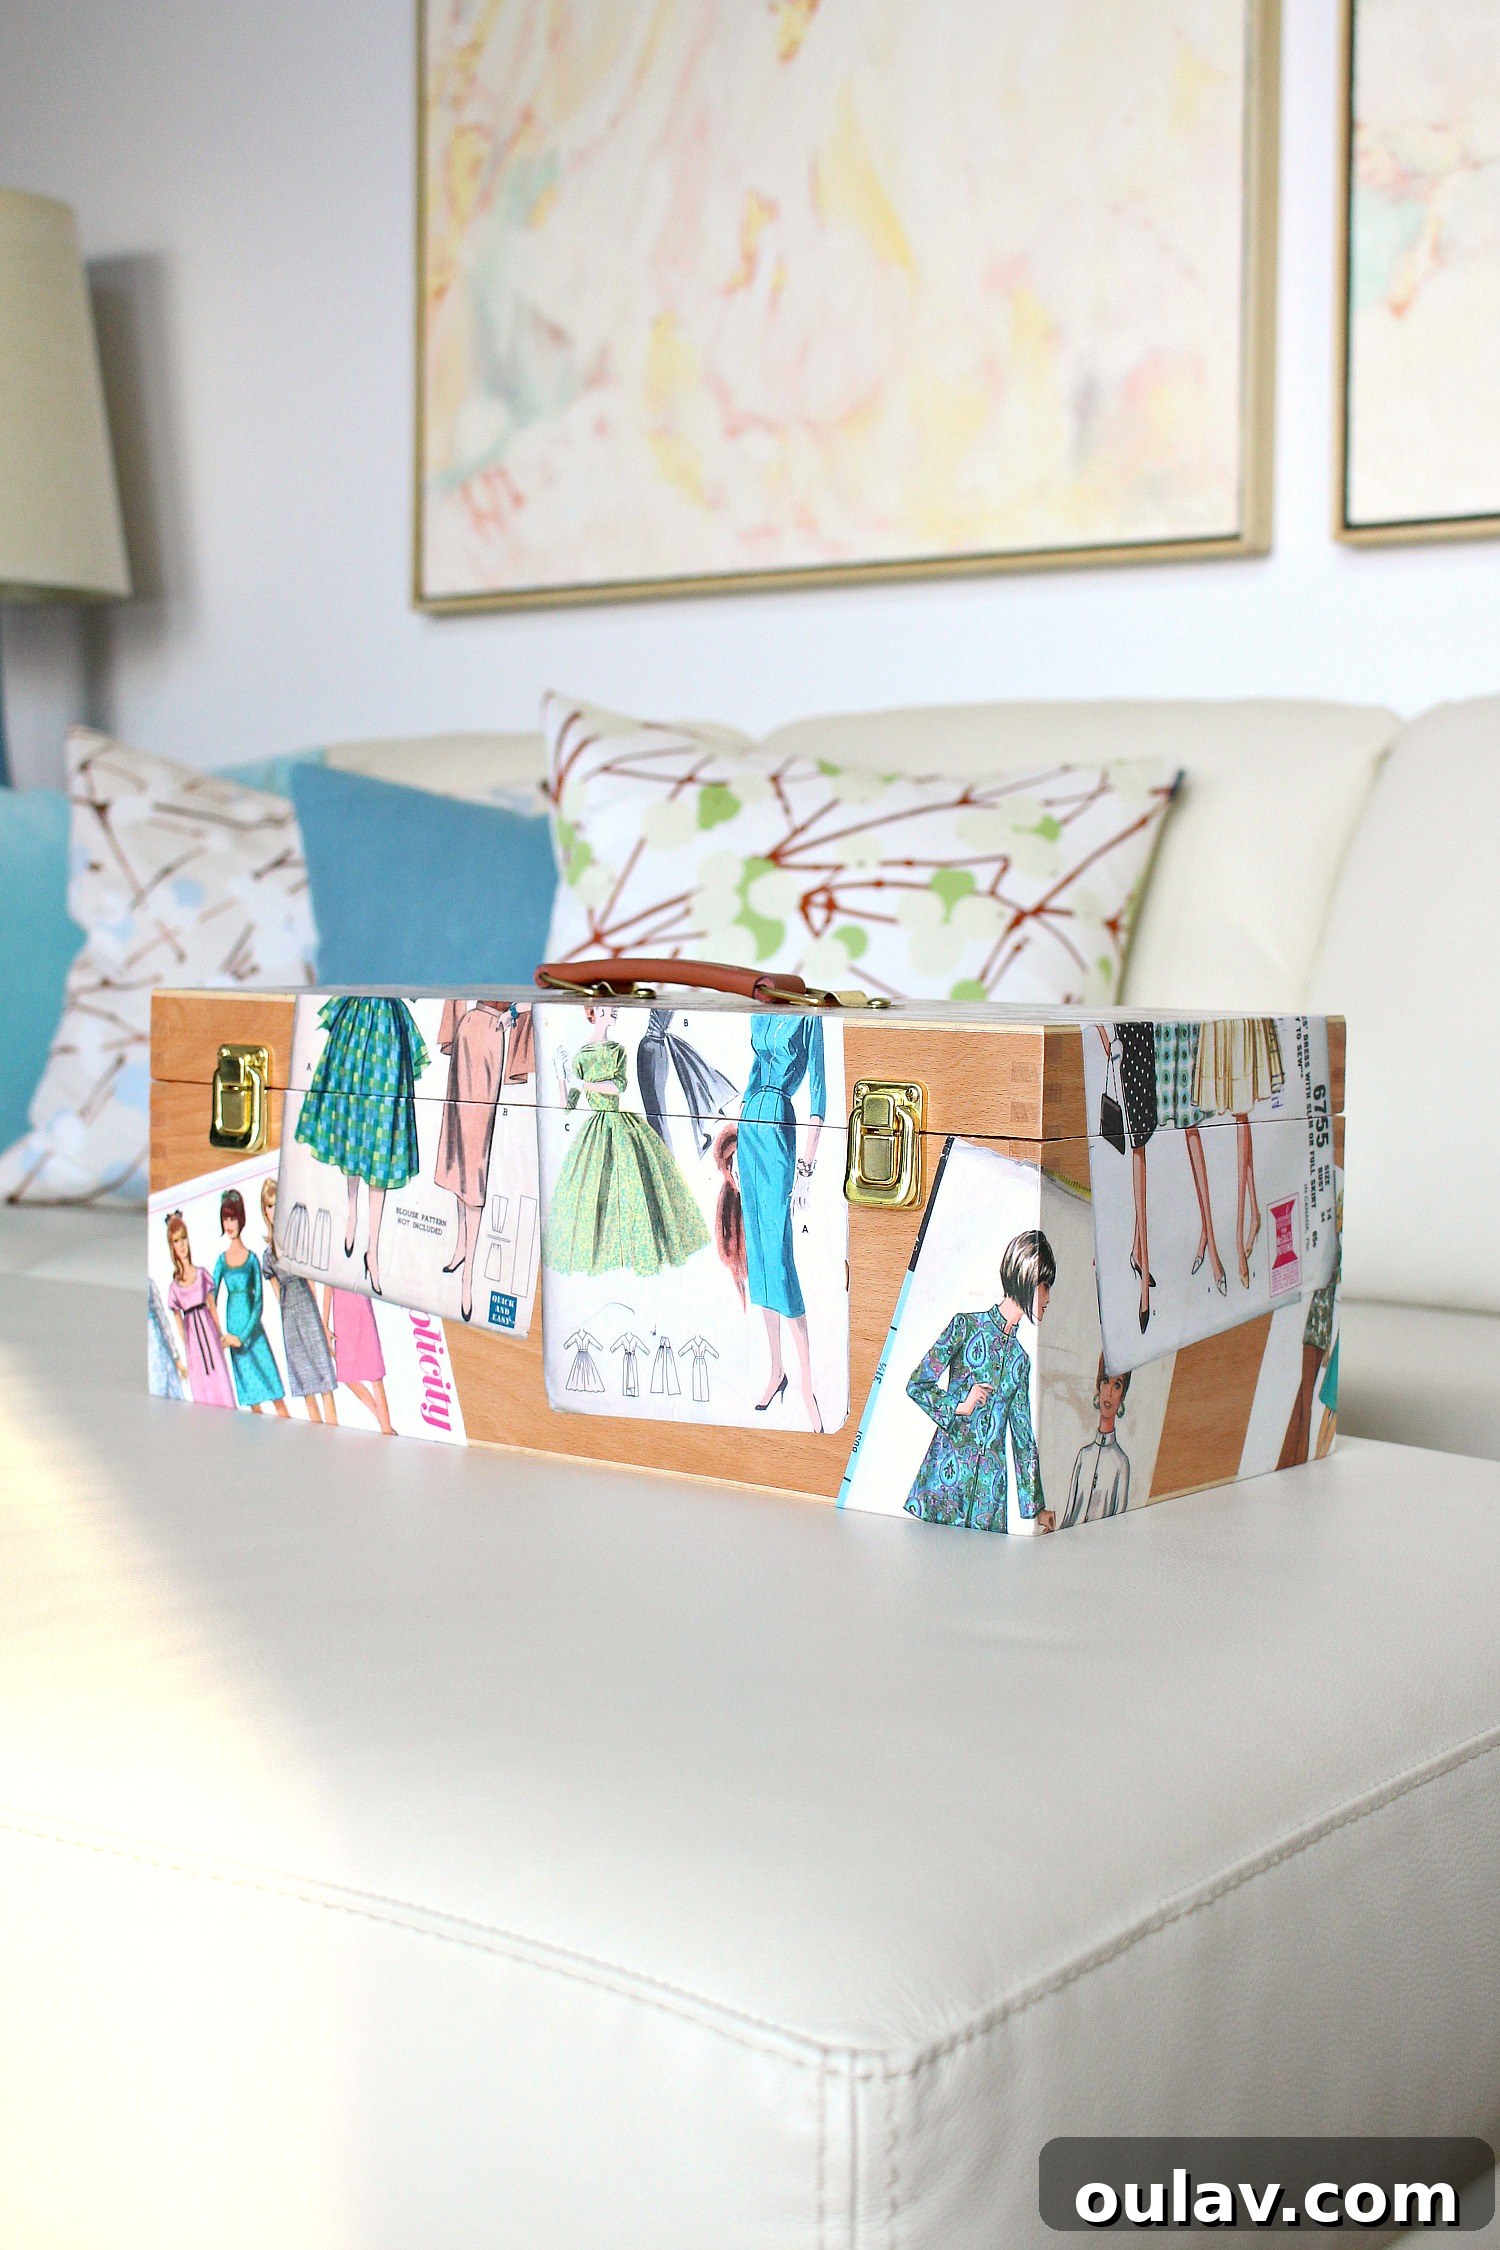
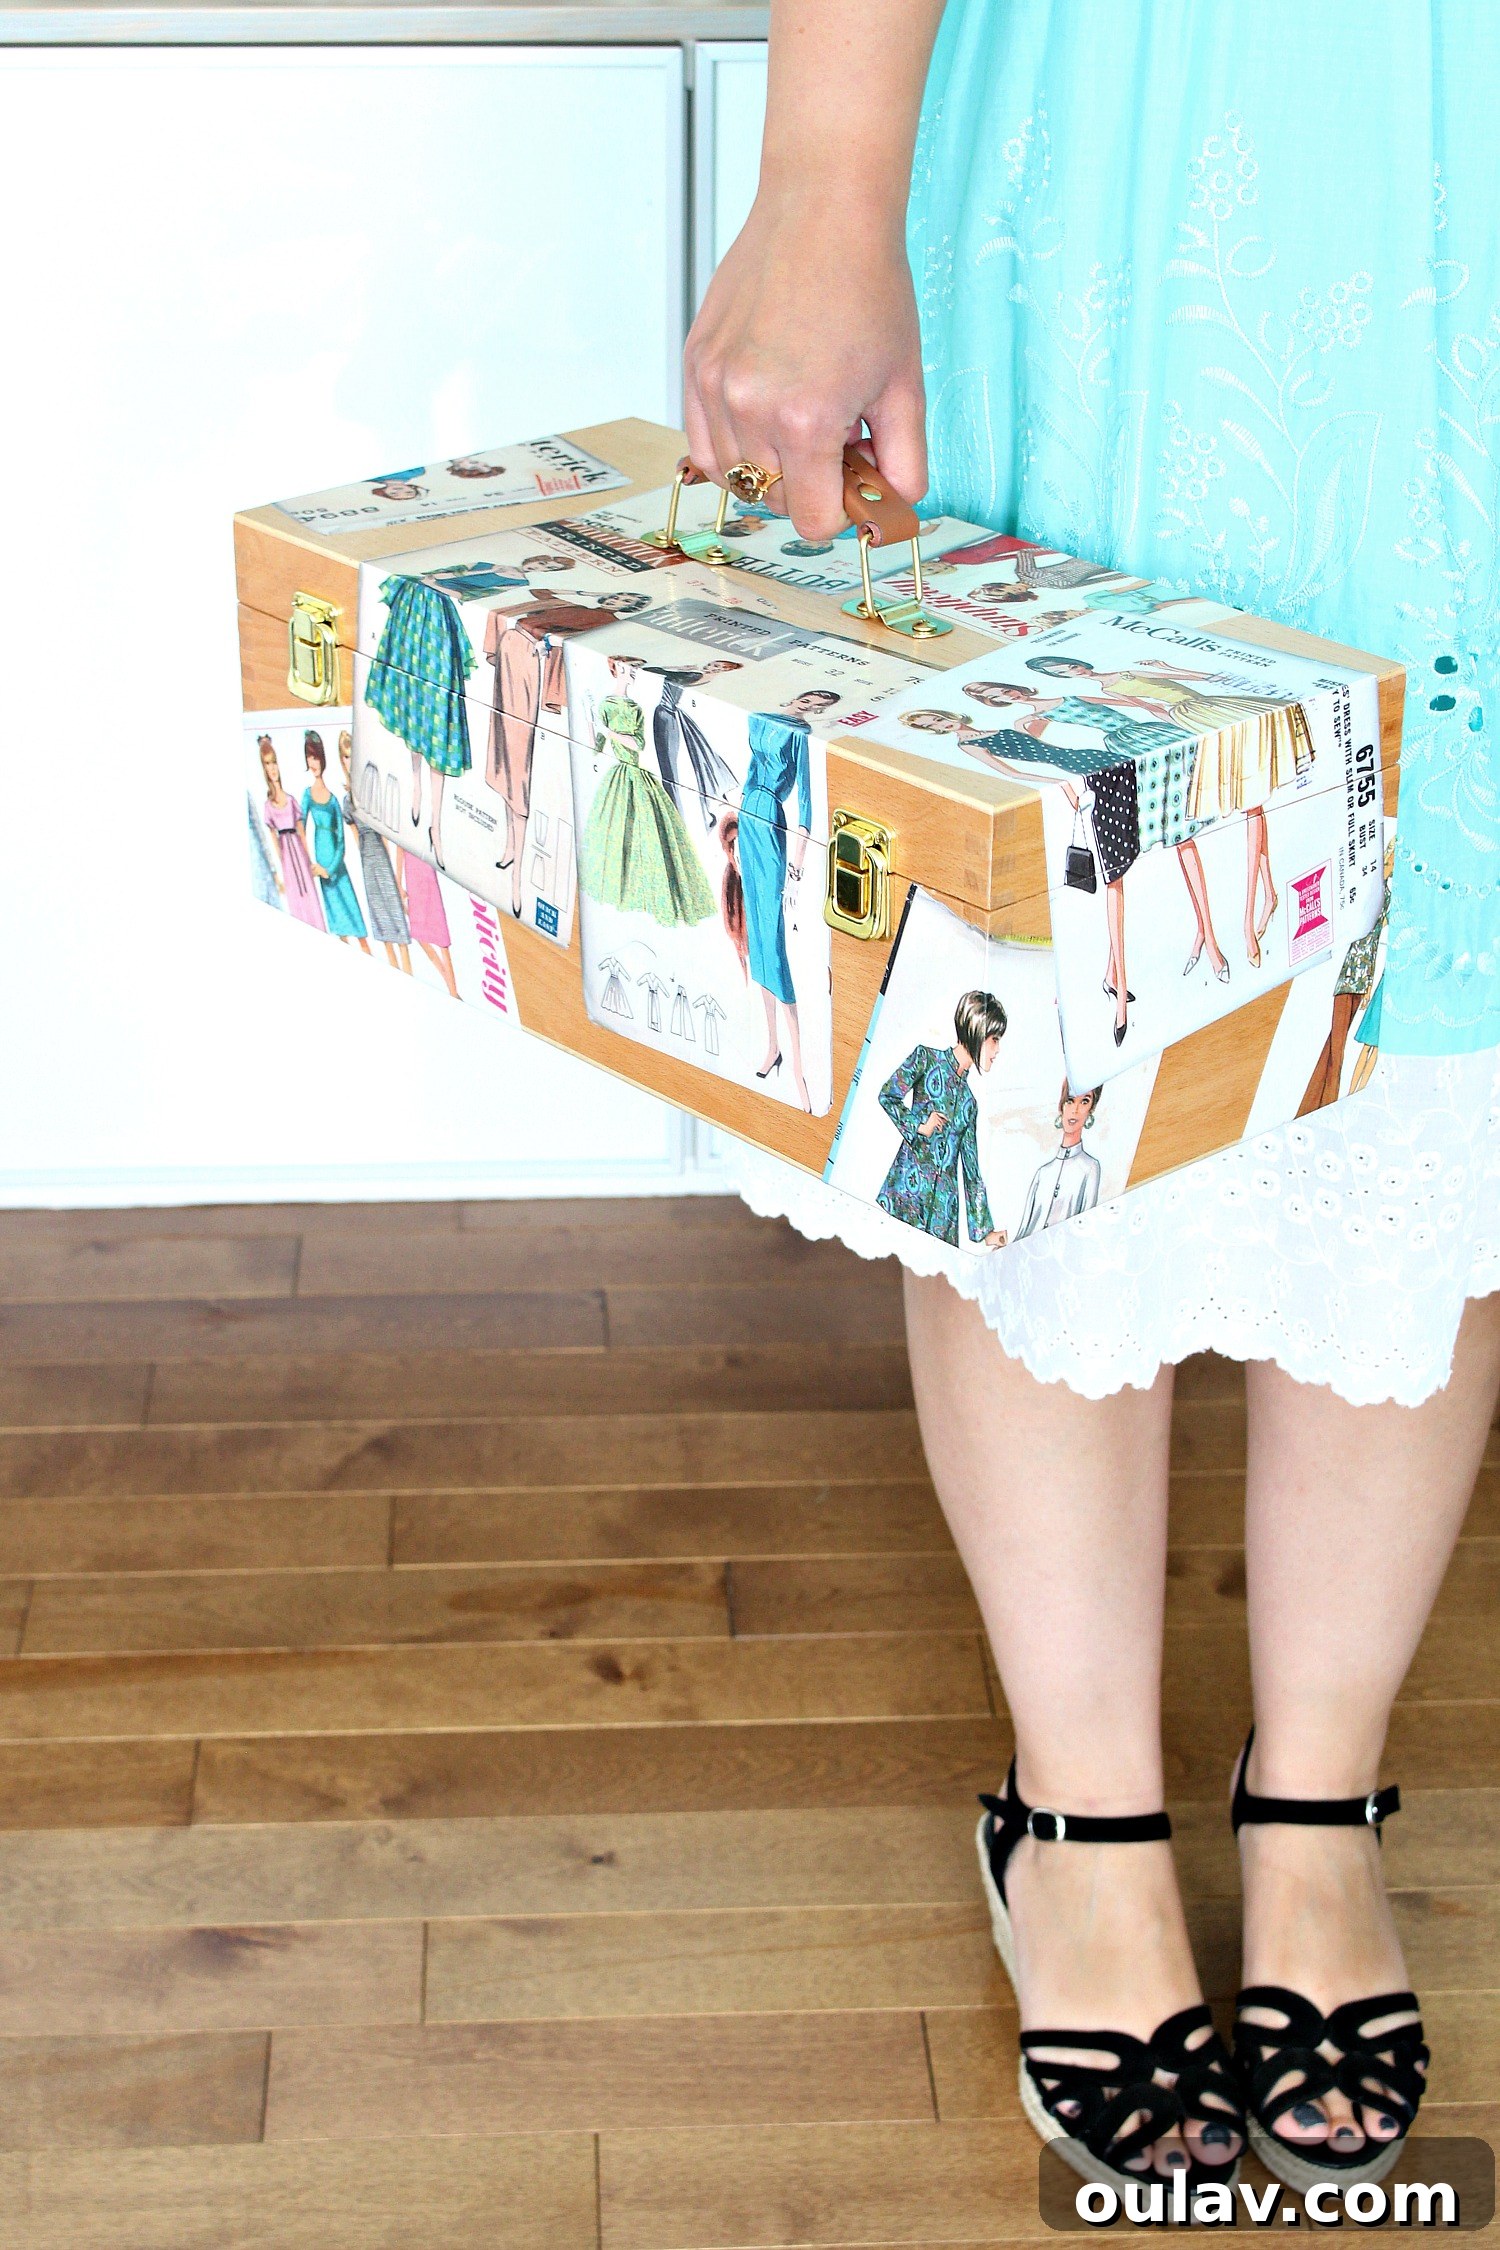
After the final Mod Podge coat has thoroughly dried and cured (this can take up to 24 hours for full hardness), re-attach any hardware, such as the handle. And just like that, behold: the world’s cutest and most charming sewing box! It’s not just a storage solution; it’s a beautiful piece of art that reflects your personal style and creativity.
If you’ve been pondering what truly unique things to do with vintage patterns, considering decoupaging (photocopied!) patterns onto a storage box, a journal, a tray, or even a small piece of furniture is a fantastic idea. It’s a wonderful way to immortalize those exquisite illustrations and timeless chic vintage style, giving them a second life as cherished, functional decor. This project transforms a simple, often overlooked item into a conversation starter and a testament to the enduring beauty of vintage design.


Beyond the Sewing Box: More Vintage Pattern Decoupage Ideas
The beauty of decoupage with vintage patterns extends far beyond just sewing boxes. The same techniques can be applied to a myriad of other items, allowing you to infuse vintage charm throughout your home or create unique gifts. Consider decoupaging:
- Old furniture pieces: Give a dresser drawer front, a tabletop, or even an entire nightstand a stunning vintage makeover.
- Journals or notebooks: Personalize your stationery with beautiful pattern illustrations.
- Serving trays: Create elegant decorative trays that can also be used for entertaining.
- Picture frames: Frame cherished memories with a backdrop of classic style.
- Gift boxes: Elevate your gift-giving with custom-decorated boxes.
The possibilities are truly endless, limited only by your imagination and the availability of those wonderful vintage patterns. Each project not only adds a touch of bespoke beauty but also engages you in a rewarding creative process.
Conclusion: Embrace the Art of Upcycling with Vintage Flair
Even though it’s been several years since I wrapped up my PhD and bid farewell to the intense “back to school” rush, that ingrained desire for organization still resurfaces every September. There’s an immense sense of satisfaction that comes from having my sewing supplies neatly organized and beautifully housed. This decoupage sewing box project isn’t just about crafting; it’s about creating order, expressing creativity, and celebrating the timeless elegance of vintage design. It stands as a testament to the joy of upcycling and finding new purposes for overlooked treasures.
Now, with my sewing box complete and brimming with supplies, the next step is clear: to truly hunker down this winter and bring some of these incredible vintage patterns to life through actual sewing projects. If you’ve been on the fence about what to do with your collection of vintage patterns or simply craving a fulfilling DIY craft project, I wholeheartedly encourage you to try decoupage. It’s a simple yet profoundly satisfying way to infuse personality, history, and style into your everyday items. Happy crafting!
P.S. On the subject of what to do with vintage patterns, have you seen these vintage pattern notecards? They are absolutely charming and perfect for any sewing enthusiast!
