
Ultimate Guide: Repairing & Refinishing Laminate Countertops on a Budget
This is such a great tutorial for anyone looking for a really budget-friendly way to repair and refinish laminate counters.
Is your kitchen feeling dated due to worn, stained, or chipped laminate countertops? A complete countertop replacement can be a significant investment and a major undertaking. However, there’s a highly effective, budget-friendly alternative that can completely revitalize your kitchen’s look without breaking the bank. This comprehensive guide will walk you through the entire process of repairing existing damage and applying a fresh, durable finish to your laminate counters, specifically using the popular Rust-Oleum Countertop Transformations kit. Get ready to transform your kitchen into a space you’ll love, all on a DIY budget!
The Challenge: Revitalizing Worn-Out Laminate Counters
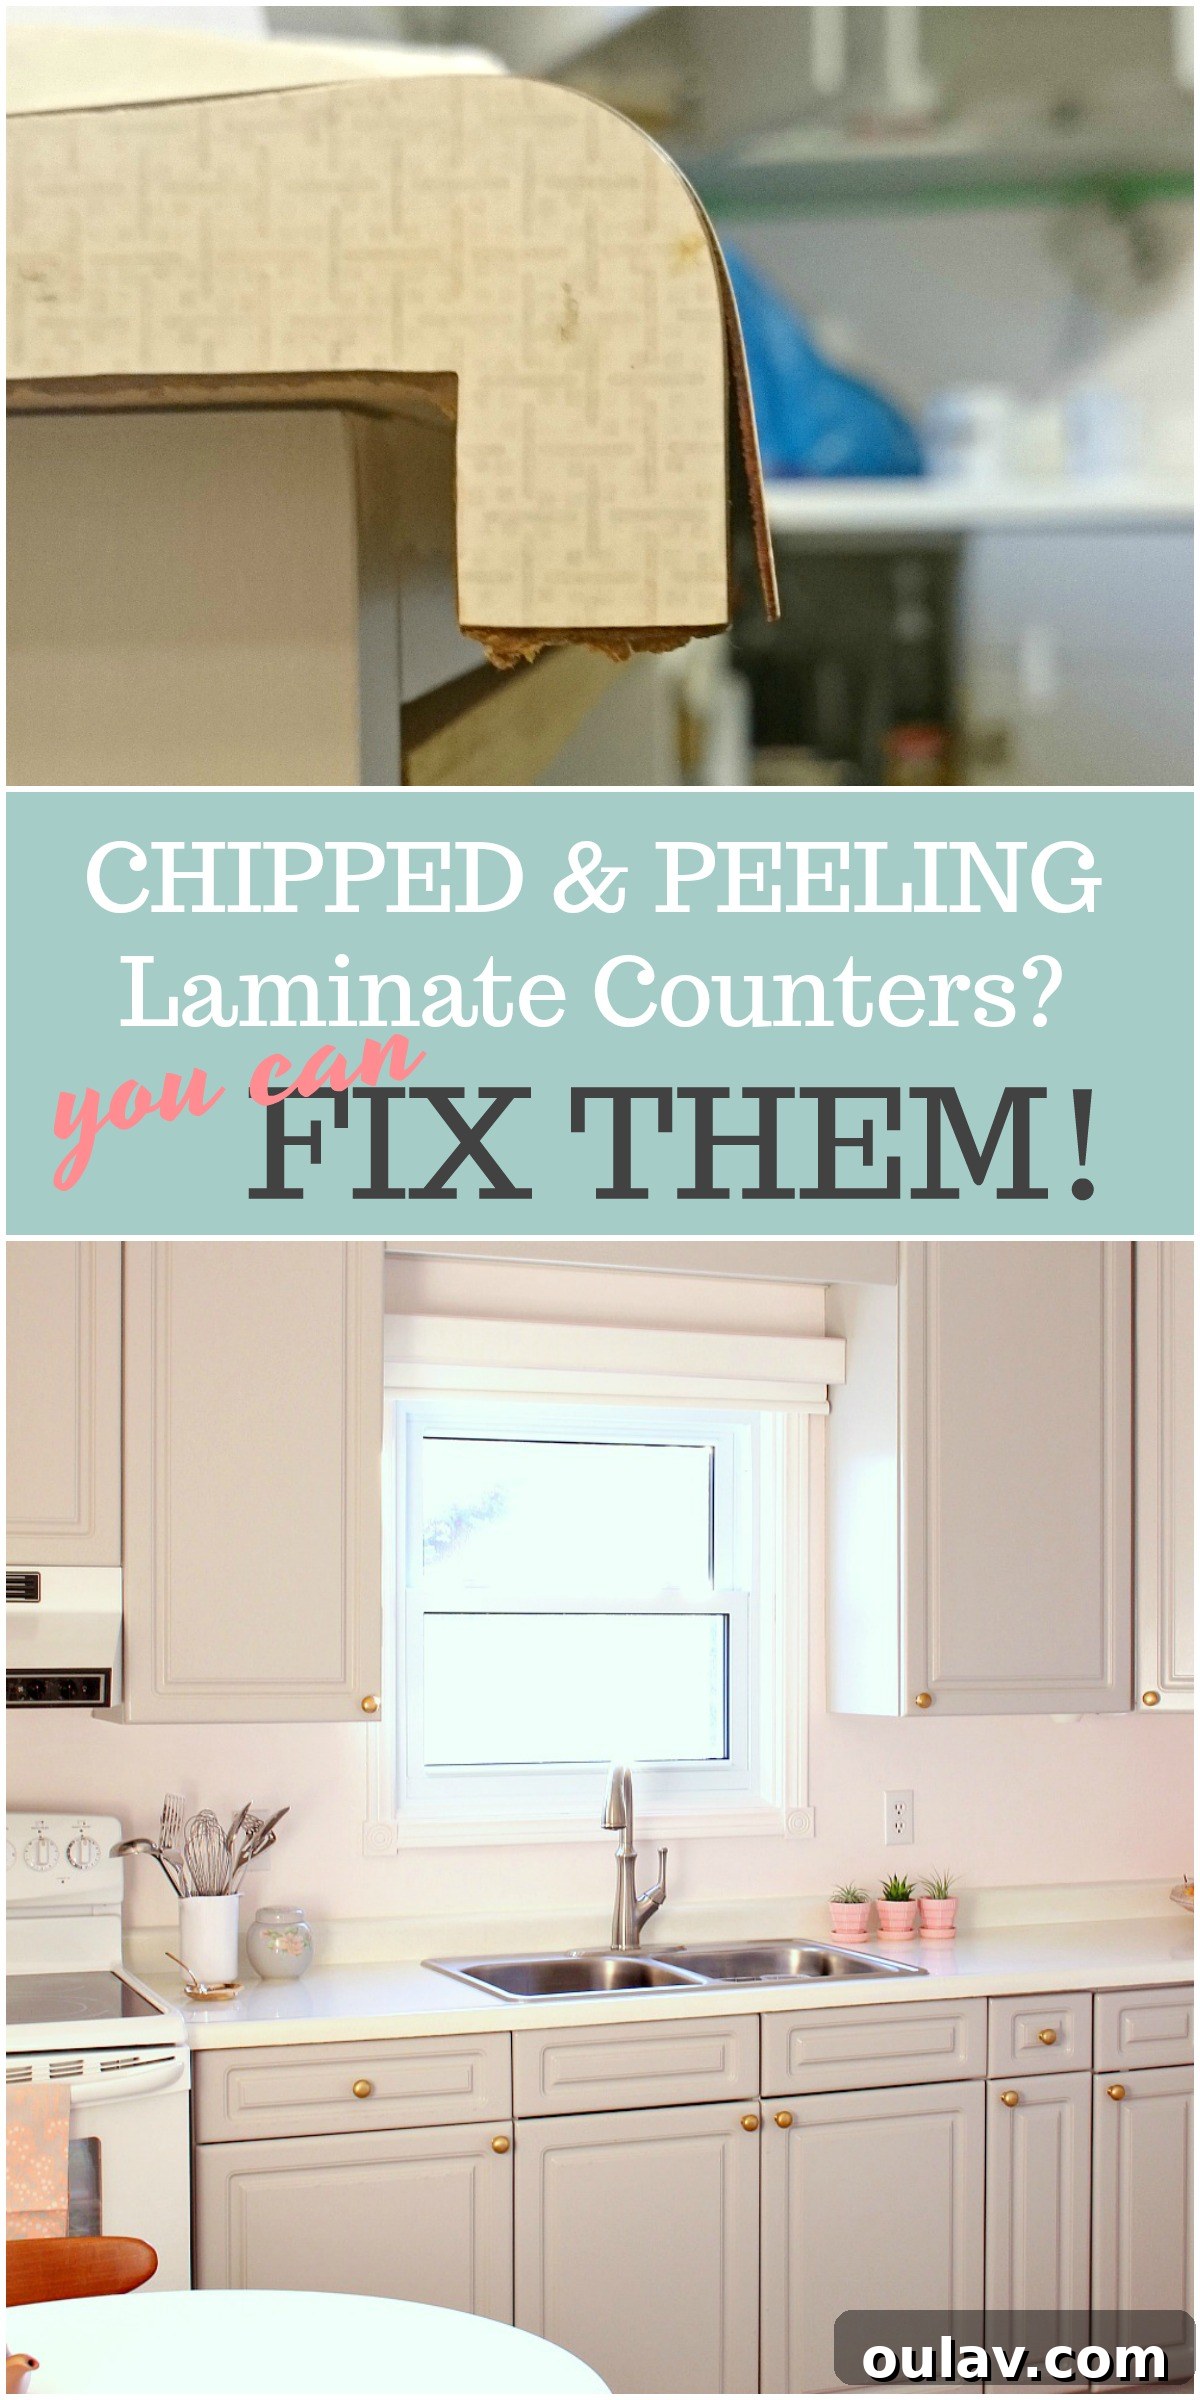
The inspiration for this project came from my Mom’s recent budget-friendly kitchen makeover. While her old countertops had a rather pretty and subtle design, their appearance in photos was deceiving. Up close, years of daily wear and tear had left them heavily stained, deeply scratched, and unfortunately, chipped in multiple places. Perhaps the most concerning issue was that the laminate itself was de-laminating and lifting from the underlying MDF (Medium-Density Fiberboard) substrate, signaling a critical need for intervention.

Given that this kitchen refresh was designed as a temporary solution before a potential larger renovation, replacing the entire countertop unit wasn’t a practical or financially viable option. Our goal was to achieve a significant aesthetic upgrade and improve durability without the high cost and labor of demolition and installation. We chose to use a Rust-Oleum Countertop Transformations kit to give them a brand new look. Rust-Oleum offers different types of kits to suit various styles, including the faux granite kit, the “Fleck” kit, and the “Mica” kit. We opted for the Mica in White, which produced a truly beautiful and elegant finish. Although the subtle sparkle of the mica can be challenging to capture in photographs, in real life, it remarkably brightened the space and maintained the kitchen’s light and airy ambiance, making a substantial difference.


Before we could apply the transformative coating, tackling the existing damage was paramount. It turns out that repairing and refinishing laminate counters, even heavily damaged ones, is a surprisingly achievable DIY project! Here’s a detailed breakdown of how my Mom and I addressed the peeling laminate, fixed the chips, and ultimately applied a fresh new coating for a dramatically improved appearance.
Part 1: Essential Repairs for Damaged Laminate Countertops
A successful refinishing job starts with a solid foundation. Neglecting necessary repairs can lead to an uneven finish and compromised durability. We focused on two common problems: delaminated edges and chips.
How to Repair Laminate That’s Lifting from the MDF
One of the most frequent problems with older laminate is when the surface layer begins to separate from the MDF core. This “lifting” or delamination often occurs near sinks or edges due to moisture exposure or general wear. Reattaching this laminate is a crucial first step.

Here’s the straightforward method we used to re-secure the peeling laminate:
- Apply Adhesive: We carefully squeezed some construction adhesive into the gap between the laminate and the MDF. It’s important to ensure good coverage without using so much that it oozes out excessively.
- Clamp in Place: Next, using a series of clamps, we pressed the laminate firmly back into position.
- Ensure Even Pressure: To prevent any indentations, warping, or uneven edges from the clamps, we placed paint stir sticks between the clamps and the counter surface. This distributed the pressure evenly along the entire edge, ensuring a smooth and flush reattachment.
- Allow to Dry: We let the adhesive cure completely according to the manufacturer’s instructions. We performed this repair early in the summer, and it has held strong ever since, proving its durability.


How to Repair Laminate Counter Chips
Chipped edges are another common aesthetic flaw that can make laminate counters look neglected. In my case, I must confess, I was partly to blame for some of the chips! When I still lived at home, the perfectly (or imperfectly) separating edge of the counter would sometimes catch on the back pocket of my jeans. As I moved, I’d inadvertently take a small piece of laminate with me. This may have happened more than once, as my rear end was, apparently, at the perfect height for this particular brand of destruction!

Fortunately, Mom, being incredibly organized, had kept some of the detached pieces. For these, we simply glued them back into place using the same construction adhesive. For chips where the original pieces were lost, like the one pictured below, we used an adhesive putty to rebuild the missing section.
Our process for repairing lost chips involved:
- Prepare the Putty: We used a two-part epoxy adhesive putty. Following the product instructions, we kneaded the epoxy components together until they were thoroughly mixed and activated.
- Apply and Shape: We then applied the putty directly to the missing area, pressing it firmly into the exposed MDF. The critical step here is to smooth and shape the putty as best as possible while it’s still moldable. Aim for a perfectly flat and flush surface.
- Crucial Tip: We learned the hard way that once this epoxy putty dries, it becomes incredibly, *really* hard. We thought we could easily sand out any bumps later, but achieving perfect flatness post-curing was very challenging. So, if you attempt this repair, invest the time to make it as perfect as possible when the putty is still soft and pliable.
- Sand (If Necessary): After the putty was completely dry, we lightly sanded it to further refine the shape, though as mentioned, getting it perfectly smooth was tough if not done during application.
While our repair wasn’t 100% perfect due to the hardness of the dried putty, it was a vast improvement over a gaping hole. The shimmering new counter coating did an excellent job of disguising the repair, making the overall finish look incredibly uniform and appealing.


Part 2: Refinishing Laminate Countertops with Rust-Oleum Countertop Transformations
With all the necessary repairs complete and the laminate securely in place, it was finally time for the exciting part: refinishing the laminate with the Rust-Oleum Countertop Transformations kit! This stage is where the magic truly happens, but careful preparation and strict adherence to instructions are vital for a professional-looking finish.

Step 1: Meticulous Preparation for Painting
As with any painting project, proper prep is the cornerstone of success. Here’s how we prepared the area:
- Sink Removal (Optional but Recommended): We decided to remove the sink because we were replacing it anyway. This made the countertop edge around the sink much easier to finish smoothly and resulted in a cleaner, more professional look. However, the kit can certainly be used with the sink in place; it simply requires more careful taping and precision around the edges.
- Protect Surrounding Areas: We covered all freshly refinished cabinets with plastic sheeting to protect them from drips and overspray. The wall behind the backsplash was meticulously taped off using painter’s tape to create clean lines.
- Thorough Cleaning: Before any sanding or application, the counters received a comprehensive scrub with soap and water. We diligently removed all grease, grime, and food particles, ensuring the surface was immaculately clean and completely dry before moving forward.

Step 2: Sanding for Optimal Adhesion
This is a critical, non-negotiable step that ensures the new finish adheres properly to the old laminate. Always follow the instructions provided with your Rust-Oleum kit; they even offer a very helpful instructional video.
- Aggressive Sanding: We used the diamond-embedded sanding block supplied in the kit to sand the entire counter surface. This process is designed to de-gloss and dull the laminate, creating thousands of microscopic scratches that provide a perfect anchor for the new coating. This was dusty and physically demanding work, making a dust mask and eye protection absolutely essential.
- Thorough Dust Removal: After sanding, we used a dust pan to remove the majority of the dust. This was followed by multiple passes with a damp cloth to wipe down the entire surface, ensuring every speck of dust residue was gone. Working as a team proved invaluable here, as two sets of eyes could meticulously check for cleanliness before proceeding to the next step.

Step 3: Applying the Base Coat
The base coat provides the foundational color and an even surface for the decorative mica layer. This process requires two coats.
- Teamwork Application: Mom and I worked as a synchronized team. I used a brush to carefully apply the base coat to the backsplash, as well as along the edges where the stove and fridge would sit, extending a few inches onto the main counter surface. Meanwhile, Mom used the small roller provided in the kit to apply the base coat evenly across the larger, flat areas of the counter.
- Second Coat: We applied the second base coat approximately two hours after the first, adhering strictly to the kit’s drying guidelines.
- Technique Challenges: Achieving an even, non-too-thick coat was initially a bit challenging. The kit’s instructions emphasized “re-rolling” to spread the product evenly, which felt a bit stressful compared to conventional painting. This base coat behaves differently than regular paint, but we eventually got the hang of it, ensuring a smooth and consistent layer.

Here’s a shot taken immediately after the second base coat application (please excuse the dim lighting; we were working late into the night, as I’ve admitted in another blog post about becoming a morning person – the irony is not lost on me!):

Step 4: Applying the Shimmering Mica Top Coat
After allowing the base coat to dry for a full 12 hours (we left it overnight), it was time for the final, show-stopping layer: the mica top coat. This coat must be applied within 24 hours of the base coat for optimal adhesion and finish. This clear, sparkly top coat truly brings the “transformation” to life, adding a beautiful shimmer! In fact, the dazzling effect of this product was so inspiring that it prompted me to consider adding glitter to my painted vinyl floor later on.

Our process for applying the mica top coat was as follows:
- Clean and Re-Tape: First, we carefully removed the painter’s tape used for the base coat. We then wiped the base-coated counter with a damp cloth to ensure there was no lingering dust, let it dry completely, and reapplied fresh painter’s tape along the walls.
- Mix the Top Coat: The mica top coat is a two-part epoxy system that requires thorough mixing. We stirred the components together for a full two minutes to ensure they were fully integrated and the mica flakes were evenly dispersed. Once mixed, we had a working window of four hours to apply the product before it began to cure and become unusable. While it doesn’t take four hours to apply, it’s essential to stay within this timeframe.
- Apply with Care: Once again, I brushed the mica top coat onto the backsplash and along the edges, paying close attention to spreading the mica flakes evenly and preventing any clumping. Mom then rolled the top coat onto the main counter surface. This stage presented a challenge: the clear coat had a tendency to pool slightly in any areas where the old counter wasn’t perfectly level. We meticulously fussed with it, re-rolling and spreading the product until we achieved a smooth, uniform, and beautifully shimmering finish.

You might notice a substantial gap between the counter and the wall in some of the in-progress photos. Don’t worry, you didn’t see it in the final reveal, right? That’s because I employed some truly mad caulking skills to seamlessly bridge that gap in the finishing stages!
The Grand Reveal: Our Transformed Countertops and Key Learnings
The entire repair and refinishing project spanned a full, dedicated weekend of work. But once it was all done, both Mom and I were absolutely thrilled with the results! My Dad was perhaps a little less thrilled, primarily because they had to wait two days before resuming light kitchen use, and a whole week before the kitchen could be used normally (the horror! how would he make his COFFEE?!). However, for my Mom, the wait was undeniably worth every moment; she’s utterly smitten with her “new” counters.

Important Considerations and Lessons Learned
While the transformation was largely a resounding success, there were a couple of important observations and lessons learned that are worth sharing:
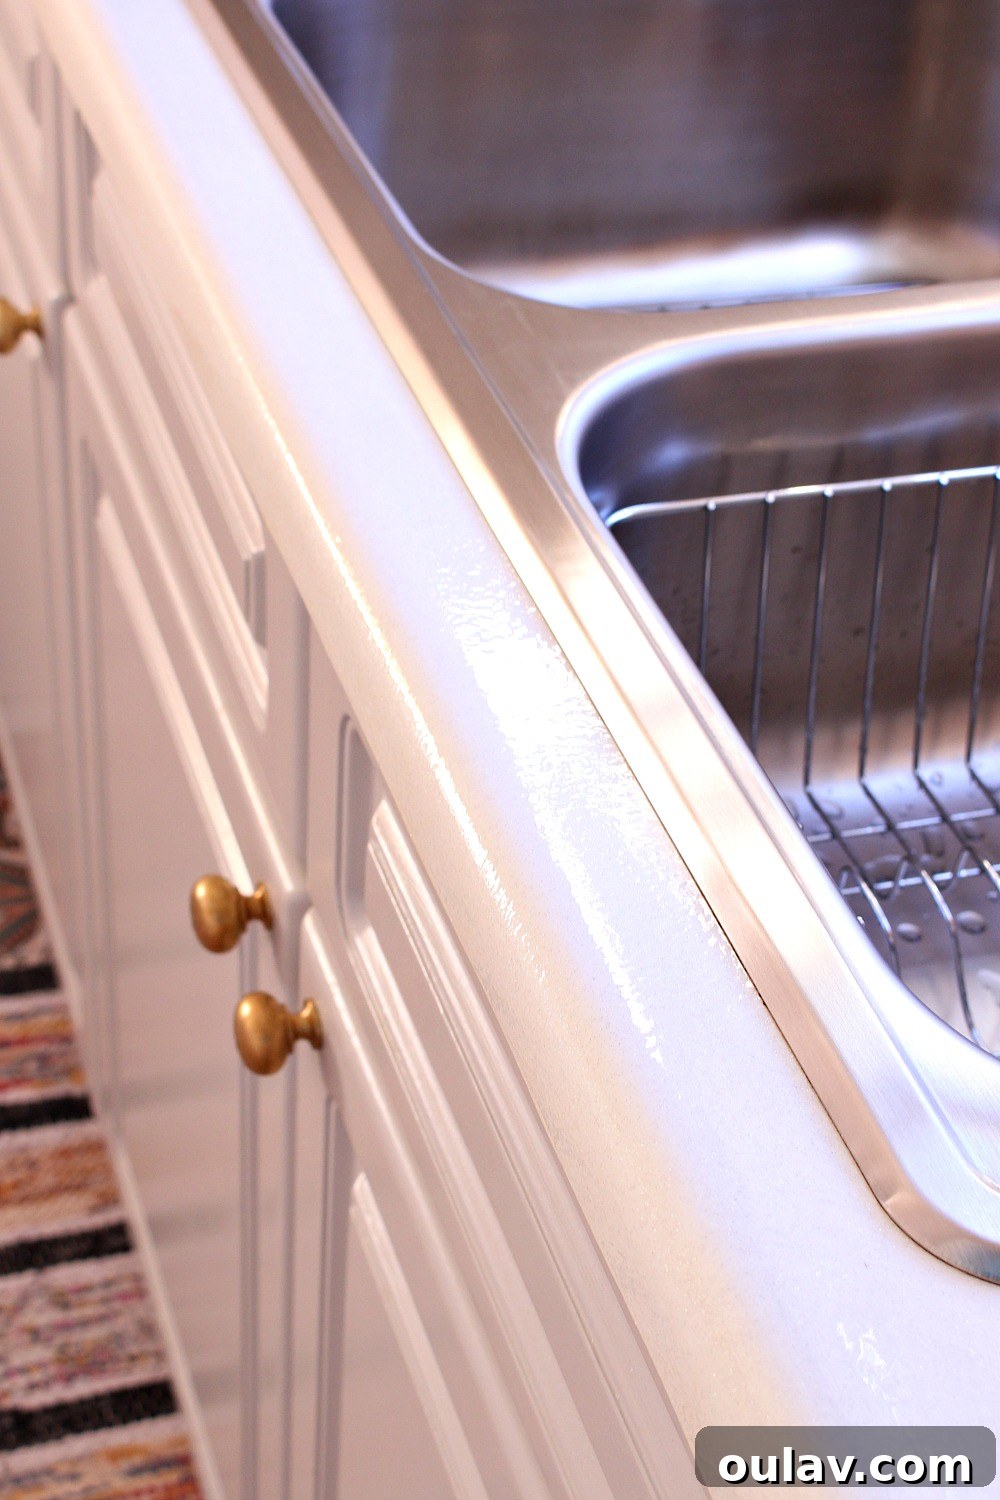
- Color Variation: We had initially hoped for a stark, pure white finish with the Mica White kit. However, the clear top coat, once applied and cured, imparted a slight yellowing effect to the base color. This resulted in a lovely creamy white rather than the crisp, stark white we envisioned. For a brief moment, we wondered if choosing a black kit might have been more “foolproof” for color consistency. Ultimately, once the entire kitchen makeover was complete and the counter was subtly styled (I’m still working on weaning my Mom off kitchen clutter!), the creamy white proved to be a perfect complement. It looked absolutely gorgeous against the blush pink walls, creating a harmonious and sophisticated aesthetic. So, if you’re tempted to try this kit in white, just be aware that the final shade will lean towards an off-white or creamy white.
- Durability: My Mom has reported a key difference in durability: the refinished surface is less tolerant to heat than the original laminate. You cannot place anything hot directly on it, not even a hot coffee pot, without the risk of damage. This means that trivets or hot pads are now a necessity for everyday kitchen tasks, which is a minor adjustment but an important one for long-term care.


The Allure of the Mica Finish
Capturing the true shimmer of the mica finish in photographs can be notoriously difficult, as the sparkle often blurs when intense light hits it. However, in person, these counters are truly spectacular! When bathed in sunlight or illuminated by under-cabinet lighting, the mica sparkles brilliantly, creating a dynamic and luxurious effect. You absolutely have to appreciate a bit of sparkle to fully love this finish (which we certainly do!).

Even when direct sunlight or cabinet lighting isn’t shining on it, the counter maintains a stunning, glossy appearance – no, not just glossy, but truly *gleaming*:

Notice how the charming pink McCoy pots are actually reflecting in the surface! This exceptionally glossy finish is particularly beneficial for smaller kitchens, as it effectively bounces light around the room, making the space feel more open, brighter, and larger than it is.


Final Verdict: Would We Recommend the Rust-Oleum Countertop Transformations Kit?
Our answer is a resounding yes, definitely – but with a crucial nuance: this kit is most highly recommended if your existing laminate countertops are genuinely in poor condition, looking “super sad,” or terribly worn out. For my Mom’s kitchen, with its heavily damaged and unsightly counters, the combination of our diligent repairs and the Rust-Oleum kit delivered a HUGE and undeniable improvement. The coating beautifully hid the numerous scratches and our previous repair work, instantly brightening and modernizing the entire room. The subtle gleam and mica sparkle provide a high-end look without the corresponding high-end price tag.
However, it’s important to approach this project with realistic expectations. In certain lighting conditions, the finished surface can have a subtle “painted” appearance, particularly because the original laminate seams are now completely concealed beneath the continuous coating. More importantly, as Mom discovered, the refinished surface is less tolerant to heat than traditional laminate. This means hot items, including a hot coffee pot, cannot be placed directly on the counter without risking damage. This necessitates the use of trivets or hot pads, making the surface slightly less durable in this specific aspect.
If your current laminate countertops are in excellent, pristine condition, we would generally advise against using this kit unless you find their existing appearance truly “hideous” and intolerable. If you’re currently on the fence, carefully consider the commitment involved; the base coat and top coat application require precision and patience, and the process is not entirely foolproof. The effort is significant, so only undertake this project if the aesthetic benefits and cost savings genuinely outweigh the investment of your time and the minor changes in surface durability.
But for those whose counters have undeniably “seen better days,” this kit offers extraordinary value. It’s a fantastic, affordable, and impactful way to achieve a significant kitchen refresh. Mom’s counters now look immeasurably better, and we would absolutely embark on this transformation again for a similar project!
If you’ve been inspired by this transformation, don’t miss the full reveal of my Mom’s complete budget-friendly grey, gold, and pink kitchen makeover for even more ideas and inspiration!
This post is a collaboration with Rust-Oleum, a long-time supporter of Dans le Lakehouse.