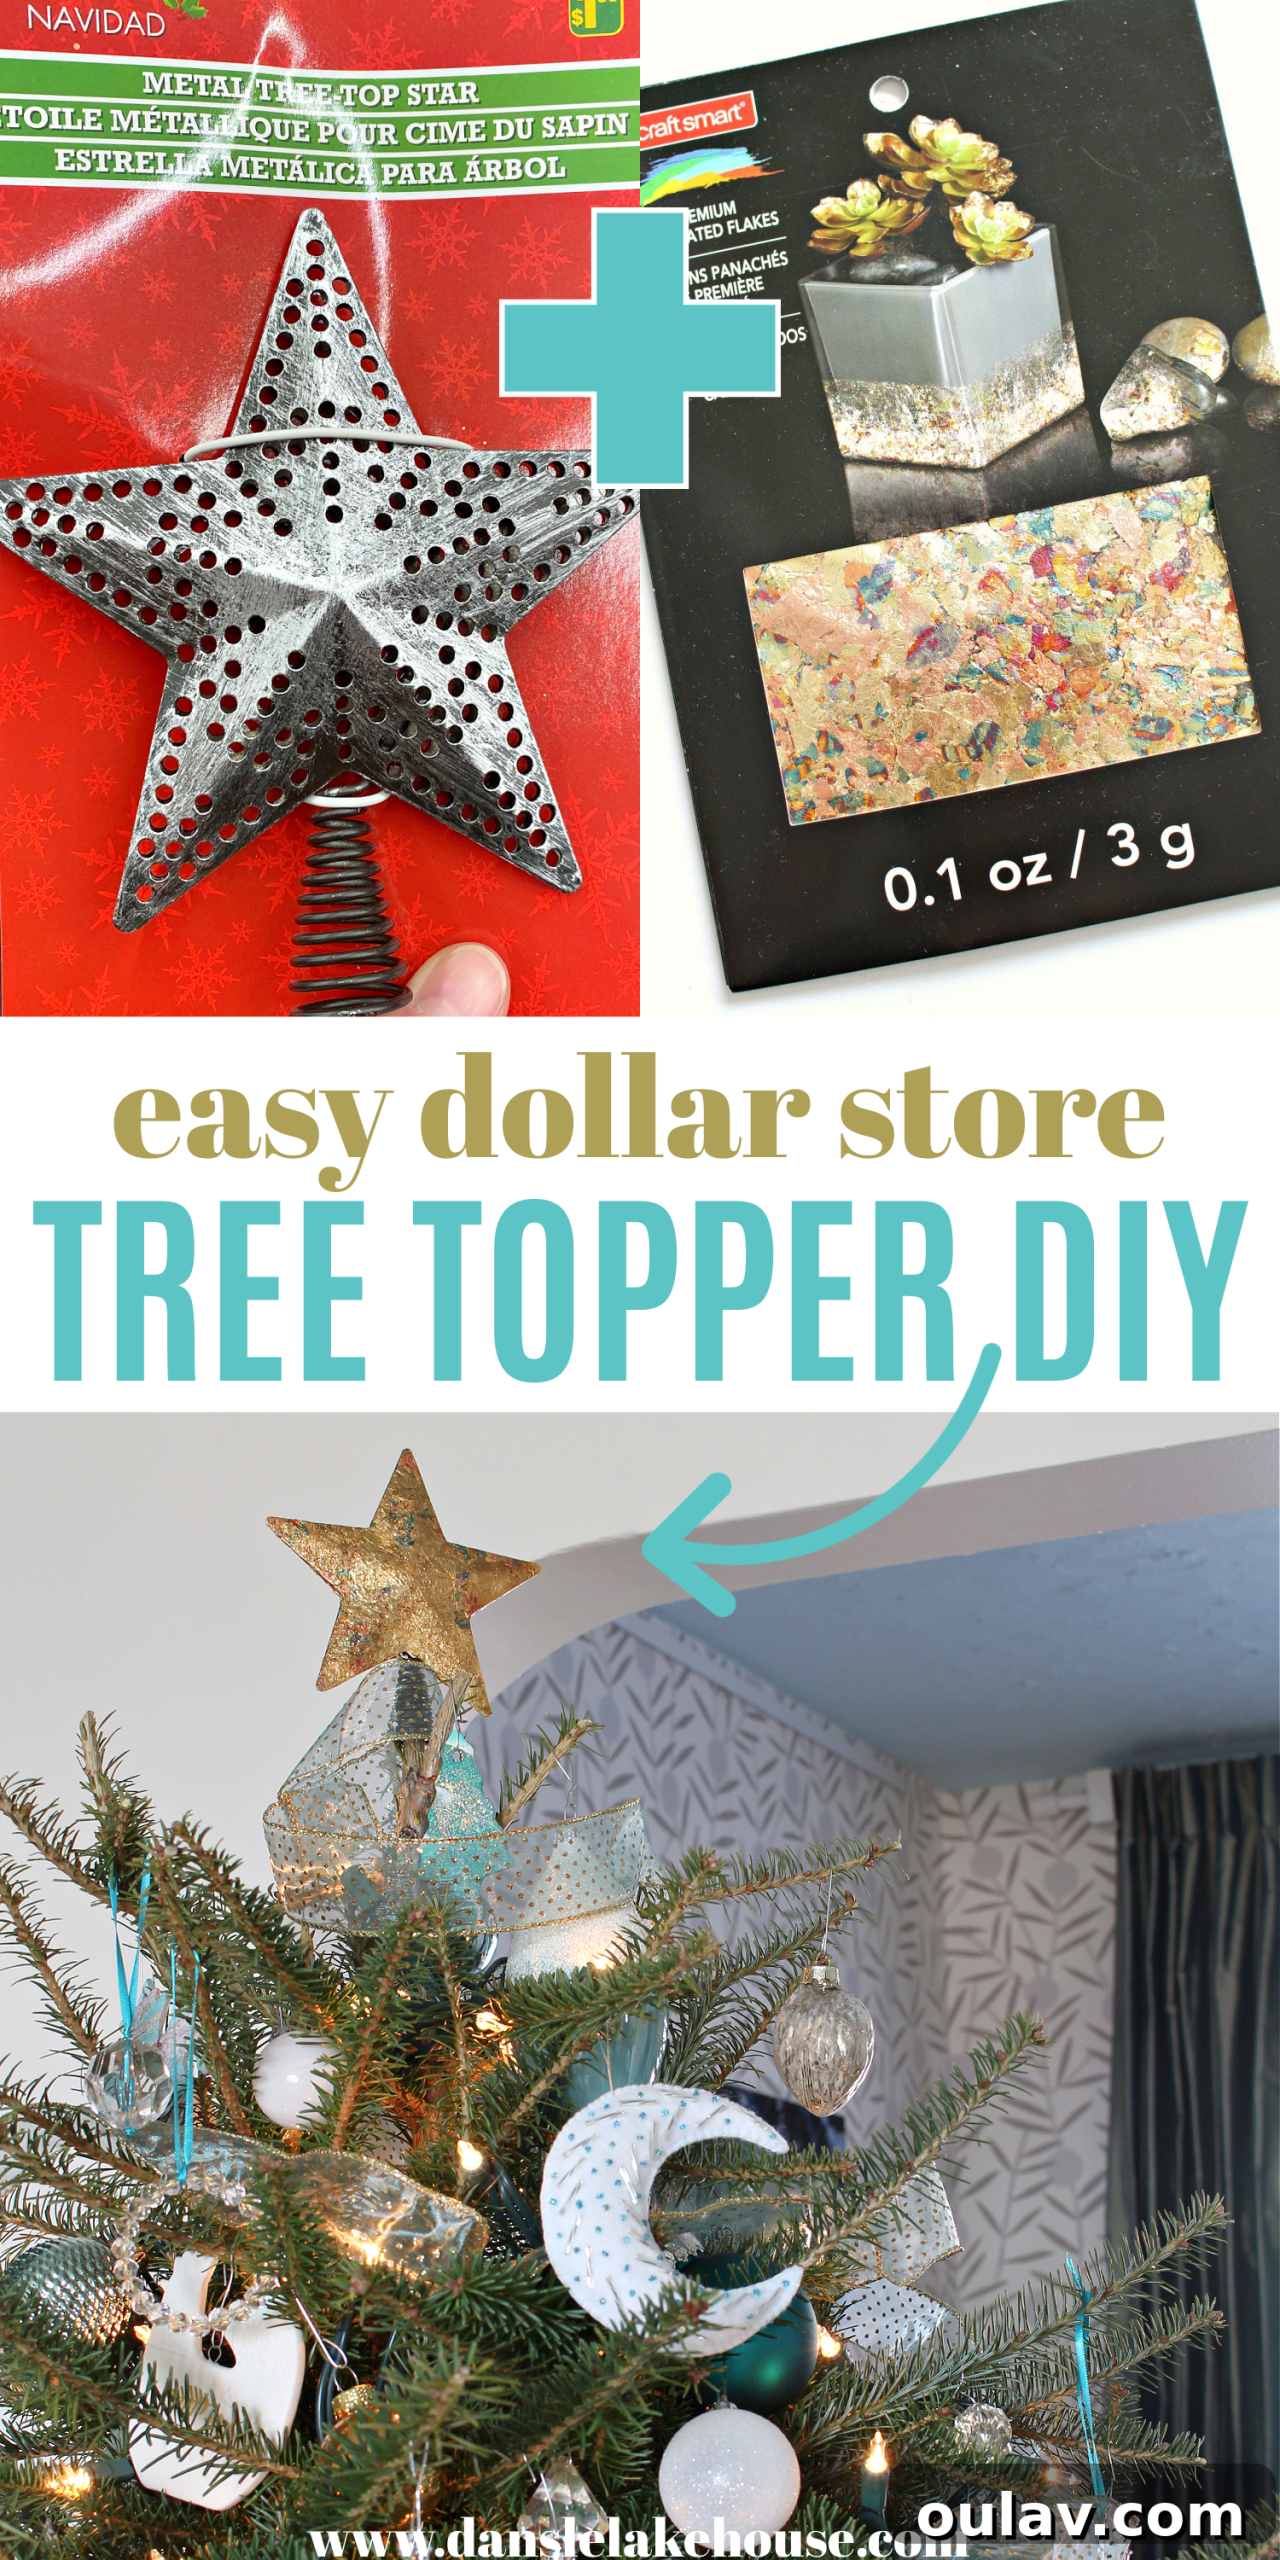
Welcome to a journey of transforming the ordinary into something truly extraordinary for your holiday decor! This project might seem deceptively simple, requiring minimal fuss, yet it delivers maximum impact. Today, we’re diving into an incredibly easy, budget-friendly DIY tree topper dollar store hack that promises to add a touch of bespoke elegance to your Christmas tree without breaking the bank or demanding expert crafting skills. If you’ve ever struggled to find that perfect, unique tree topper that speaks to your personal style, then you’re in for a treat. This guide will walk you through creating a stunning, high-end looking gold leaf star from a humble dollar store find, proving that creativity knows no budget.
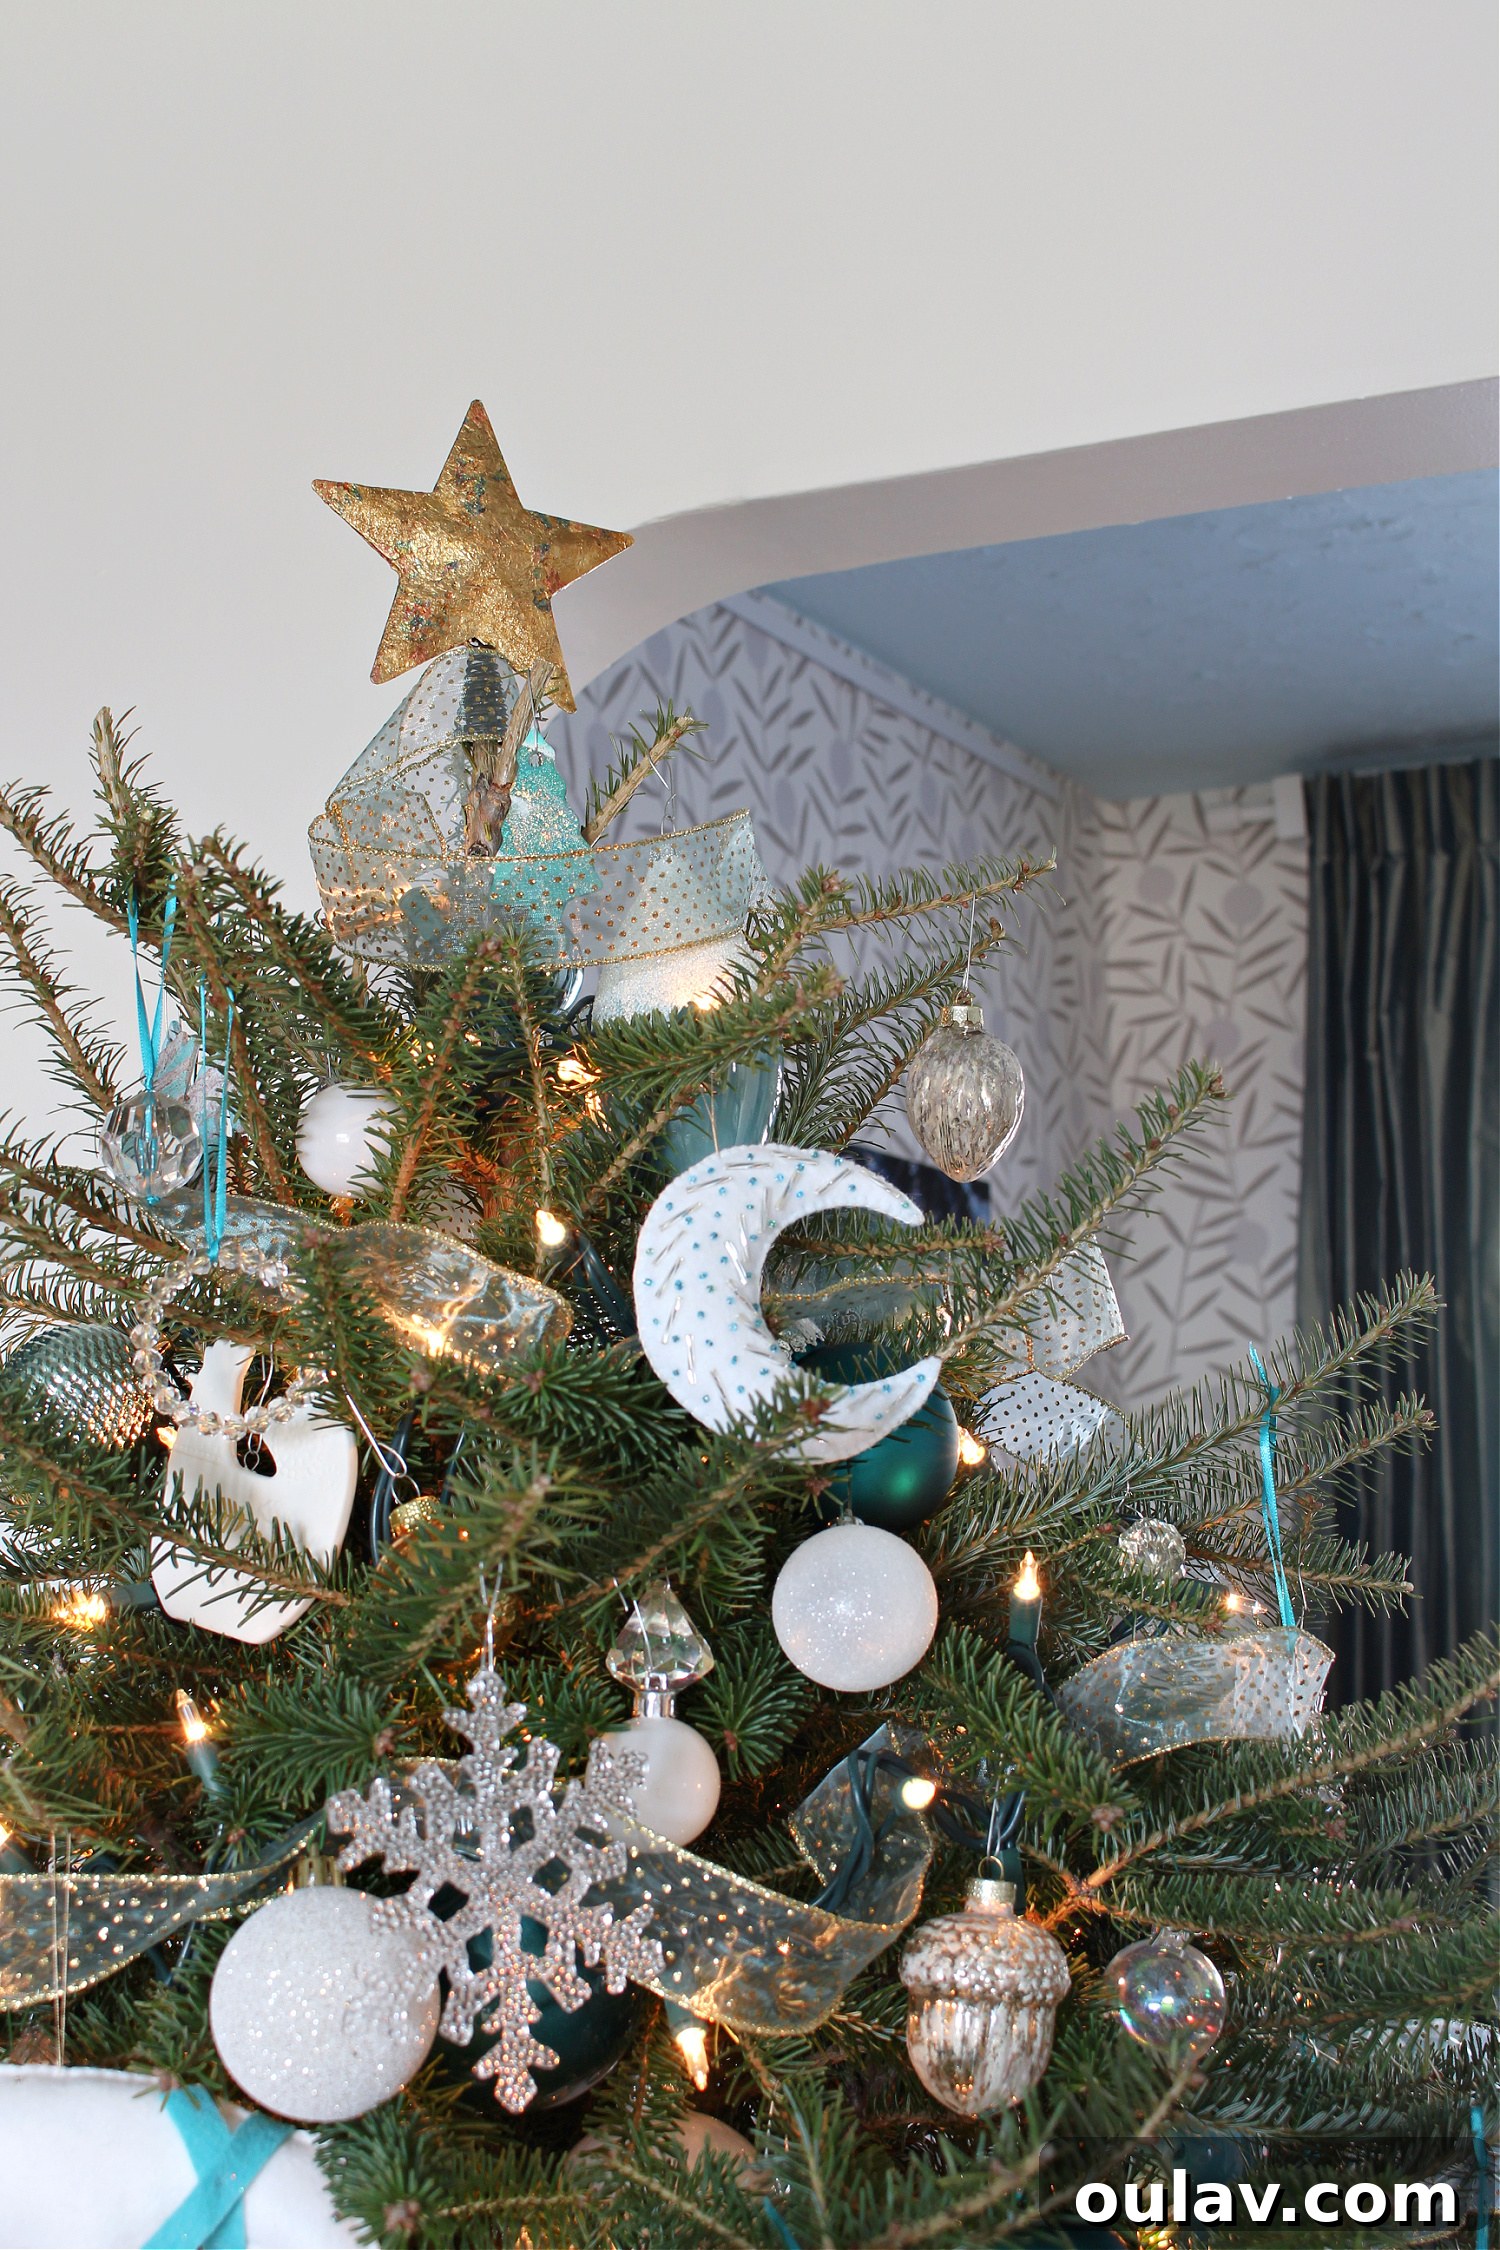
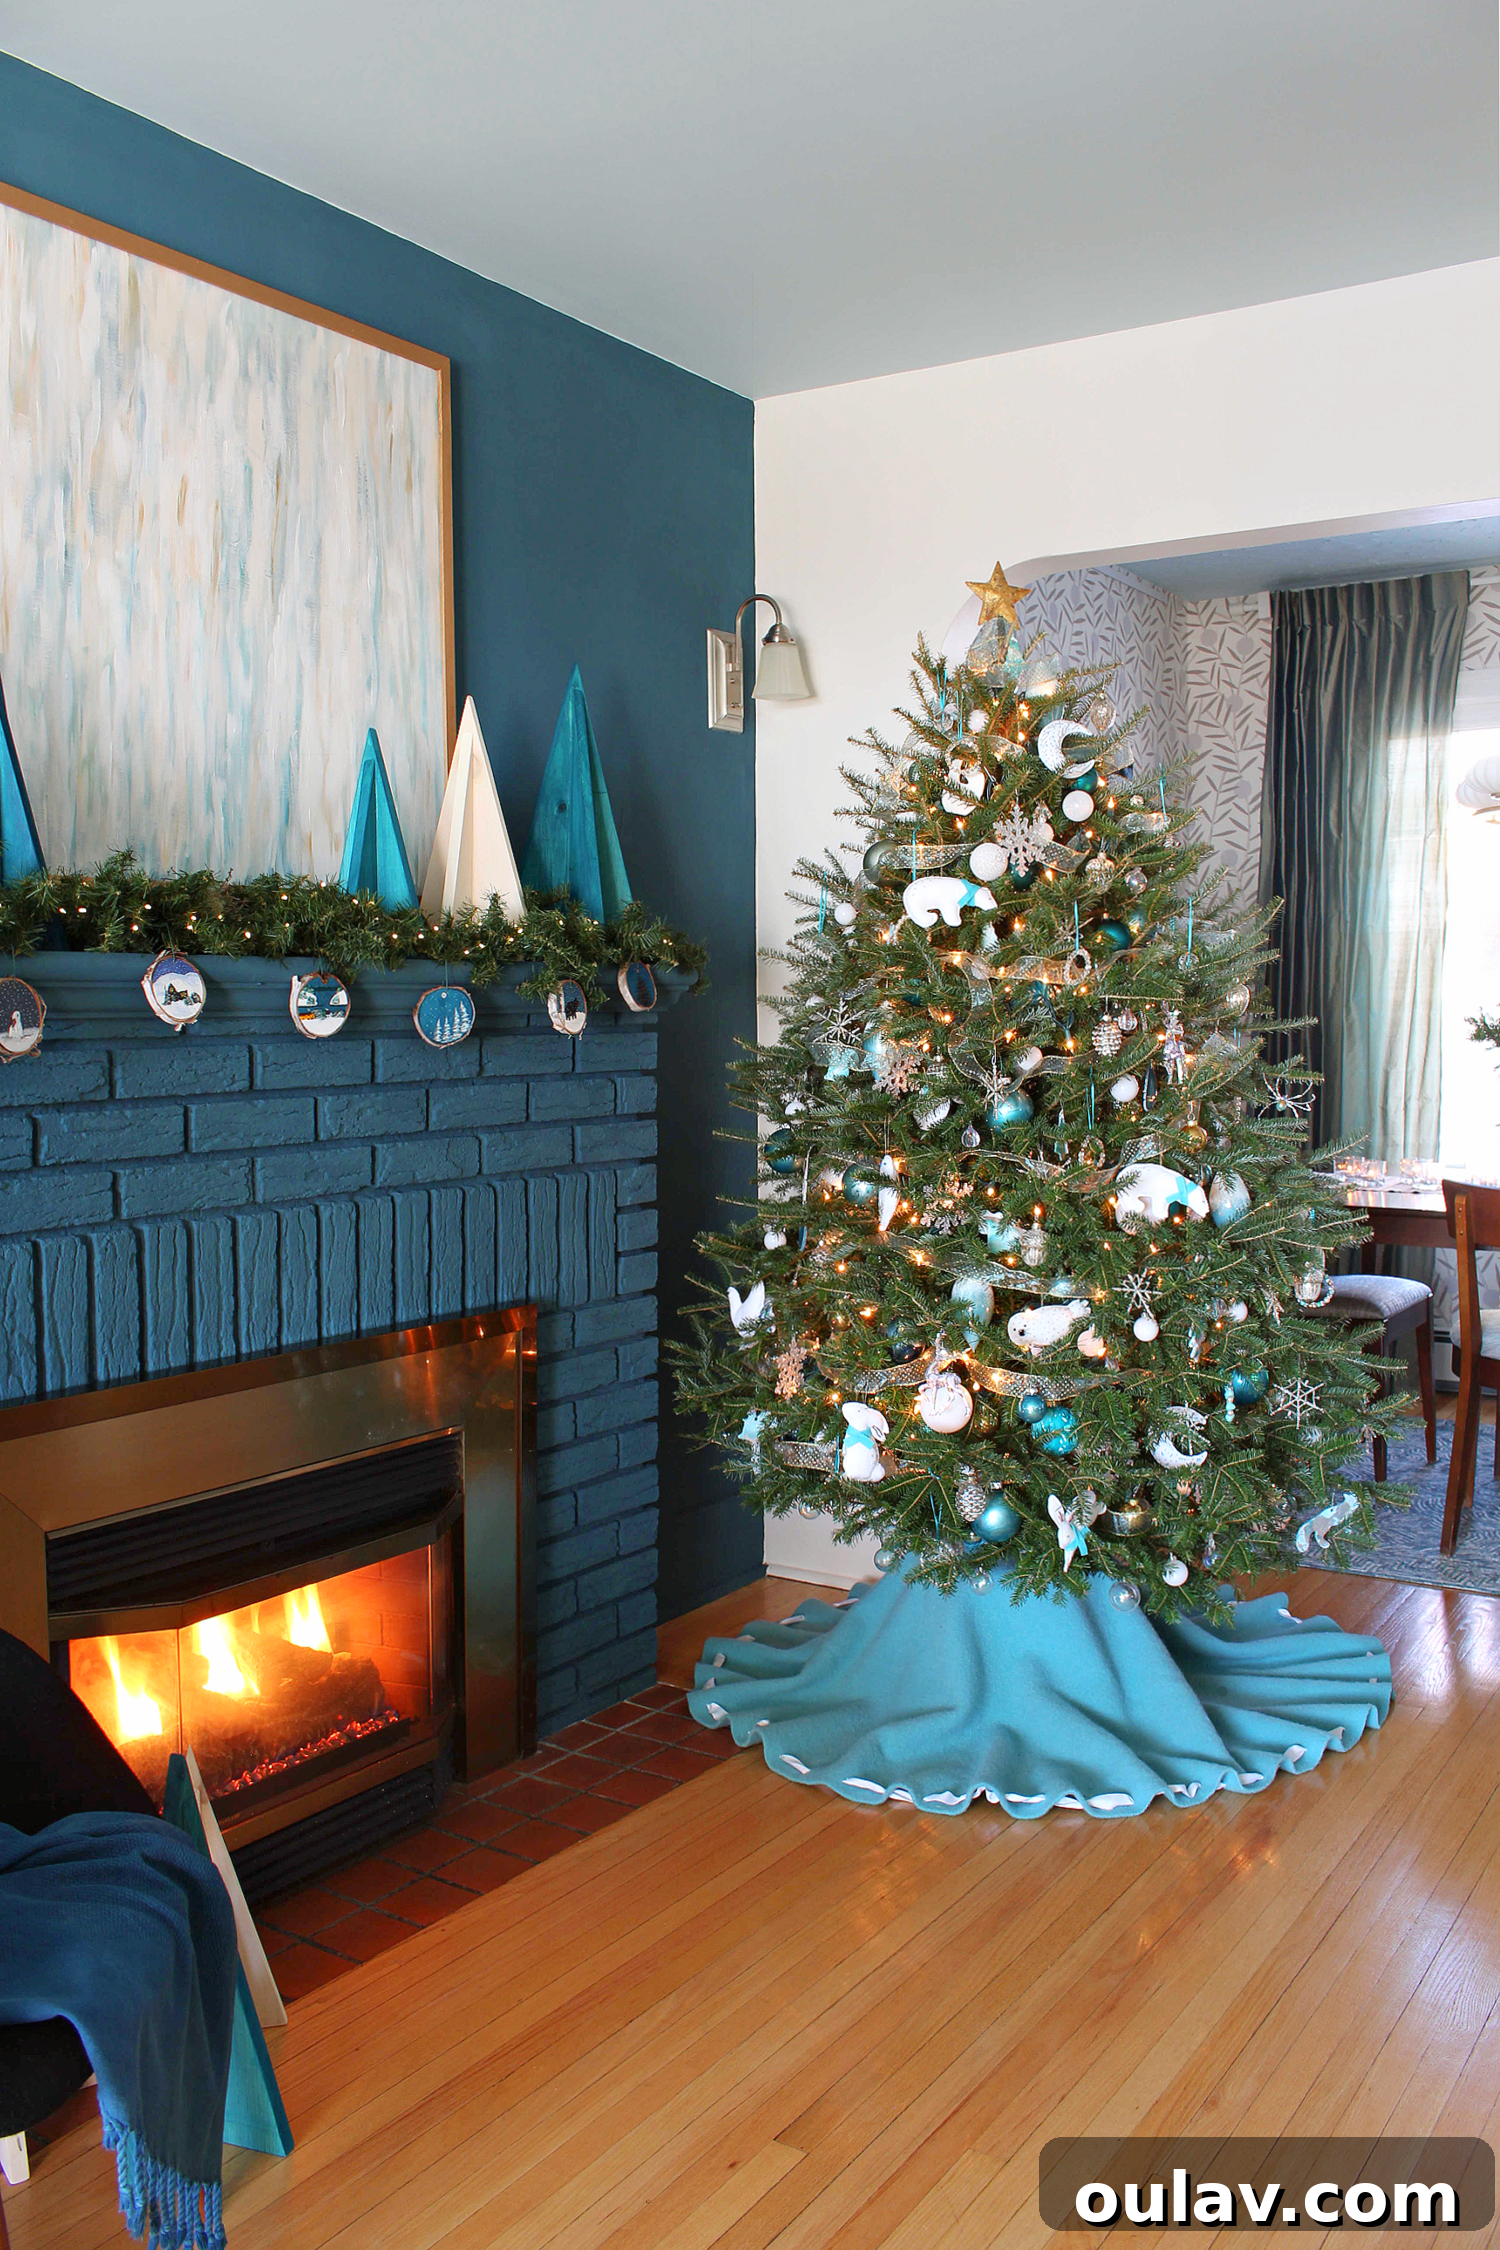
The inspiration for this project stemmed from a common holiday dilemma. Last year, while decorating my Mom’s Christmas tree – a beautiful teal and white theme inspired by the serene waters of Lake Superior – something felt undeniably missing. I turned to my wonderful audience on TikTok and Instagram, posing the question: “what was the tree I decorated for my Mom last year missing?” The answer was swift, unanimous, and echoed my own internal thought: a tree topper! It was indeed the crowning glory we overlooked, leaving the tree feeling a tad incomplete despite its other charming embellishments.
The quest for the perfect topper proved more challenging than anticipated. Locally, I couldn’t find anything that captured the desired aesthetic, and with the holidays fast approaching, I simply ran out of time to order a specific one online (though I must admit, I still adore this felt dove one). Faced with this predicament, I made a quick trip to Dollarama, hoping for a temporary solution. I found a cute little star, perfect in shape and size, but its finish was rather dull and uninspiring – certainly not the radiant focal point I envisioned. My initial plan was to elevate its look with a quick coat of spray paint or a luxurious application of Rub ‘n Buff, a product I’ve used with great success on other projects, like giving new life to these vintage pulls. However, winter arrived with a sudden chill, making outdoor spray painting impossible, and try as I might, my leftover Rub ‘n Buff had vanished into the abyss of my craft supplies.
Reluctant to purchase yet more craft materials when I knew I had a treasure trove tucked away somewhere, I launched into a determined search. Like a truffle pig on the hunt for a hidden delicacy, I rummaged through every drawer and box in my craft room. And then, success! I unearthed some very old but still perfectly usable Mod Podge, alongside a stash of gold flakes that had previously brought sparkle to my DIY polymer clay ornaments and added a festive glimmer to my DIY gold leaf coasters. A brilliant idea sparked: why not combine these readily available materials to transform the plain star into a radiant gold leaf tree topper? This discovery not only solved my problem but also ensured zero additional spending – a true testament to the power of using what you already have!
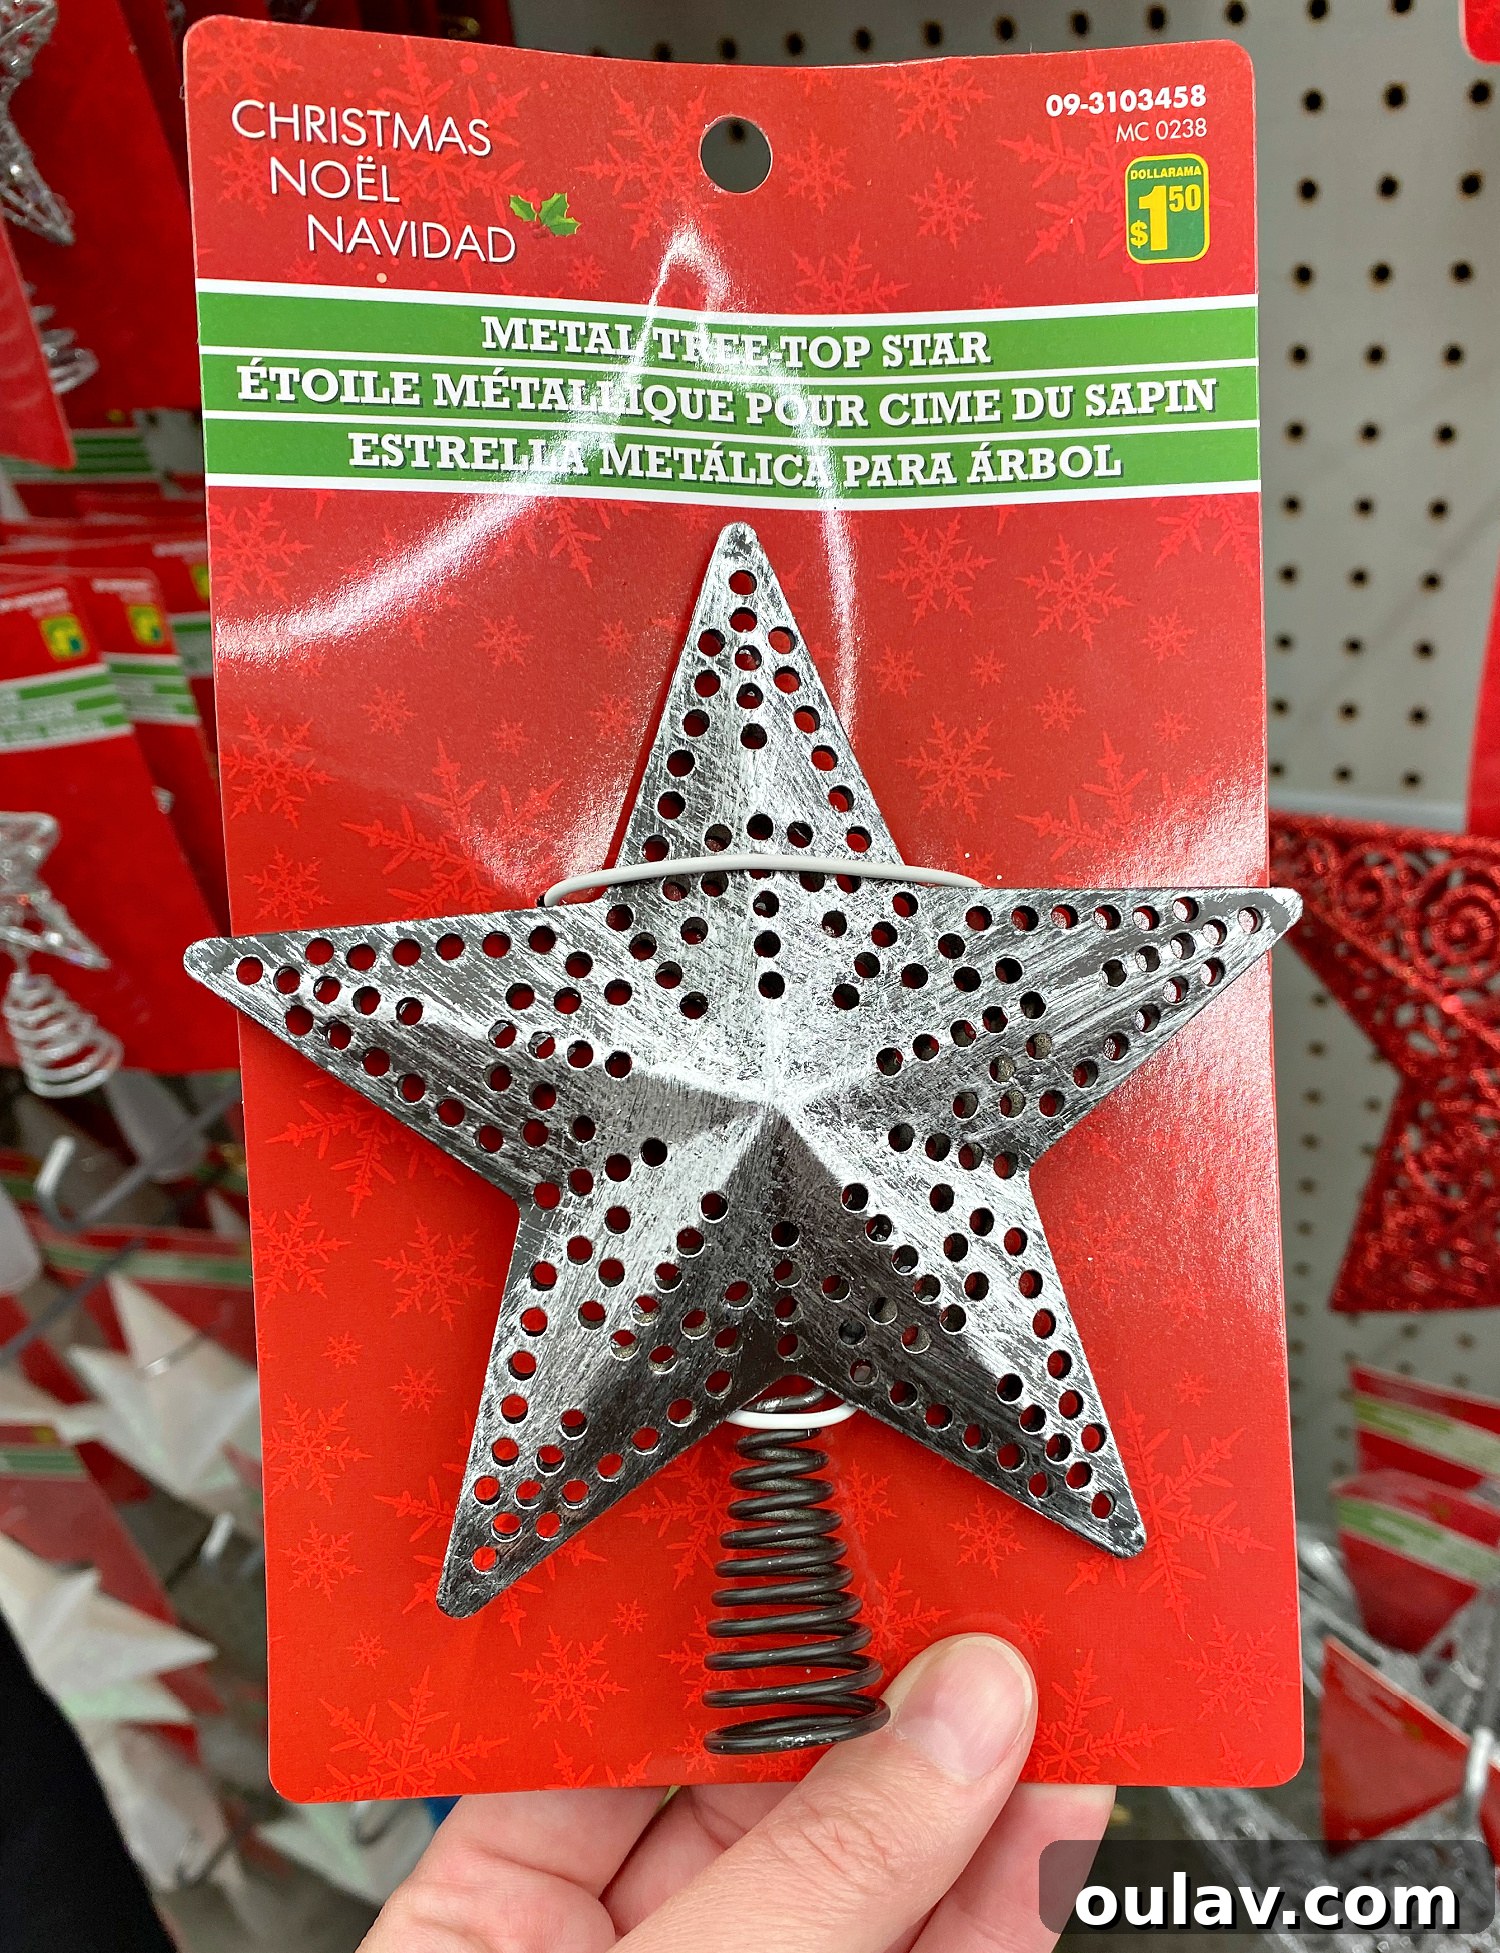
Before the Glimmer: The Original Dollar Store Star
Here’s a glimpse of our humble starting point. This image perfectly illustrates the basic, unadorned state of the dollar store star before its incredible transformation. It’s a clean slate, awaiting its golden makeover.
Essential Supplies for Your Gold Leaf Tree Topper
Gathering your materials is the first exciting step in any DIY project. For this stunning gold leaf tree topper, you’ll need a few key items that are both affordable and widely accessible. Here’s a detailed list, along with some tips for sourcing:
- Small Metal or Cardboard Star: The foundation of our project. While this one is similar online, your best bet is to check out your local dollar store or craft supply retailer. Look for a sturdy star, as its shape will be the basis for your finished product. Metal or thick cardboard works best as it holds its form well.
- Mod Podge: This versatile craft essential acts as both an adhesive and a sealant. Any variety (gloss, matte, satin) will work, but the gloss finish tends to enhance the metallic shimmer of the gold leaf. If you don’t have it on hand, it’s readily available at any craft store.
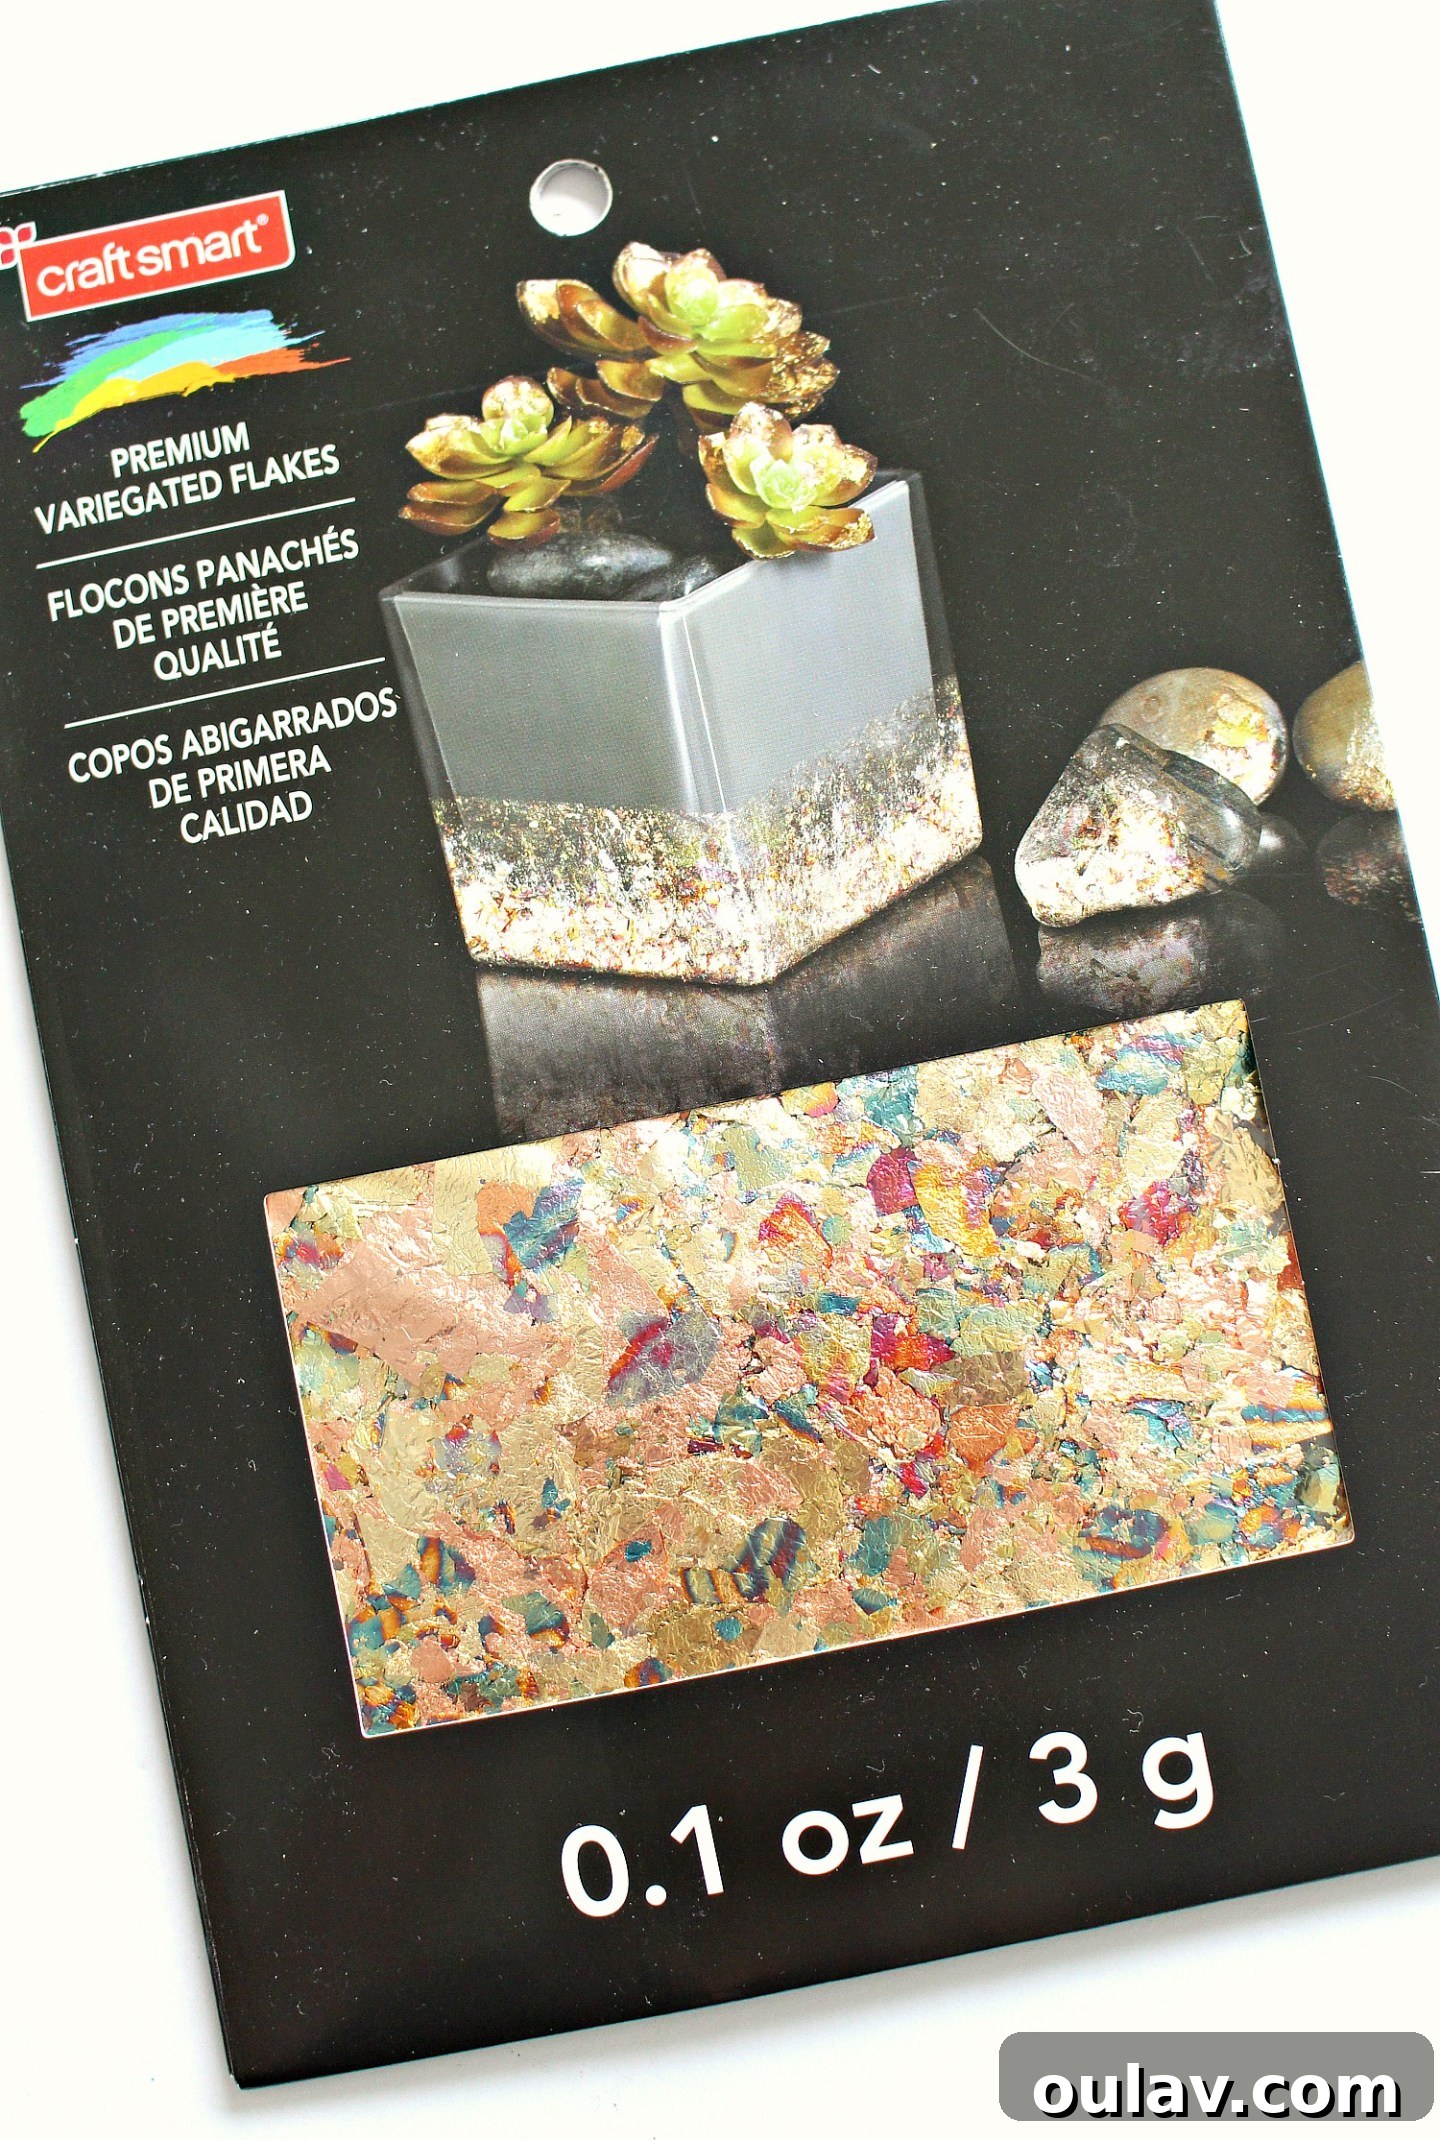
- Gold Leaf or Other Metal Leaf (flakes or sheets): This is where the magic happens! Gold leaf comes in various forms – flakes, which are easier to work with for beginners, or delicate sheets for a more uniform finish. You can also experiment with silver, copper, or variegated metal leaf to match different decor styles. Craft stores and online retailers offer a wide selection.
- Small Foam Brush: Ideal for applying Mod Podge smoothly and evenly. Its soft texture prevents brush strokes and ensures a clean application, which is crucial for a flawless gold leaf finish. A synthetic bristle brush can also work in a pinch.
With these few items, you’re well-equipped to embark on this sparkling DIY adventure. The beauty of this project lies in its simplicity and the readily available nature of its components, making it accessible to crafters of all skill levels.
Step-by-Step Guide: How to Apply Gold Leaf with Mod Podge for a Flawless Finish
Achieving a professional-looking gold leaf finish with Mod Podge is surprisingly simple, but a few key techniques can make all the difference. Follow these detailed steps to transform your dollar store star into a magnificent DIY Christmas tree topper:
- Prepare Your Workspace: Before you begin, cover your work surface with newspaper or a drop cloth. Gold leaf, especially flakes, can be a bit messy, and this will make cleanup much easier. Ensure your star is clean and free of dust or debris.
- Apply a Thin Layer of Mod Podge: Using your small foam brush, apply a thin, even layer of Mod Podge to a small section of your star. It’s crucial to work in small areas, approximately 2-3 inches at a time, especially if you’re using flakes. Mod Podge dries relatively quickly, and you want it to remain tacky when you apply the gold leaf. Aim for a consistent, but not overly thick, coating.
- Carefully Apply the Gold Flakes: While the Mod Podge is still wet and tacky, gently sprinkle or place your gold flakes onto the adhesive. If you’re using sheets, carefully press a small piece onto the wet Mod Podge. Using a dry, clean foam brush or even your fingertip (if it’s not too damp), gently pat the flakes to help them adhere and smooth out any major wrinkles. Don’t worry about perfect coverage at this stage; we’ll refine it later. The goal is to get a good initial stick.
- Allow to Dry Completely: Patience is a virtue in crafting! Let the first side dry completely. This usually takes about 15-20 minutes, depending on the humidity and the thickness of your Mod Podge application. Rushing this step can lead to smudged or uneven results.
- Repeat for the Other Side and Edges: Once the first side is fully dry to the touch, flip your star over. Repeat the process of applying Mod Podge in small sections and then applying gold flakes. As you work, pay close attention to the edges. Ensure you overlap the gold leaf slightly from one side to the other, creating a seamless transition. This attention to detail will give your tree topper a truly high-end, finished look. Again, allow this side to dry completely.
- Brush Off Excess Gold Flakes/Leaf: After both sides are thoroughly dry, you’ll likely have some loose gold flakes or jagged edges. Take a clean, dry, soft brush (your foam brush, or even an old makeup brush works well) and gently brush off any excess leaf. This will reveal the crisp, defined edges of your star and clean up any stray bits, making your gold surface look polished and intentional.
- Seal the Surface with Another Layer of Mod Podge: To protect your beautiful gold leaf and give it a durable, long-lasting finish, apply a final, thin layer of Mod Podge over the entire gold-leafed surface. Start with one side, ensuring an even coat. This acts as a protective topcoat, preventing the delicate gold leaf from flaking off or getting damaged over time. It also adds a slight sheen, enhancing the metallic effect.
- Let Dry Completely (Again!): Once more, allow the sealed side to dry fully. This final drying time is important for the Mod Podge to cure and form a strong, protective layer.
- Repeat Sealing for the Other Side: After the first sealed side is completely dry, repeat the sealing process on the second side of your star. Once both sides are sealed and dry, your DIY gold leaf tree topper is ready to shine!
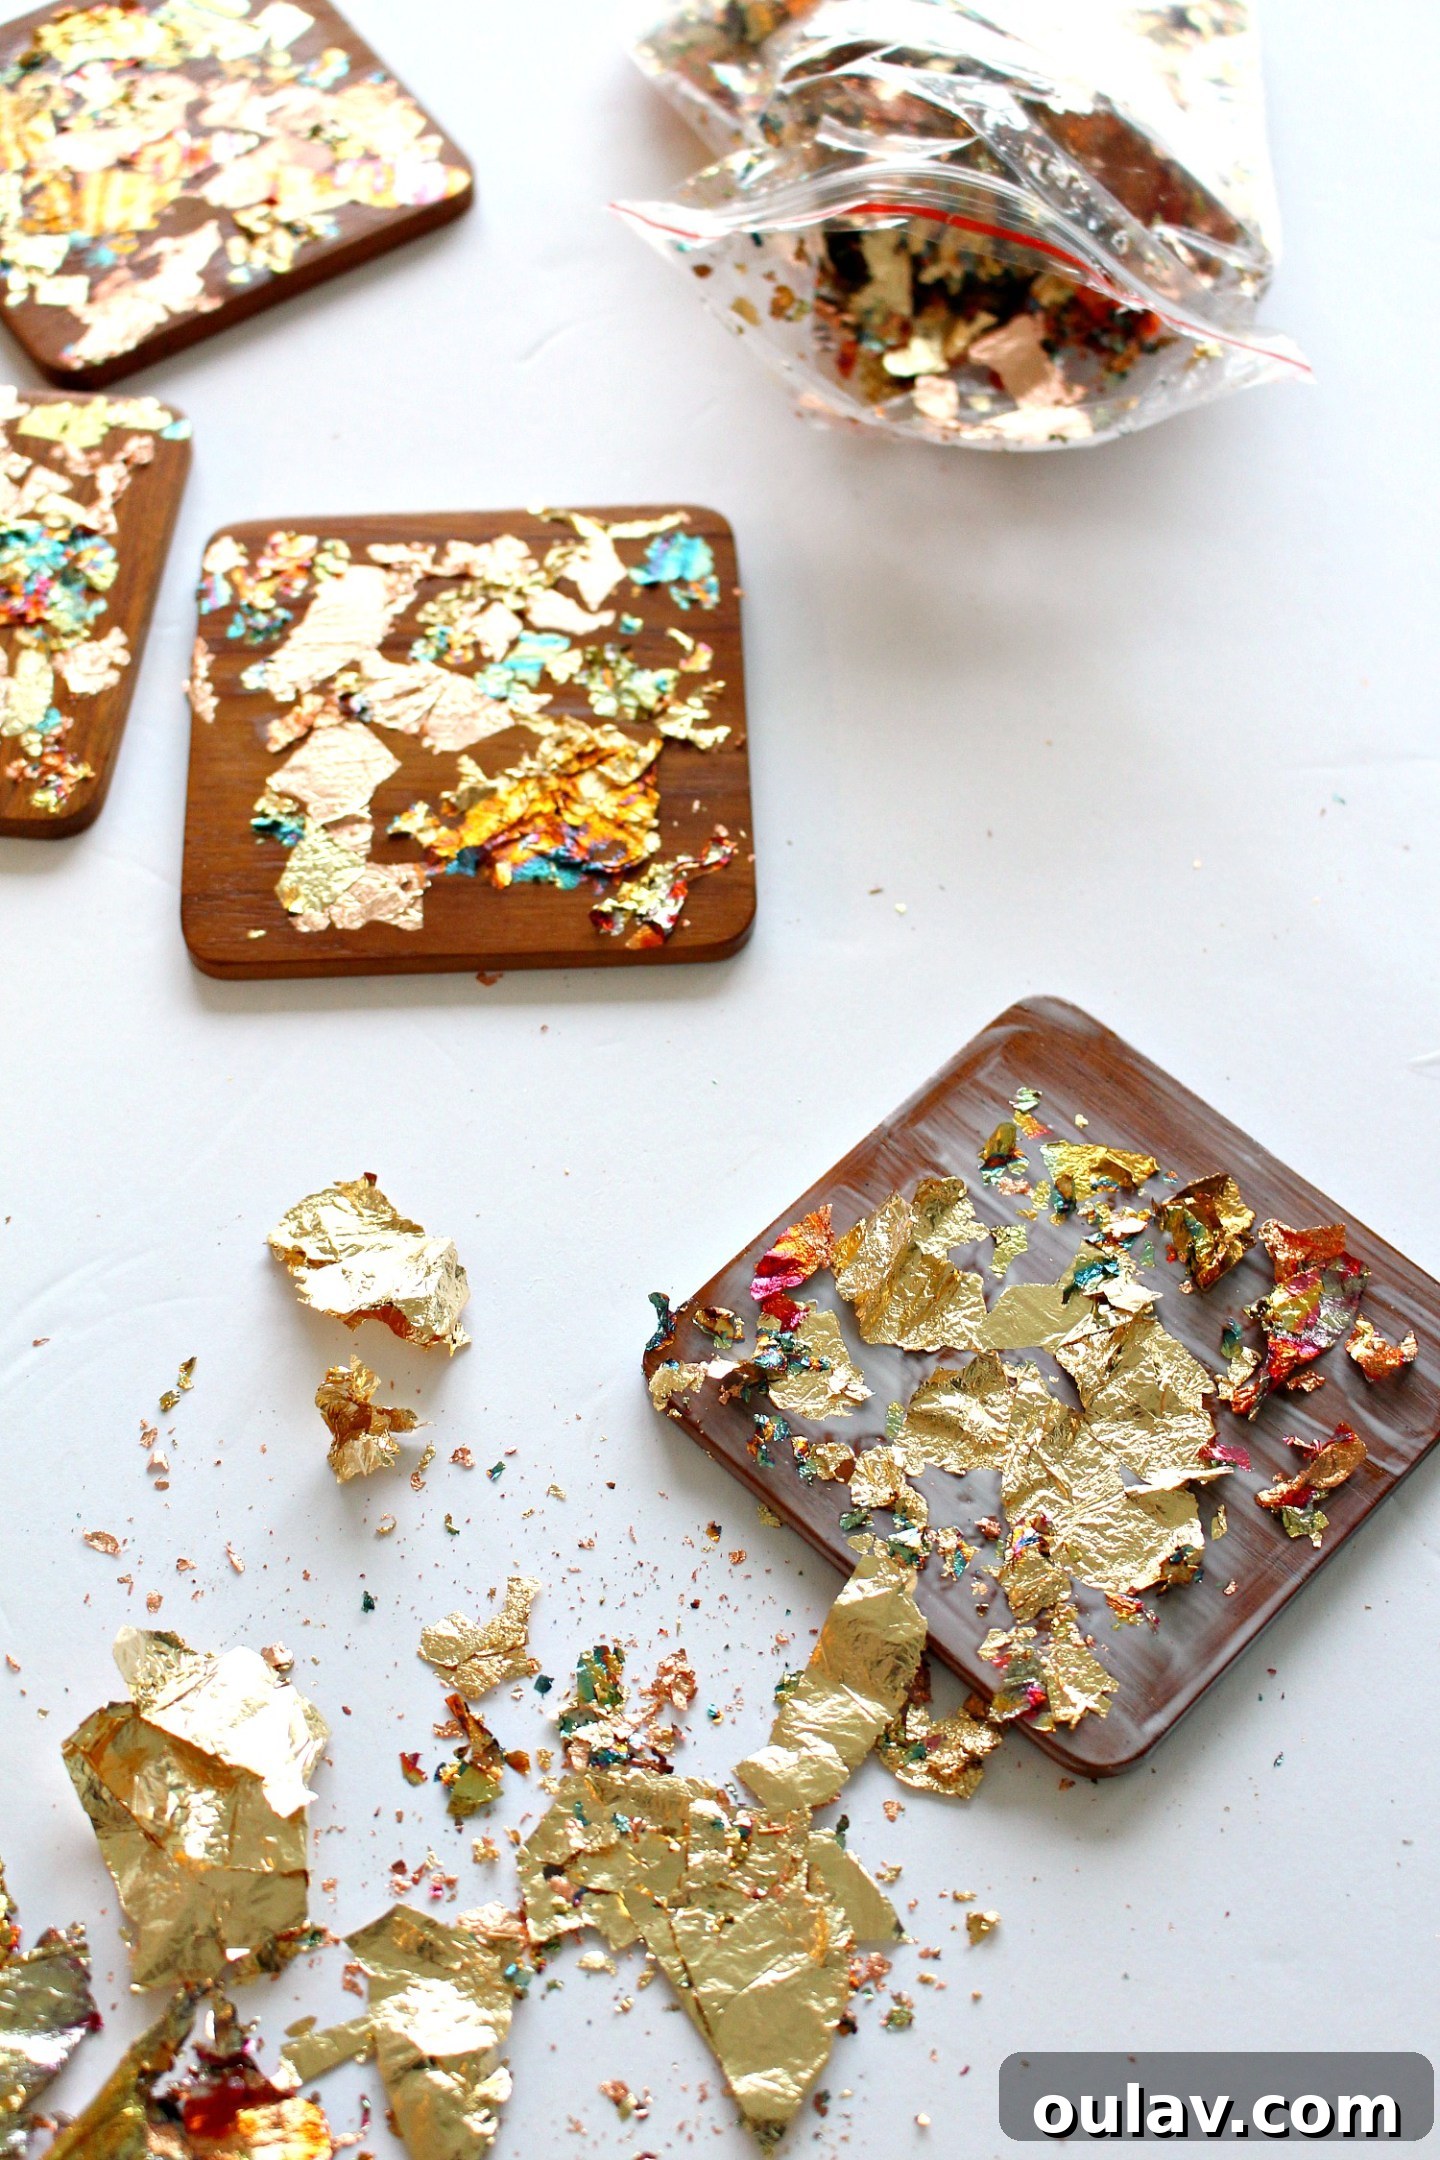
I followed this same methodical process that I’ve successfully used for projects like my DIY gold leaf coasters. The key difference for the tree topper was my commitment to achieving a completely solid gold surface. I meticulously applied gold leaf, building up layers where needed, until no hint of the original star color peeked through. I also took extra care to ensure the gold leaf wrapped fully around the edges, creating a truly seamless effect from front to back, enhancing its luxurious appearance. This careful application ensures your tree topper looks spectacular from every angle, making it a true centerpiece on your Christmas tree.
See the Transformation: A Quick Visual Guide
Sometimes, seeing the process in action makes all the difference! For those who prefer a visual demonstration, I’ve put together a short video reel showcasing the transformation from a plain dollar store star to a dazzling gold leaf tree topper. This reel captures the essence of each step, from applying the Mod Podge to dusting off the excess gold leaf, giving you a dynamic overview of this simple yet impactful DIY project. It’s perfect for visual learners or anyone who wants a quick peek at the technique before diving in. Don’t miss it!
View this post on Instagram
A post shared by Tanya | Decor, DIY & Thrifting (@danslelakehouse)
The Grand Reveal: Our Dazzling DIY Tree Topper!
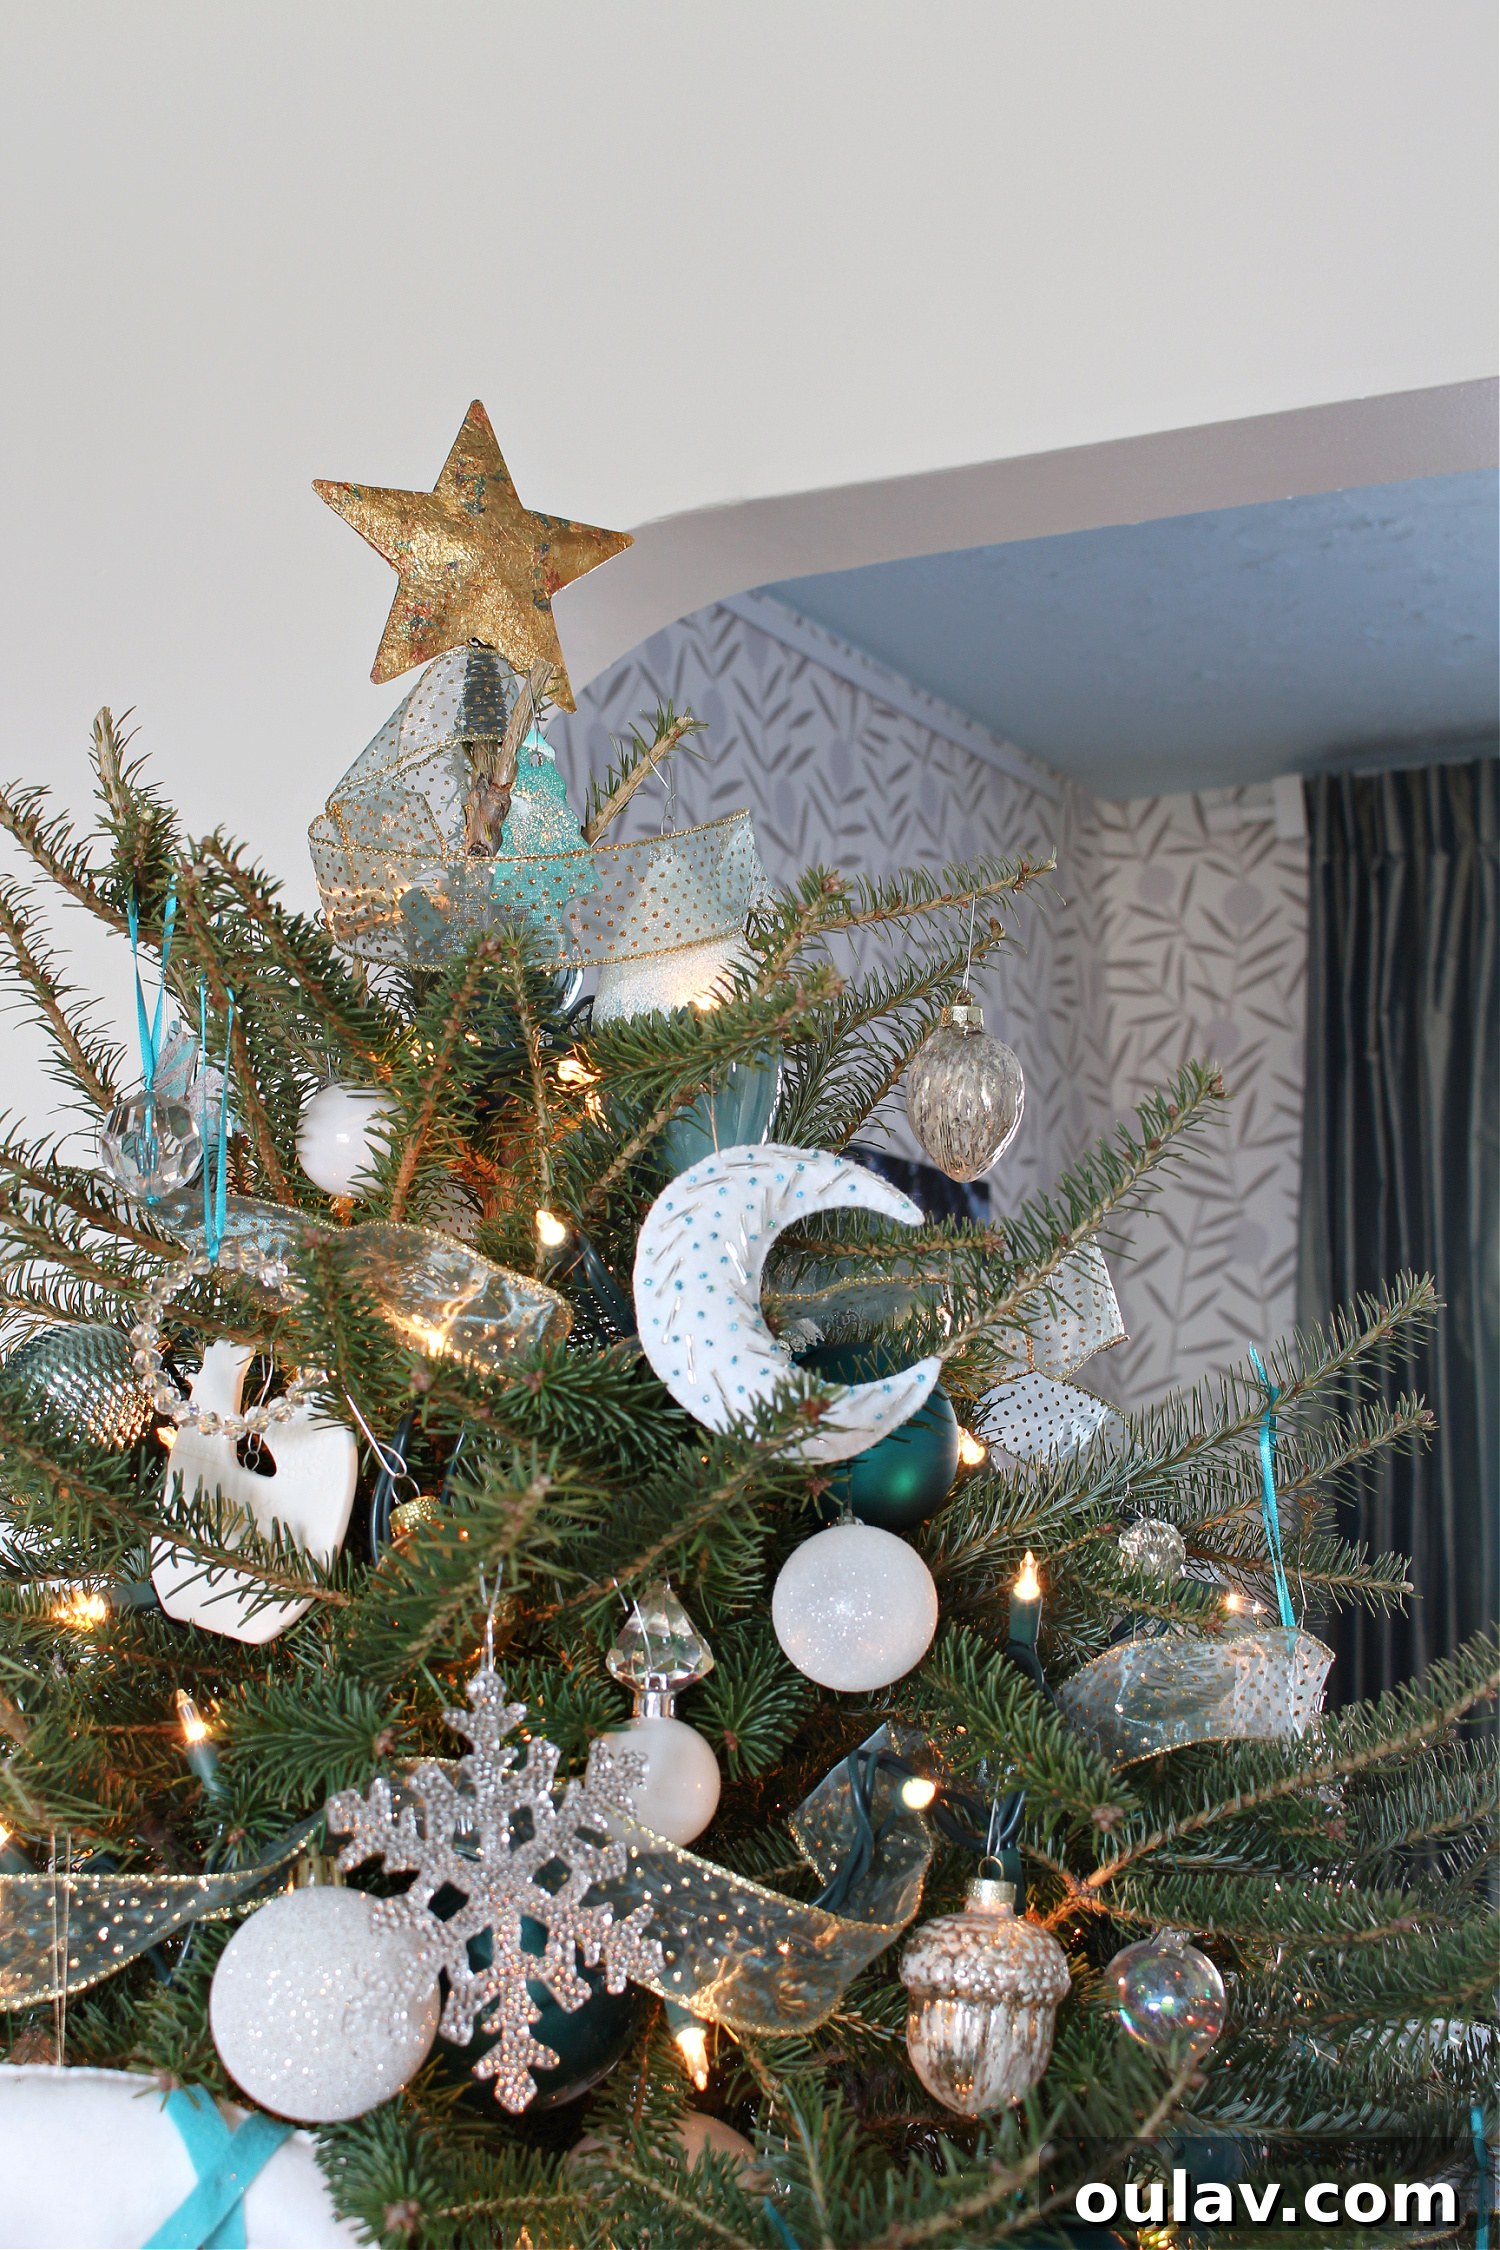
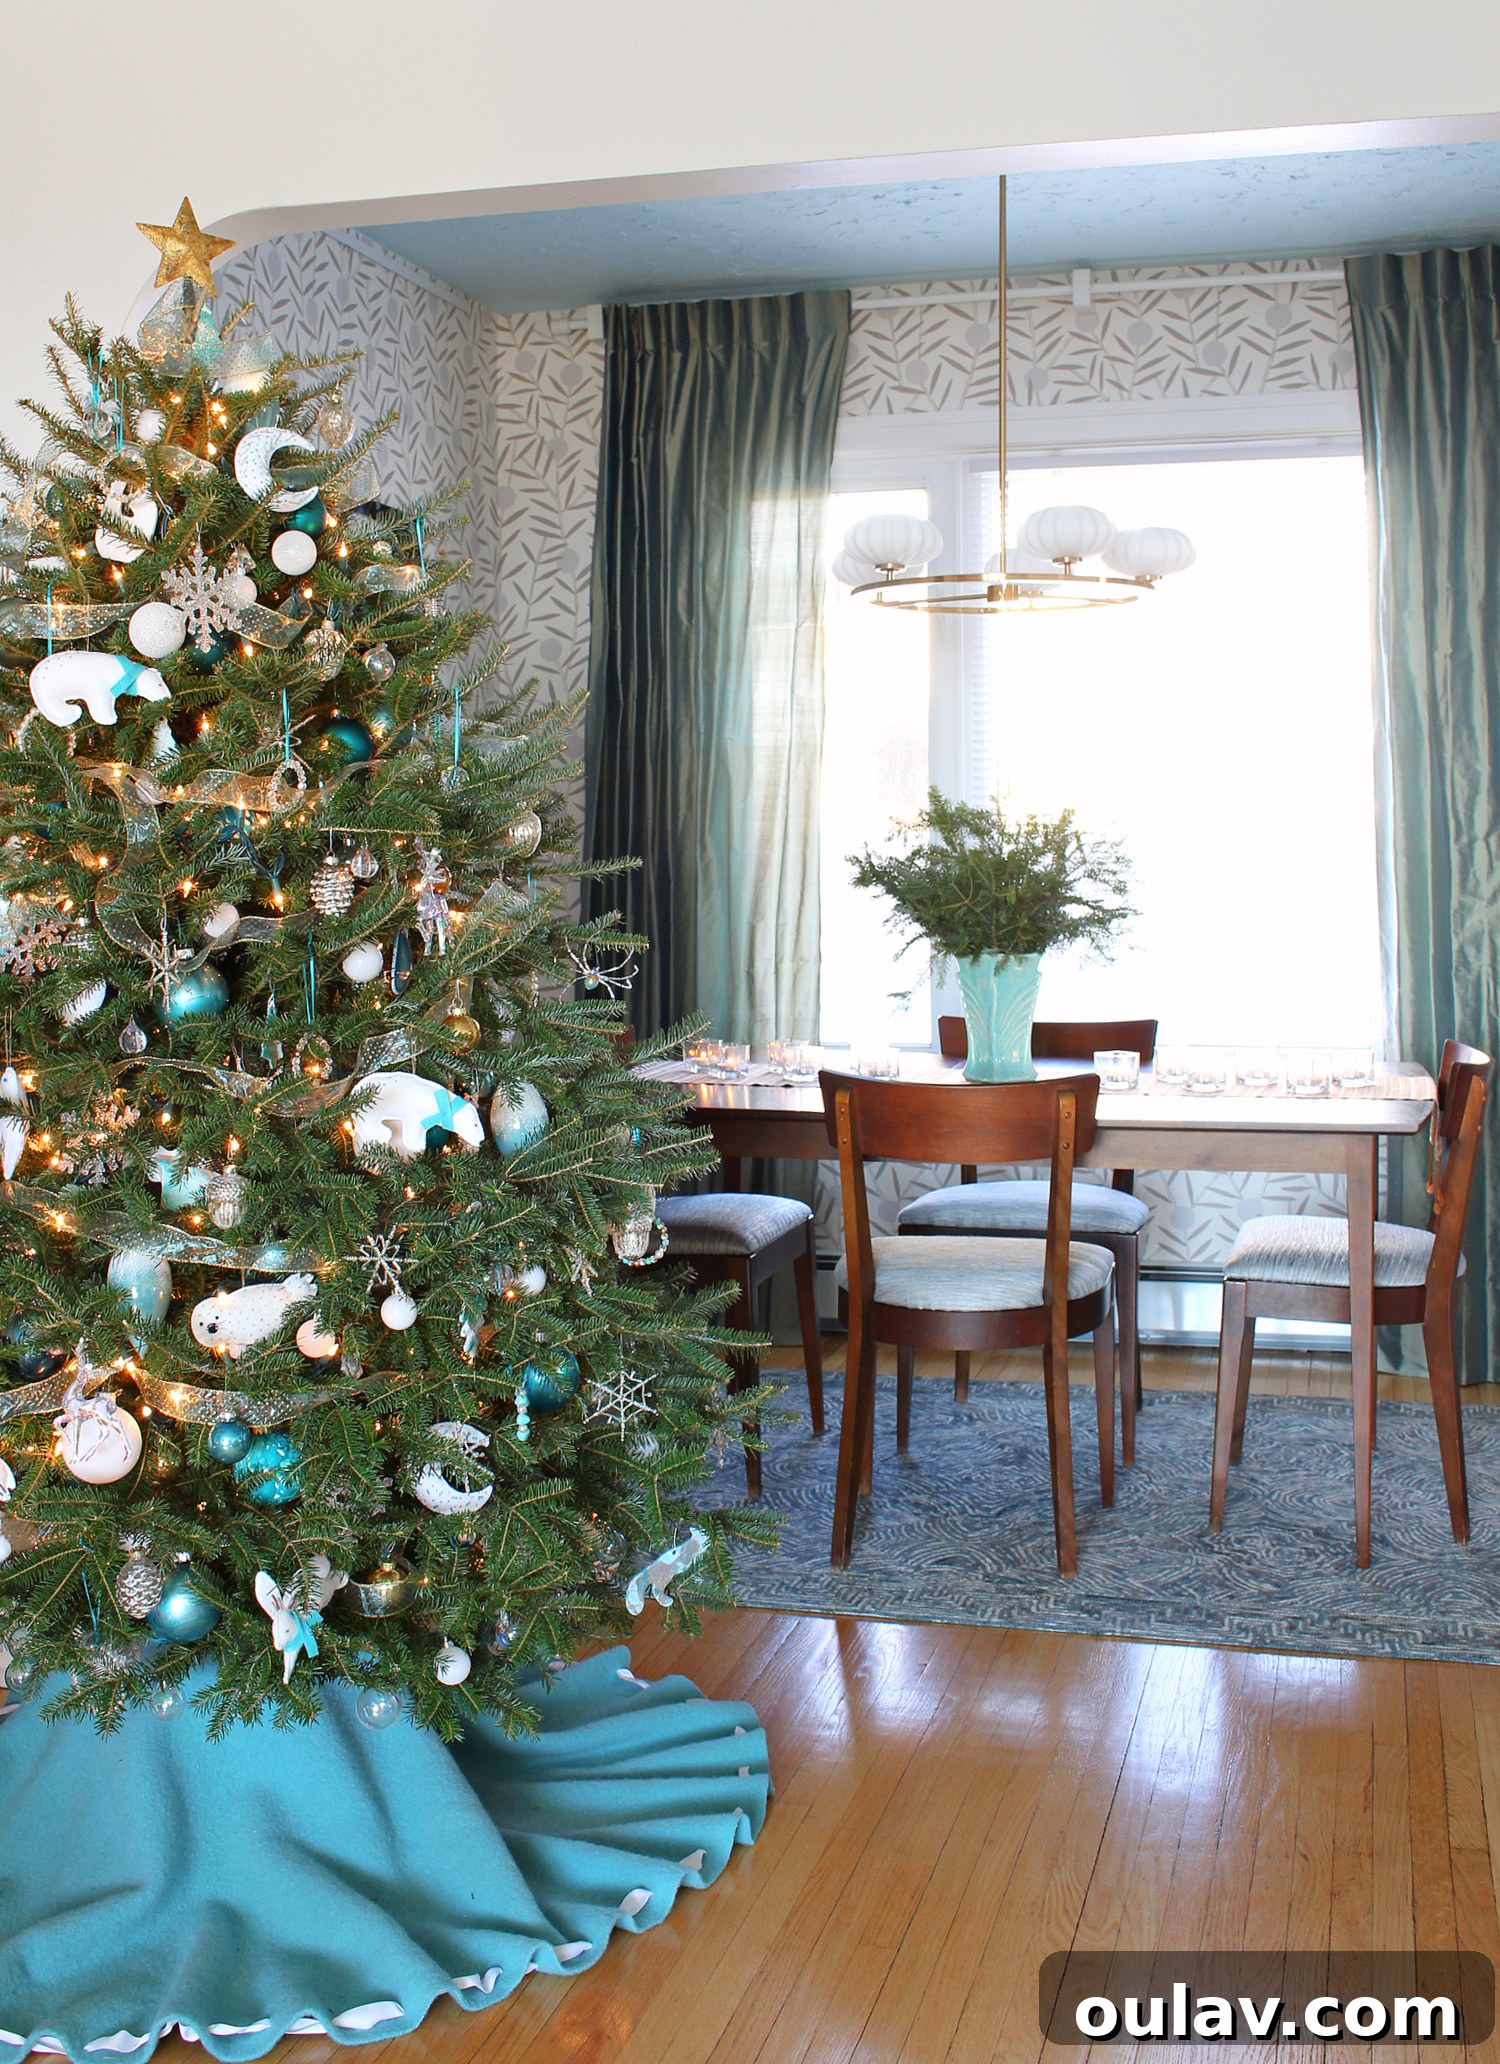
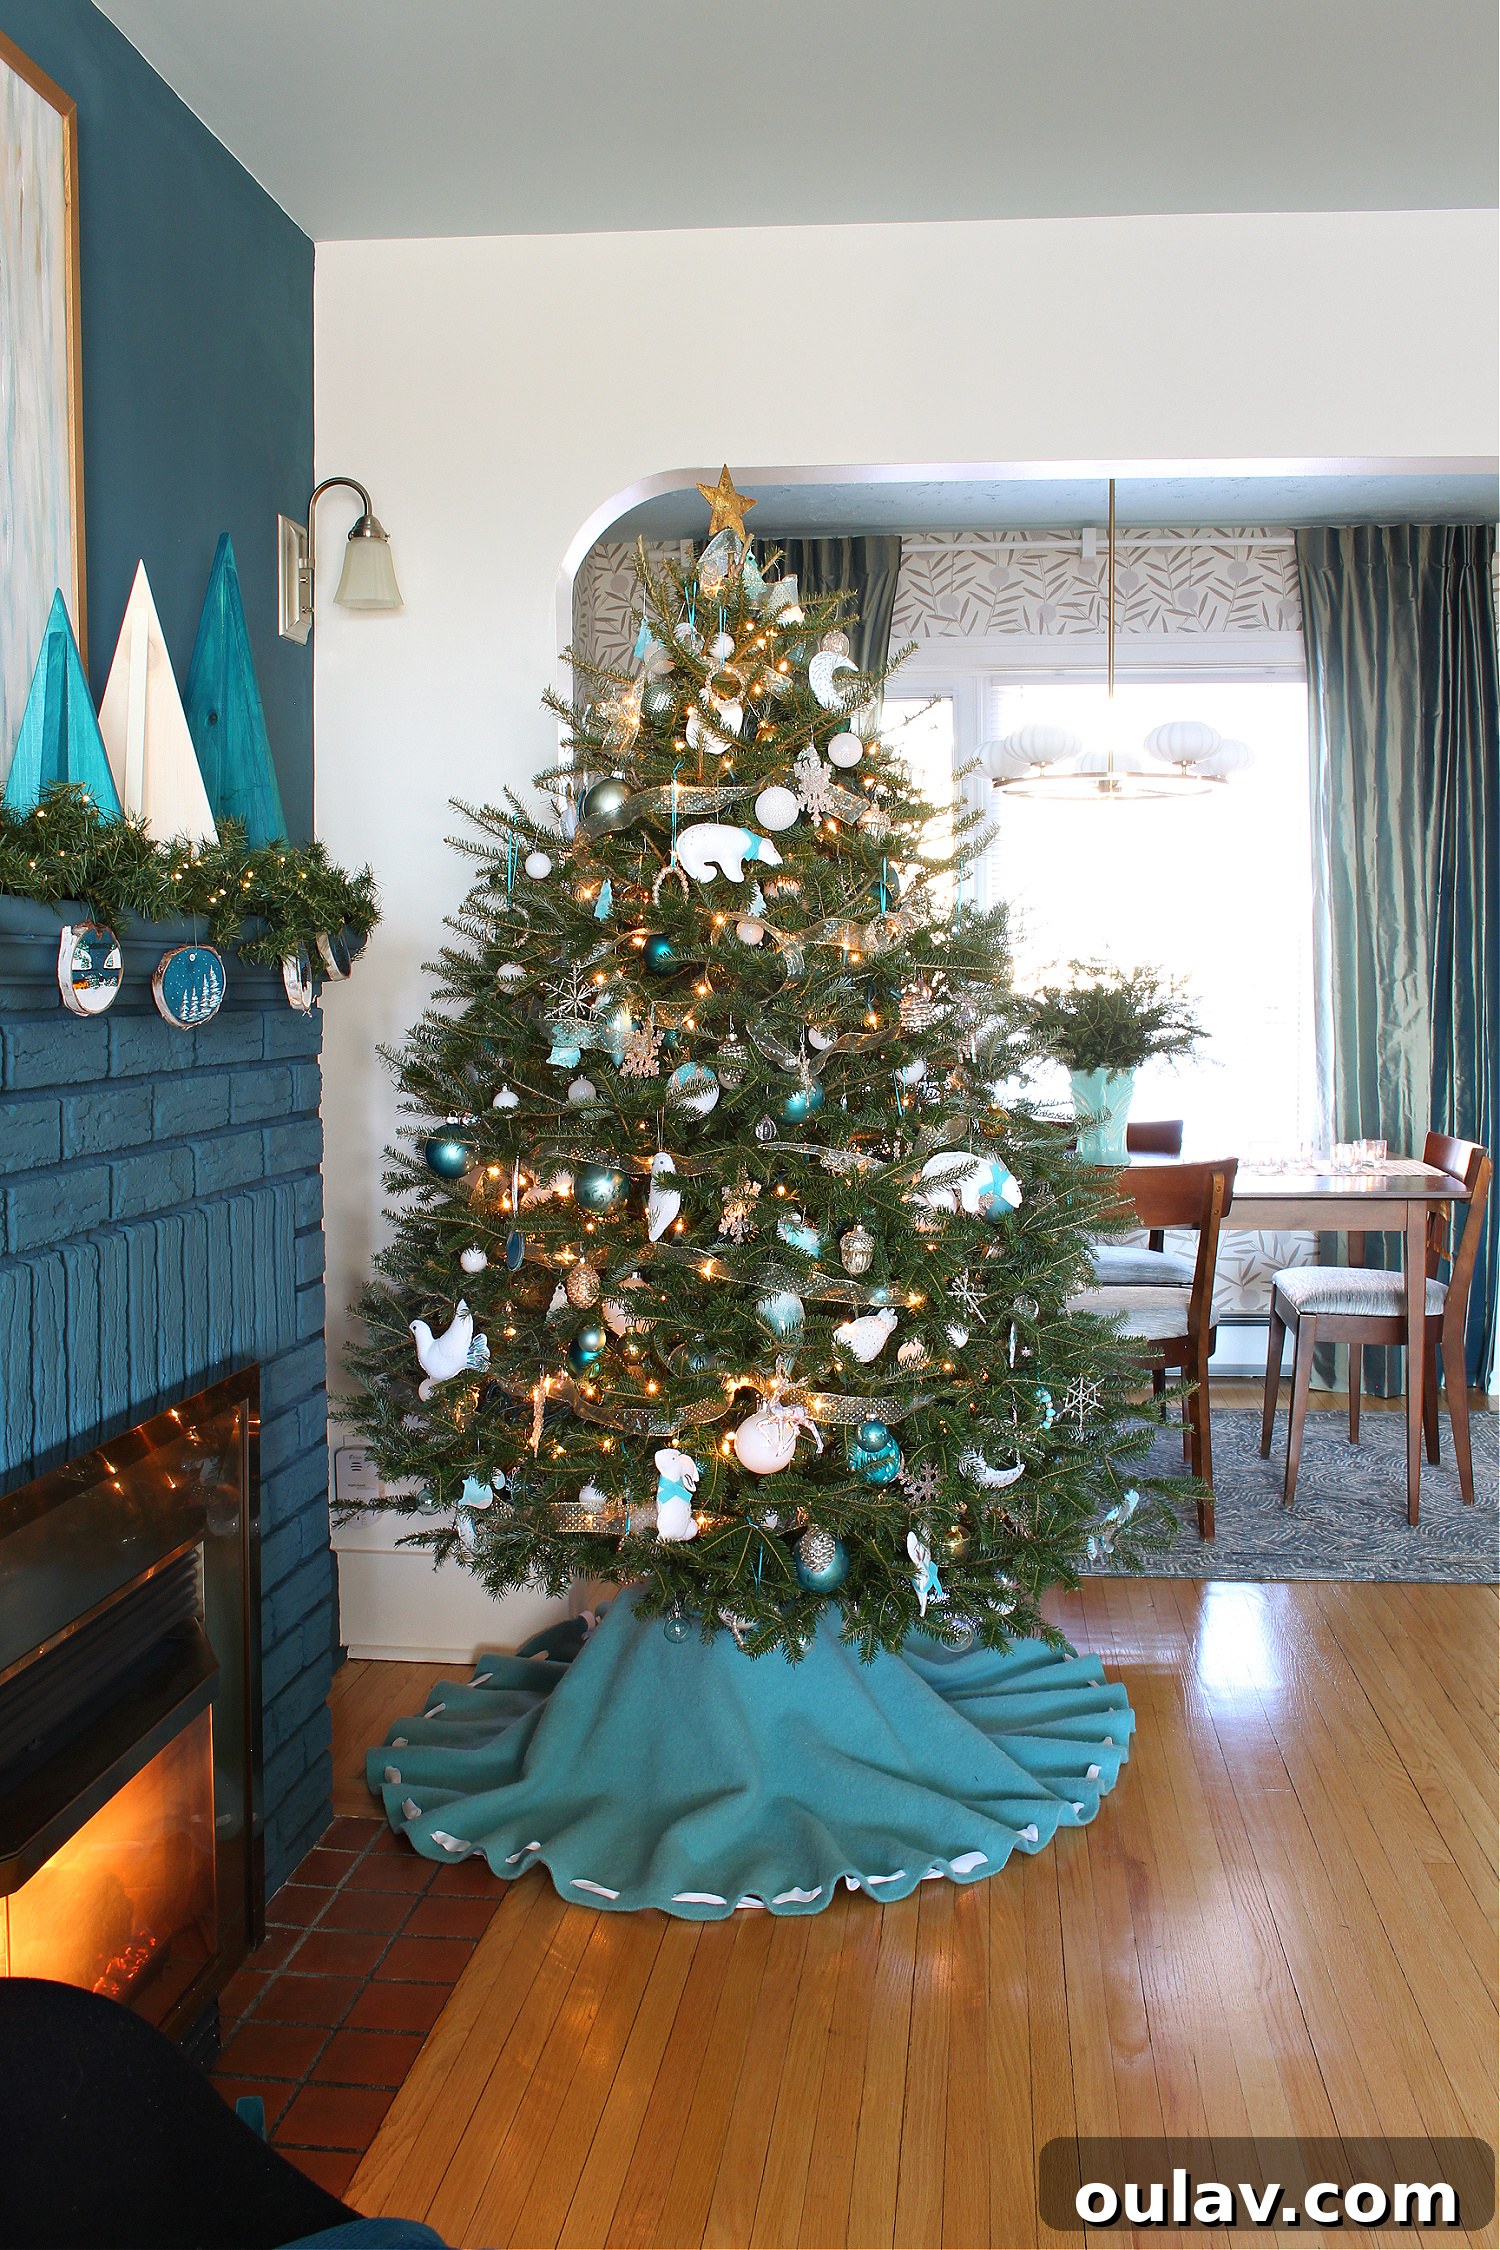
And now, for the moment you’ve been waiting for – the dazzling “after” shots! Witnessing this transformation is truly rewarding. From a simple, unassuming dollar store star, we’ve created a luxurious, custom-made tree topper that looks like it cost a fortune. The radiant gold leaf catches the light beautifully, adding a sophisticated glimmer to the top of the Christmas tree. It perfectly complements the festive ambiance, tying together the entire decor scheme with a touch of personalized elegance. This DIY gold leaf tree topper isn’t just a decoration; it’s a testament to how a little creativity and a few affordable supplies can elevate your holiday decorations to a whole new level. This stunning star now proudly sits atop the tree, fulfilling its role as the perfect finishing touch. It’s a reminder that sometimes the most beautiful things are the ones we craft ourselves, imbued with our own effort and style.
Beyond the Topper: More DIY Ornament Inspiration!
If this gold leaf tree topper project has sparked your creative spirit, you’re in luck! The world of DIY Christmas ornaments is vast and full of exciting possibilities. Creating your own ornaments is a fantastic way to personalize your holiday decor, express your unique style, and even create cherished keepsakes for years to come. Whether you’re looking for simple crafts to do with family or more intricate projects to hone your skills, there’s an endless array of ideas to explore. Don’t stop at the tree topper – let your imagination run wild and infuse every branch of your tree with handmade charm. Here are some of my other favorite DIY ornament ideas to inspire your next crafting session:
- DIY Felt Animal Ornaments
- DIY Alcohol Ink Ornaments
- DIY Polymer Clay Ornaments
- DIY Agate Slice Ornaments
- DIY Beaded Snowflake Ornaments
Each of these projects offers a unique opportunity to add a touch of handmade warmth and character to your holiday season. Happy crafting!
P.S. Don’t Forget to Pin this Brilliant DIY for Later!
Loved this easy and impactful DIY tree topper project? Make sure you save it for future holiday seasons or when you’re looking for that perfect, personalized touch for your Christmas tree! Pin this idea to your favorite Christmas decor or DIY crafts board on Pinterest. It’s a fantastic way to keep track of brilliant budget-friendly hacks and inspiring projects. Your friends and followers will thank you for sharing such a chic and simple way to elevate holiday decorations. Don’t let this golden idea get lost in the holiday rush!