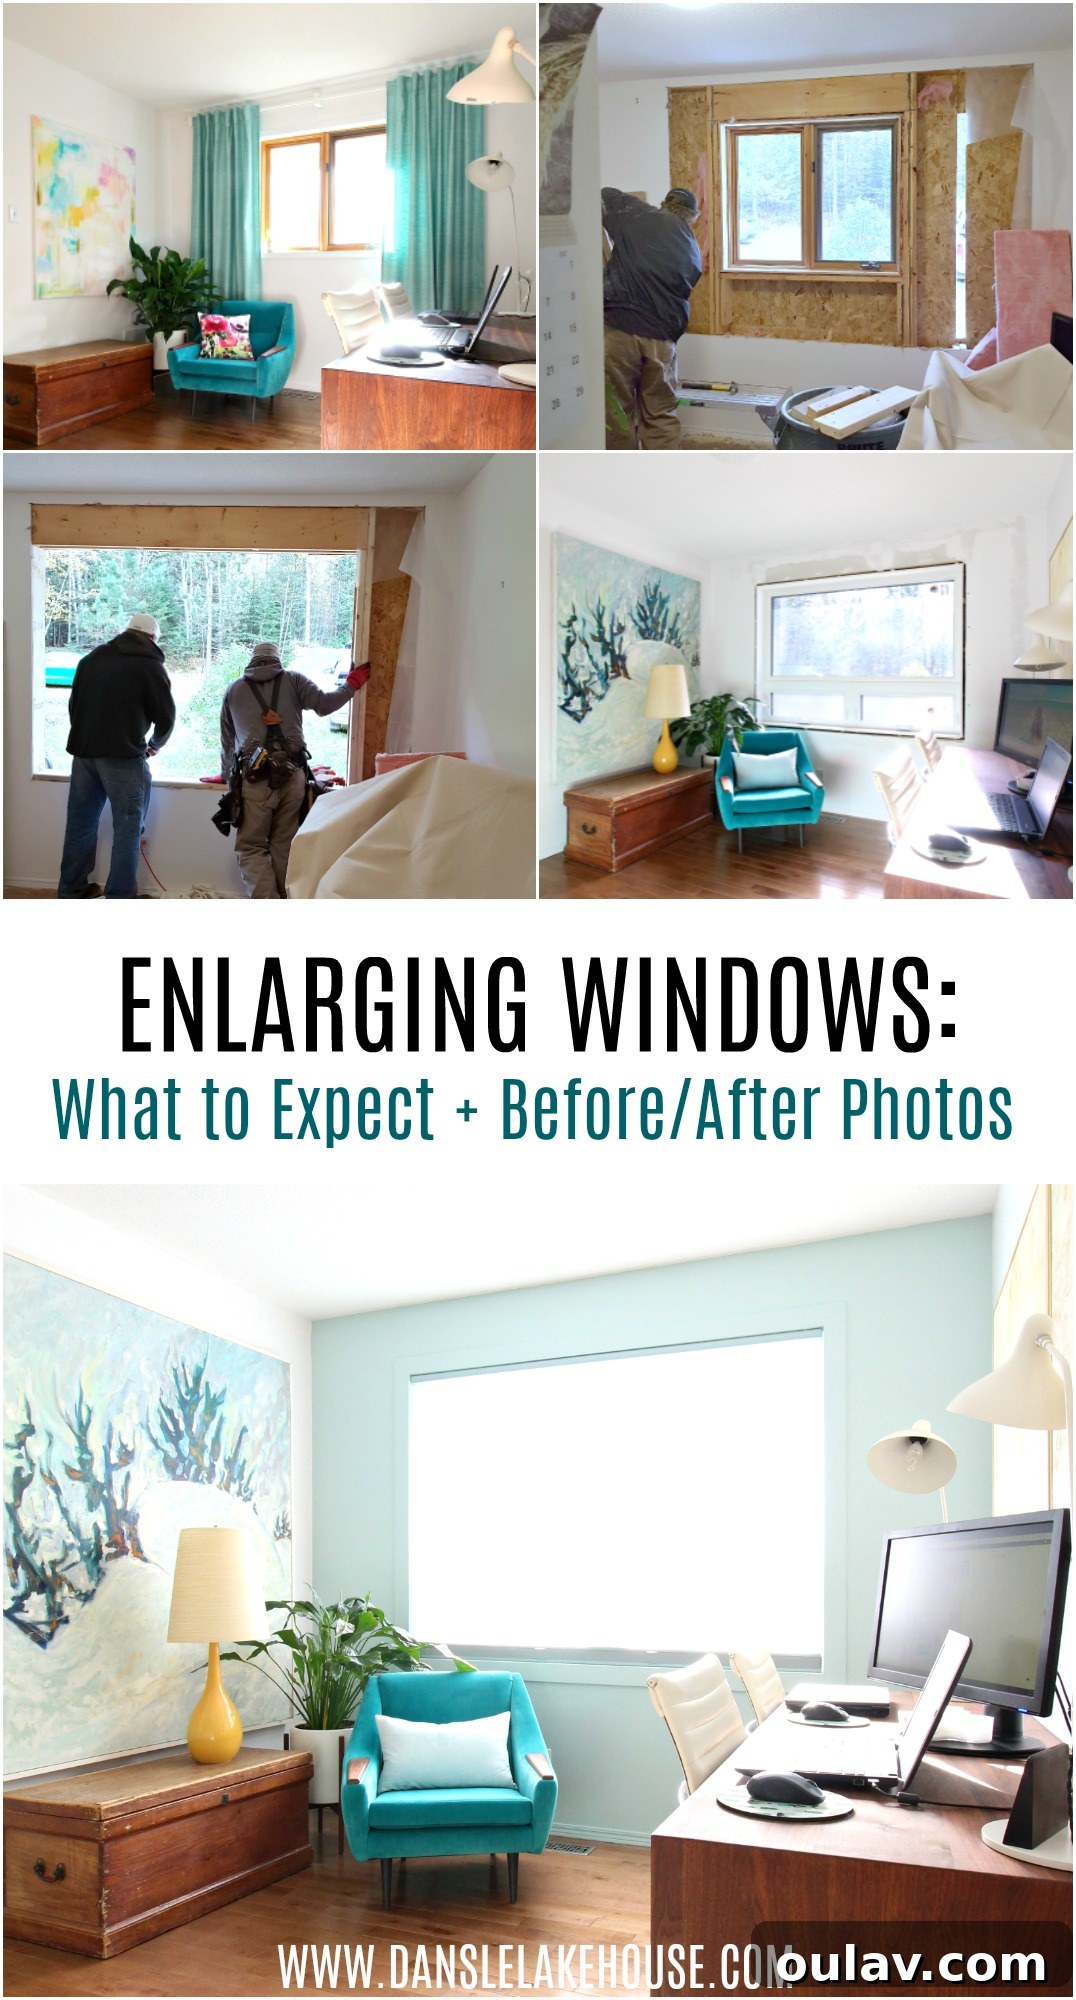
Embarking on a home renovation journey can be both exhilarating and daunting, especially when it involves significant structural changes. Last spring, our extensive exterior renovation plans took on a life of their own, leading us to not only replace the existing windows on our serene lakeside but also to bravely enlarge the windows facing the road. While the prospect of new windows initially filled us with apprehension, the discovery of considerable water damage on our old wood frames made the decision inevitable. The project, as many home renovations do, presented its share of unexpected challenges, which I’ve previously touched upon. We still have a few items pending completion, including the replacement of a cracked glass panel, a broken frame from installation, and an incorrectly ordered privacy glass. Rest assured, I’ll share those updates once warmer weather permits. However, today, my aim is to walk you through the comprehensive process of installing larger windows, offering insights into what to expect and how to navigate such a significant upgrade.
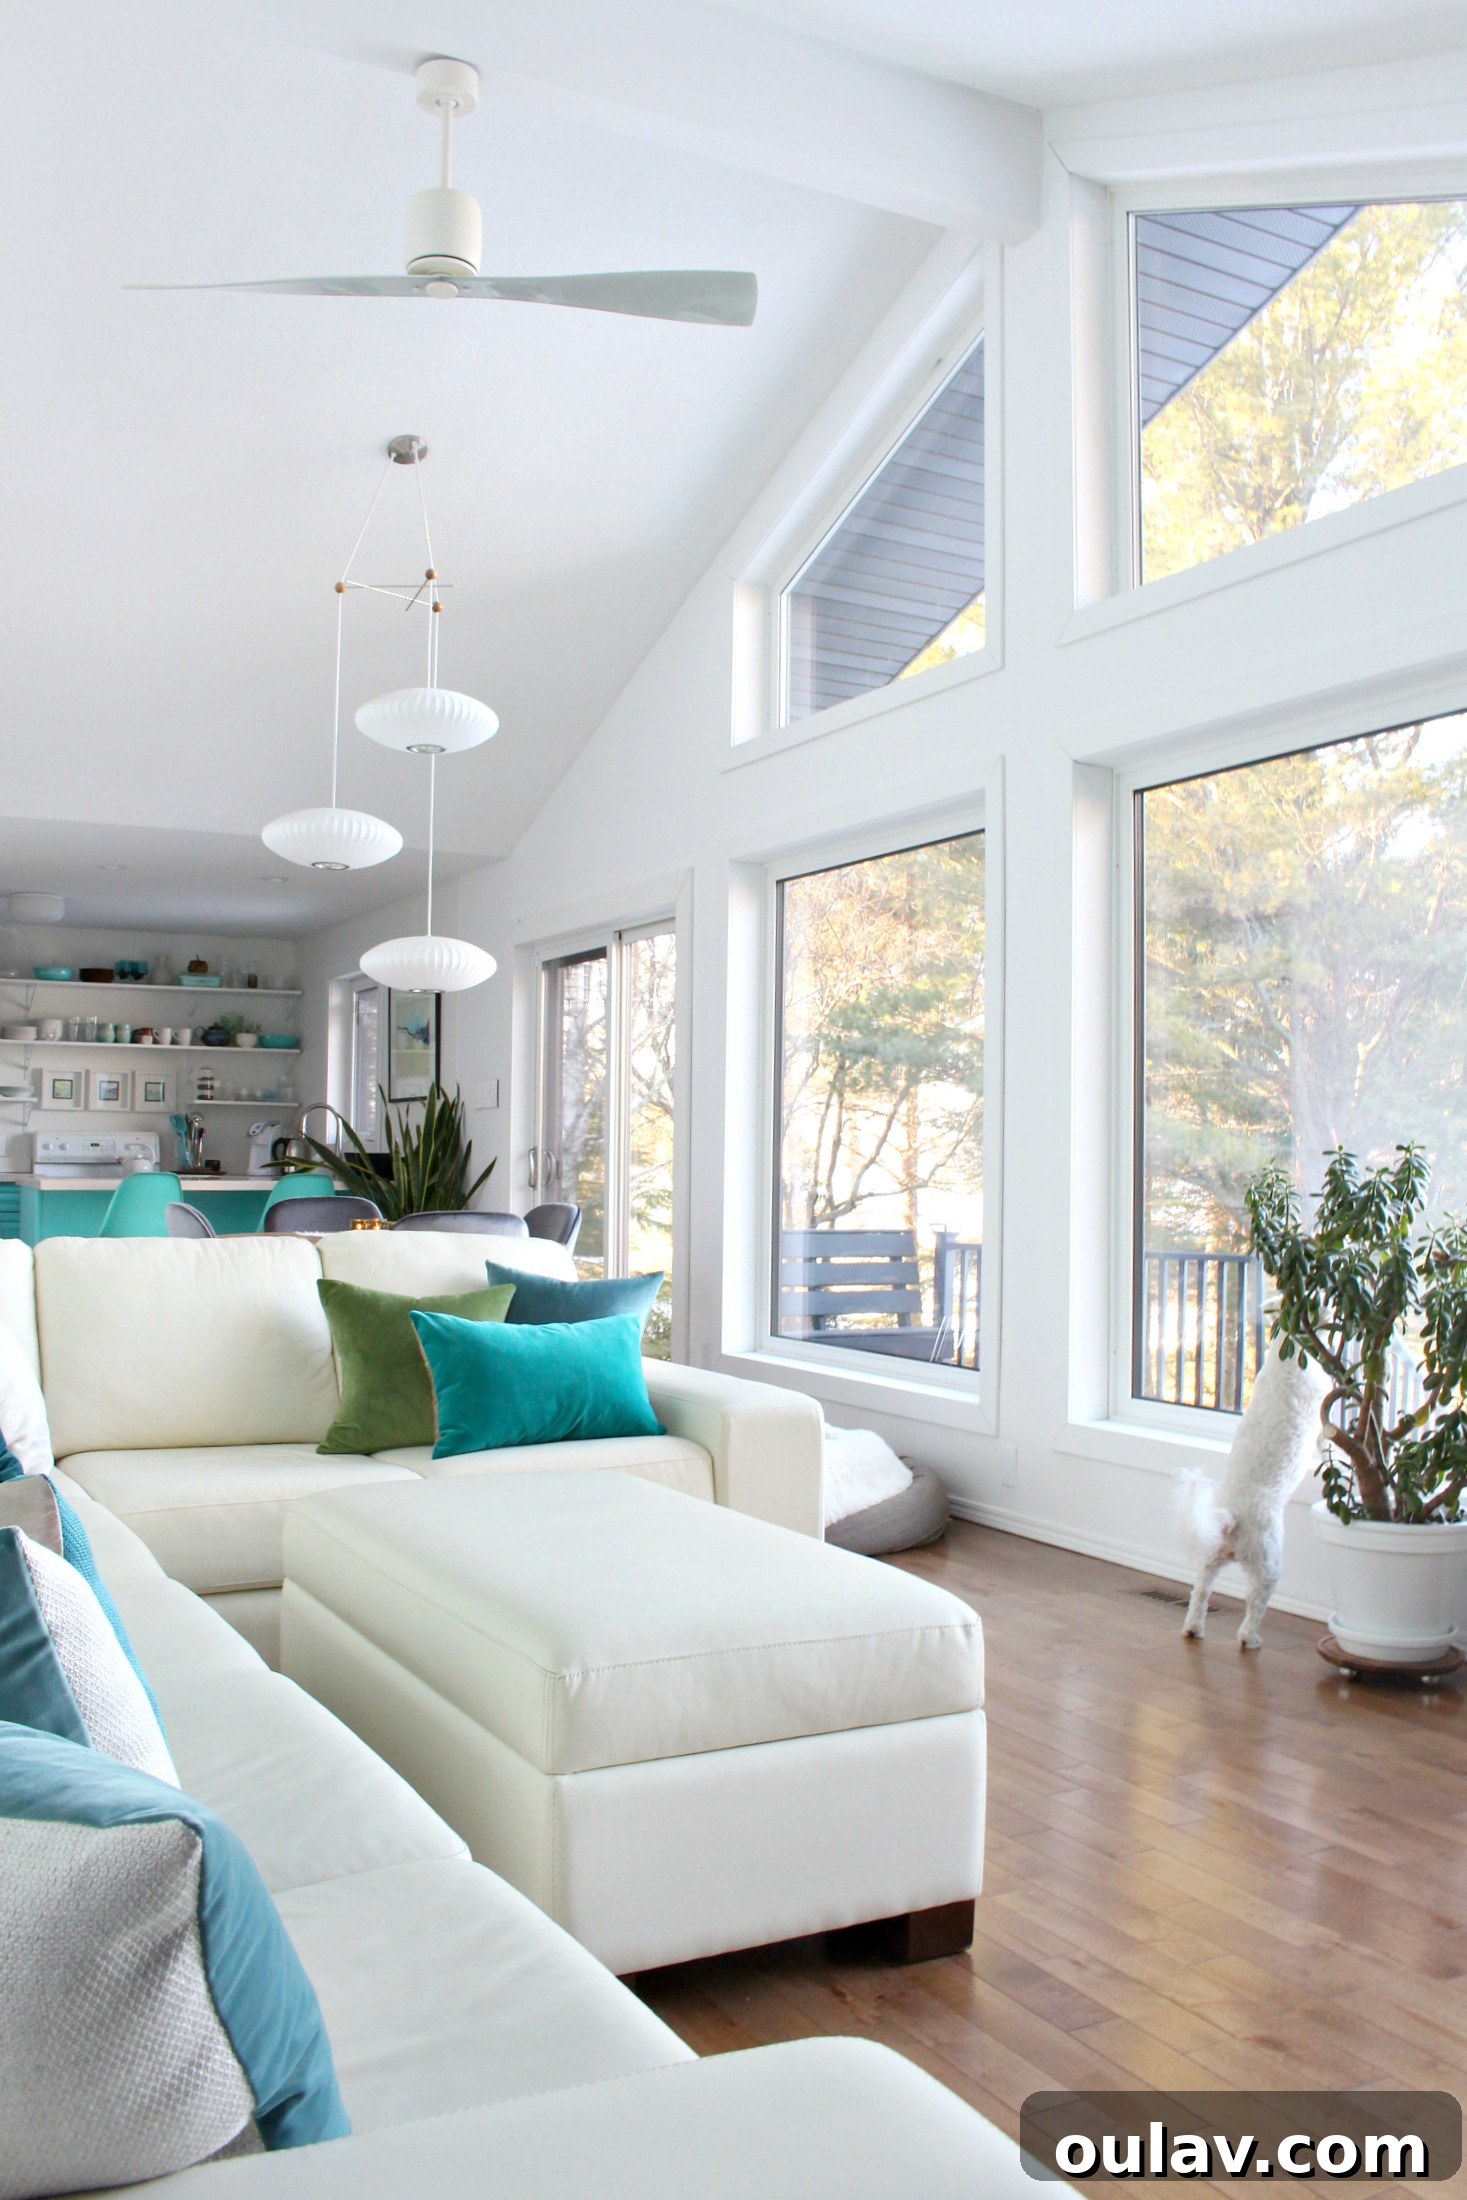
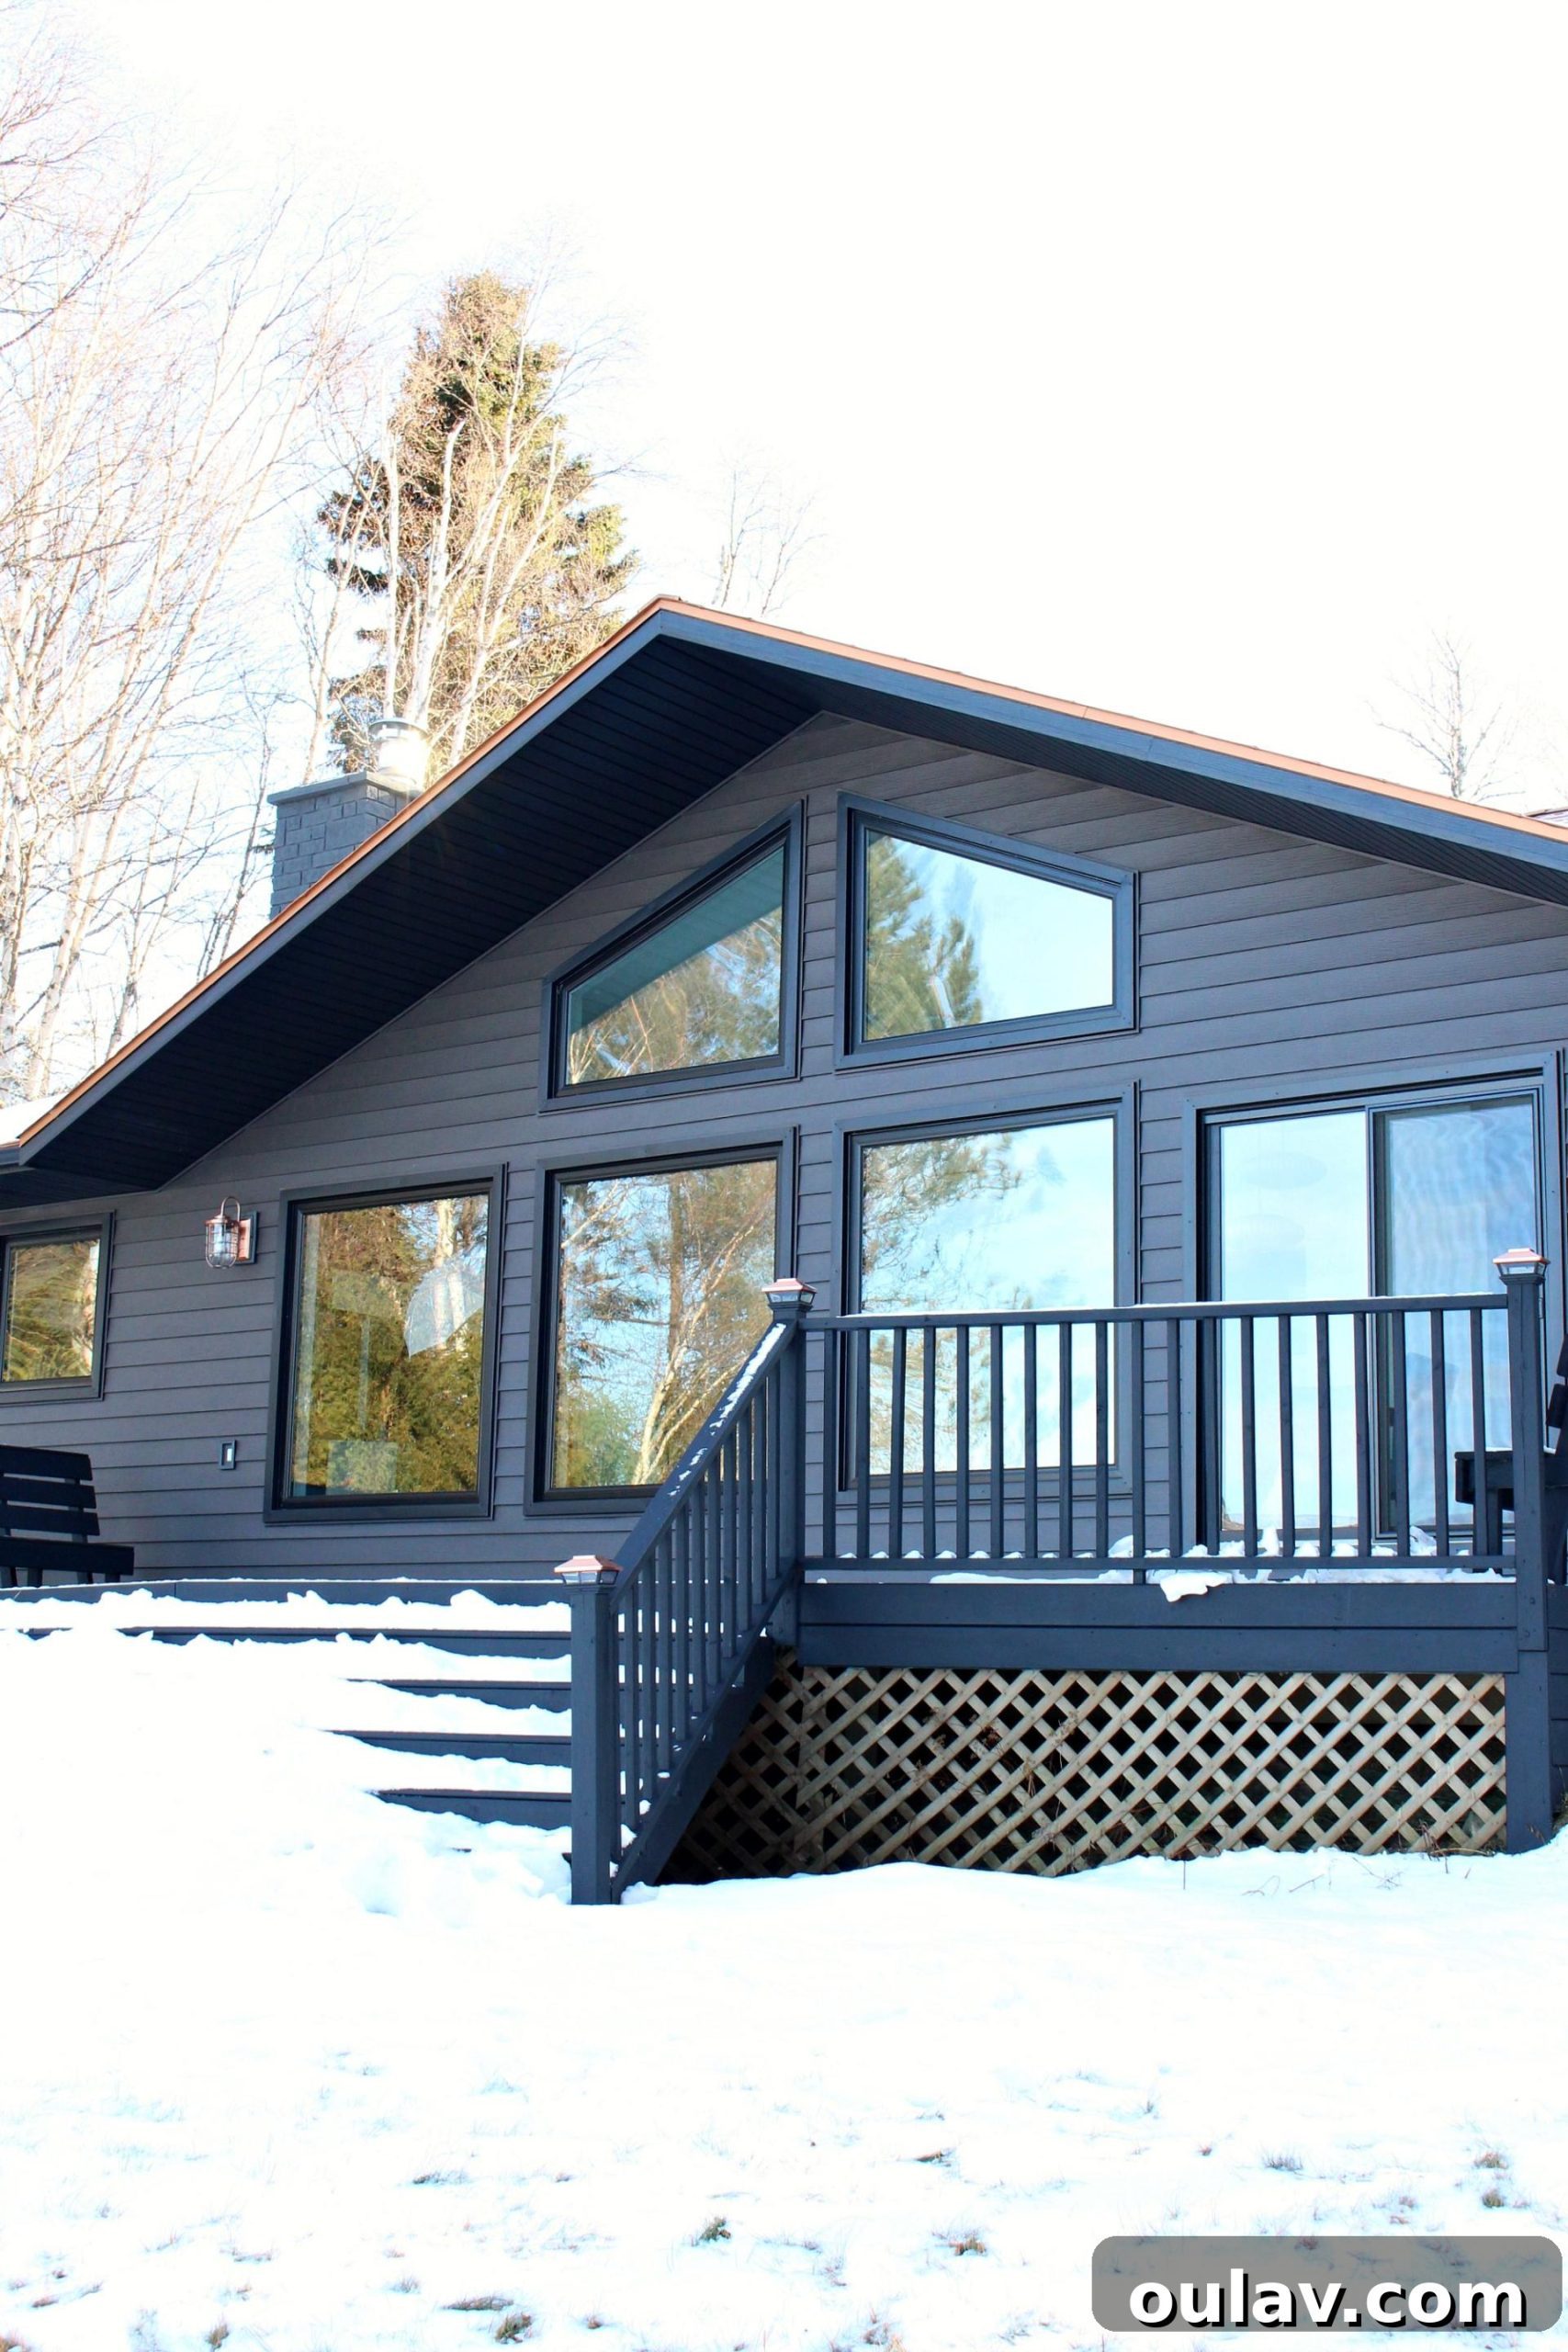
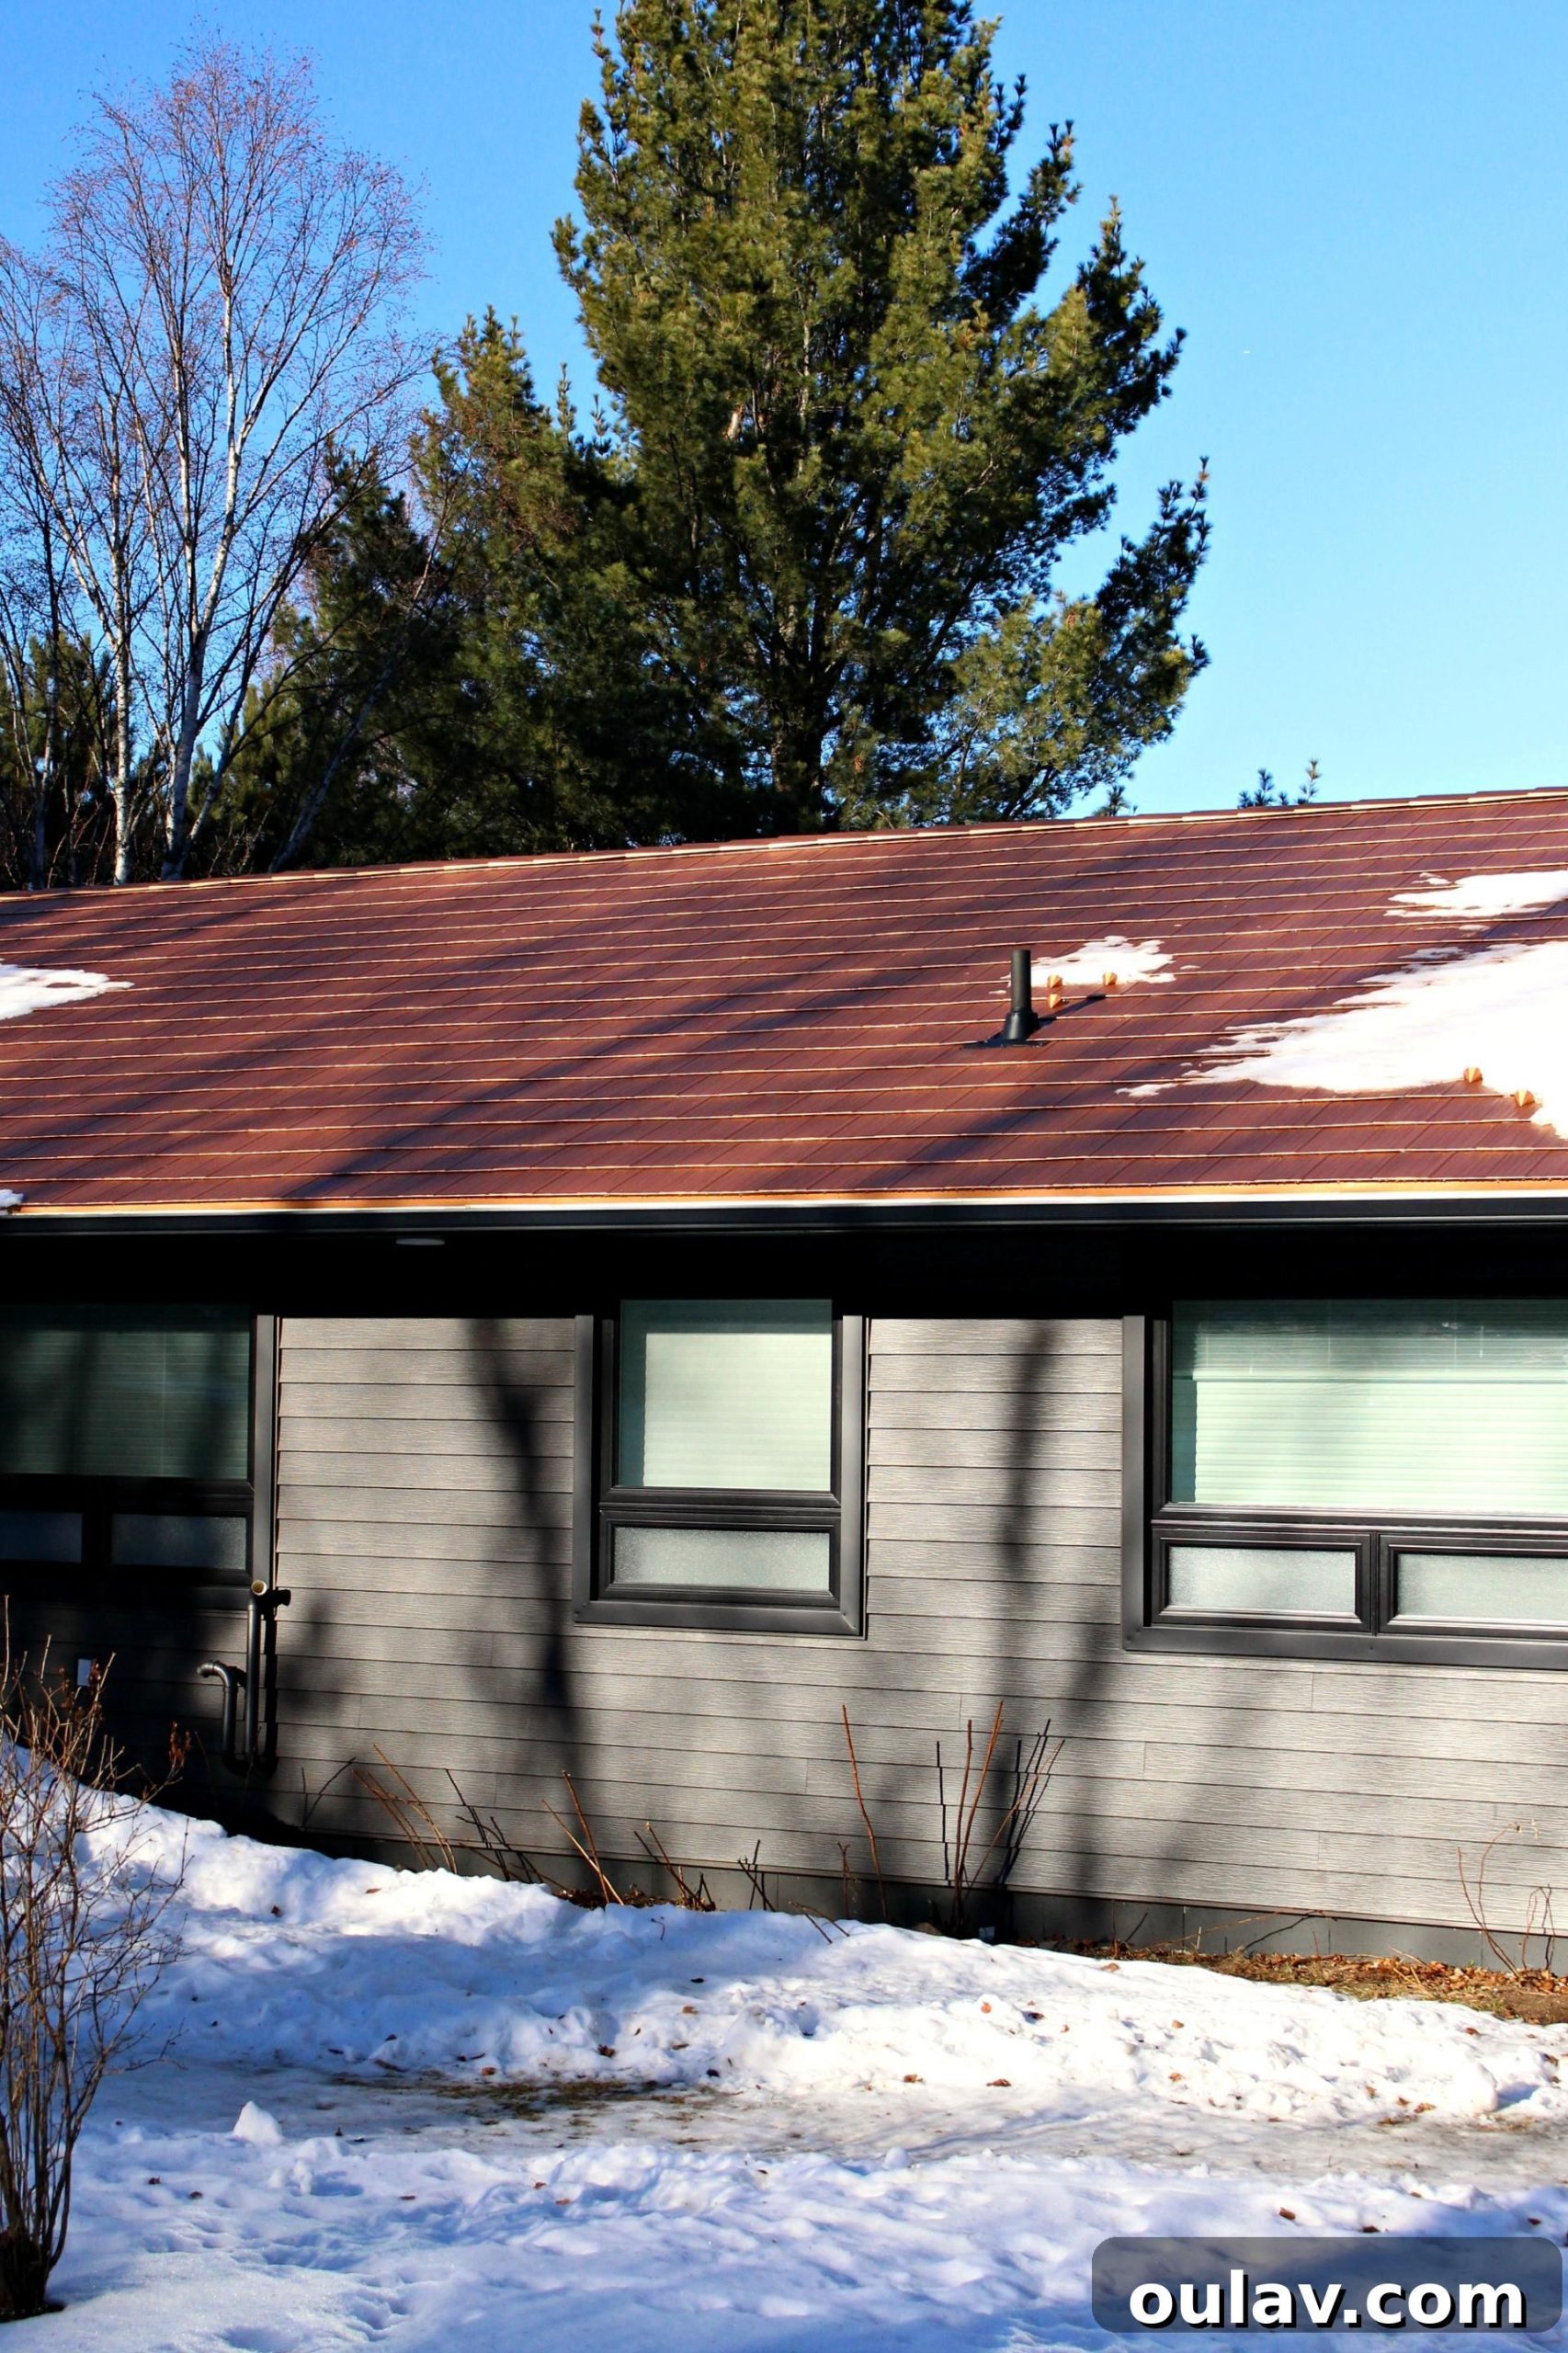
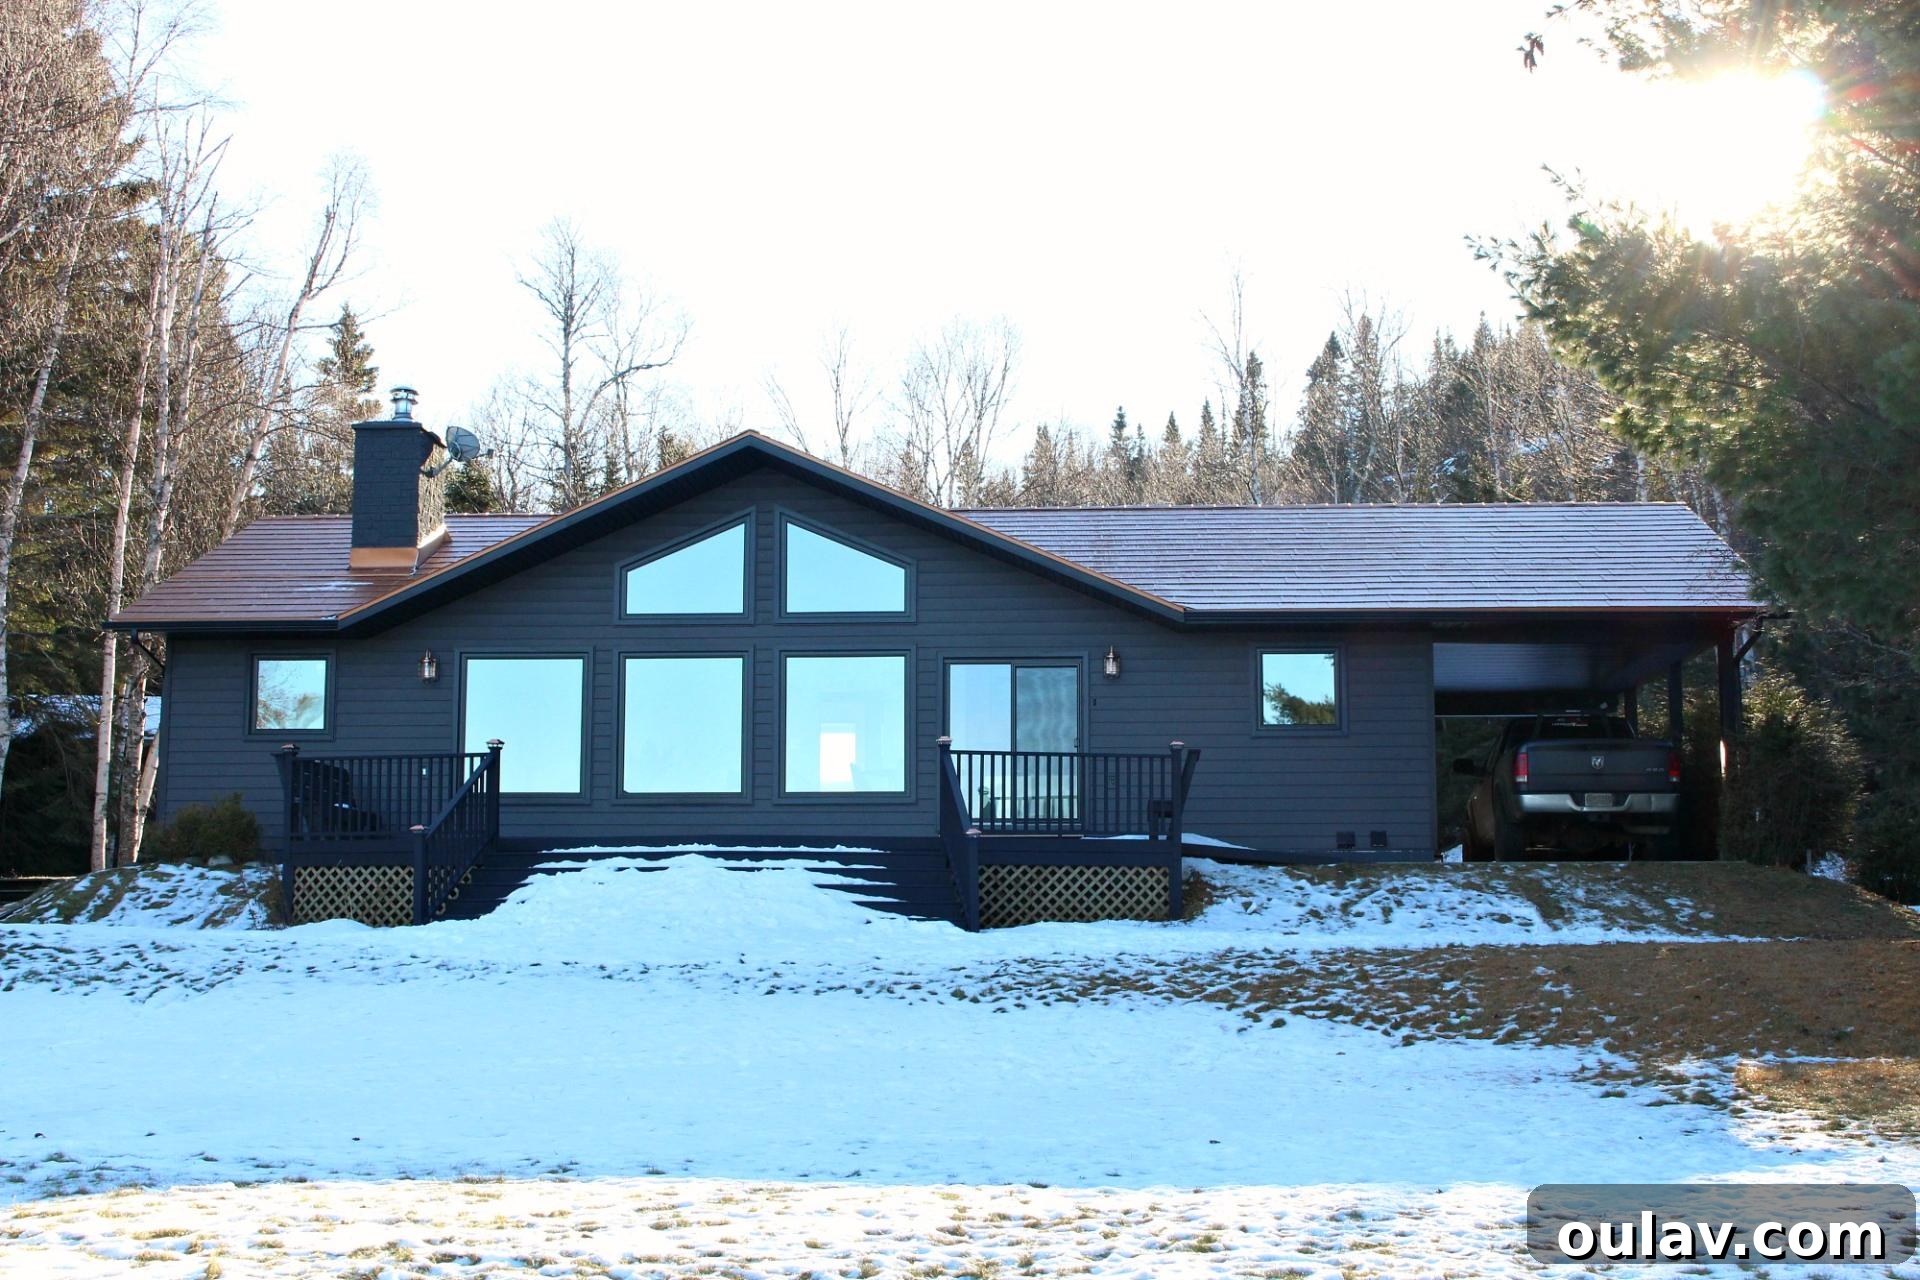
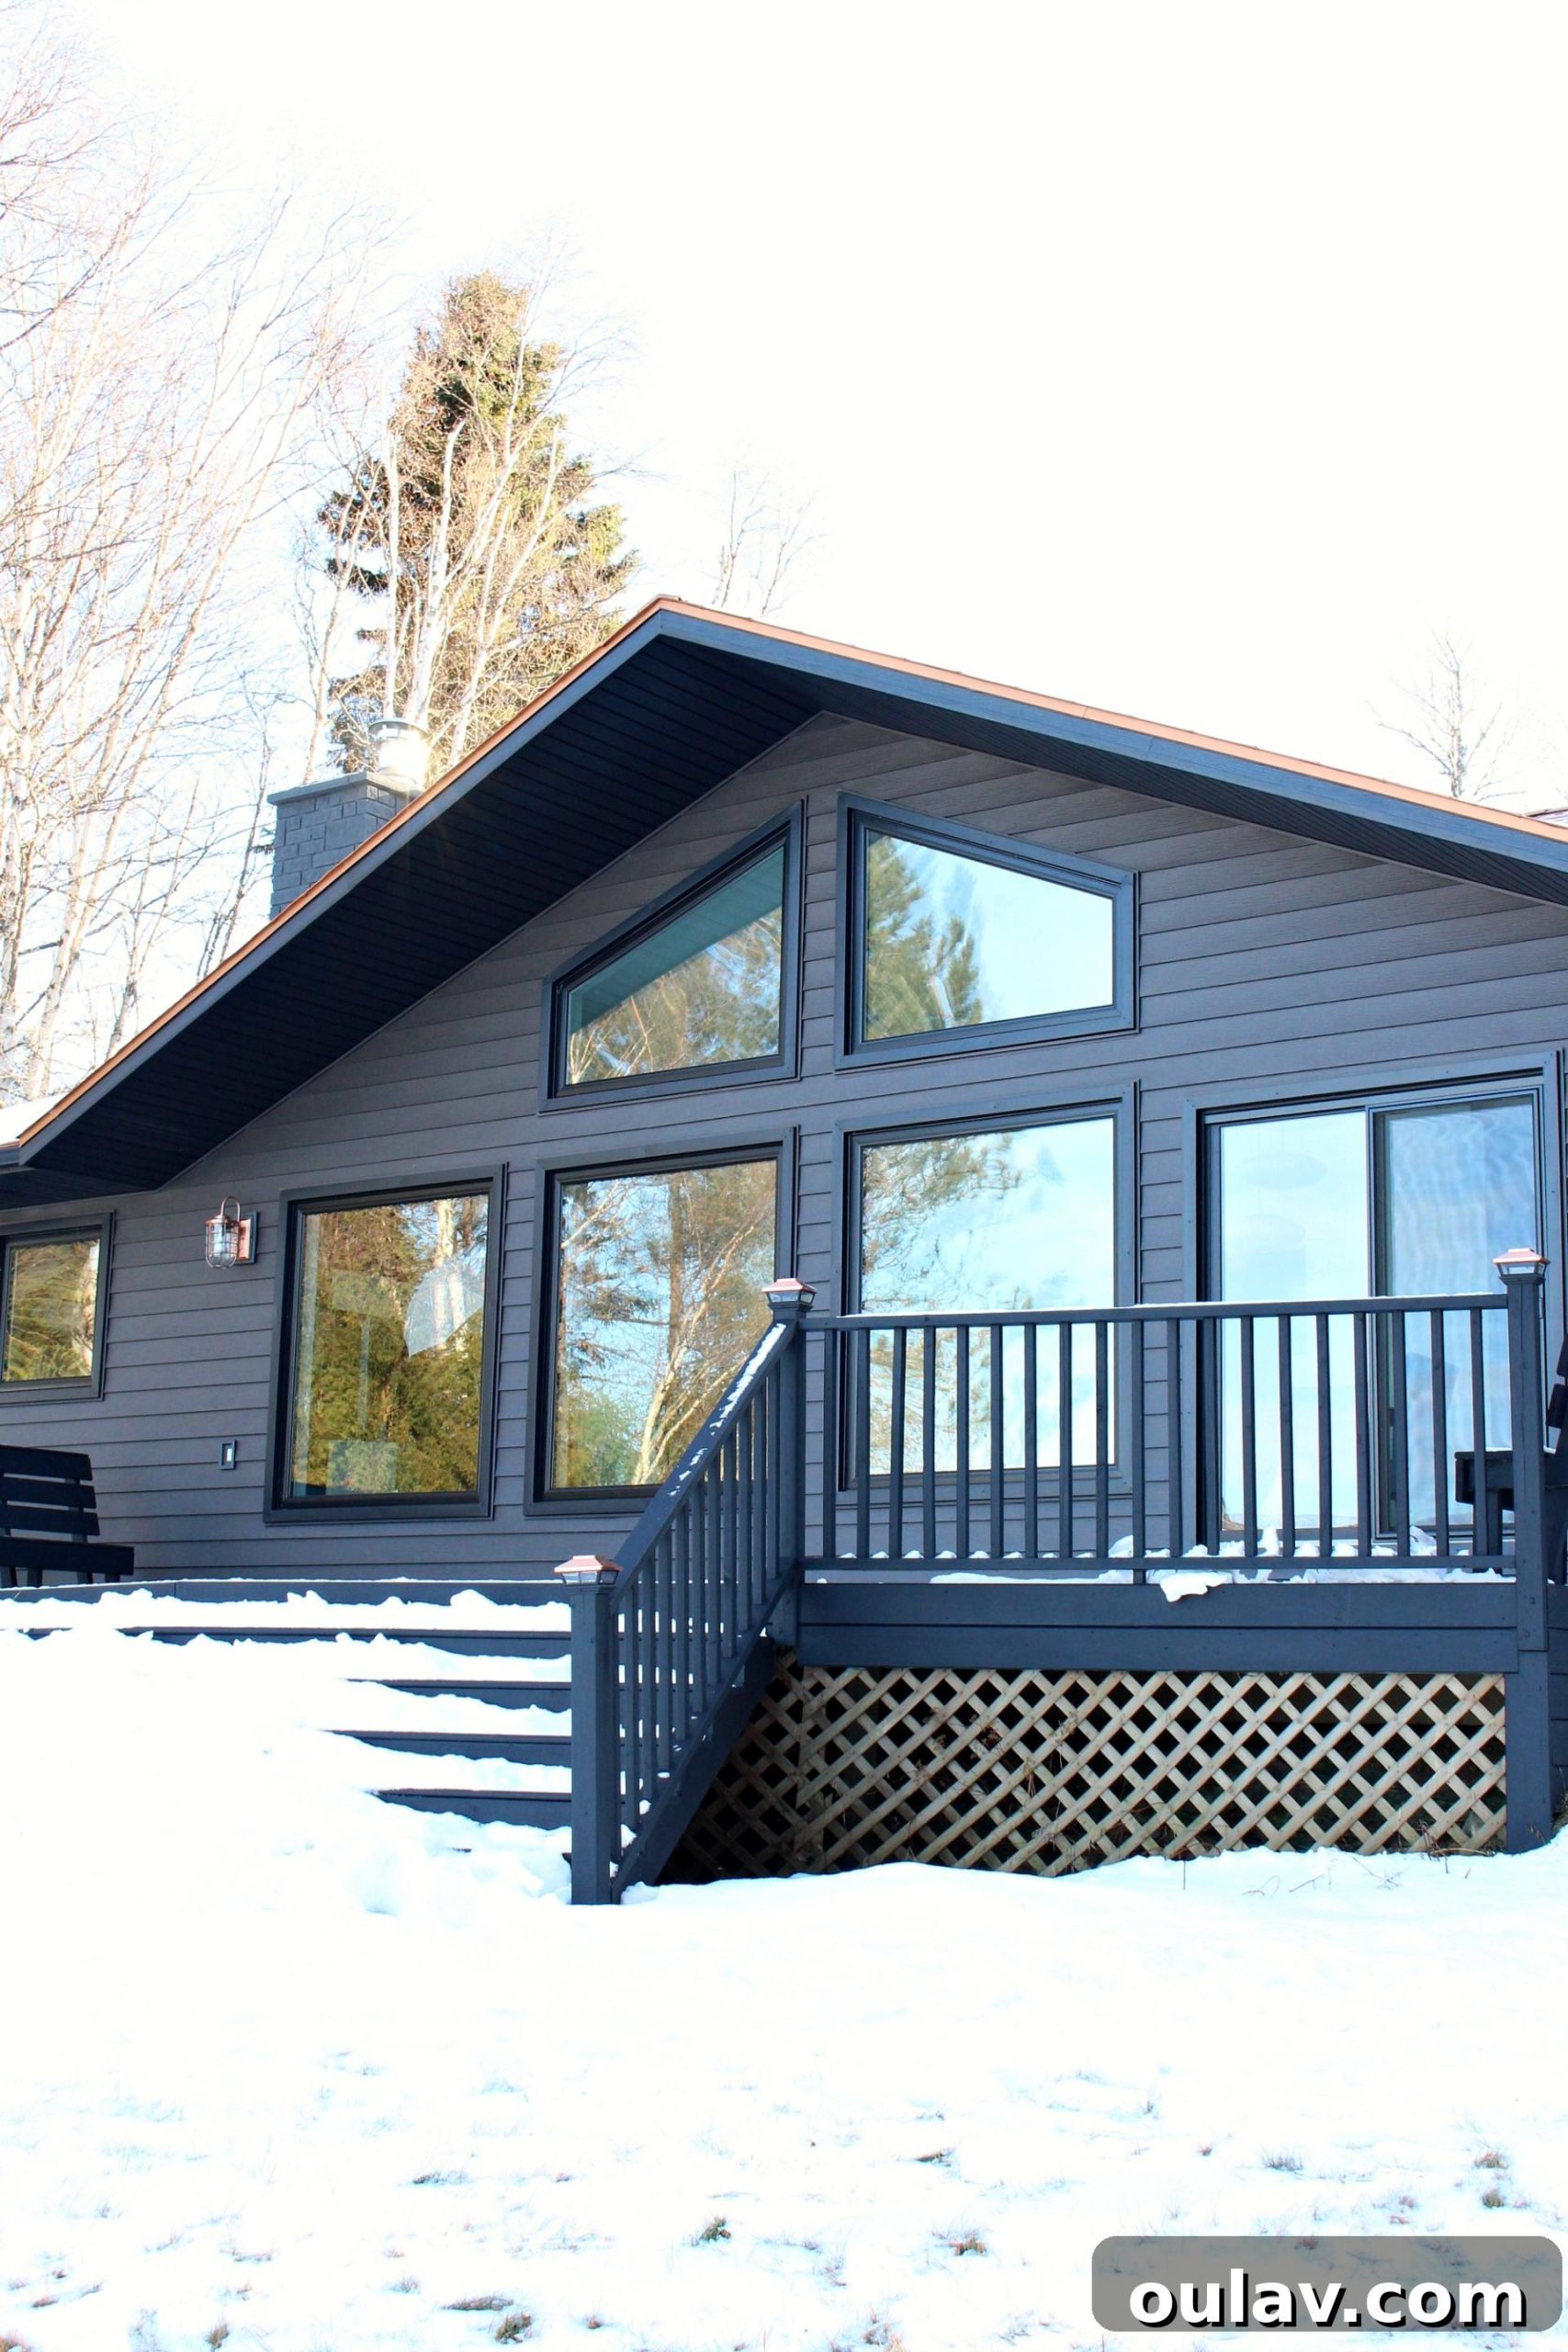
Despite the various issues we encountered with our installers, the decision to enlarge our windows proved to be an exceptional investment. From the outside, our home now boasts a strikingly modern aesthetic, thanks to the grandeur of the bigger windows. The thoughtful choice of incorporating two distinct widths with a consistent height lends a truly custom and sophisticated look. Internally, the new, more generously sized windows on the roadside now perfectly complement the scale of the expansive windows we already enjoyed on the lakeside. This newfound balance has rectified a long-standing architectural discord, making the entire house feel more cohesive and intentionally designed. Beyond the visual appeal, the rooms bathed in the glow of these larger windows are dramatically brighter and feel significantly more spacious as natural light pours in. This change was particularly impactful during the long, often dreary winter months, as we could finally capitalize on the abundant sunlight this side of the house receives, transforming our living spaces into cheerier havens. I anticipated a positive change, but the sheer magnitude of the difference larger windows would make truly exceeded all expectations.
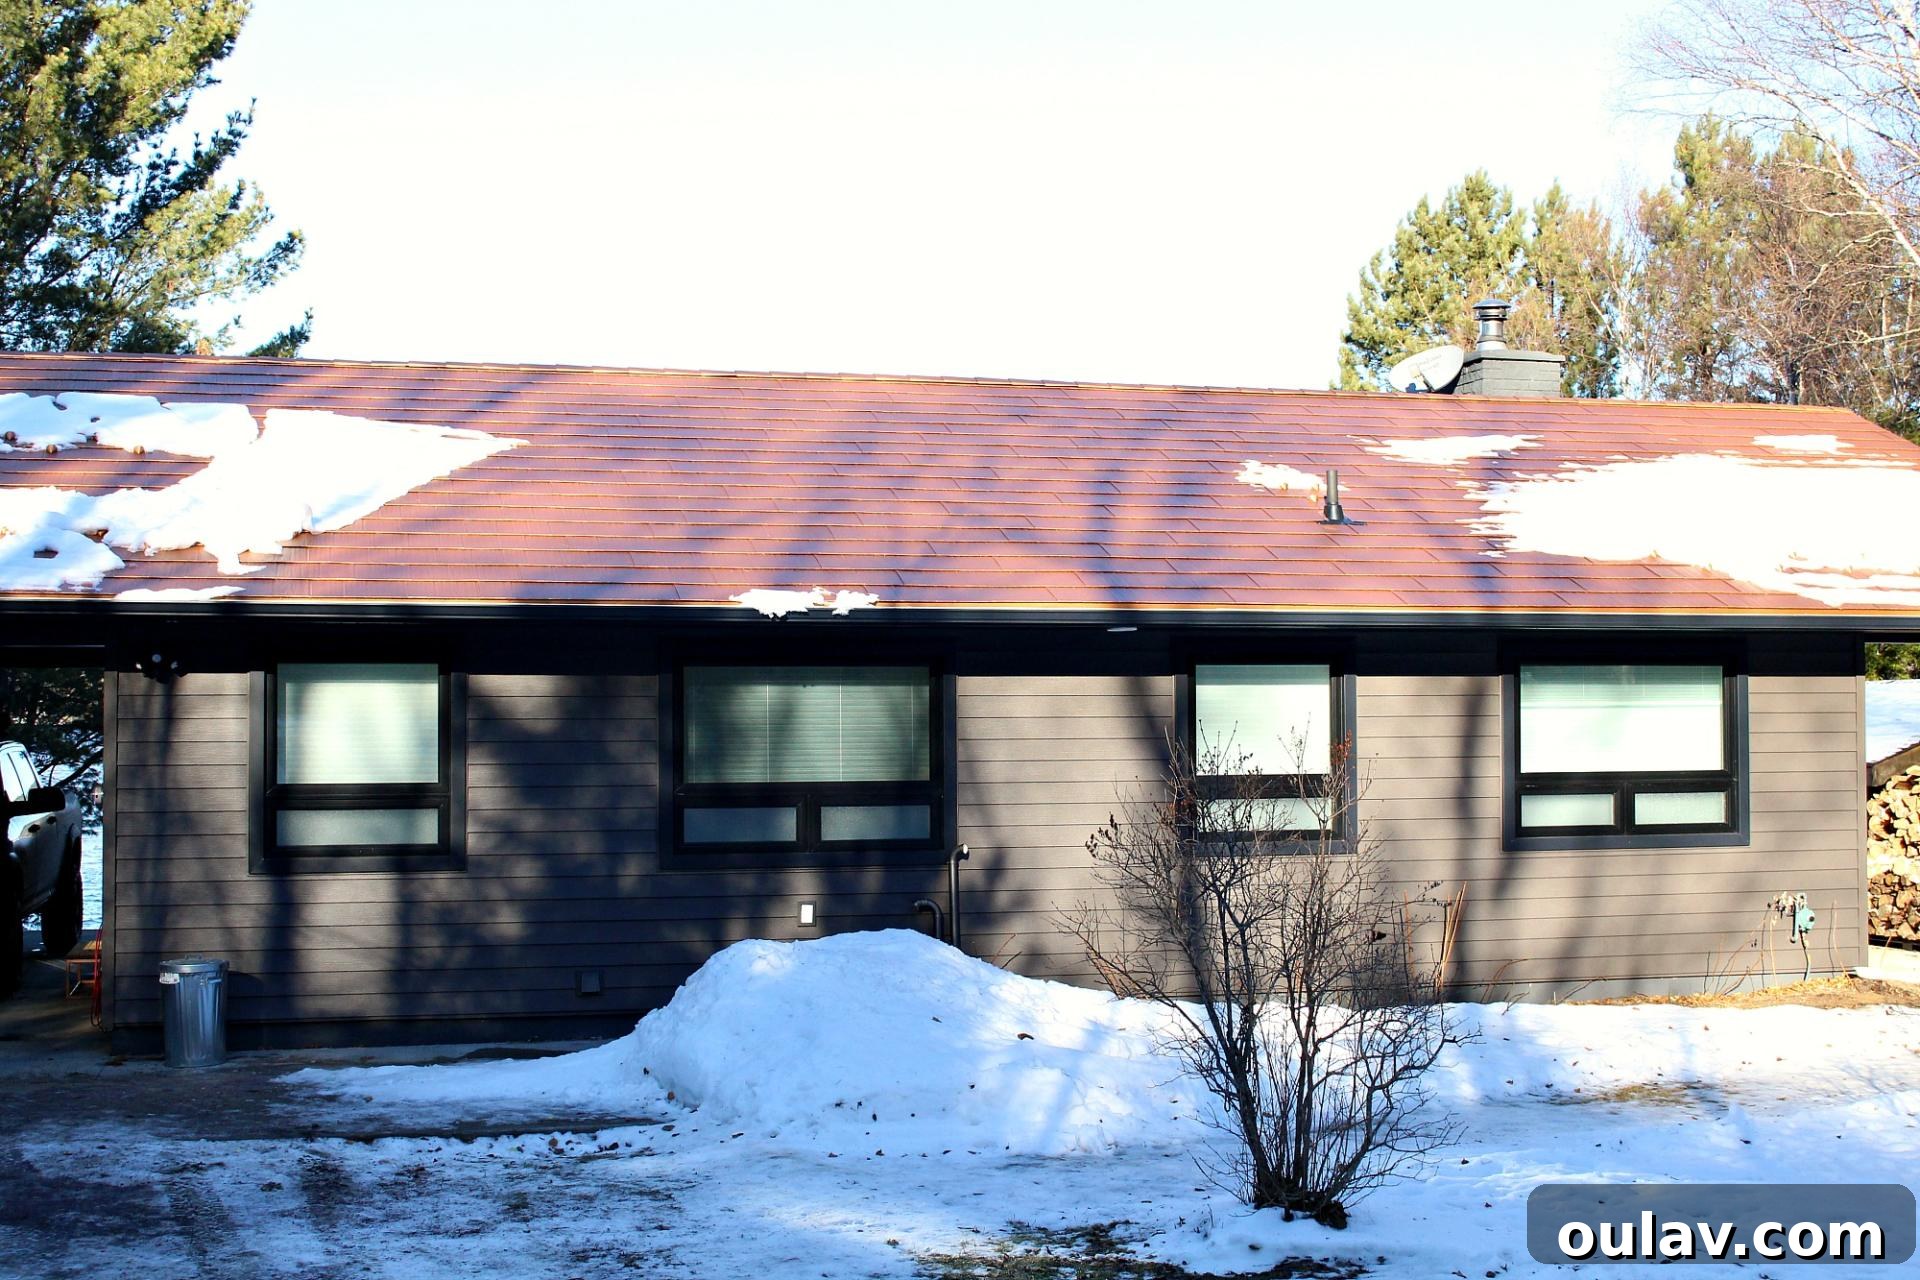
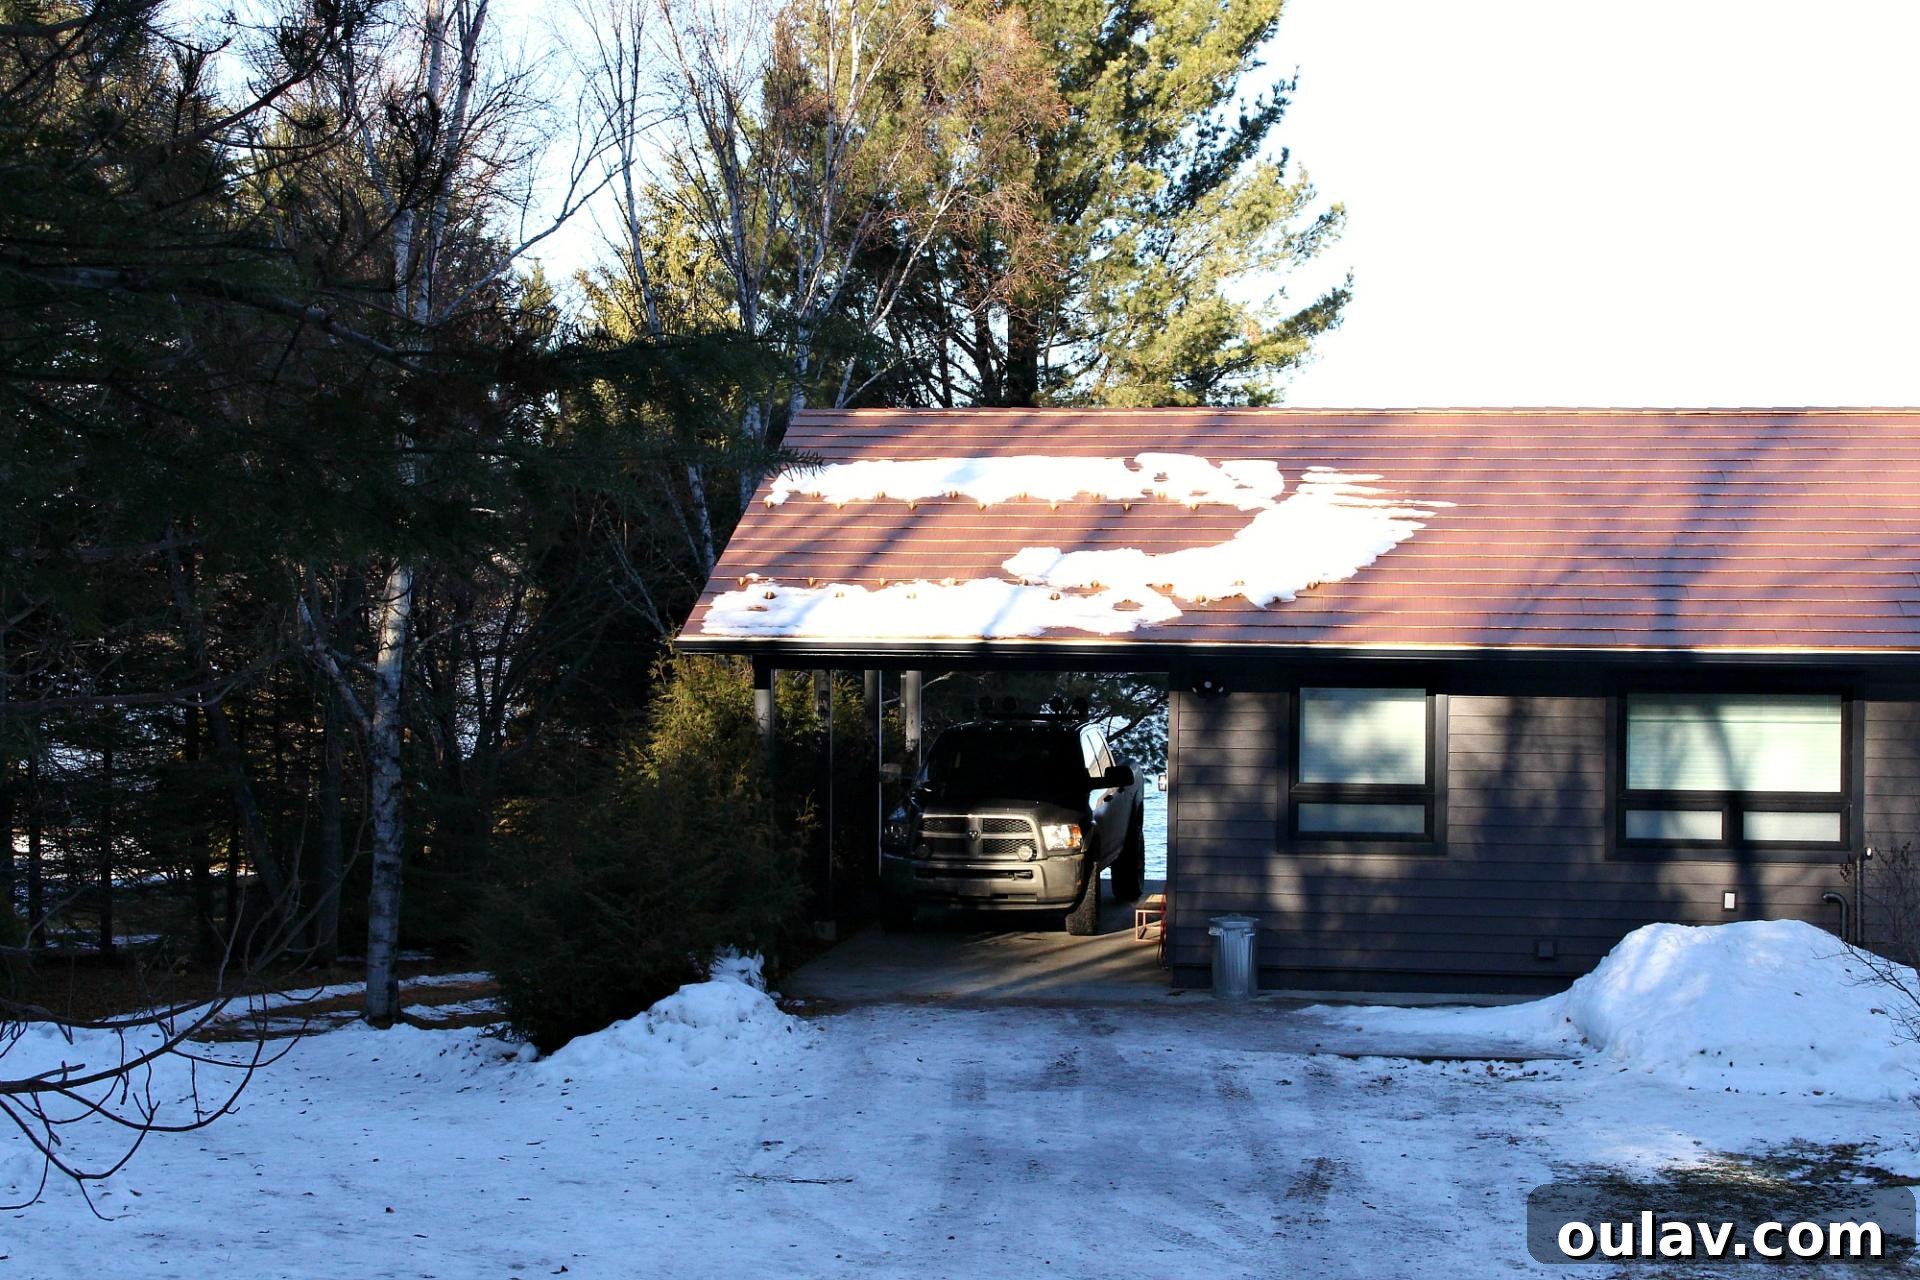
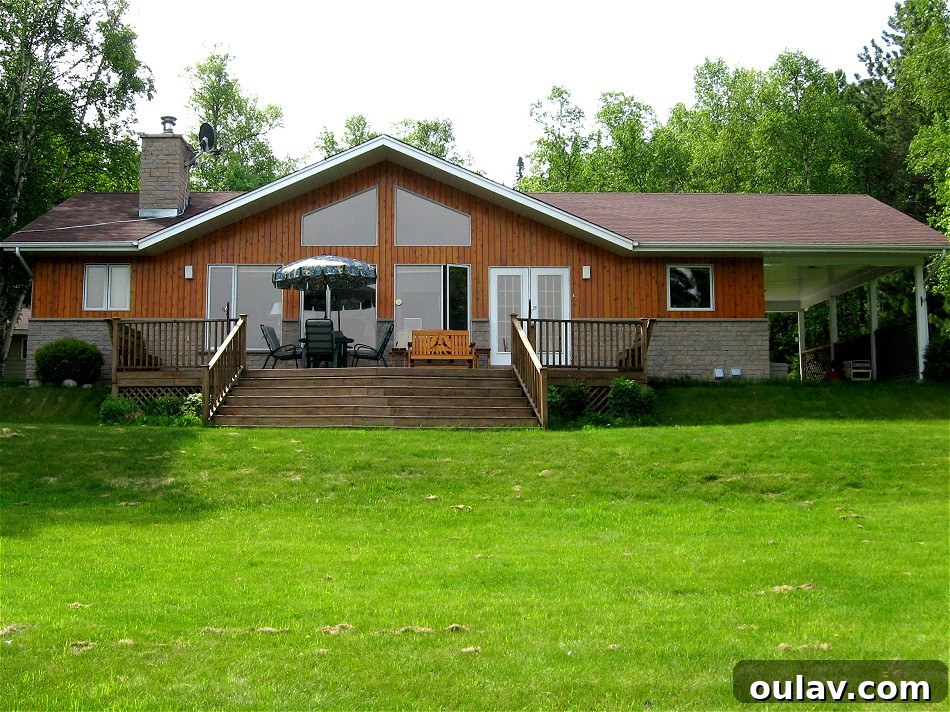
You might have caught glimpses of these new additions in earlier posts, but here’s a compelling before-and-after comparison of our roadside facade showcasing the impressive new, larger windows. For those eager to see the full transformation, a complete home before-and-after will be shared once the snow melts and we can refresh our landscaping, so definitely stay tuned for that reveal!
Redefining Your Home’s Aesthetic: The Power of Larger Windows
A Transformed Exterior: The Impact of Bigger Windows
The visual impact of larger windows on a home’s exterior cannot be overstated. They instantly modernize the facade, providing a clean, contemporary look that elevates curb appeal. Our strategic choice of varying widths while maintaining a consistent height for the new windows resulted in an architectural detail that appears custom-designed, adding significant character and value to our property. This thoughtful approach ensures that the house, from every angle, projects an image of refined intentionality.
Roadside Transformation: Before and After (Exterior View)
Witnessing the dramatic shift in the house’s exterior was one of the most rewarding aspects of this renovation. The previously smaller windows contributed to a somewhat dated and less inviting appearance. By enlarging them, we not only enhanced the interior experience but also fundamentally reshaped the external perception of our home. The following images capture the striking difference, illustrating how a single change can profoundly alter a home’s entire demeanor.
Choosing and Customizing Your Dream Windows: A Detailed Guide
The Crucial Research Phase: Showrooms and Quotes
Designing our new windows was an unexpectedly enjoyable part of the renovation. Our initial step involved visiting numerous showrooms around town and obtaining multiple quotes. This exploratory phase was invaluable, as it allowed us to familiarize ourselves with the vast array of styles, materials, and technical terminology. Understanding the nuances between different window types, such as crank vs. sliding mechanisms or various glass options, proved immensely helpful. Even though our roofer/siding installer offered a more competitive price, his lack of a dedicated showroom wasn’t an issue, as we had already solidified our preferences and knew precisely what we desired. We learned that our chosen windows were manufactured in Toronto, and we were fortunate enough to inspect them firsthand in a newly constructed local home before placing our custom order. This pre-purchase viewing reinforced our confidence in our selections.
Crafting Personalized Windows: Our Specific Requirements
The ability to order custom-made windows was essential, as I had a very clear vision for several specific features:
- Crank Operation: I strongly preferred crank-style windows over sliding ones. My reasoning was based on their superior sealing capabilities, which are crucial for retaining heat and effectively blocking out cold drafts, contributing to better energy efficiency.
- Fold-Away Handles: To maintain a sleek and uncluttered interior aesthetic, I specifically requested crank handles that could fold inward and tuck neatly out of sight when not in use.
- Maximized Size: My primary goal was to install windows that were as large as reasonably possible, pushing the boundaries to maximize natural light and views without compromising structural integrity.
- Roadside Configuration: For the roadside windows, I envisioned a dual-pane design: a large, unobstructed picture window at the top for expansive views, complemented by a smaller awning window at the bottom. This bottom section would allow for ventilation without impeding the overall aesthetic or obstructing the view.
- Strategic Privacy Glass: Given that the enlarged windows would extend lower, offering views directly into areas like the bathroom and bedroom, privacy glass for the lower, operable sections was a non-negotiable requirement.
- Lakeside Transformation: On the lakeside, our aim was to eliminate the old casement windows and primarily install large picture windows, opening up an uninterrupted panorama of the lake.
- Symmetry for Lakeside Ends: We sought to unify the appearance of the windows at the extreme ends of the house on the lakeside. Previously, one was an awning style while the other was casement. Our plan was to replace both with a consistent awning design for enhanced symmetry.
- Enhanced Thermal Performance: Both my partner and I prioritized triple-pane glass for all new windows. This choice was driven by the desire for superior heat retention, crucial for comfort and reducing energy costs, especially during colder months.
- Striking Color Contrast: A key aesthetic preference was for black exteriors and crisp white interiors. This contrast adds a modern touch to the facade while maintaining a bright and clean feel inside the home.
Overcoming Design Hurdles: Practical Limitations and Solutions
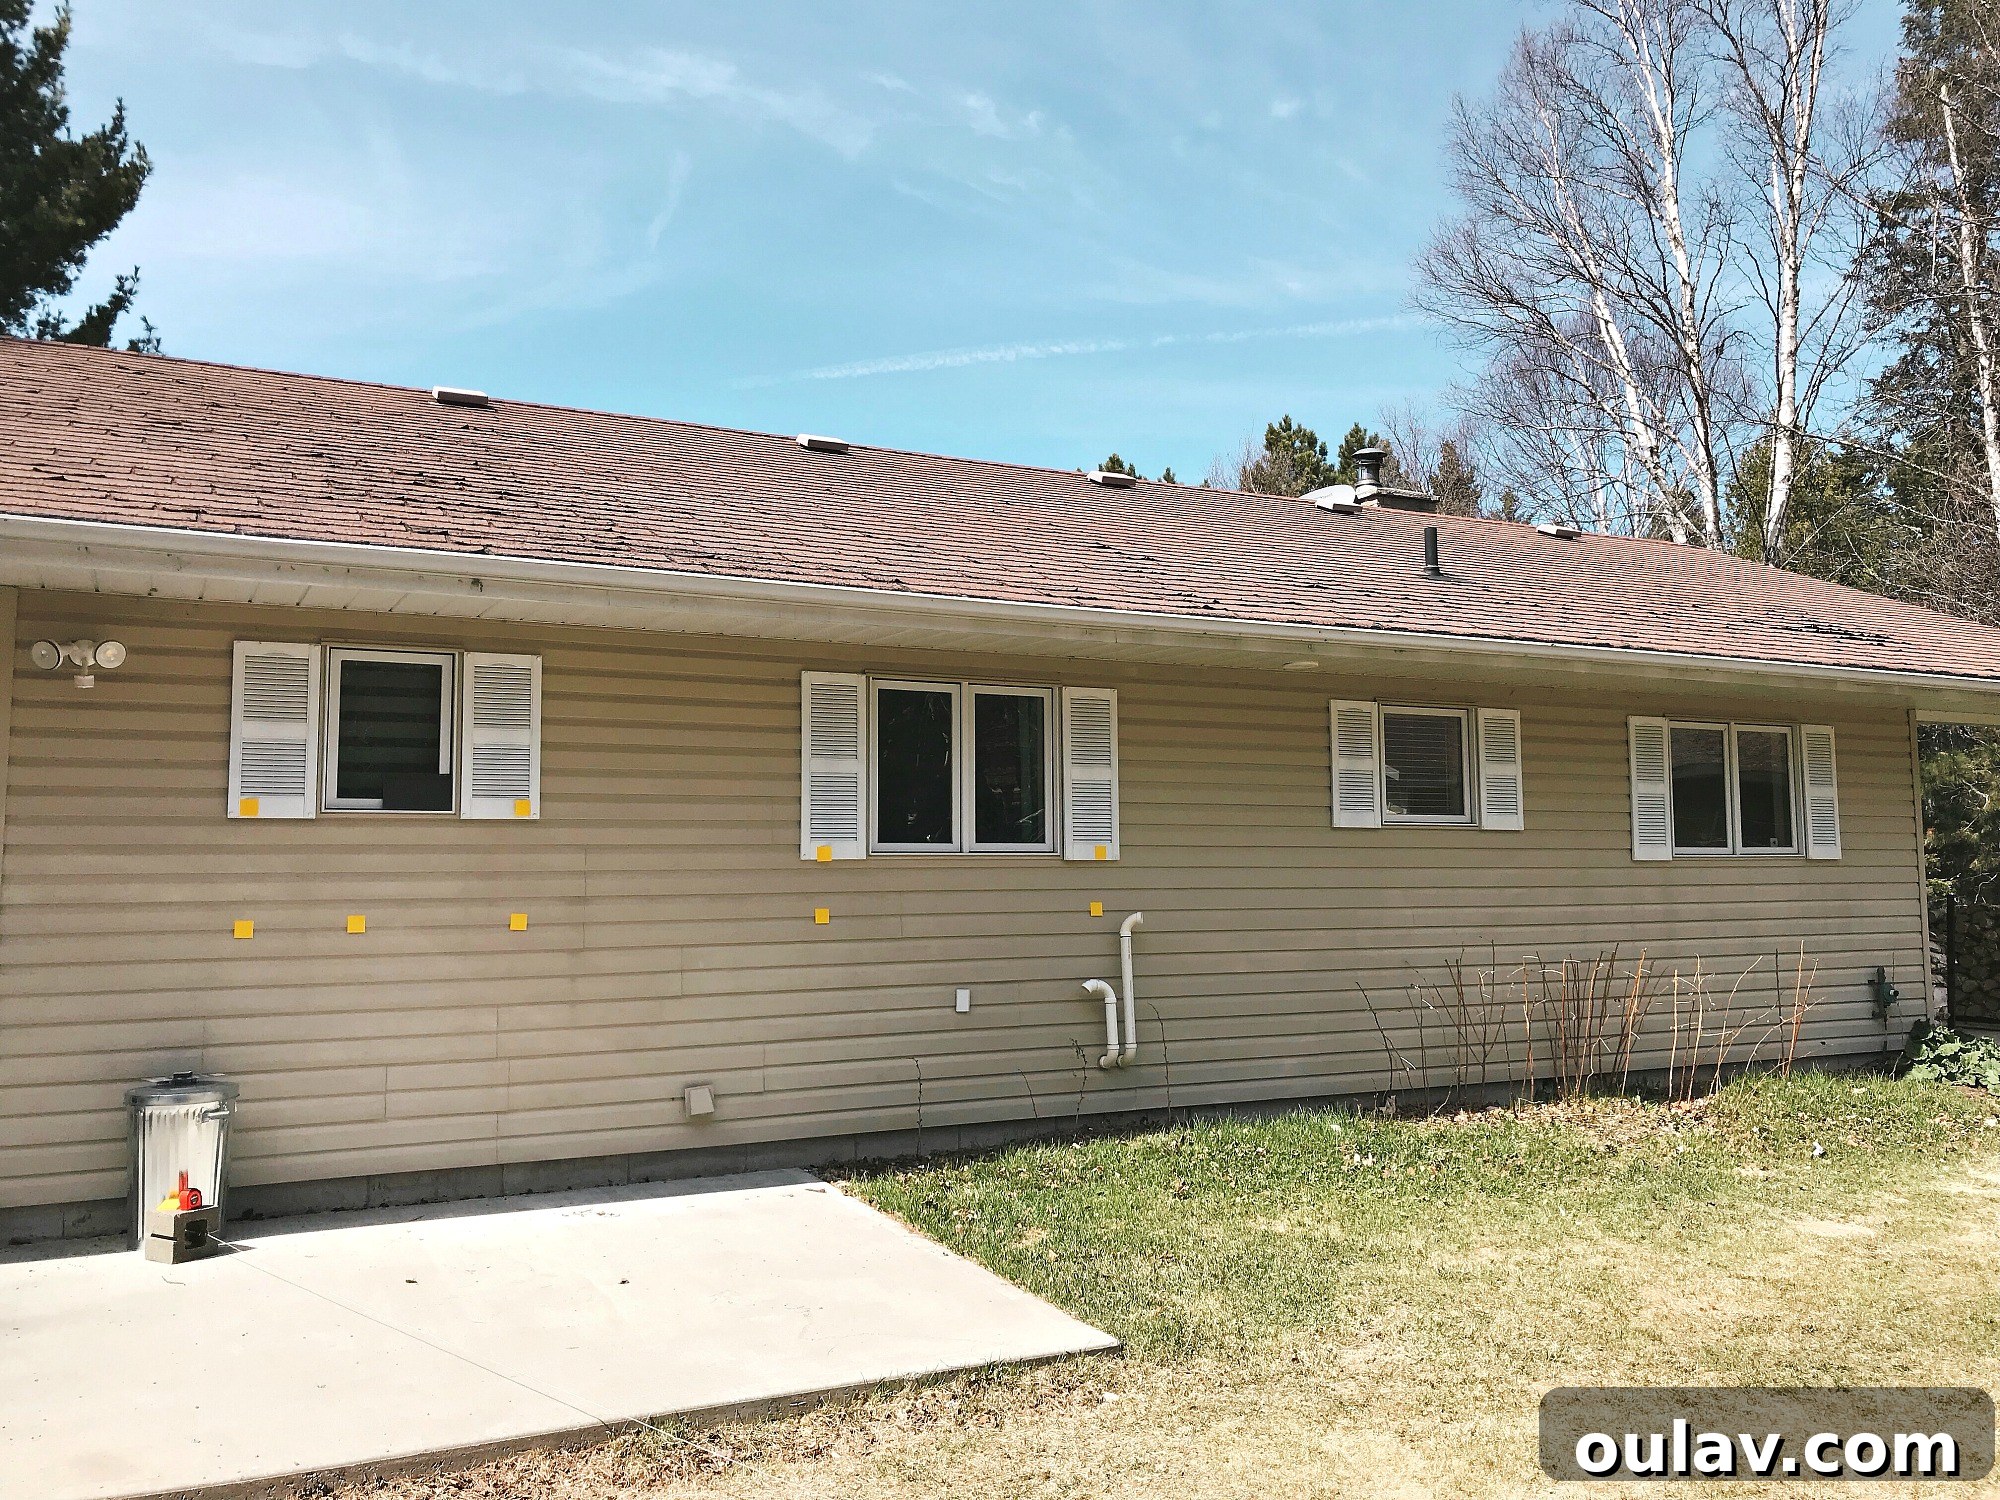
To visualize the scale and placement of the new windows, I meticulously used post-it notes, marking out the desired sizes both inside and outside the house. I also inquired about any standard sizes that might offer cost savings or any inherent limitations. A few practical issues did emerge during this planning phase. For instance, the awning windows intended for the bottom sections of the two larger roadside windows needed to be fabricated as two distinct pieces rather than a single unit due to structural or manufacturing constraints. Additionally, on the lakeside, my initial design called for the left window to mirror the adjacent sliding door, featuring a casement style split down the middle. However, the sheer size of the glass panel required for this mechanism proved too large for practical operation. In response, we opted to make all these lakeside windows picture-style, simplifying the design while still achieving our goal of unobstructed views. Aside from these minor adjustments, our ambitious plans and specific designs were, thankfully, entirely feasible.
Navigating the Installation: What to Expect When Enlarging Windows
The Nerve-Wracking Process: Cutting into Your Home
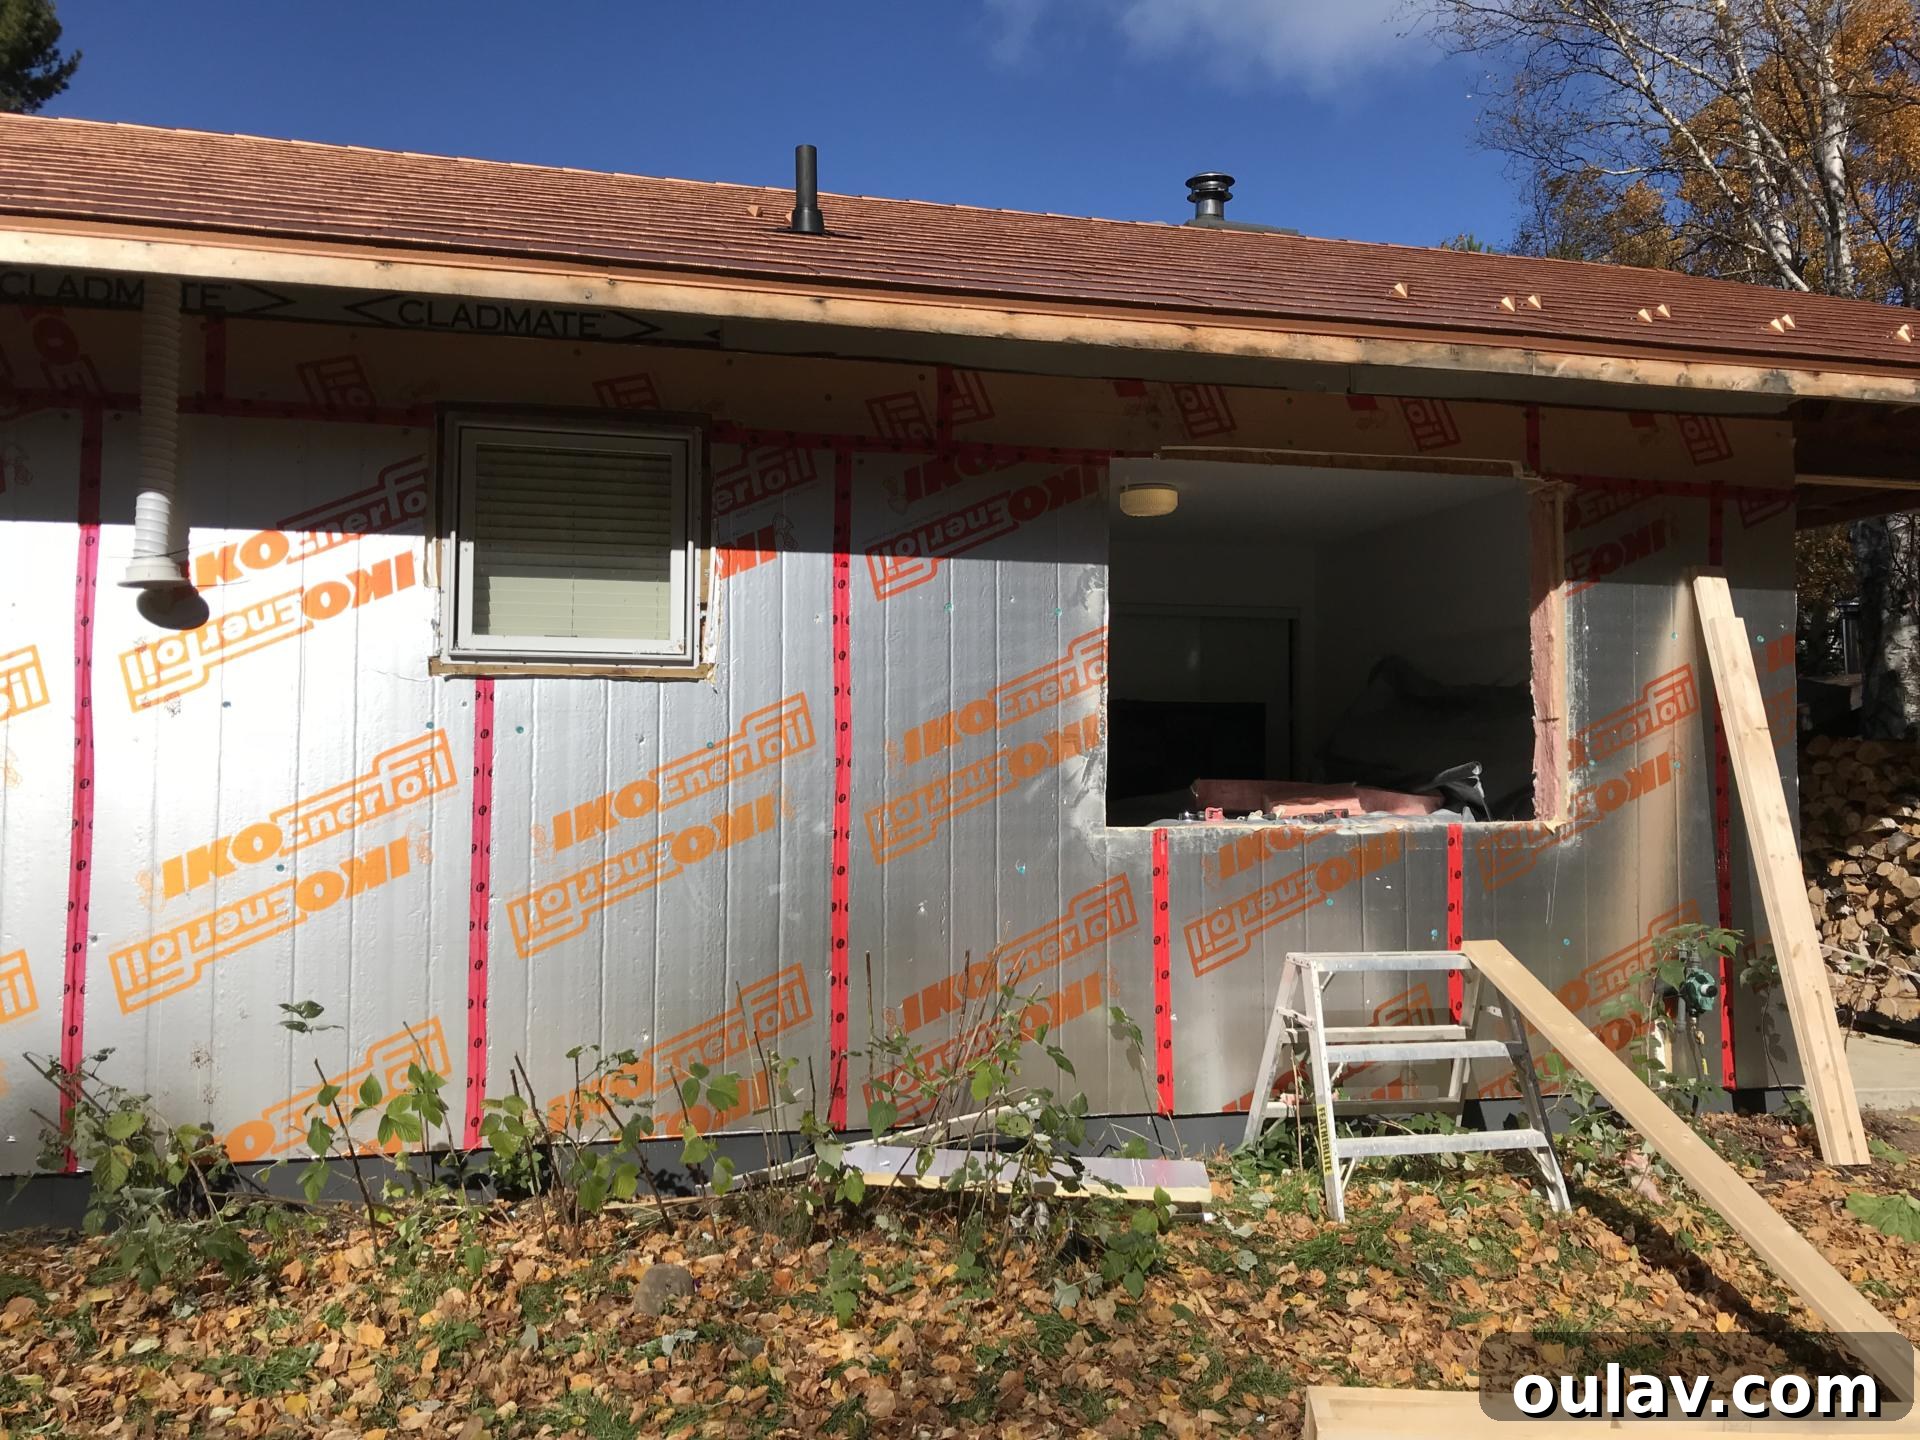
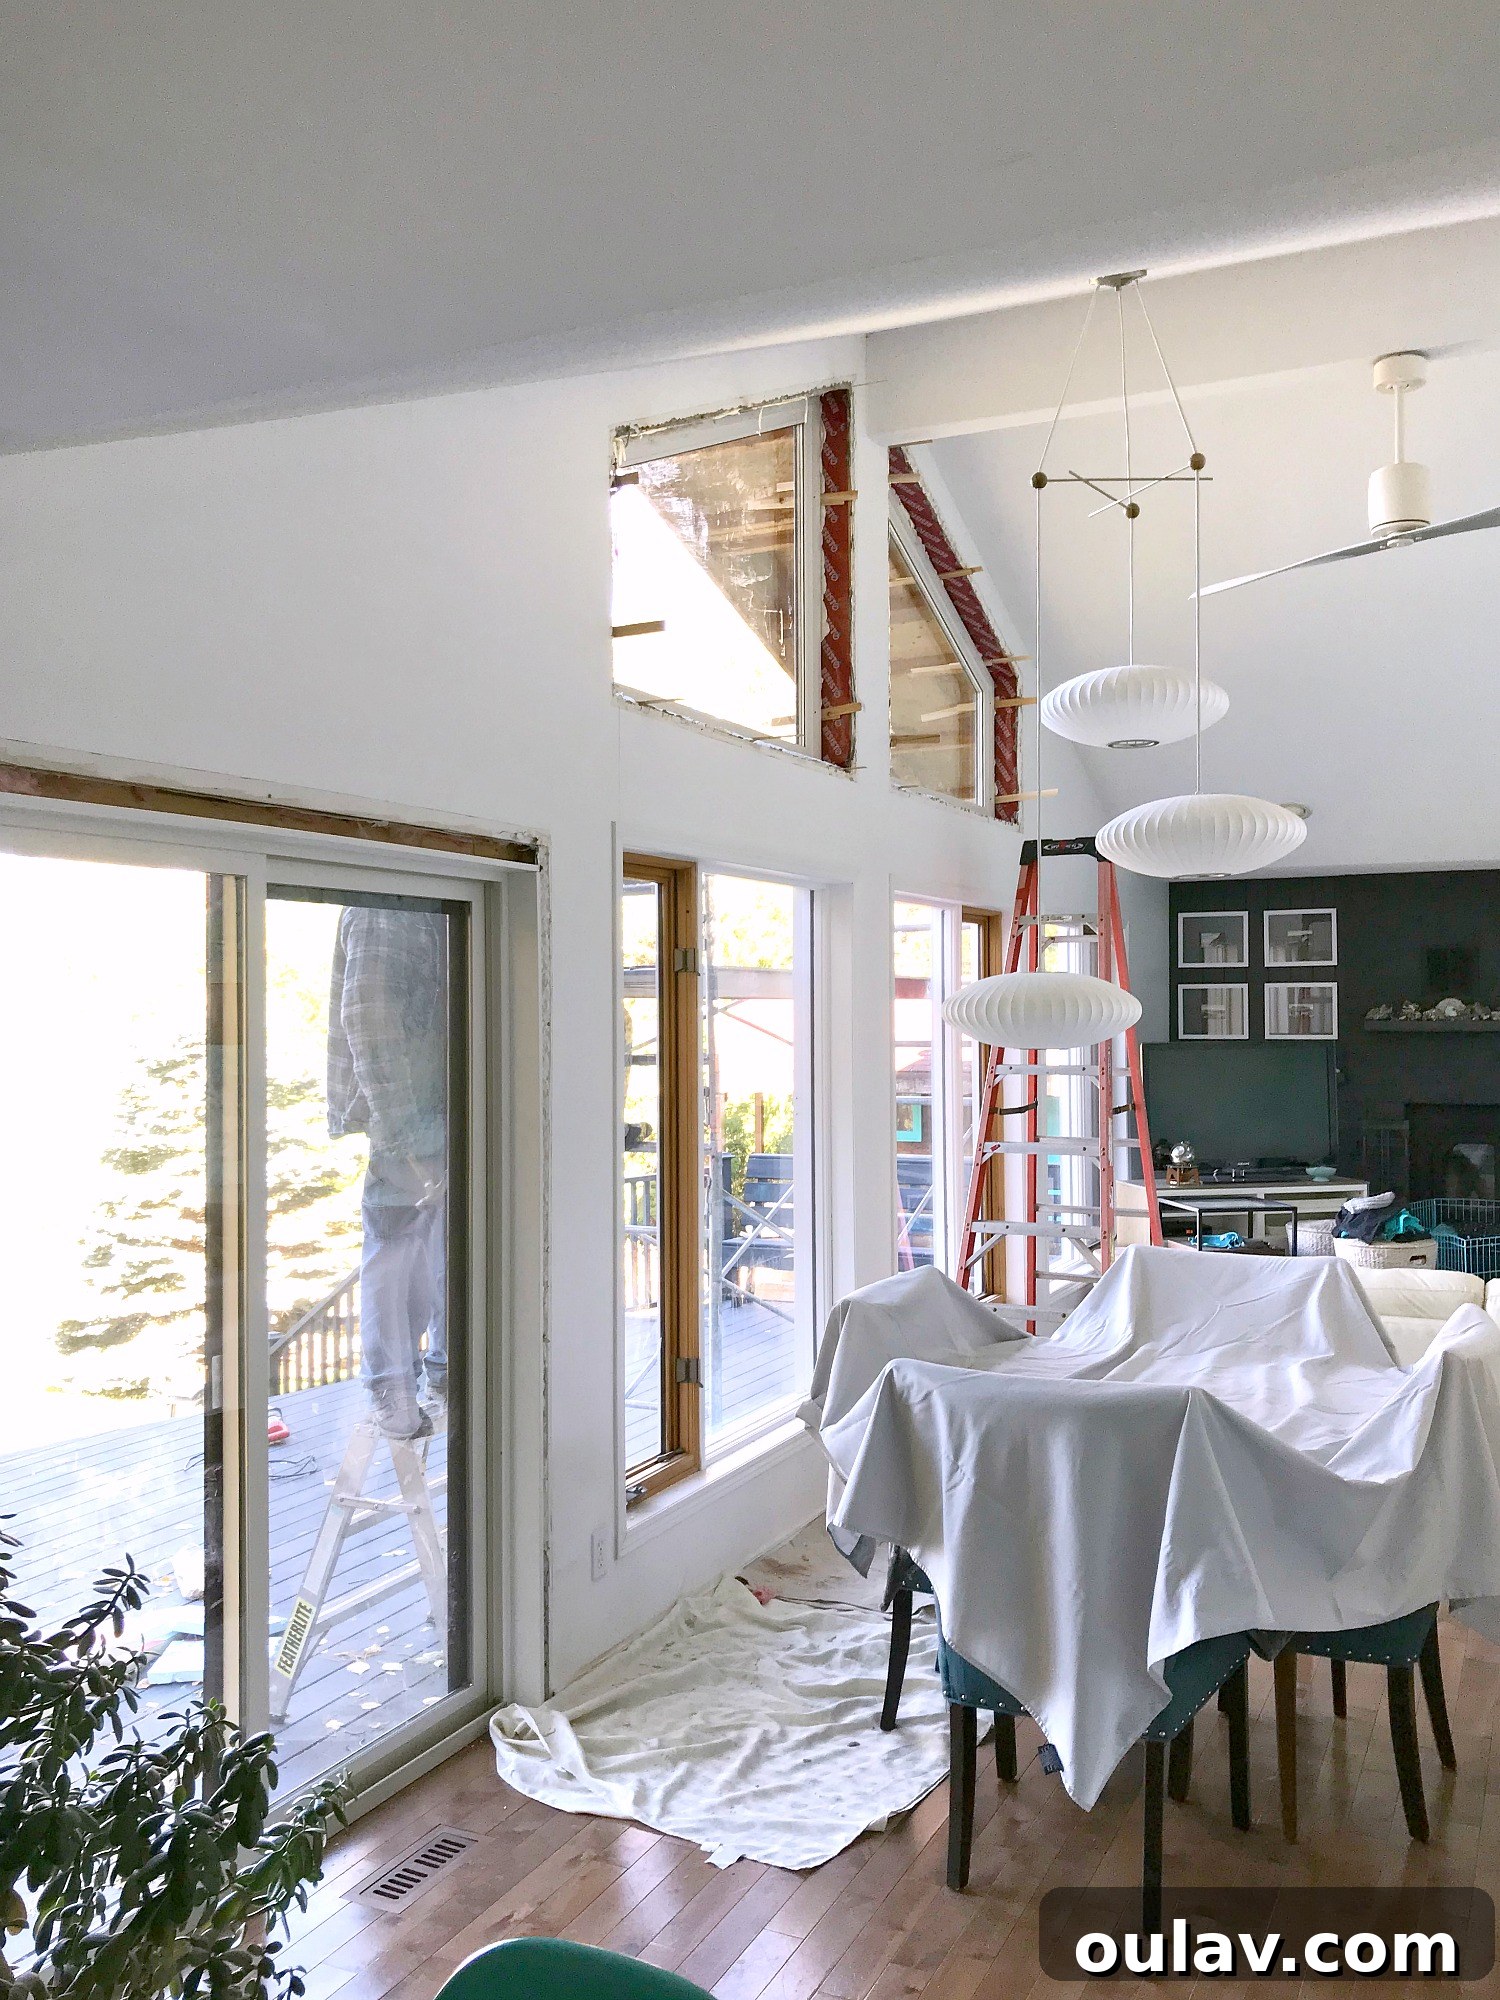
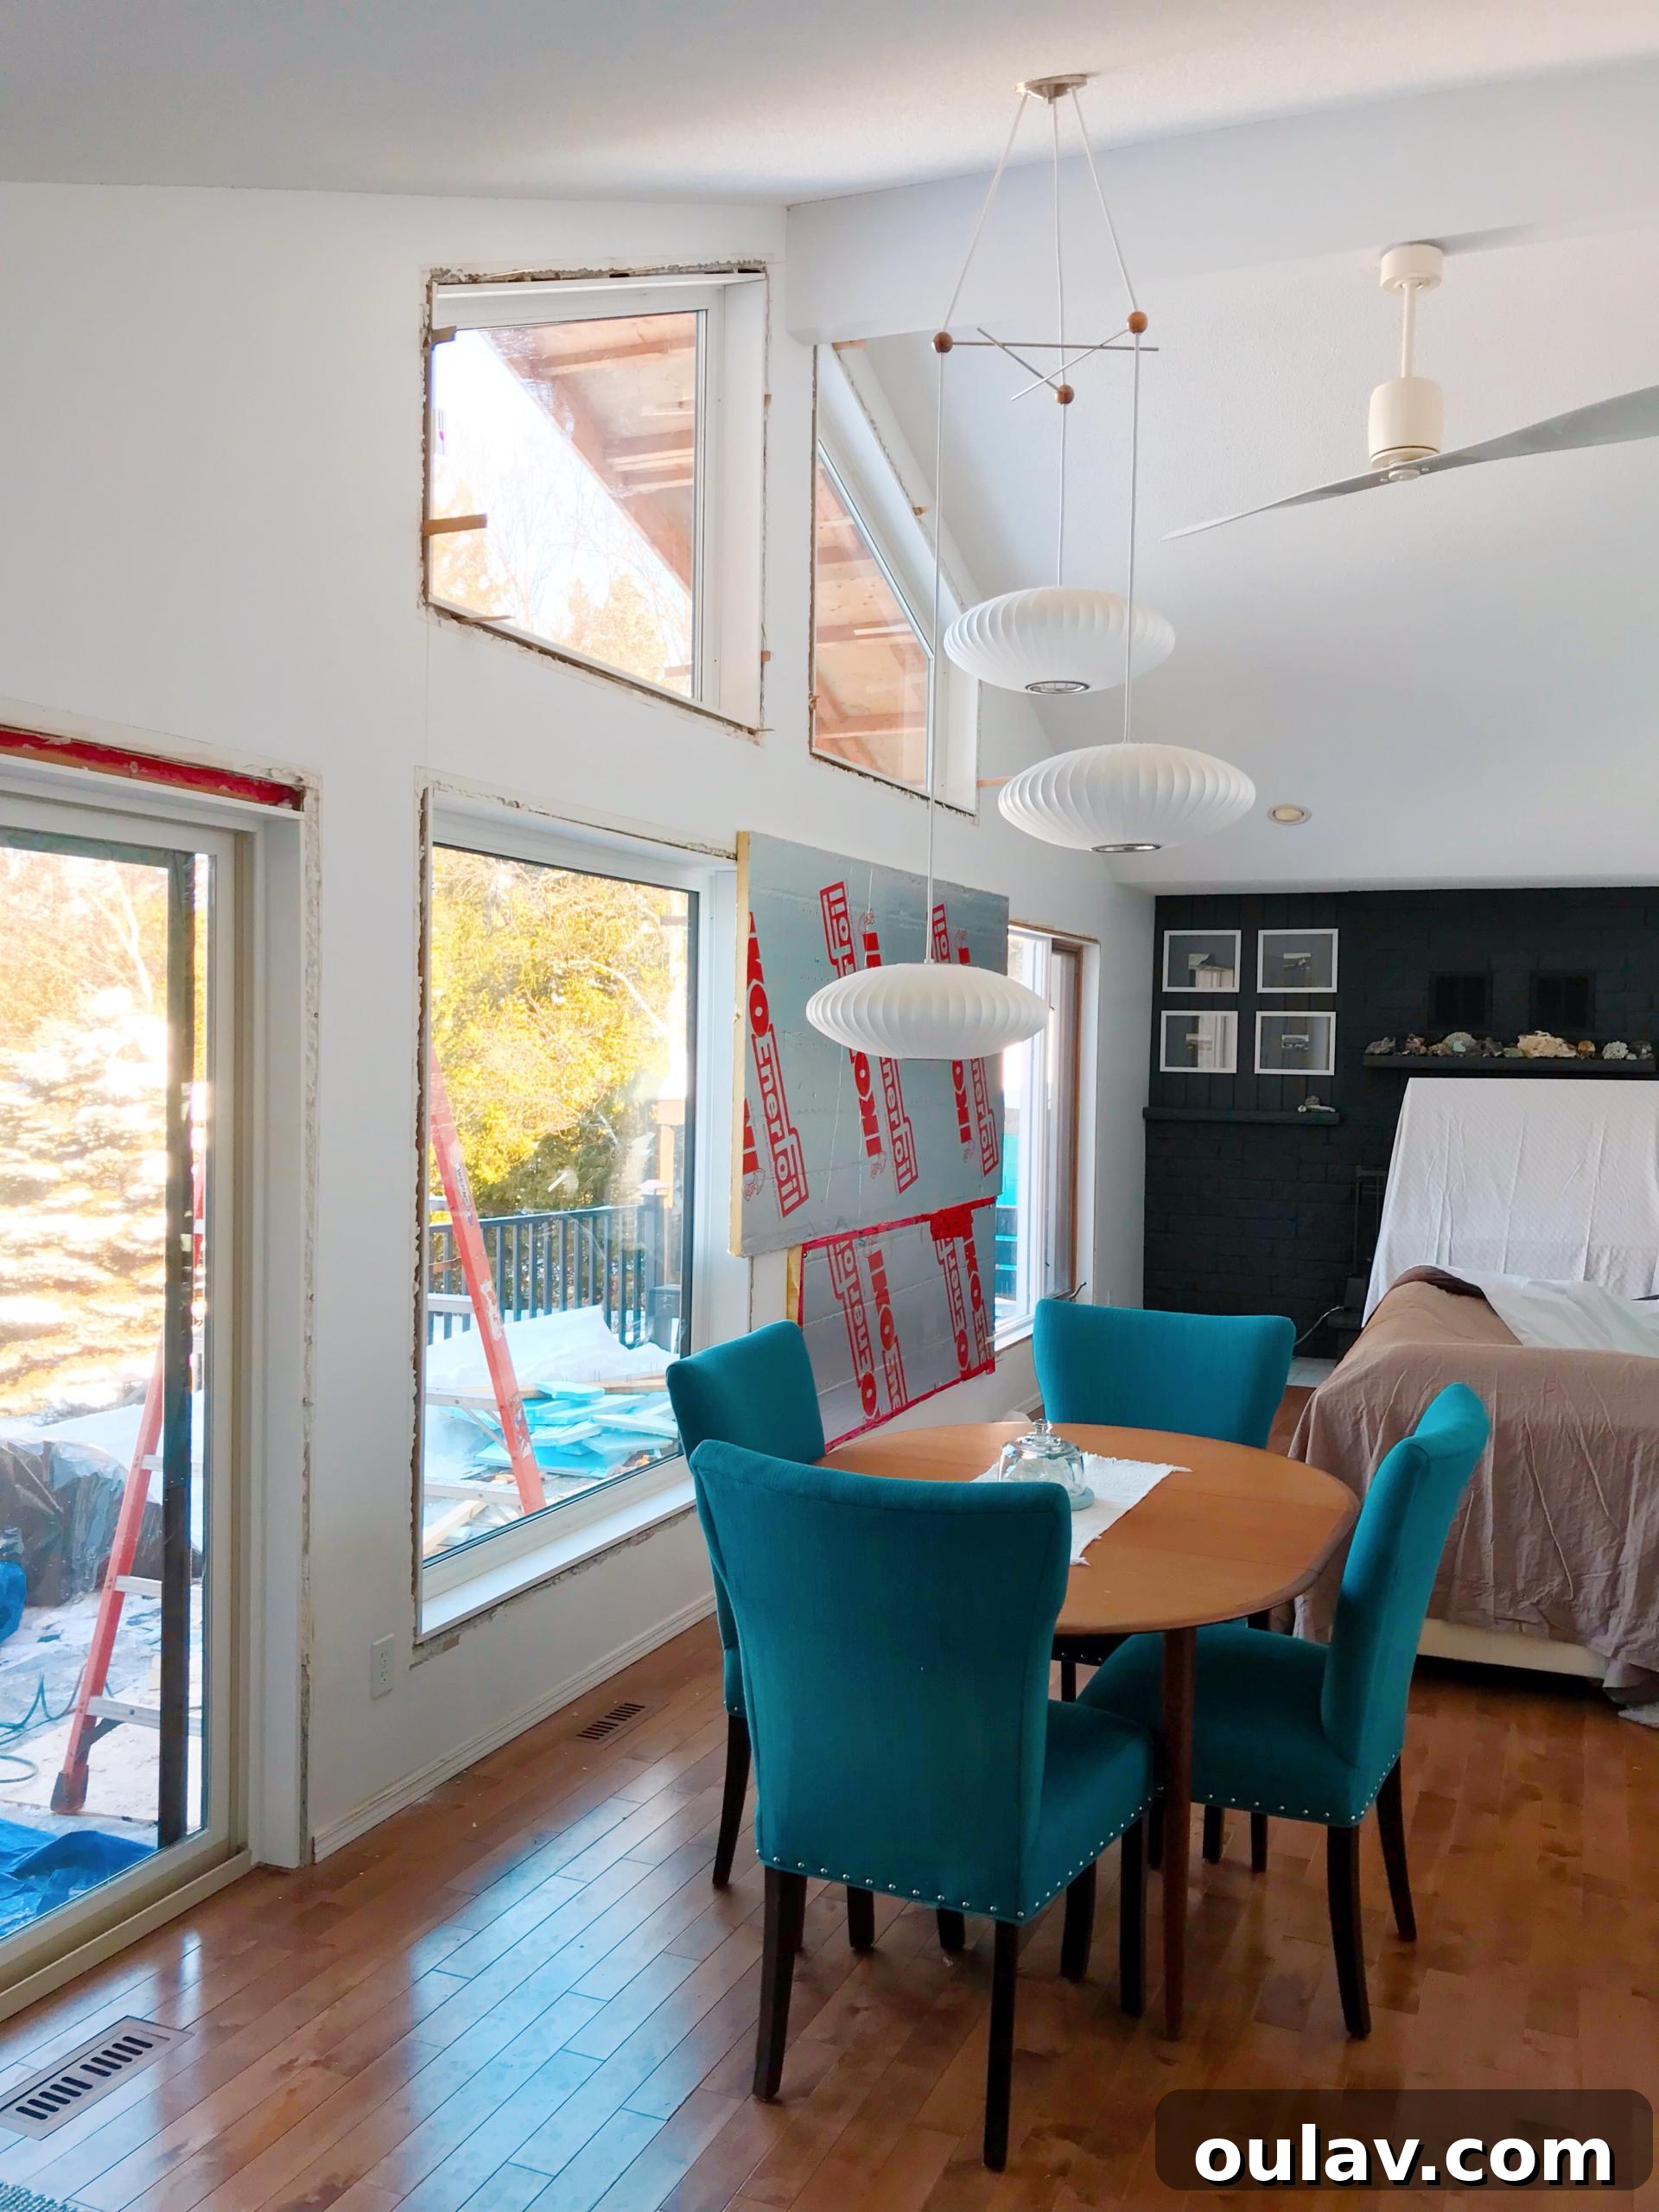
The actual process of cutting large holes into the side of our house was, to say the least, nerve-wracking. While the company we hired employed some competent workers, a portion of the job was outsourced to a father-son team who didn’t inspire our complete confidence. A significant oversight was their lack of preparedness for dust and debris management; they arrived with only a couple of old sheets! This immediately sent me scrambling to move furniture, cover every exposed surface, lay down tarps, and repeatedly request that they refrain from using our valuable walnut and teak furniture as tool stands. I even brought in a dedicated workbench for their use, though its slightly lower height made it less convenient for them. The crew worked on one opening at a time but often prepped other windows concurrently, leading to a whirlwind of activity and an overwhelming amount of dust throughout the house once the work commenced.
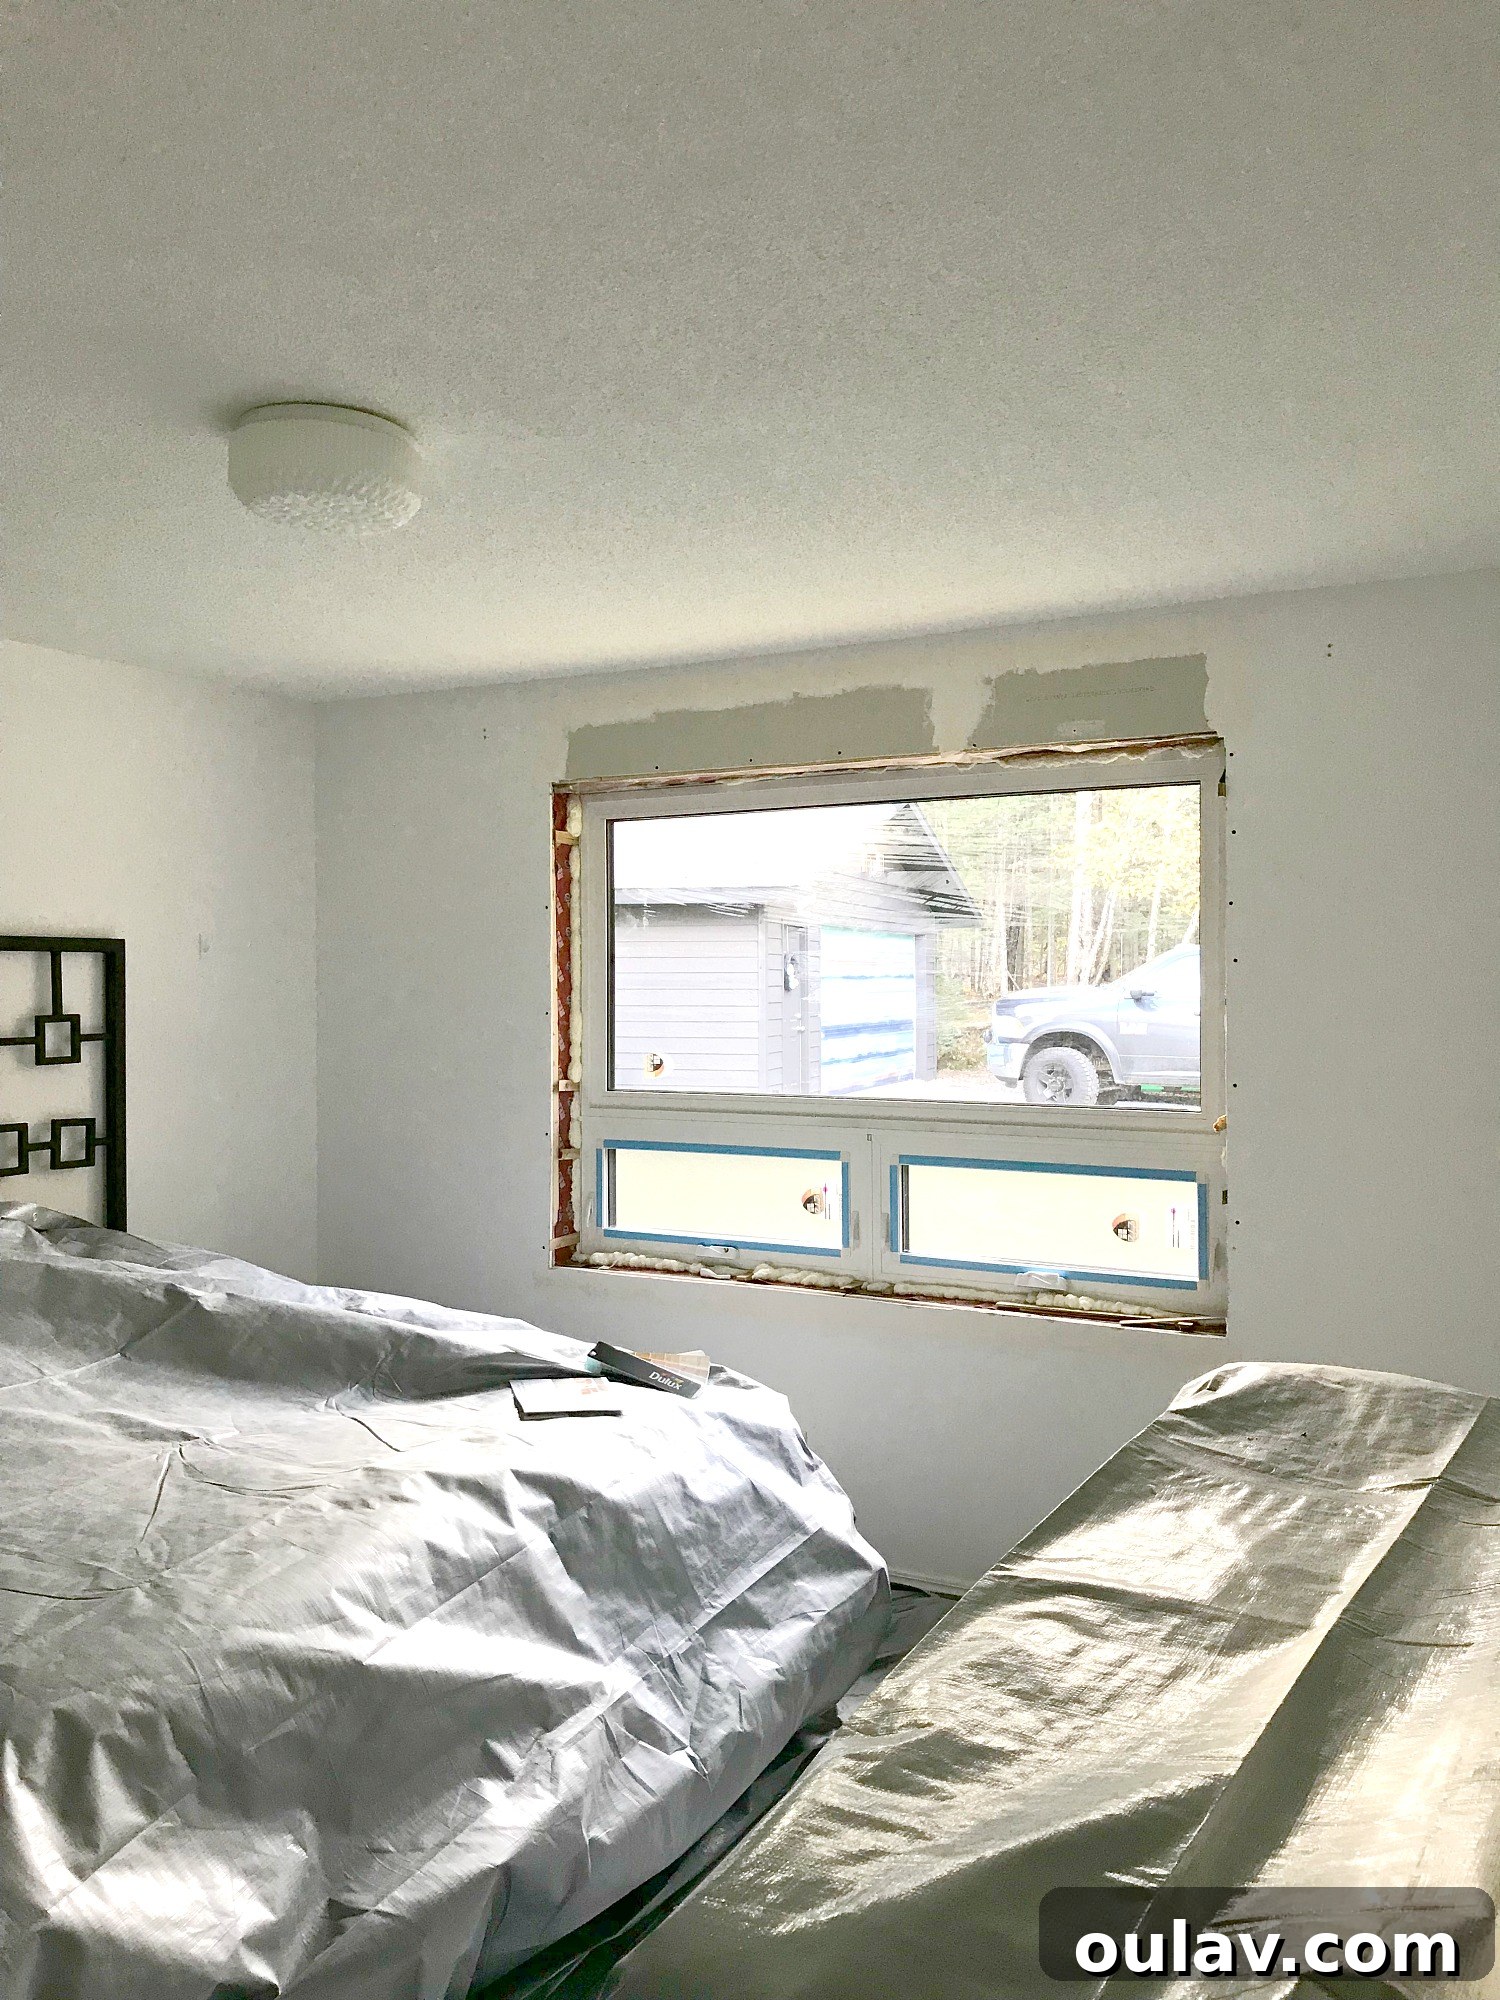
Structural Modifications for Bigger Openings
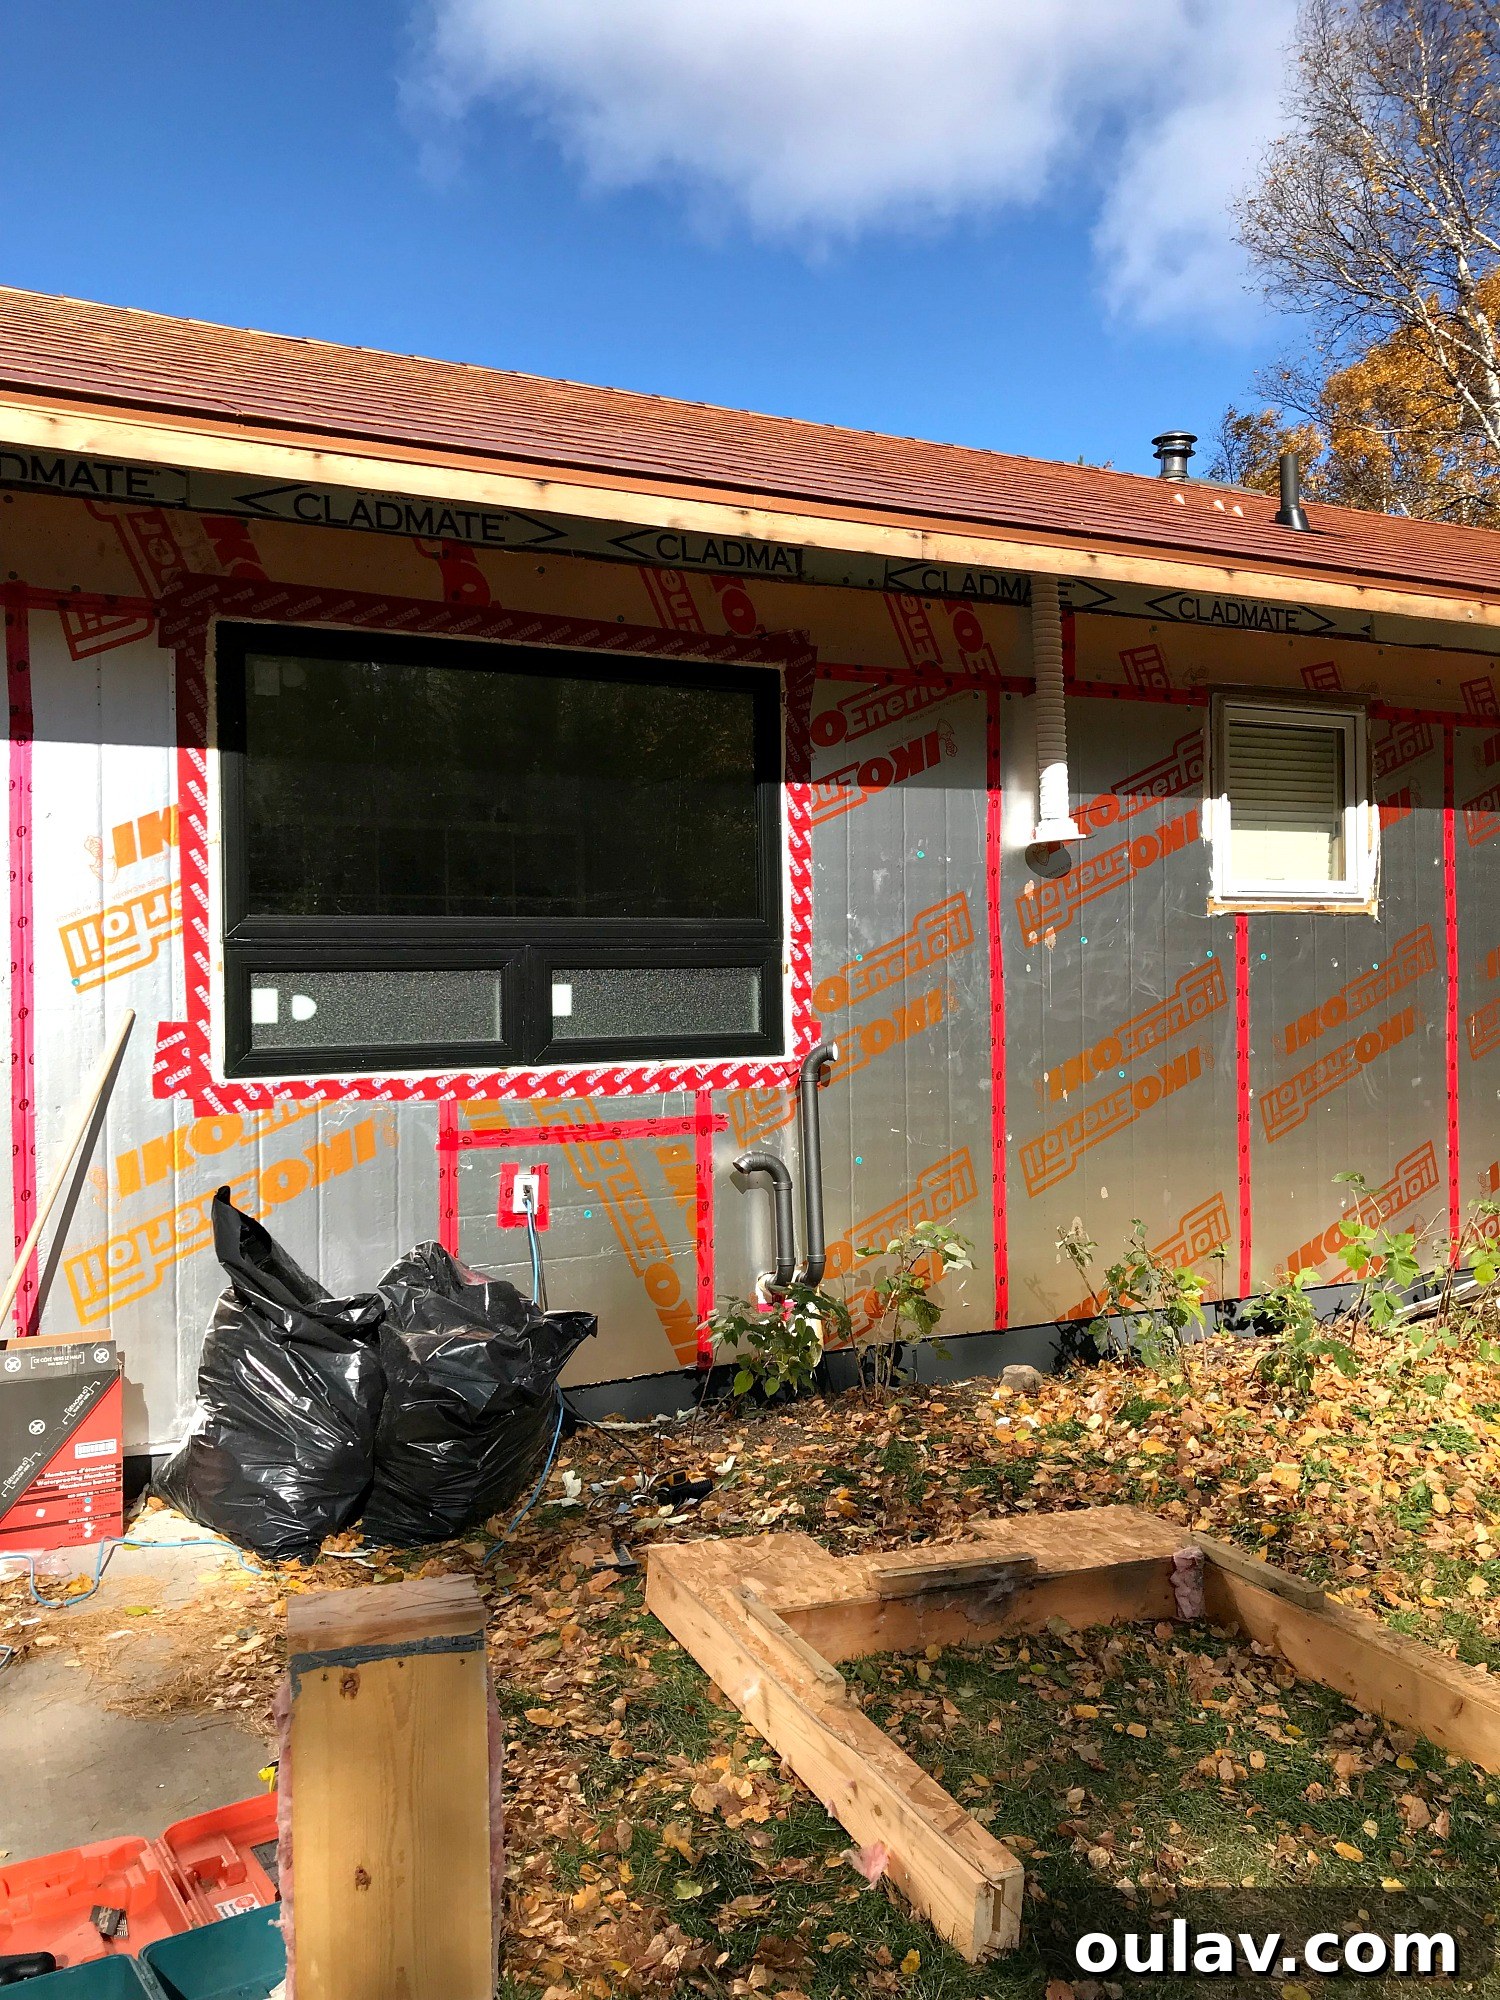
It’s important to clarify that this isn’t a DIY instructional guide, but rather an insight into the process. As the new windows were significantly wider than the originals, extensive structural modifications were required. This involved removing sections of drywall, enlarging the existing window openings, and crucially, installing larger headers to support the structural integrity above the new, wider spans. These steps highlight the complexity and skilled labor involved in expanding window dimensions, emphasizing that it’s a job for experienced professionals.
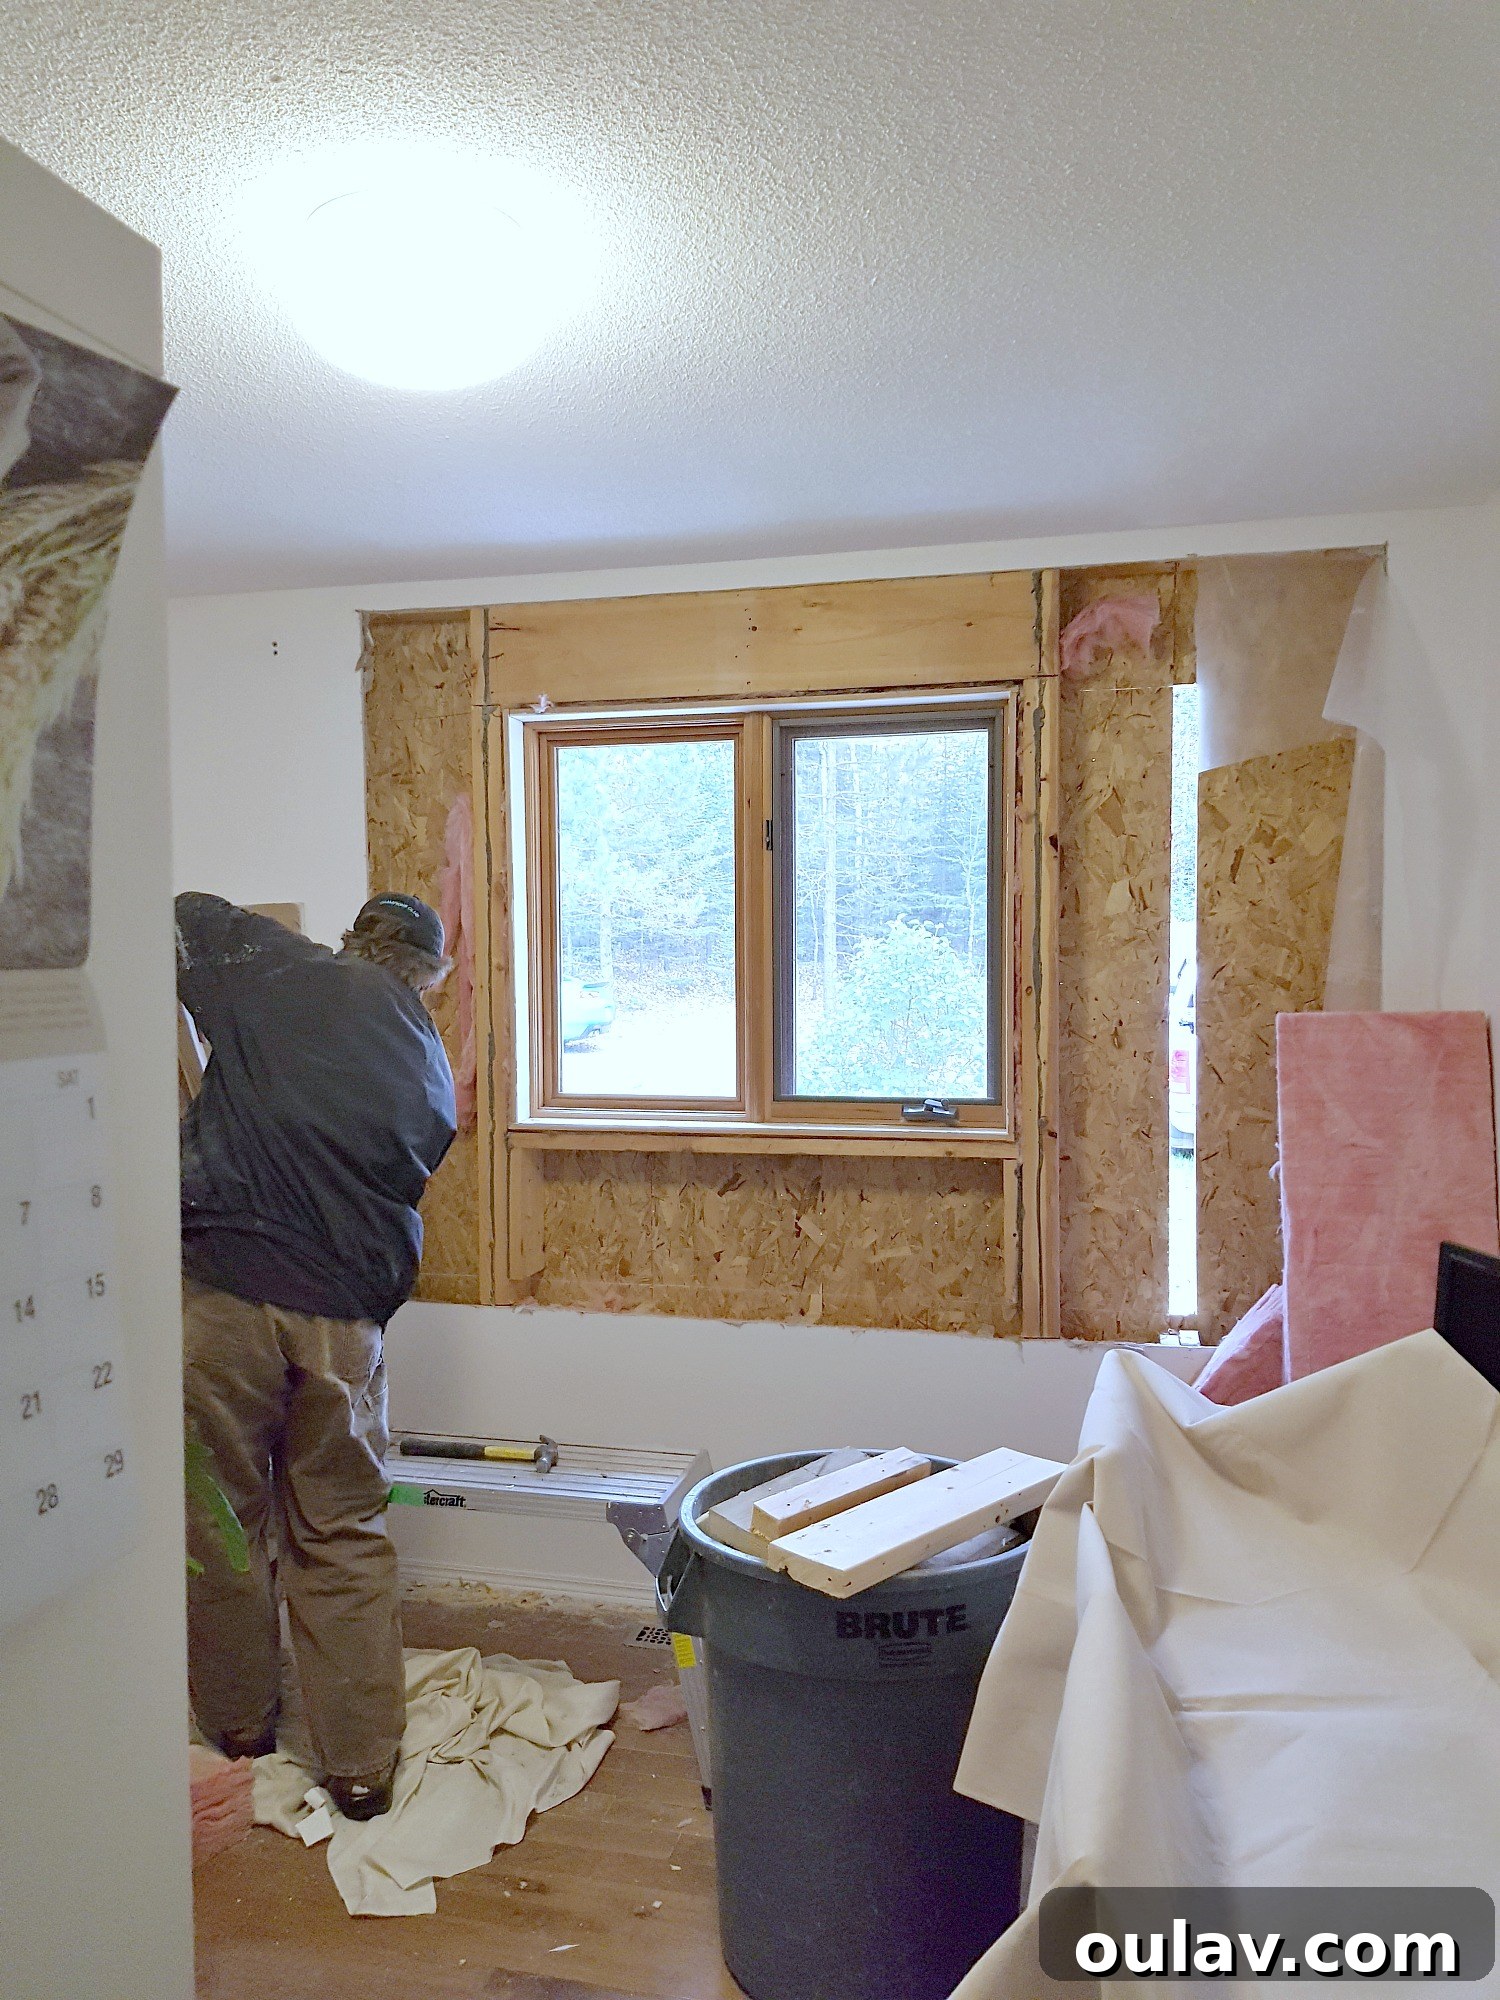
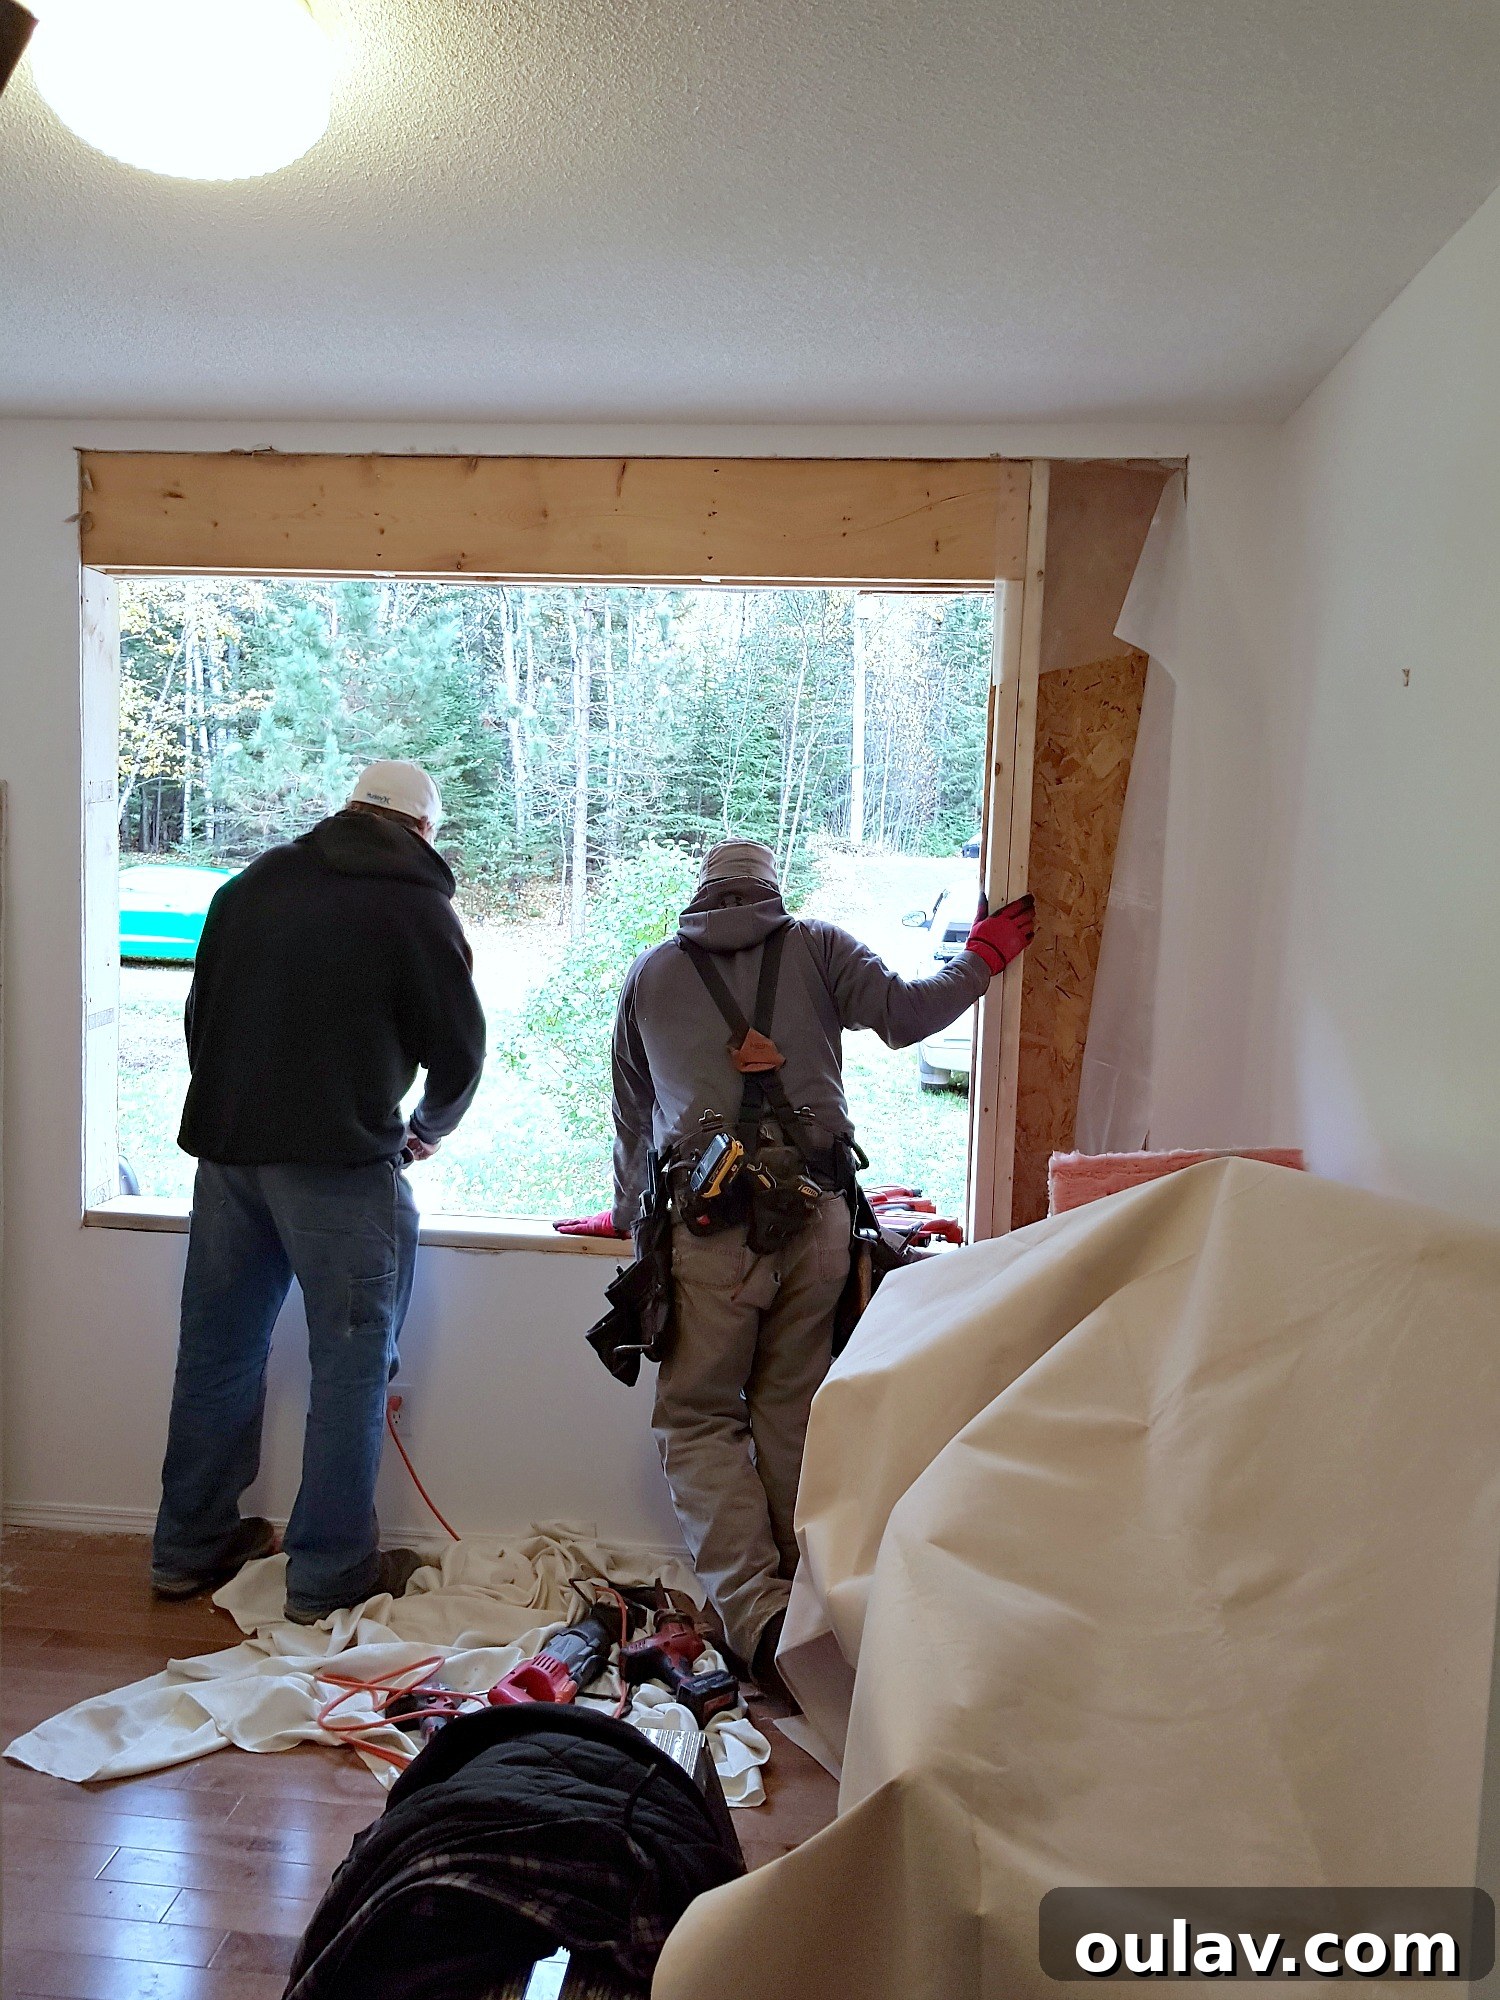
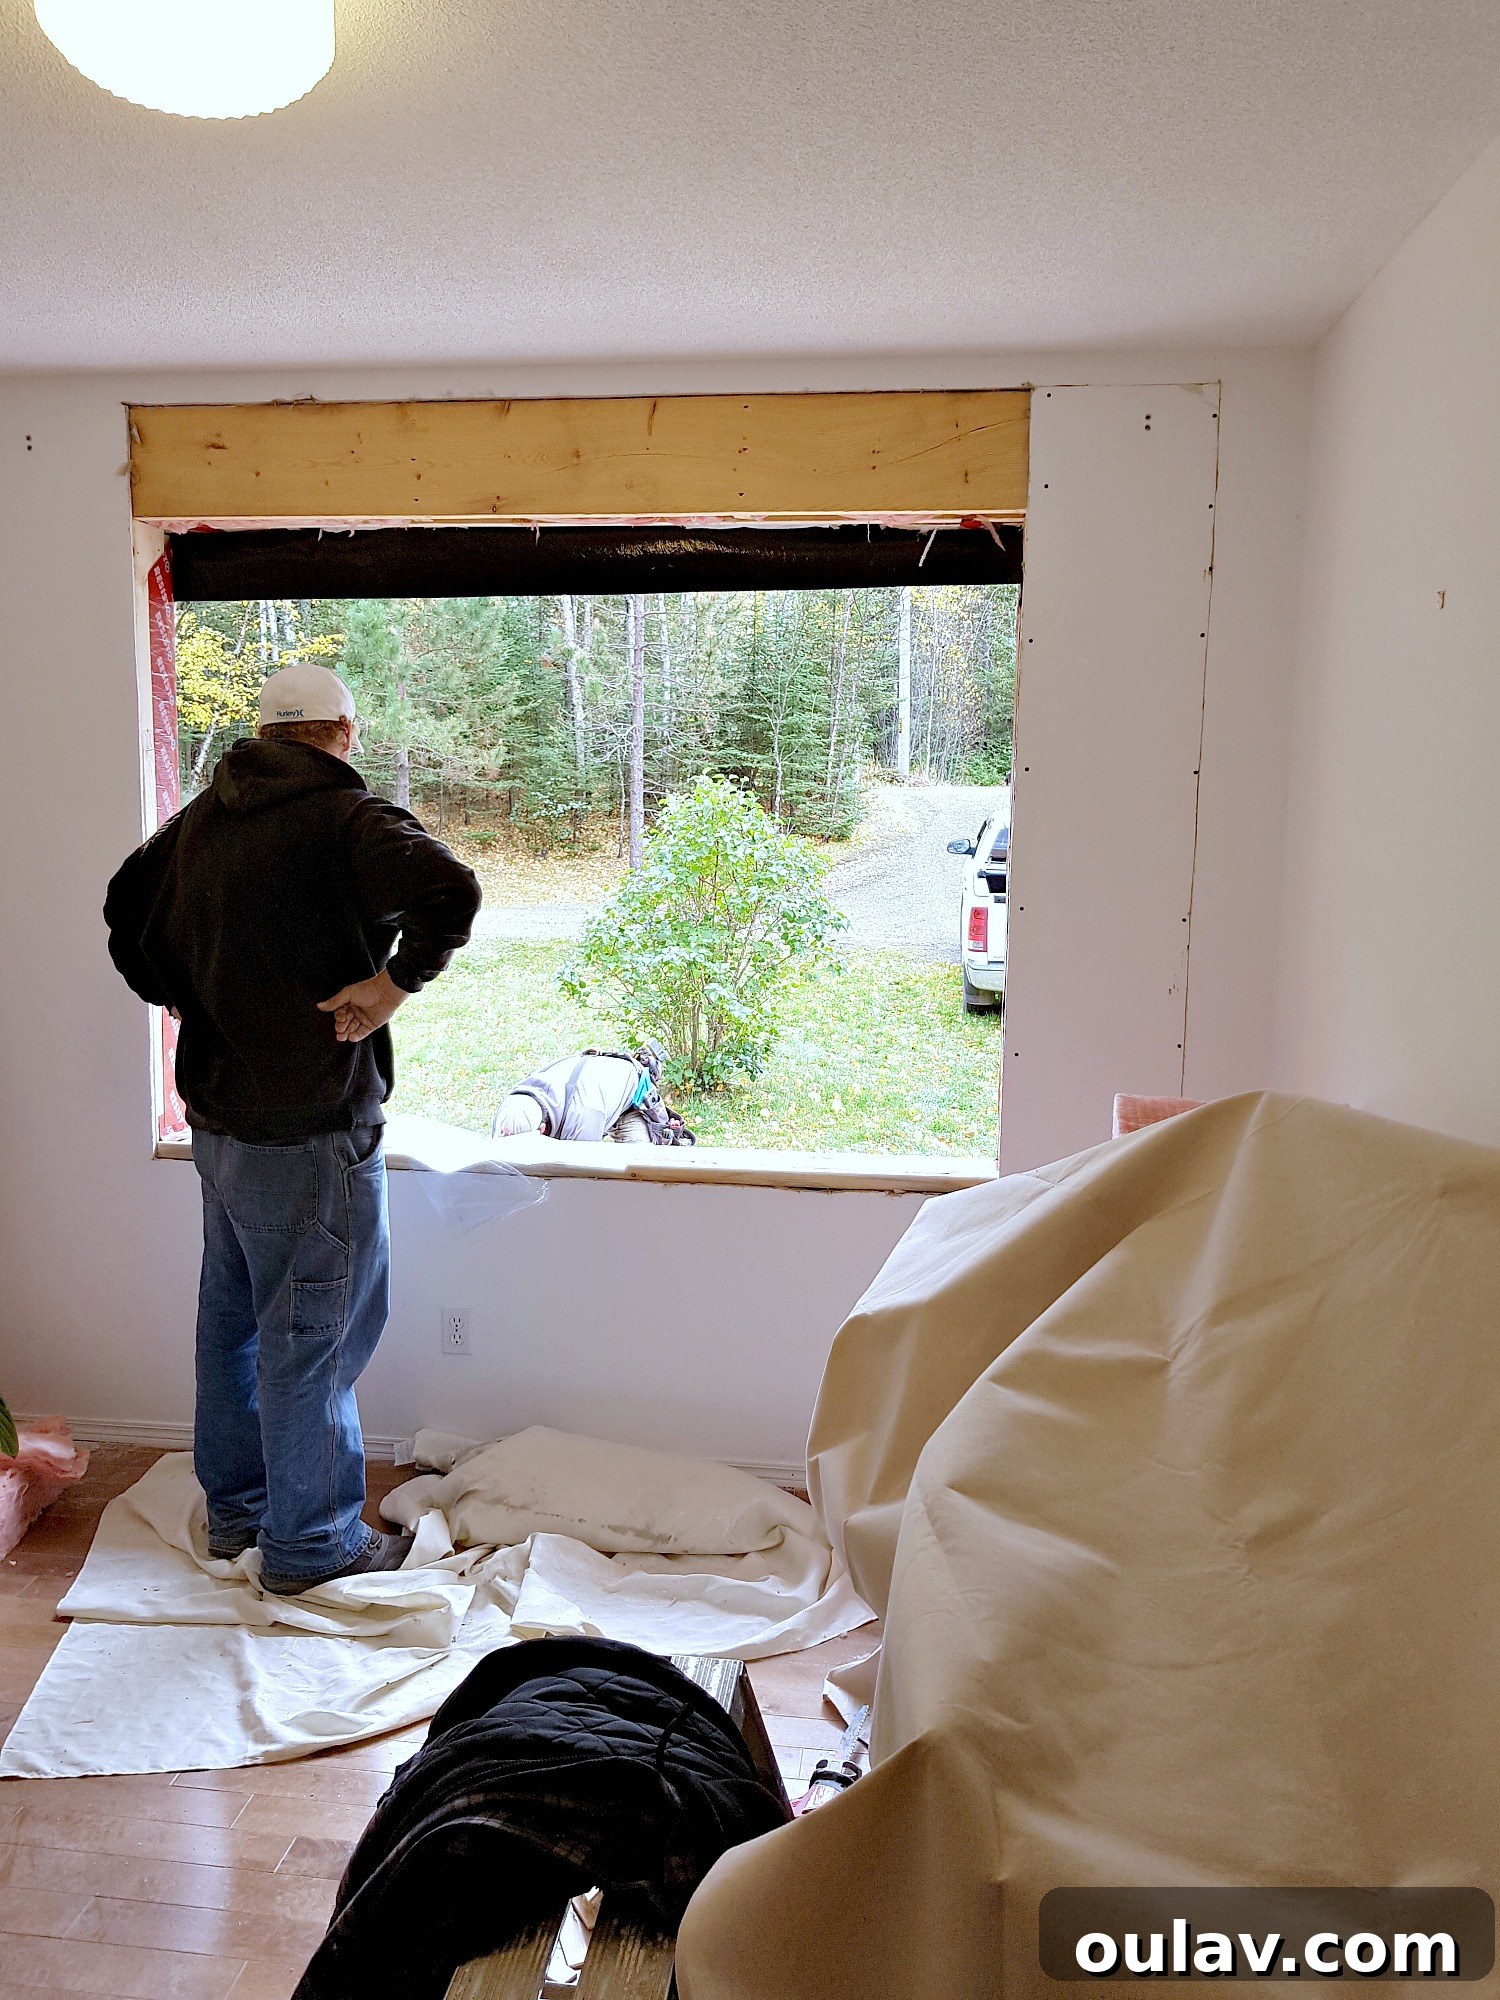
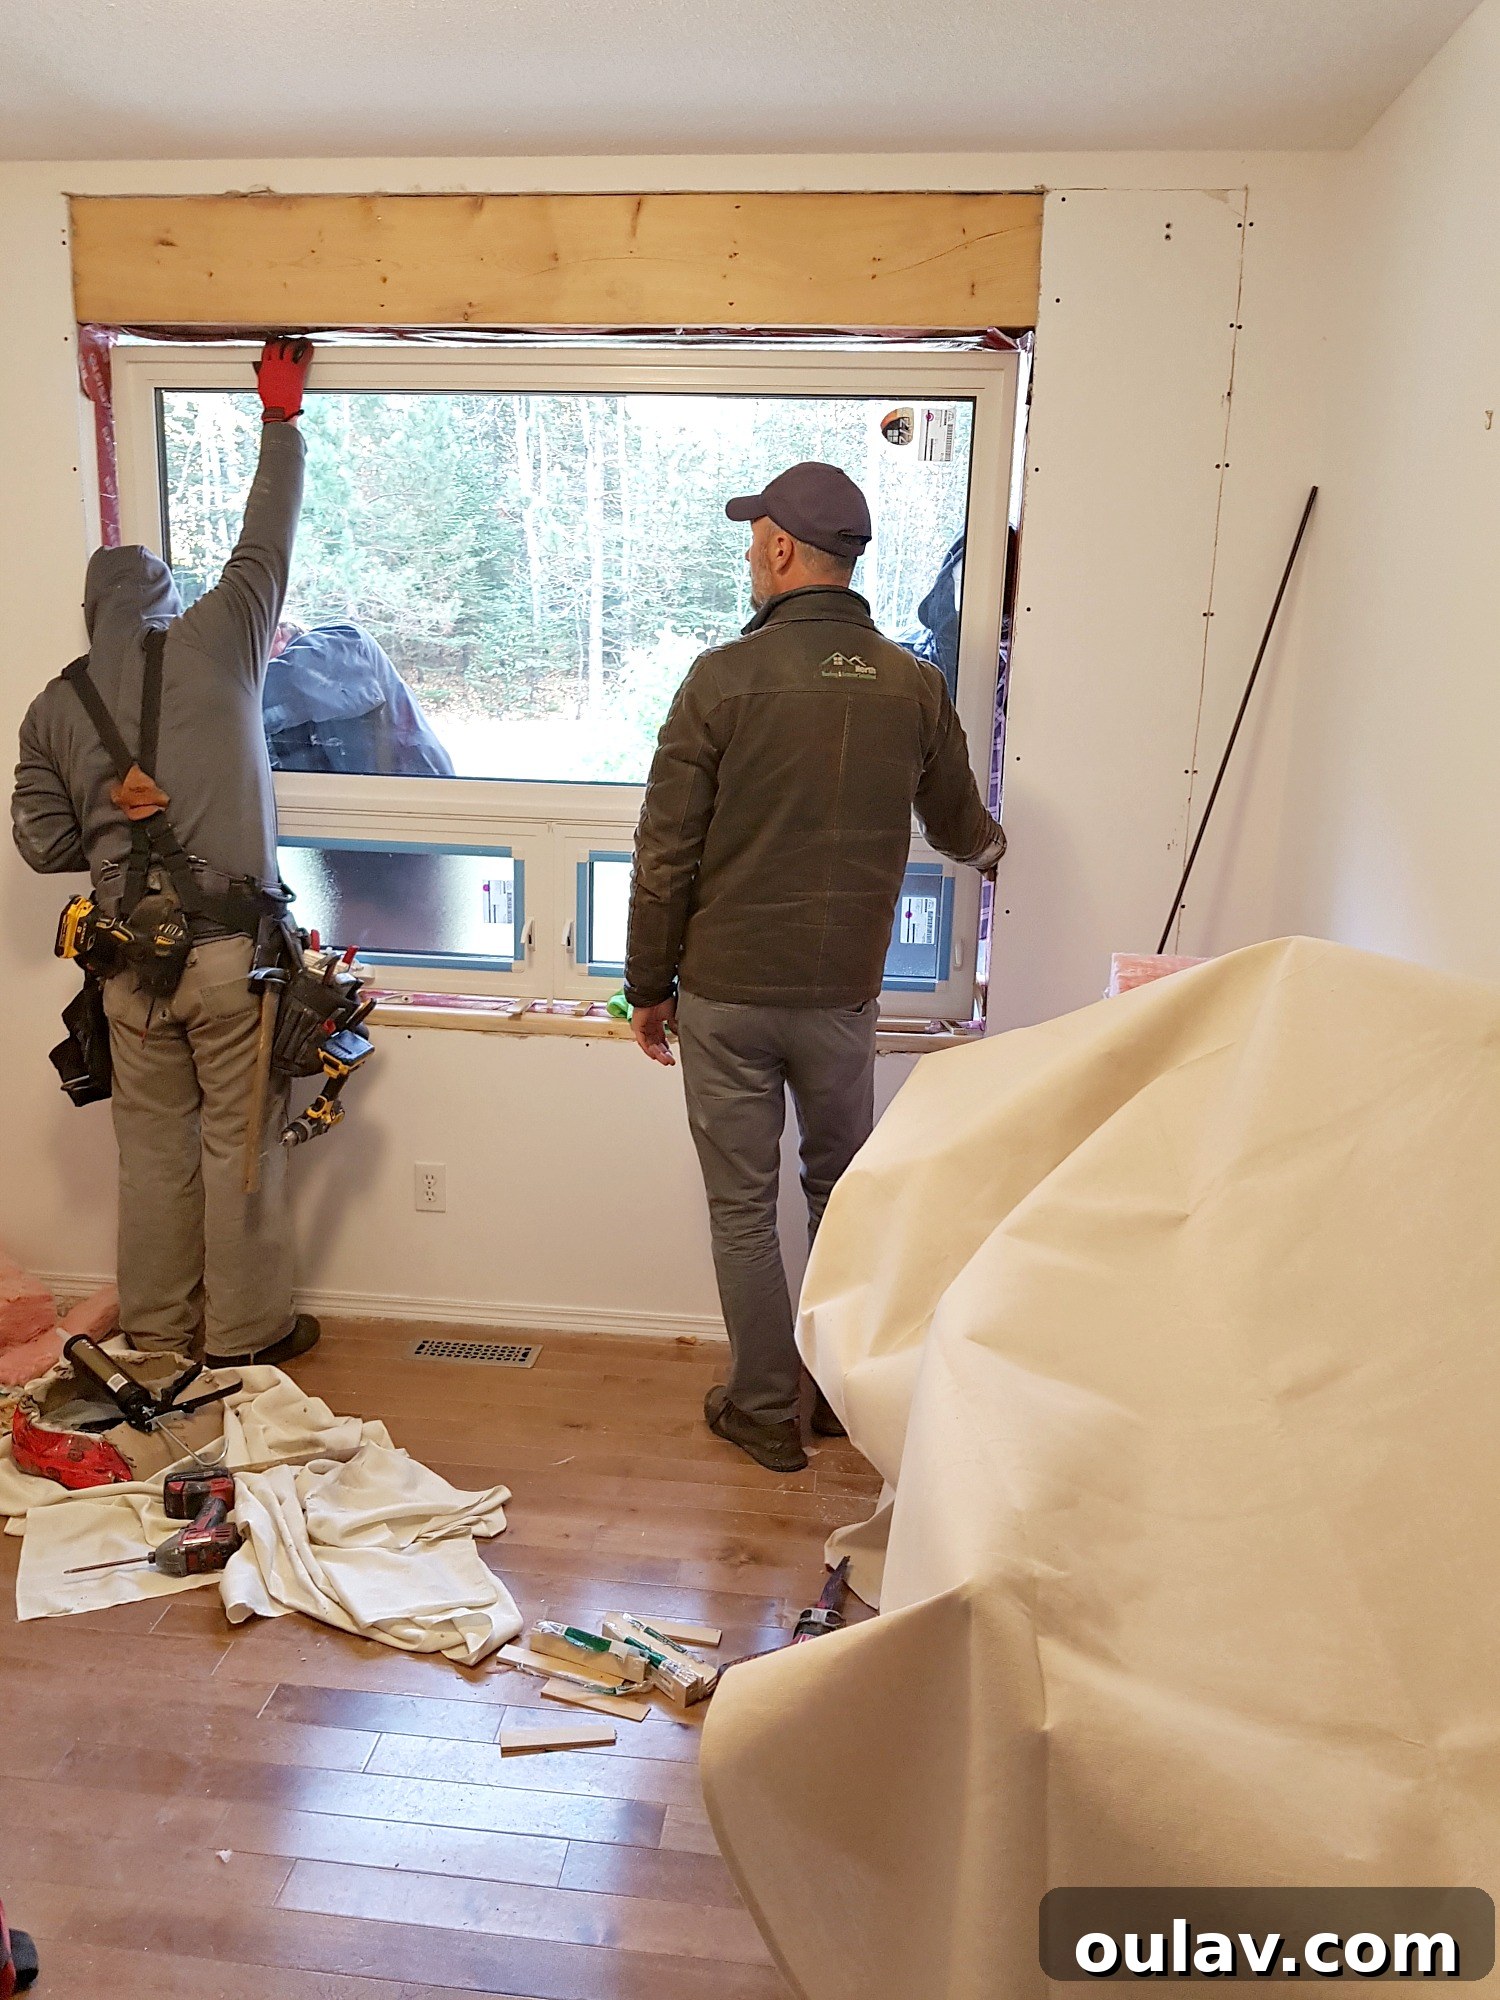
Ensuring Quality: The Importance of Oversight
One major complaint we had was the rushed nature of the work, particularly concerning insulation. The crew did not carefully reinstall the insulation, resulting in a noticeable draft. We had to insist they take down the drywall again to properly rectify this oversight, underscoring the vital importance of being present and vigilant throughout the installation process.
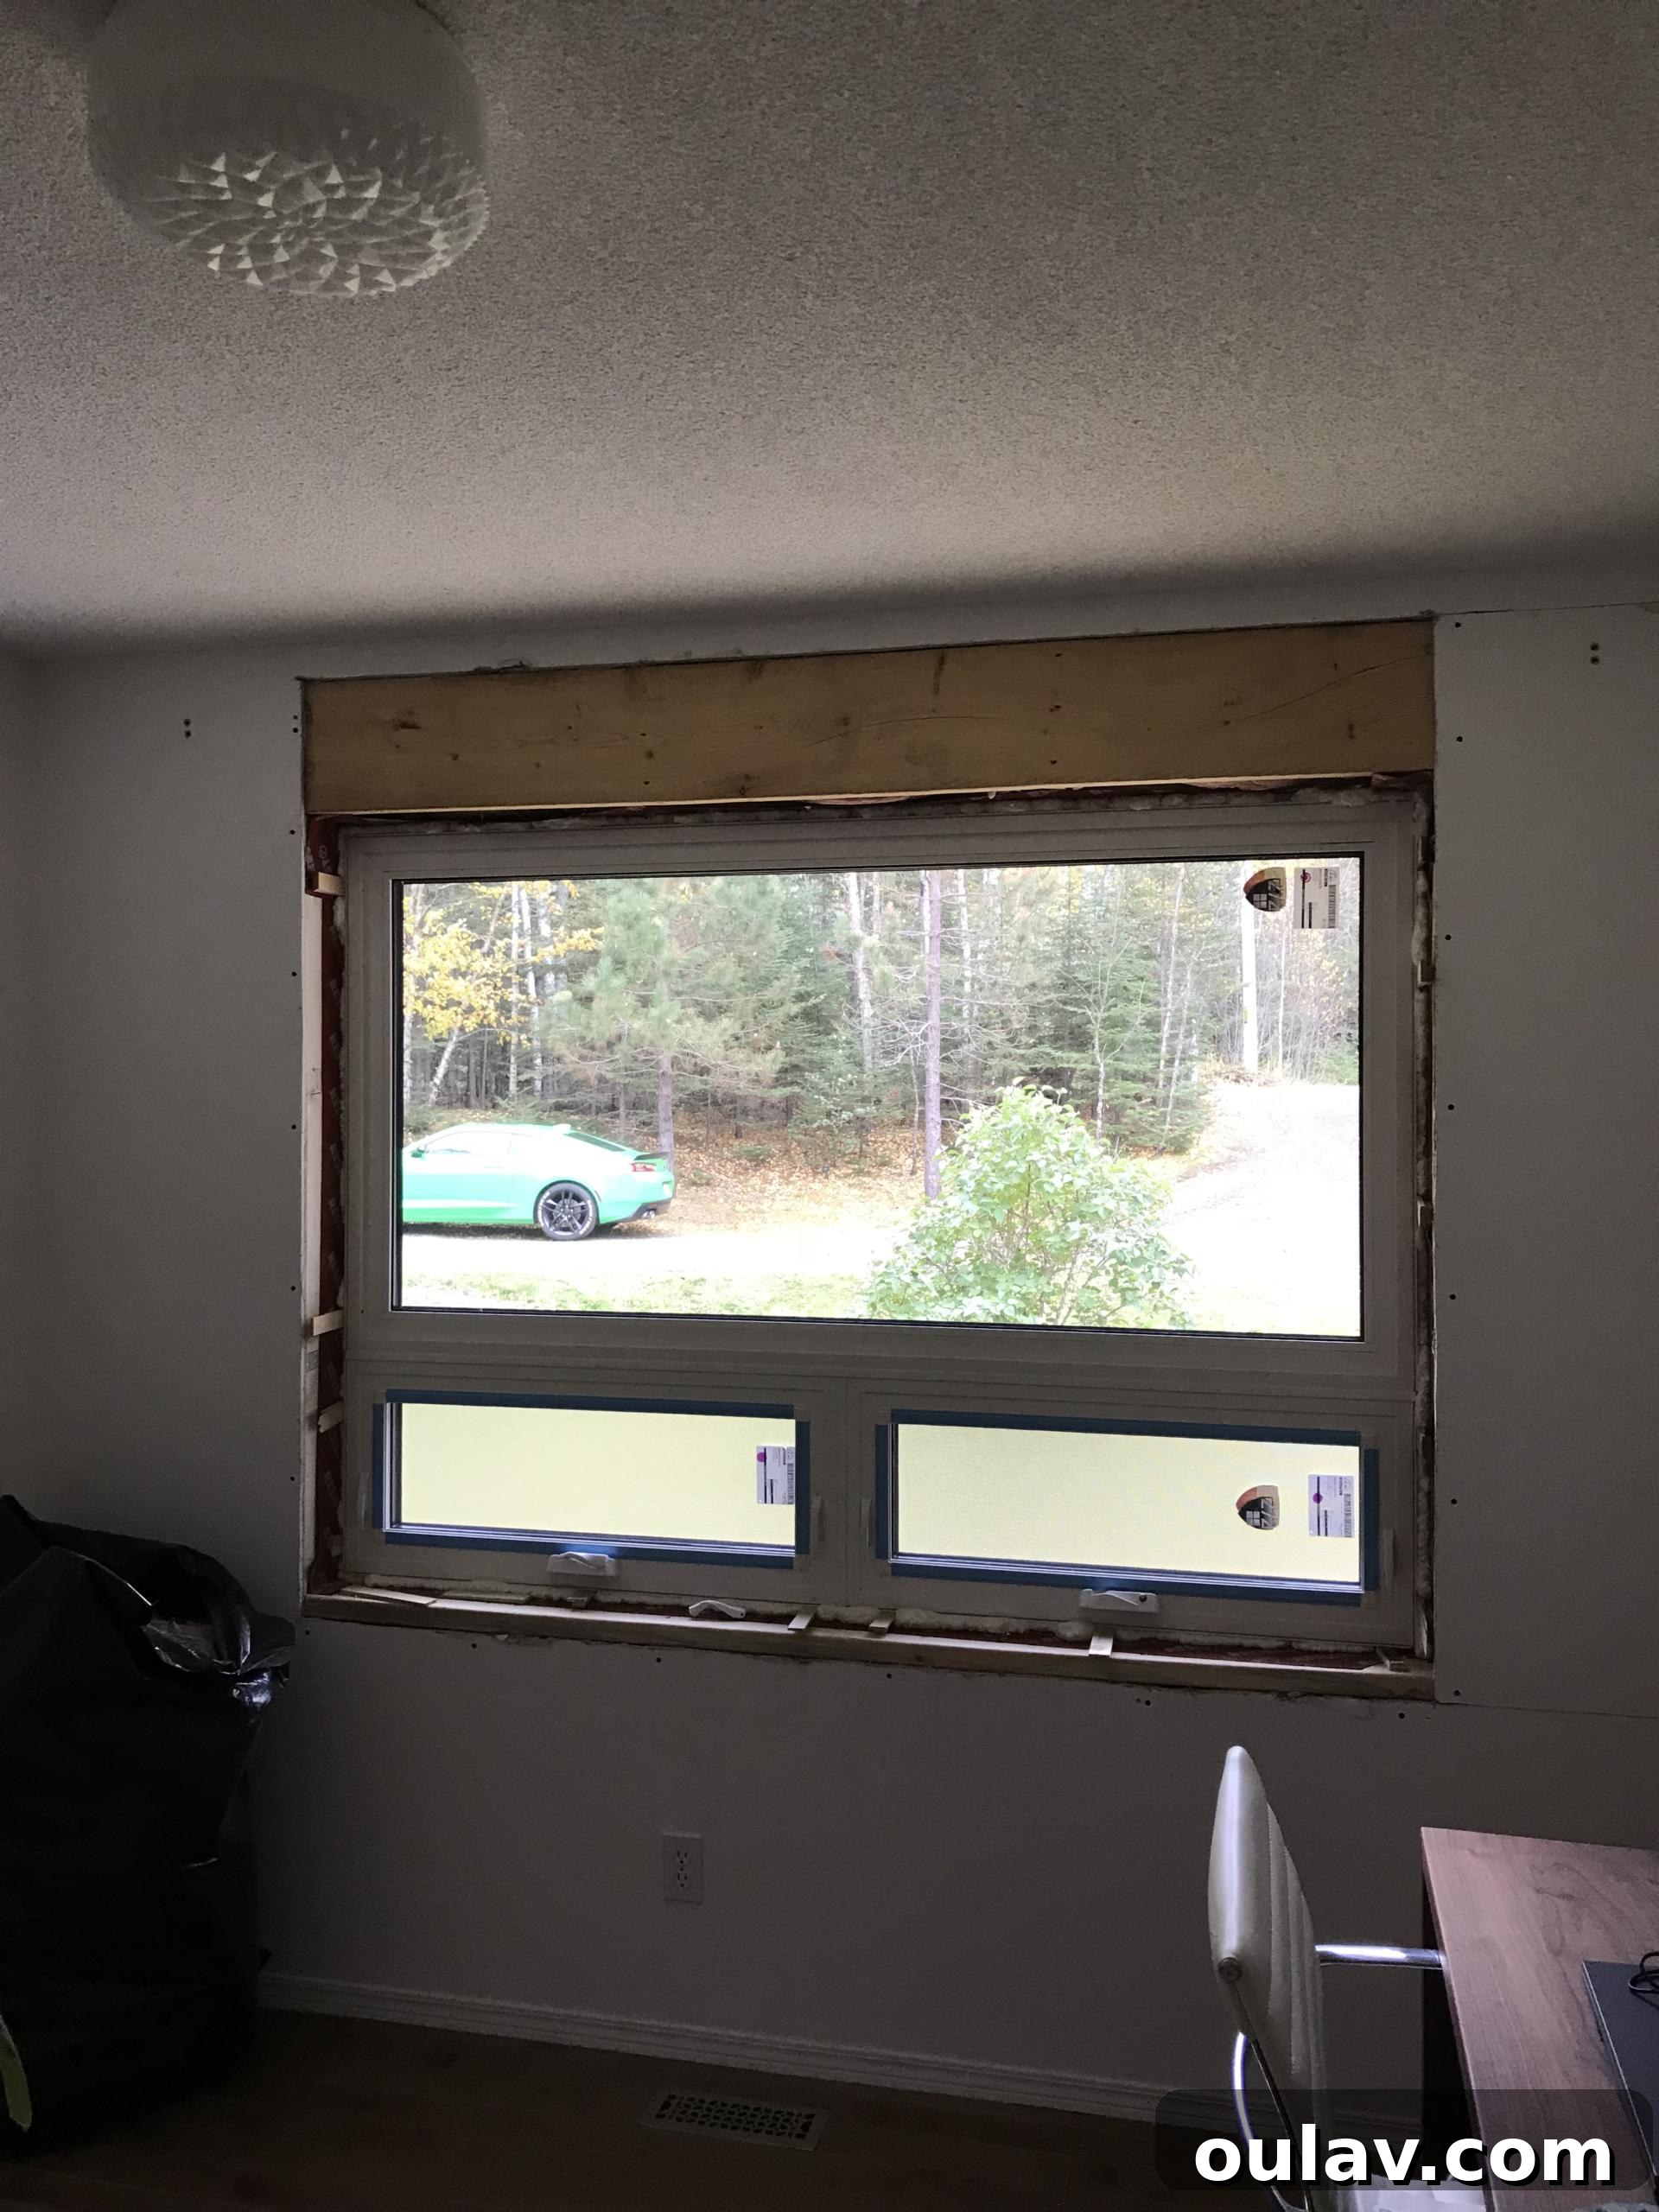
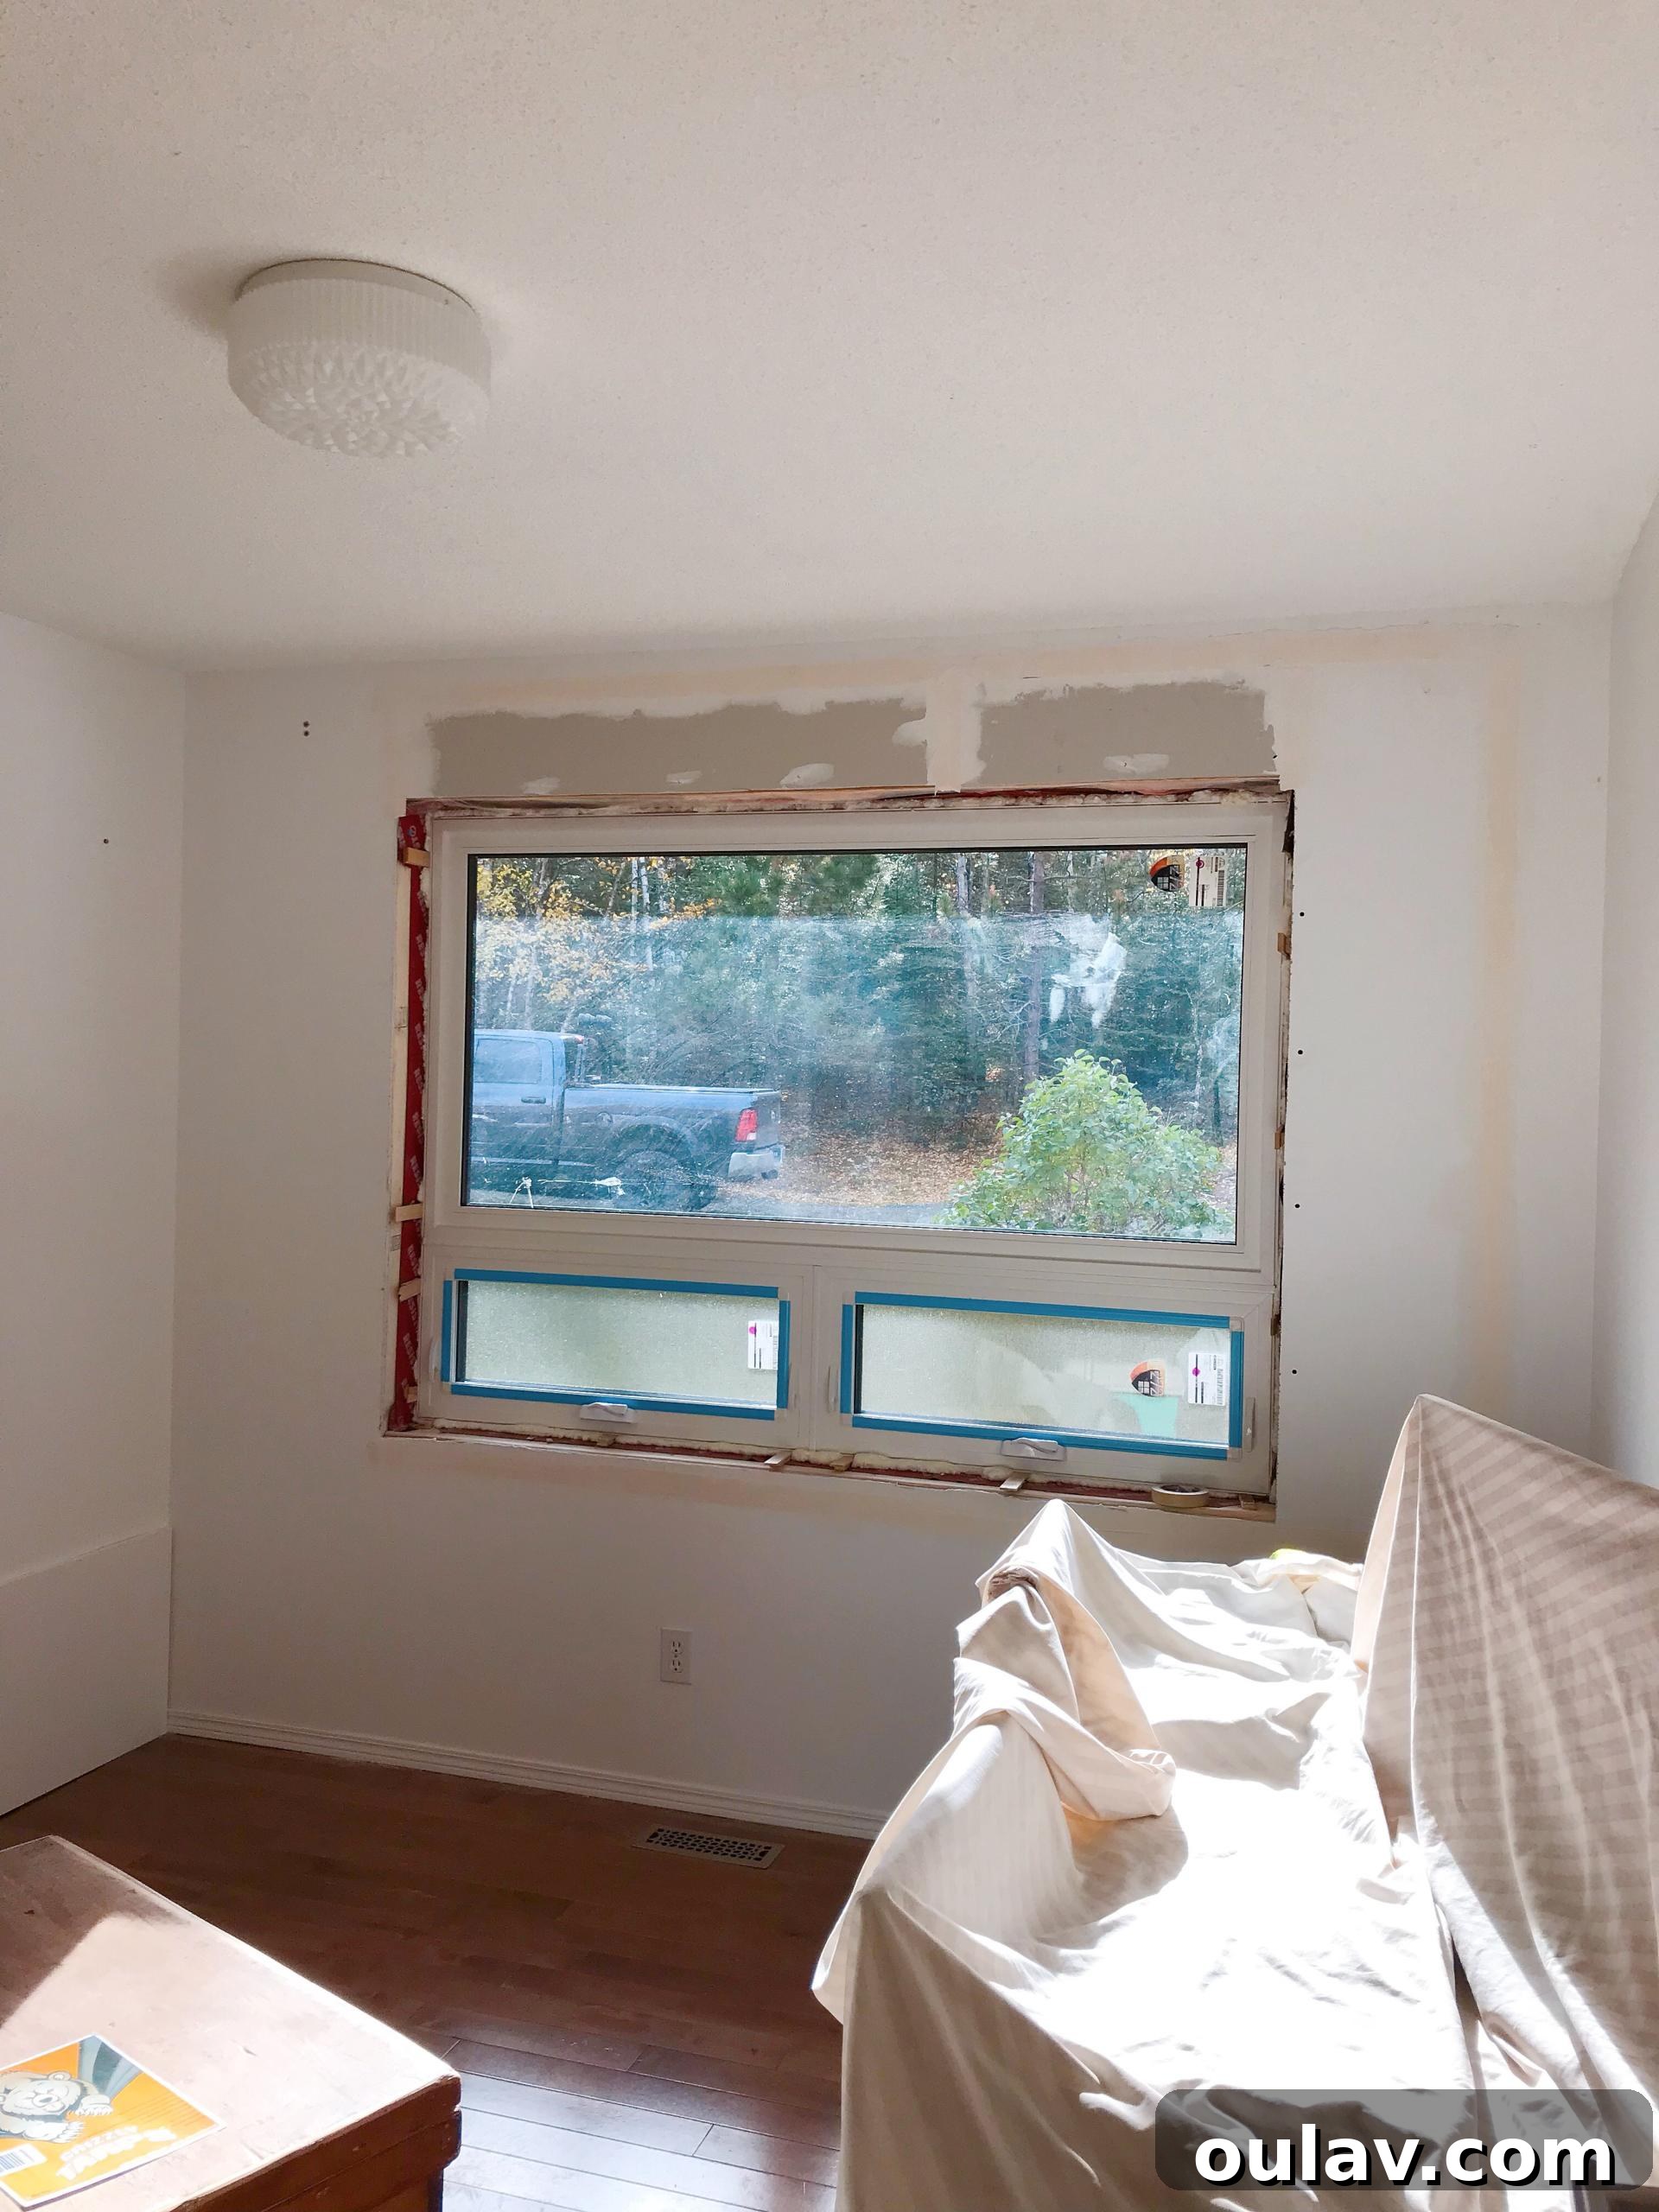
Having all four windows replaced was quite an experience, as the work spanned across both bathrooms, my office, and our bedroom. I can certainly understand why many homeowners choose to vacate their property during such extensive projects. However, I felt it was absolutely crucial to be on-site for quality control – and indeed, my presence proved invaluable in catching and rectifying issues in real-time.
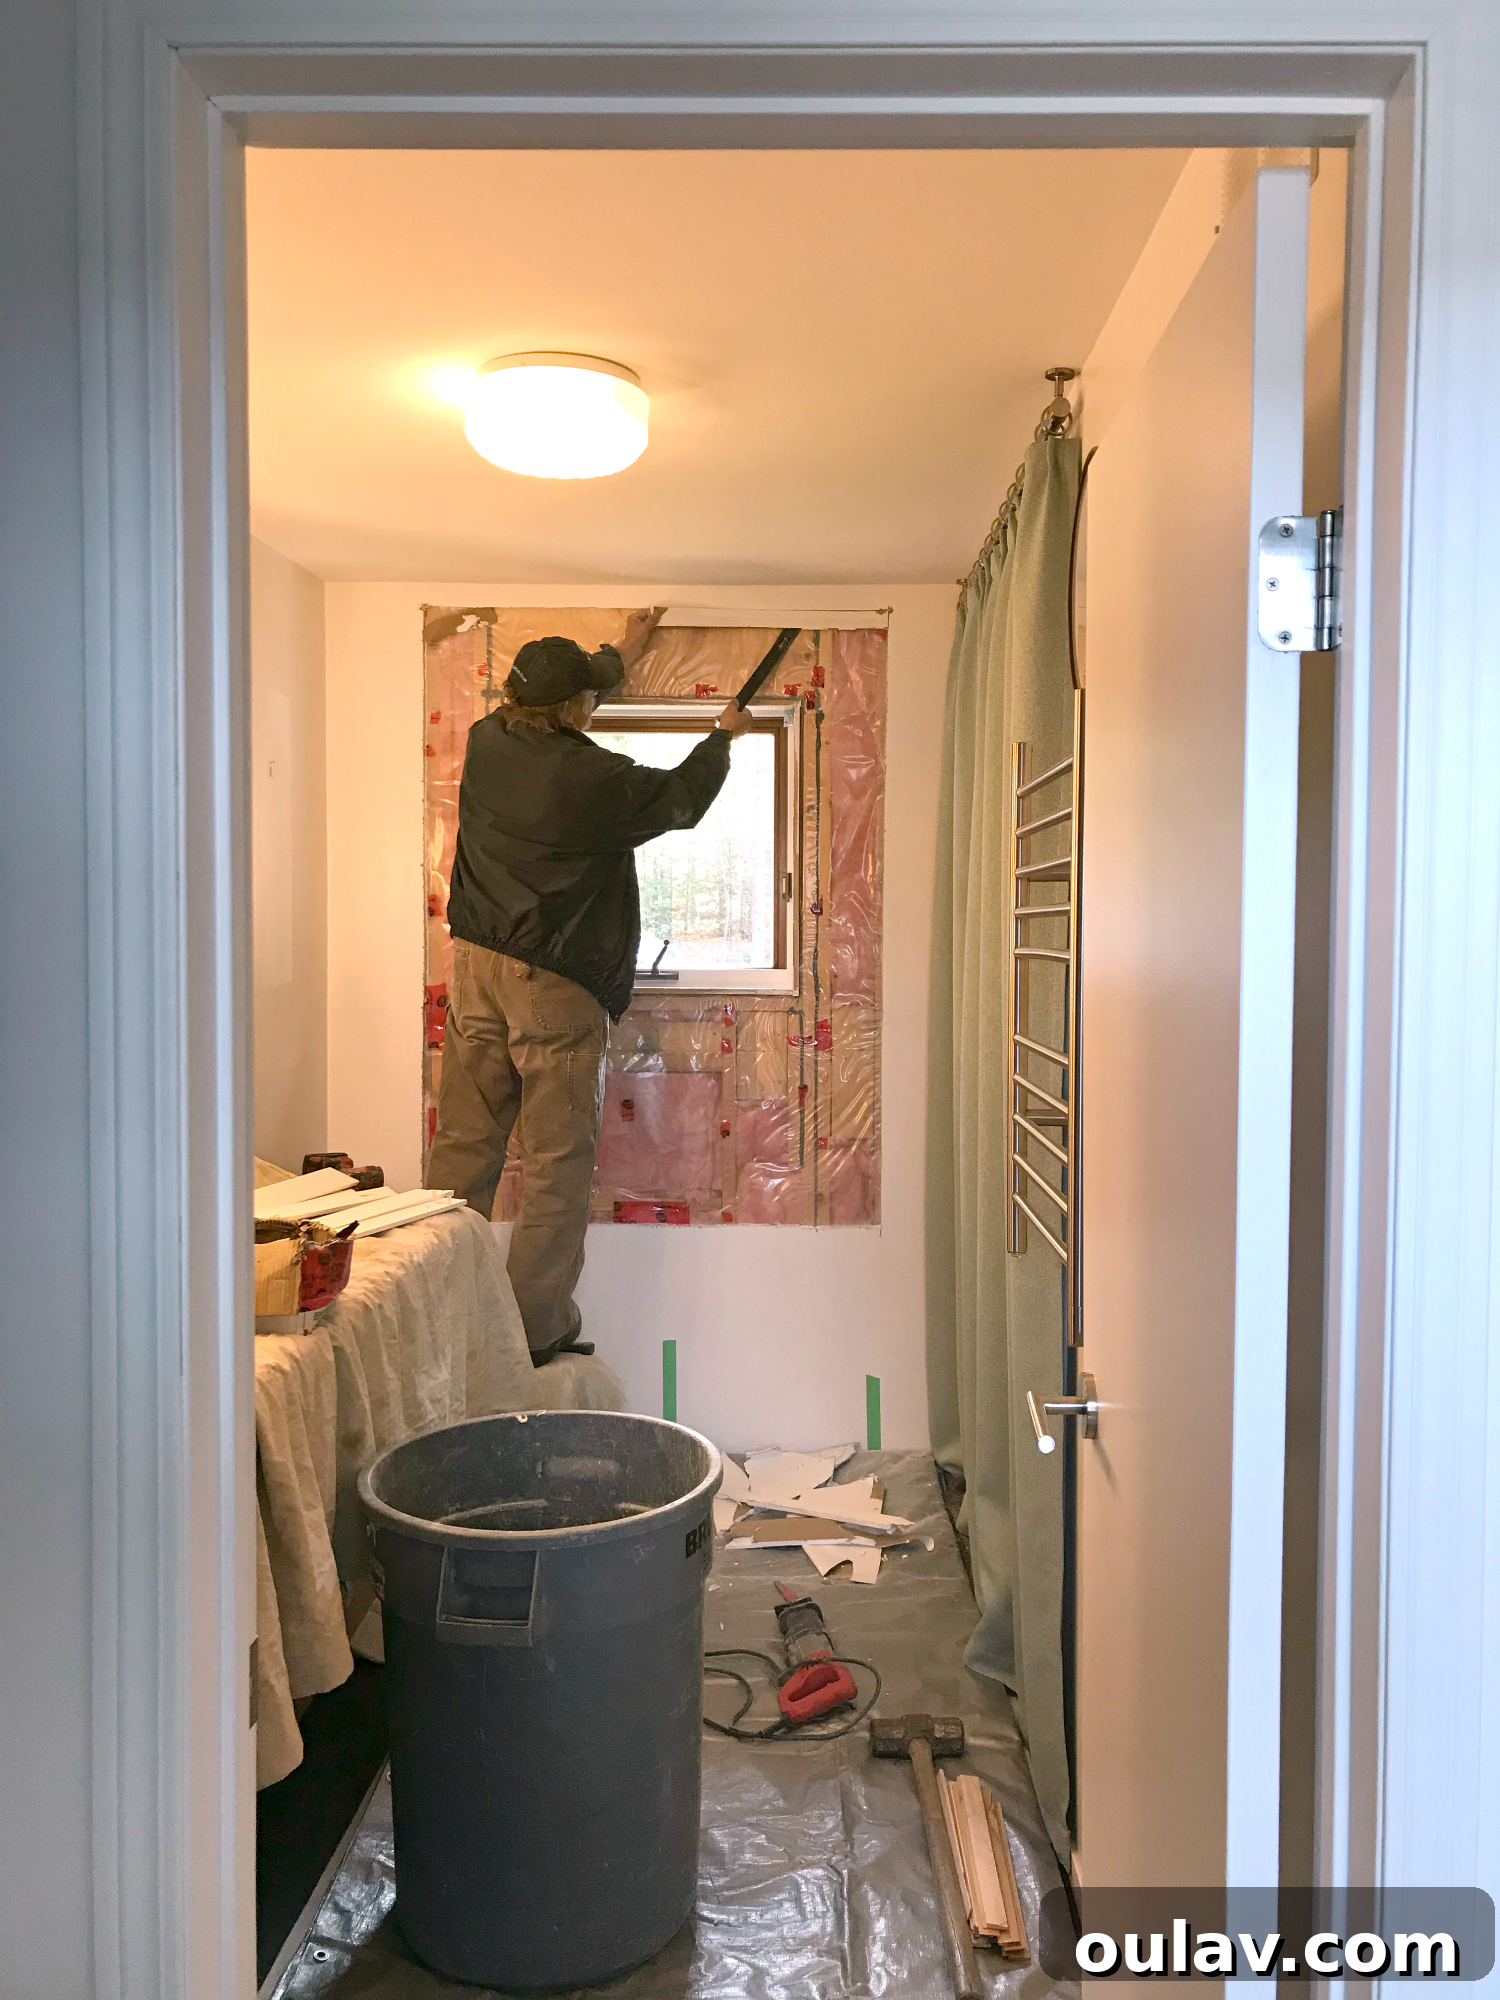
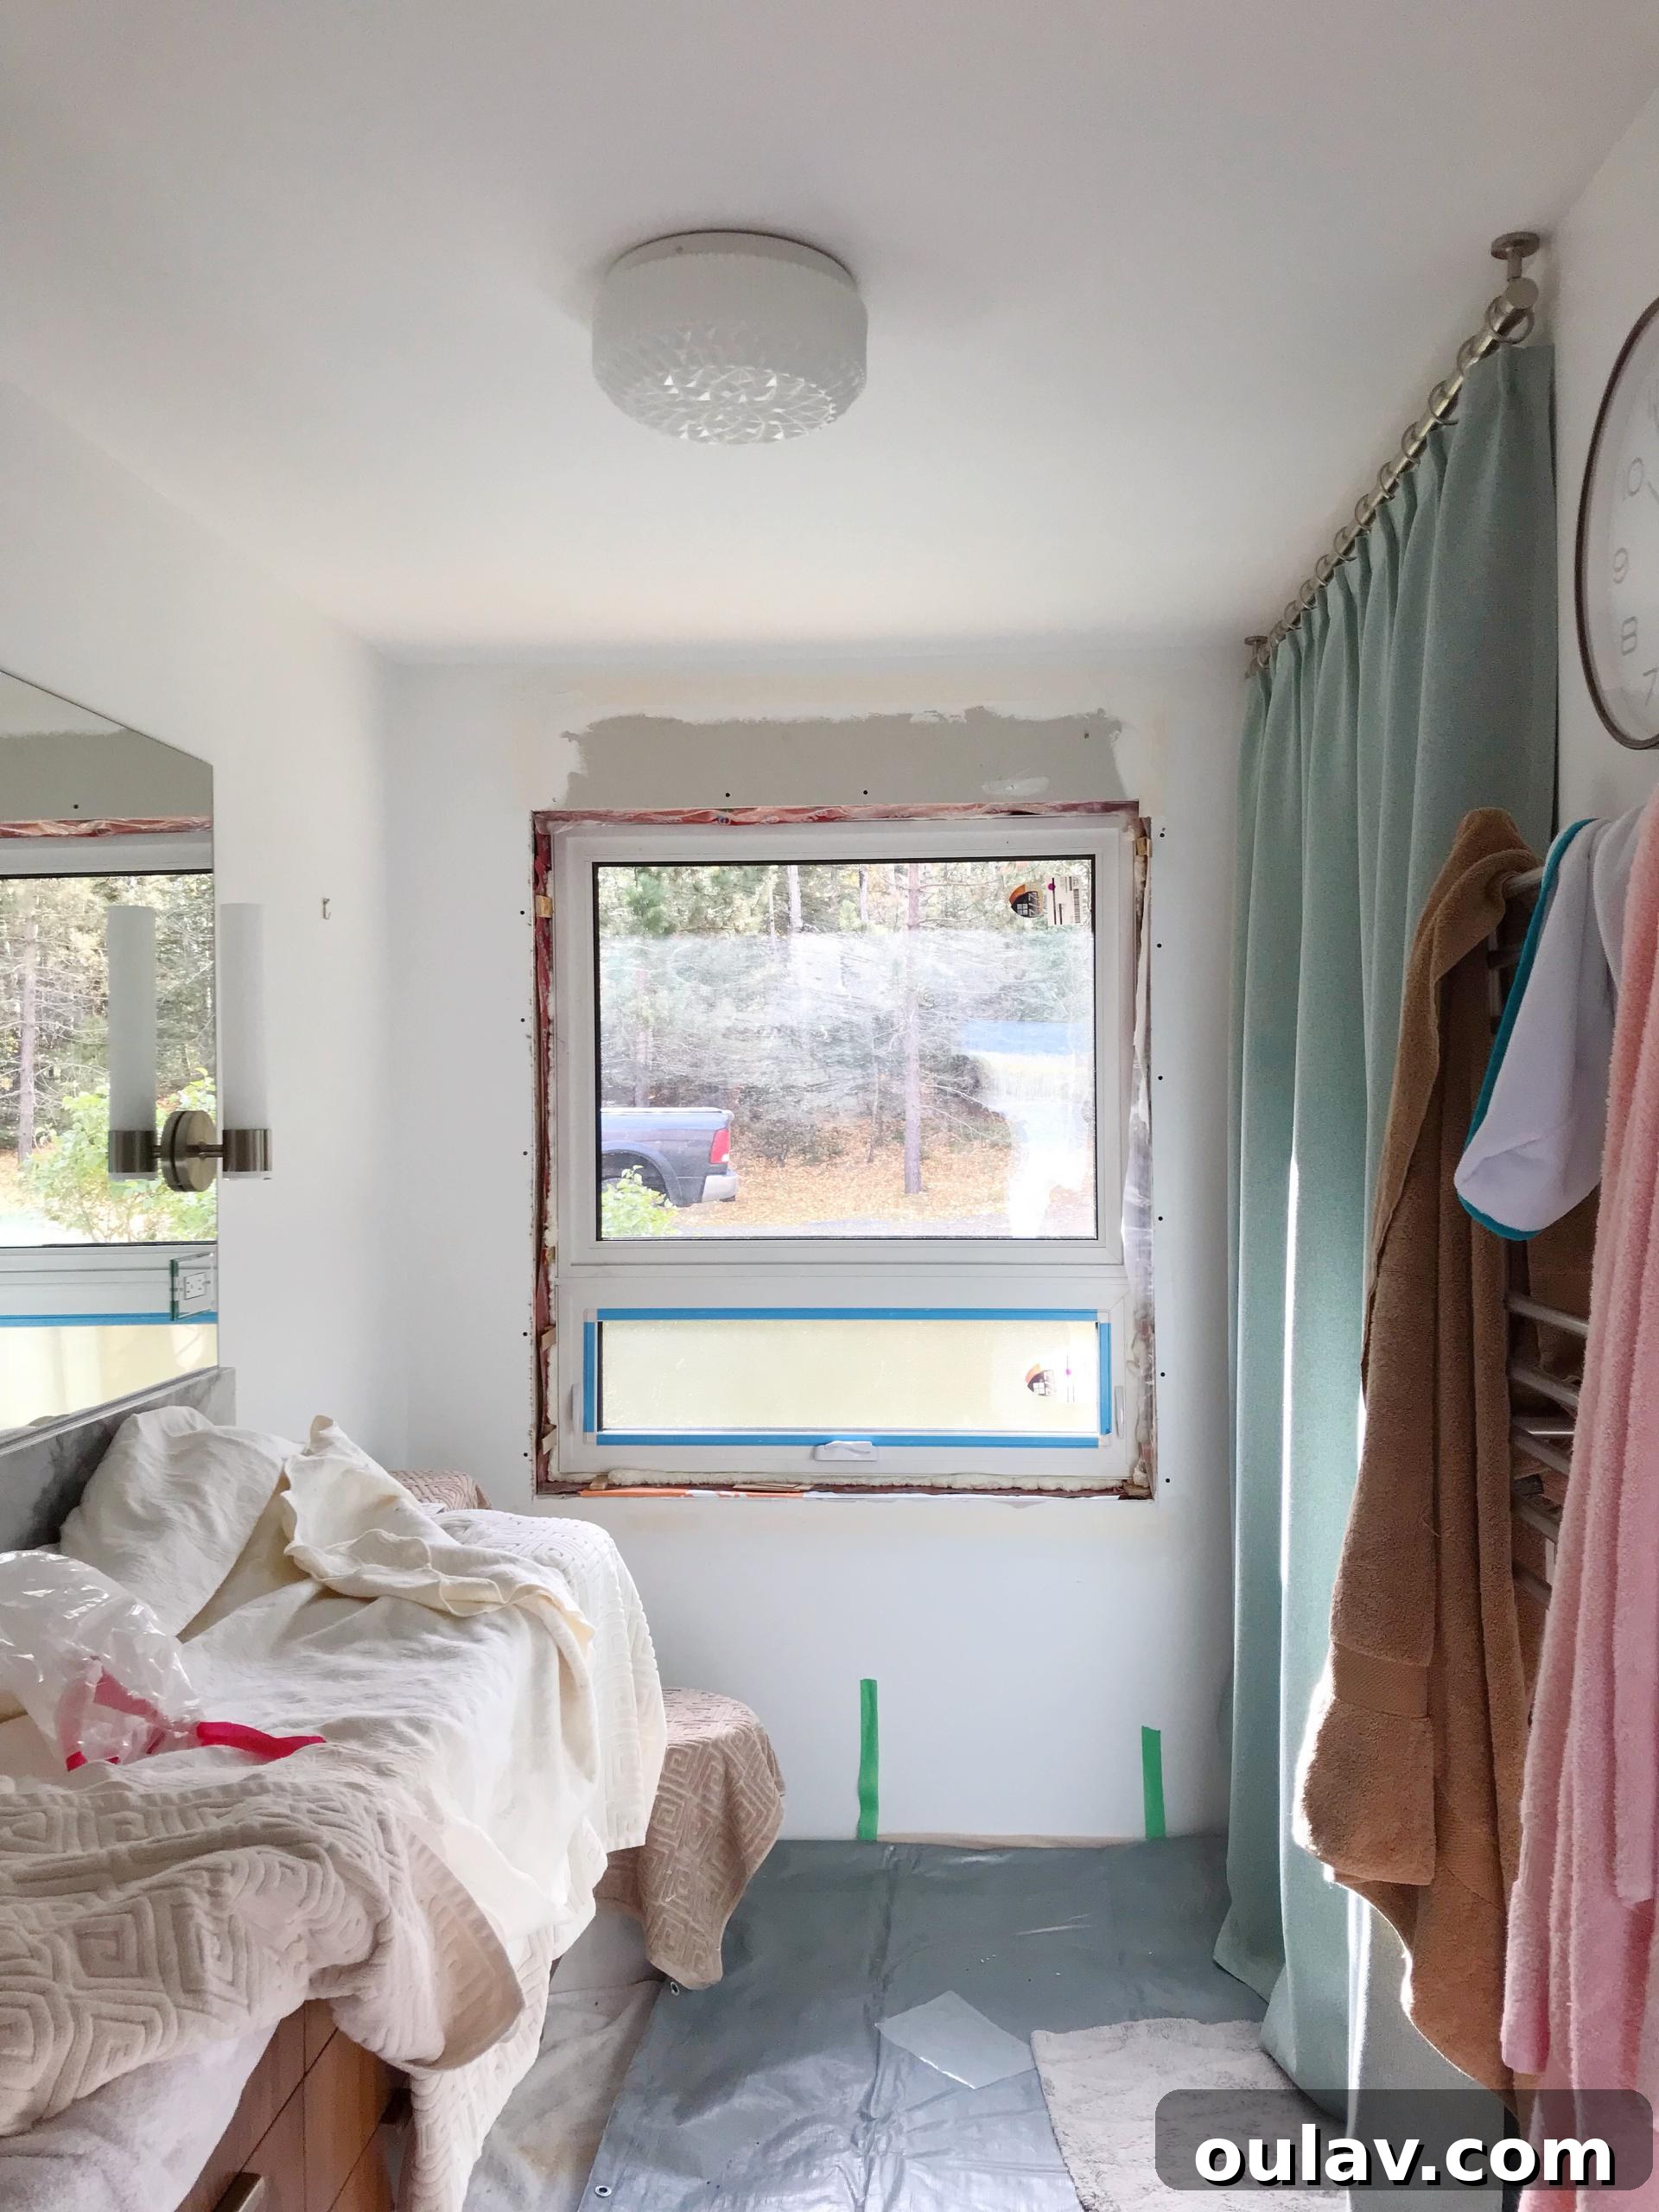
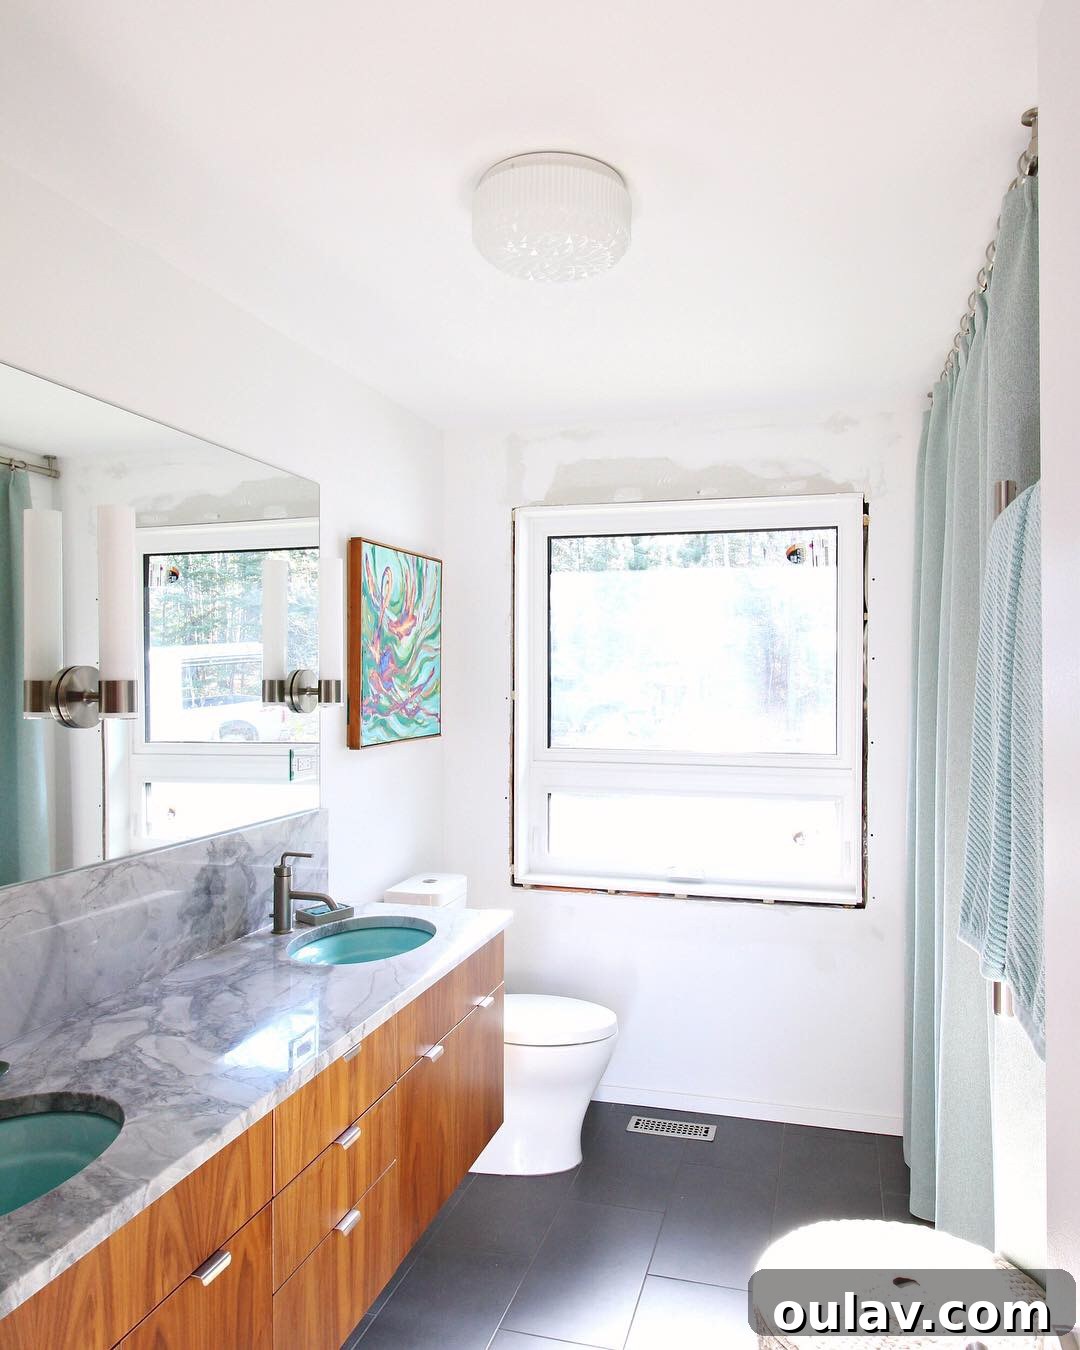
For the sake of brevity, I won’t detail the repetitive process for each individual window. The core steps of cutting, framing, insulating, and installing were largely consistent across all openings.
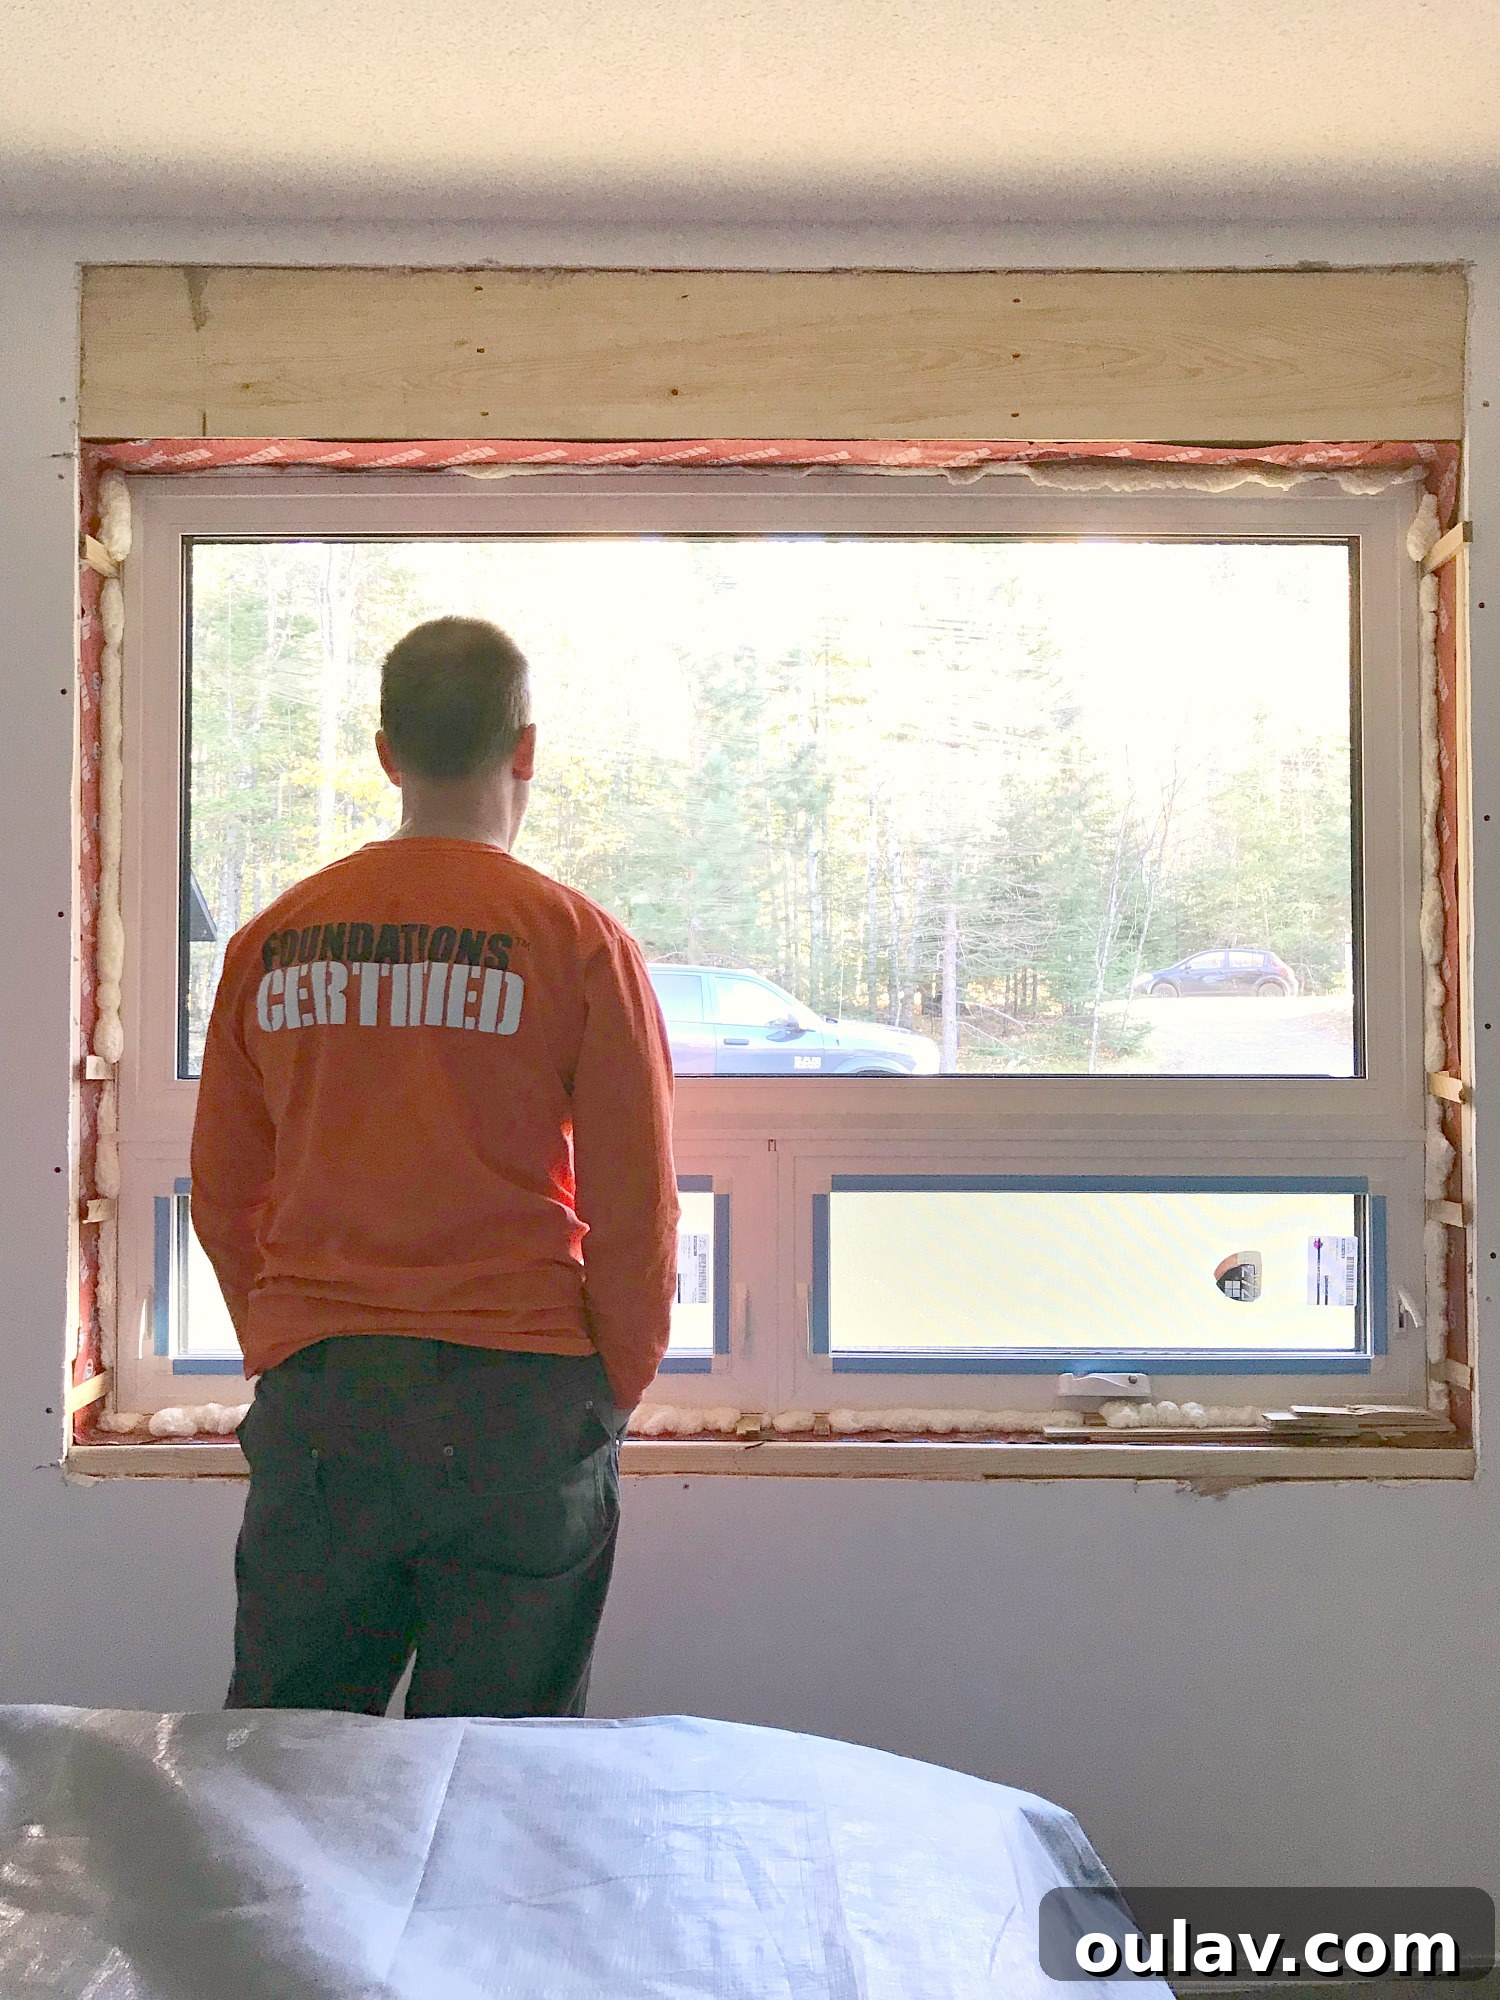
Addressing Installation Hiccups: Lessons Learned
The Privacy Glass Predicament: Rain vs. Frost
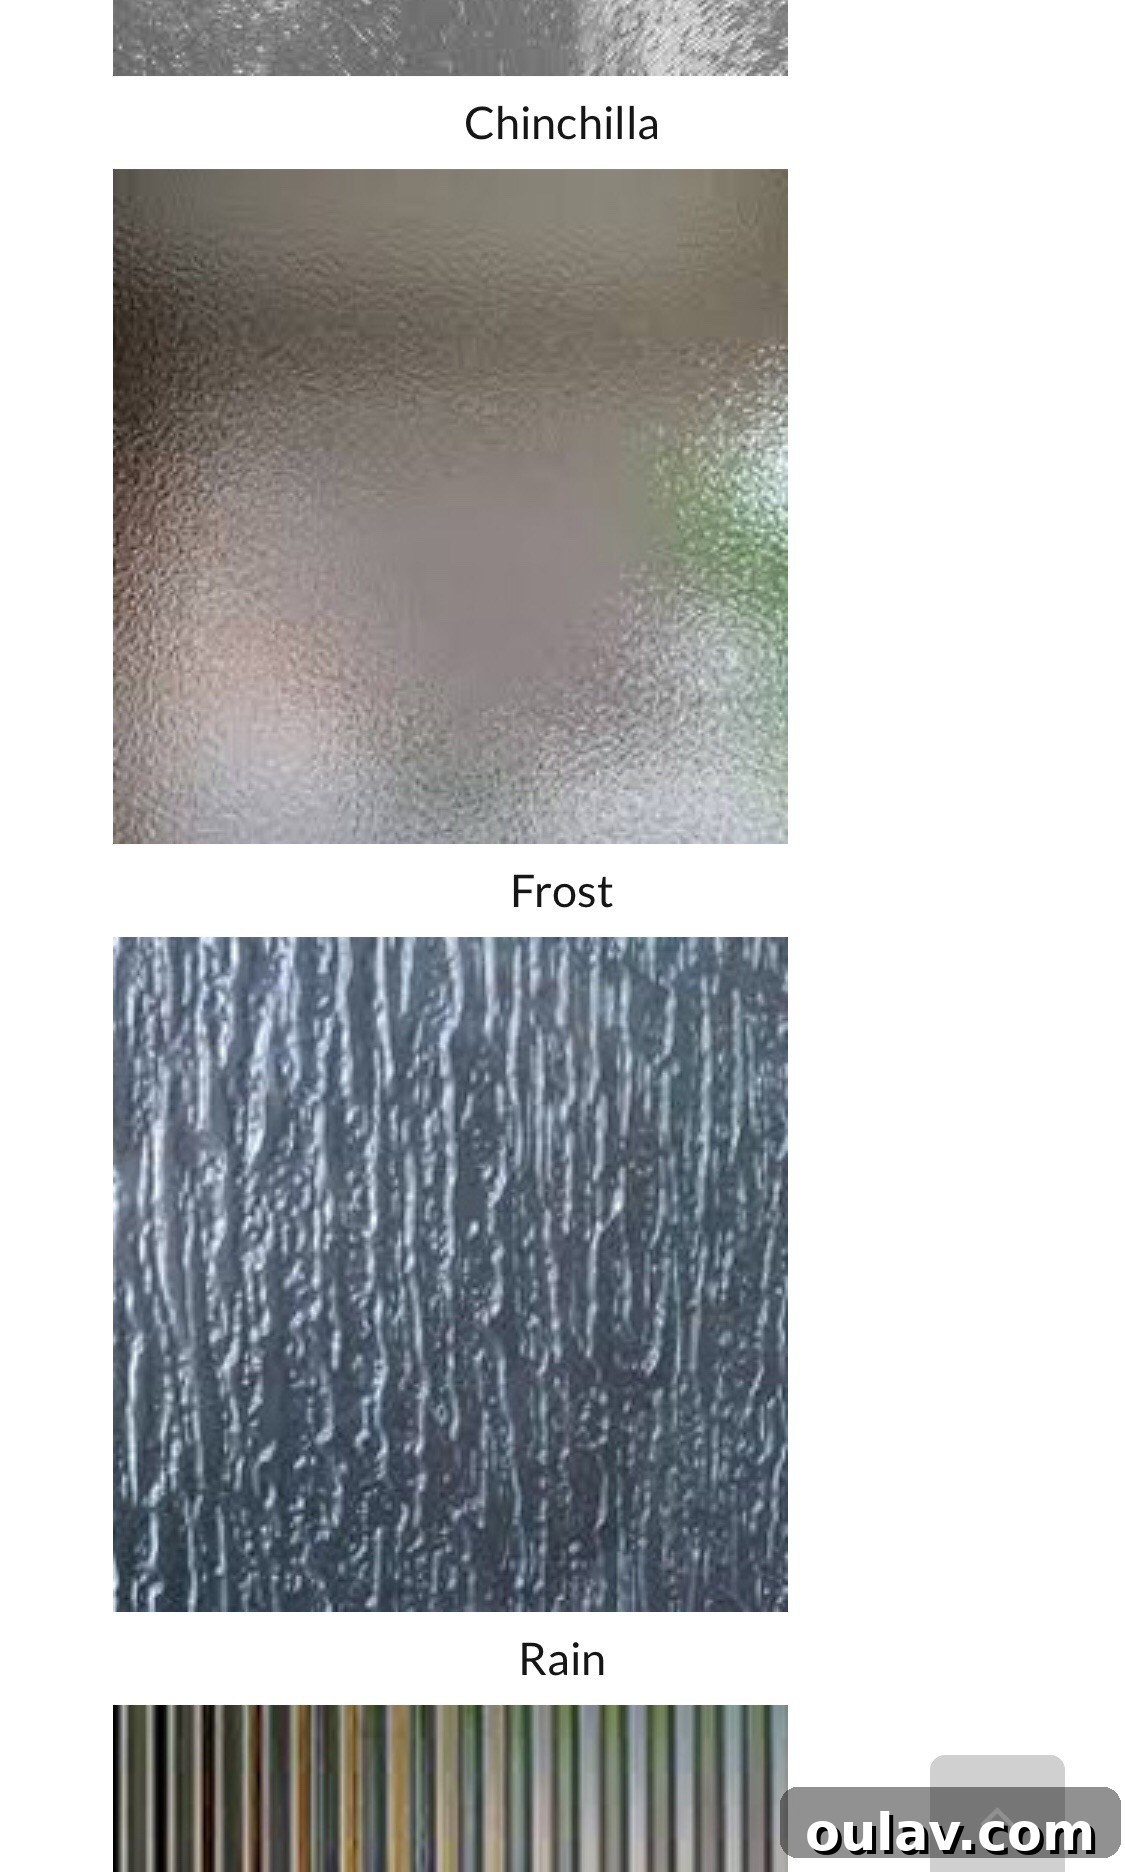
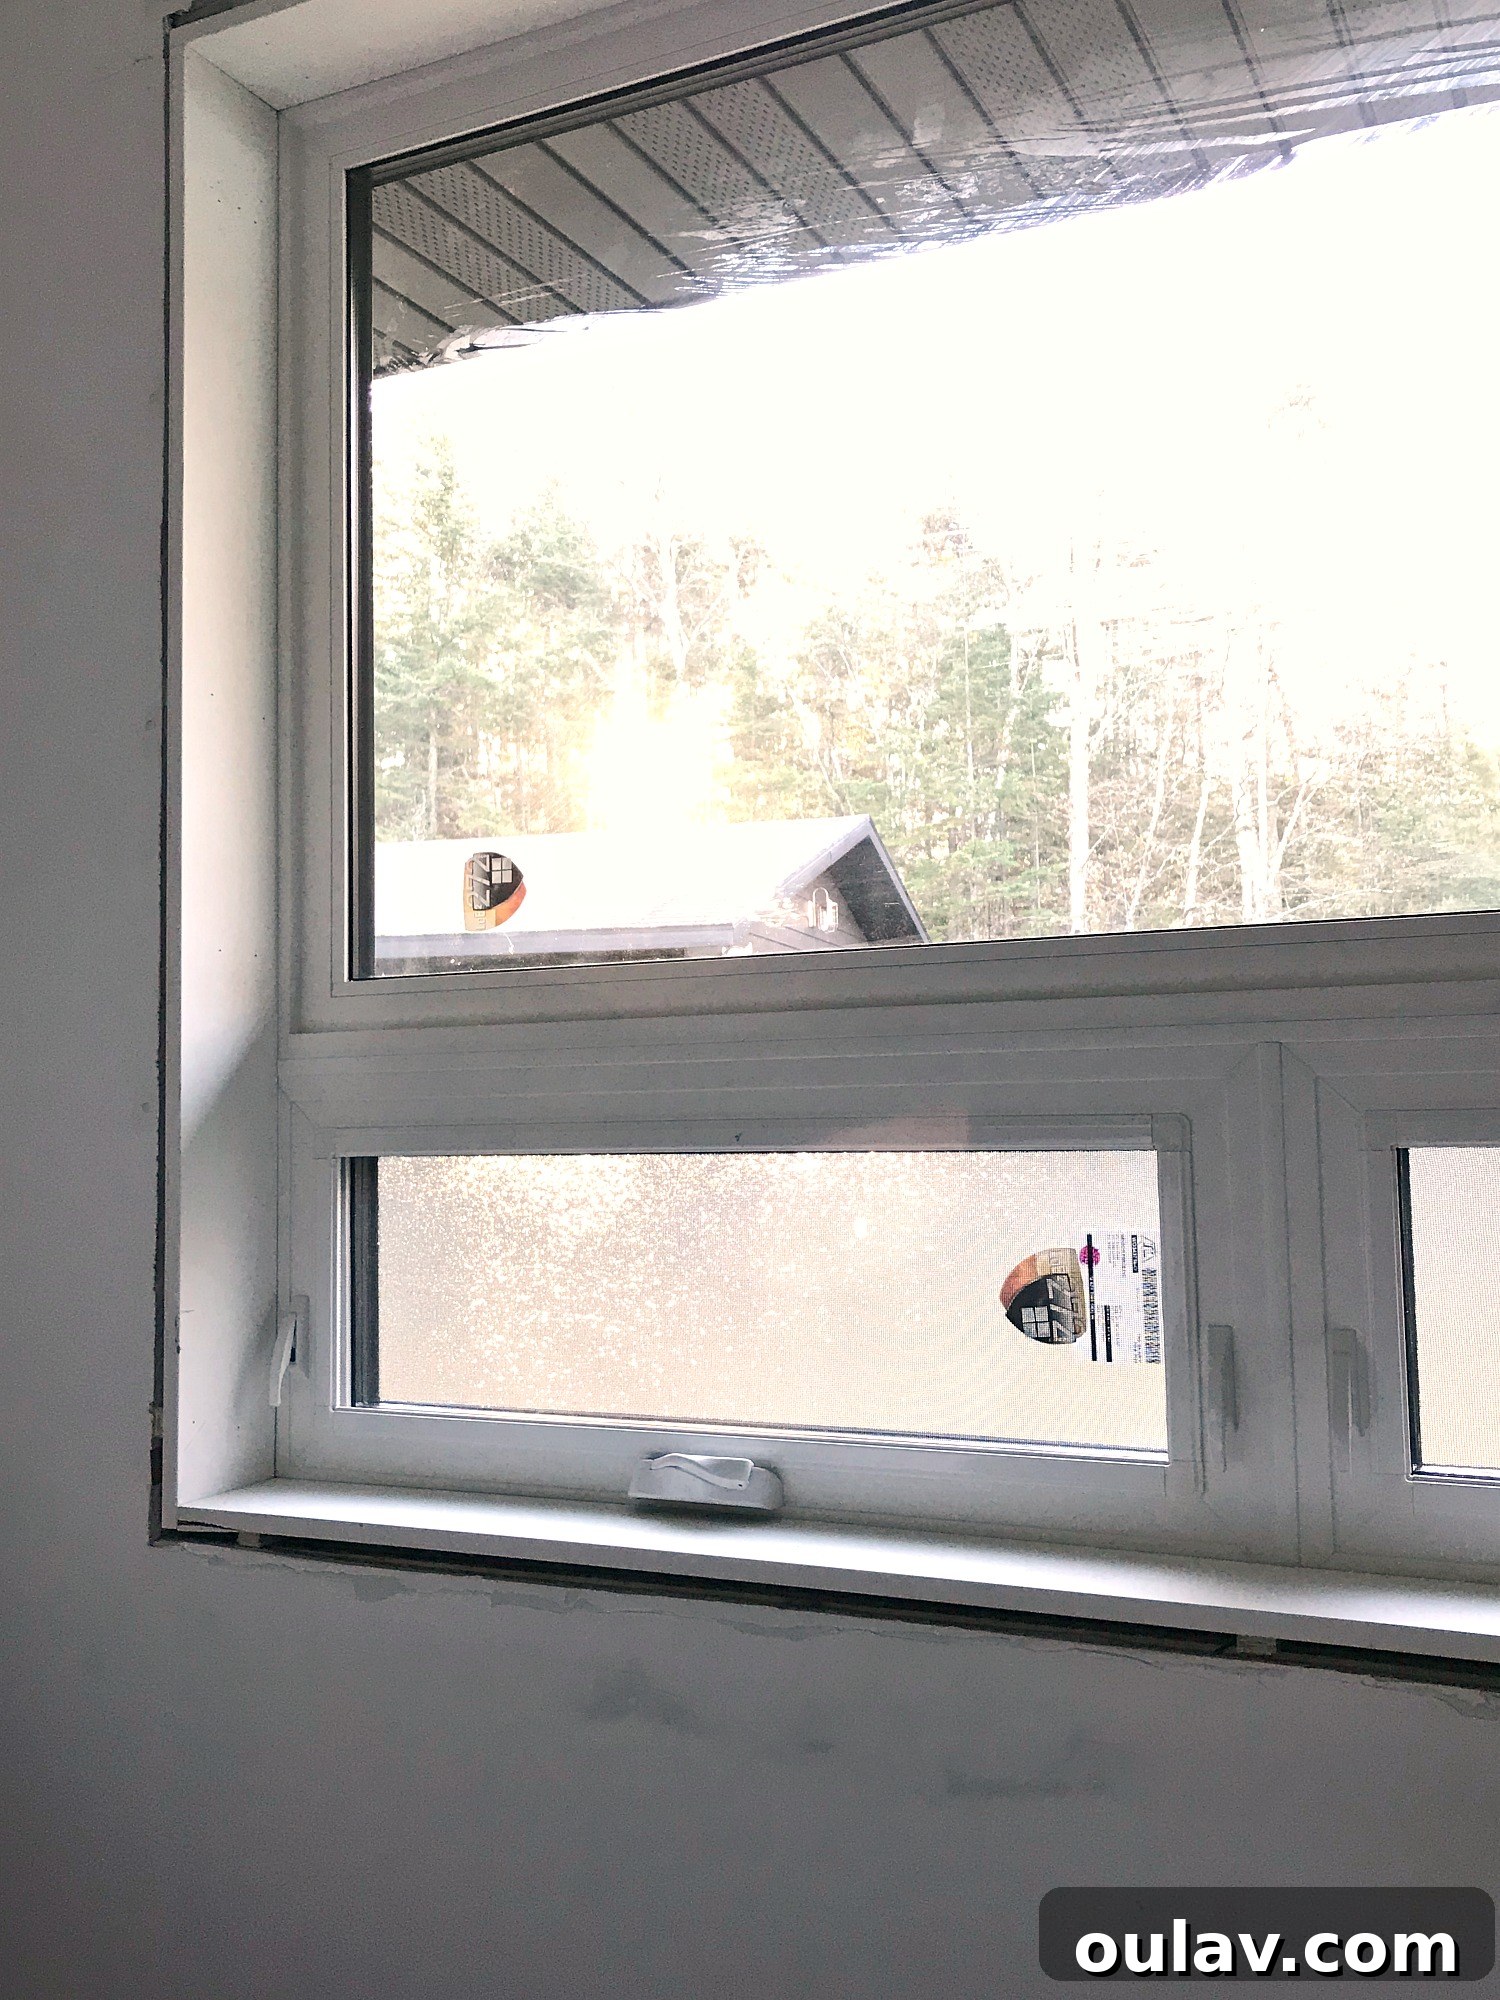
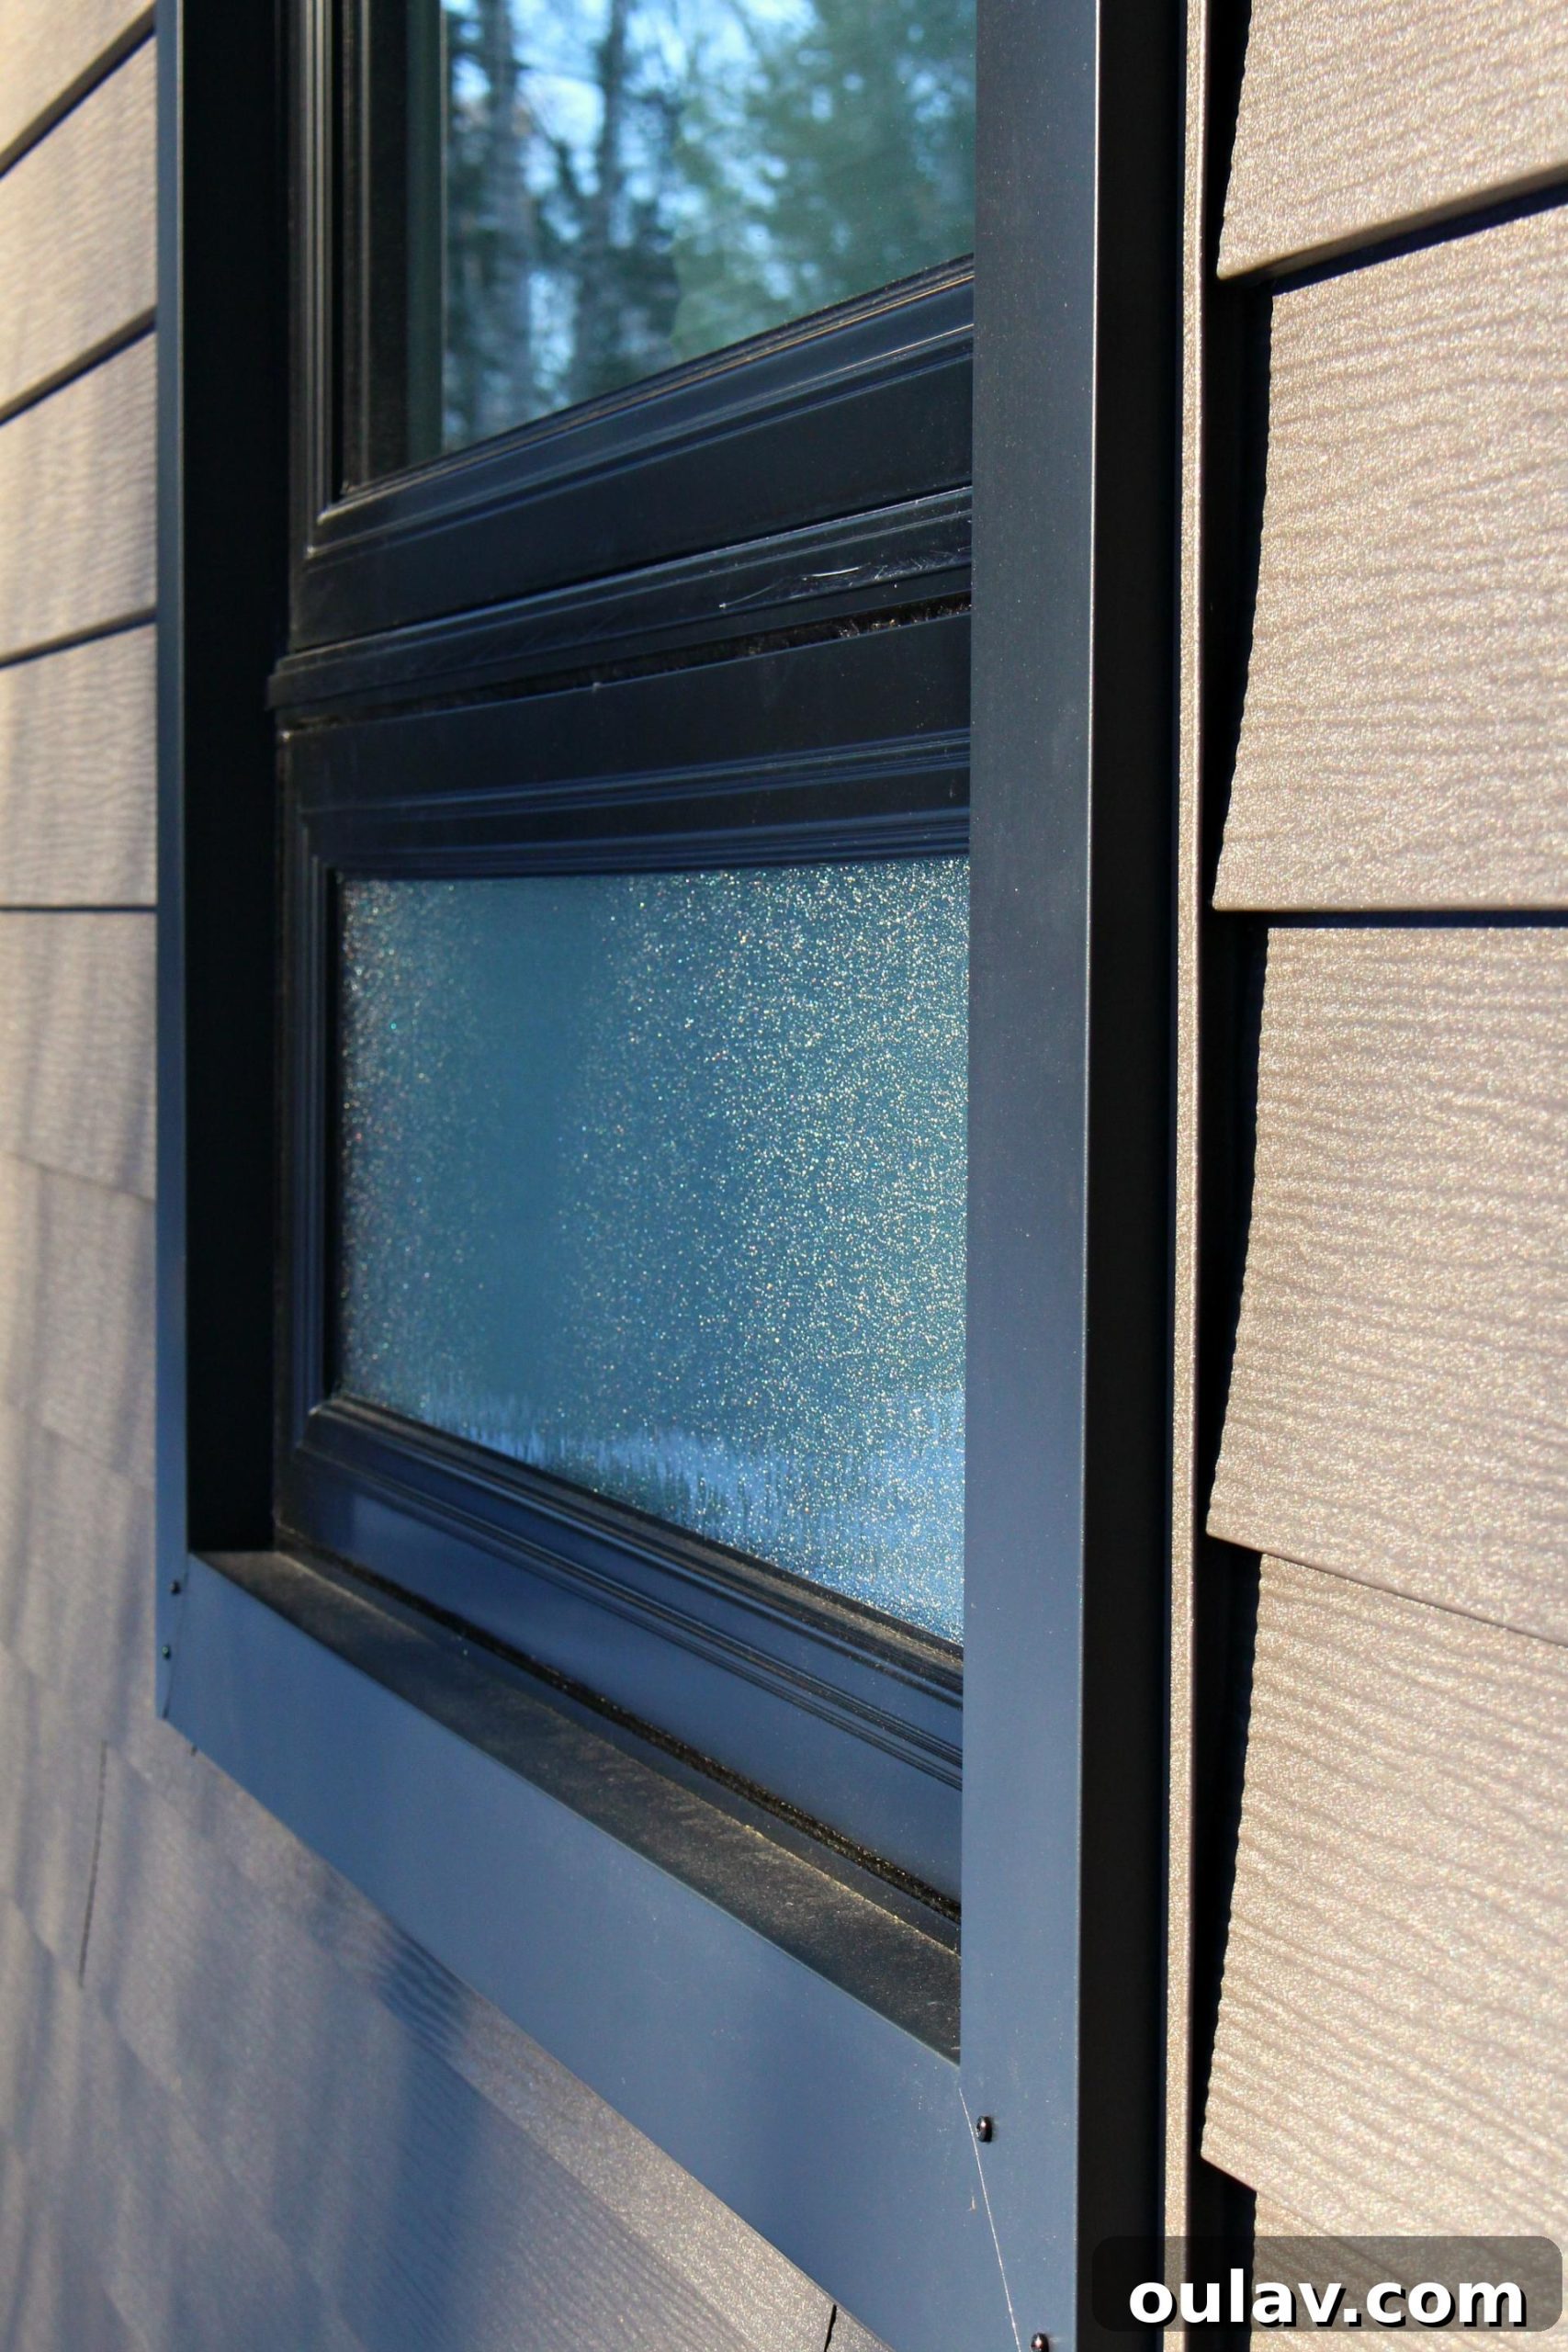
As I previously mentioned, due to the new windows extending considerably lower than their predecessors, I specifically requested privacy glass for the lower, operable sections. My choice was the ‘Rain’ design, a style I’ve always admired for its elegant texture, and one I believed would beautifully complement our faux bois stamped metal siding. Despite a clear verbal discussion with the owner about this selection, I felt a strong need to follow up with an email to confirm all the details – and it was fortunate that I did! He had mistakenly ordered ‘Frost’ glass, with no recollection of our specific ‘Rain’ decision. Promptly forwarding our email correspondence resolved the issue, and the correct glass is slated for replacement (hopefully soon) at no additional charge. While the ‘Frost’ is aesthetically pleasing, and I did attempt to live with it, the ‘Rain’ pattern is truly stunning, and I’m eagerly awaiting its installation.
The Case of the Missing Vinyl Jambs
During that same crucial discussion about privacy glass, I also placed an order for custom vinyl window jambs. My primary motivation was to address the persistent issue of painted jambs (or window sills) which, due to my dog Szuka’s habit of resting her face on them, required constant cleaning and frequent repainting because moisture inevitably caused the paint to peel. Vinyl, I reasoned, would be effortlessly easy to clean and entirely maintenance-free. To my profound irritation, the company proceeded to install cheap MDF jambs instead – a material that would have been my absolute last choice. Thankfully, my email correspondence once again served as irrefutable proof of my specific order. While I was told I wouldn’t be charged for the incorrect installation, I ultimately decided to keep the MDF rather than endure the further disruption of having them ripped out. My immediate priority at that point was simply to have the workers complete their tasks and leave! Nonetheless, replacing these MDF jambs with the vinyl I originally desired remains a future DIY project for us.

The Serenity of the Lakeside: Optimizing Views and Functionality
From Casement to Picture: An Uninterrupted Panorama
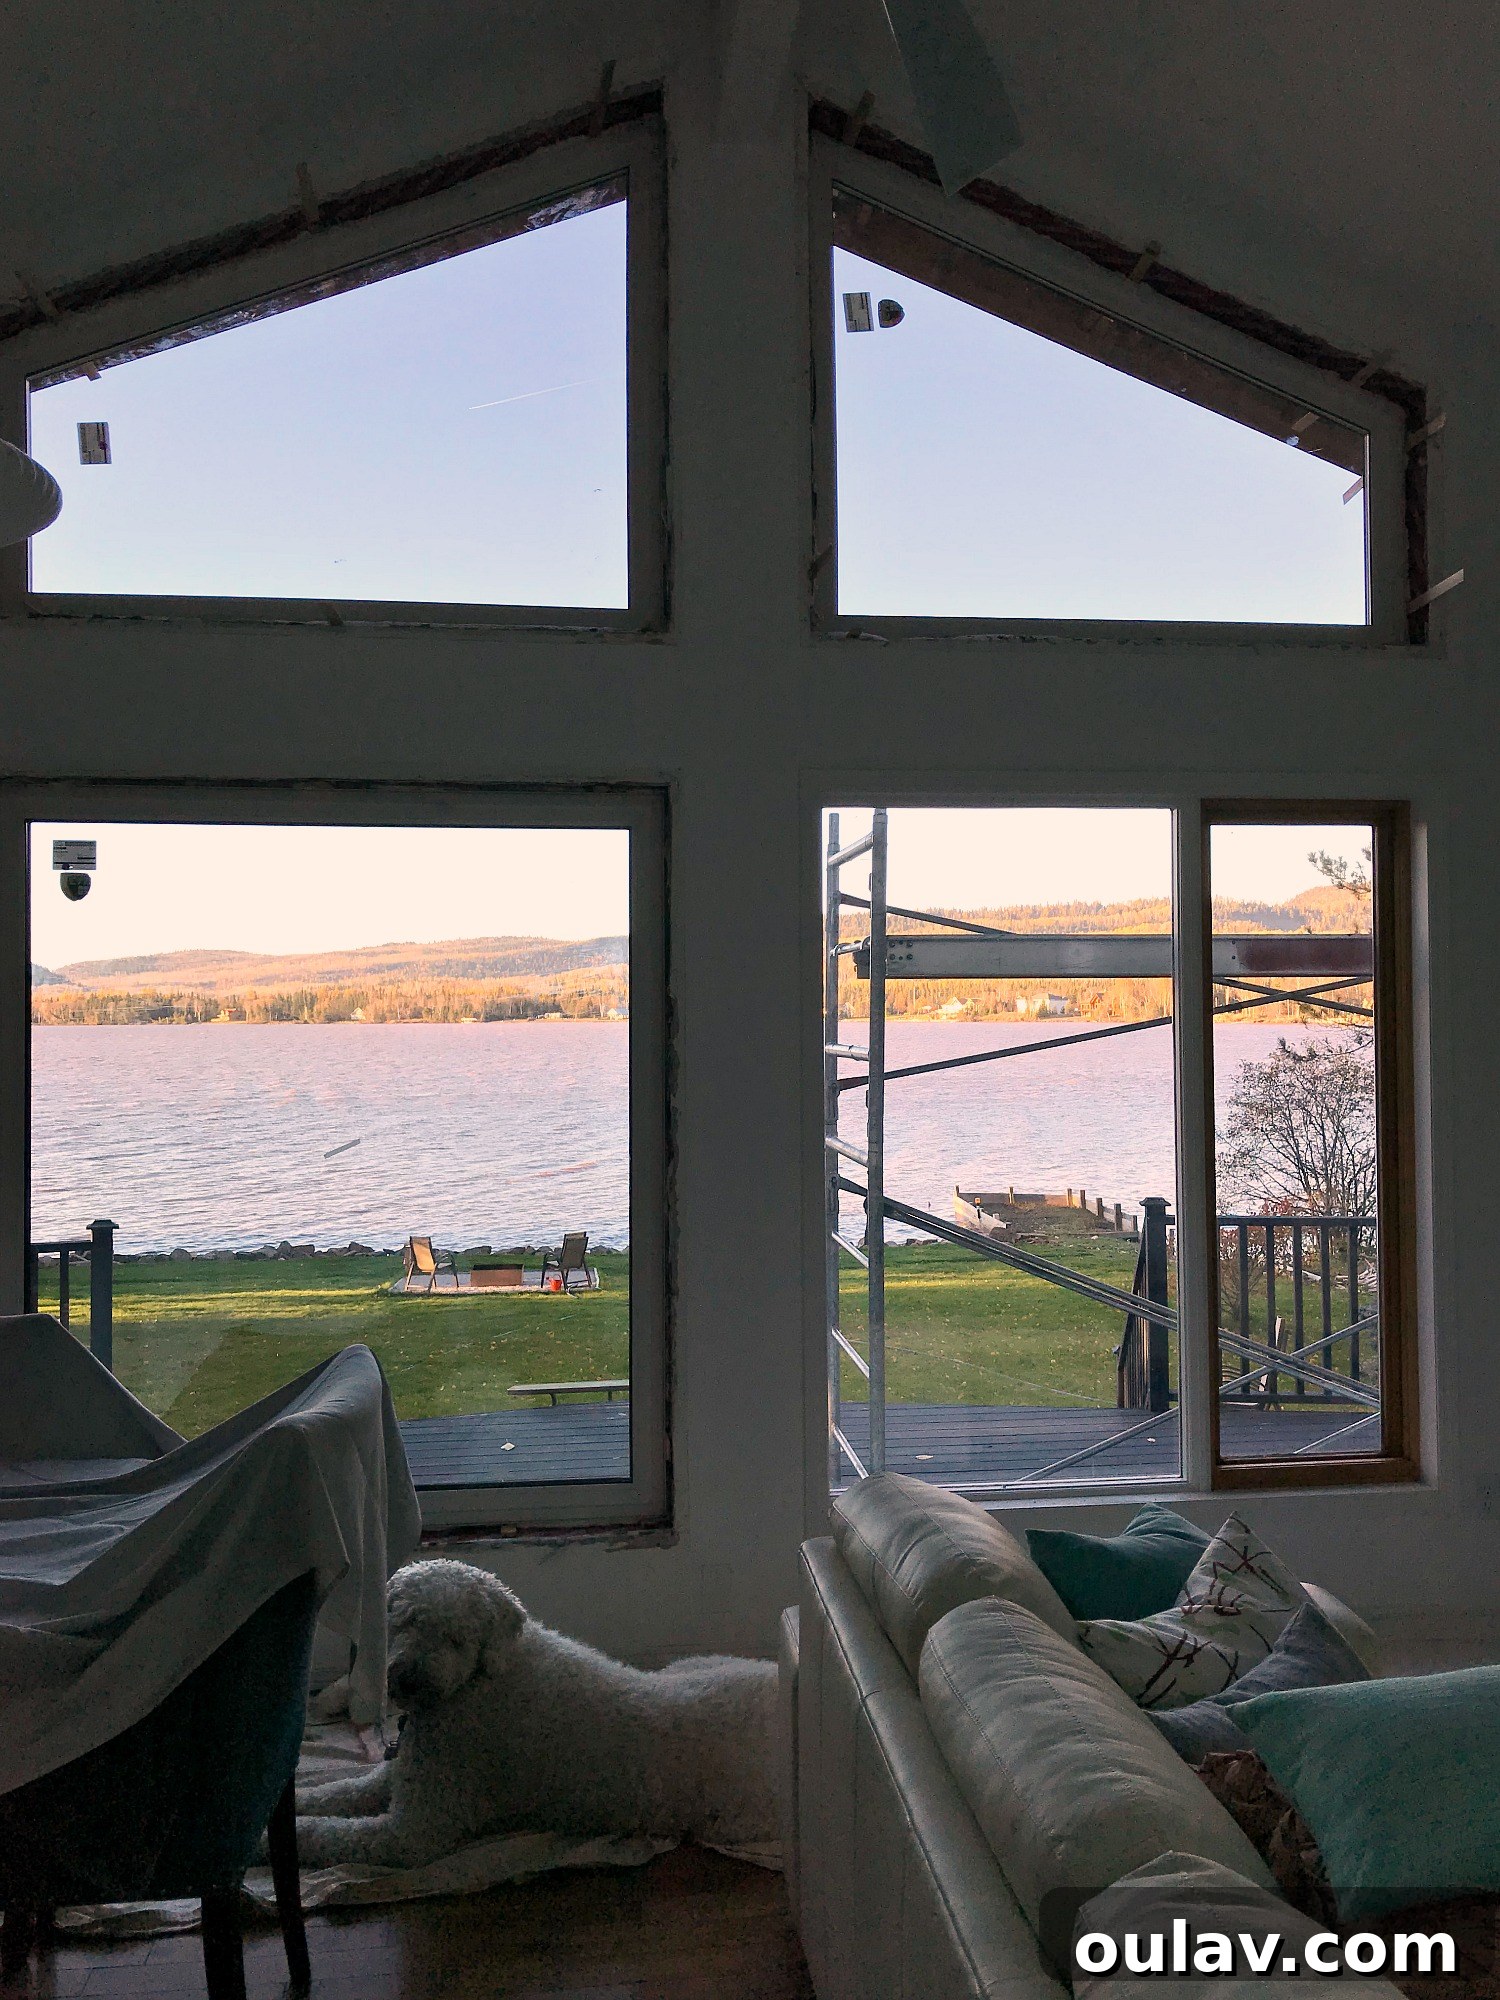
The installation of the lakeside windows proceeded with slightly fewer complications, largely because the dimensions remained the same. The significant change here was the shift from primarily casement-style windows to almost entirely fixed picture windows. This transformation has been nothing short of amazing! Especially considering that the middle casement window never actually opened, and we only ever utilized the one closest to the fireplace. Previously, these casement windows, despite their operable sections, largely served to block our pristine lake view. Now, in both the kitchen and the fish room, the windows achieve perfect symmetry, replacing disparate styles (one casement, one awning) with a unified design, greatly enhancing the aesthetic balance at the ends of the house. Unfortunately, one frame sustained damage during installation and awaits replacement this spring. Moreover, the end windows (kitchen and fish room) initially arrived as fixed units instead of the ordered awning style, but I’m pleased to report that this was quickly rectified – a true win!
Switching from bulky casement windows to sleek picture windows has been a revelation. The visual difference is profound, as illustrated by this humble iPhone photo below. What was once an interrupted view is now an expansive, crystal-clear panorama of the lake. It truly underscores how much the old casement designs, even when open, obstructed our connection to the outdoors.
Unveiling Hidden Dangers: The Extent of Wood Rot
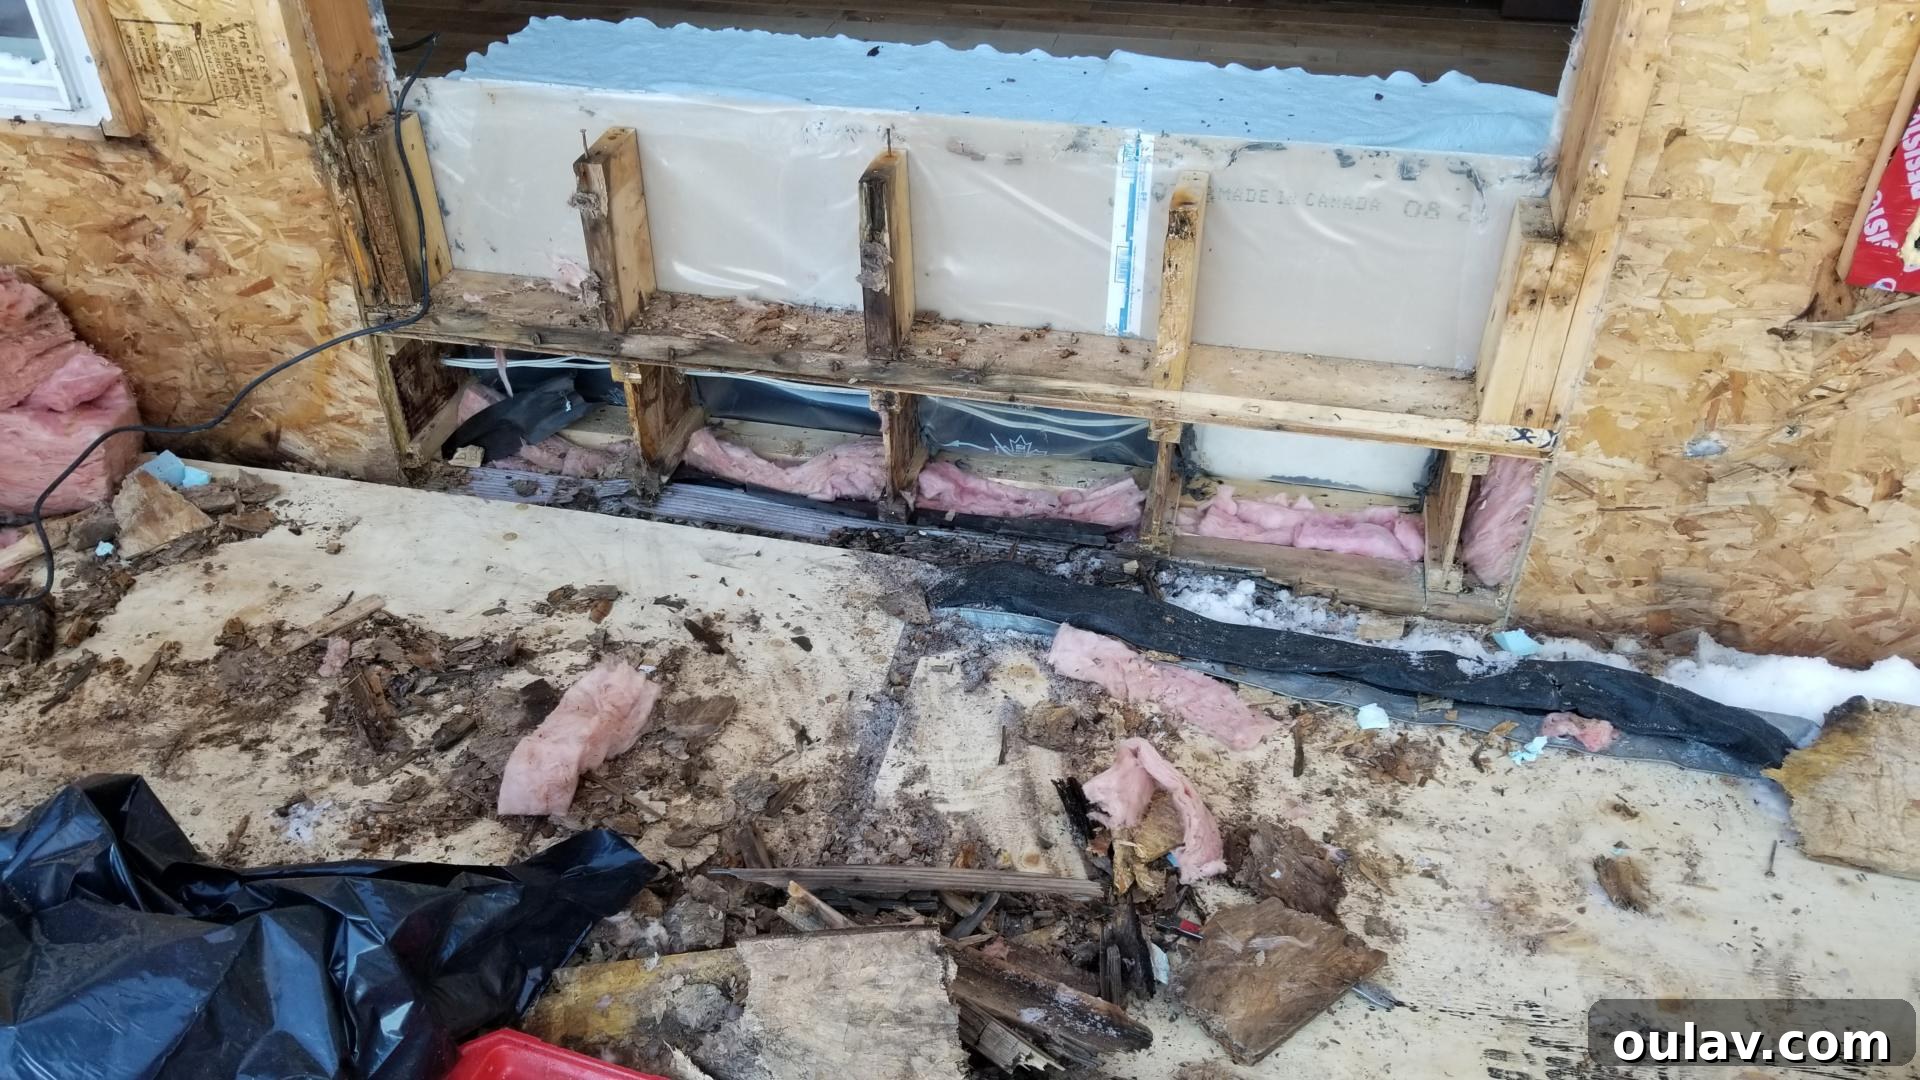
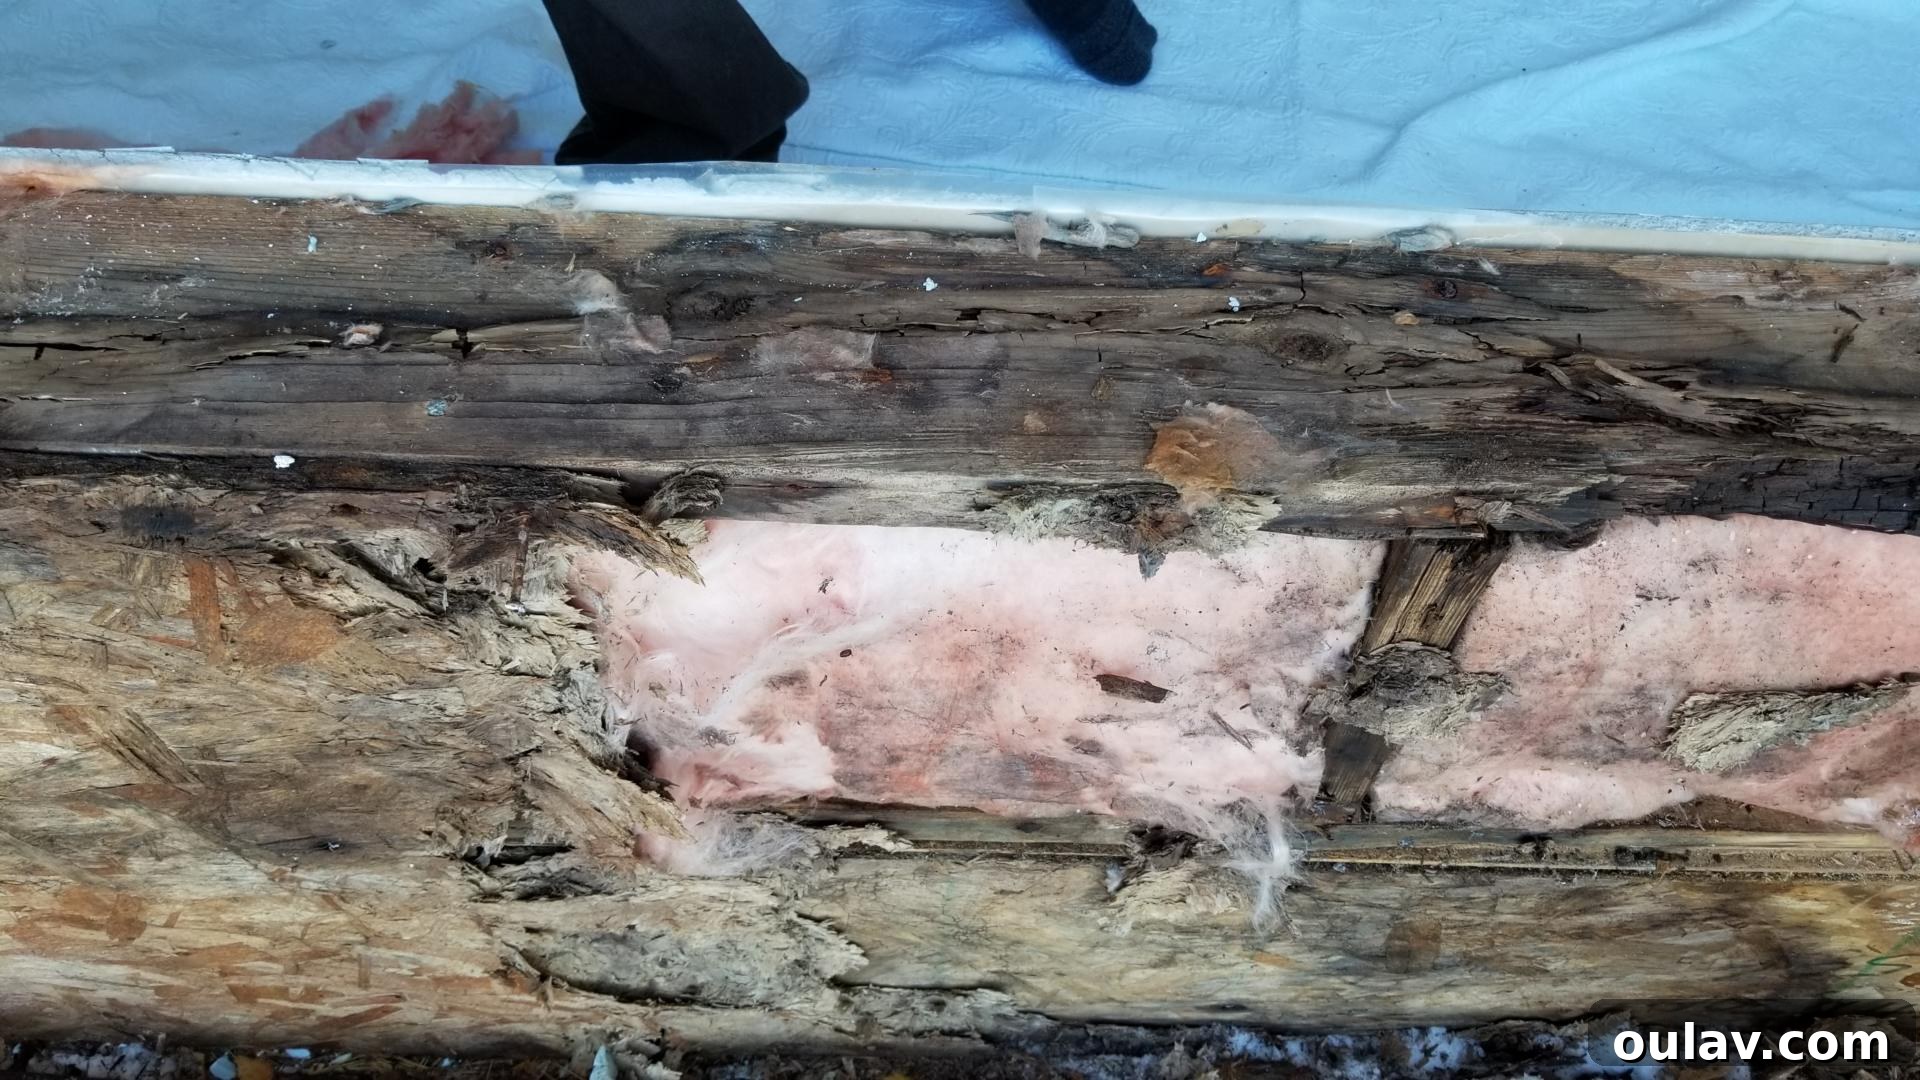
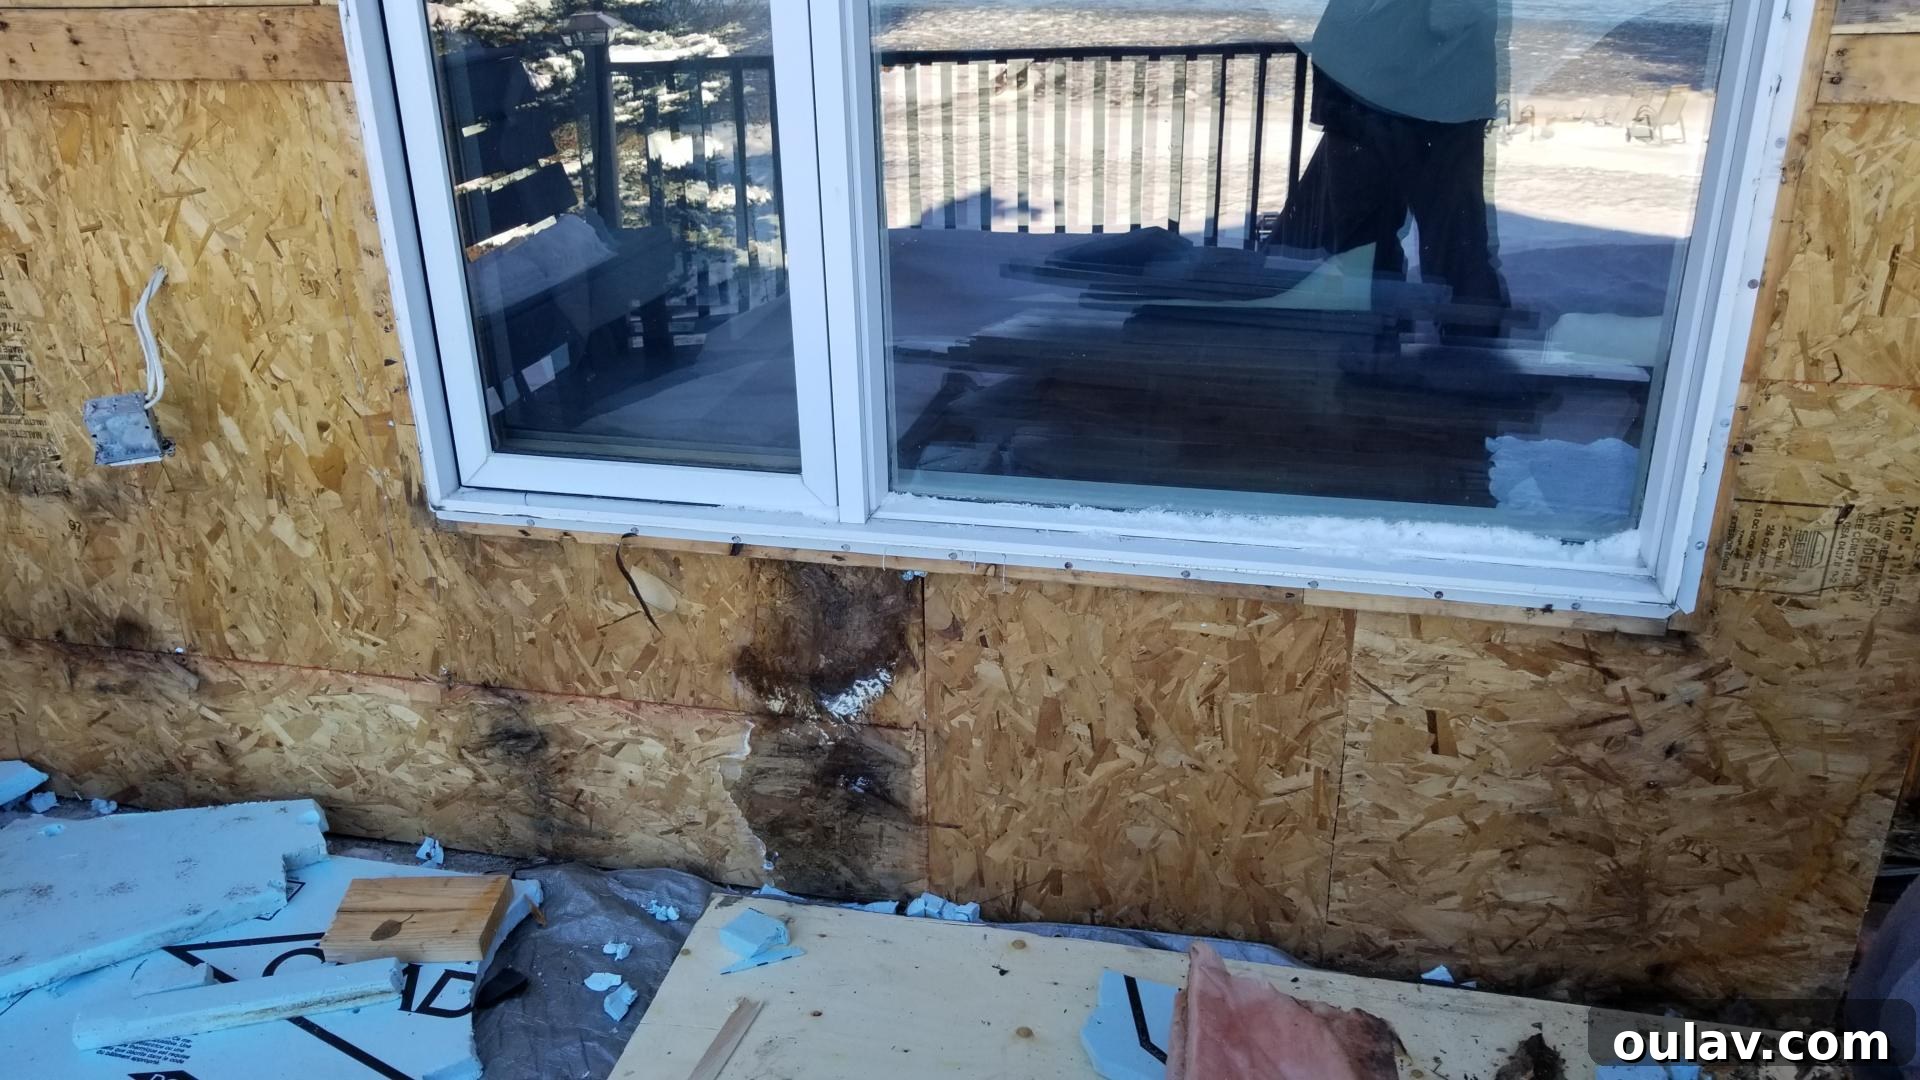
Perhaps the most astonishing discovery during this entire process was the extent of the wood rot. While we had noticed minor leaking in the bedroom, the rot on the lakeside was catastrophic. The middle window was barely held in place; I distinctly recall thinking I saw it wiggle before replacement, and dismissed it as my imagination. It turns out I wasn’t imagining things at all! The old windows were incredibly loose and compromised. This alarming finding unequivocally validated our decision to replace them, proving that despite all the hassle, it was a necessary and worthwhile endeavor to safeguard our home’s structural integrity.
Finishing Touches: Exterior Window Capping
Durable and Aesthetic Exterior Framing
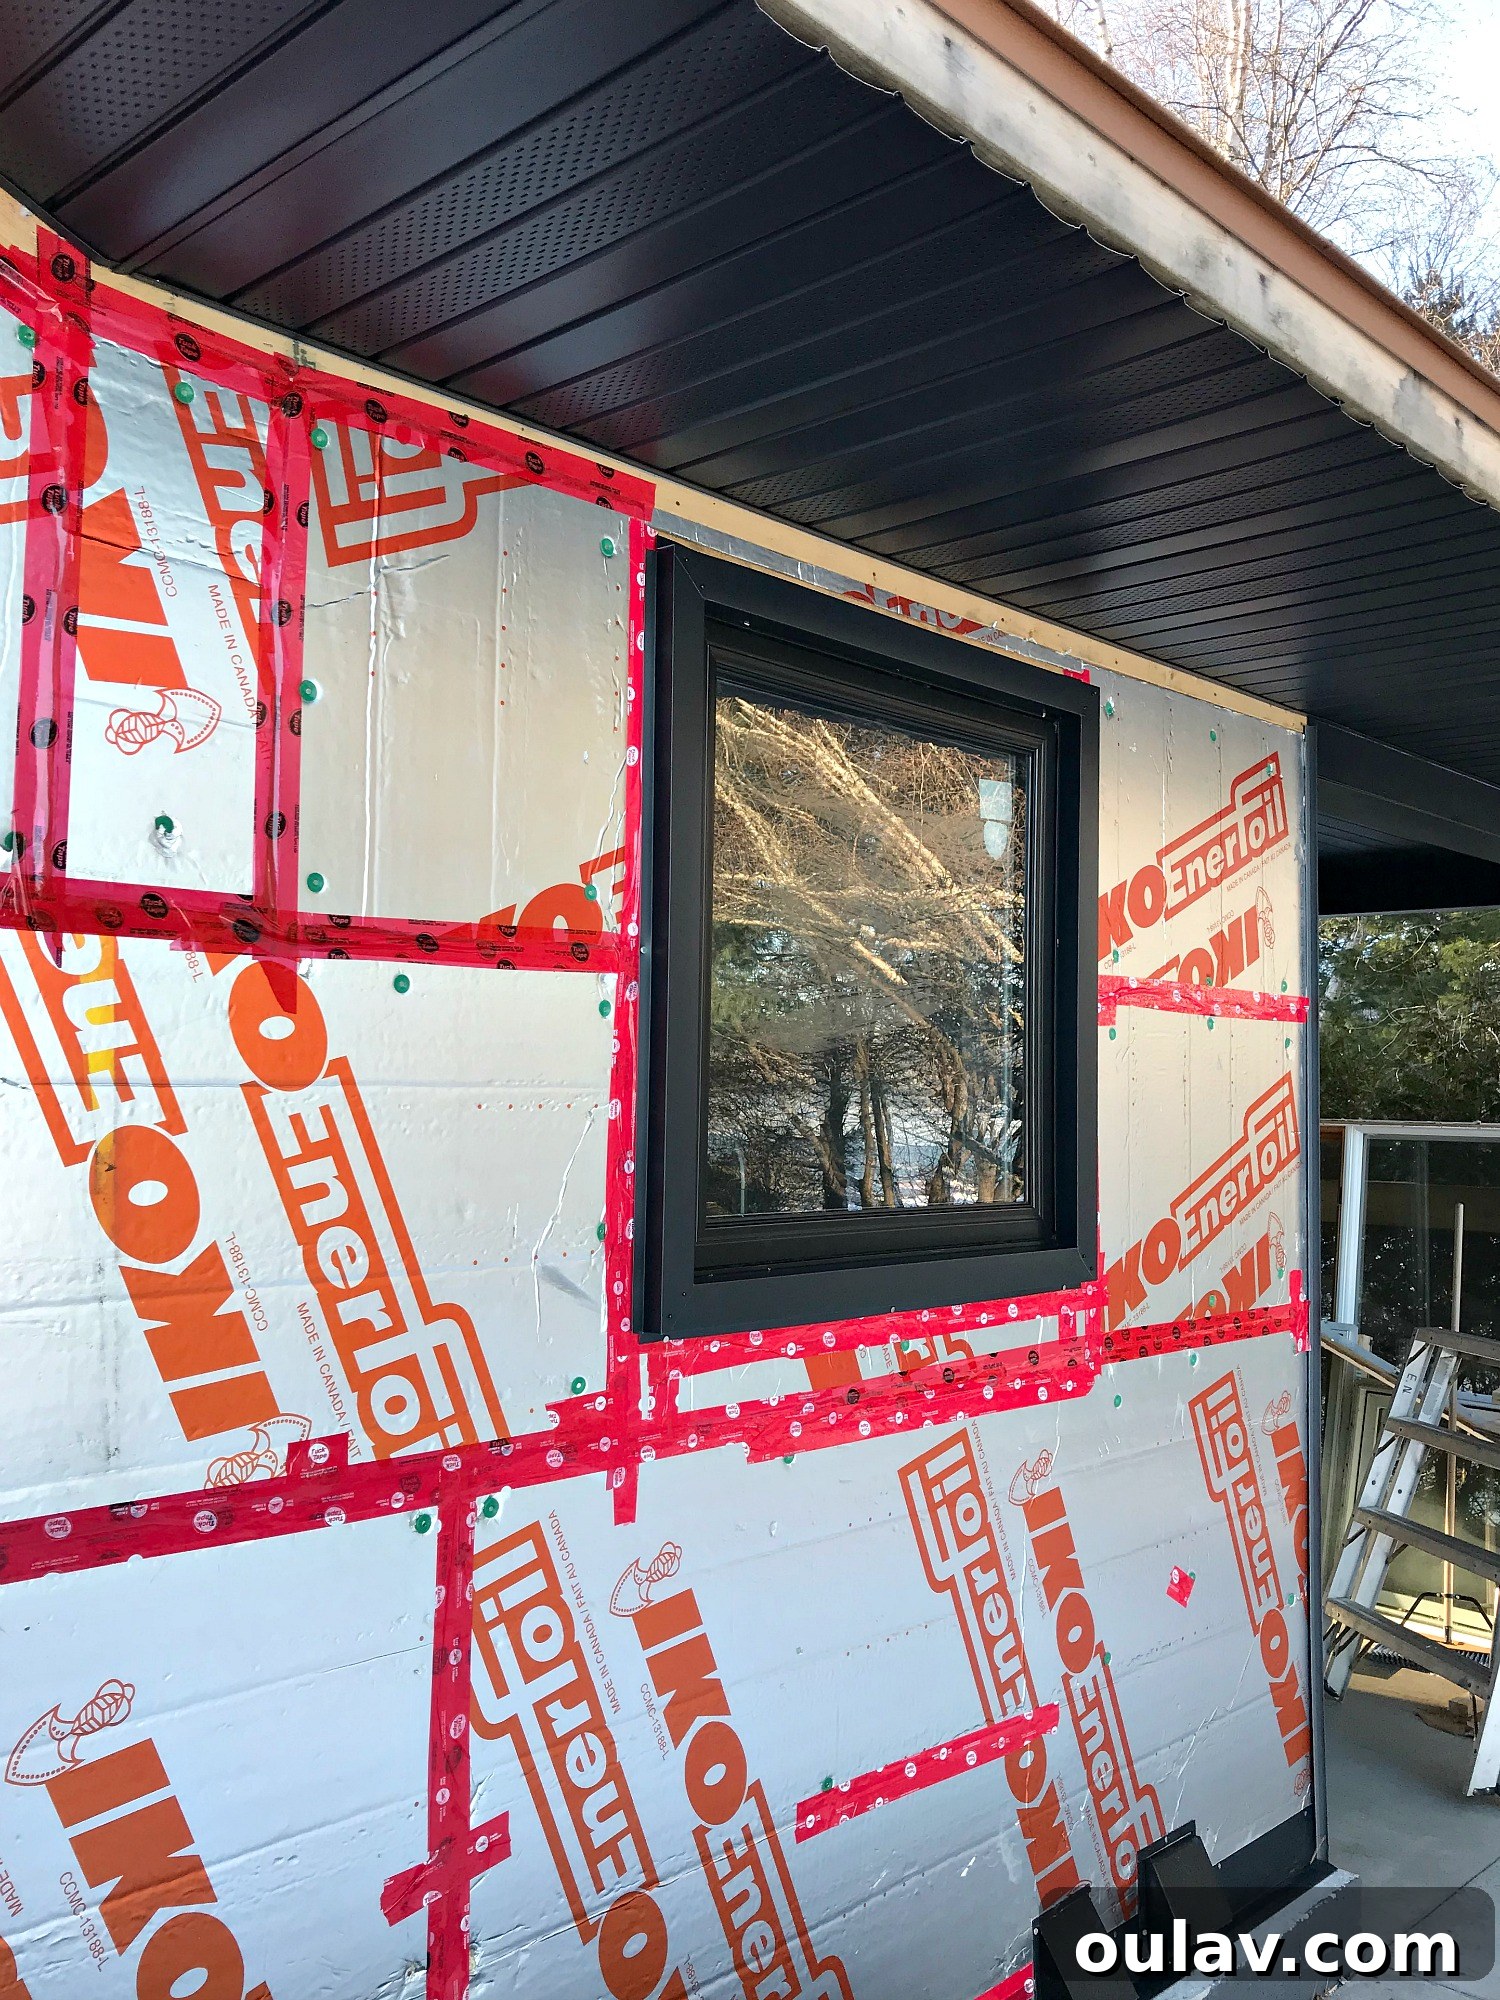
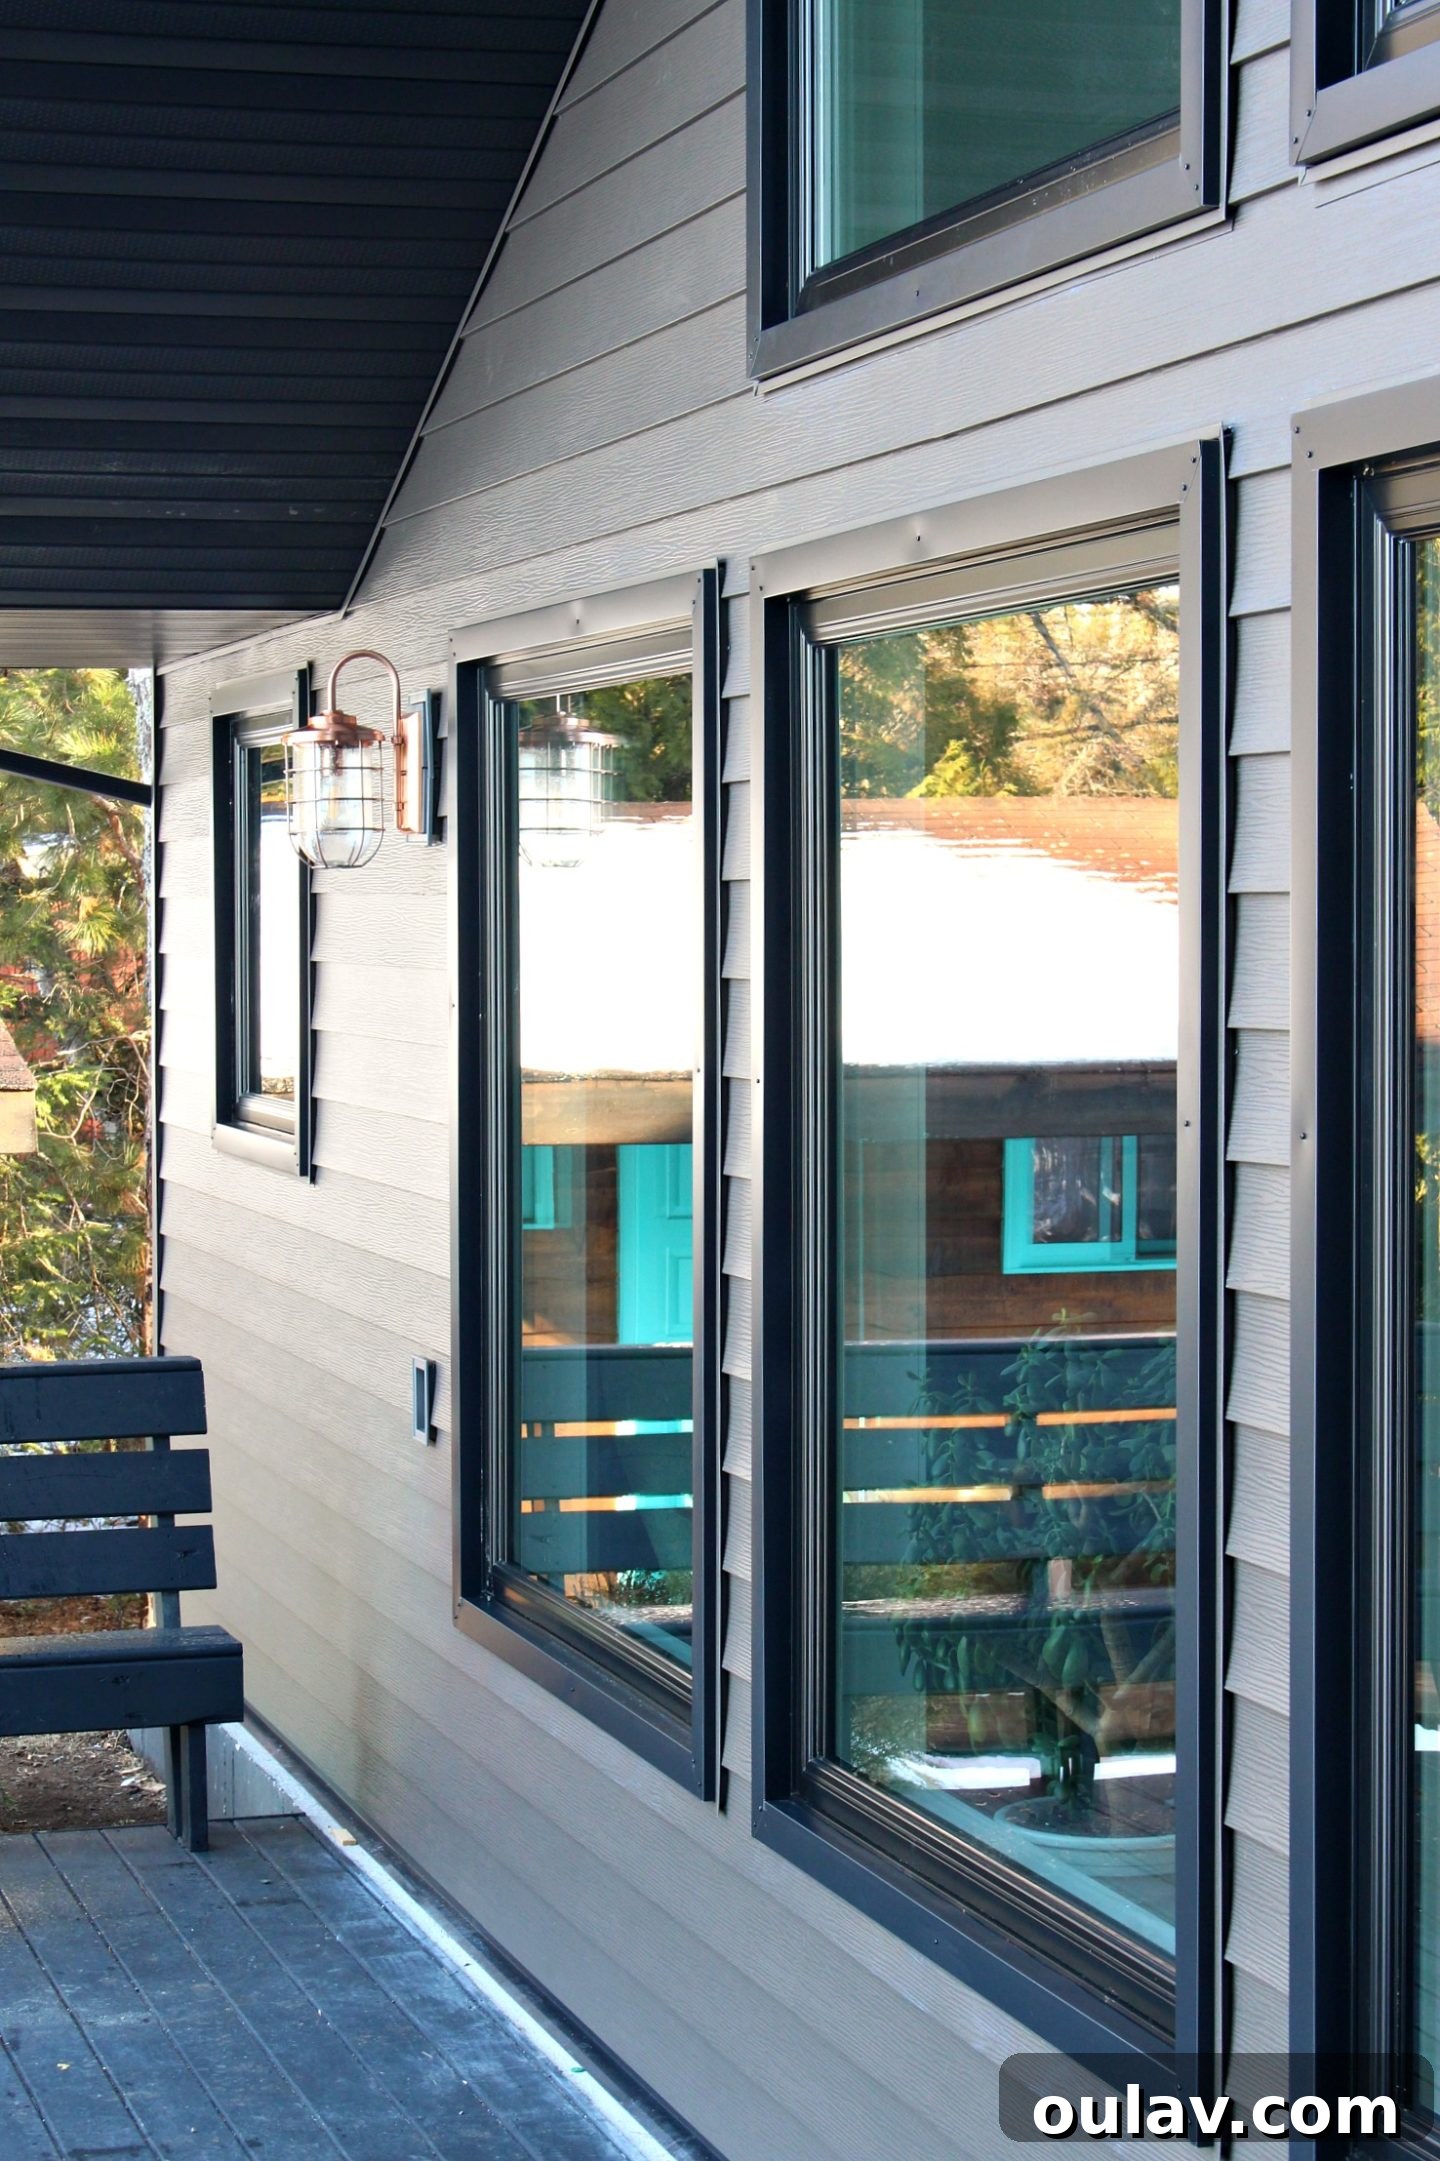
On the exterior, all the new windows were expertly framed with wood, which was then carefully capped in durable metal. This capping serves a dual purpose: it protects the underlying wood from the elements, significantly extending the lifespan of the window frames, and it also contributes significantly to the aesthetic finish. We had the opportunity to select the width and color of this metal capping. I chose rather chunky dimensions for the framing, as we decided against re-installing any shutters or other external embellishments. This robust framing not only enhances the modern look of the large windows but also provides a clean, finished edge that beautifully complements the overall exterior design of our renovated home.
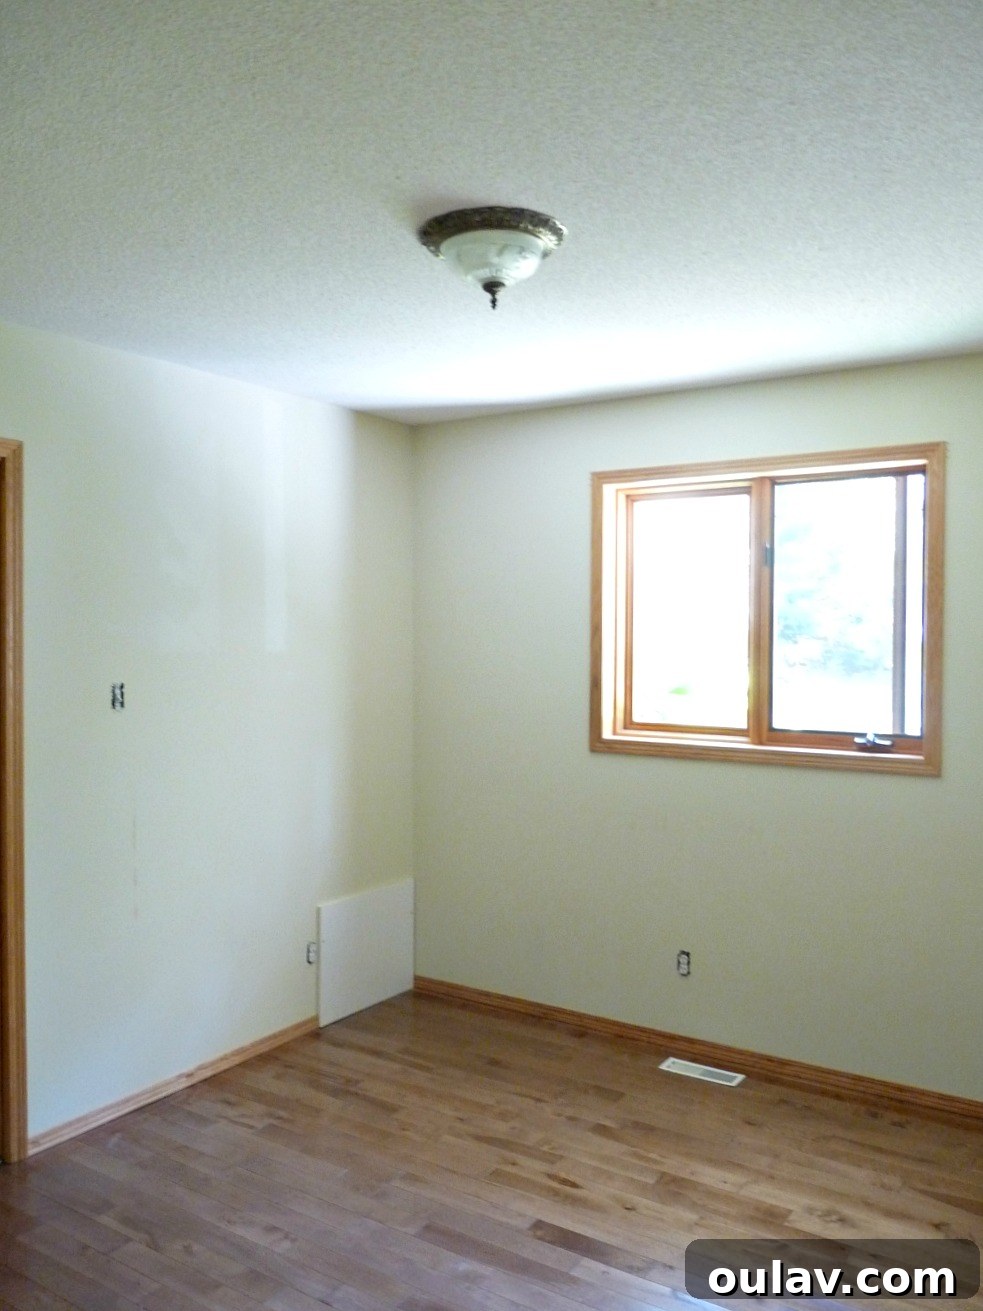
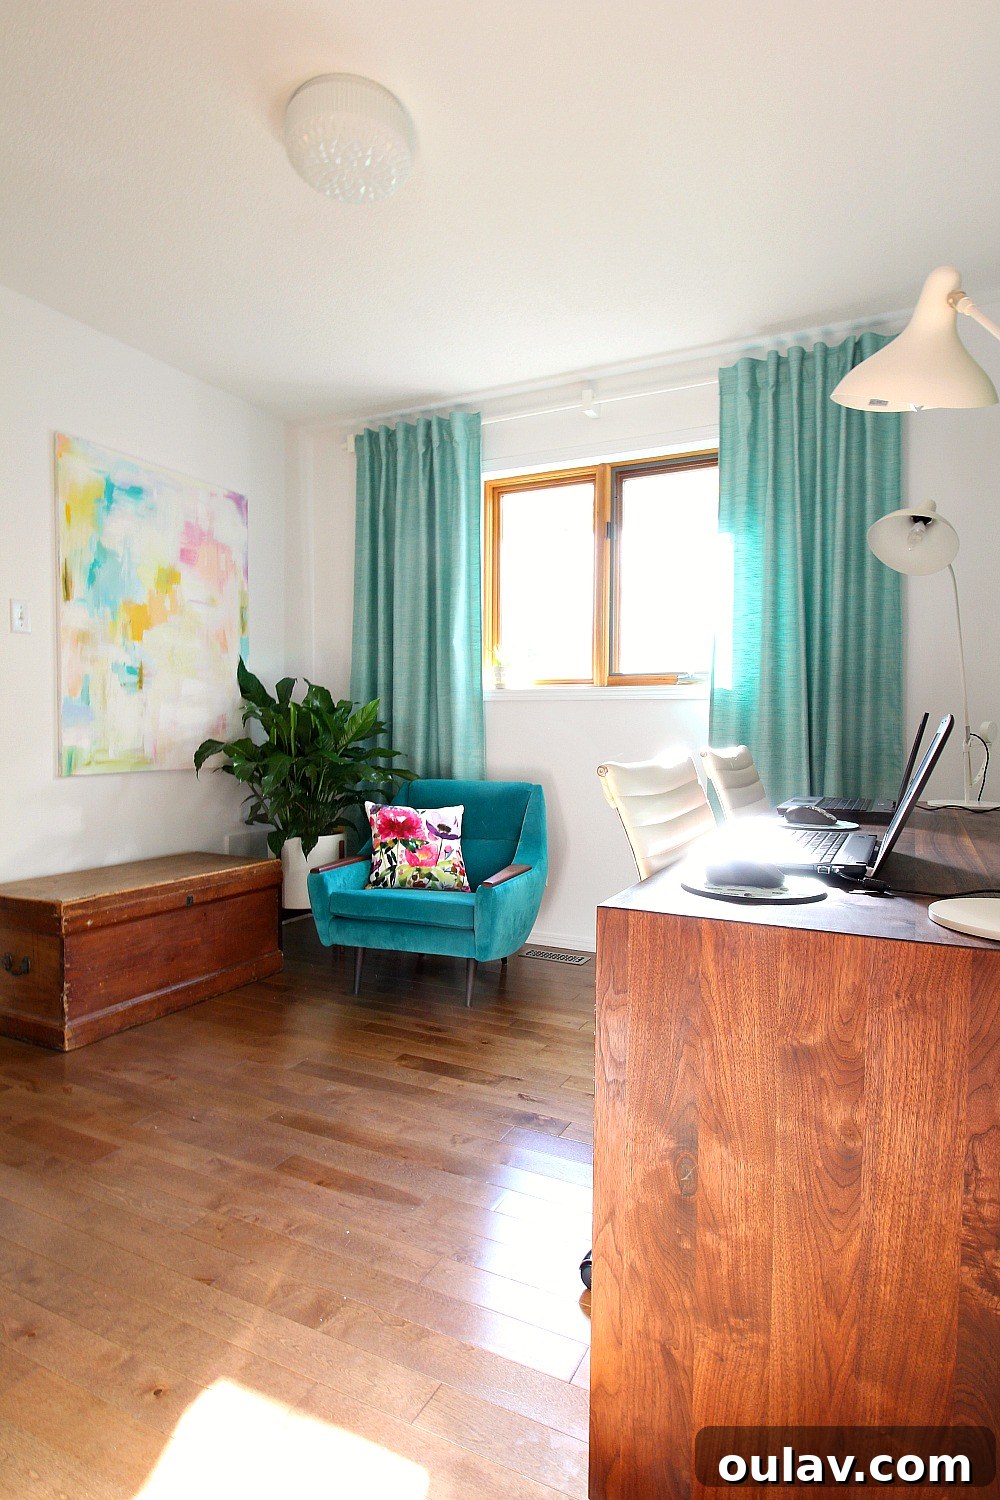
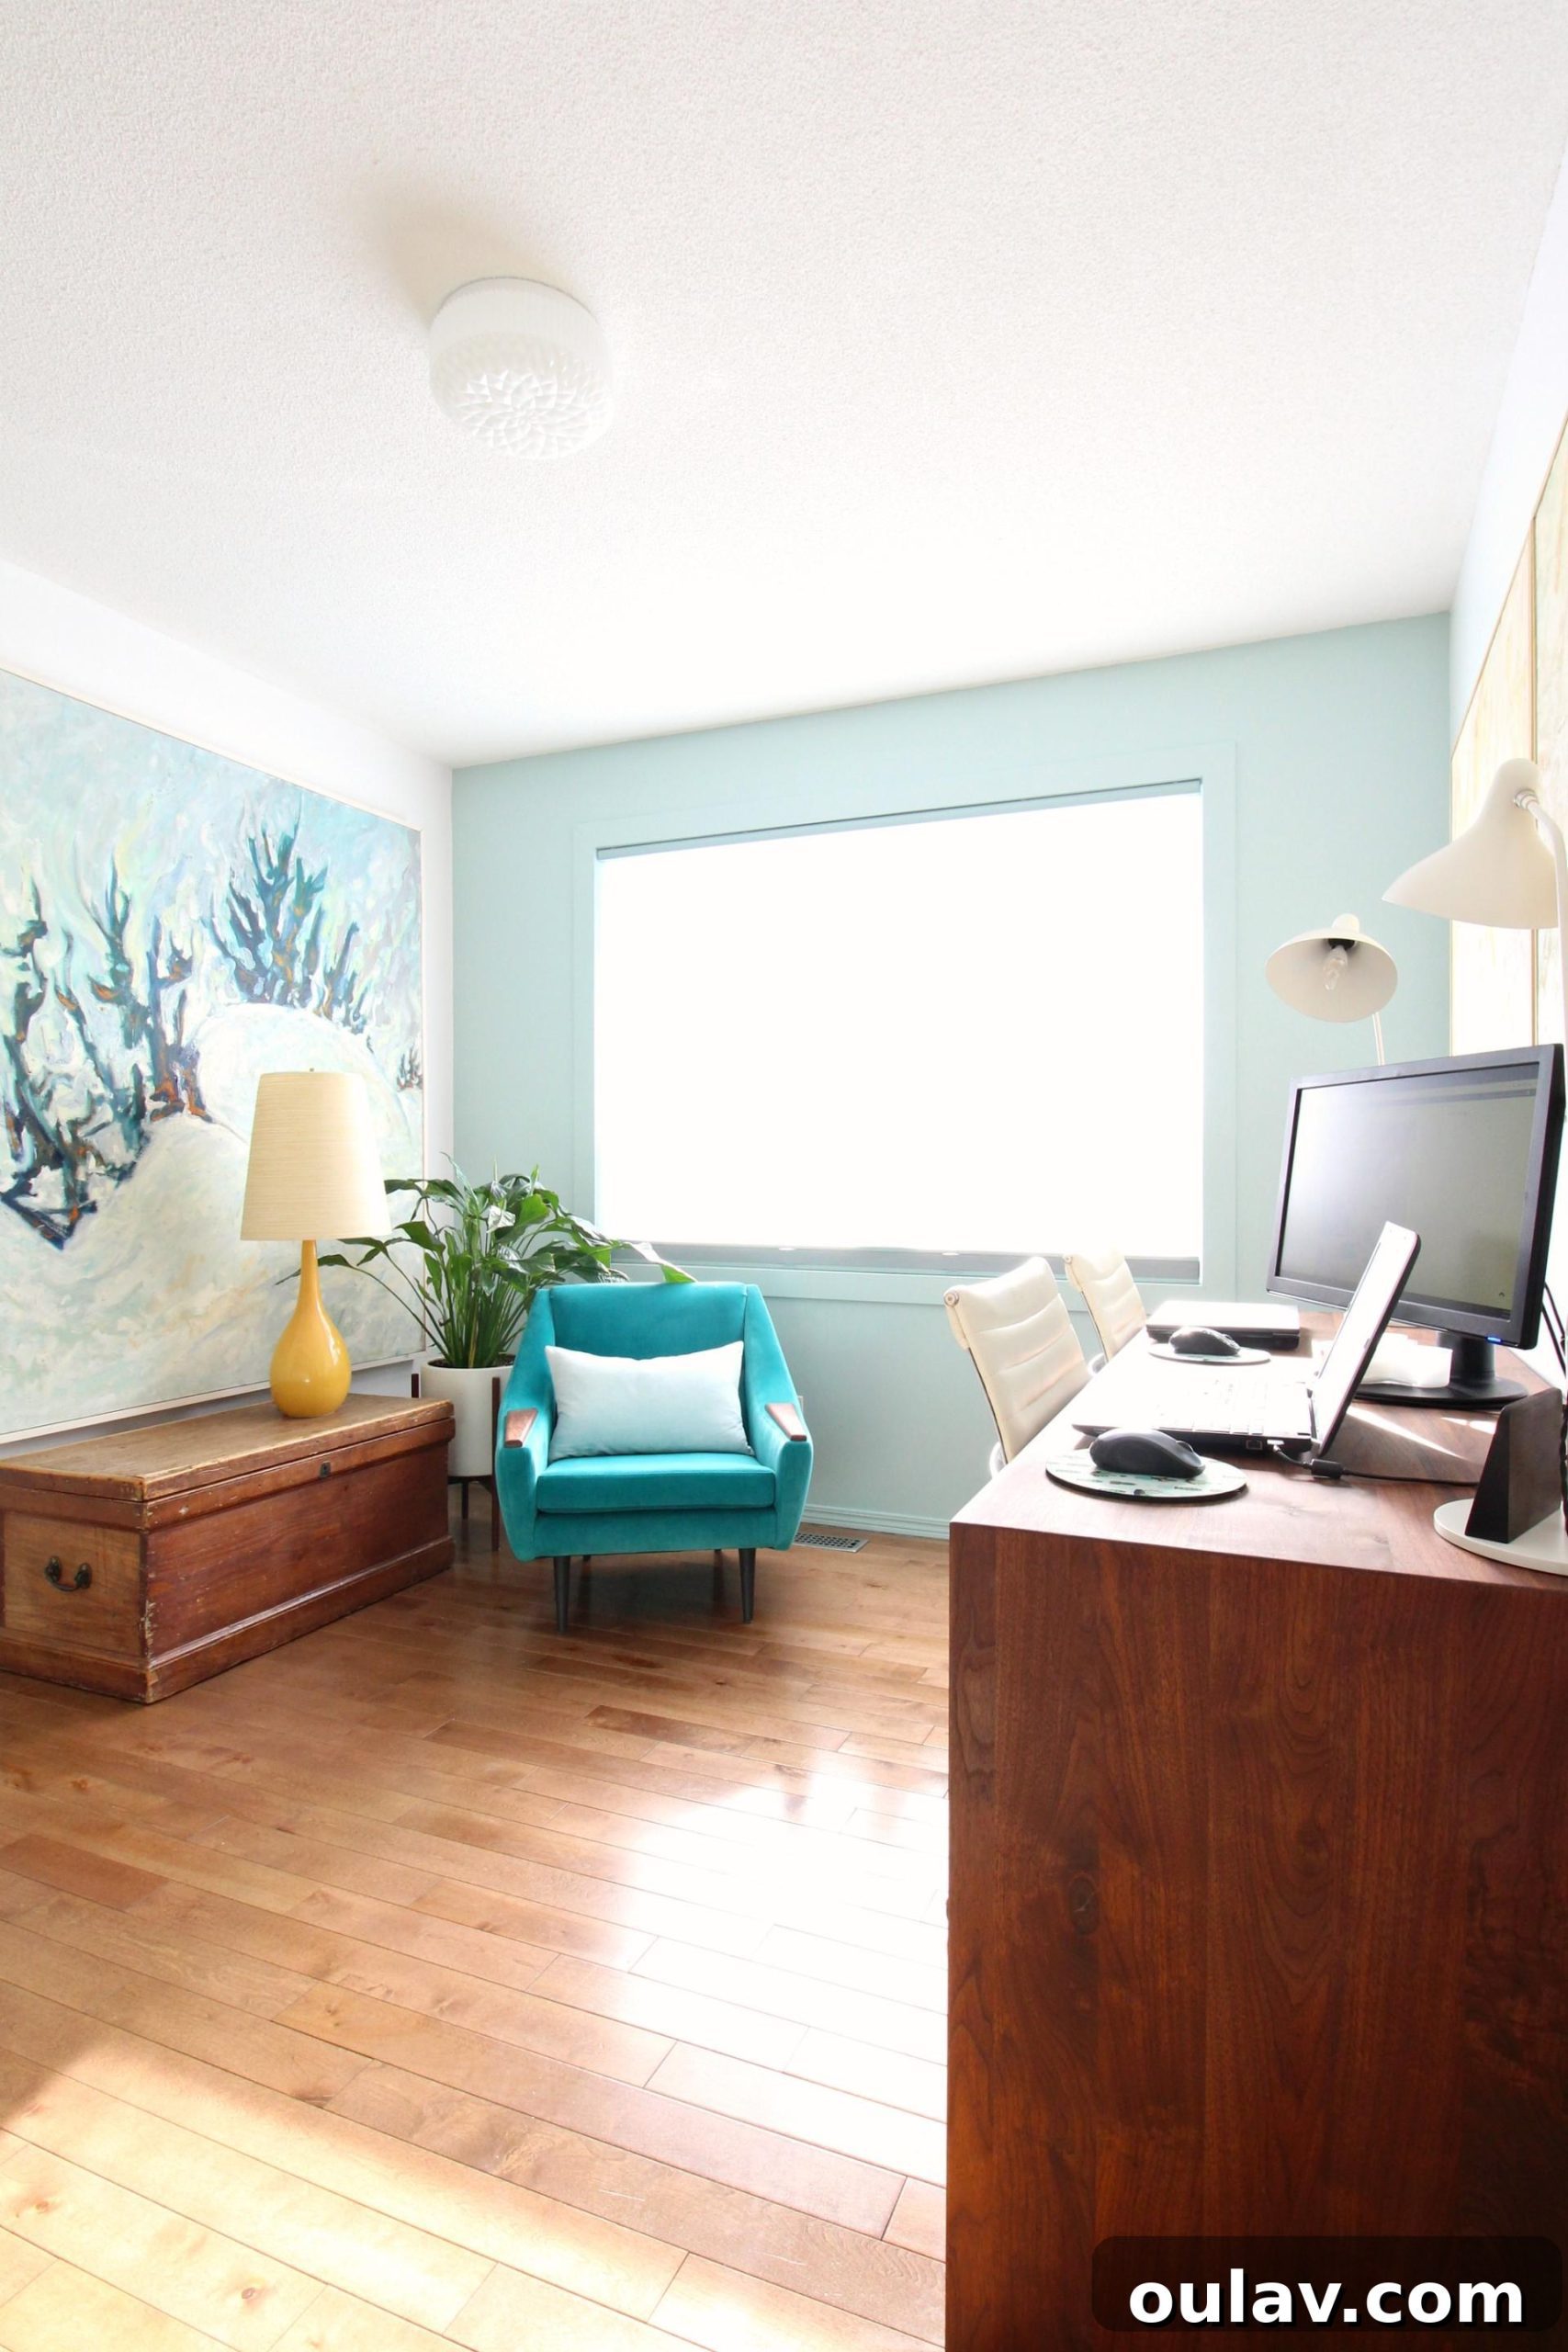
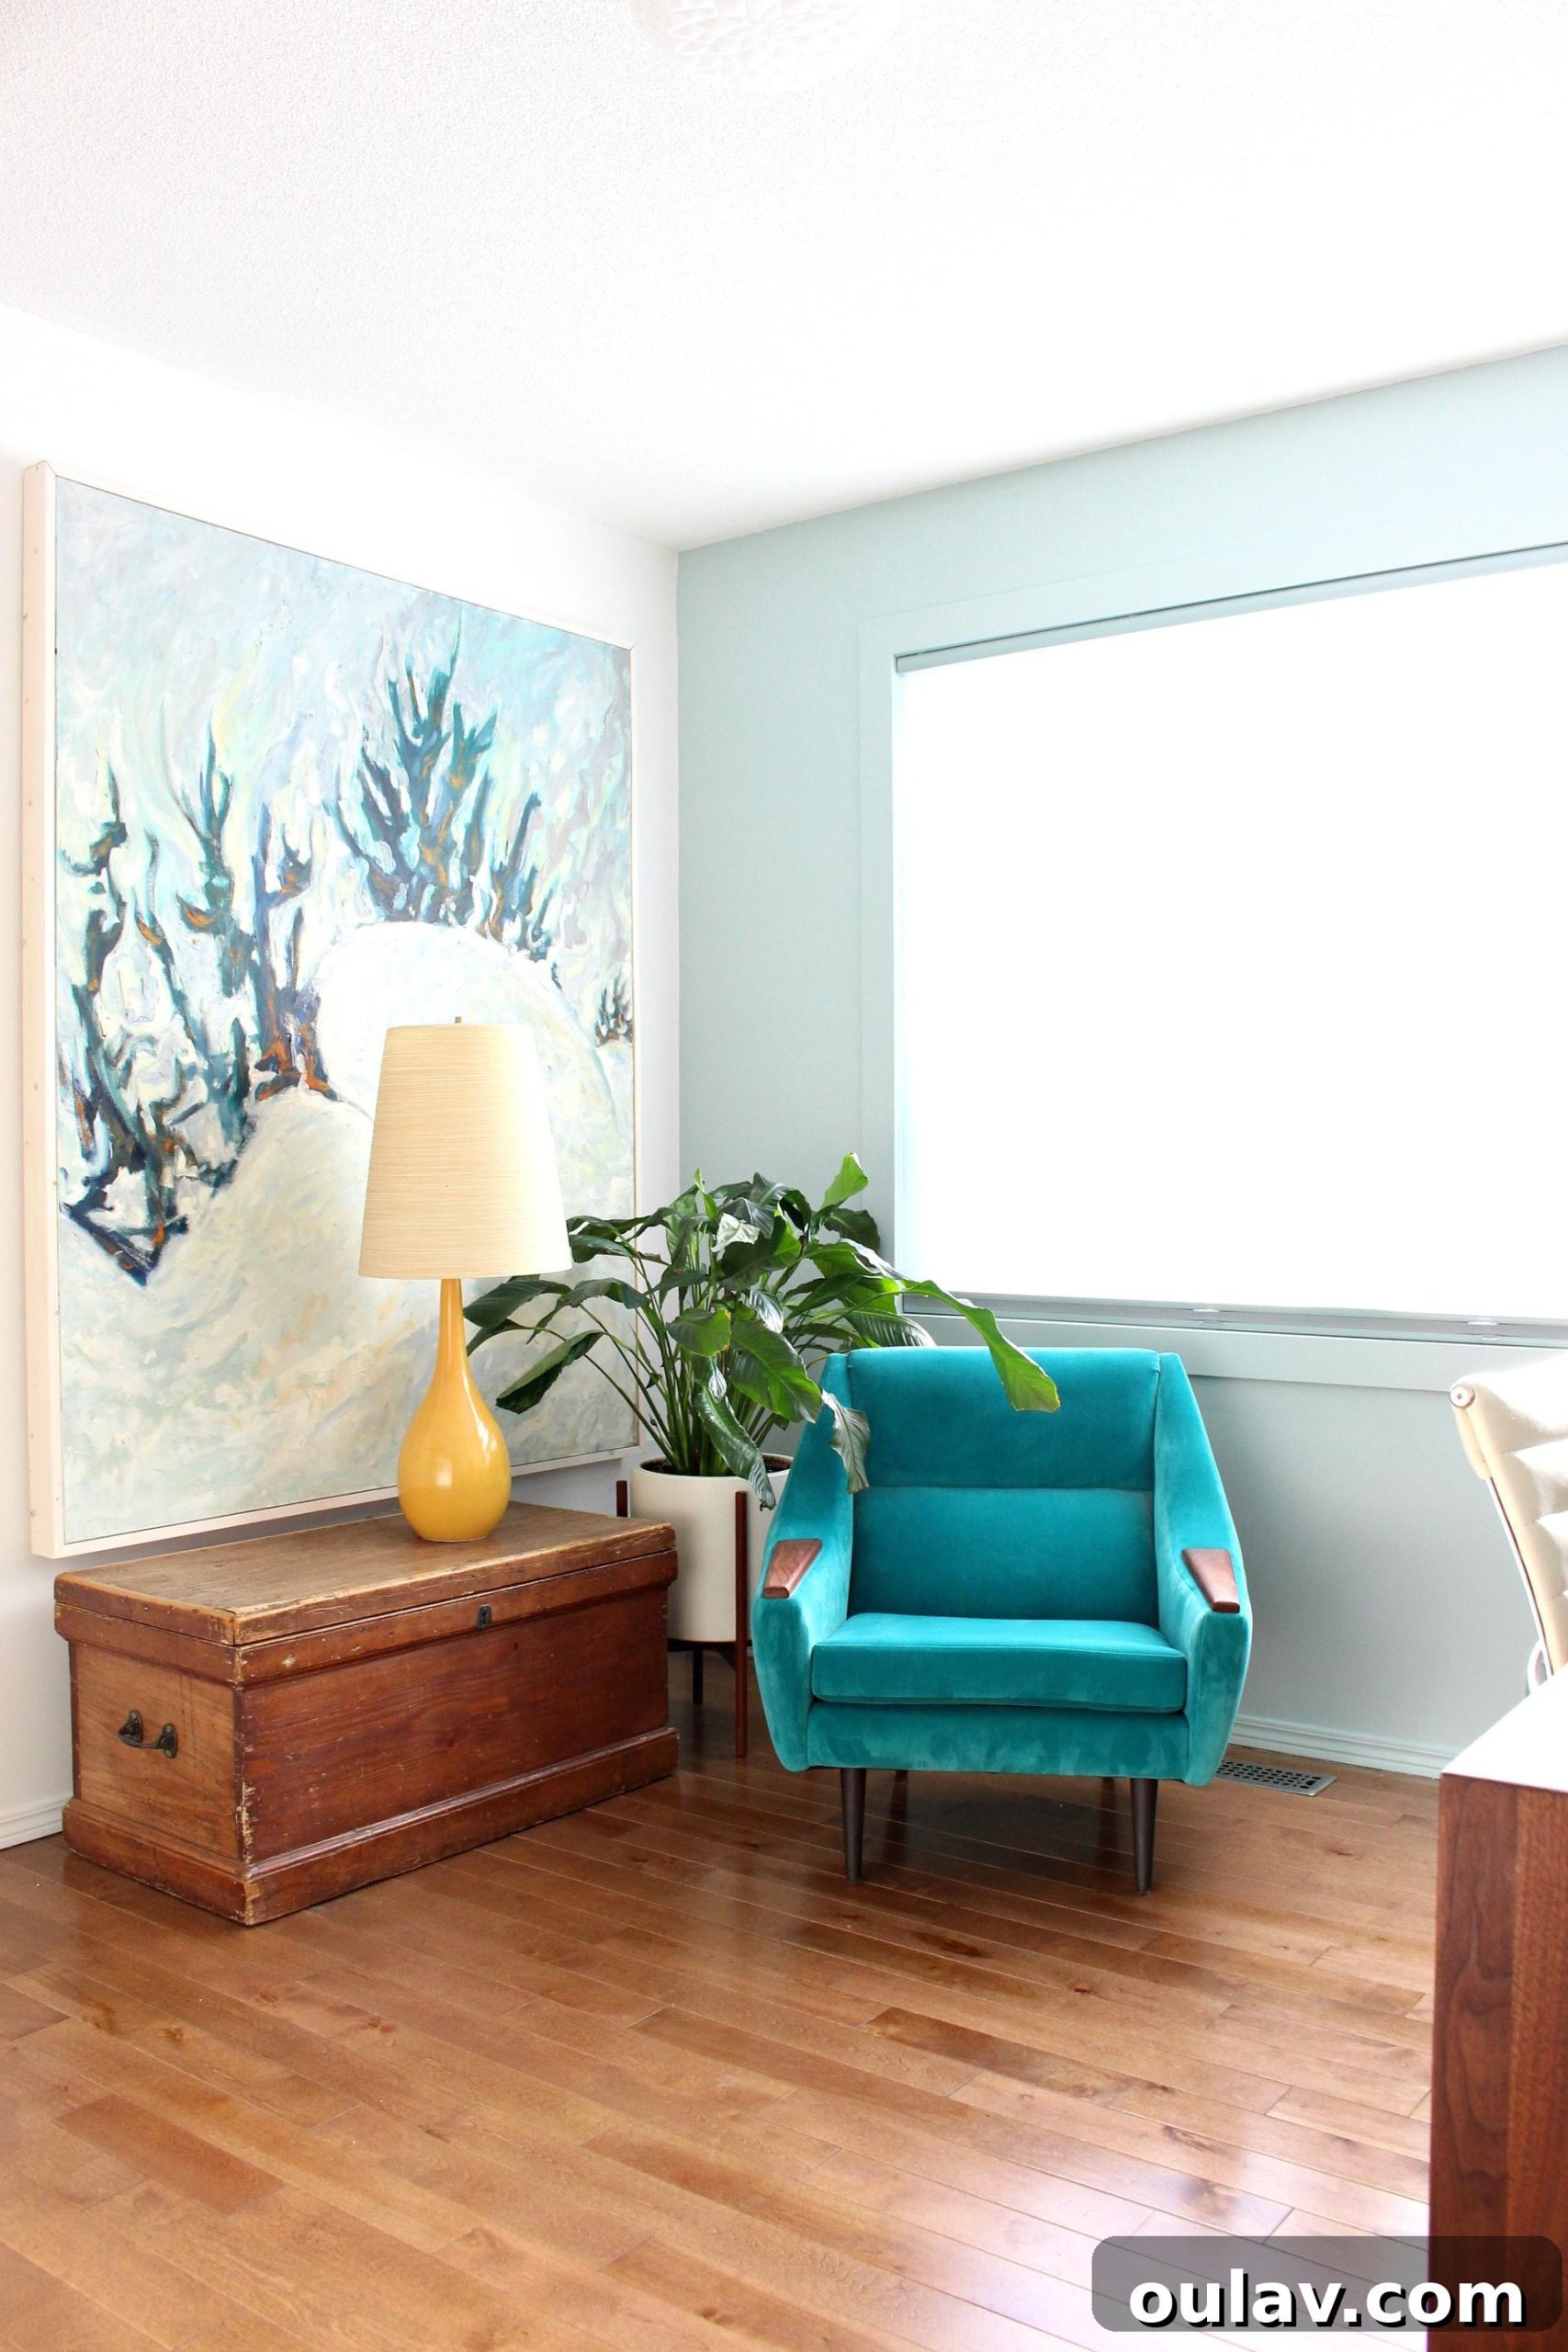
A Brighter Interior: Before and After Transformations
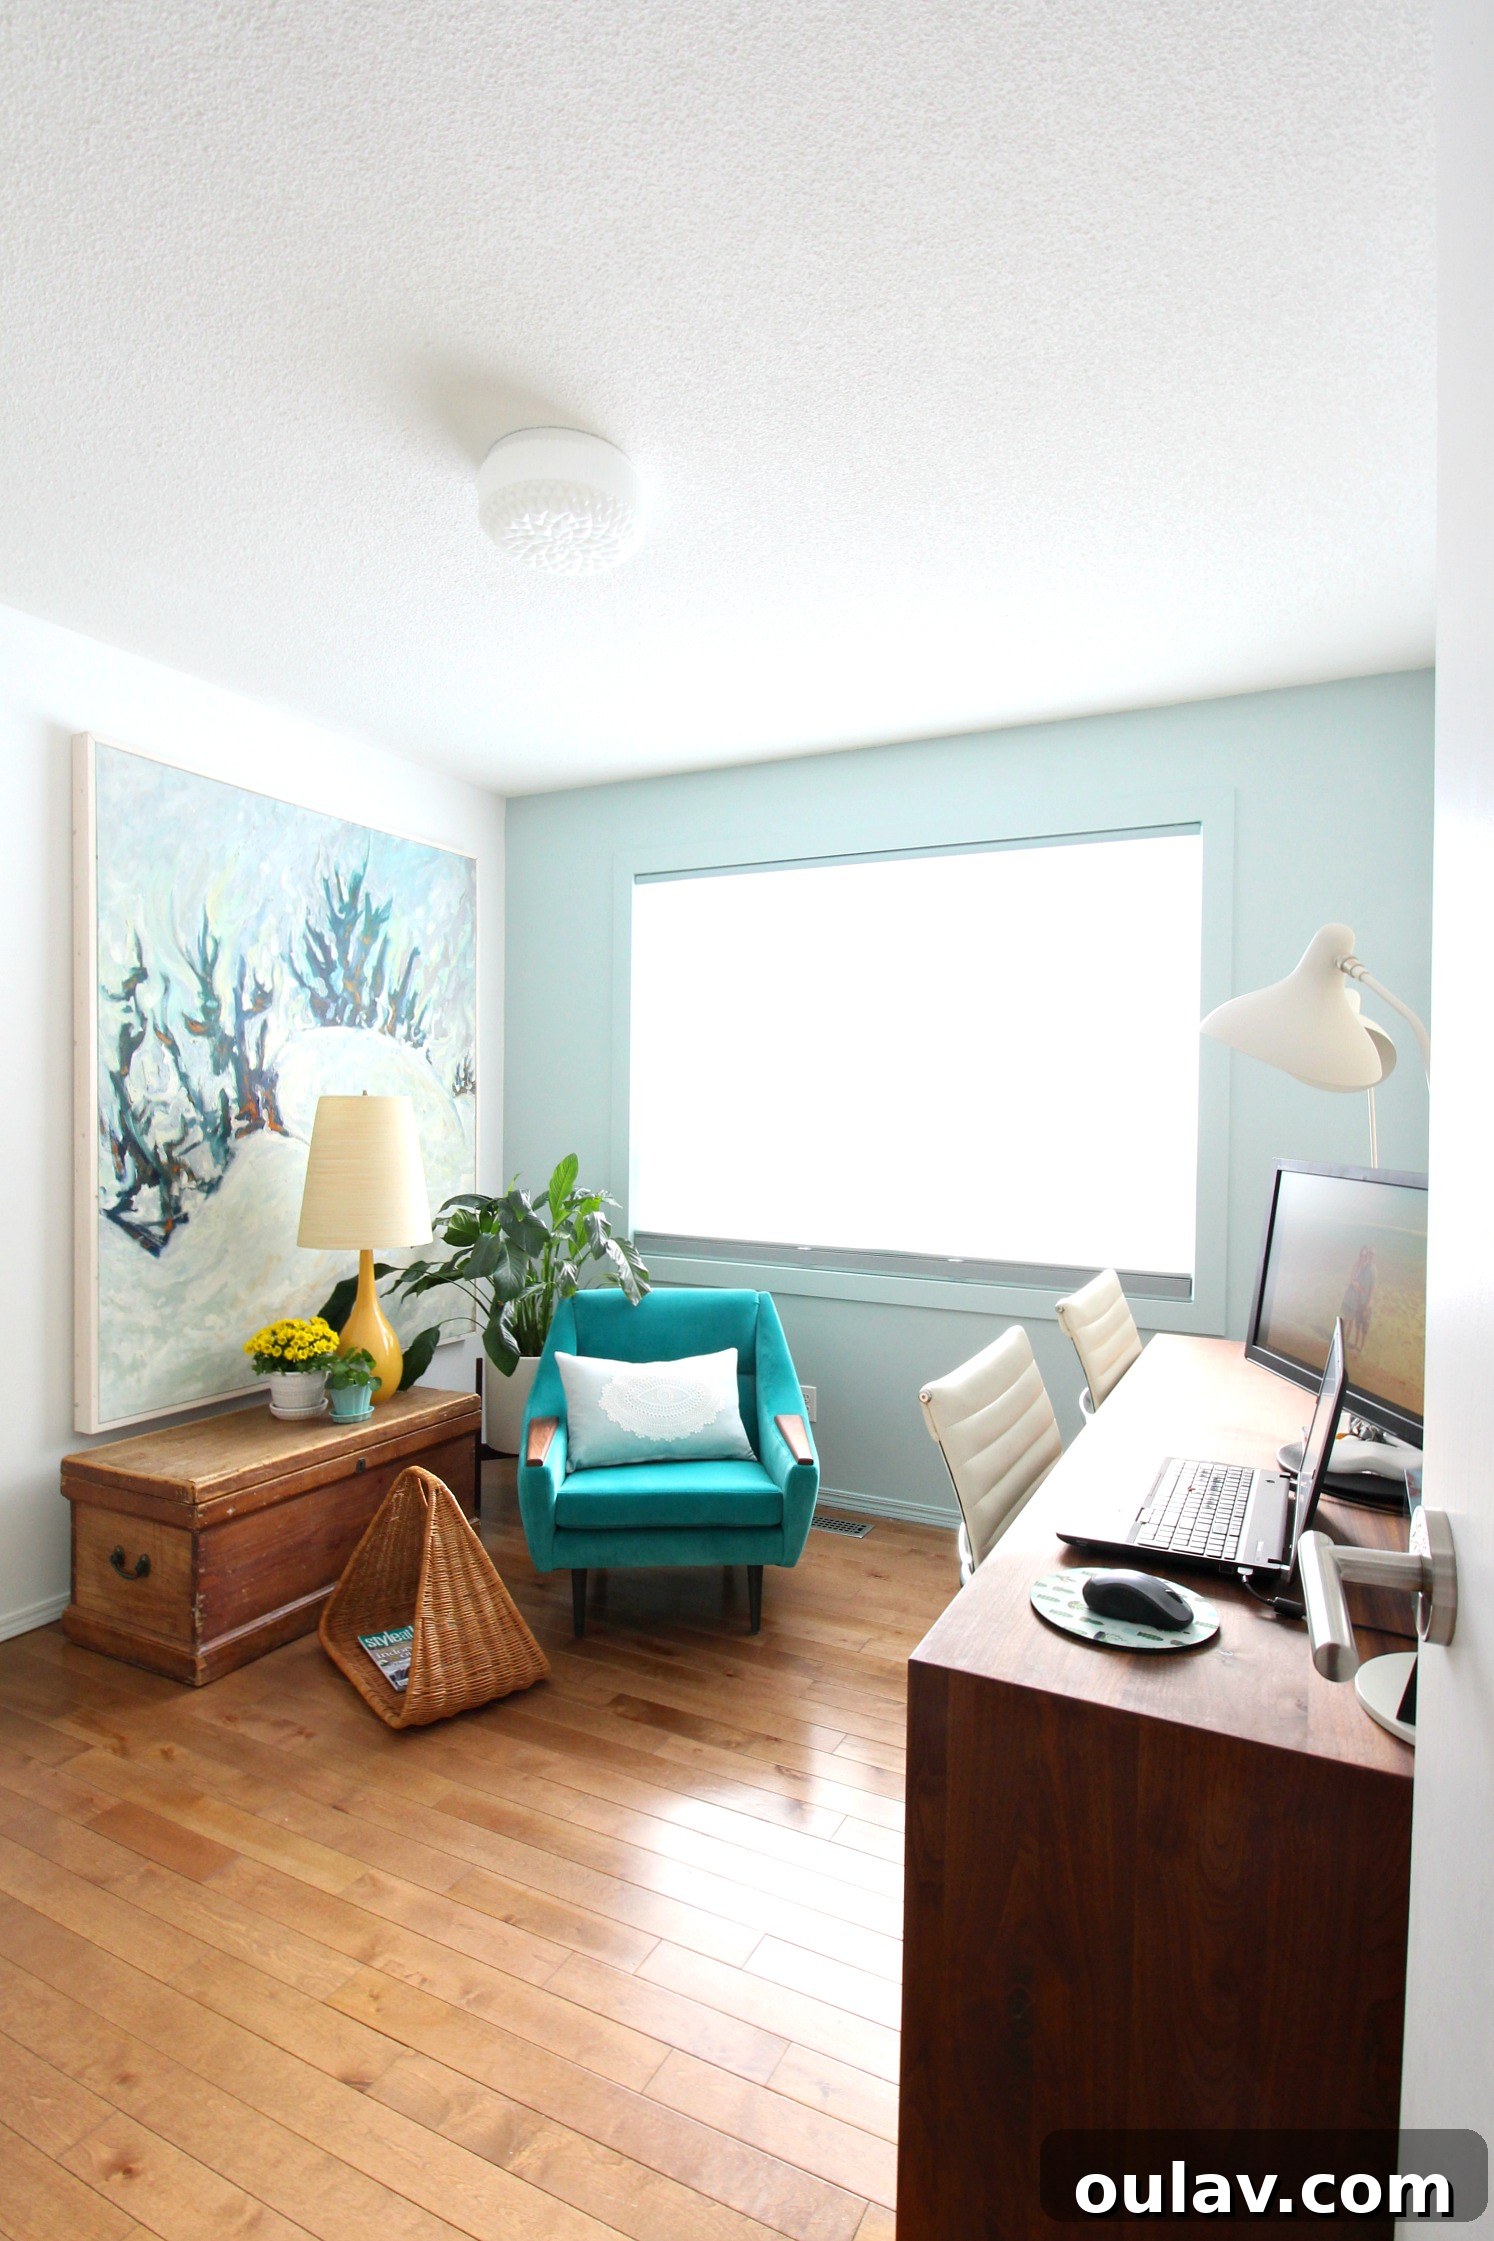
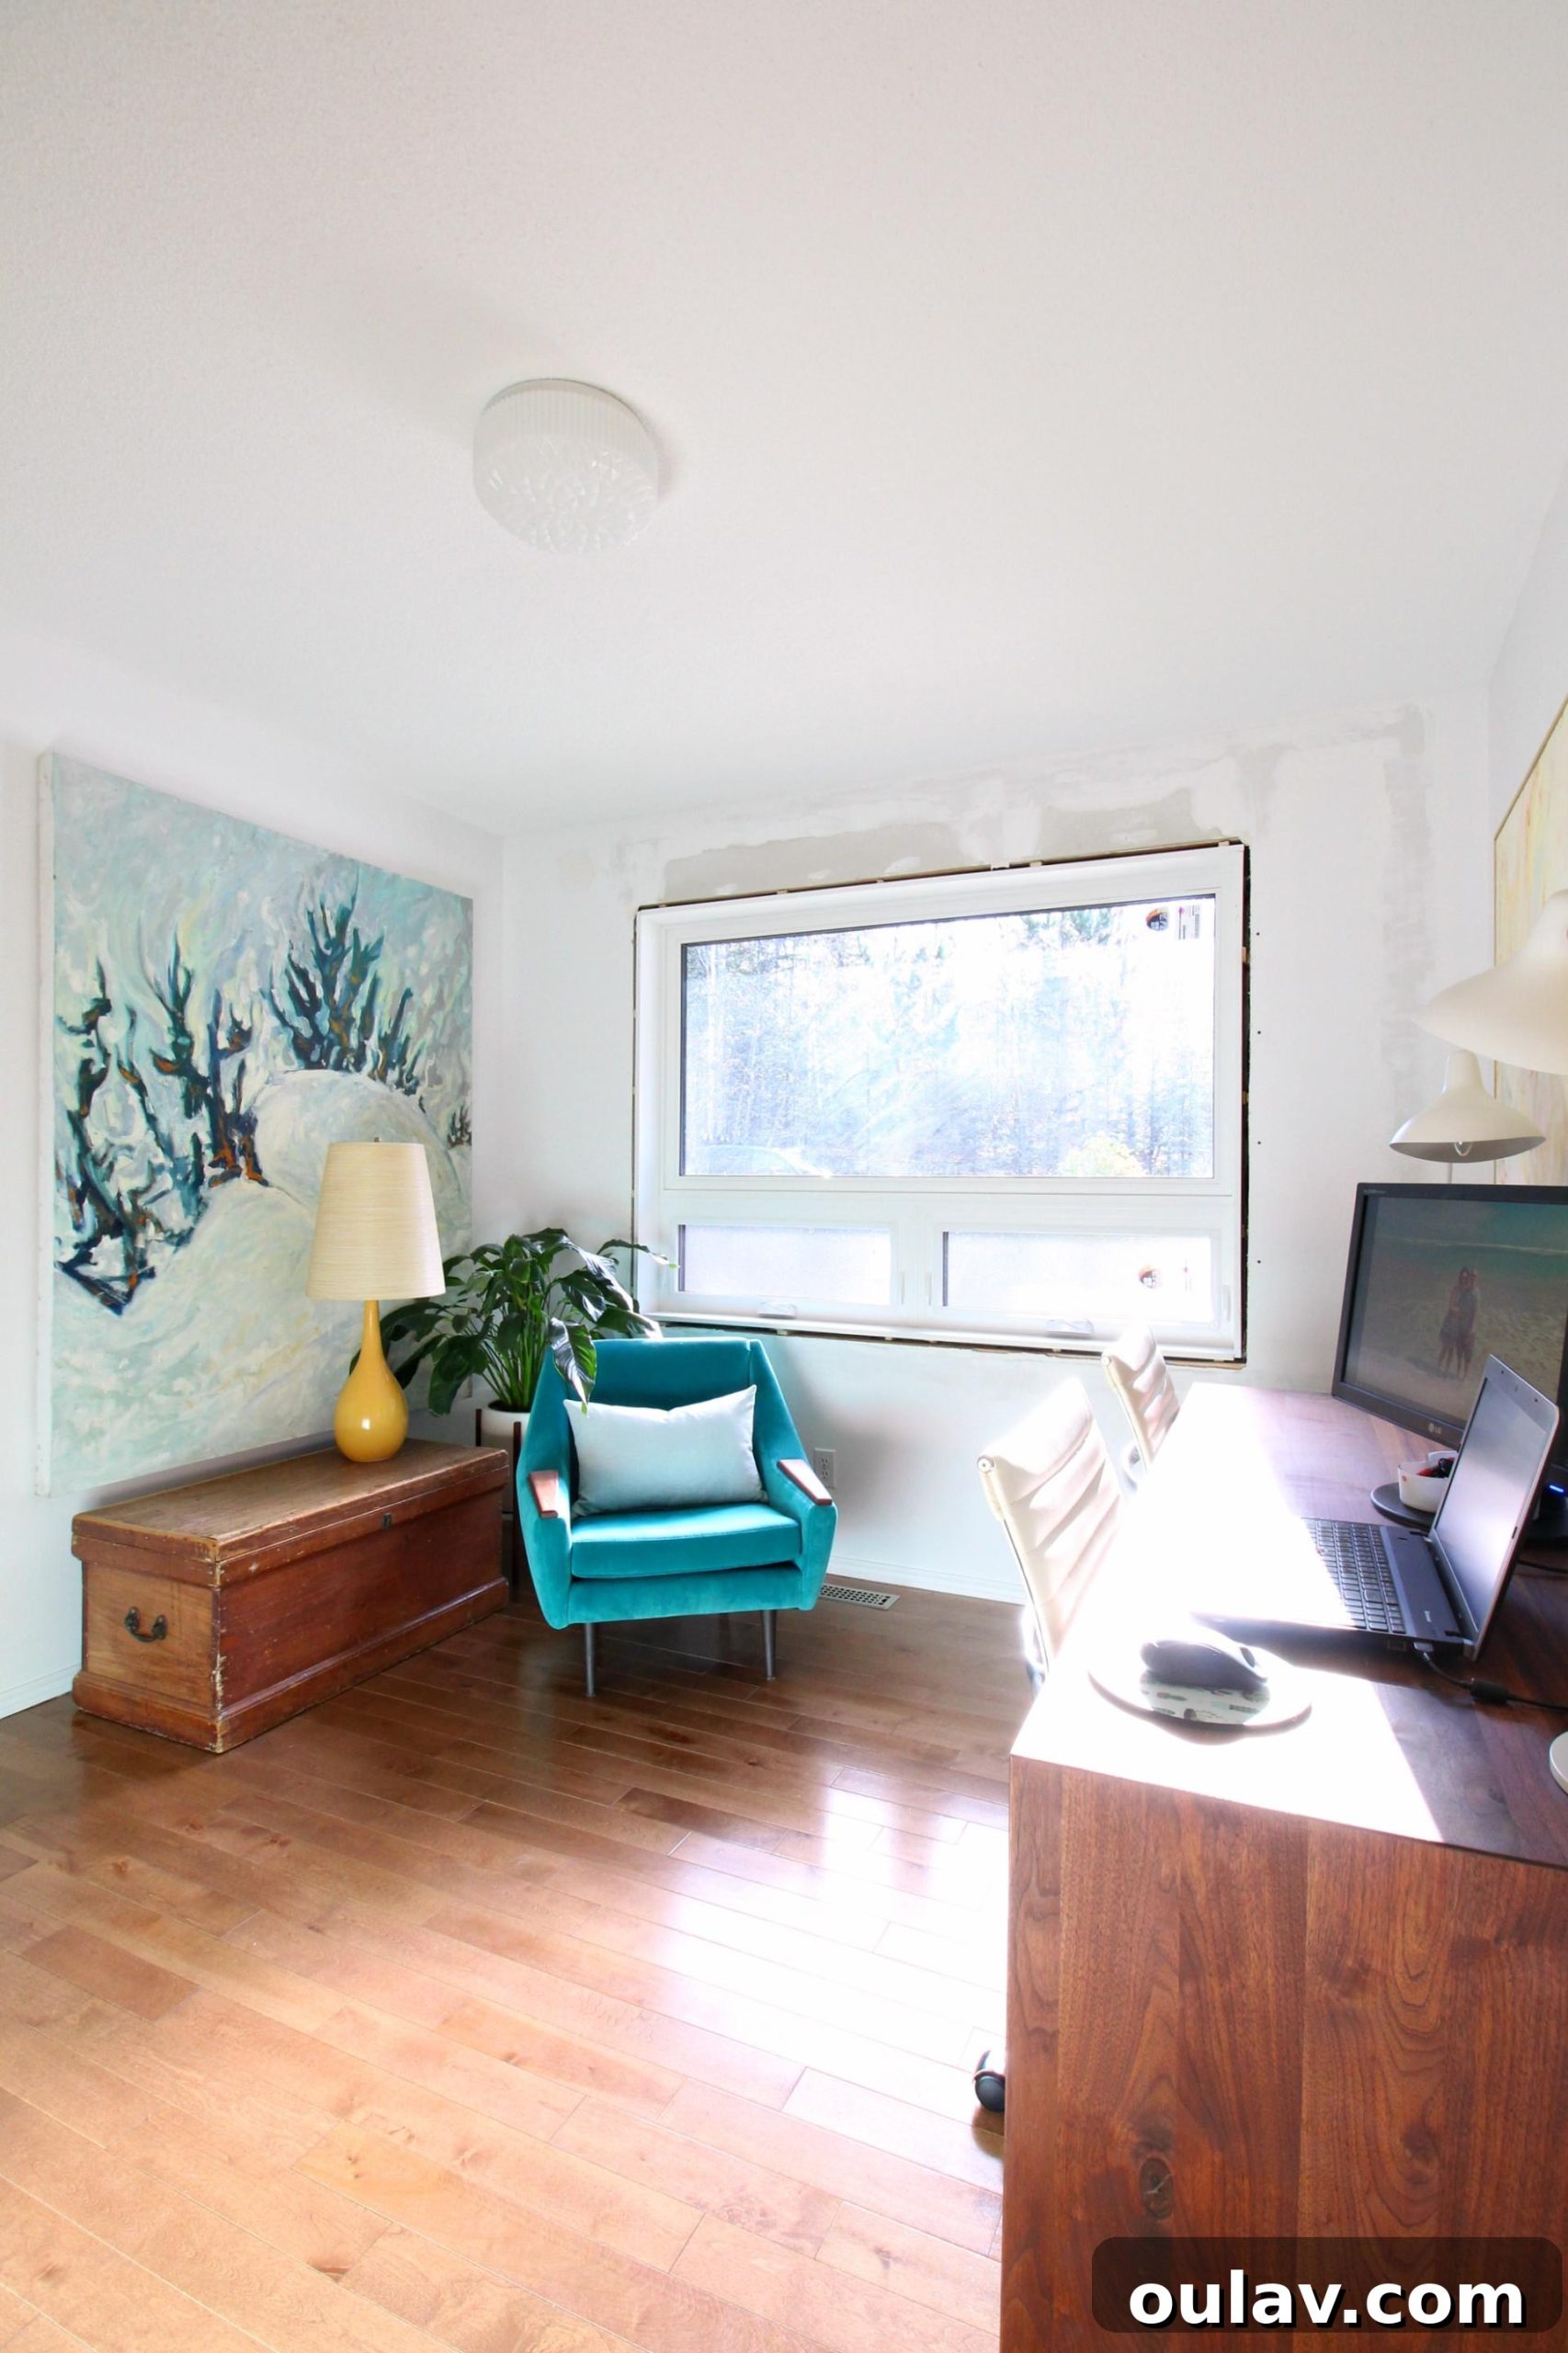
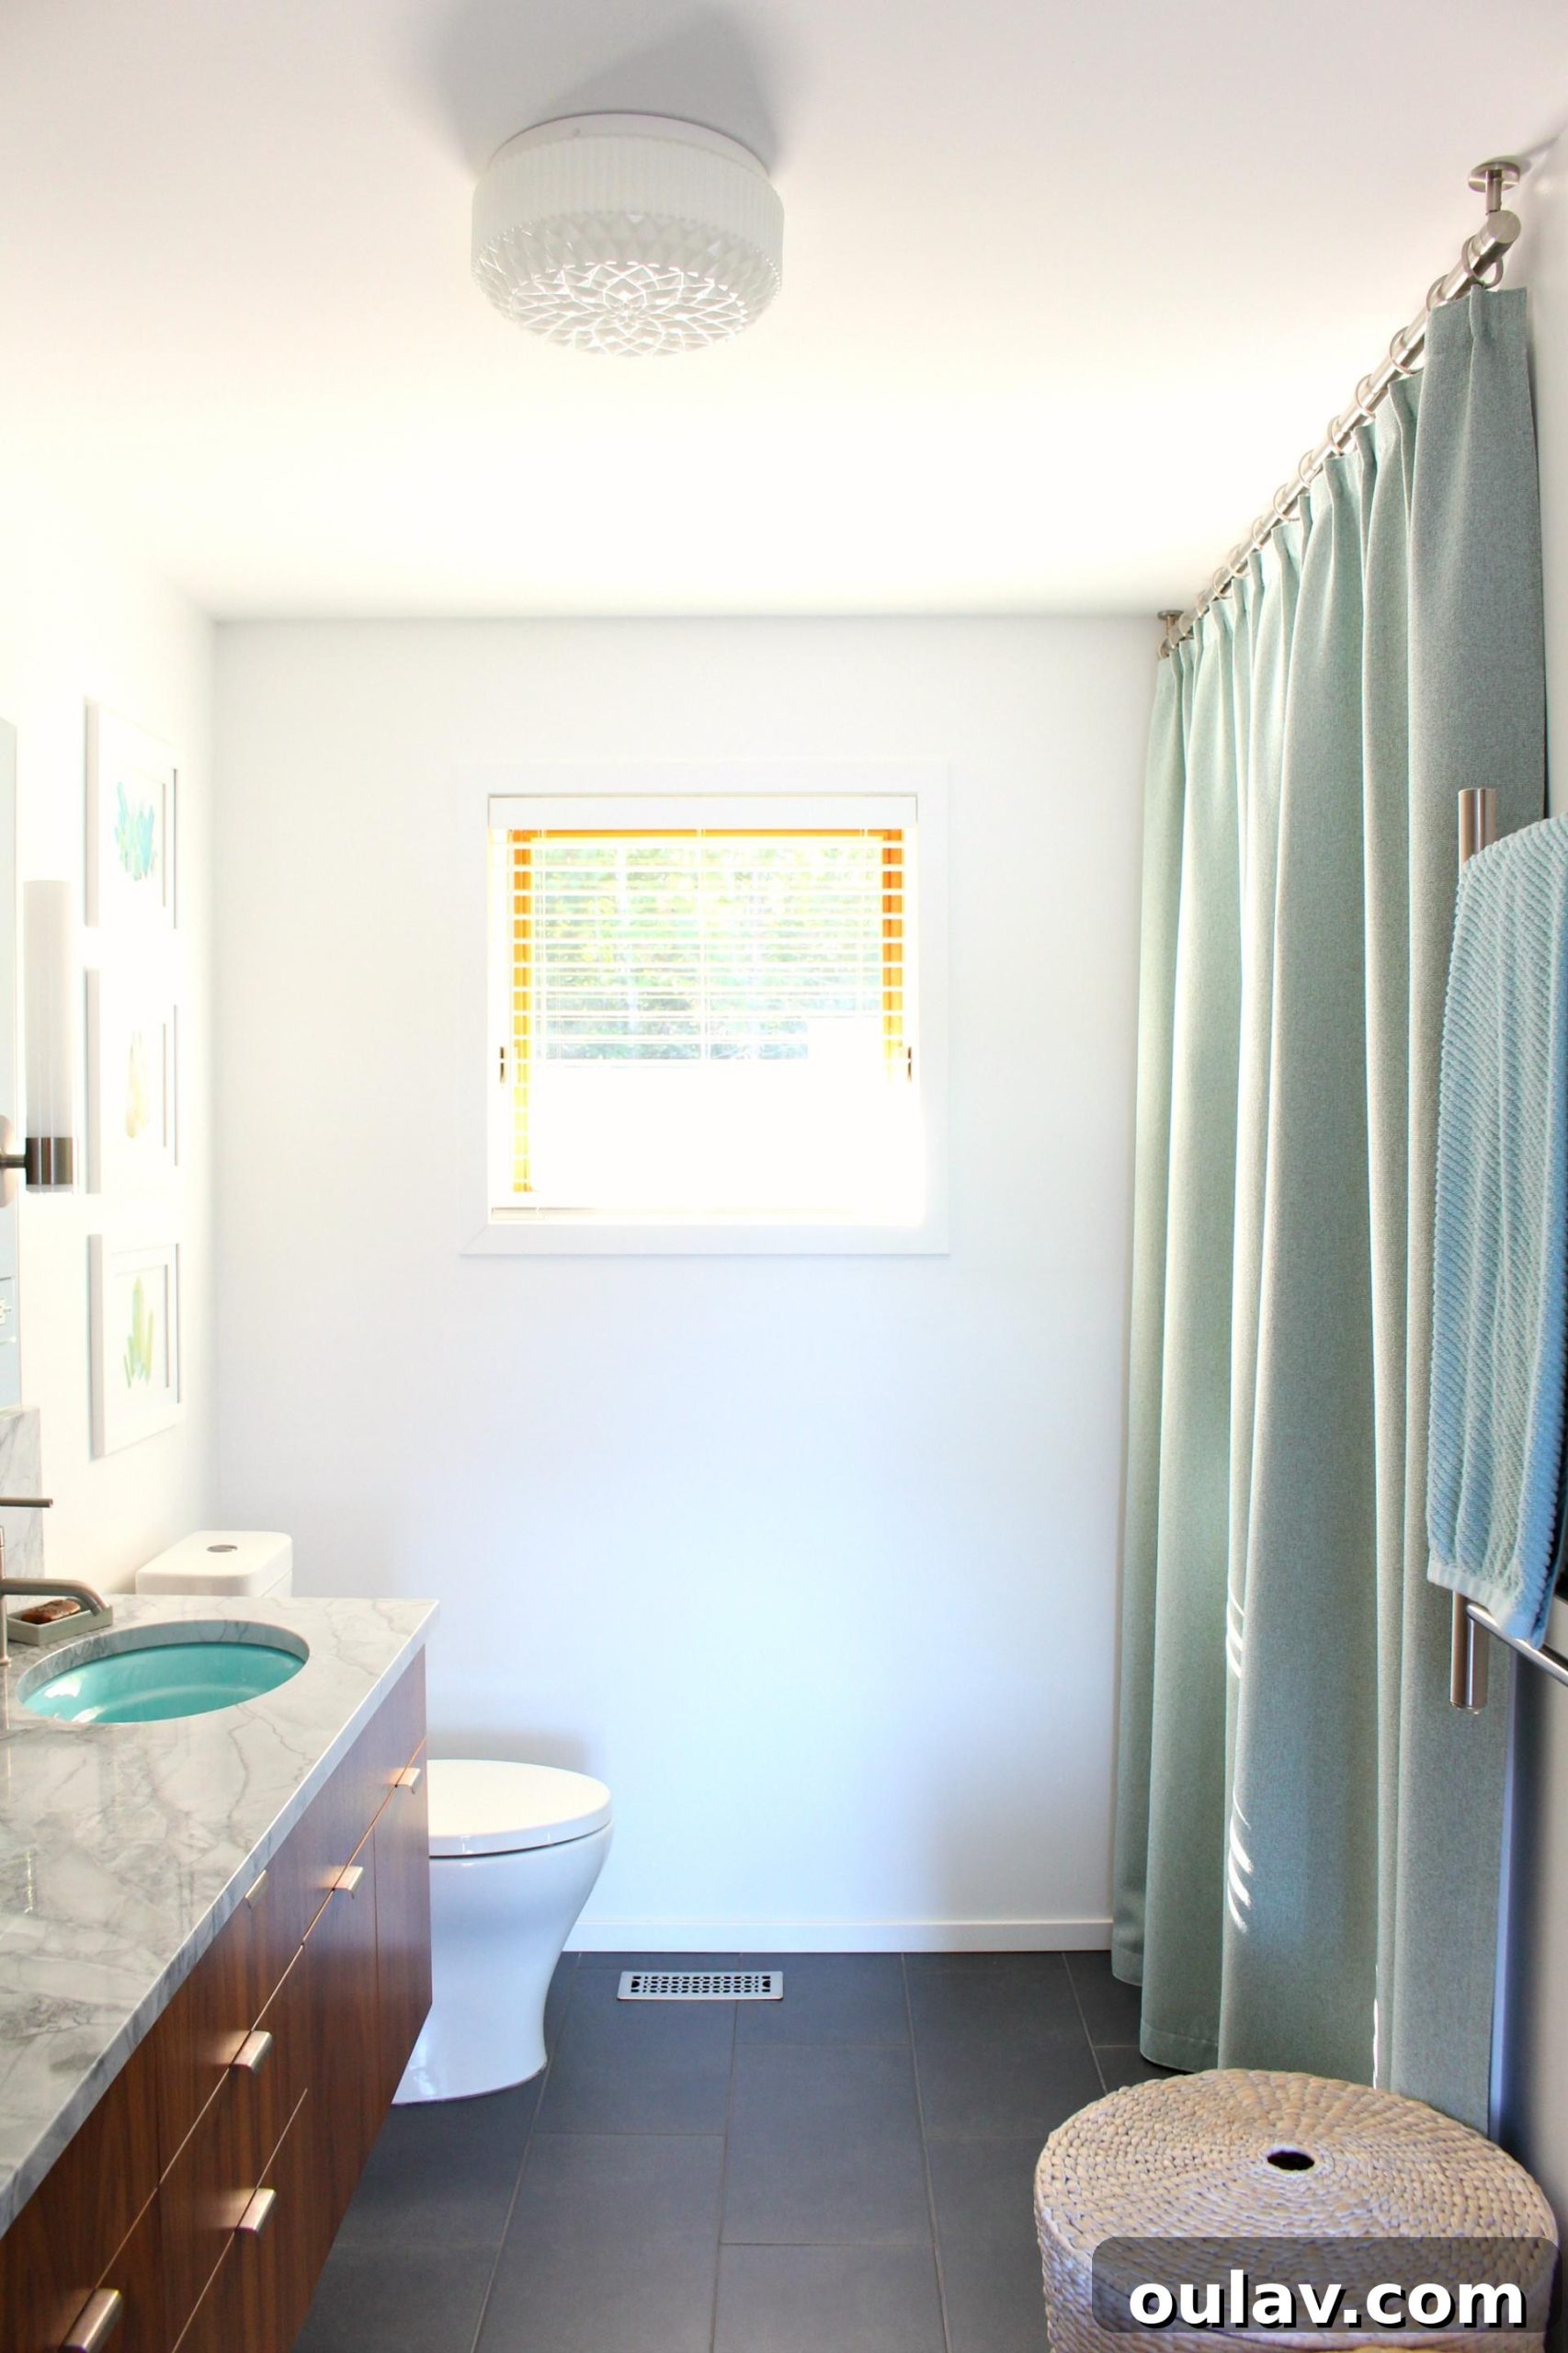
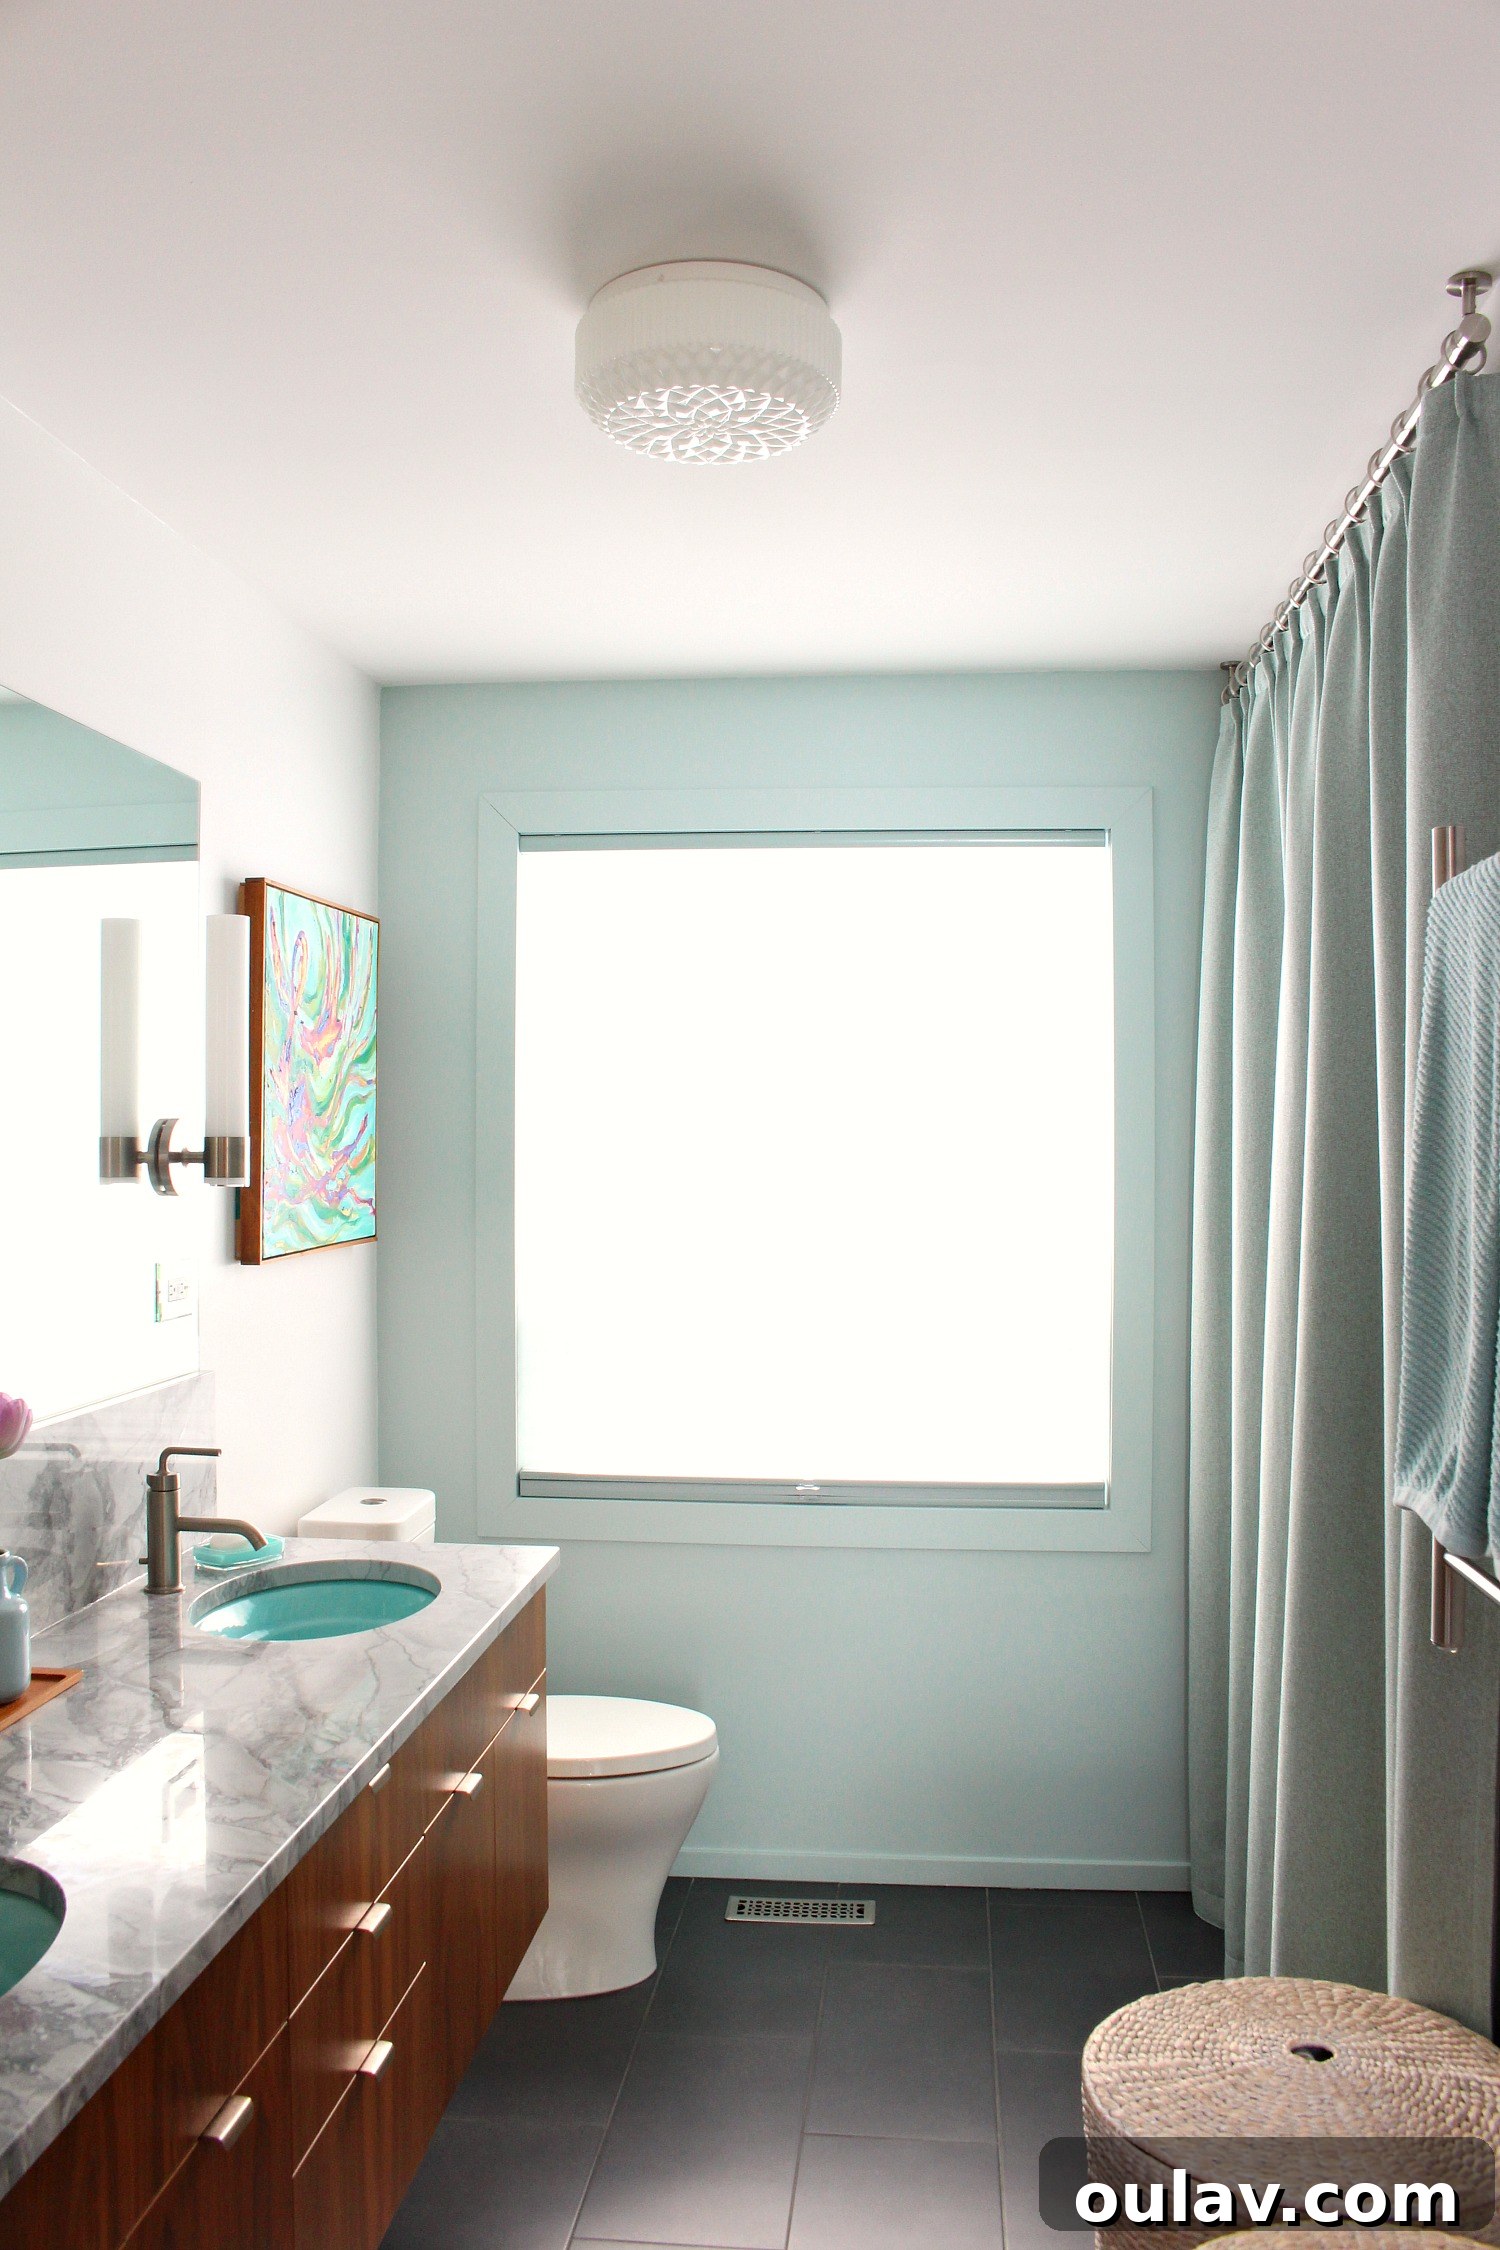
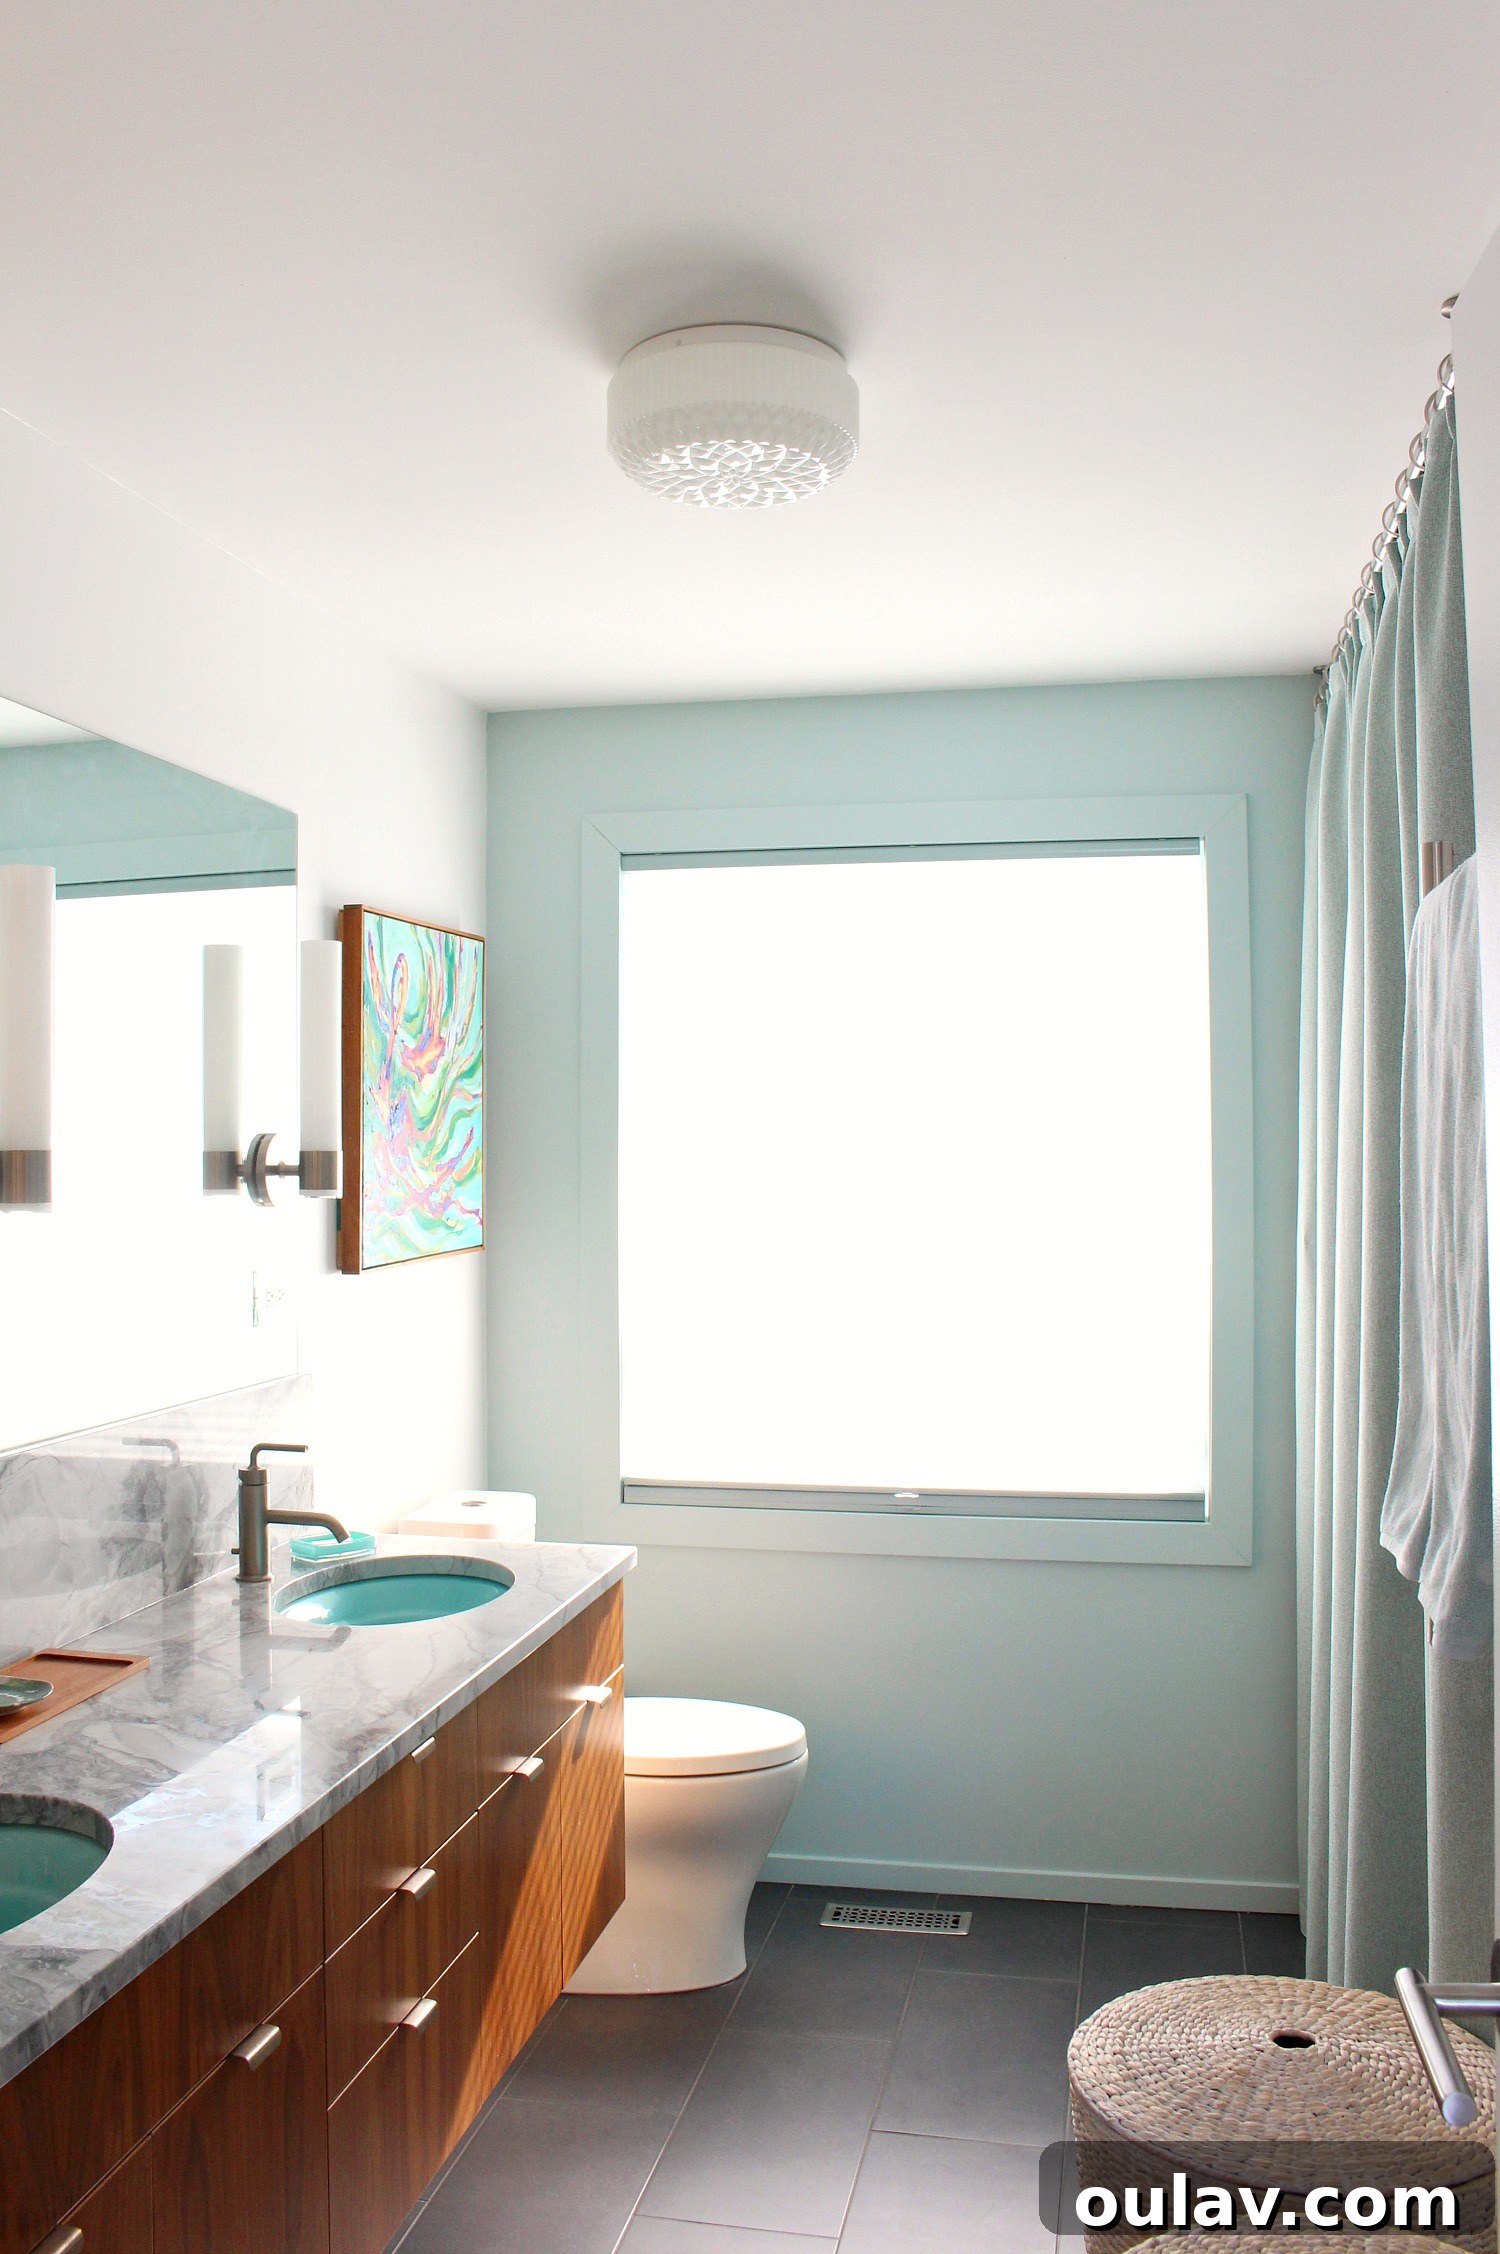
Having navigated through the grittier, in-progress photos, let’s now bask in the beauty of the completed interior spaces. These images showcase just how dramatically different various rooms look with the introduction of larger windows. Please note, the powder room is currently undergoing its own set of projects, so I don’t have a presentable photo of it yet, but these other transformations speak volumes!
Bathroom:
Bedroom:
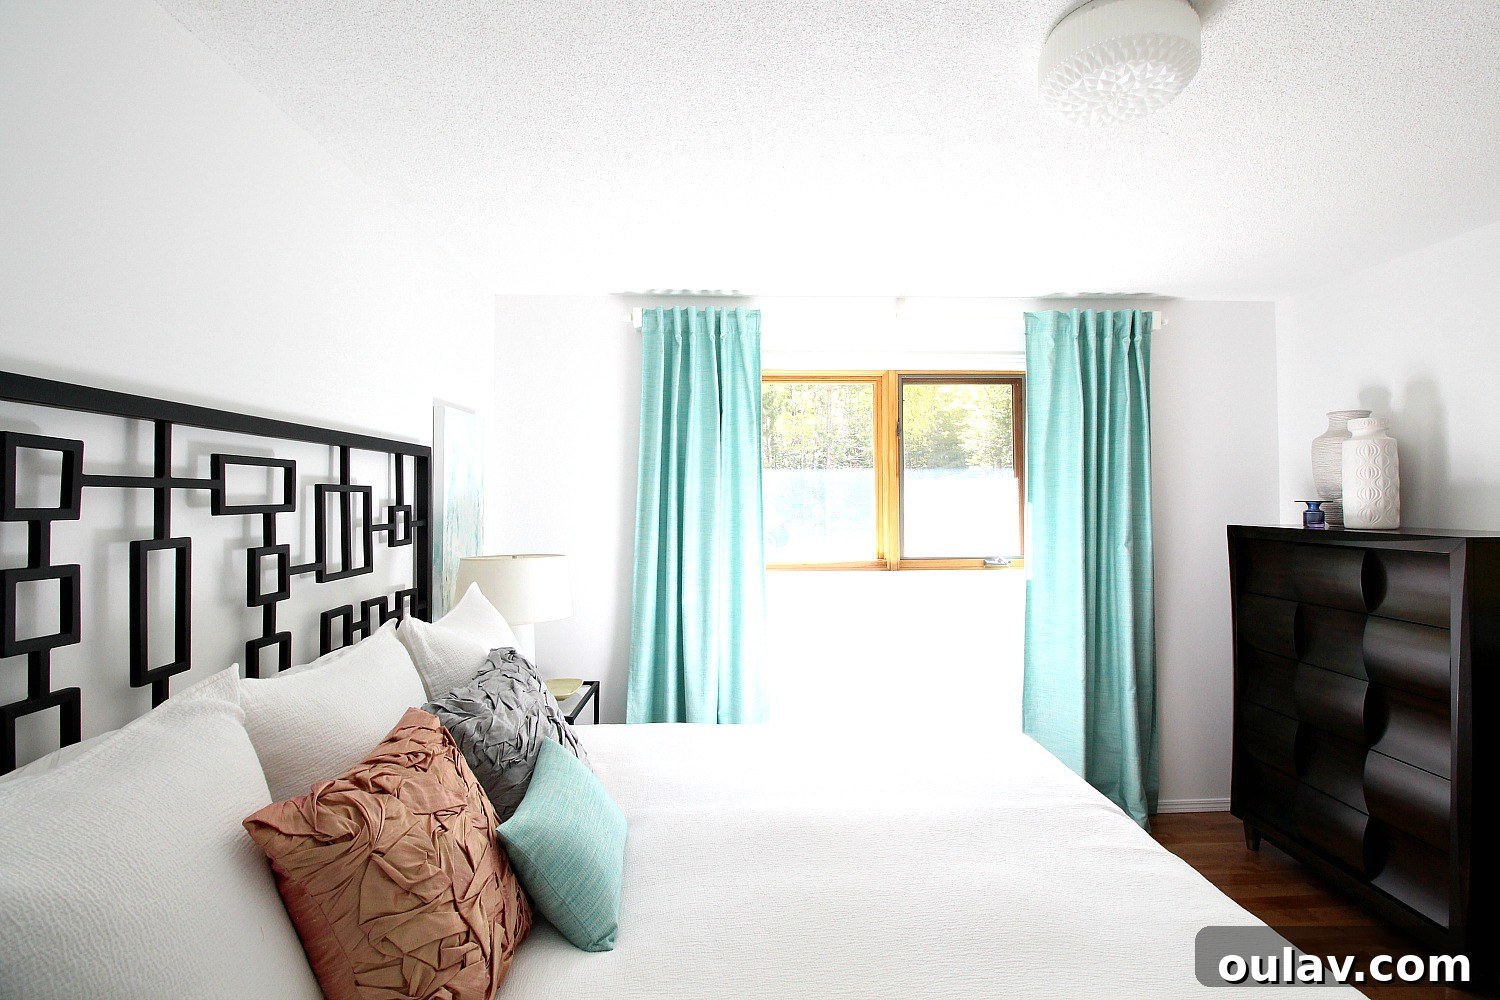
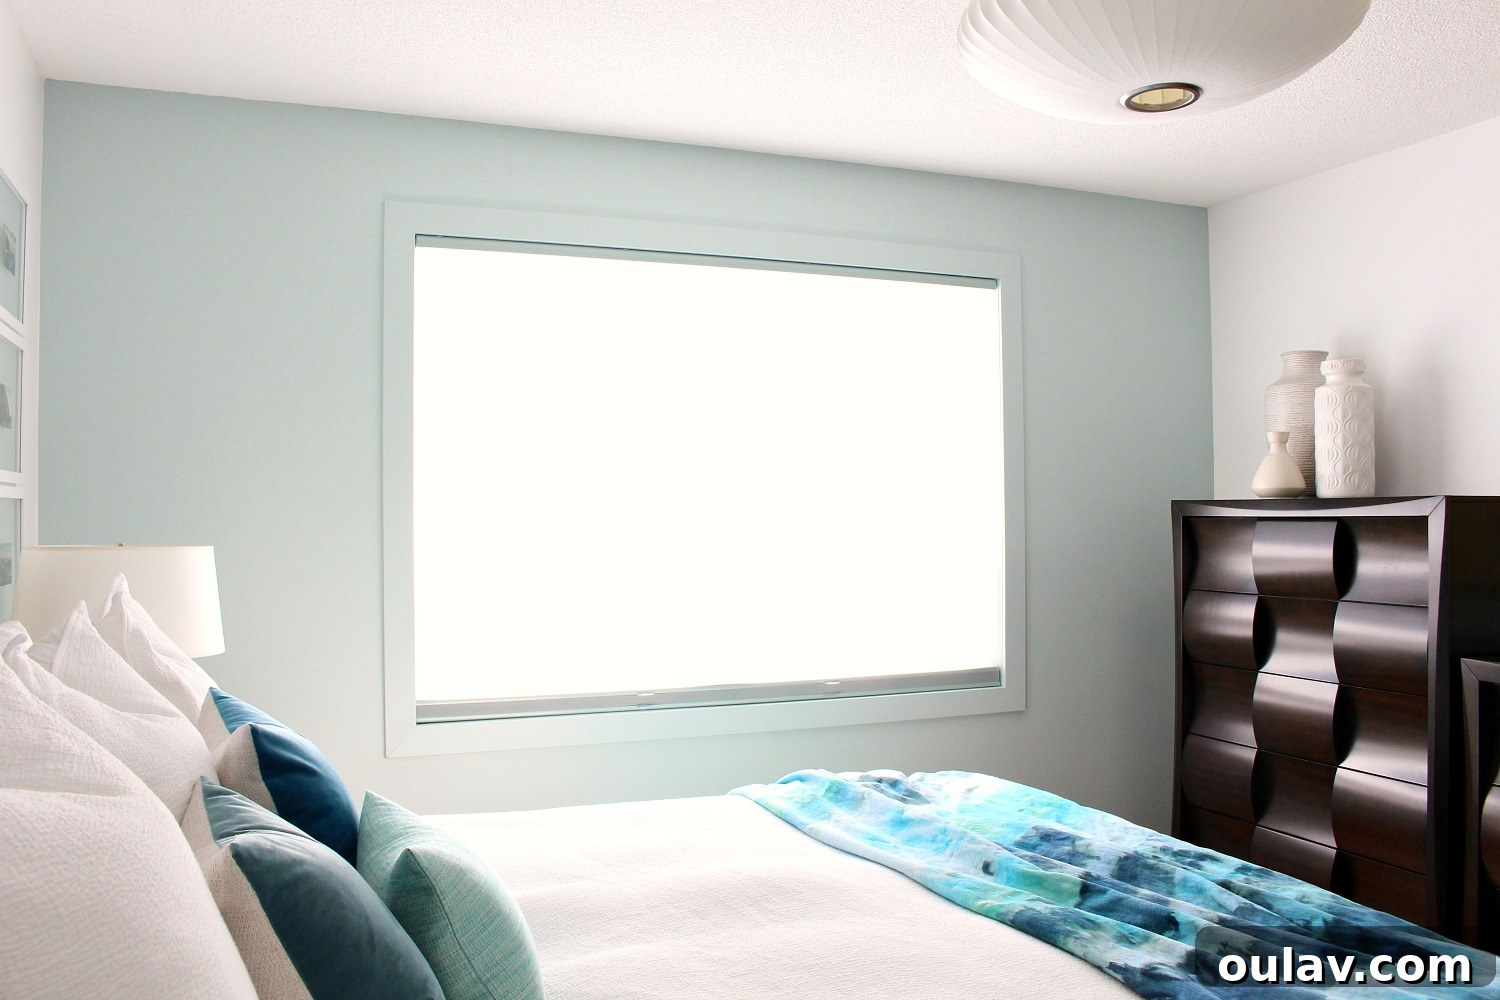
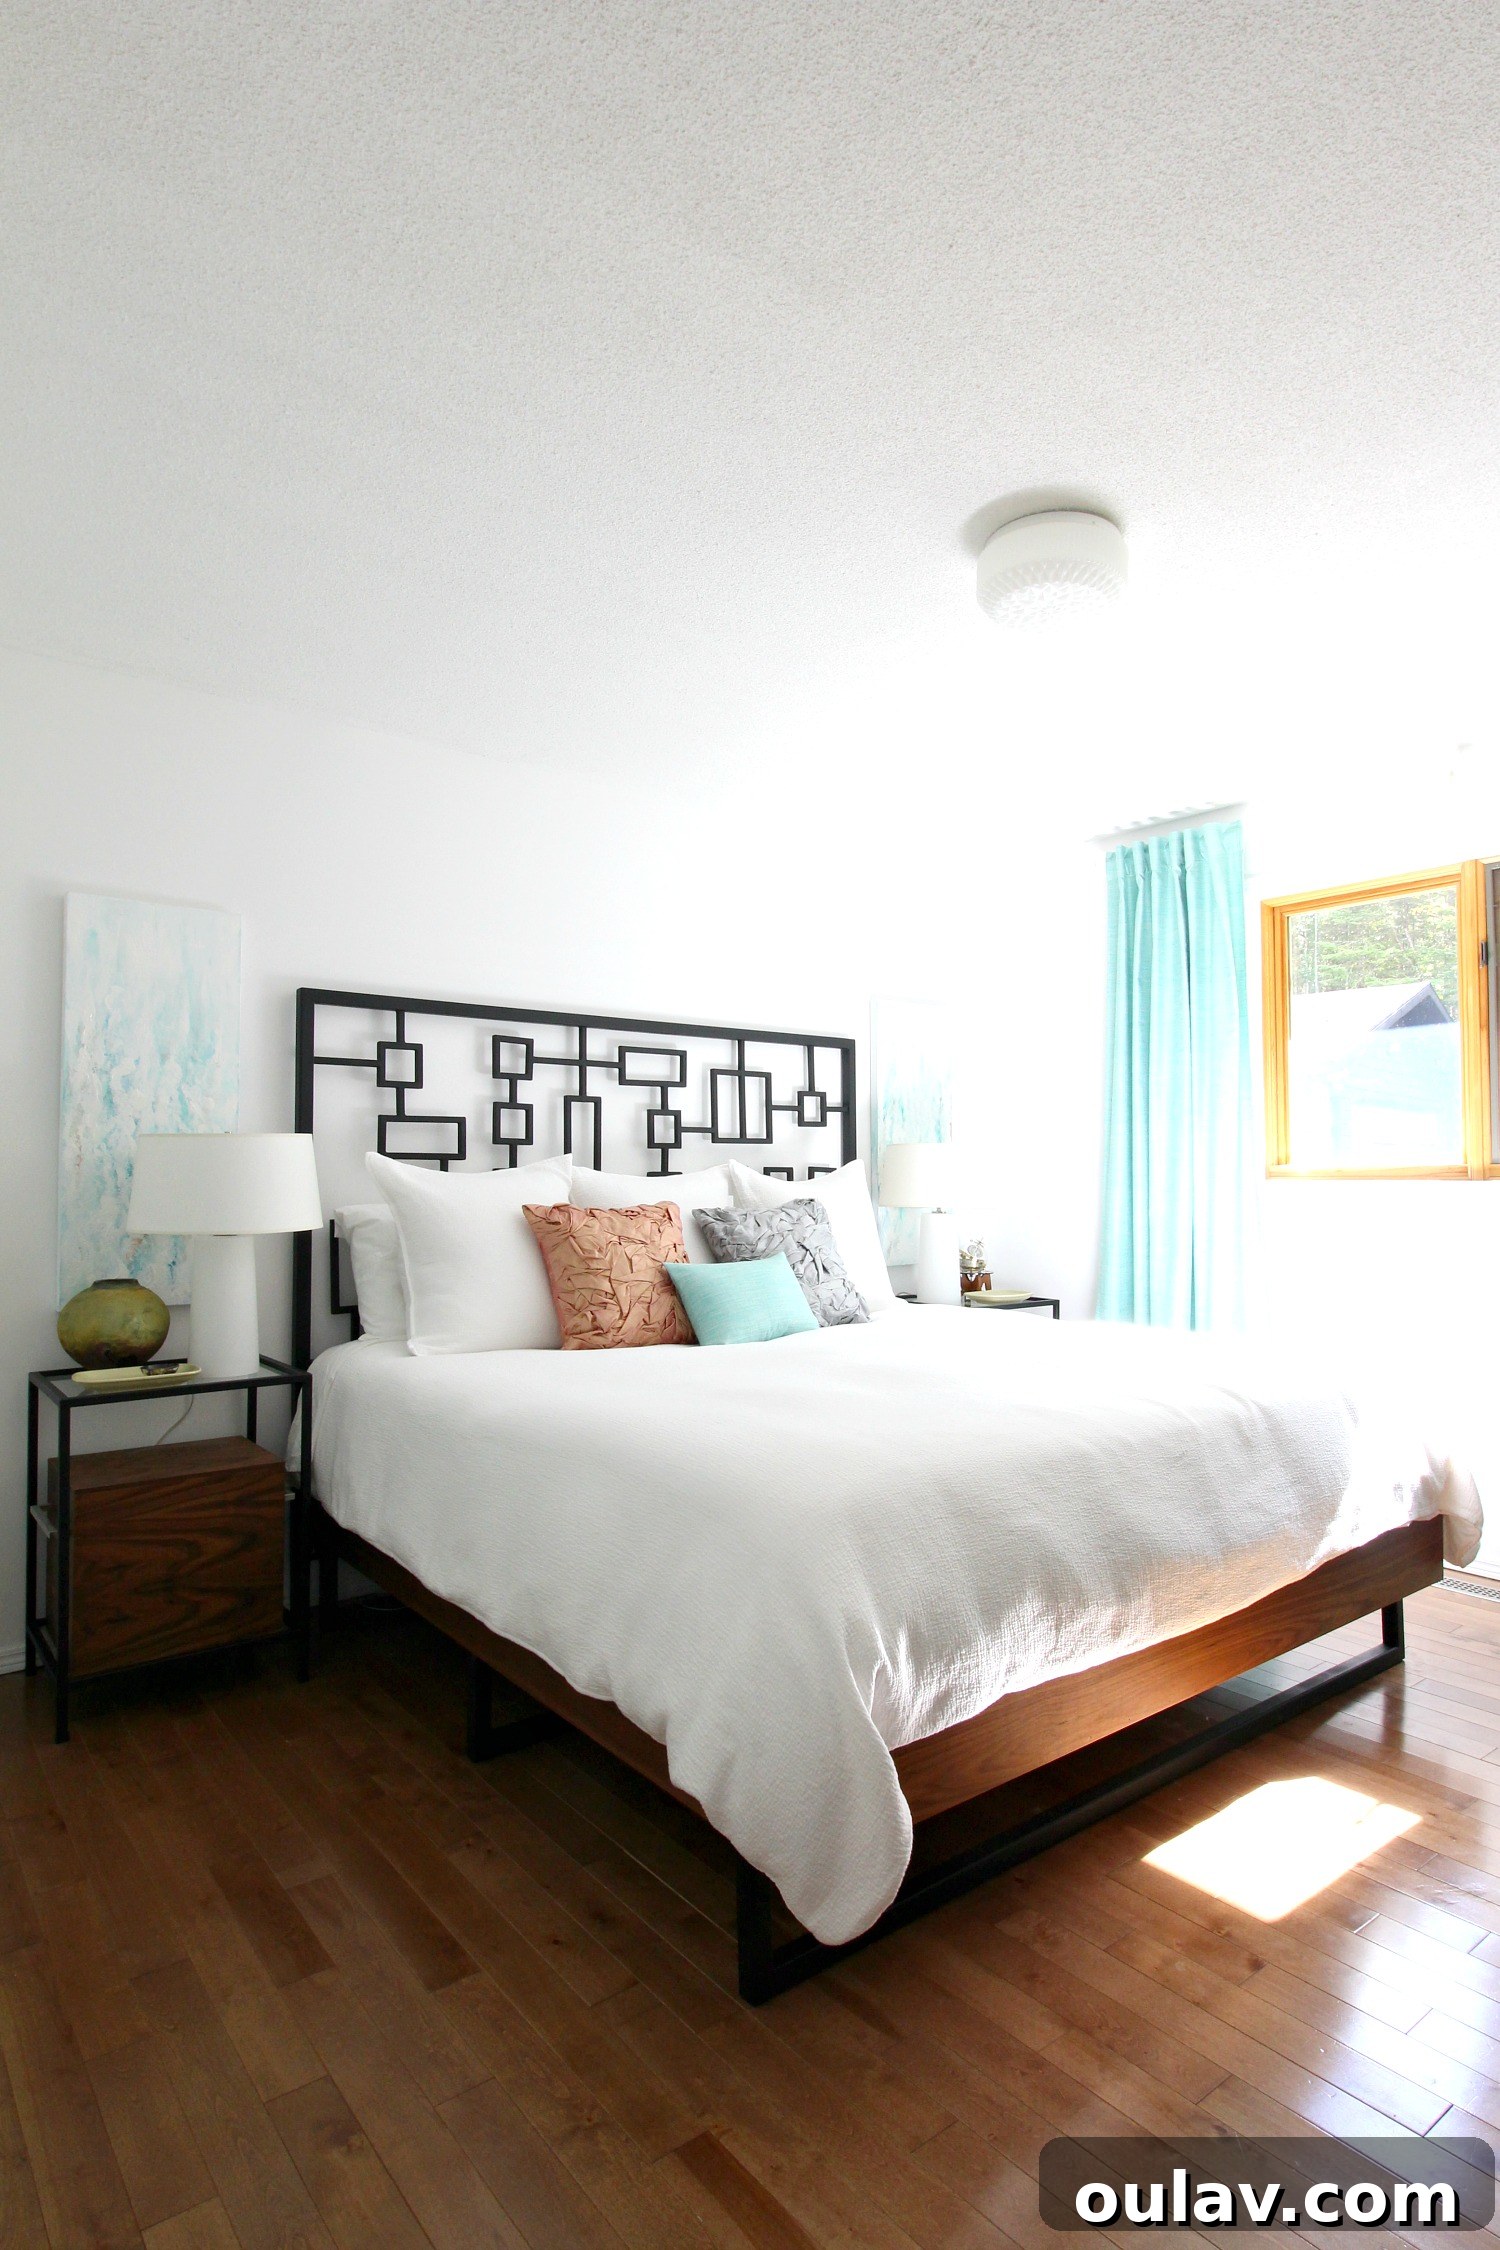
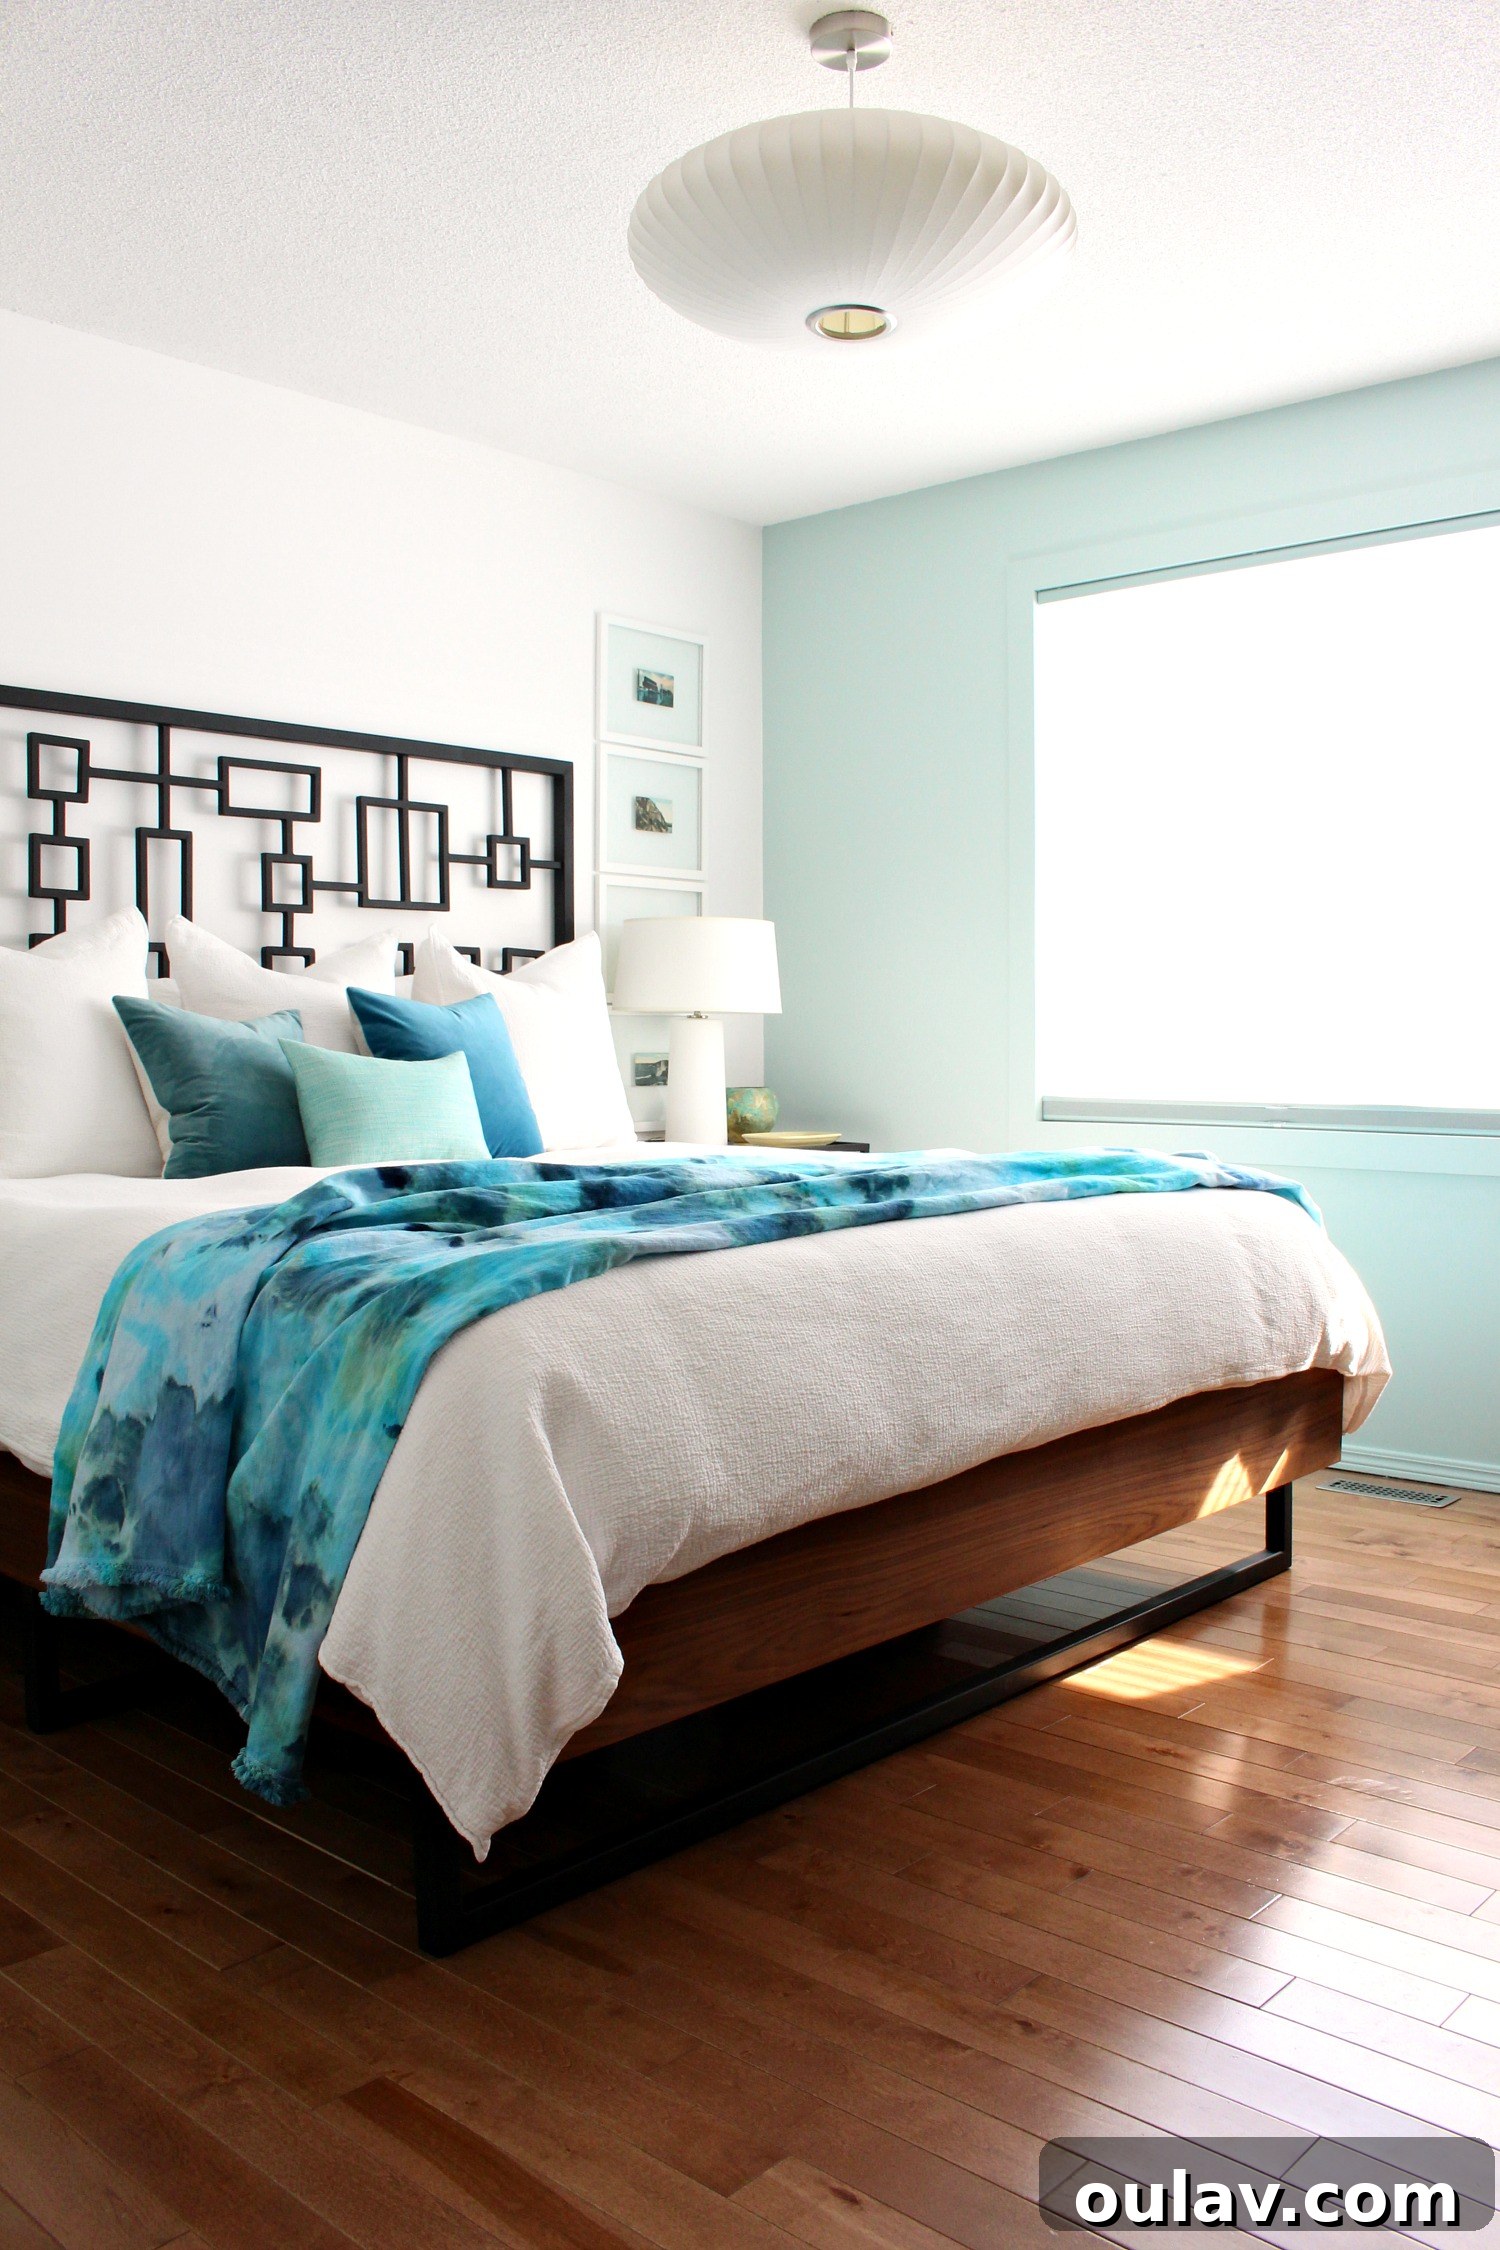
Office:
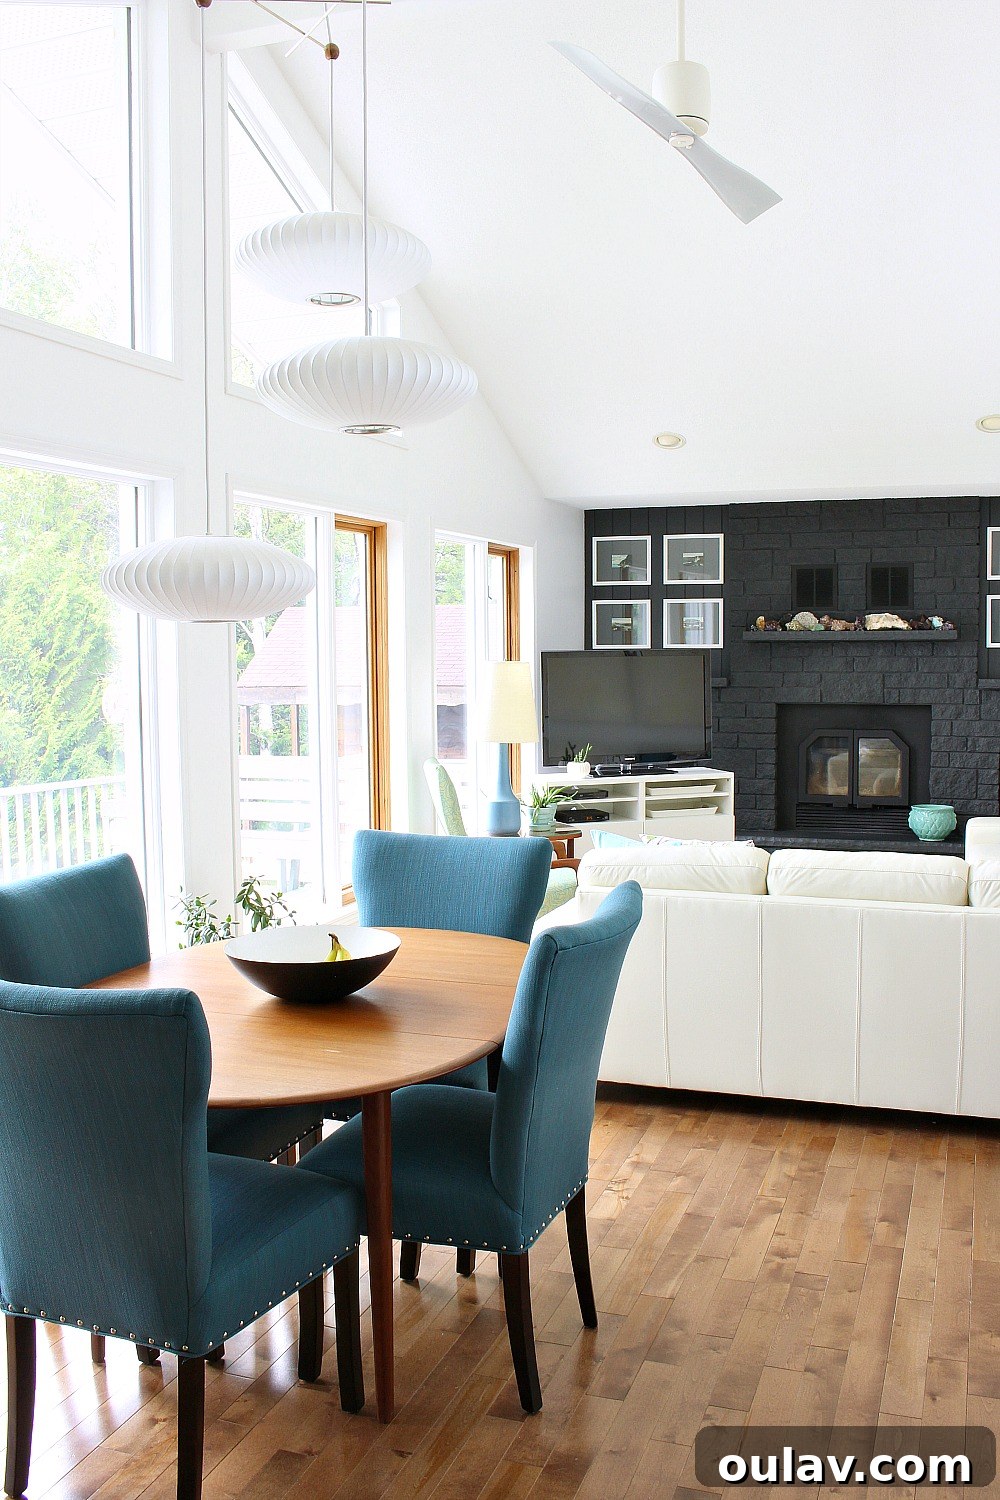
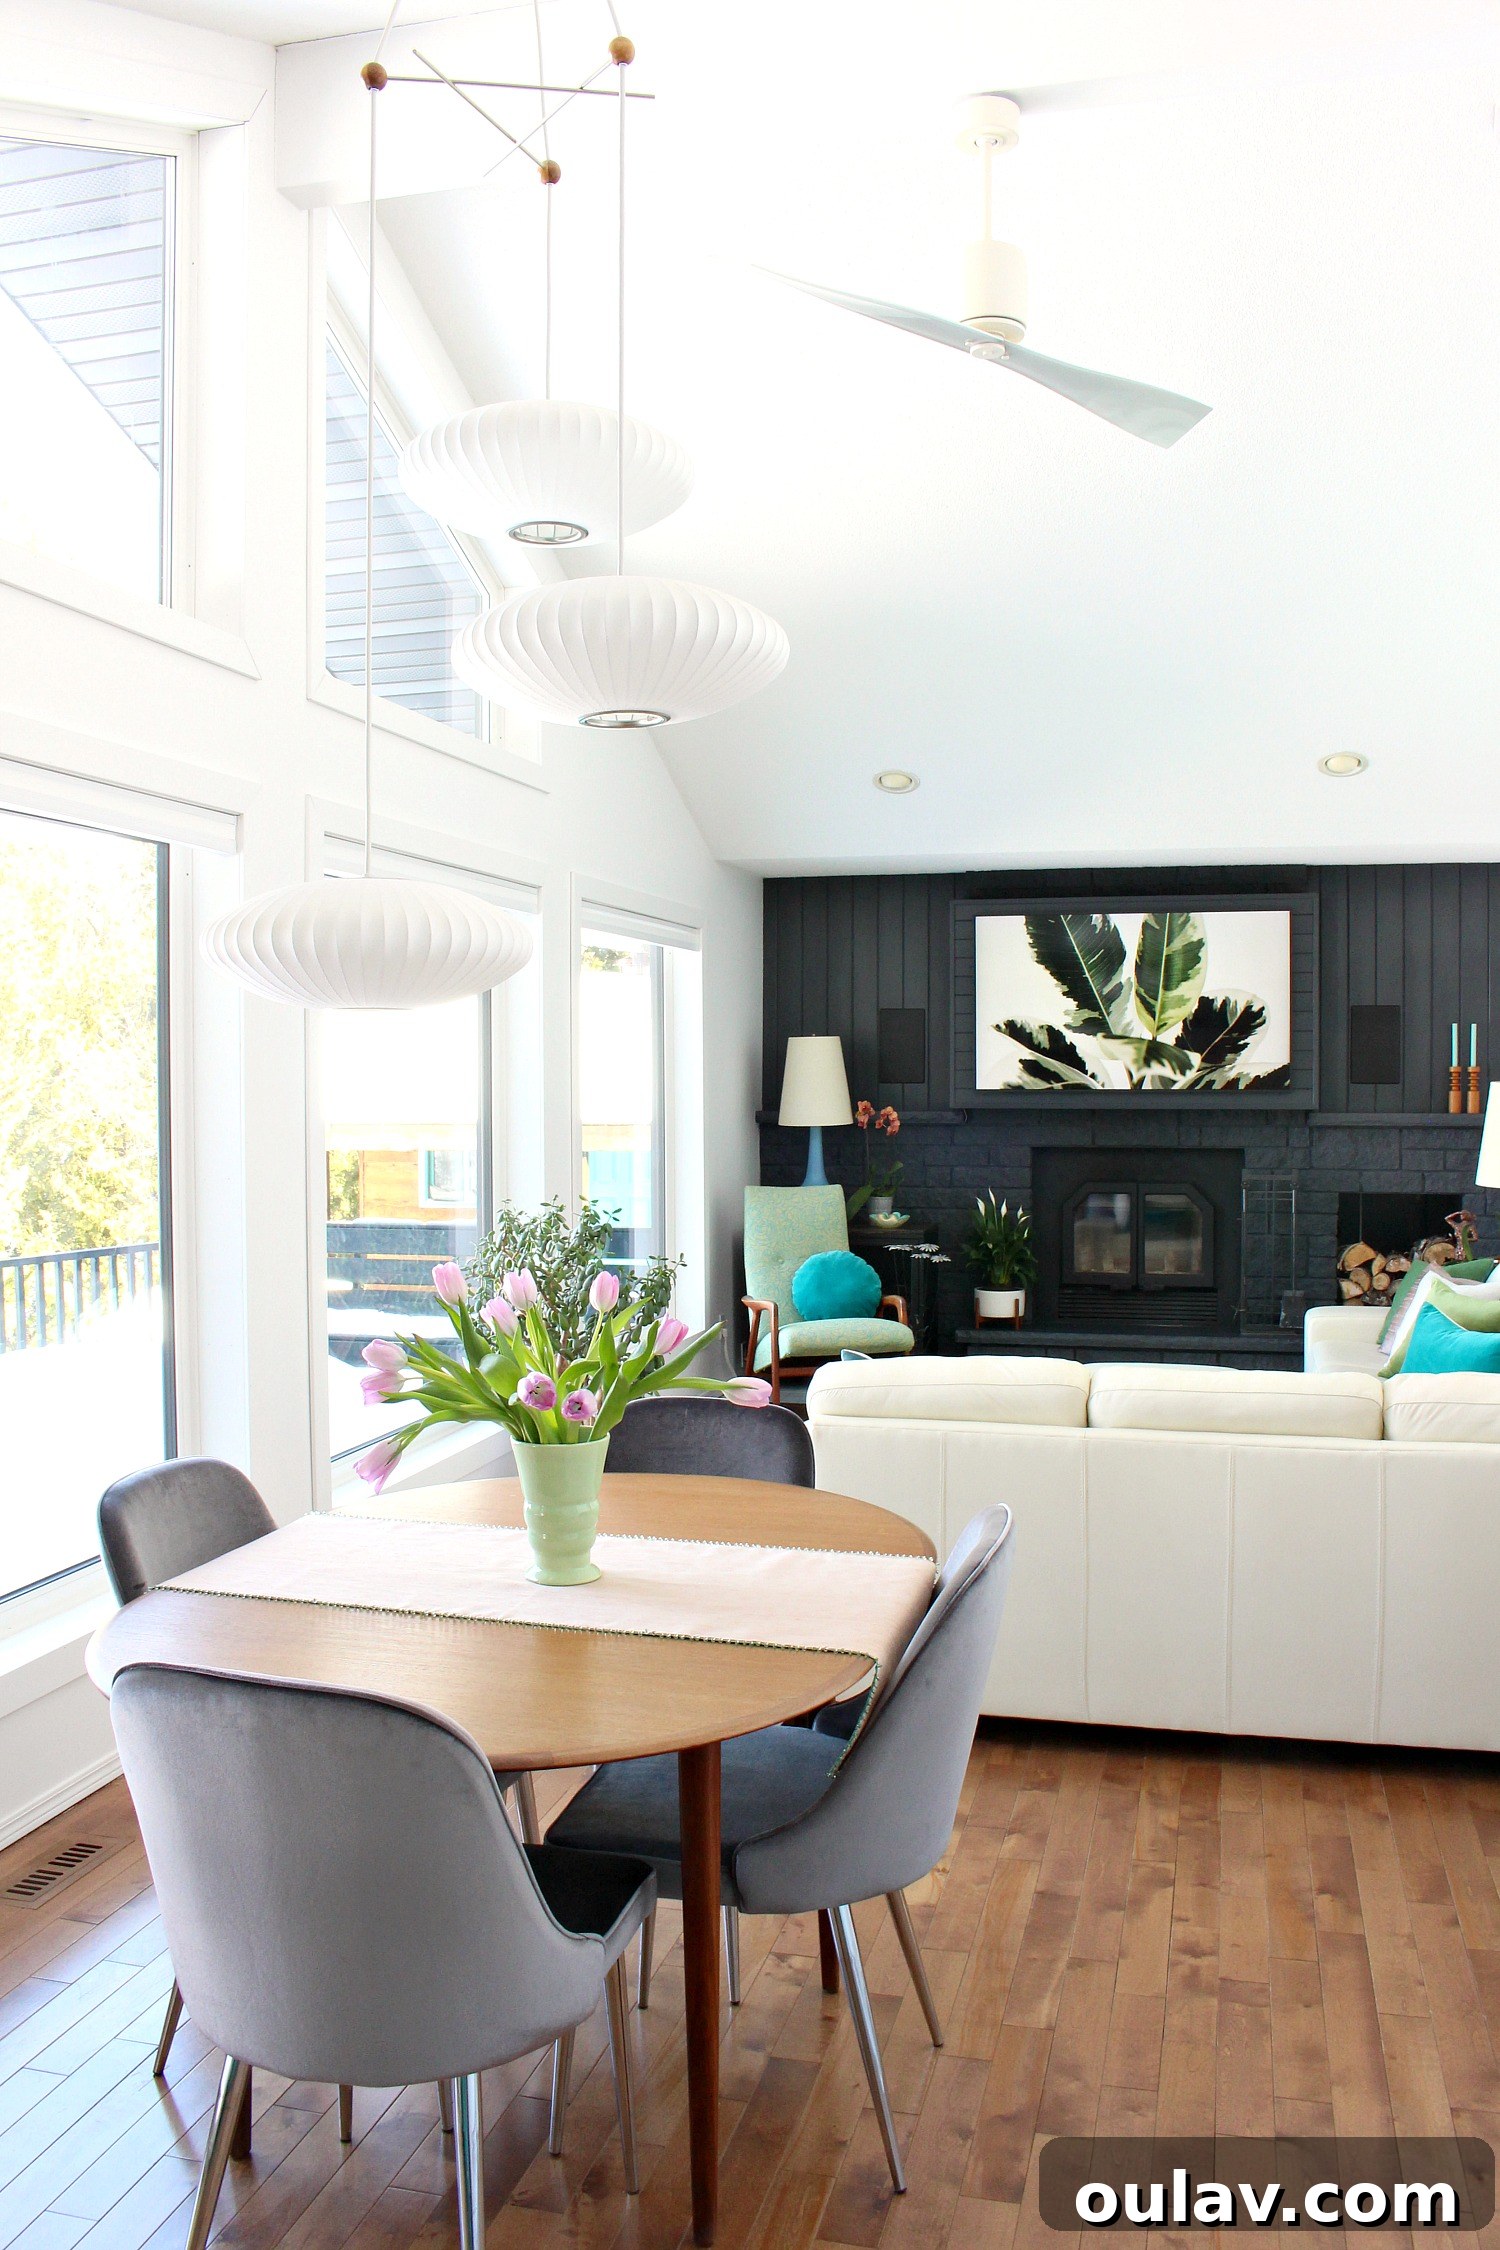
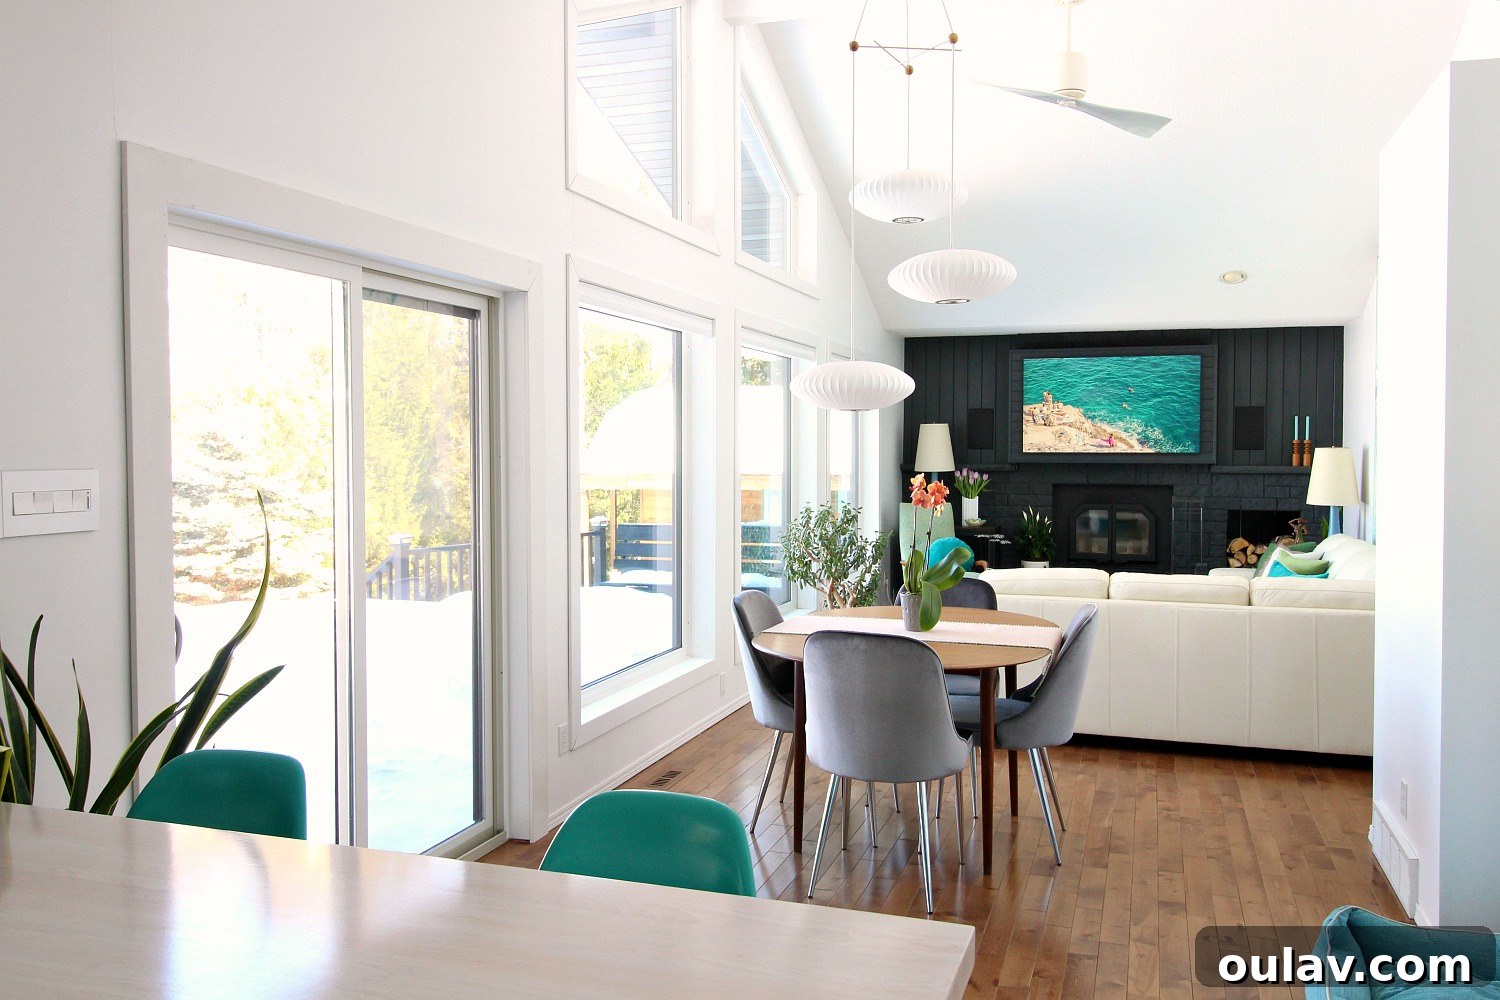
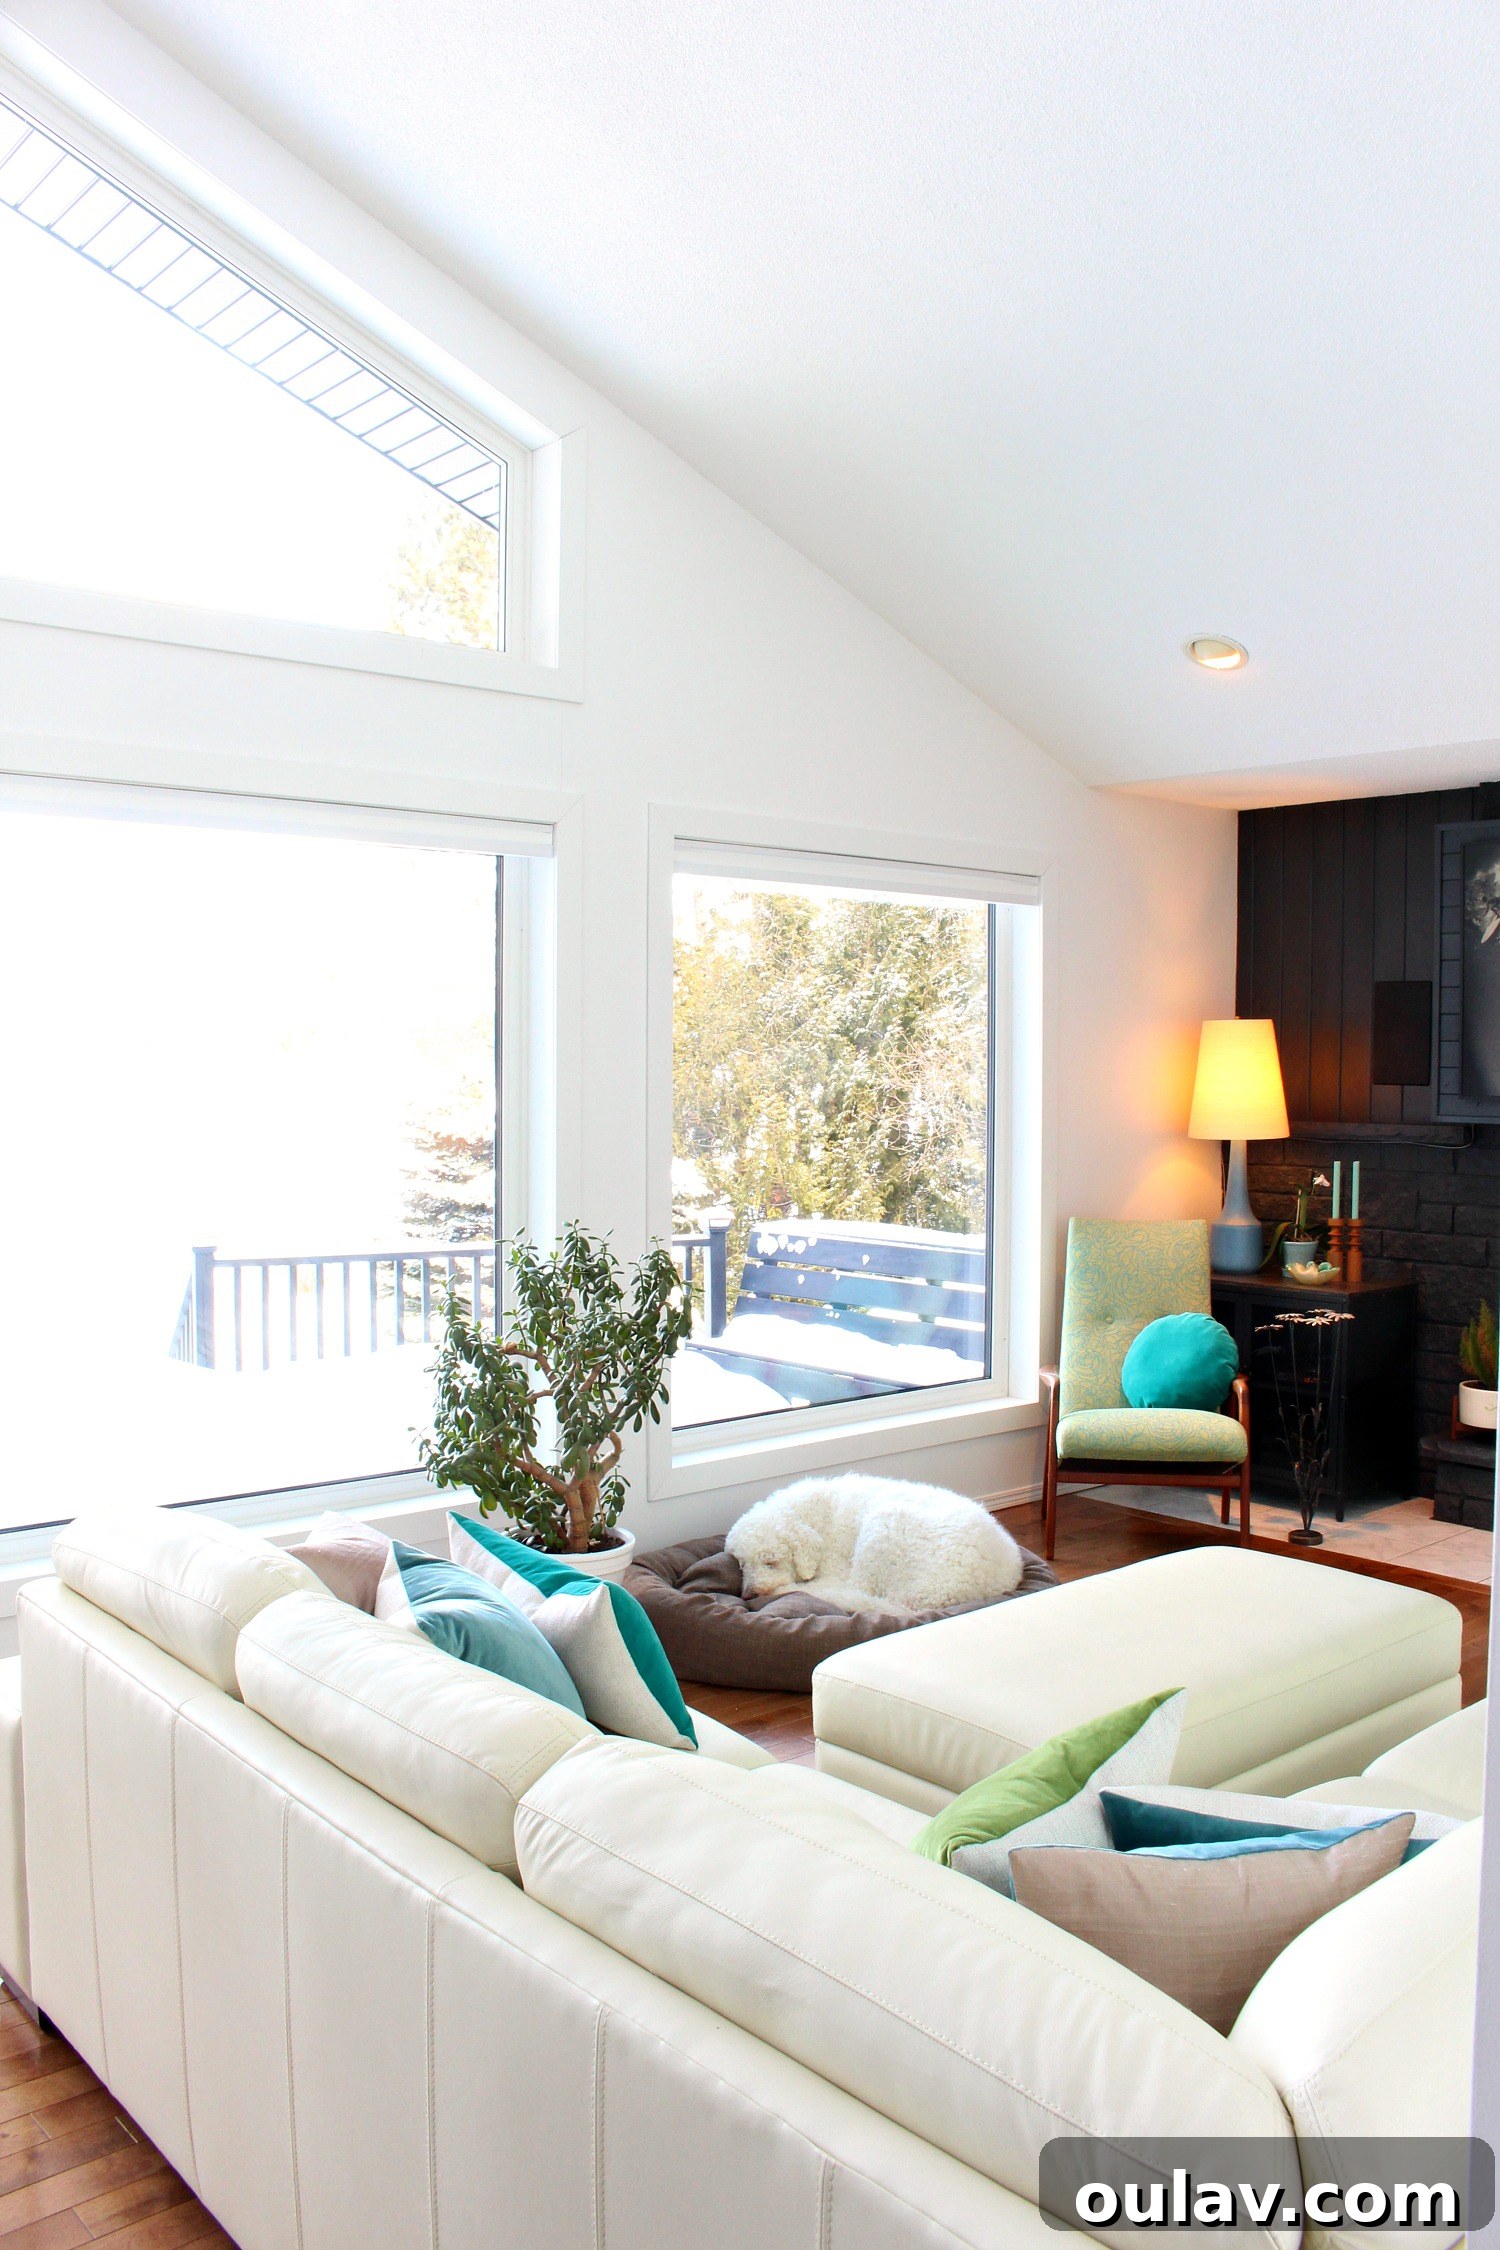
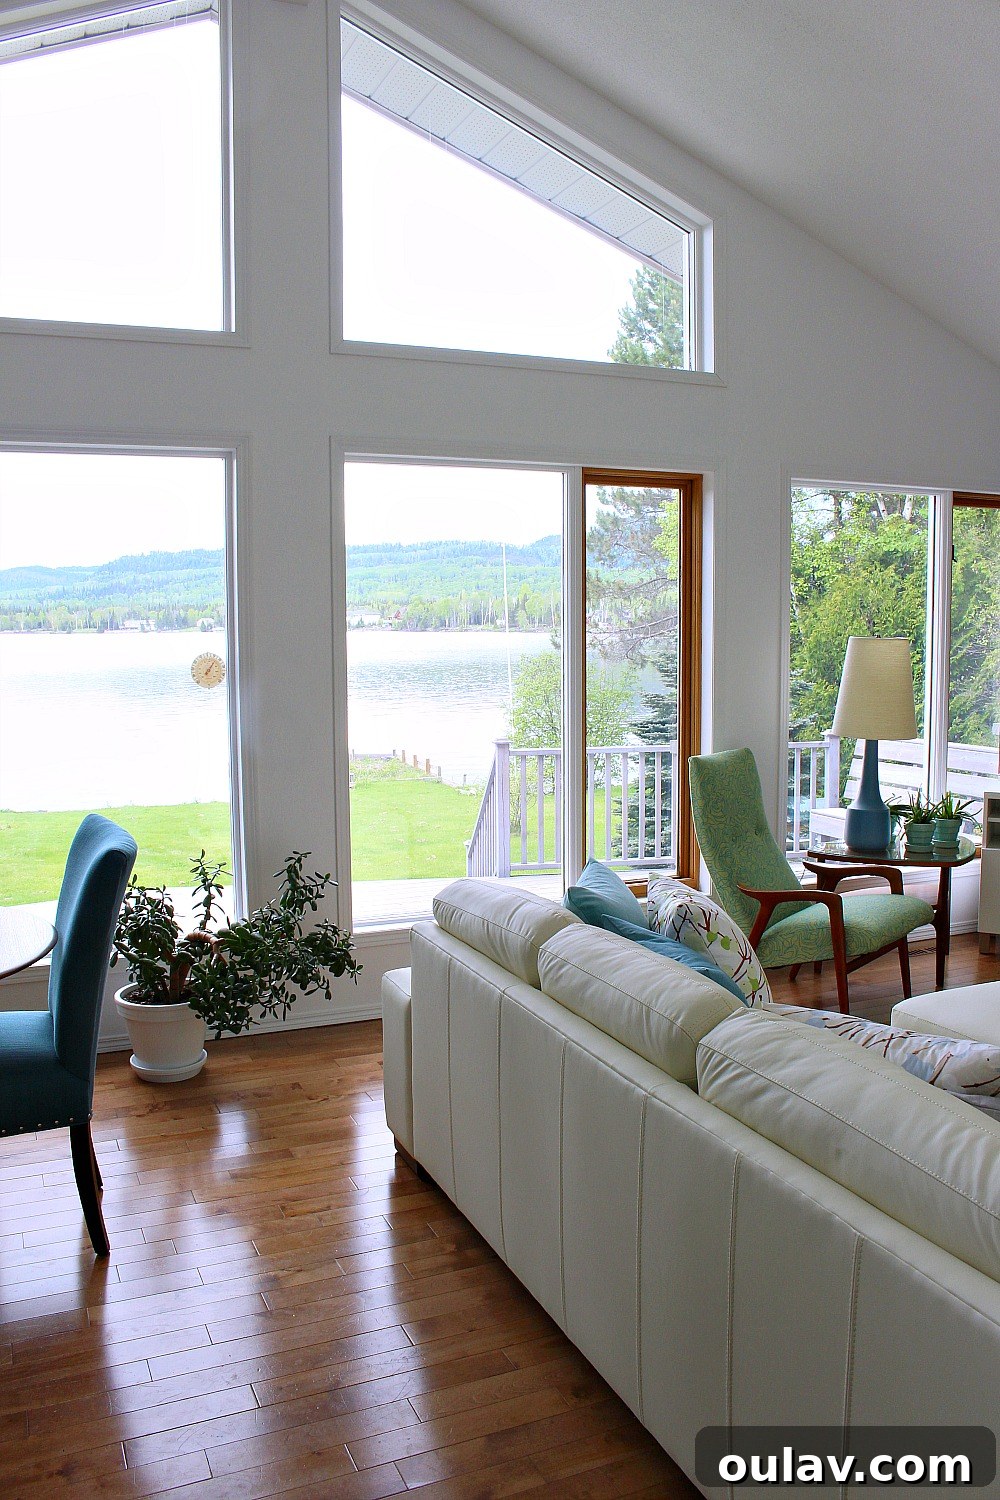
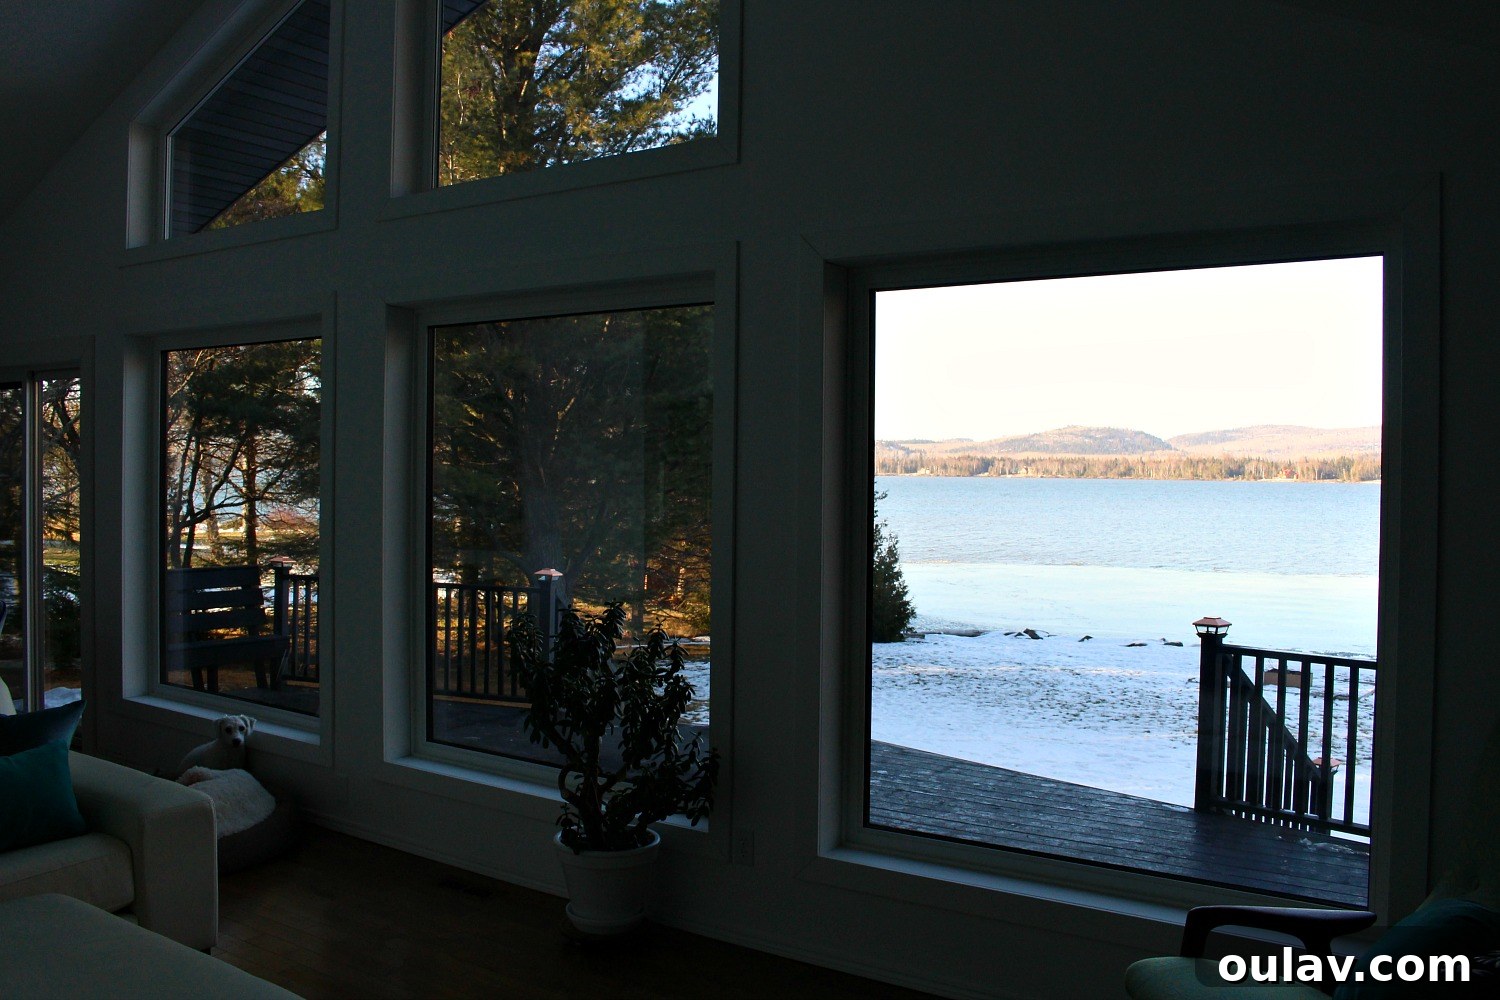
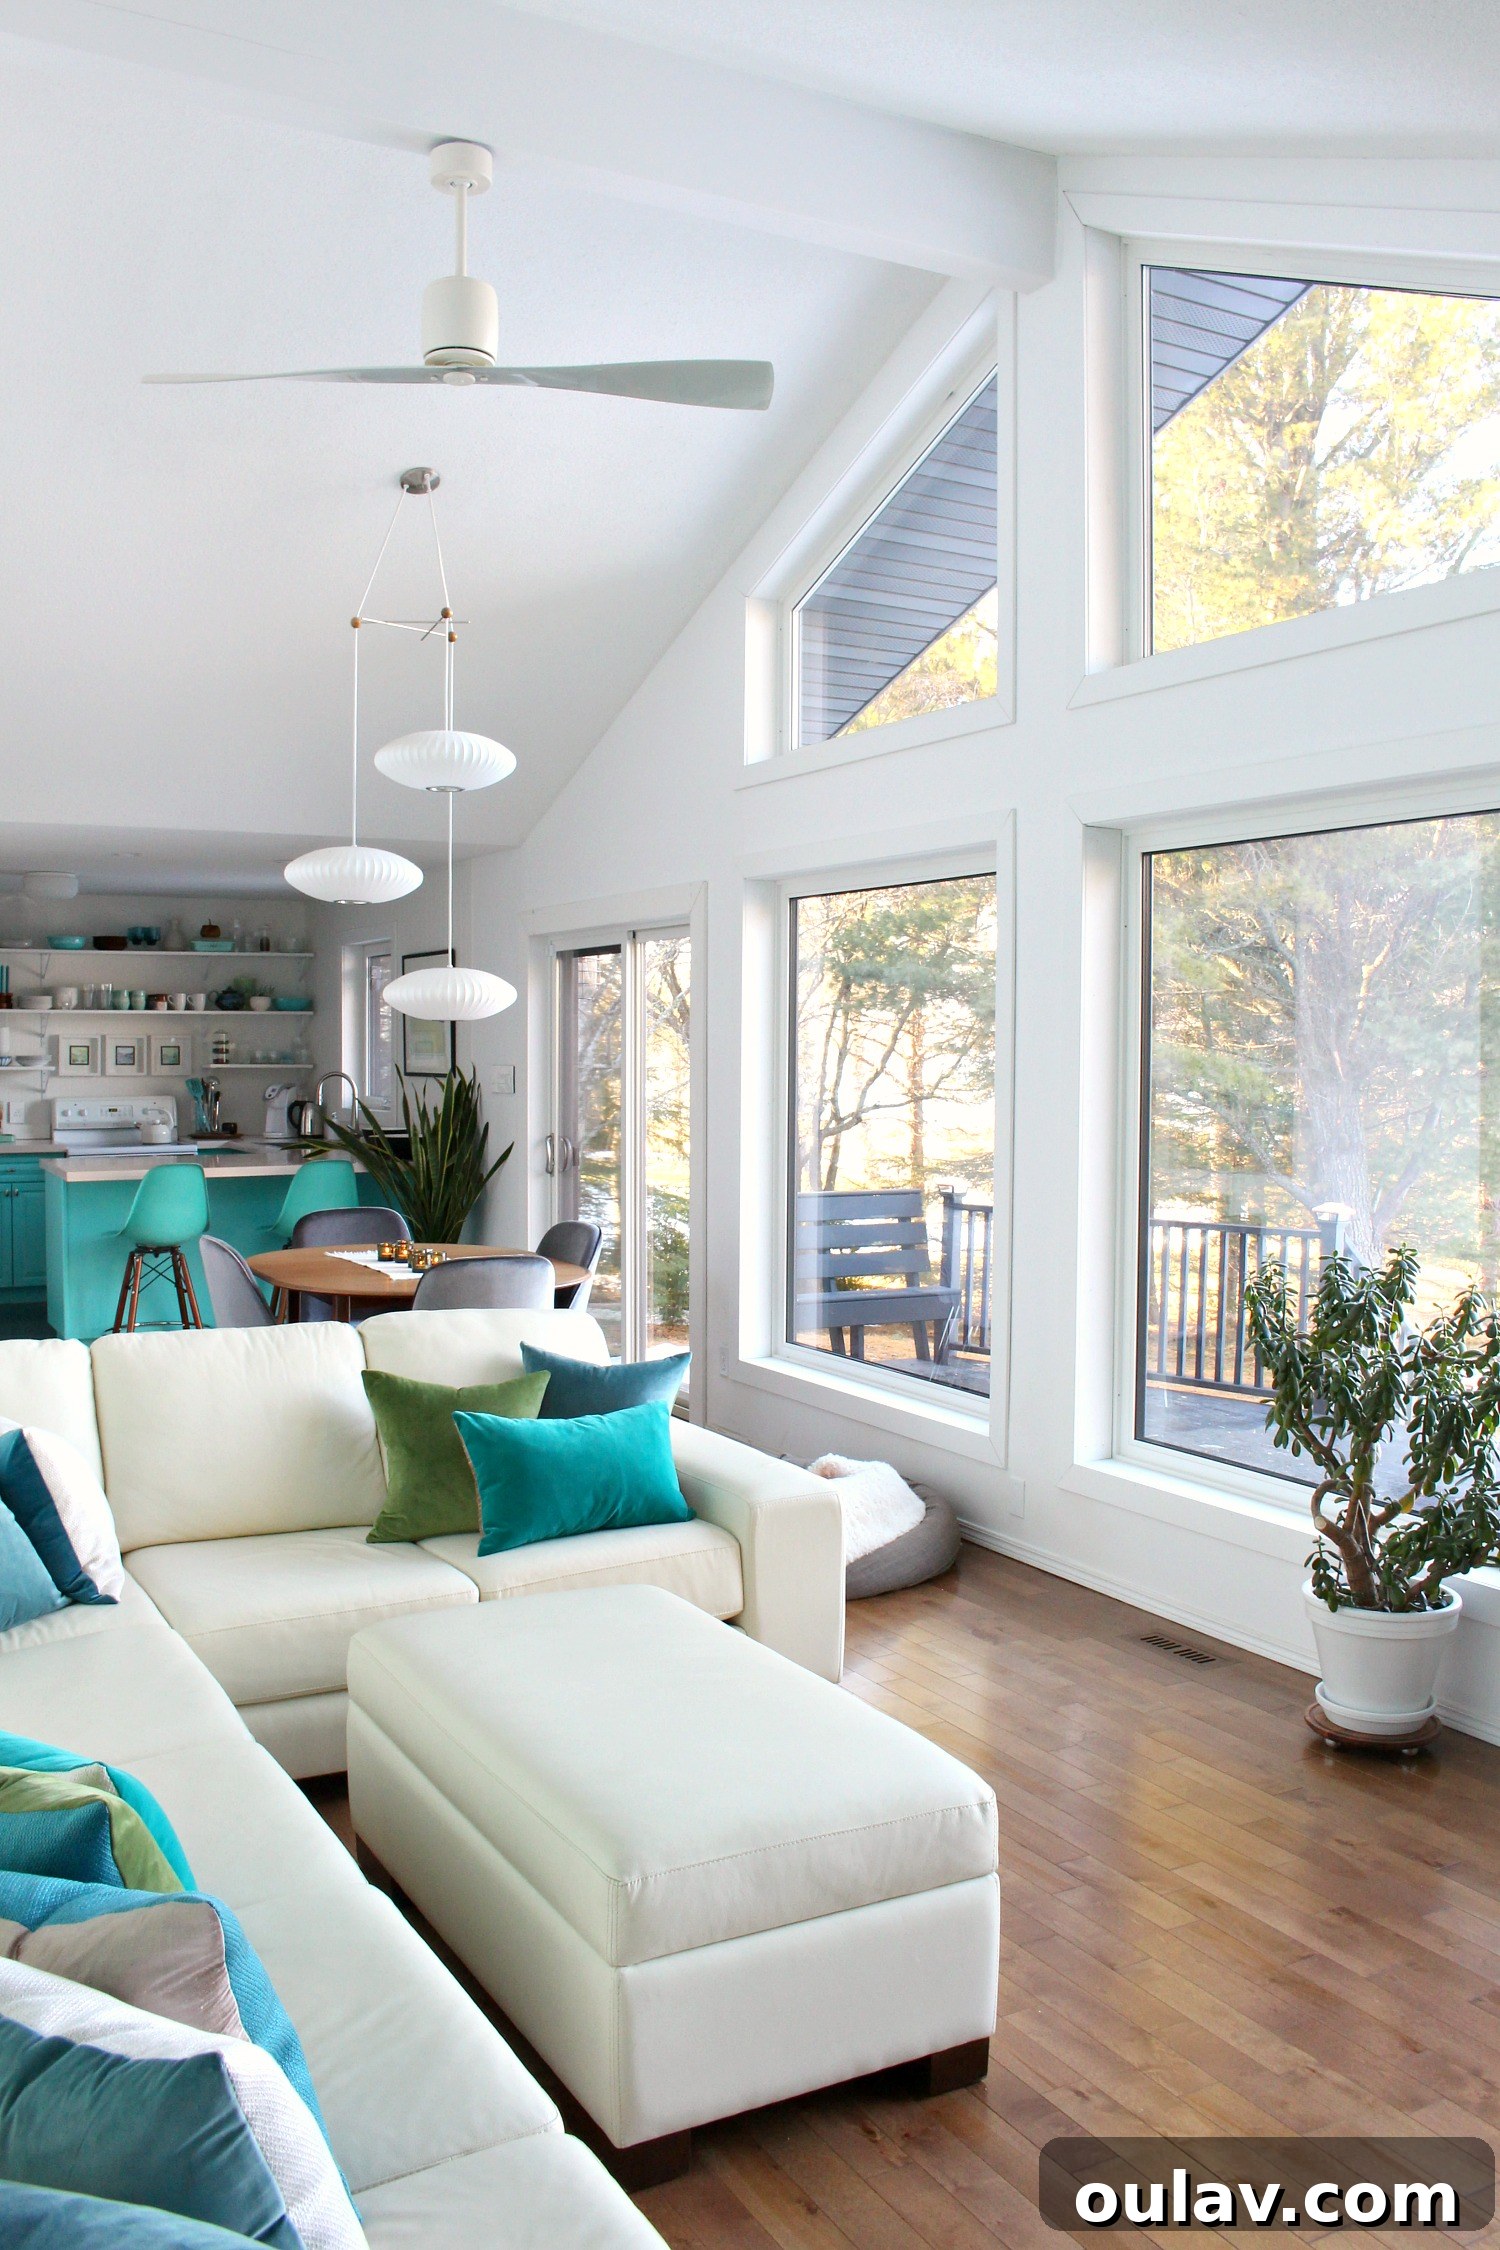
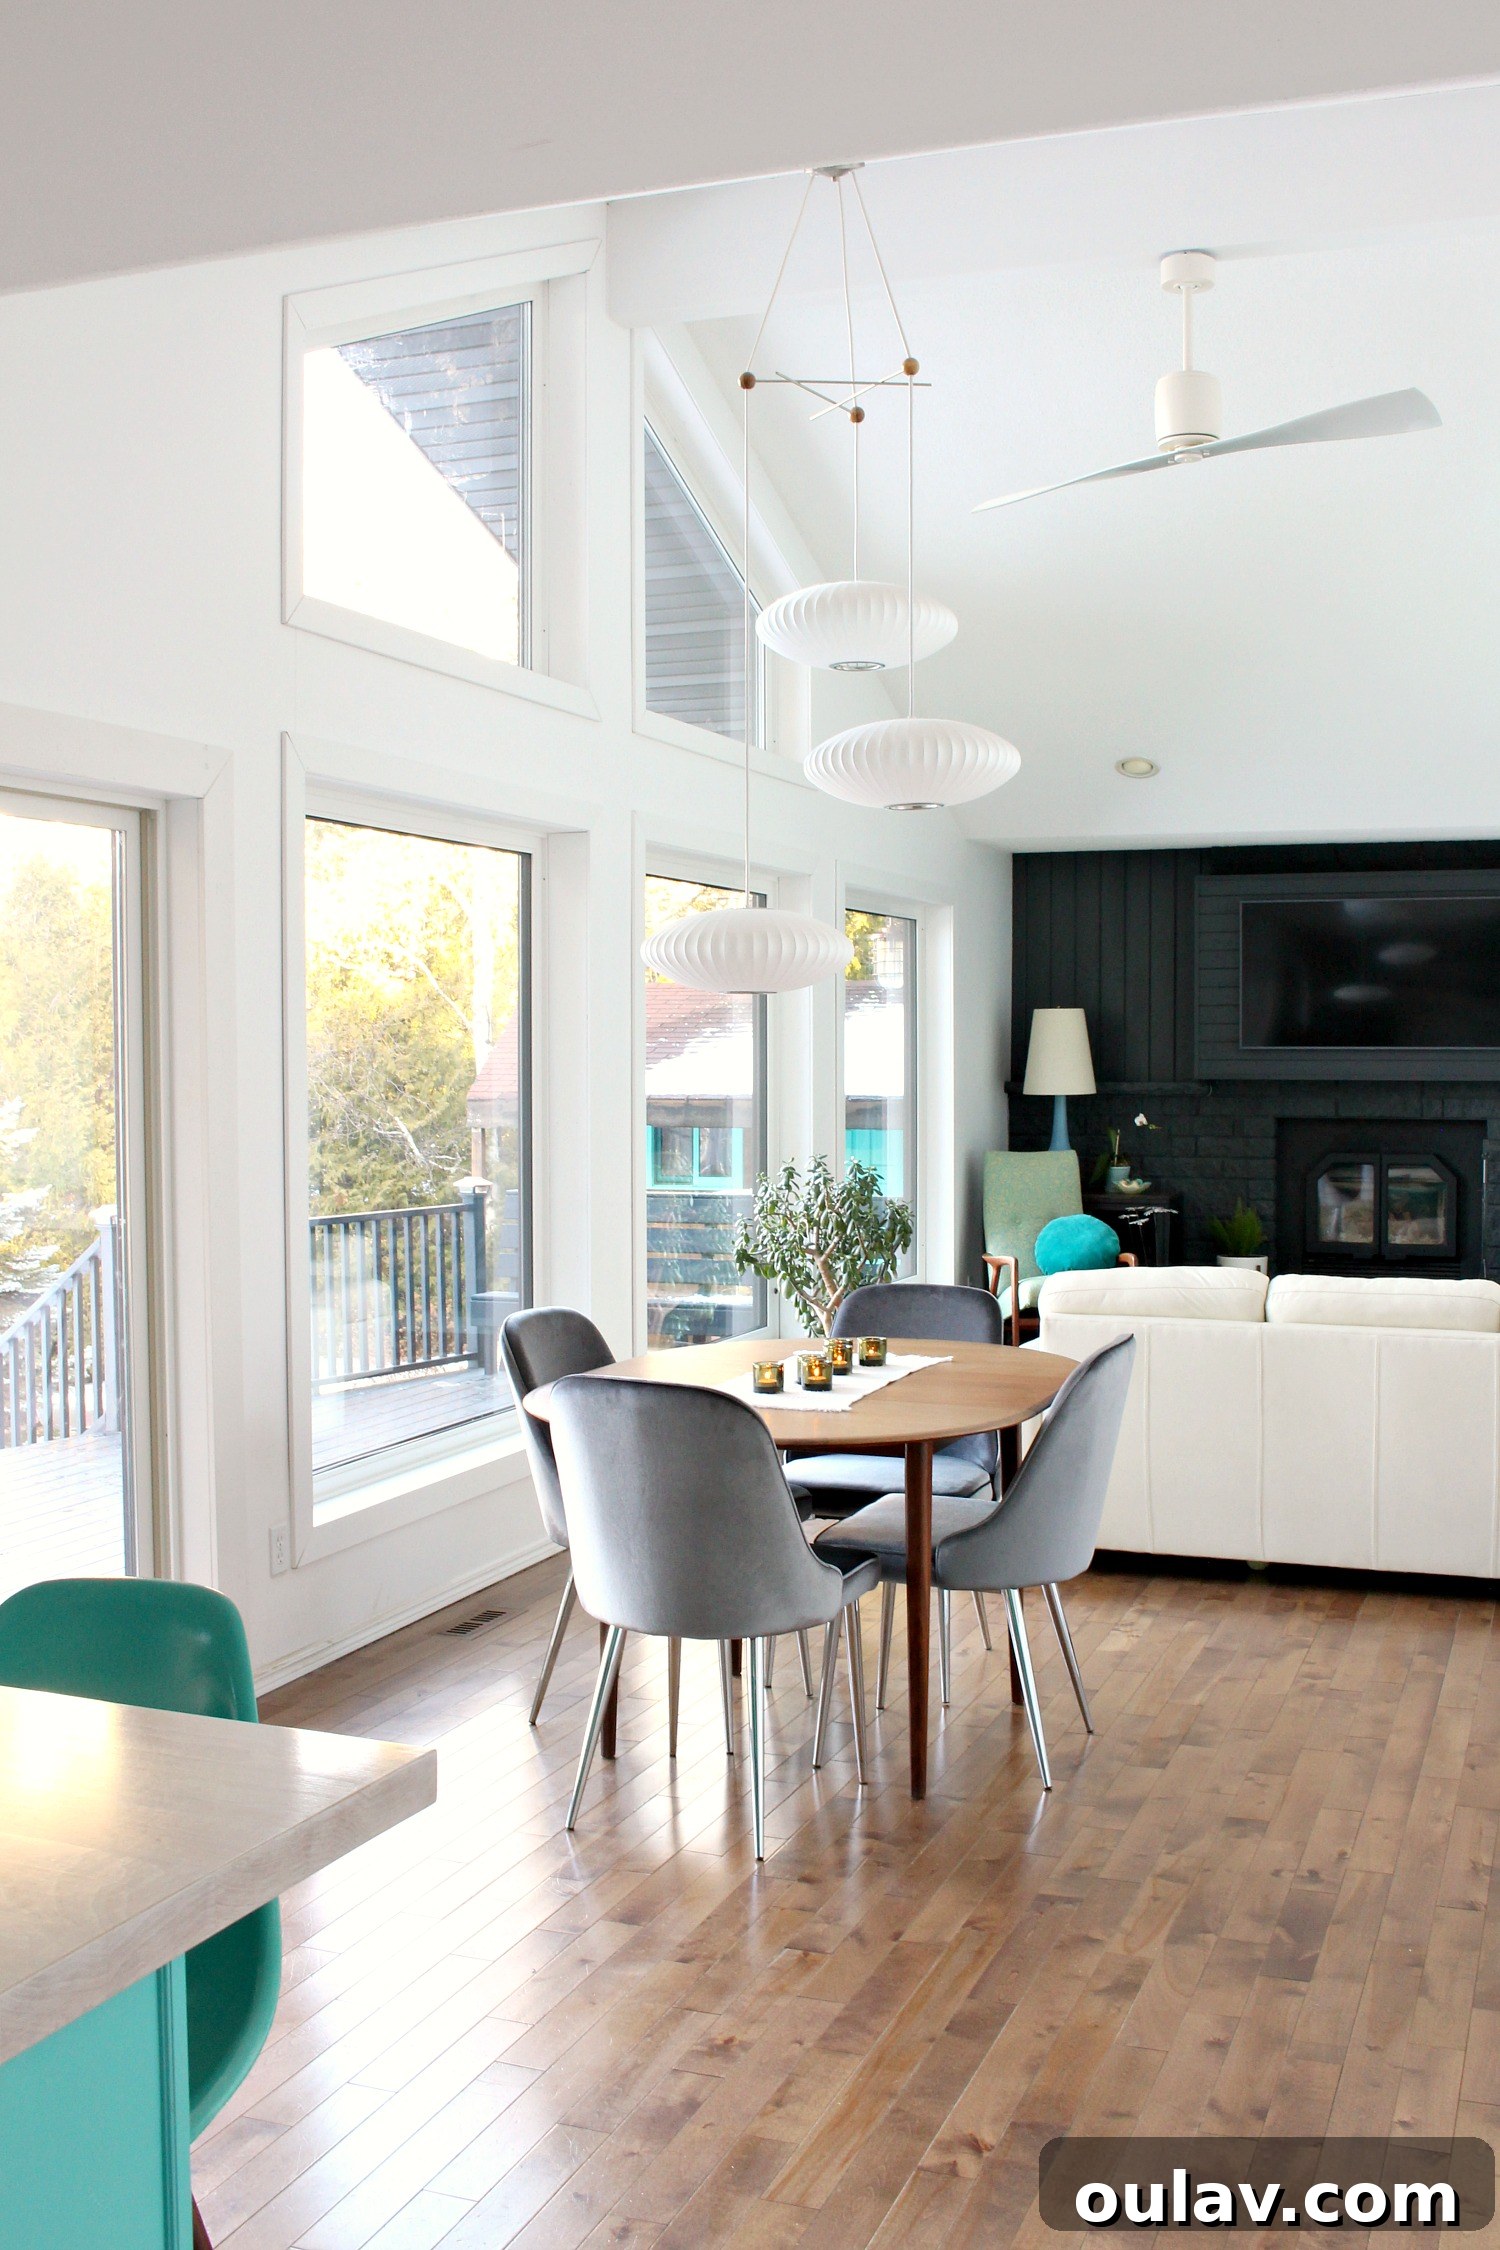
Living Room:
Reflections on a Grand Project: The Enduring Value of New Windows
Enduring Satisfaction Amidst the Journey
While a few loose ends still need to be tied up with our window installation, I couldn’t contain my eagerness to finally share these before, in-progress, and after photos. I initially wanted to wait until everything was “perfectly done,” but I’ve realized that in home renovation, “done” can sometimes be a very distant horizon. This entire journey has certainly been an experience, filled with its share of challenges and triumphs. Yet, through it all, the overwhelming feeling is one of immense satisfaction. The decision to invest in larger, newer, and fresher windows has profoundly transformed our home, infusing it with light, modernity, and a renewed sense of balance and intention. The benefits far outweigh the temporary inconveniences, making this a renovation we truly cherish.
Essential Advice for Your Window Replacement Project
If you’re contemplating getting new windows, whether replacing existing ones or daring to go bigger, here are my top tips to help make your journey smoother and significantly less stressful:
- Visit Multiple Showrooms and Gather Quotes: Even if you have a preferred installer or manufacturer in mind, make an effort to visit several showrooms. Each salesperson offers unique insights and tidbits of information that can be invaluable in refining your choices and understanding terminology. Don’t just compare prices; compare the quality of materials, warranty details, and the contractor’s reputation.
- Research Government Energy Rebates: Look into government energy rebates or grants available for energy-efficient window replacements in your region. We saved $100 per window, but accessing these often requires specific preparations like pre-installation energy audits or consultations. Ensure you understand and complete all necessary steps ahead of time to qualify for the refund.
- Detailed Window Assessment and Measurements: Before soliciting quotes, make a comprehensive list of what you currently like and dislike about your existing windows. Have preliminary measurements ready. This detailed preparation will help contractors provide more accurate estimates and ensure your new windows address your specific needs and desires.
- Plan for Window Coverings (Blinds, Shades): Don’t overlook the impact of new, larger windows on your interior design, especially concerning window coverings. Our significantly larger windows meant that standard-sized blinds were insufficient, requiring custom orders, which added unexpected costs. Factor this into your budget early.
- Document Everything in Writing: This is arguably the most crucial piece of advice. Ensure every detail, including sizes, styles, materials (like my vinyl jamb saga!), and specific requests, is explicitly documented in your contract. Follow up all phone conversations with confirming emails or text messages. Written communication serves as irrefutable proof if any discrepancies or errors arise.
- Budget Extra Time and Money (Especially Time!): Renovations rarely proceed exactly as planned. Windows can break during transport, orders can be incorrect, and unexpected issues (like wood rot) frequently arise. Build a generous buffer into both your timeline and your budget. The “extra time” buffer will likely be even more critical than the monetary one.
- Thorough Preparation for Installation Day: Before the crew arrives, proactively move all furniture out of the way, especially from areas near the windows. Remove all window coverings (blinds, curtains, rods) in advance. This protects your belongings and allows installers unobstructed access, speeding up their work.
- Have a Contingency Plan for Bathrooms: If bathroom windows are being replaced, consider arranging an alternative bathroom plan for yourself and your family (perhaps with a neighbor or a temporary setup) just in case the process extends longer than anticipated or creates unusable spaces.
- Invest in Your Own Protection: Gather old blankets and invest in sturdy tarps. As our experience showed, installers may not come adequately prepared to protect your home from dust and debris, or your valuable furniture from their tools. Being proactive with your own coverings will save you considerable stress and potential damage.
- Double-Check Orders Before Work Begins: Before any cutting starts, meticulously double-check every single window against your order sheet. Confirm sizes, styles, glass types, and any special features. This is your last chance to catch errors before irreversible work begins.
- Document the Entire Process with Photos: Take abundant photos at every stage of the installation. These visual records are invaluable if warranty issues arise down the line. Manufacturers often blame installers, and installers blame manufacturers. When you can present photographic evidence of the installation process, it often cuts through the blame game and helps expedite solutions.
Explore More Exterior Renovation Insights Here:
For a deeper dive into our overall exterior transformation, you can find more details and progress updates on related projects:
New Copper Roof Installation | Modern Dark Grey Metal Siding | Renovation Delays and Setbacks: Our Experience | The Black Deck & Copper Solar Caps Project