Last year, we explored how to create stunning DIY alcohol ink ornaments by applying ink to the *outside* of opaque, cream-colored glass ornaments. This year, we’re taking a deep dive into an even more captivating technique: making alcohol ink ornaments with the vibrant colors swirling *inside* clear glass and plastic ornaments. Prepare to be amazed, because this internal application method truly creates the most gorgeous and mesmerizing Christmas ornaments you’ve ever seen! The results are simply breathtaking, transforming ordinary blanks into artisanal masterpieces.
Inside vs. Outside: Which Alcohol Ink Ornament Method Do You Prefer?
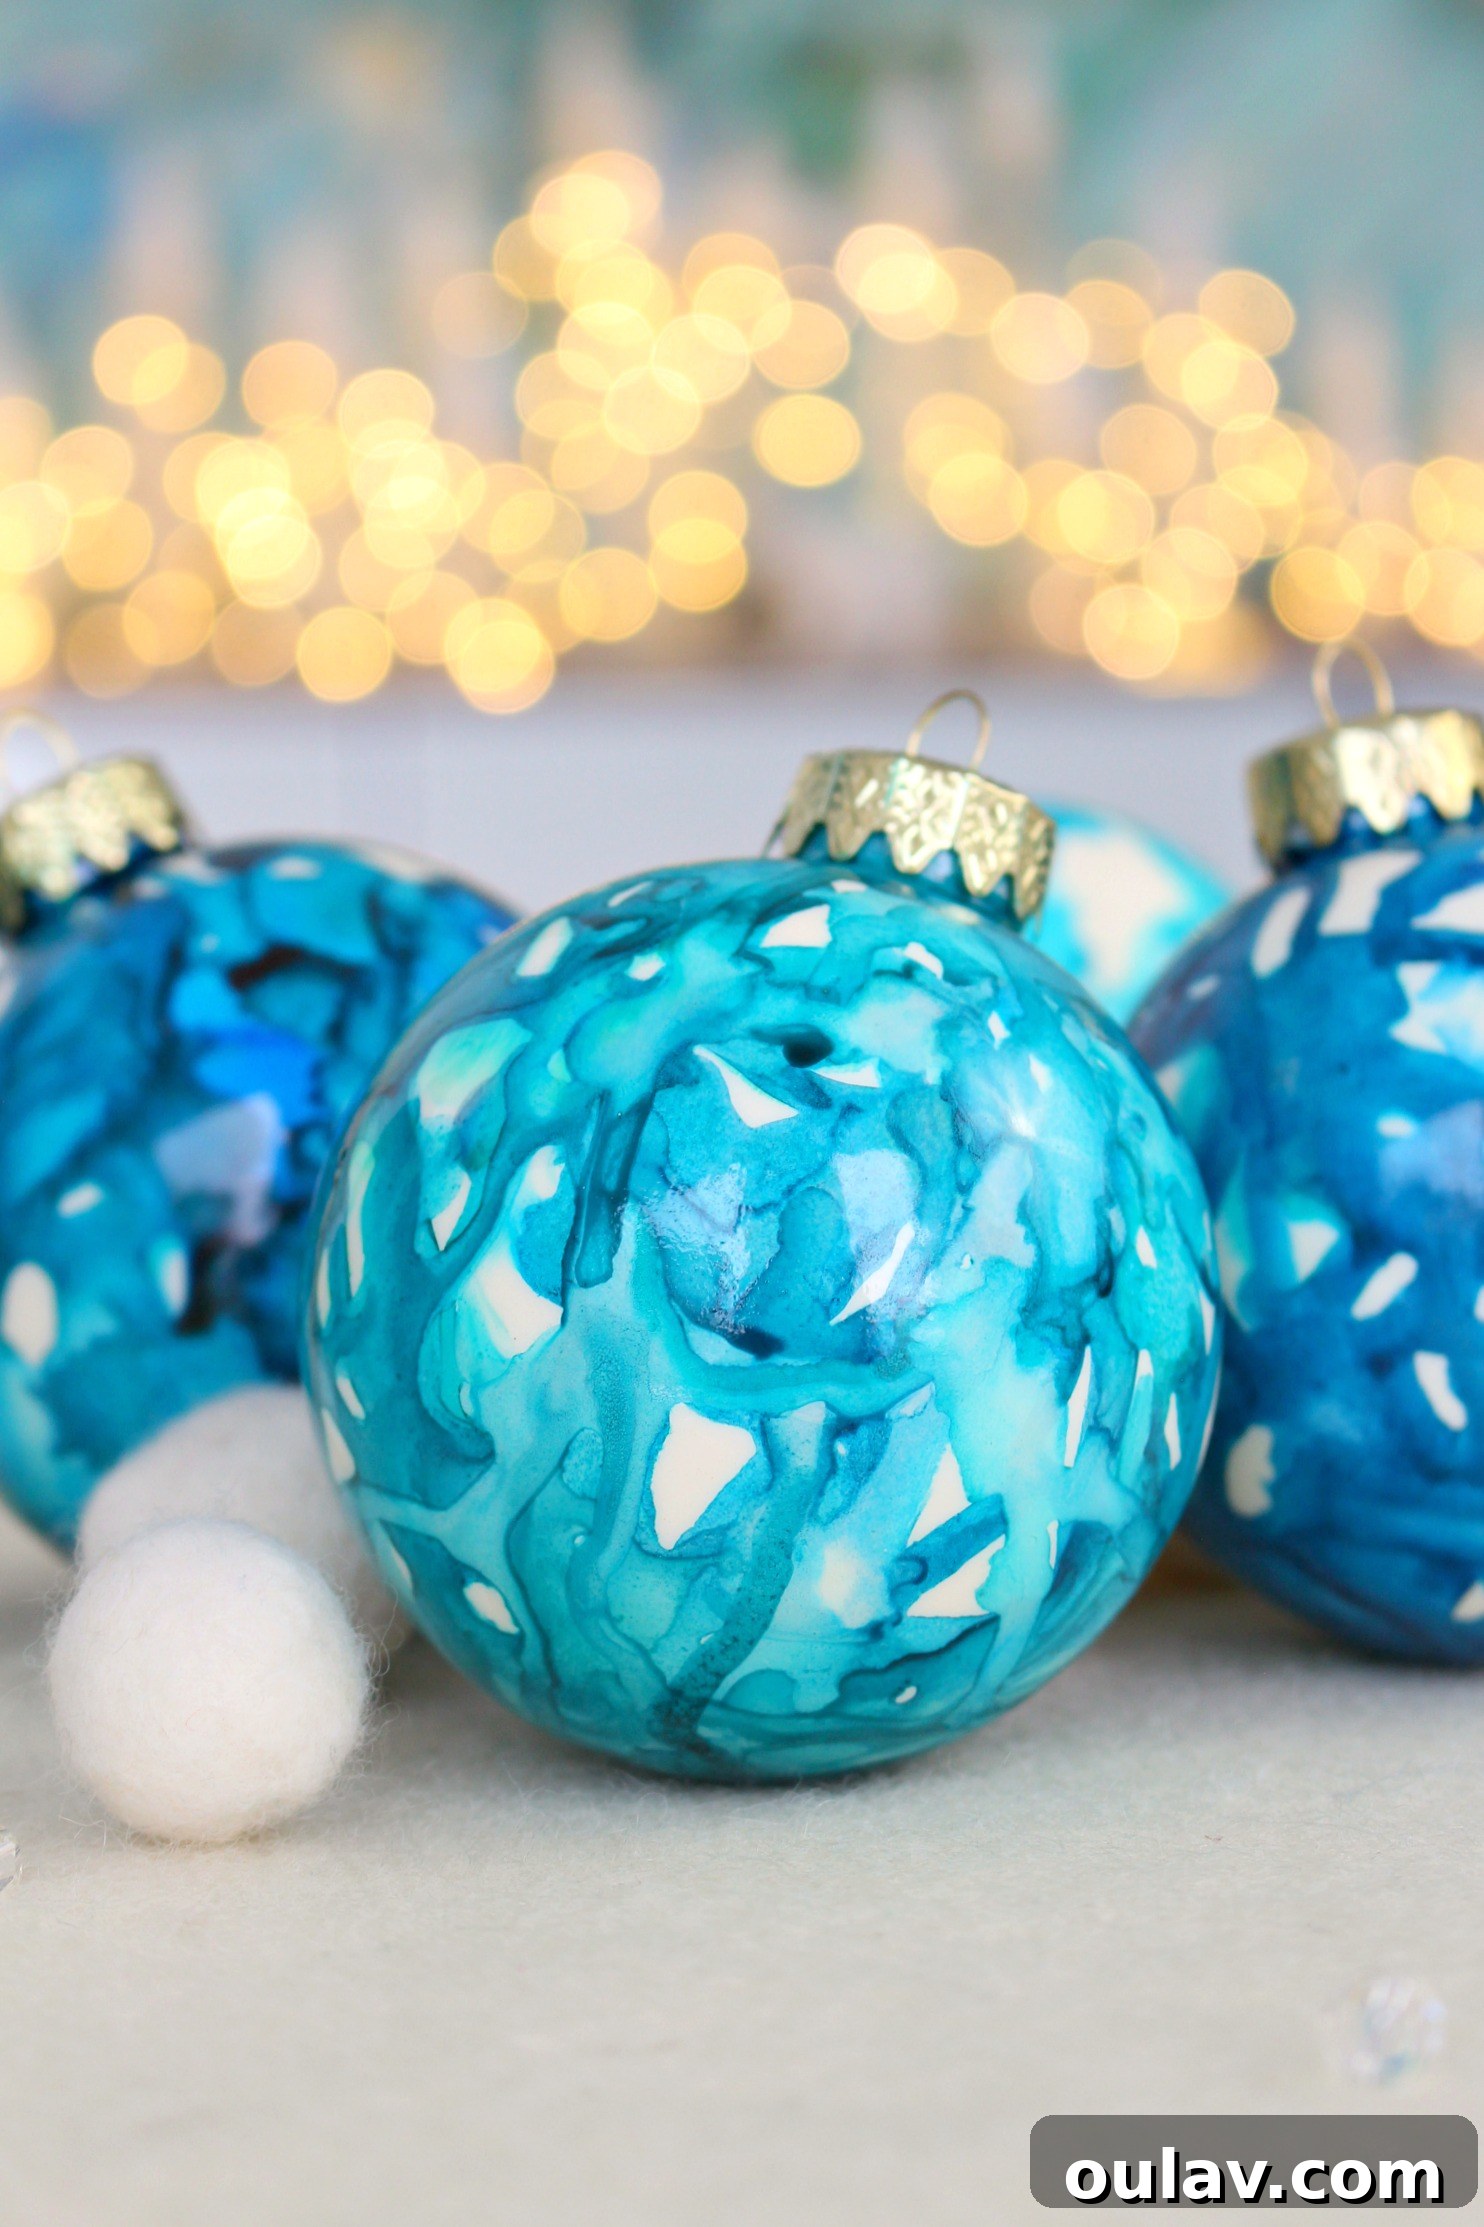
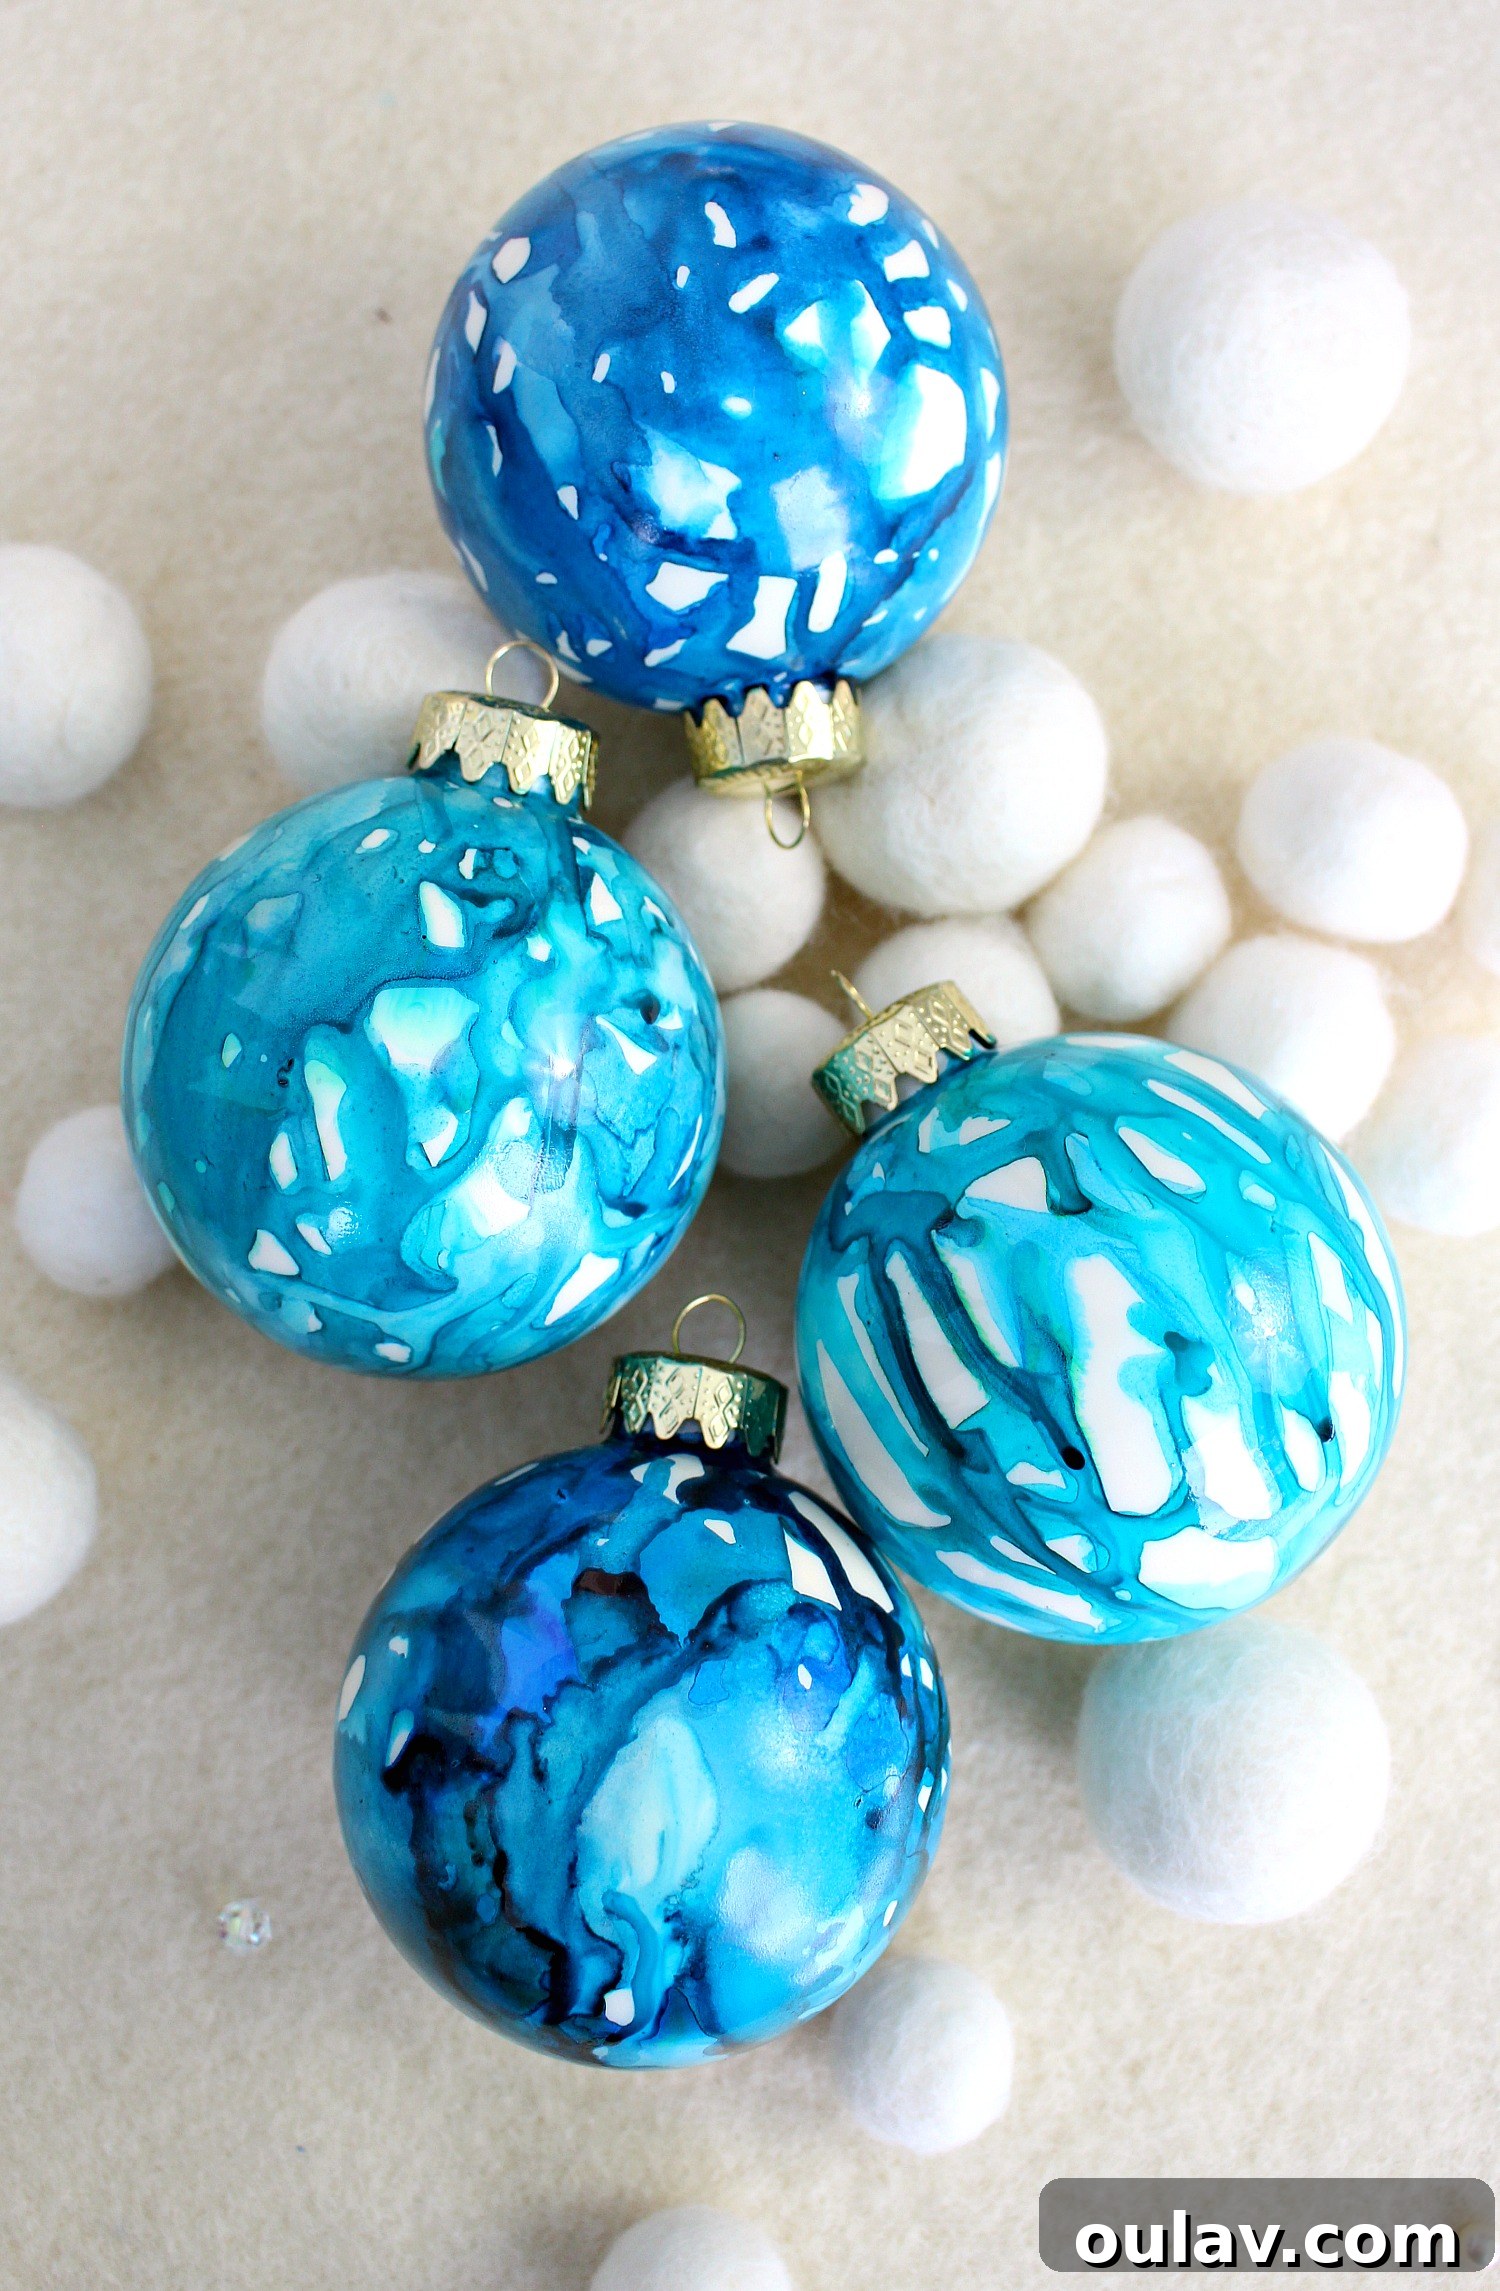
Both methods of applying alcohol ink to ornaments yield distinctly different aesthetics. While the external application offers a painted, matte, or sometimes glossy finish on opaque surfaces, applying the ink *inside* clear ornaments provides a luminous, swirling, and deeply dimensional effect that truly captures light. We’d love to hear which style resonates most with you in the comments section below! To refresh your memory, here’s a glimpse of the alcohol ink ornaments where the ink was applied to the outside. This particular technique is a fantastic project if you’re interested in learning how to paint the outside of glass ornaments to achieve a soft, diffused look:
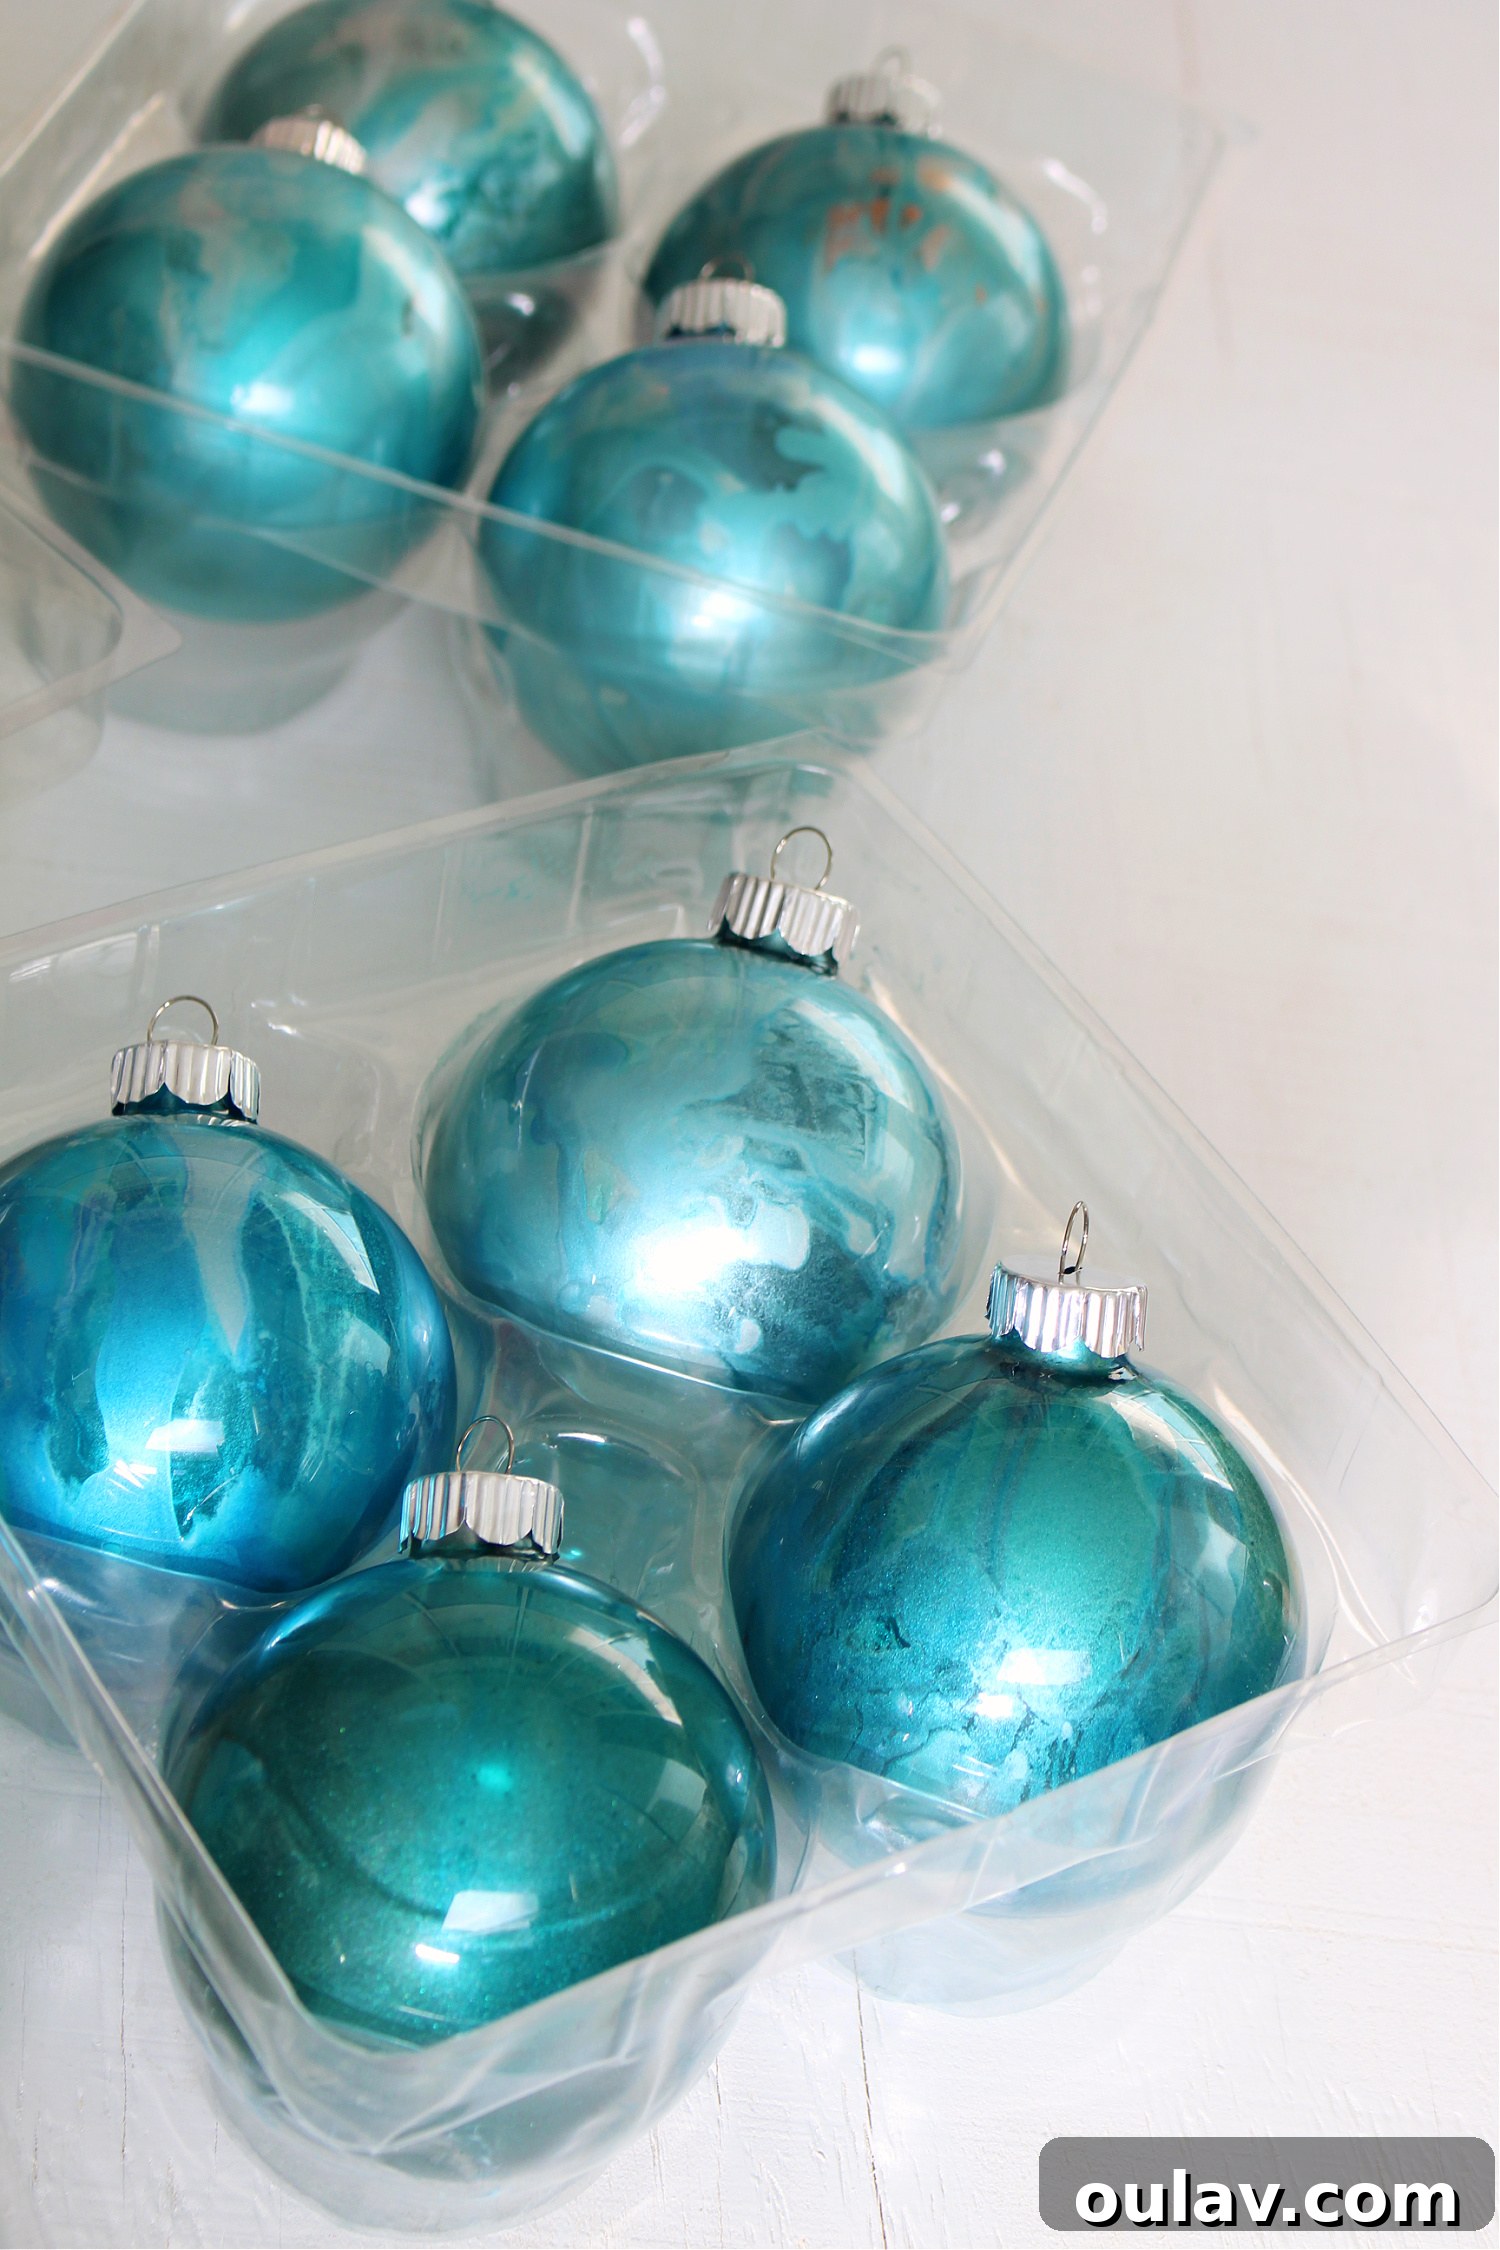
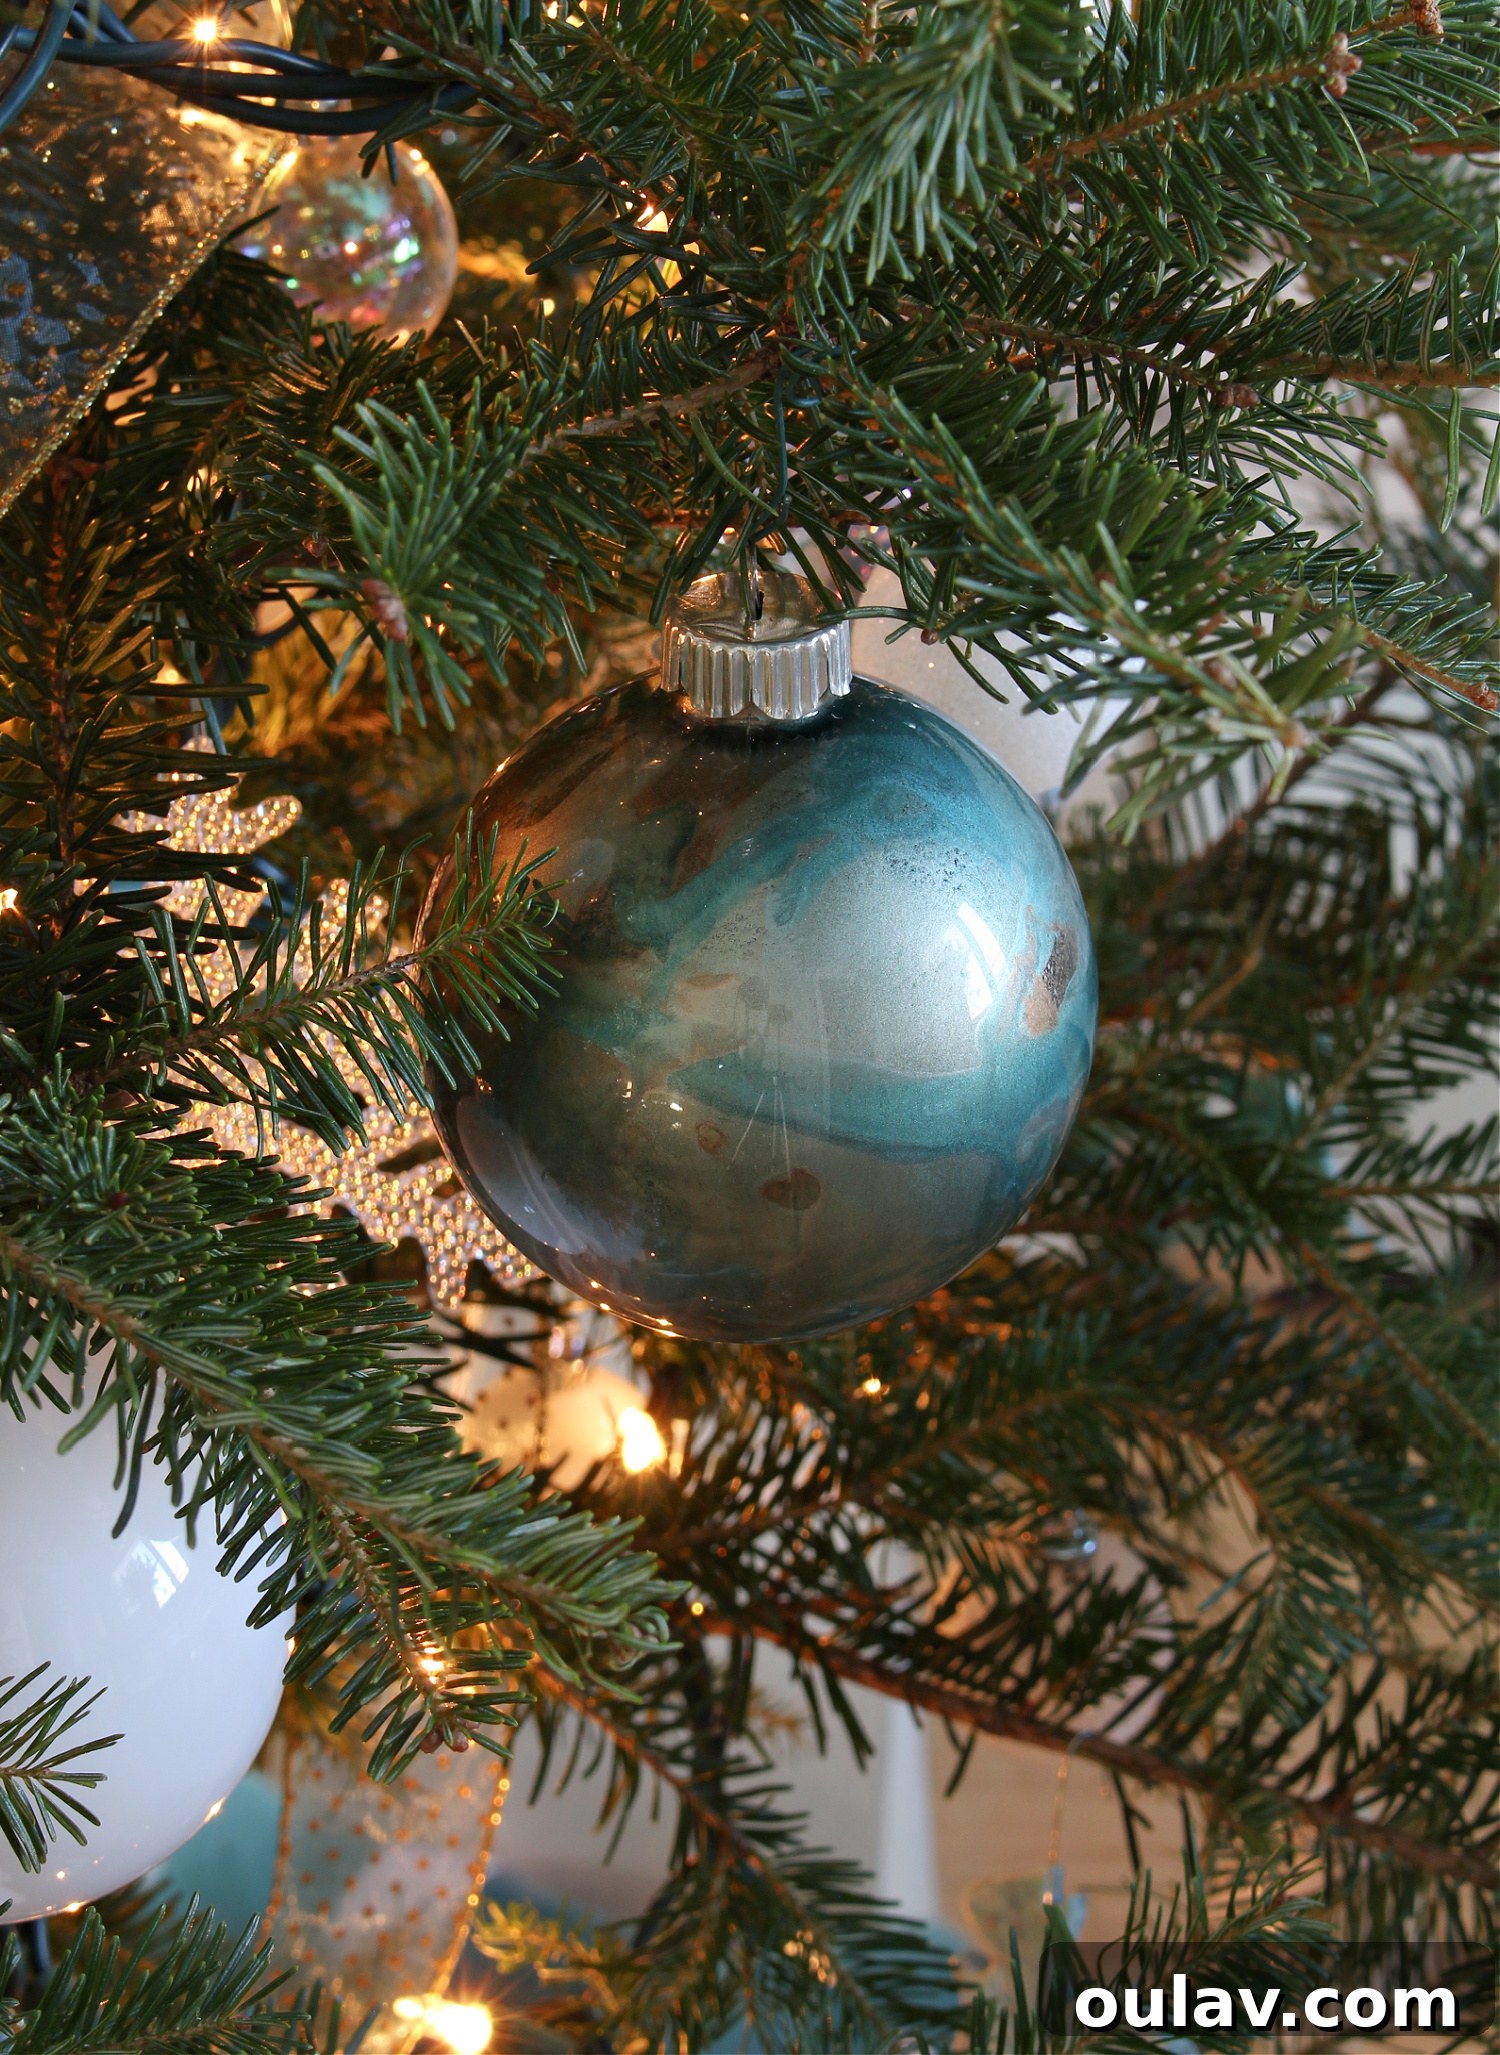
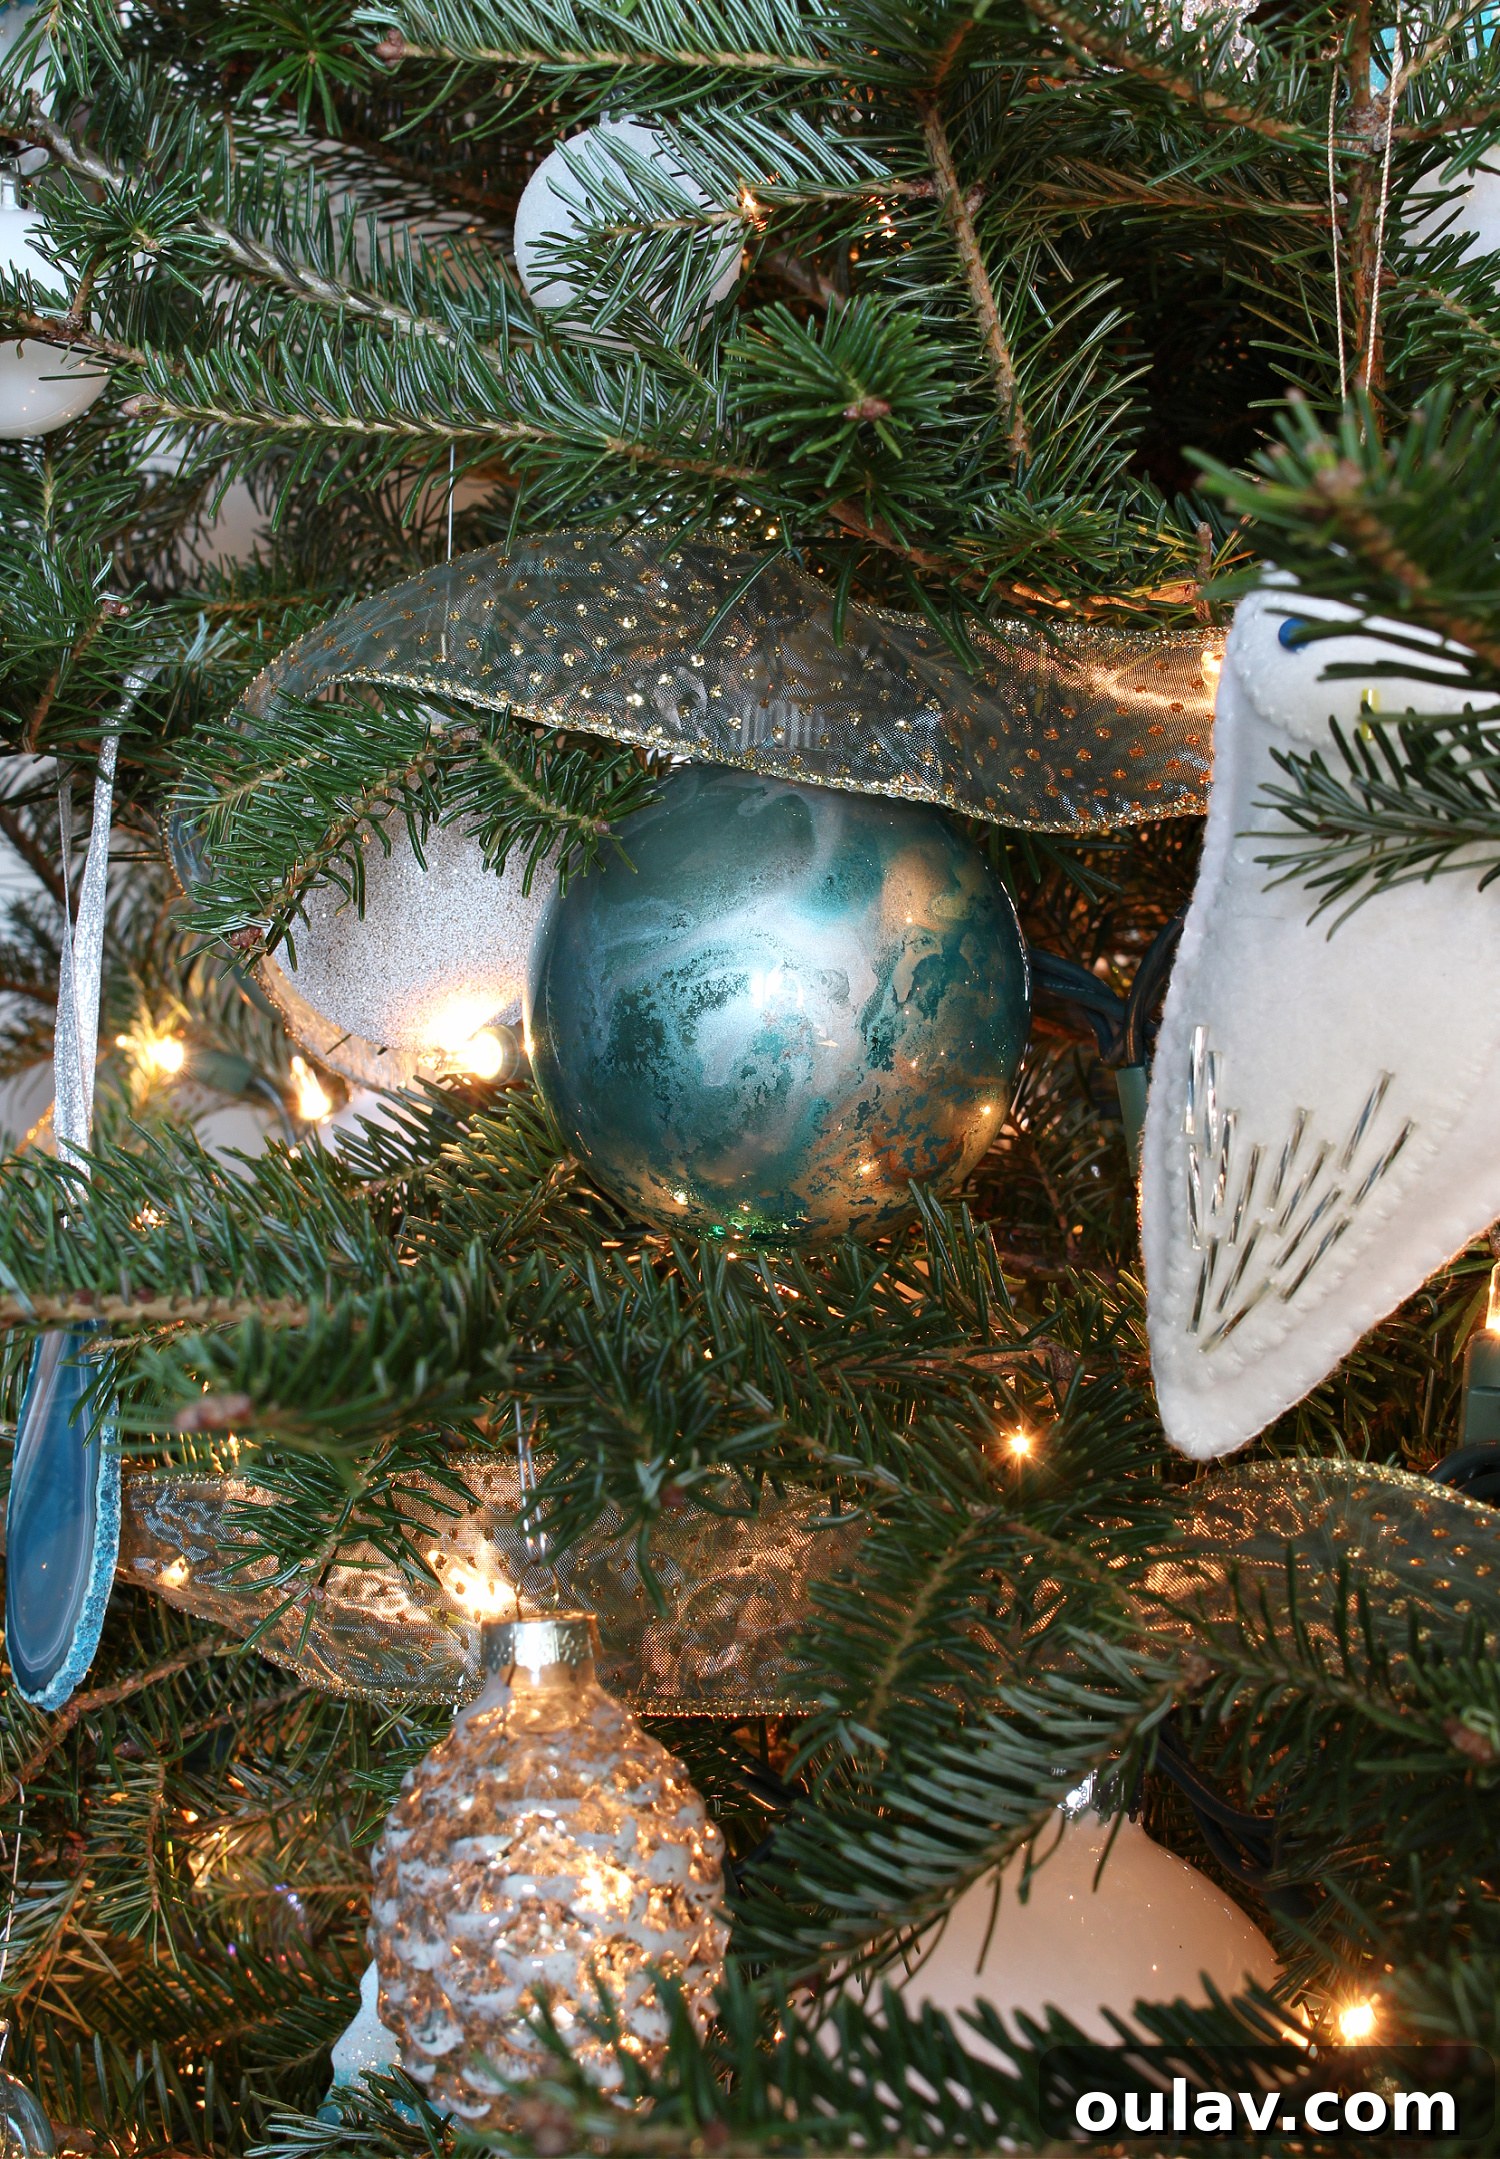
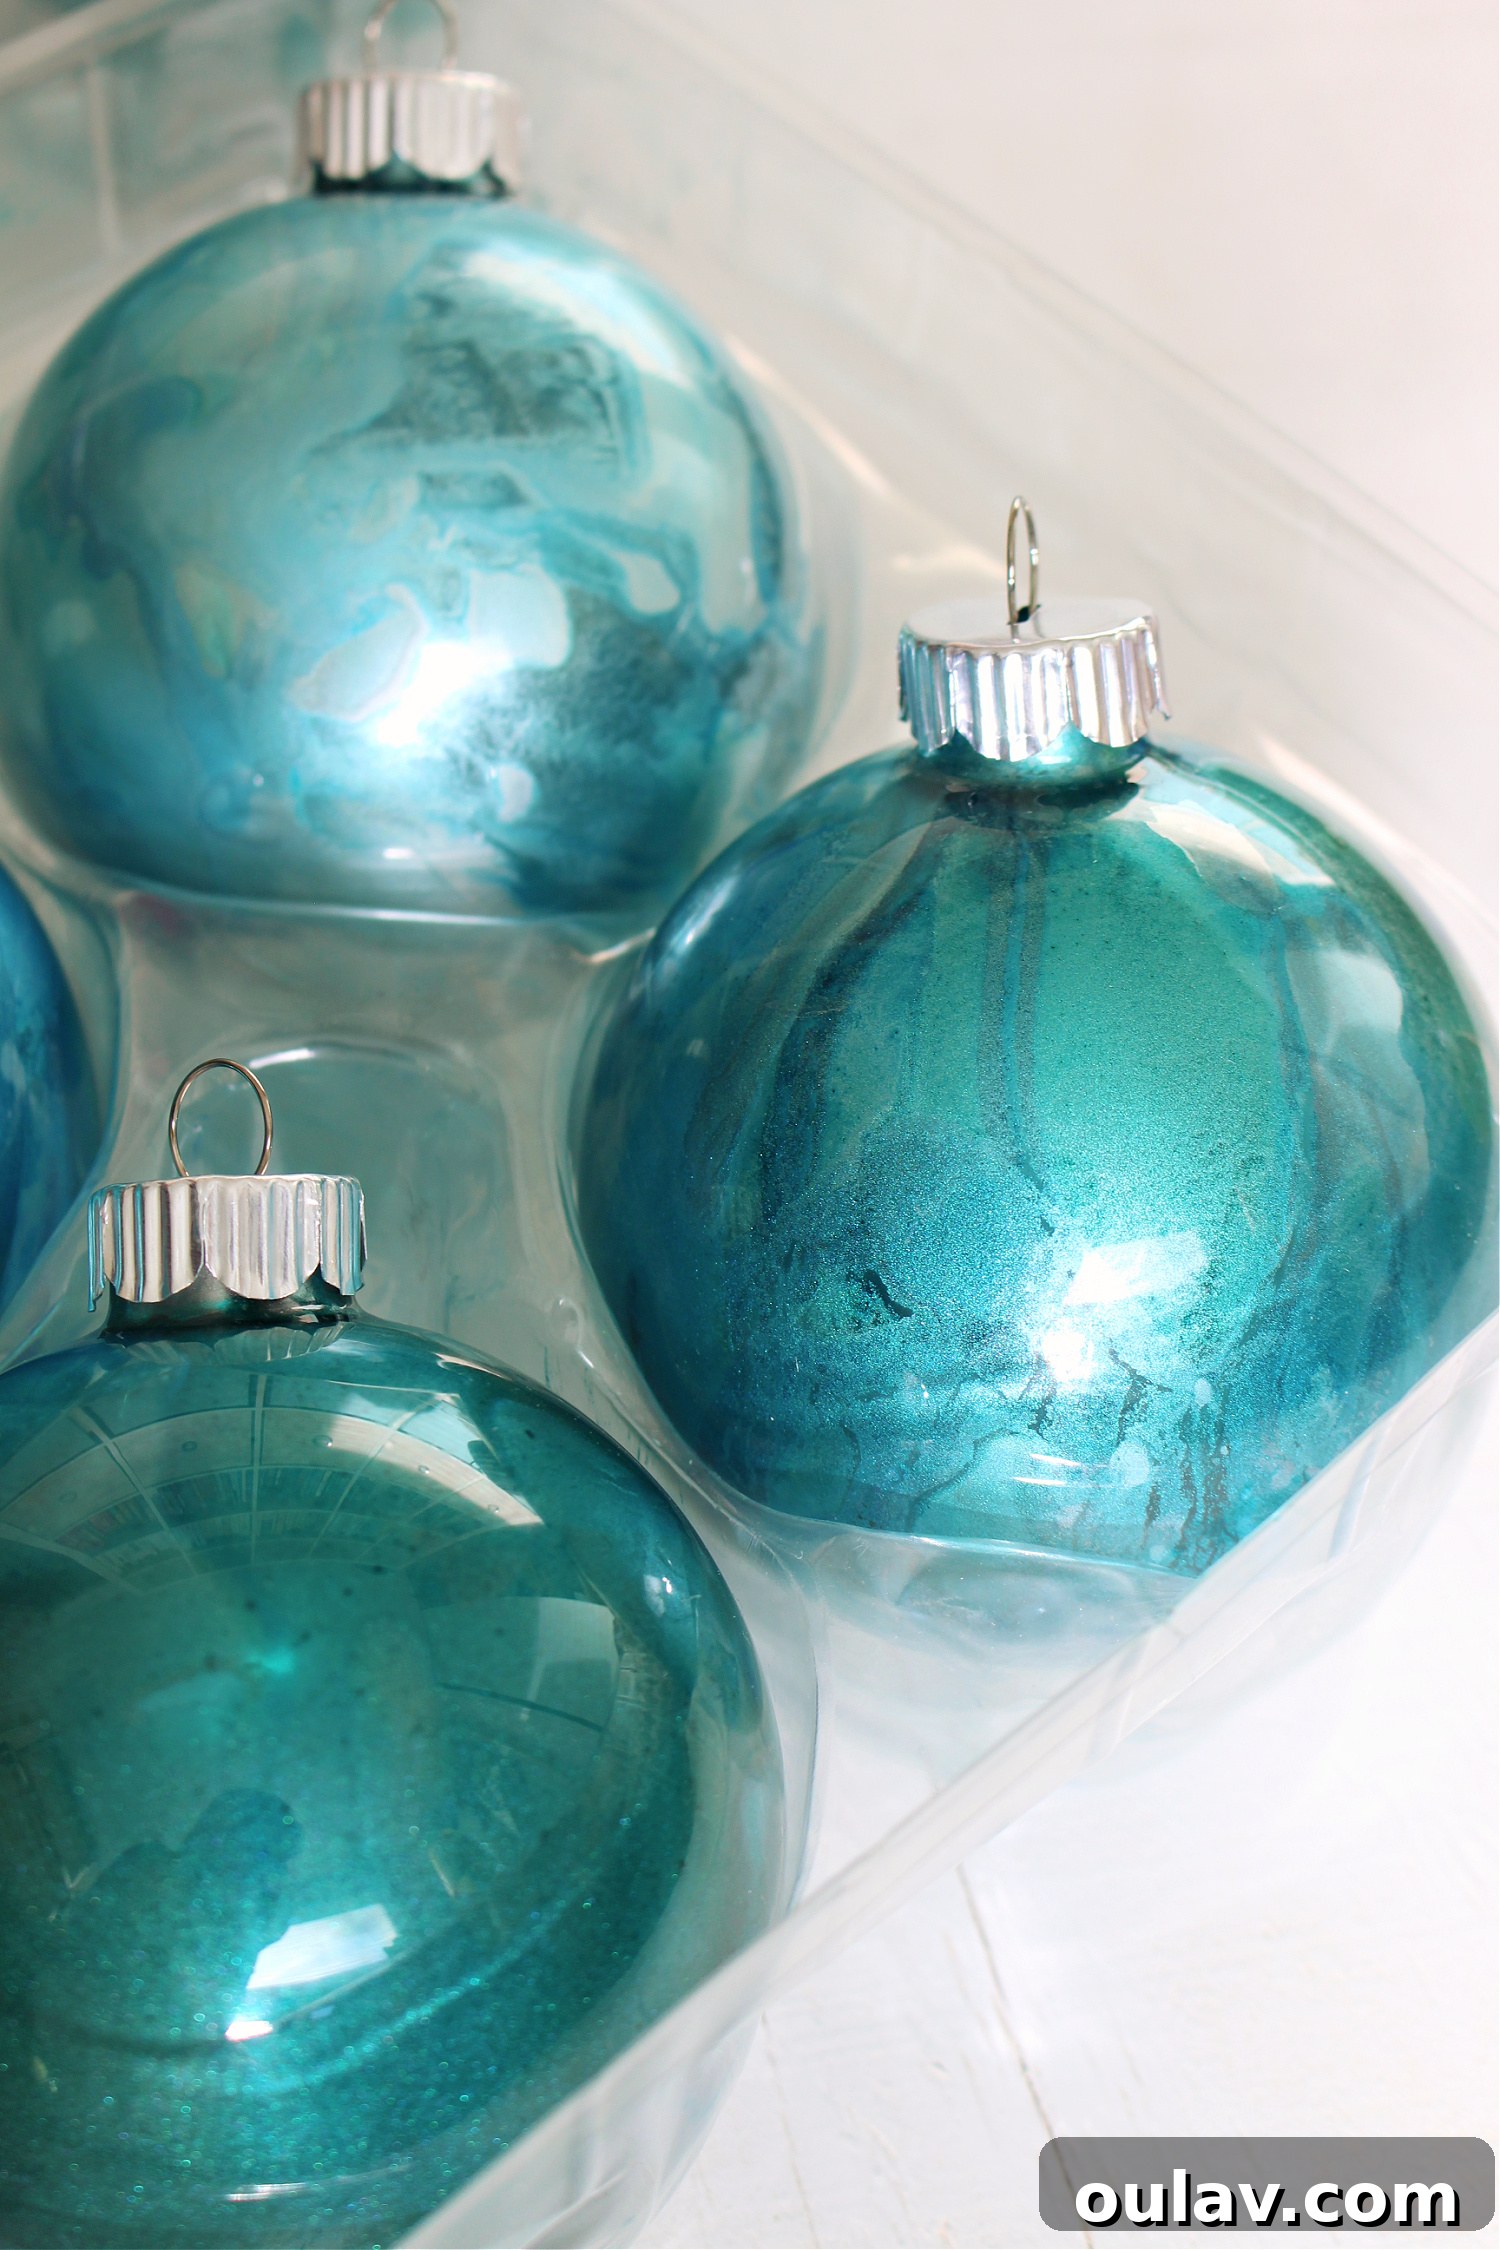
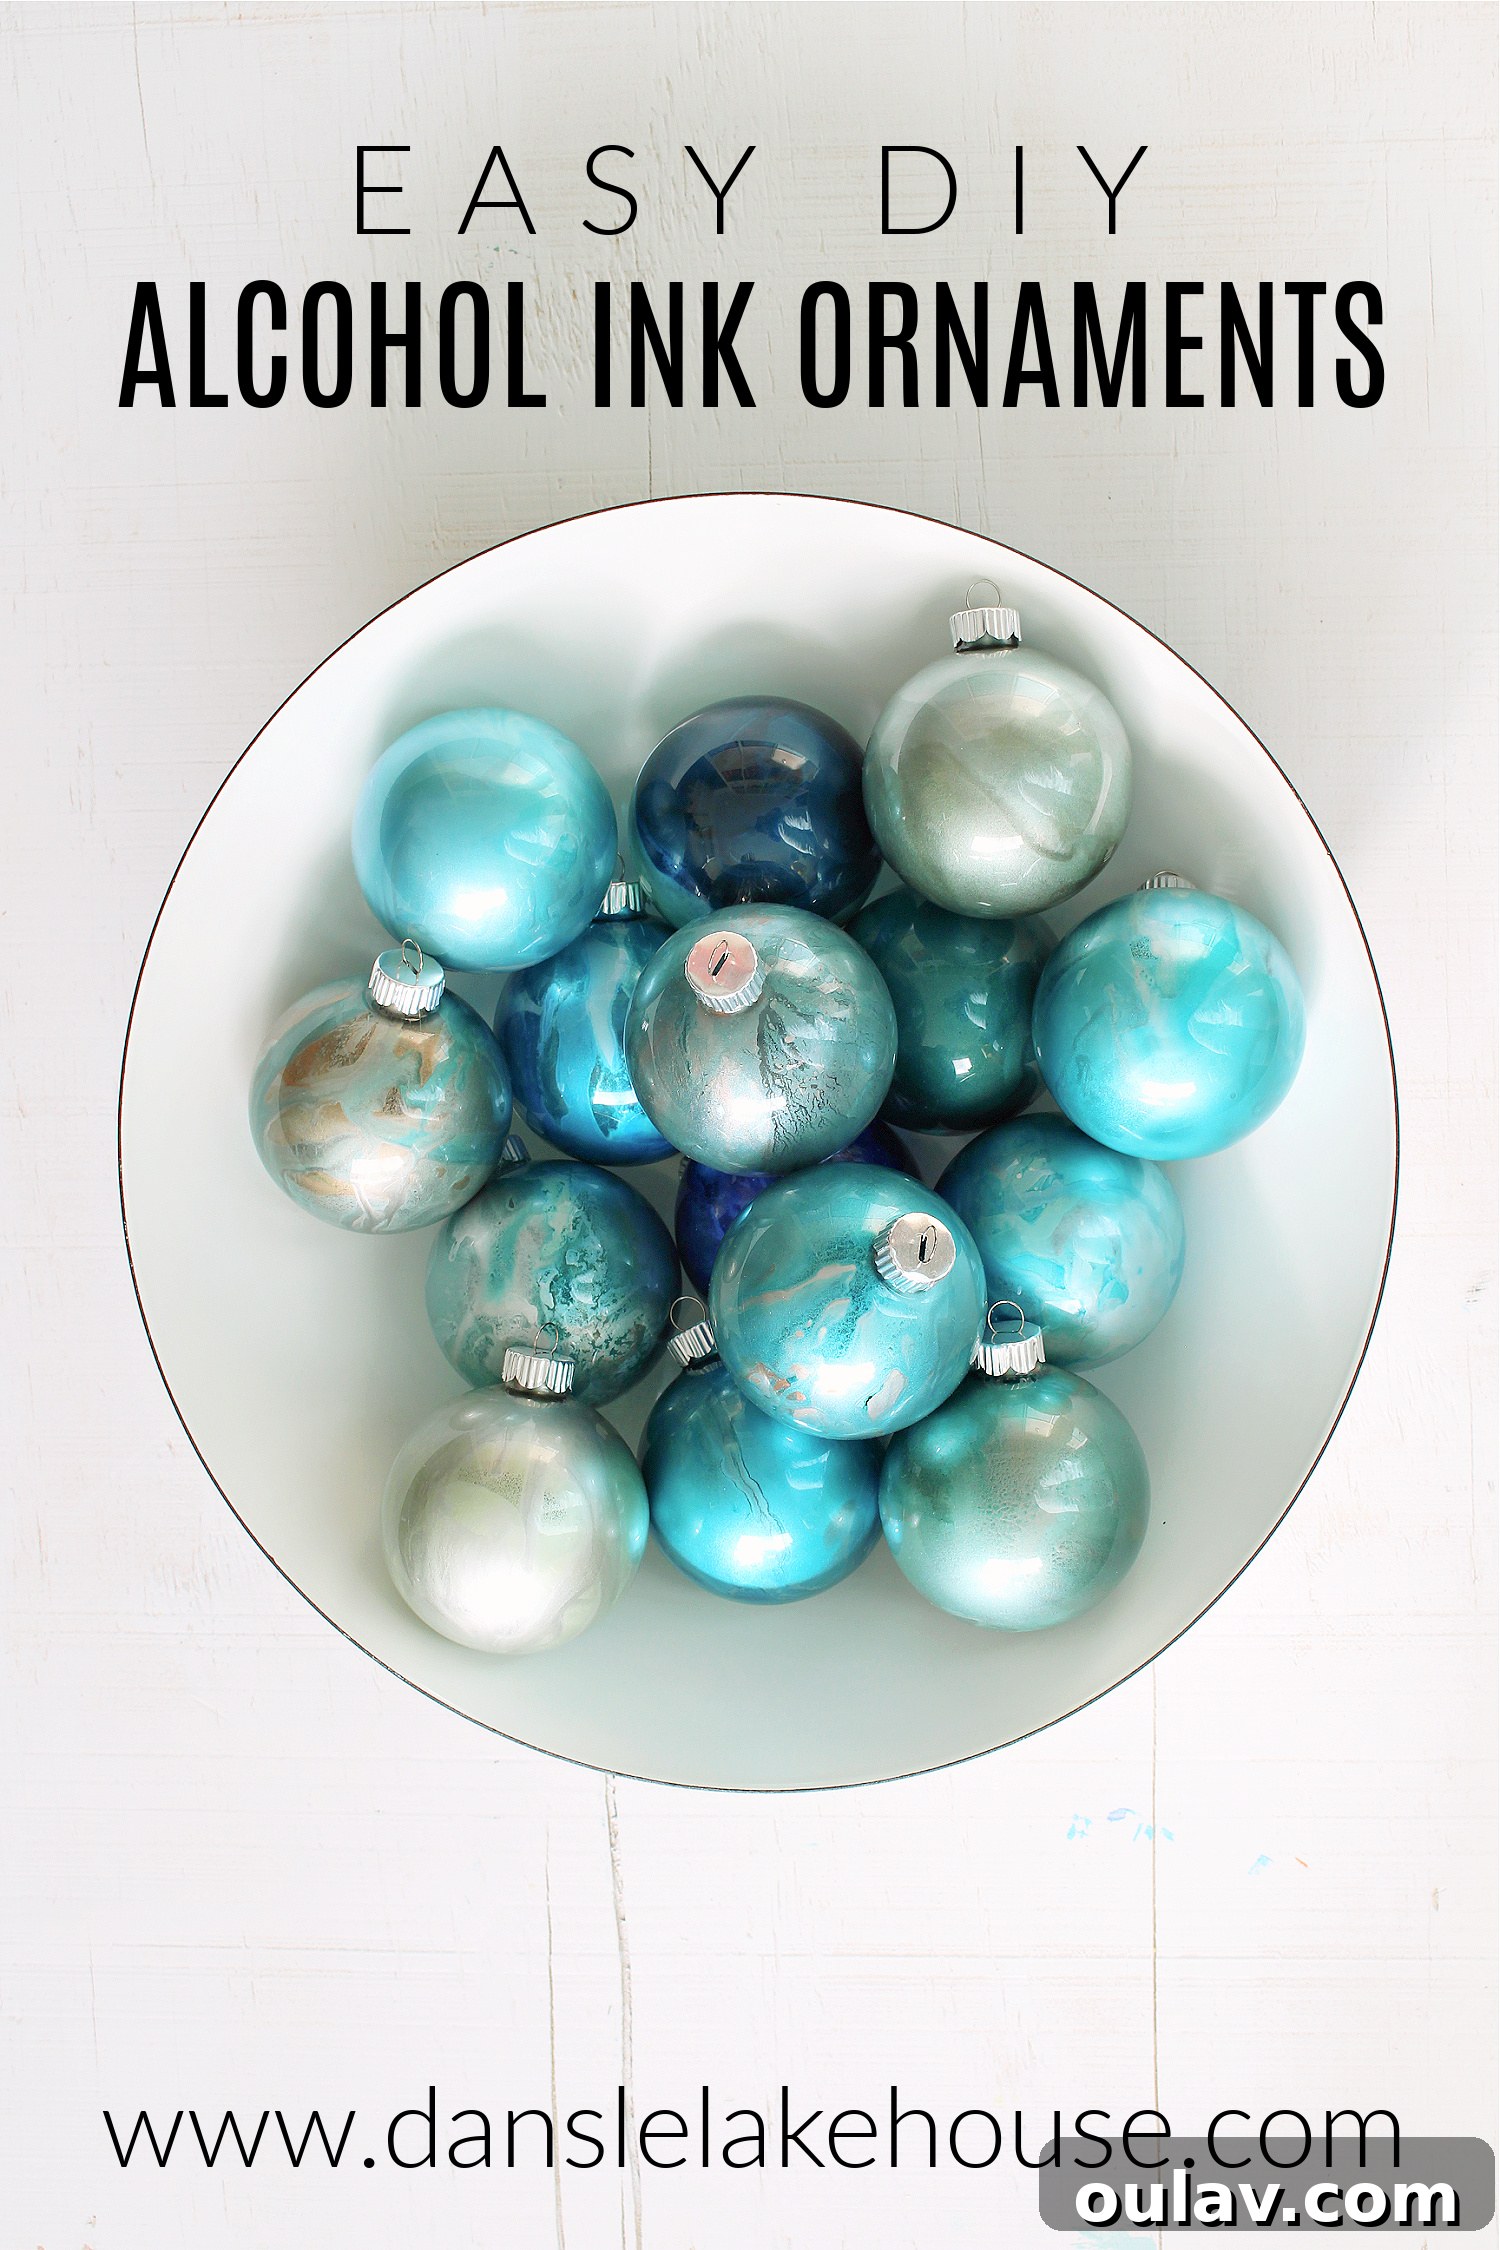
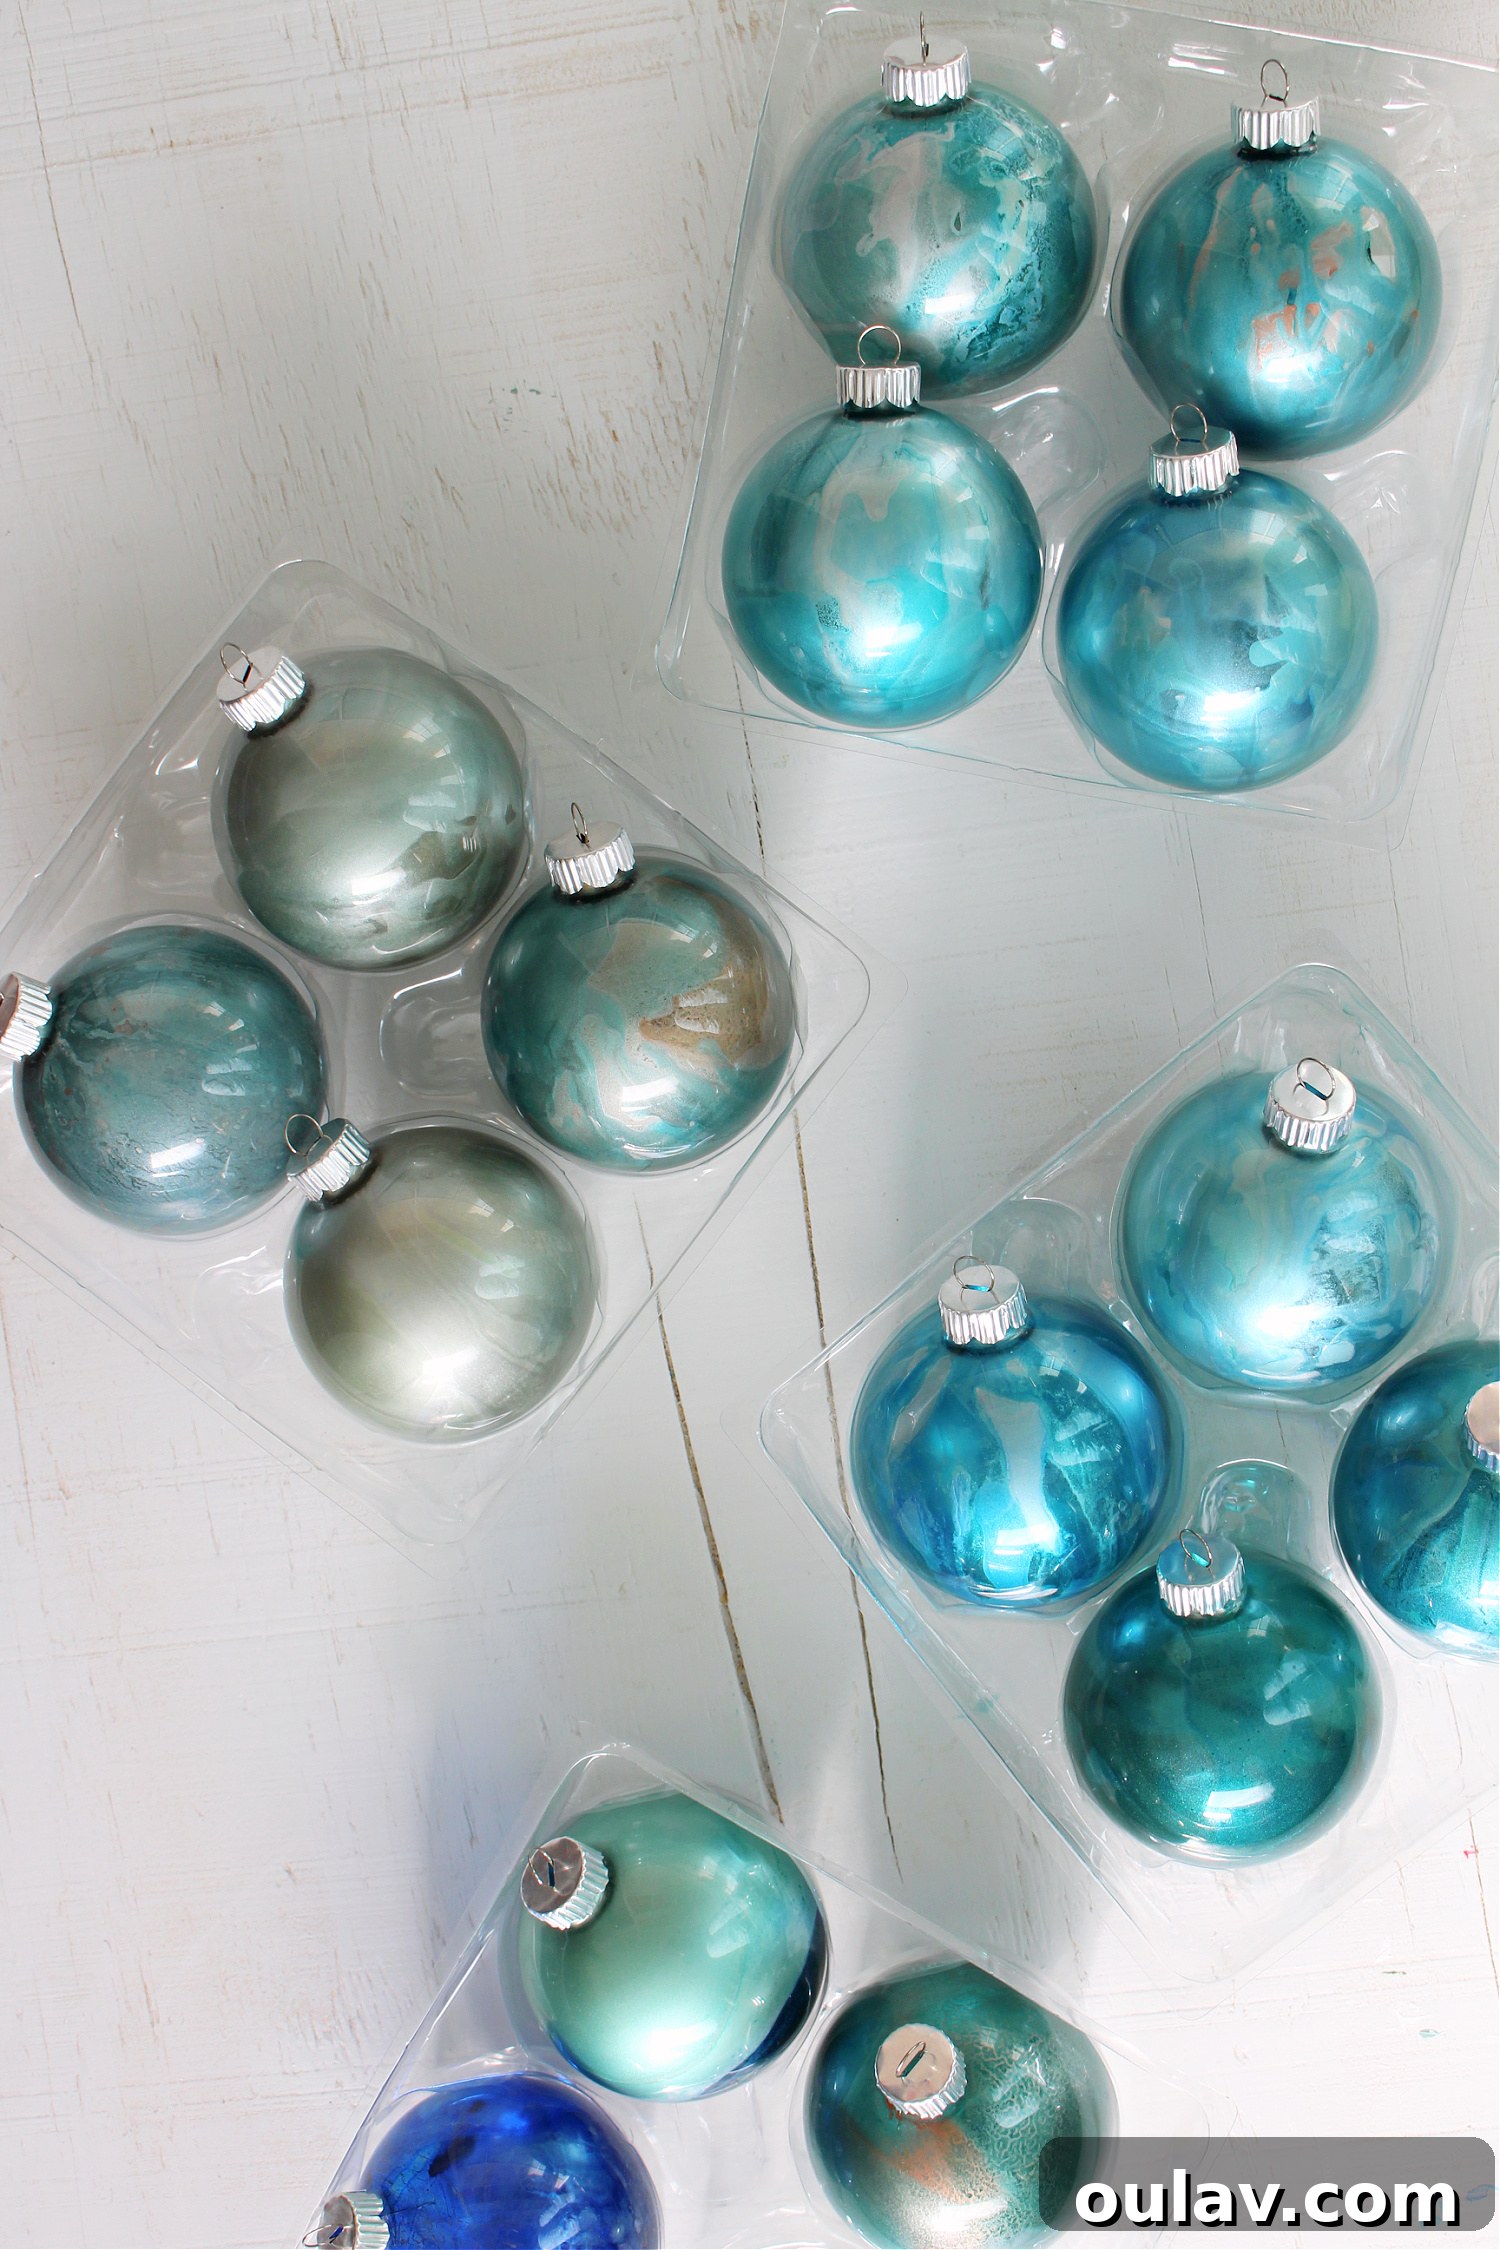
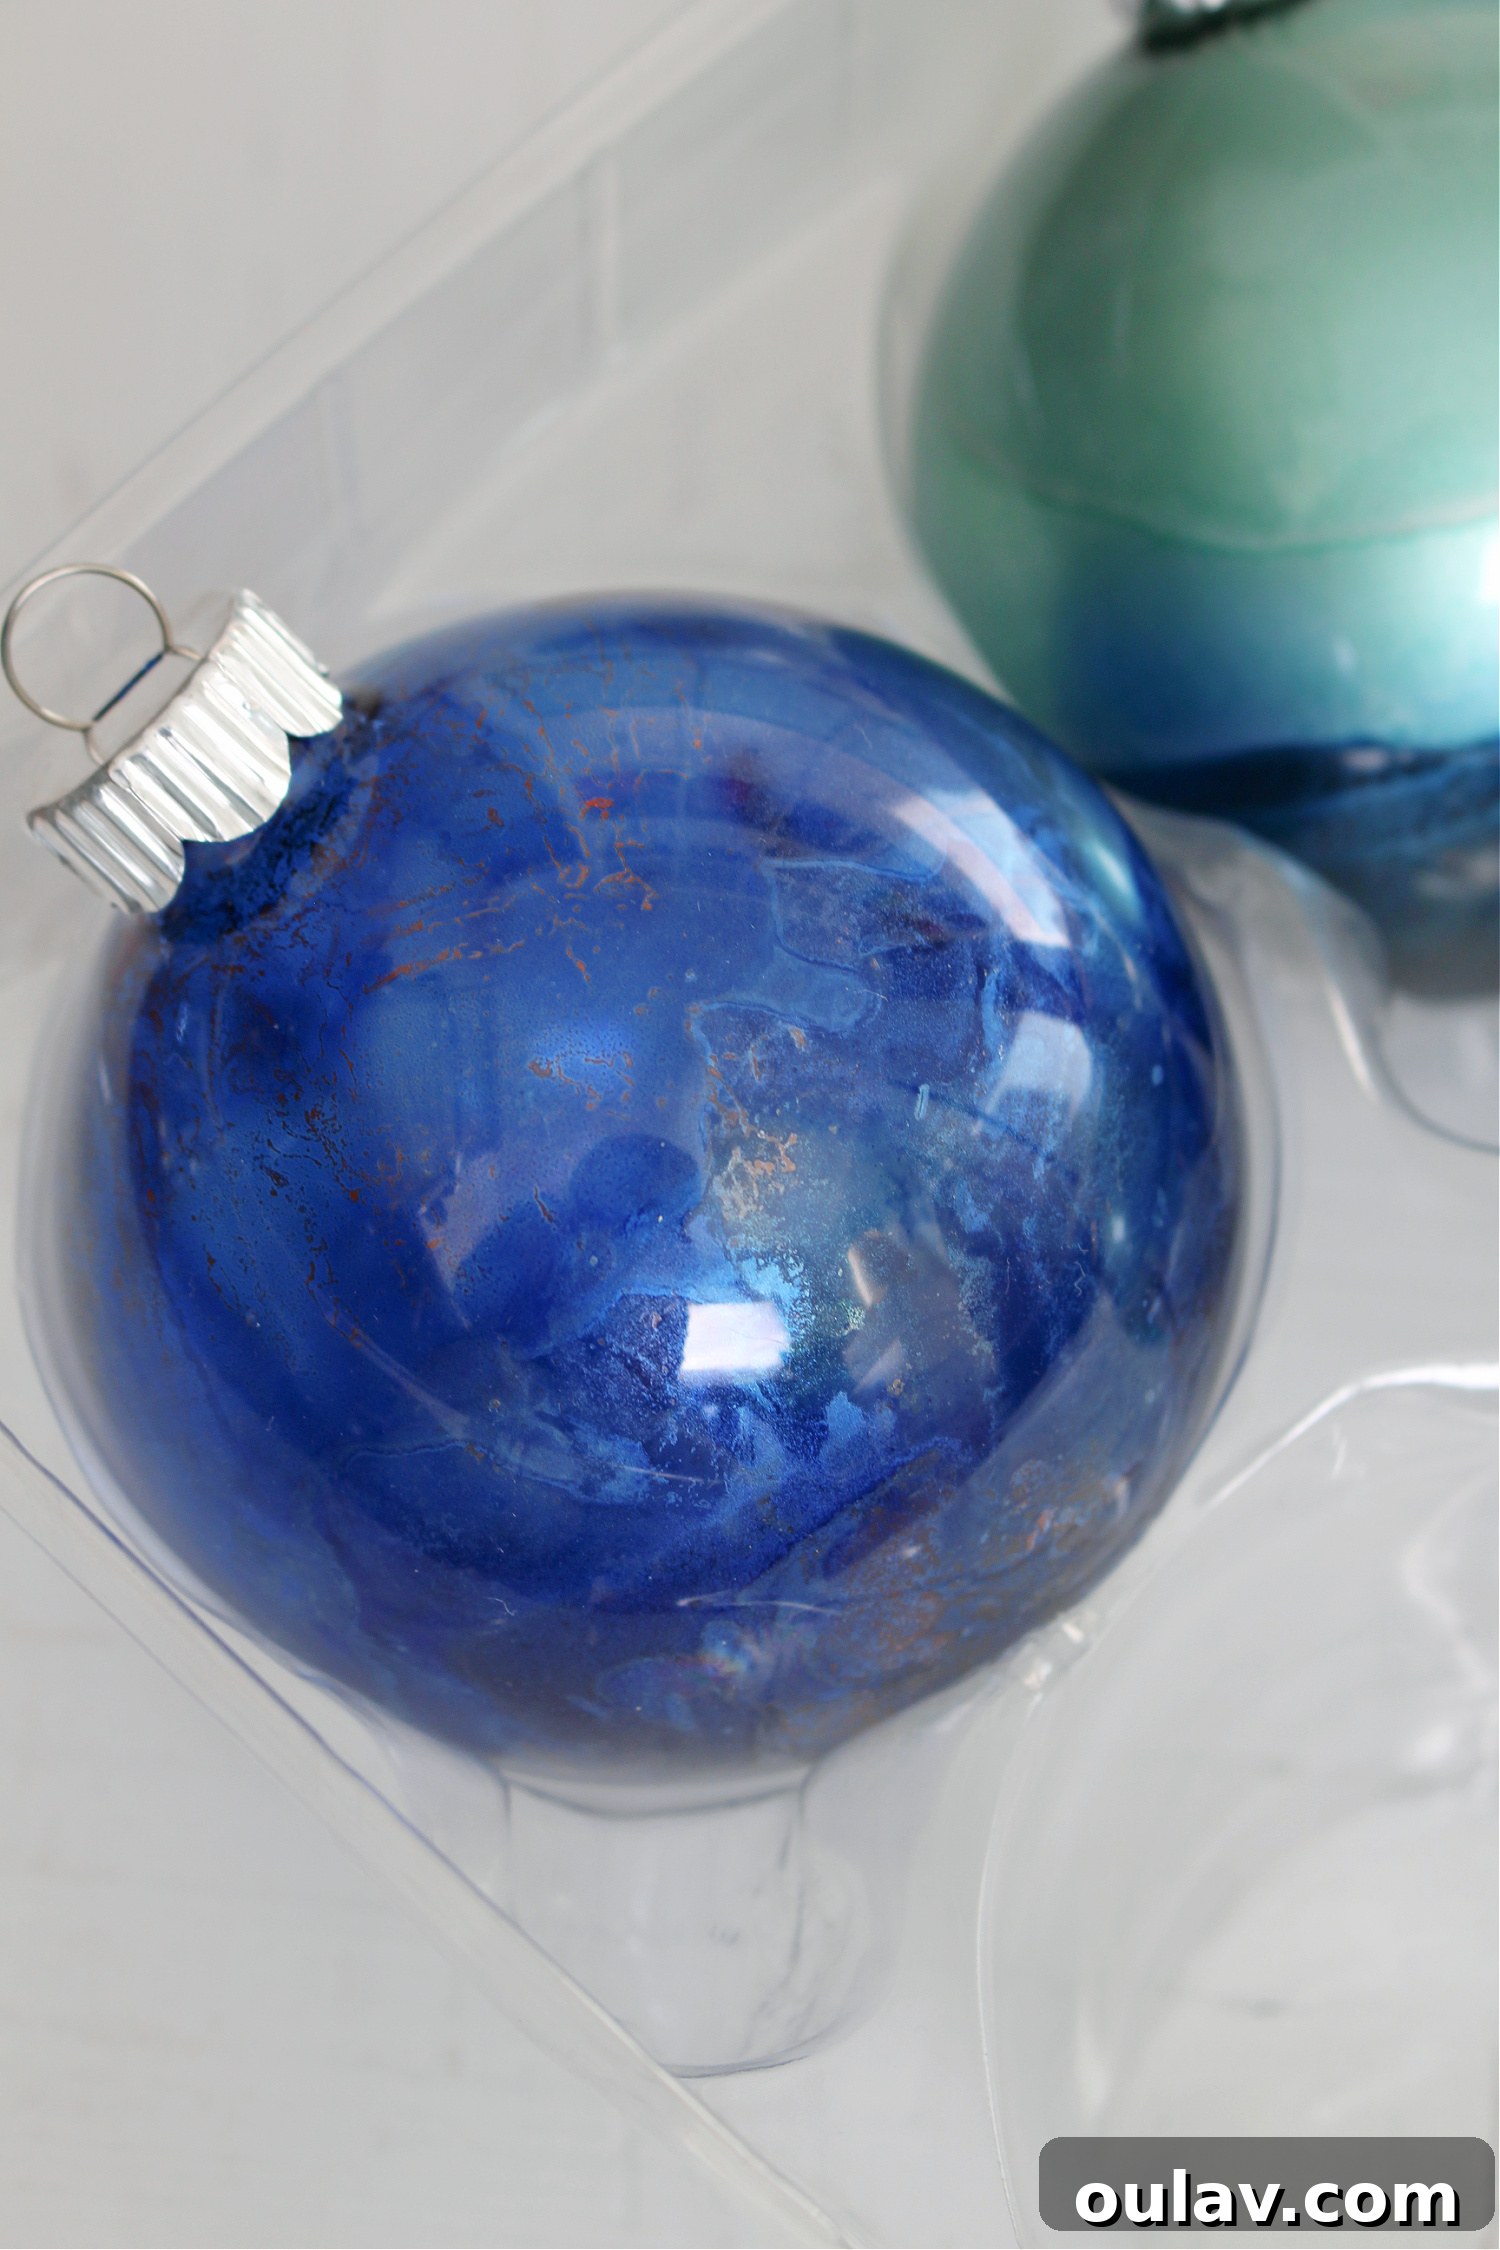
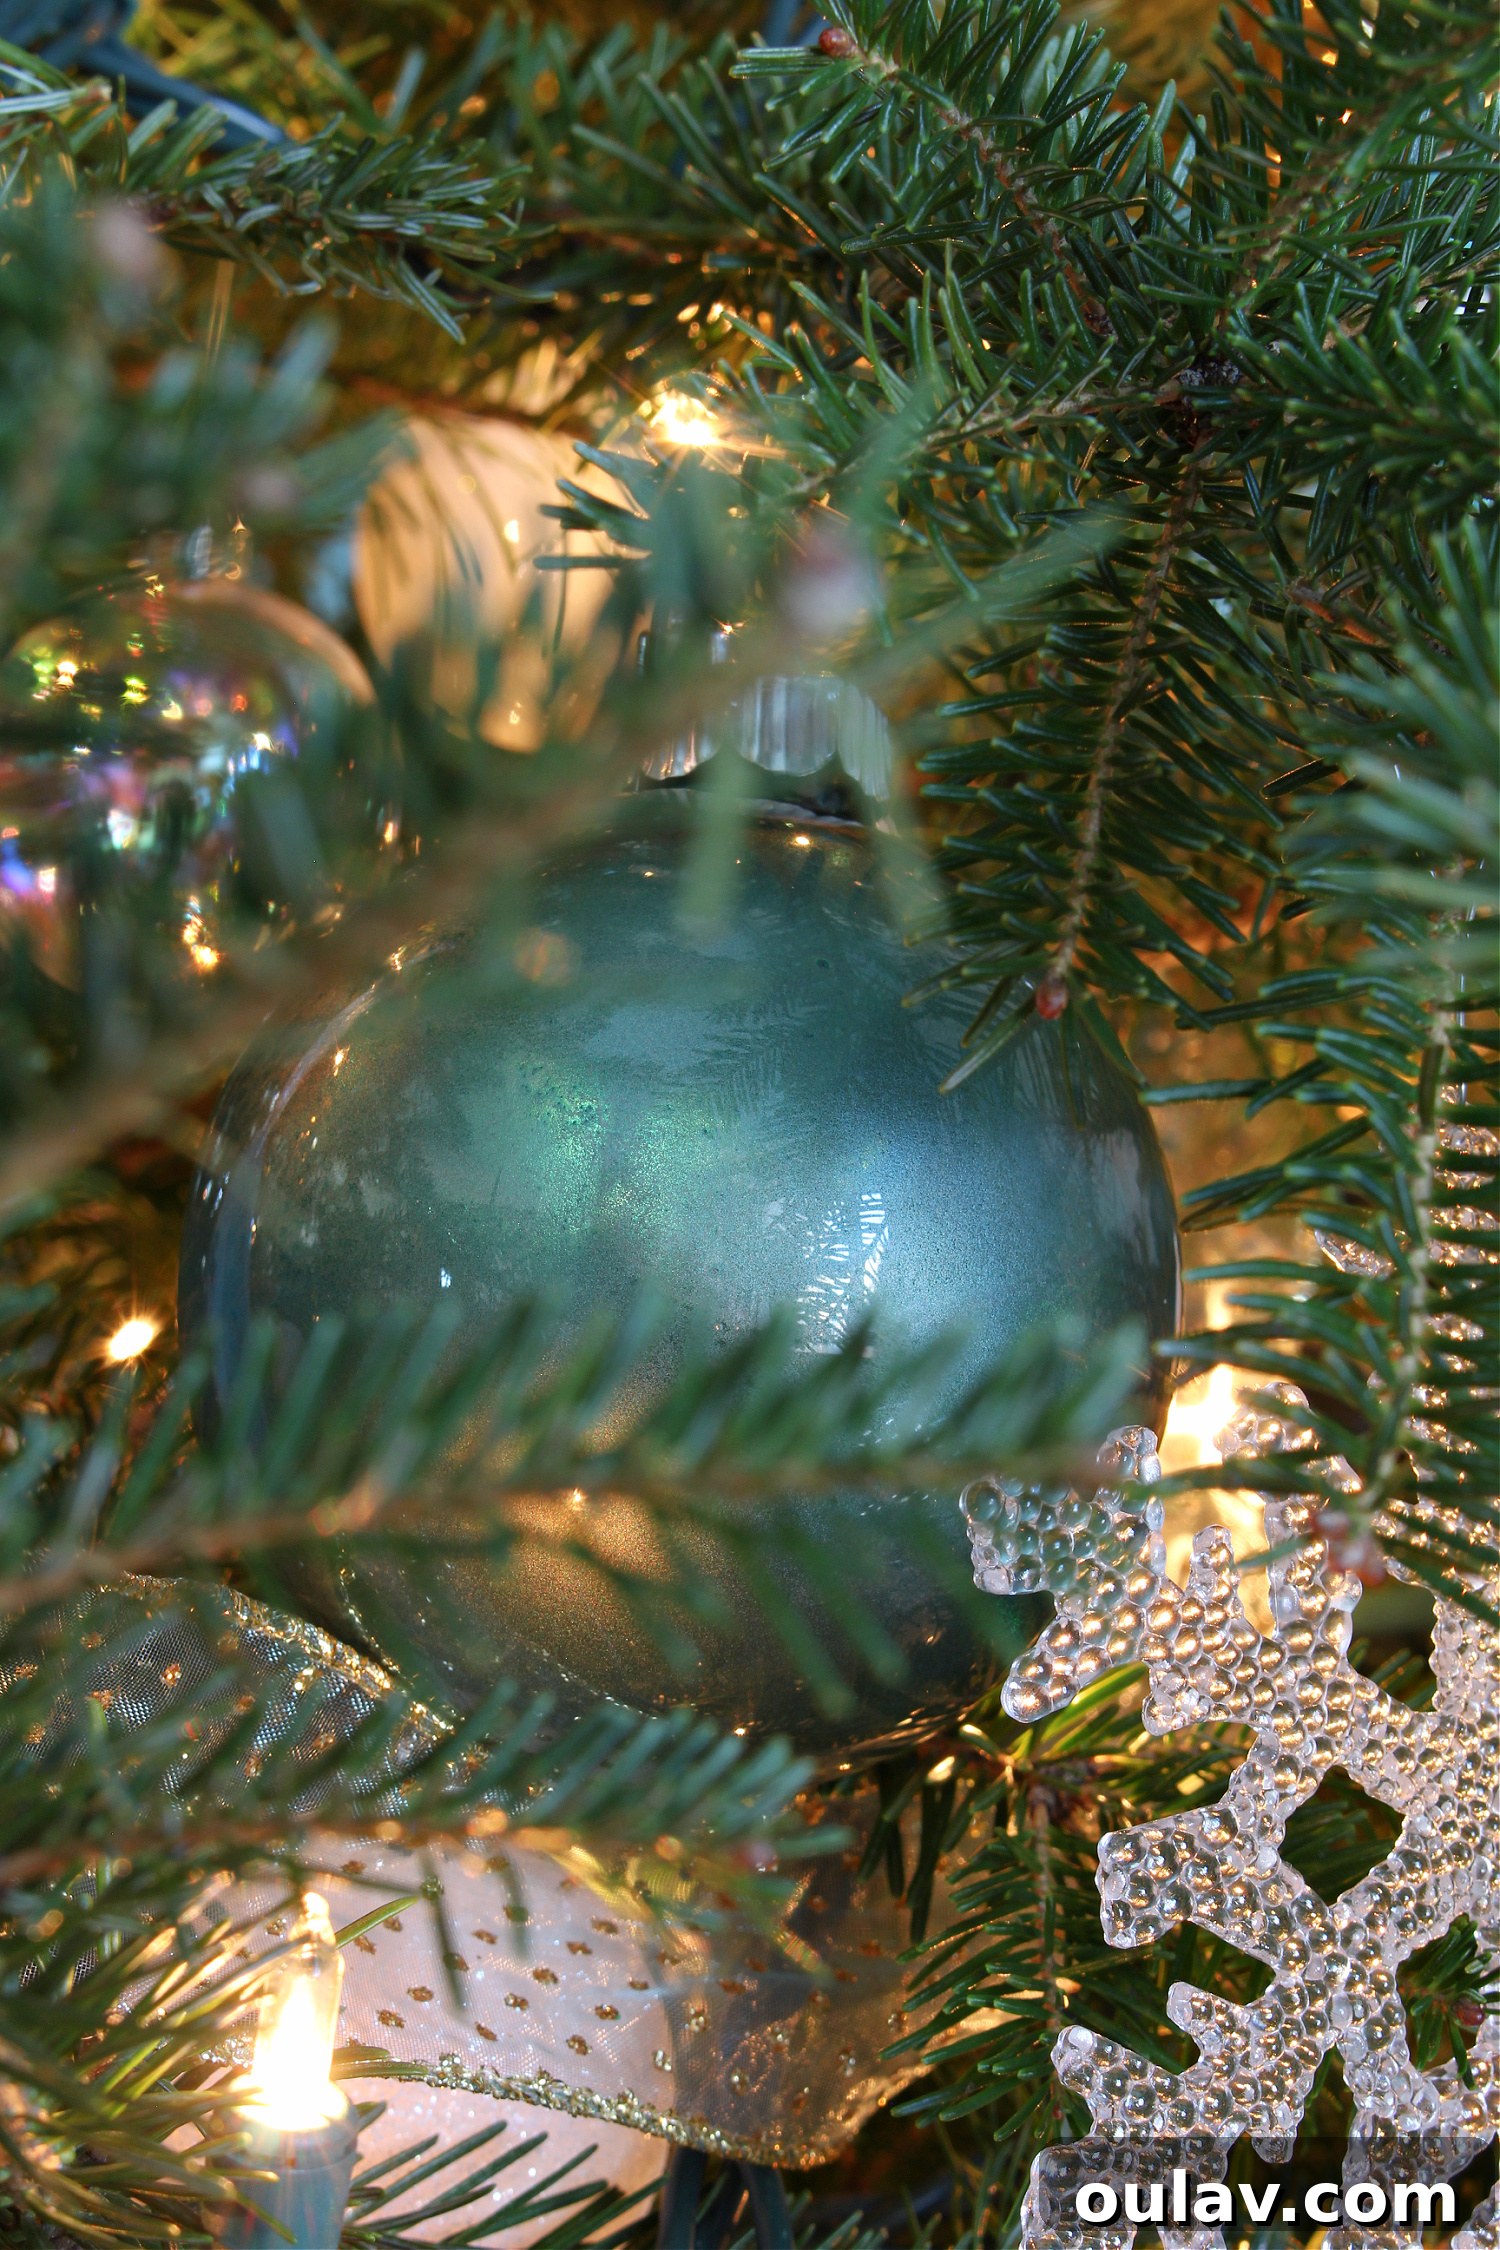
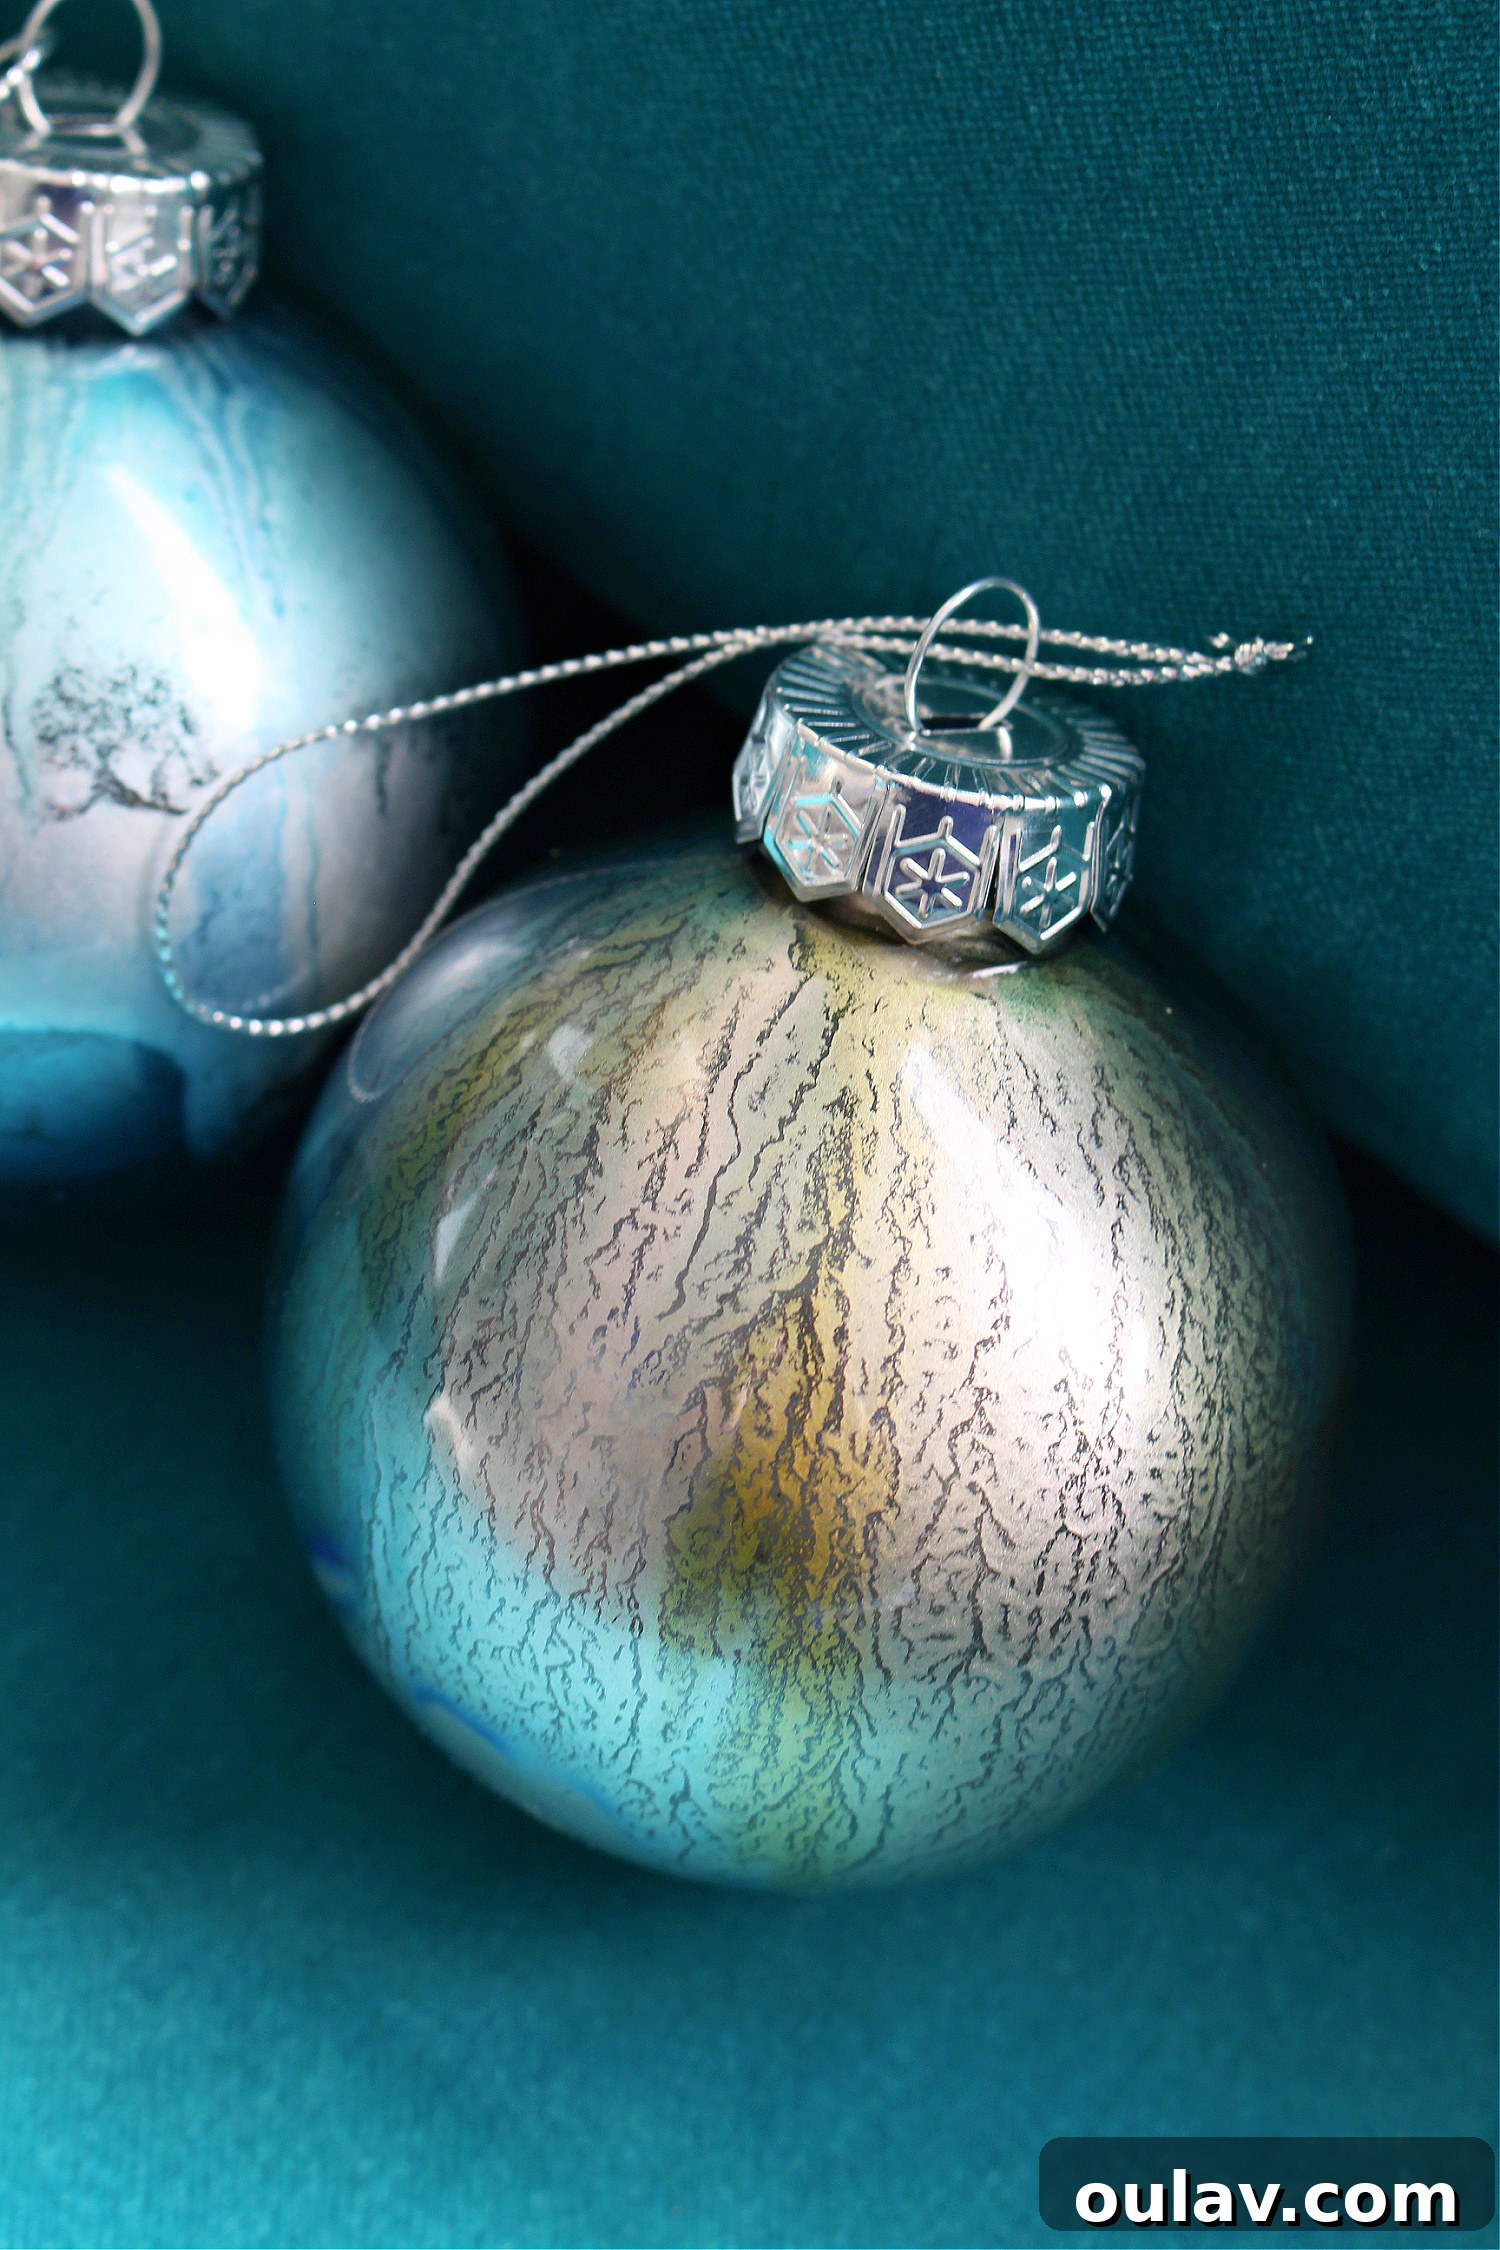
And now, behold the breathtaking beauty of the new alcohol ink ornaments, meticulously crafted with the vibrant inks swirled inside the glass or plastic. This method creates a mesmerizing depth and translucency that allows light to dance through the colors, highlighting the unique patterns:
Essential Supplies for Making Dazzling Alcohol Ink Ornaments
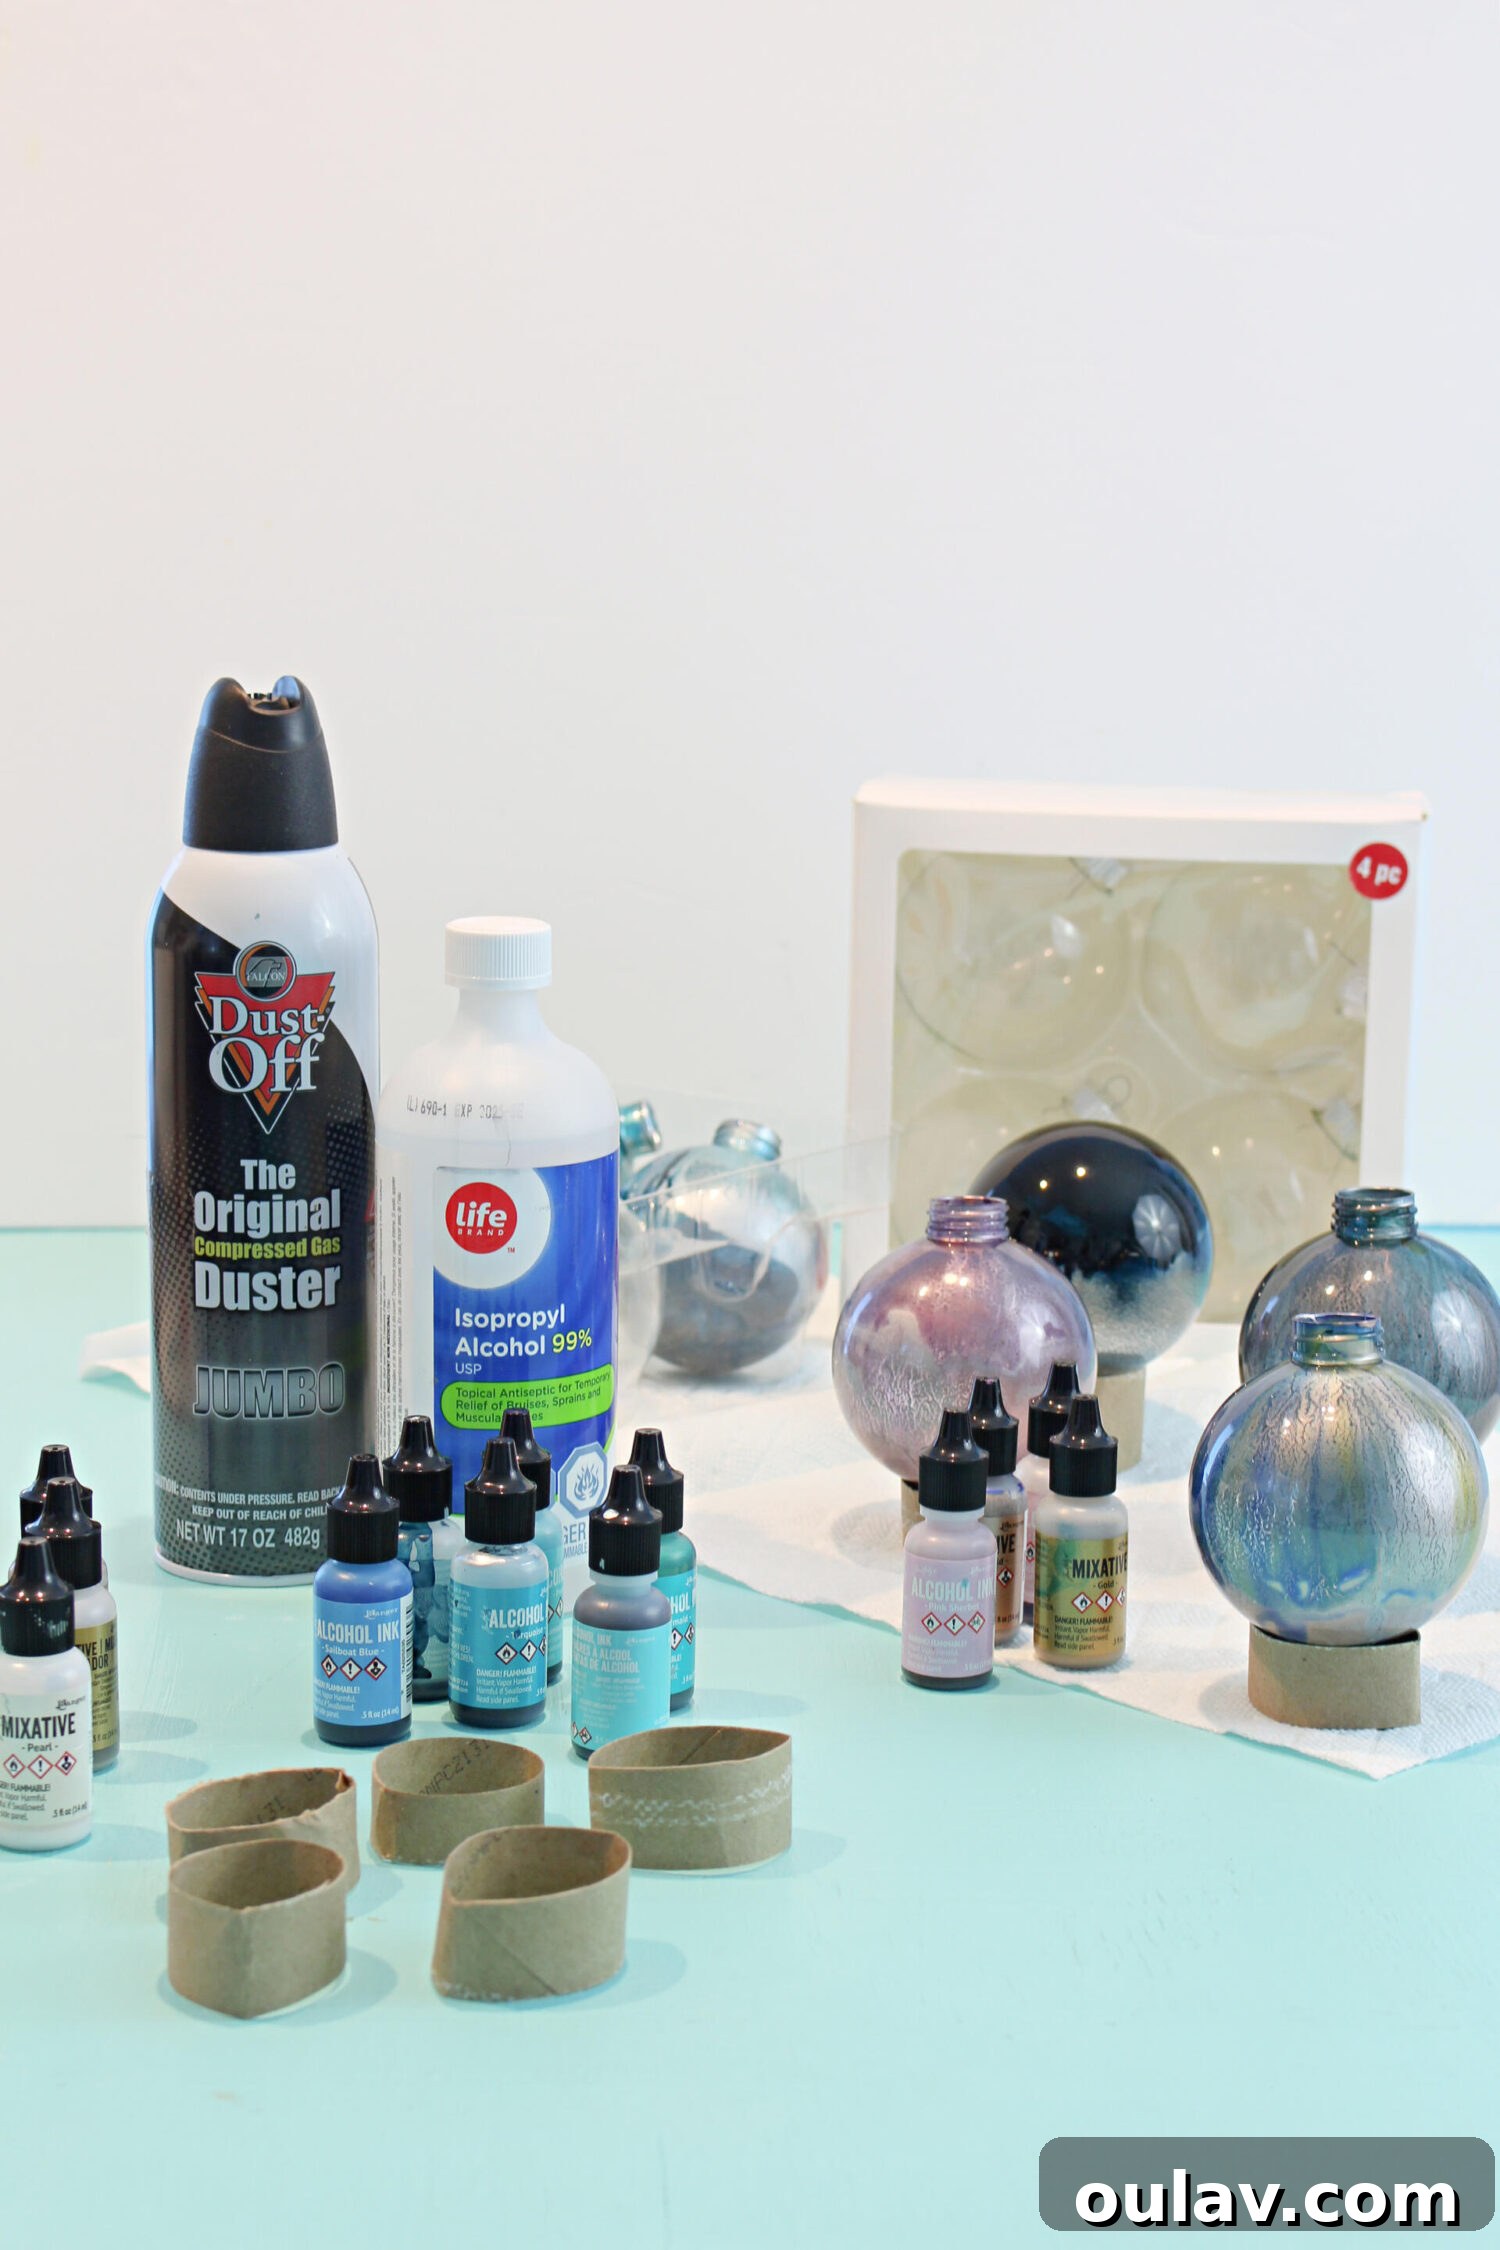
To embark on your journey of creating these captivating alcohol ink Christmas ornaments, gathering the right materials is key. Most of these items are readily available online or at your local craft store. Here’s what you’ll need to transform plain ornaments into glittering works of art:
- Clear Plastic Ornaments or Clear Glass Ornaments: The foundation of your project. Clear ornaments are essential for showcasing the internal ink designs. Plastic ornaments are a great, durable, and budget-friendly option, especially for homes with children or pets.
- Alcohol Inks: The star of the show! These highly pigmented inks create the beautiful, free-flowing designs. You can buy them in convenient three-packs to get started with a basic palette or opt for larger, more diverse sets like this one and this one for an expansive range of colors.
- Metallic Alcohol Inks (optional, but highly recommended): These add an incredible shimmer and sparkle to your ornaments, elevating them from beautiful to truly spectacular. Pearl metallic ink is a personal favorite for its elegant sheen.
- Alcohol Ink Blending Solution (optional): This solution helps dilute the inks, allowing for softer blends and more transparent effects. It can also be used to reactivate dried inks.
- Rubbing Alcohol (Isopropyl Alcohol): A versatile item! It’s excellent for cleaning up spills, diluting inks as an alternative to blending solution, and preparing your ornament surfaces.
- Alcohol Ink Air Blower (optional): This tool allows for precise control in moving the ink around inside the ornament, creating intricate patterns. If you don’t have one, a simple straw works just as well!
- Compressed Air (optional): Another effective option for blowing and manipulating ink patterns within the ornaments, offering a different kind of airflow compared to a hand blower.
- Hair Dryer (optional, but very useful): A hairdryer on a cool or low-heat setting can significantly speed up the drying process between ink layers, preventing colors from mixing completely and helping to “lock in” designs. It also helps move inks.
- Garbage Bag / Drop Cloth: Essential for protecting your work surface from ink stains. Alcohol inks are permanent once dry, so preparation is key.
- Rubber Gloves (optional, but advised): While alcohol inks can be removed from skin with rubbing alcohol, wearing gloves prevents staining and keeps your hands clean throughout the crafting process.
- Cardboard Tube from Paper Towel or Toilet Paper, cut into slices: An ingenious, free solution for creating stable stands to hold your ornaments upright while they dry.
- Q-tips: Perfect for precise cleanup of any stray ink around the ornament’s opening or on the exterior.
How to Craft Stunning Alcohol Ink Ornaments: A Quick Overview
Creating these vibrant ornaments involves a simple, yet artistic process of layering and swirling. Here’s a brief summary of the steps before we dive into the detailed tutorial:
- Gently remove the cap from your clear ornament (glass or plastic) and set it aside safely.
- Pour a few drops of your first alcohol ink color into the ornament.
- Begin swirling the ornament to spread the ink, using compressed air, an air blower, or a straw to guide the ink and create unique designs.
- Allow the first layer of ink to dry approximately 90%. Using a hairdryer on a low setting can accelerate this; otherwise, subsequent colors may blend completely.
- Introduce a second color of alcohol ink, swirling it and shaping it as desired. Let it mostly dry once you’re pleased with the design.
- Continue layering colors, always allowing each layer to dry significantly in between. Don’t forget to incorporate metallic inks for added shimmer and visual interest!
- Keep rotating the ornament and using the hairdryer to ensure the ink dries thoroughly until you observe no further movement inside.
- Place the ornament on a makeshift stand (like a cardboard tube slice) to fully air dry.
- Carefully remove any excess ink from the opening or exterior of the ornament using rubbing alcohol and a Q-tip.
- Allow the ornament to dry completely overnight before reattaching the cap.
This quick guide gives you the essence of how to make alcohol ink ornaments. Now, let’s delve into a more comprehensive, step-by-step tutorial with accompanying photos to guide you through every detail of this enchanting crafting process.
Detailed Tutorial: Unleashing Creativity with Alcohol Ink Ornaments
Get ready to transform simple ornaments into breathtaking works of art. Follow these detailed steps to create your own collection of unique alcohol ink ornaments.
Step 1: Set Up Your Creative Workspace
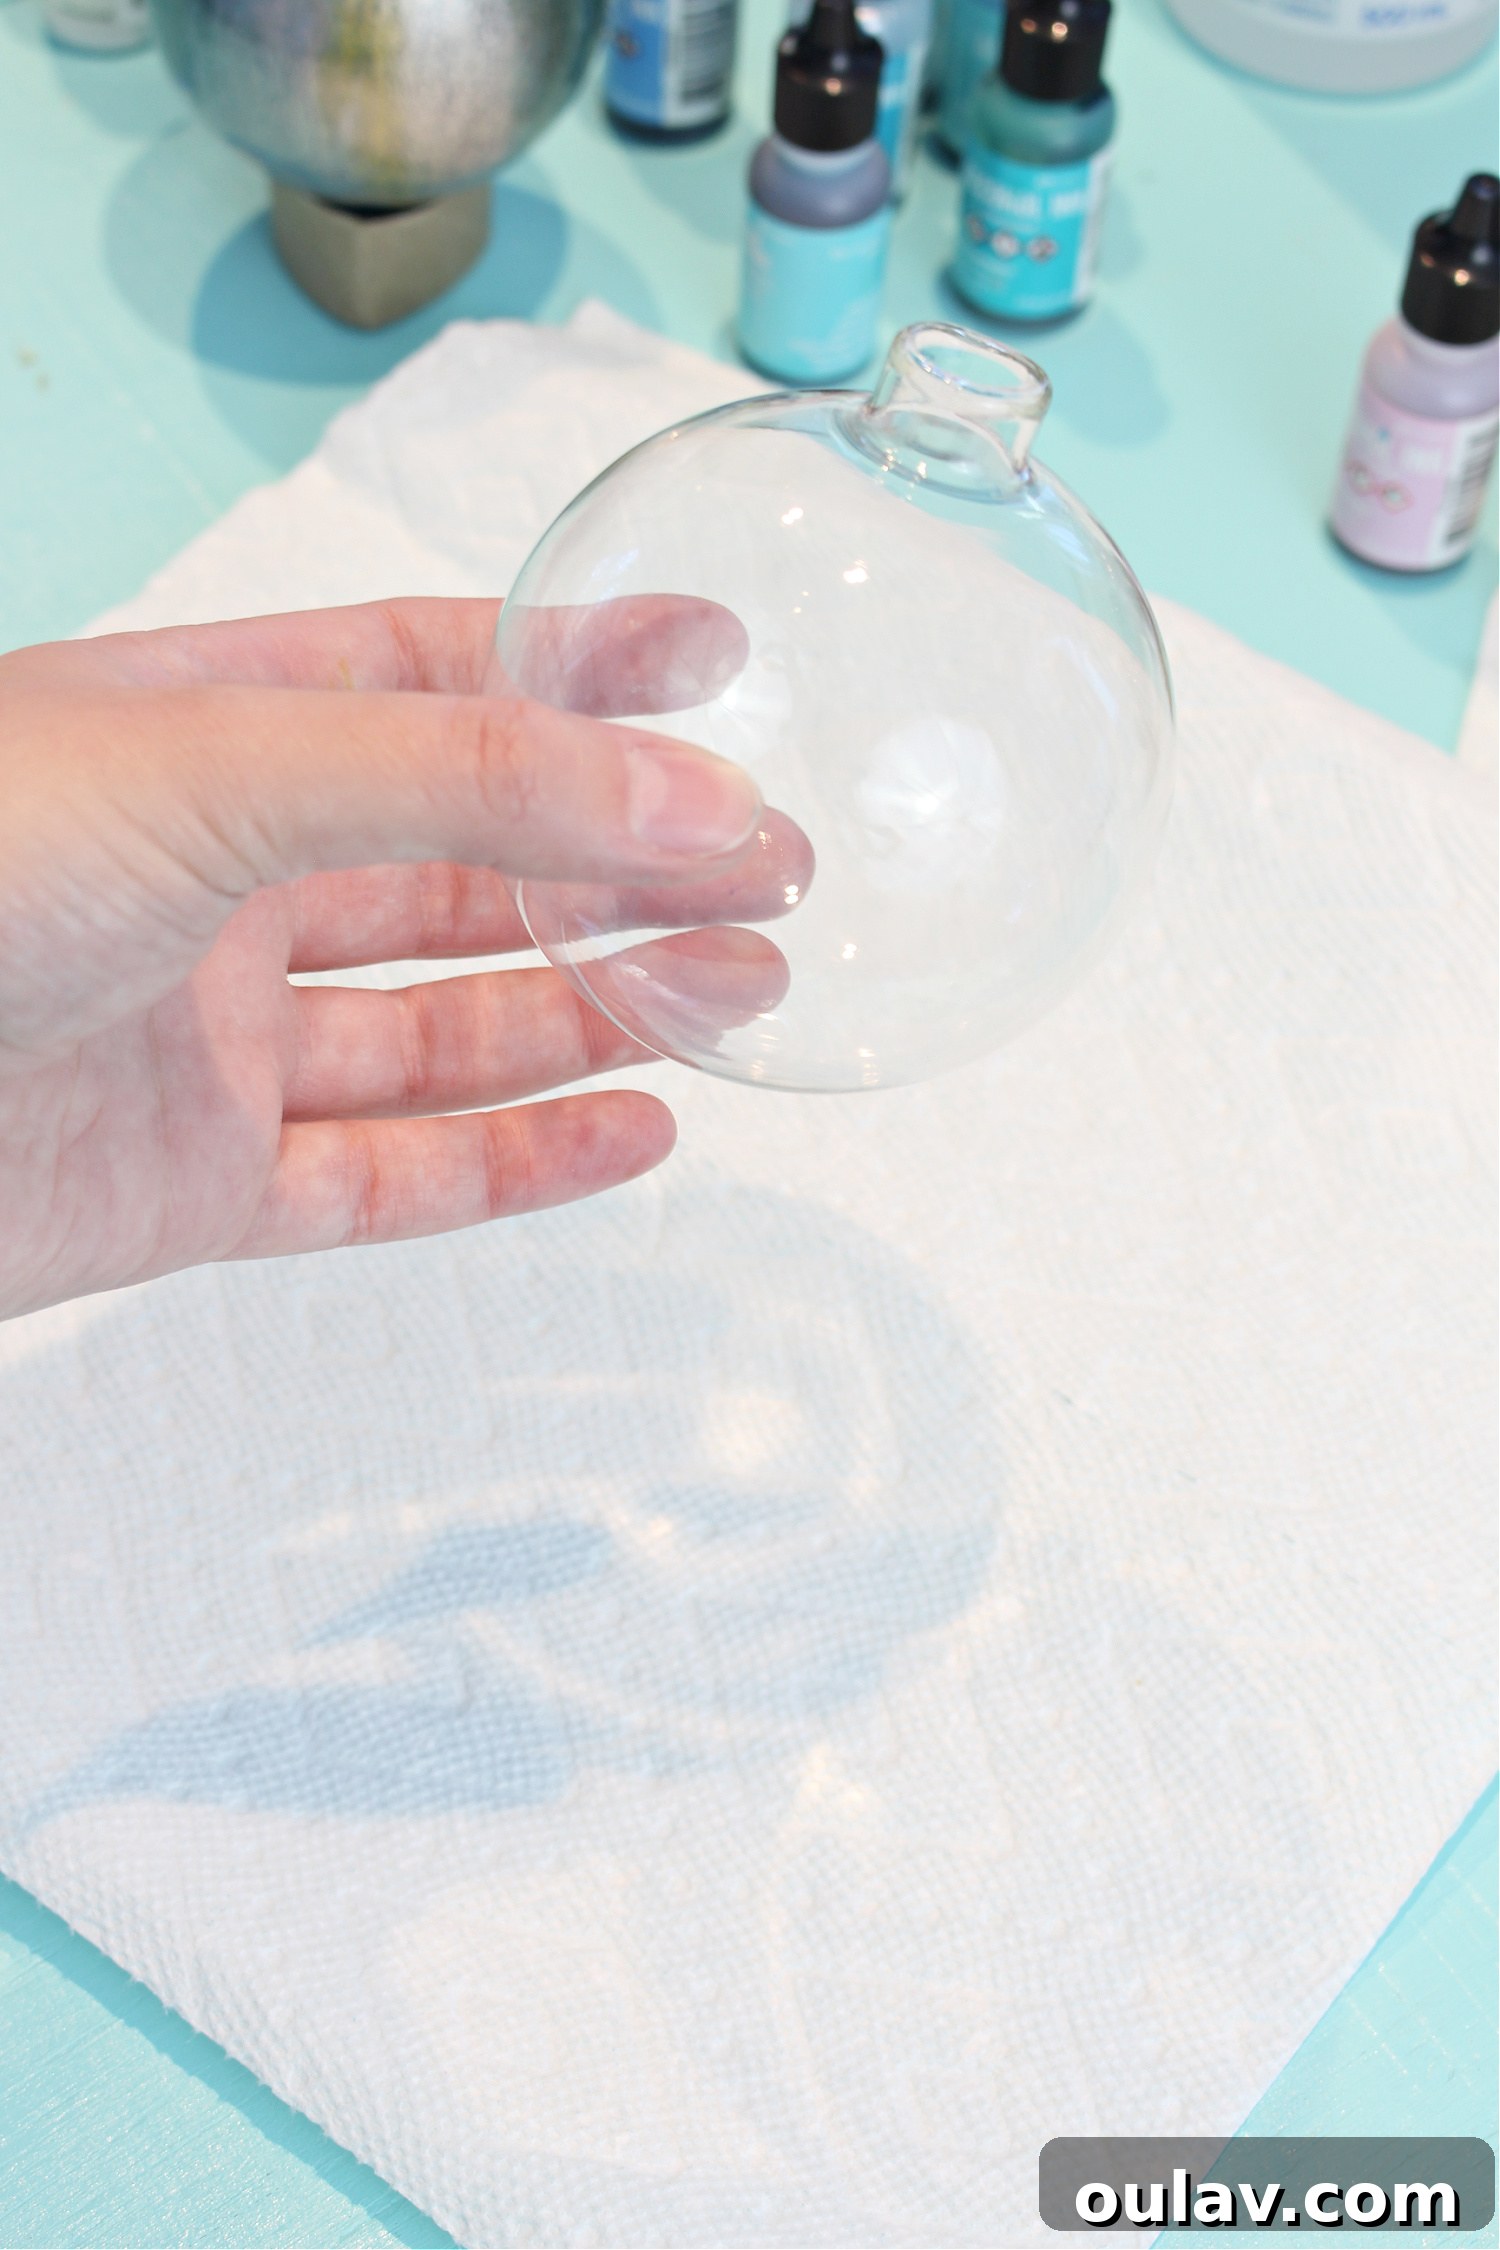
Begin by preparing your work area. Lay down garbage bags, a tarp, or a drop cloth to protect your surfaces from potential ink stains. Alcohol inks are highly pigmented and can be difficult to remove once dry. While optional, wearing rubber gloves is highly recommended to protect your skin (even though I sometimes forget, it’s a good practice!). If you are sensitive to strong odors, ensure proper ventilation by opening a window, as rubbing alcohol and the inks themselves can be quite fragrant. Next, take a paper towel or toilet paper tube and cut it into small slices. These will serve as brilliant, stable stands for your ornaments during the drying process – a genius tip from my mom! Finally, carefully remove the metal cap from each clear ornament and uncap the alcohol ink bottles you intend to use.
Step 2: Apply the First Layer of Ink
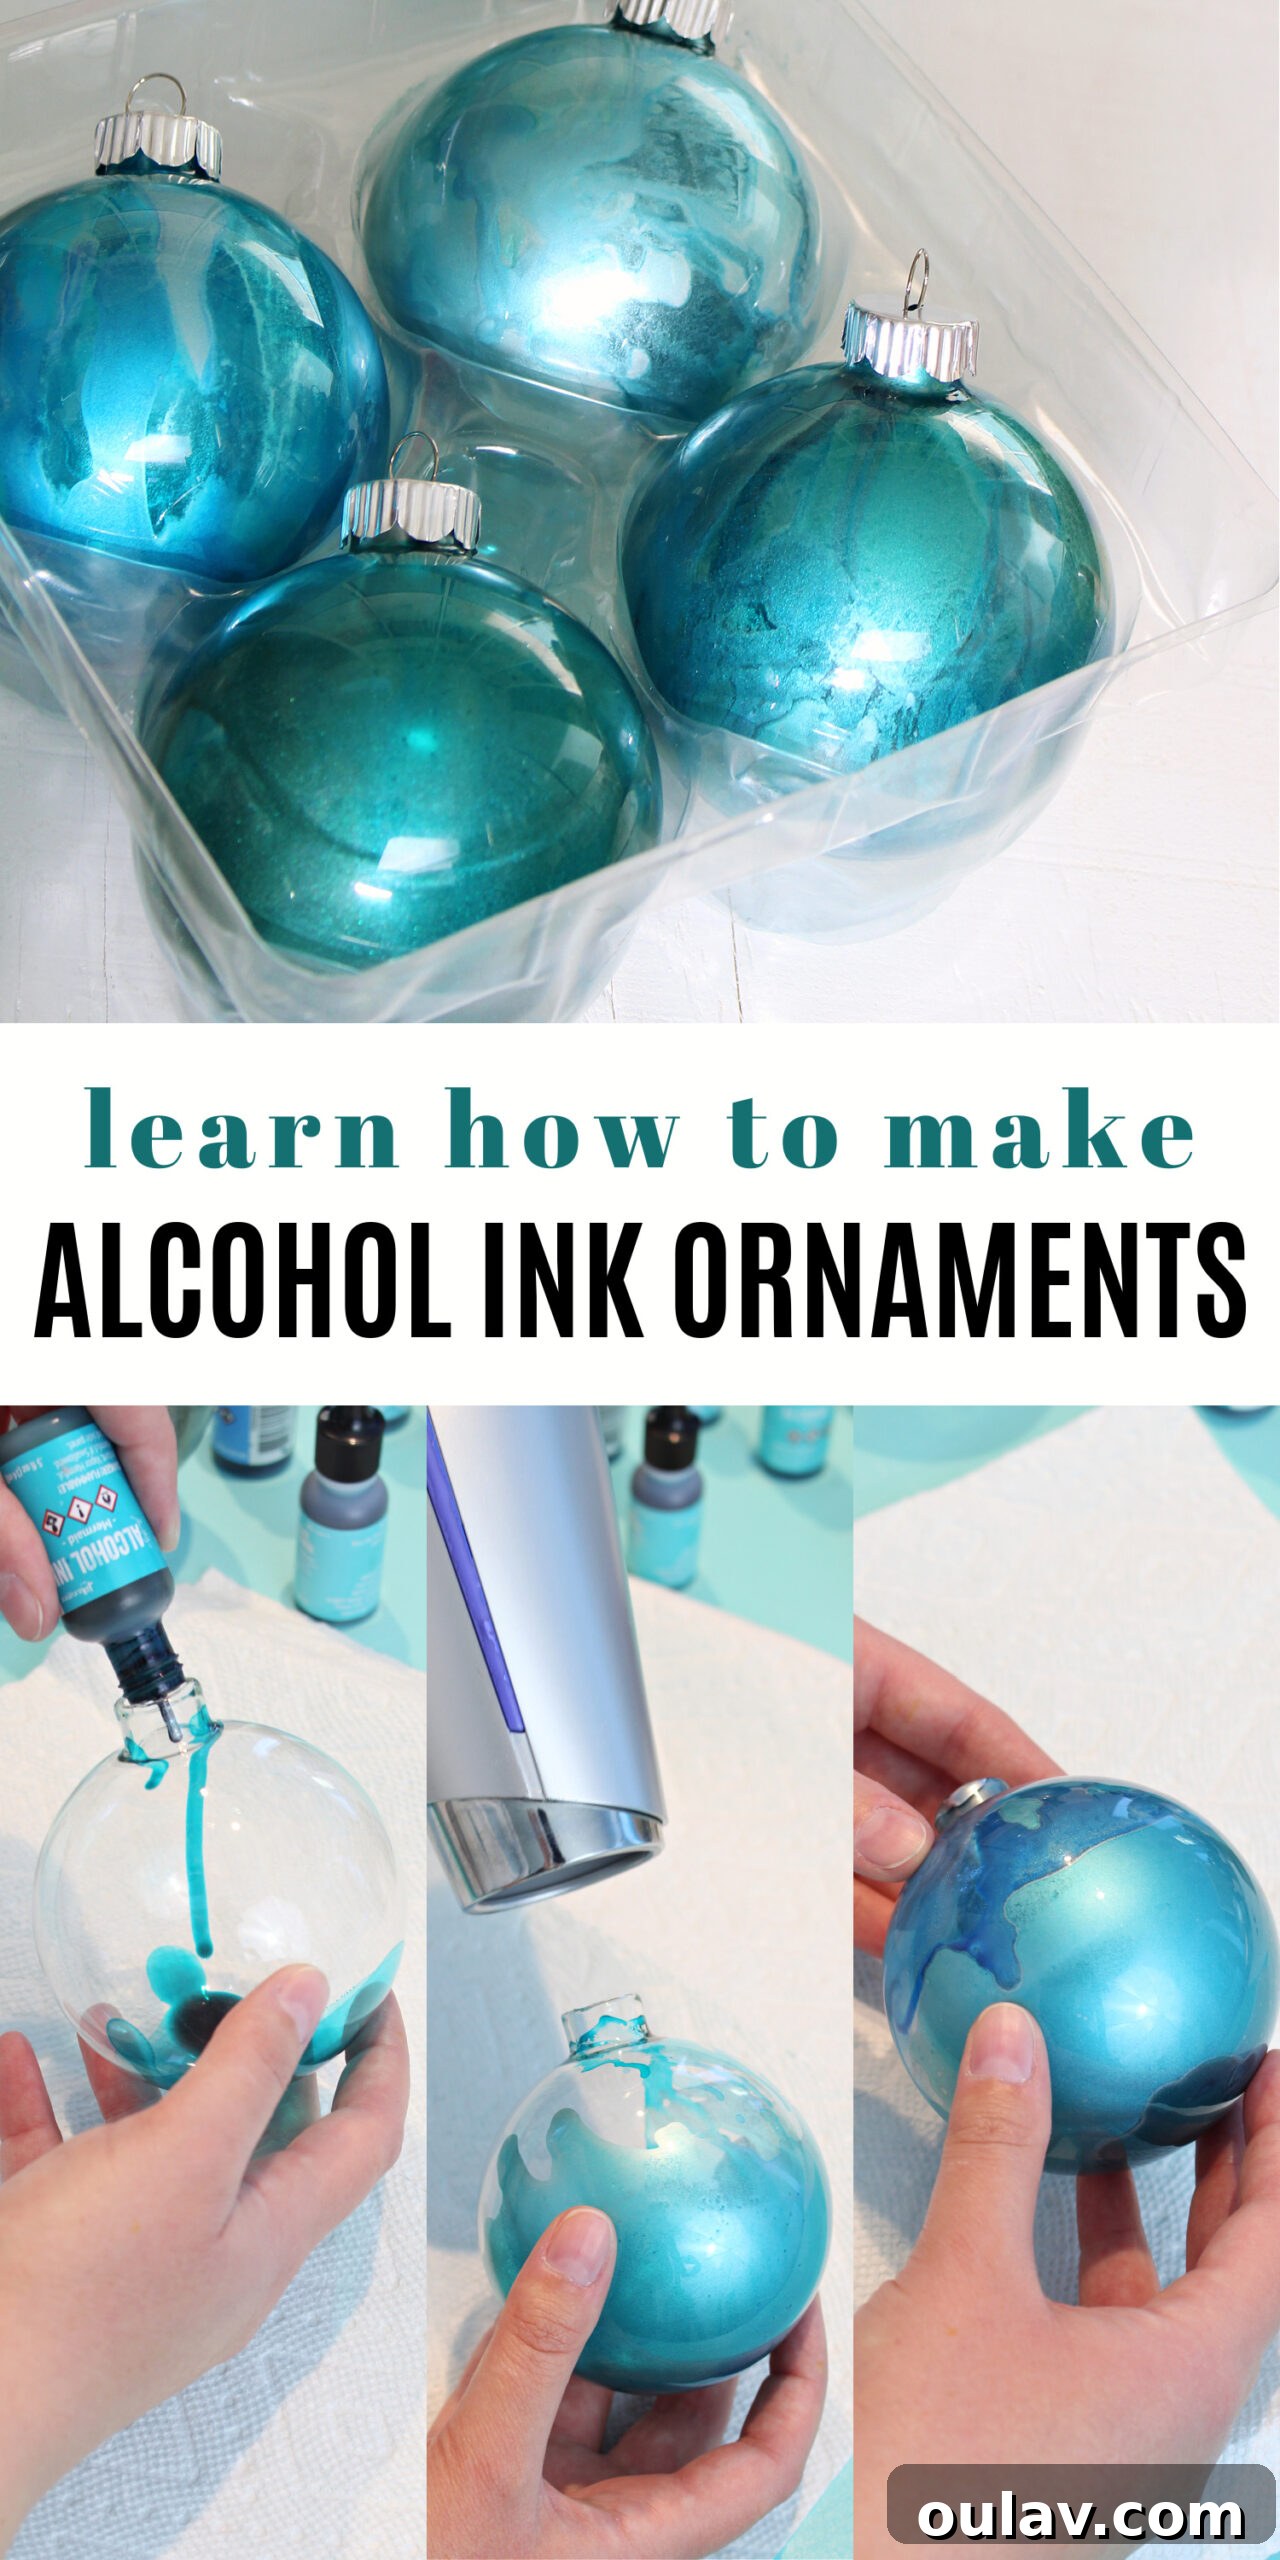
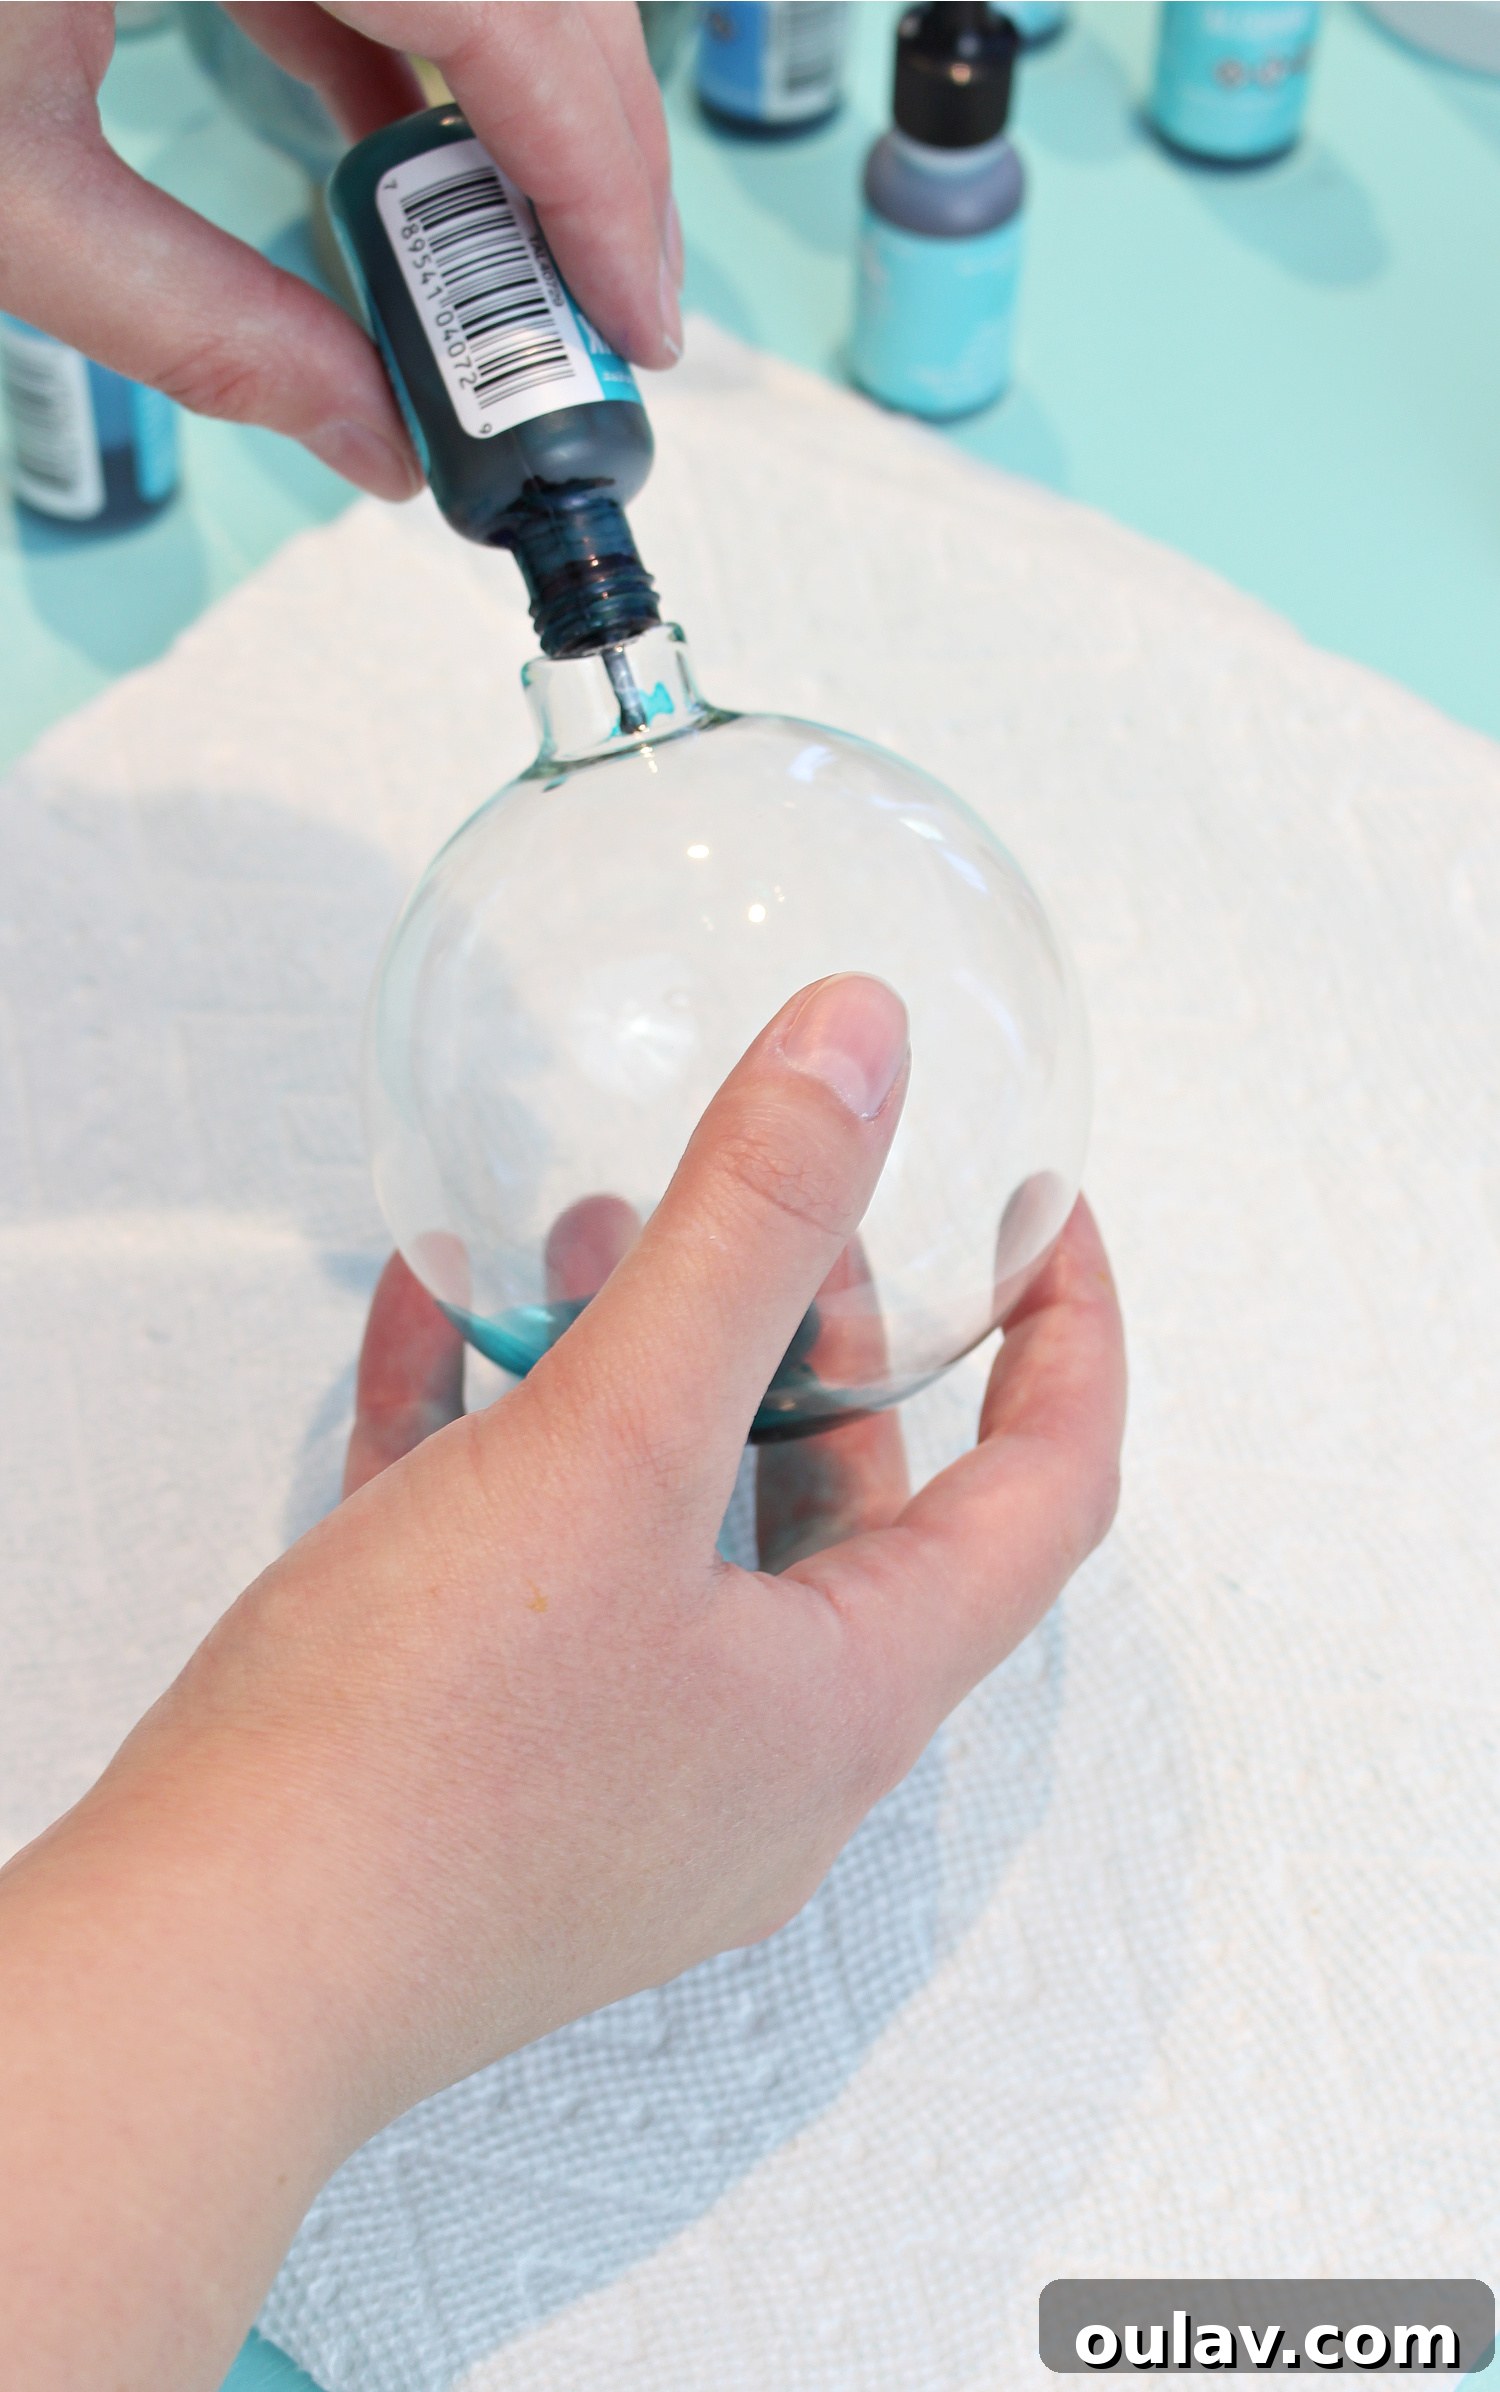
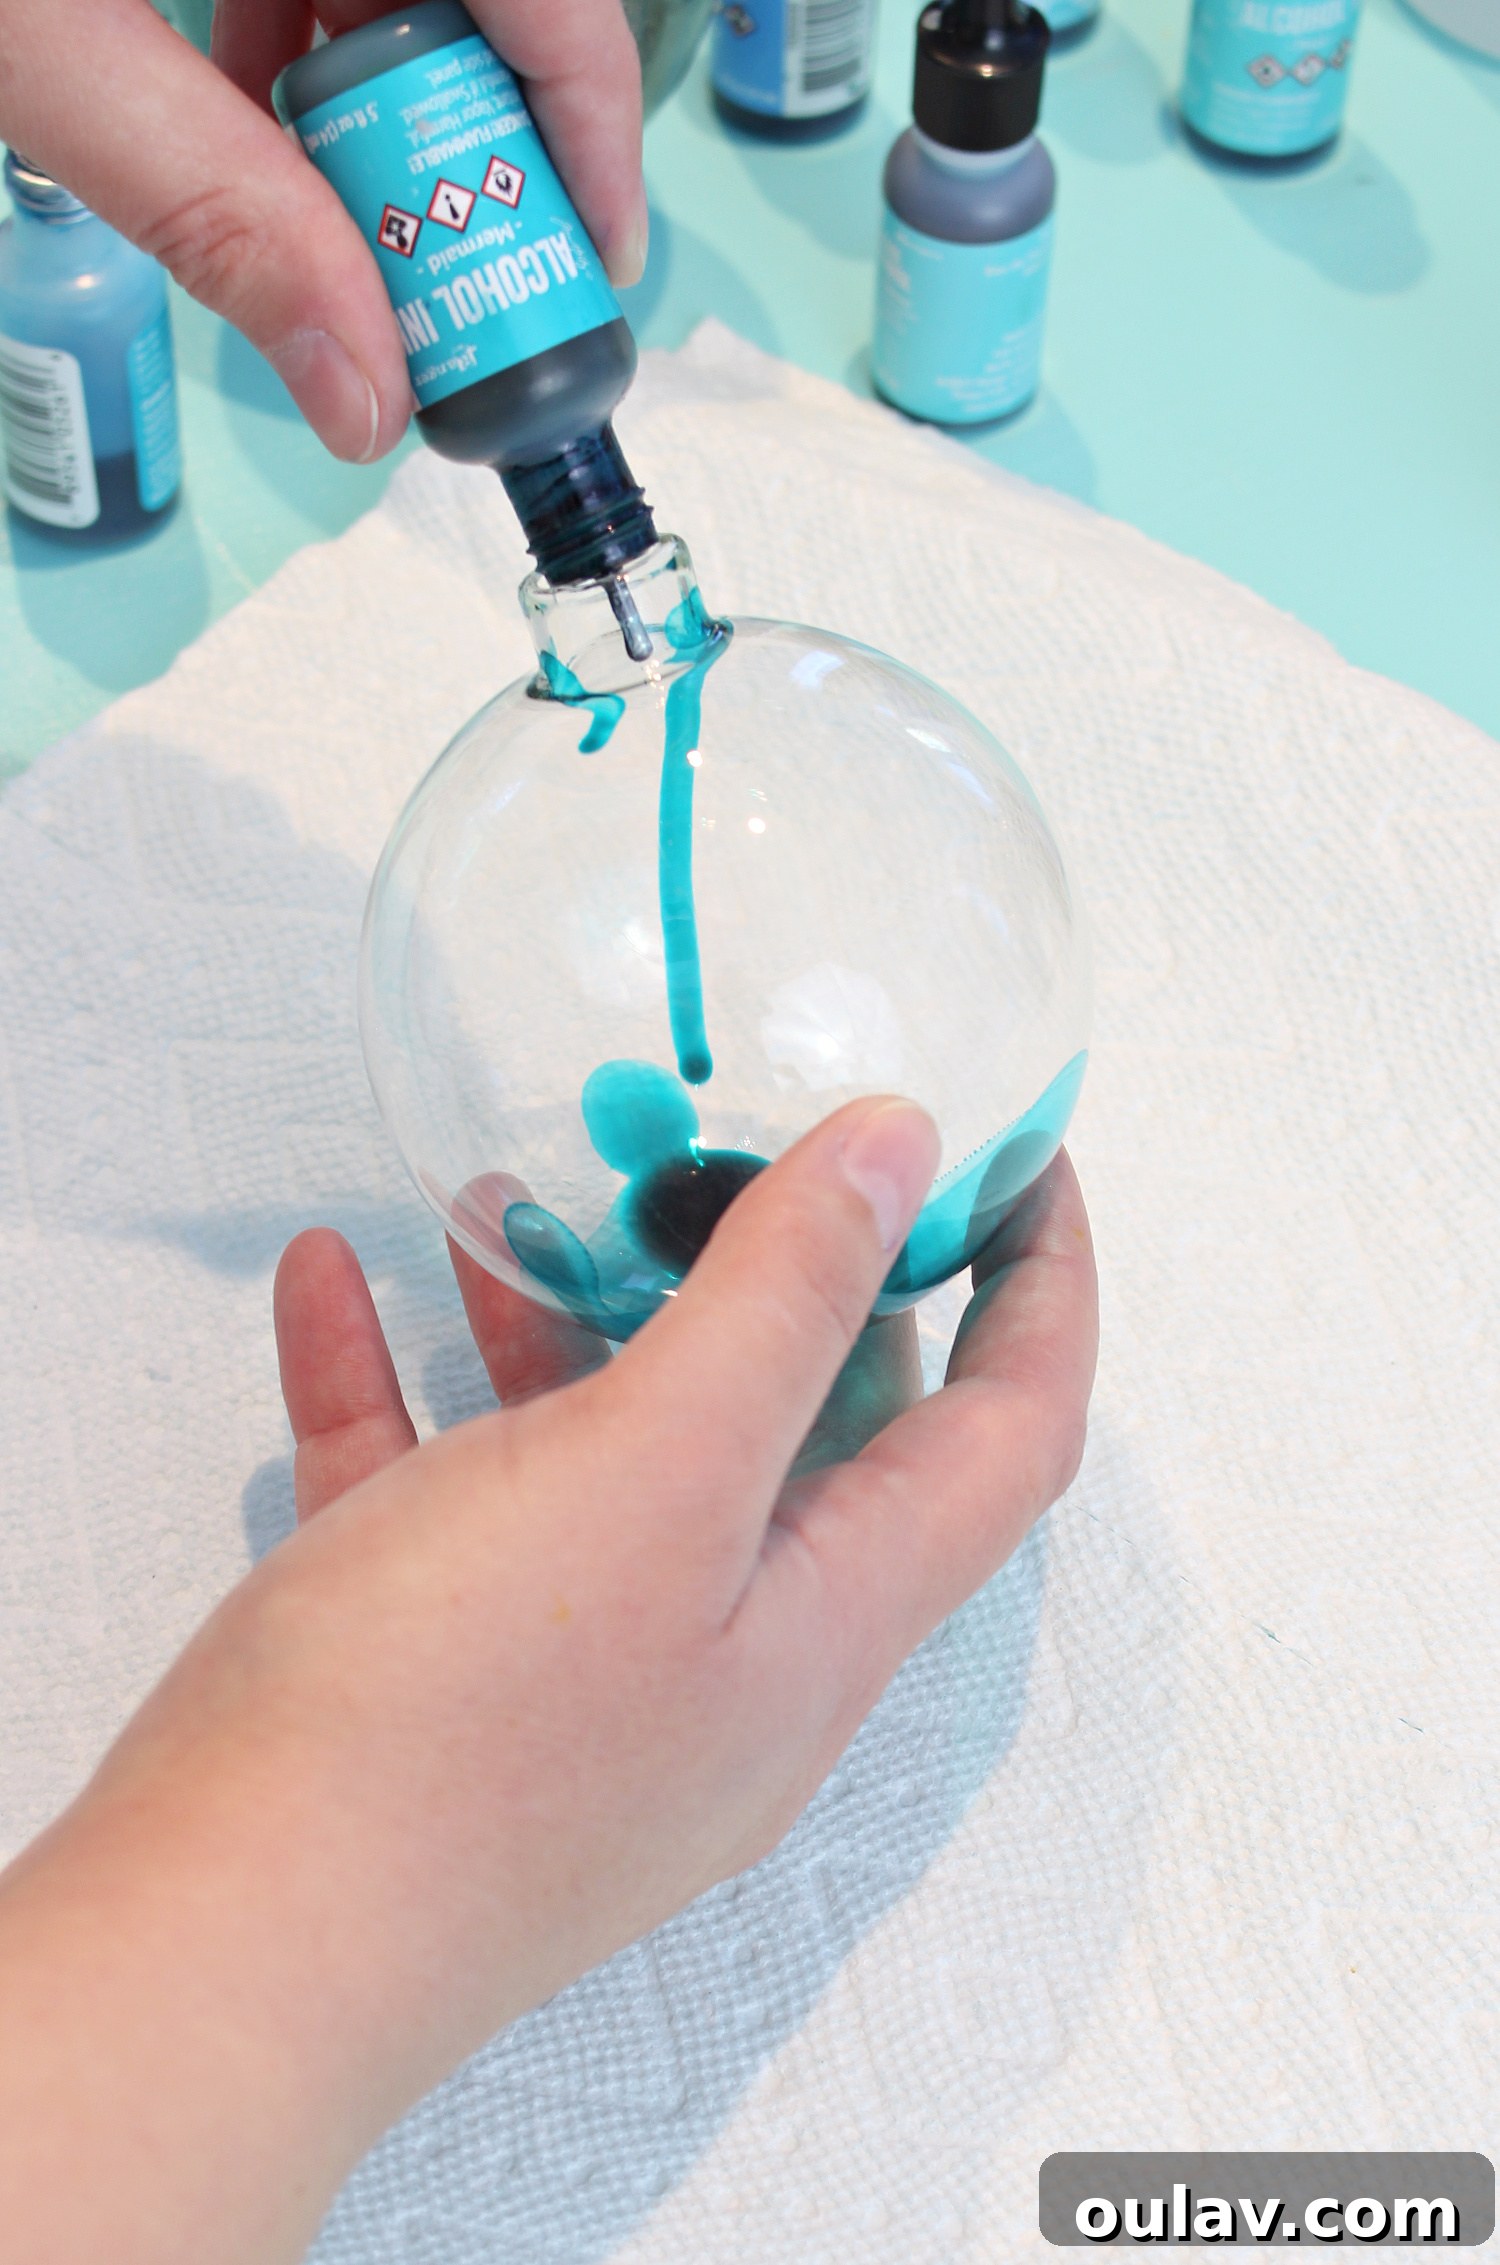
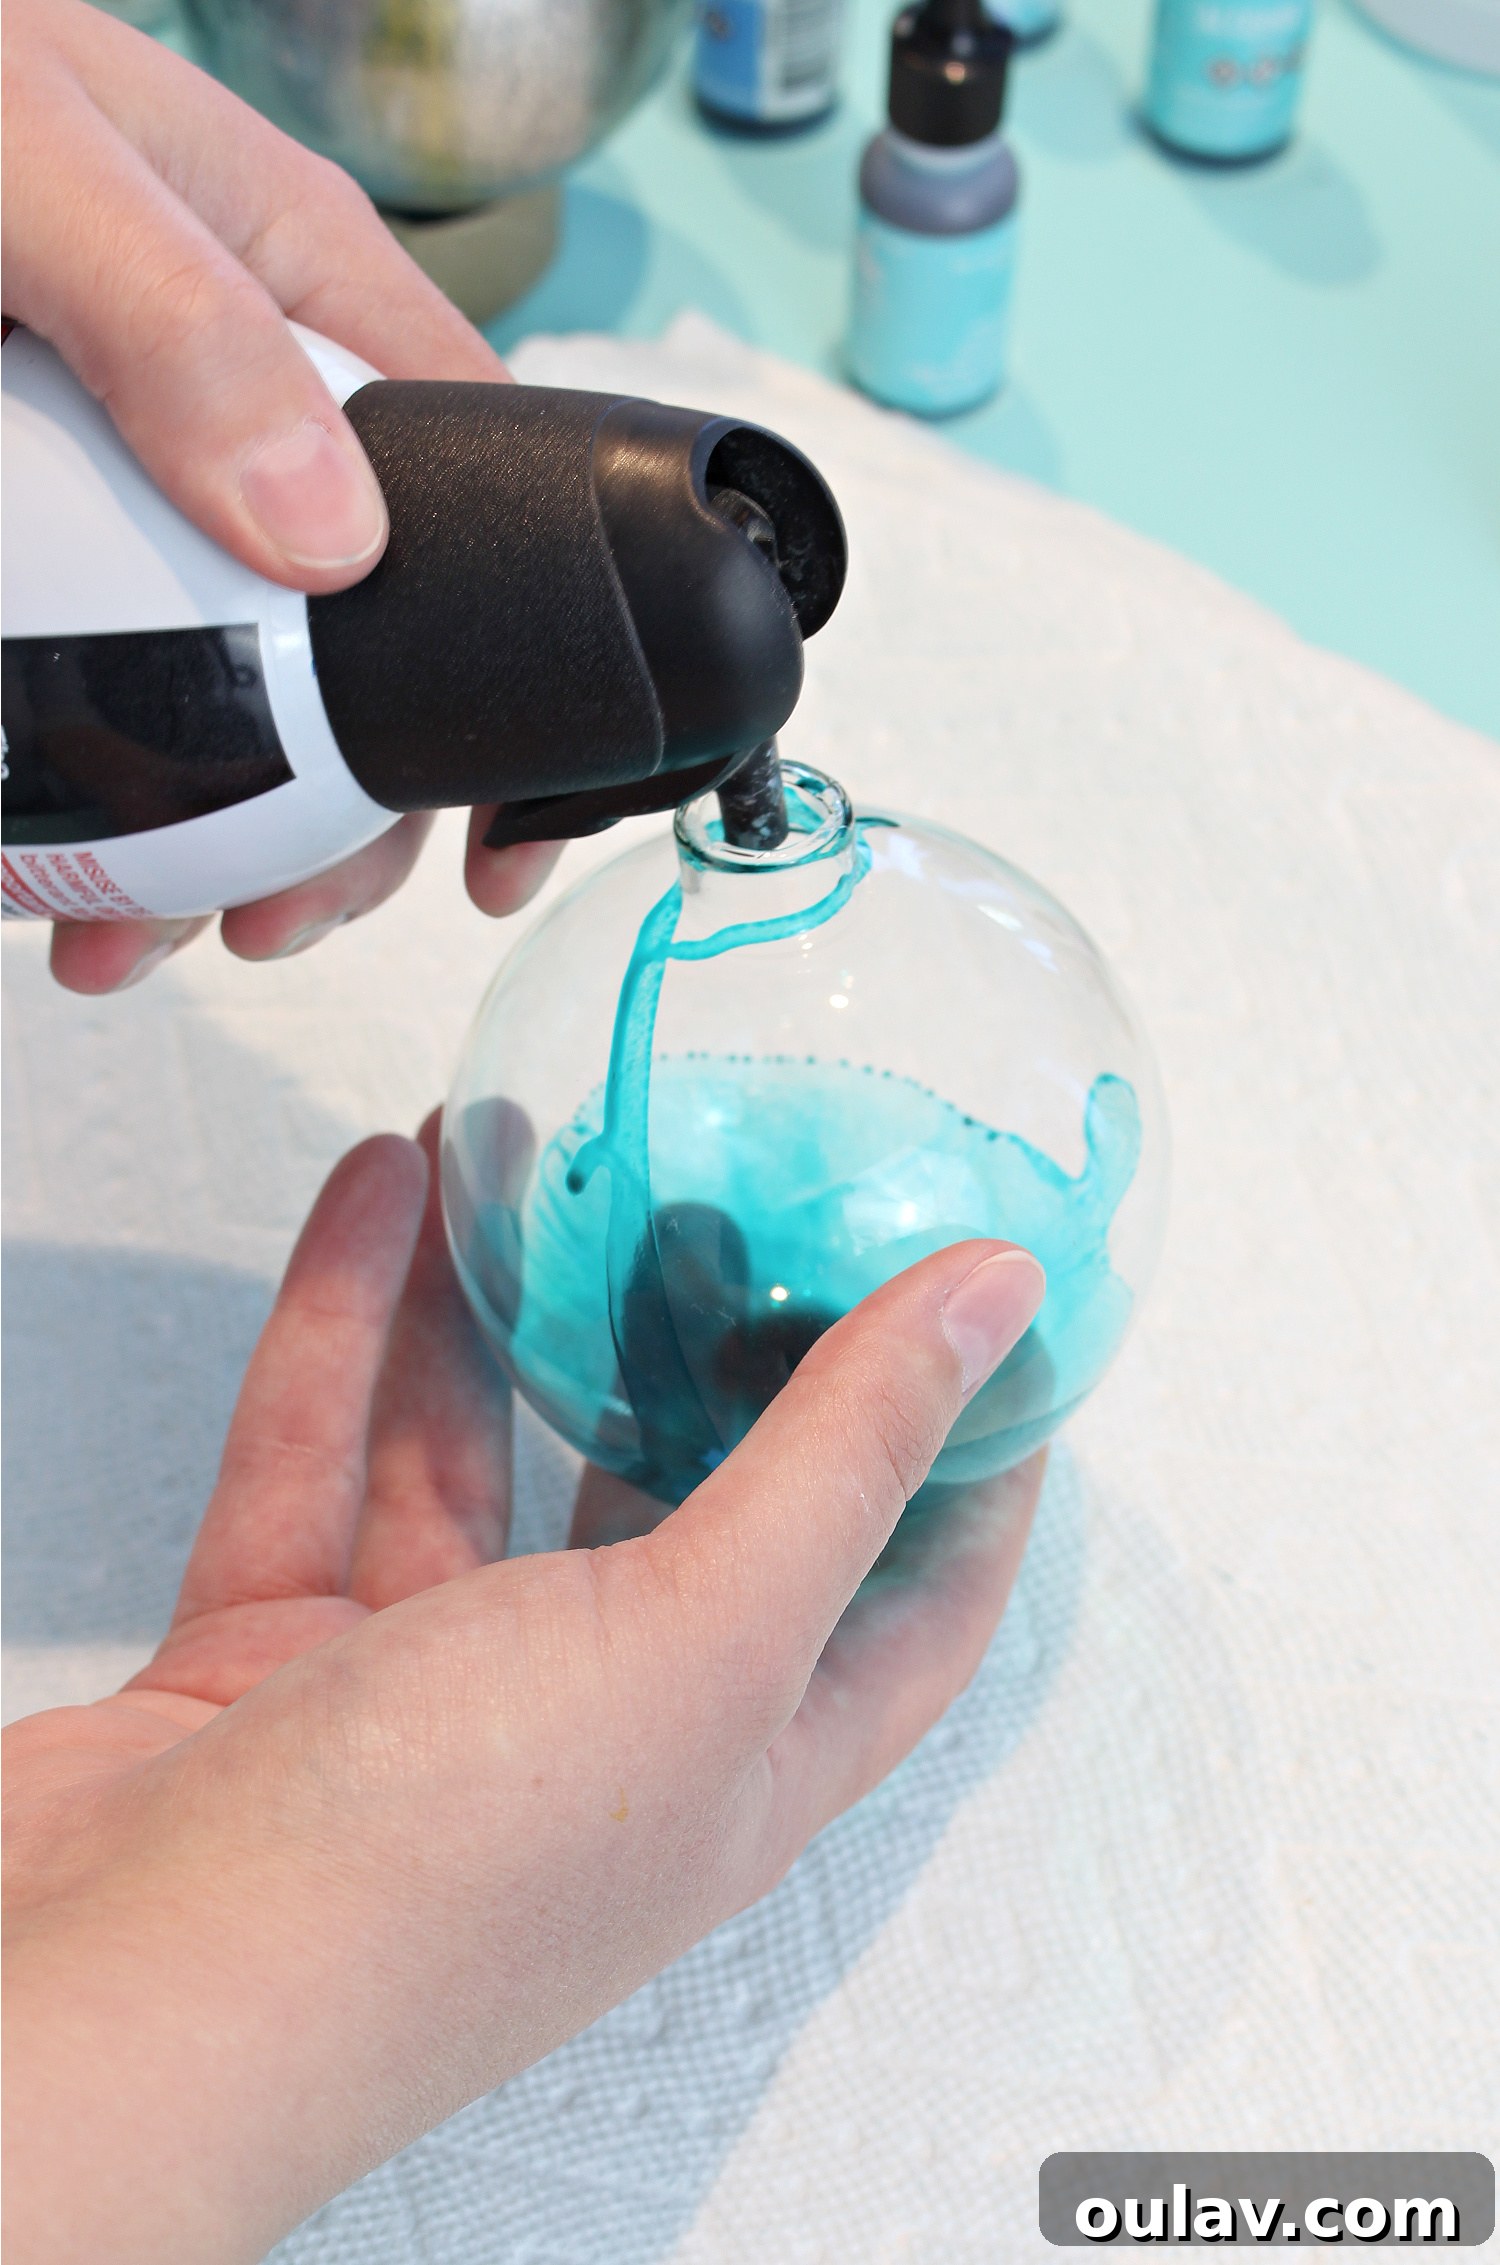
Carefully pour a few drops of your chosen first color of alcohol ink into the opening of the ornament. If you desire a shimmering effect similar to the one shown in my examples, mix in a few drops of metallic ink at this stage. The metallic inks add an incredible depth and sparkle that catches the light beautifully.
Step 3: Swirl and Partially Dry the First Layer
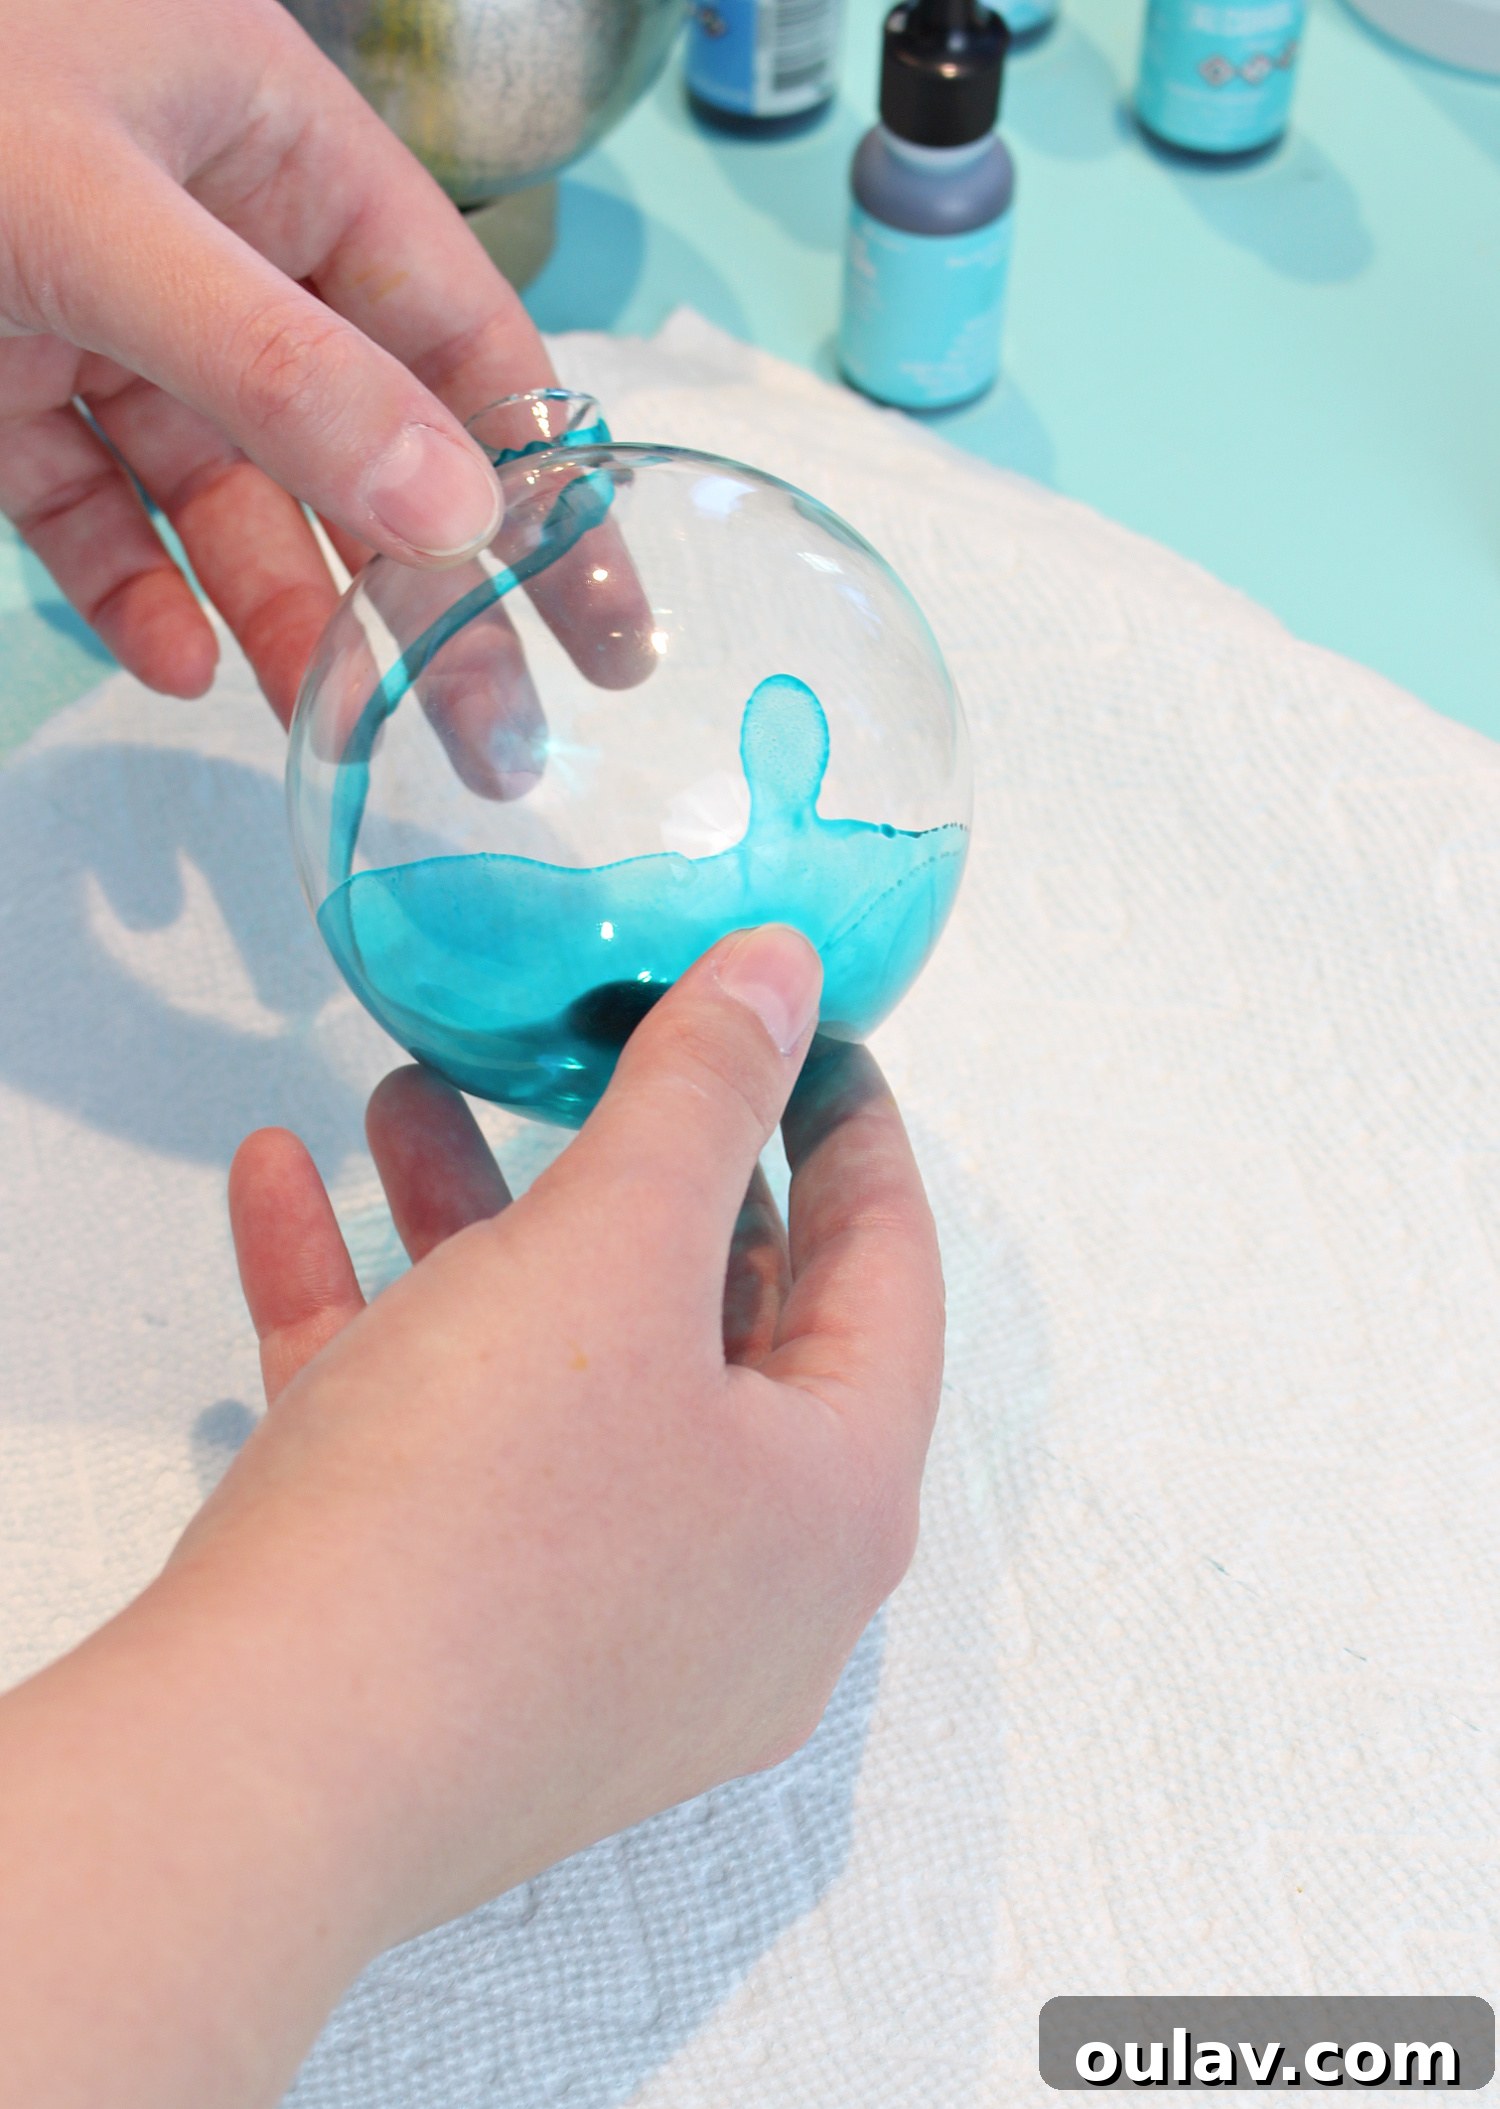
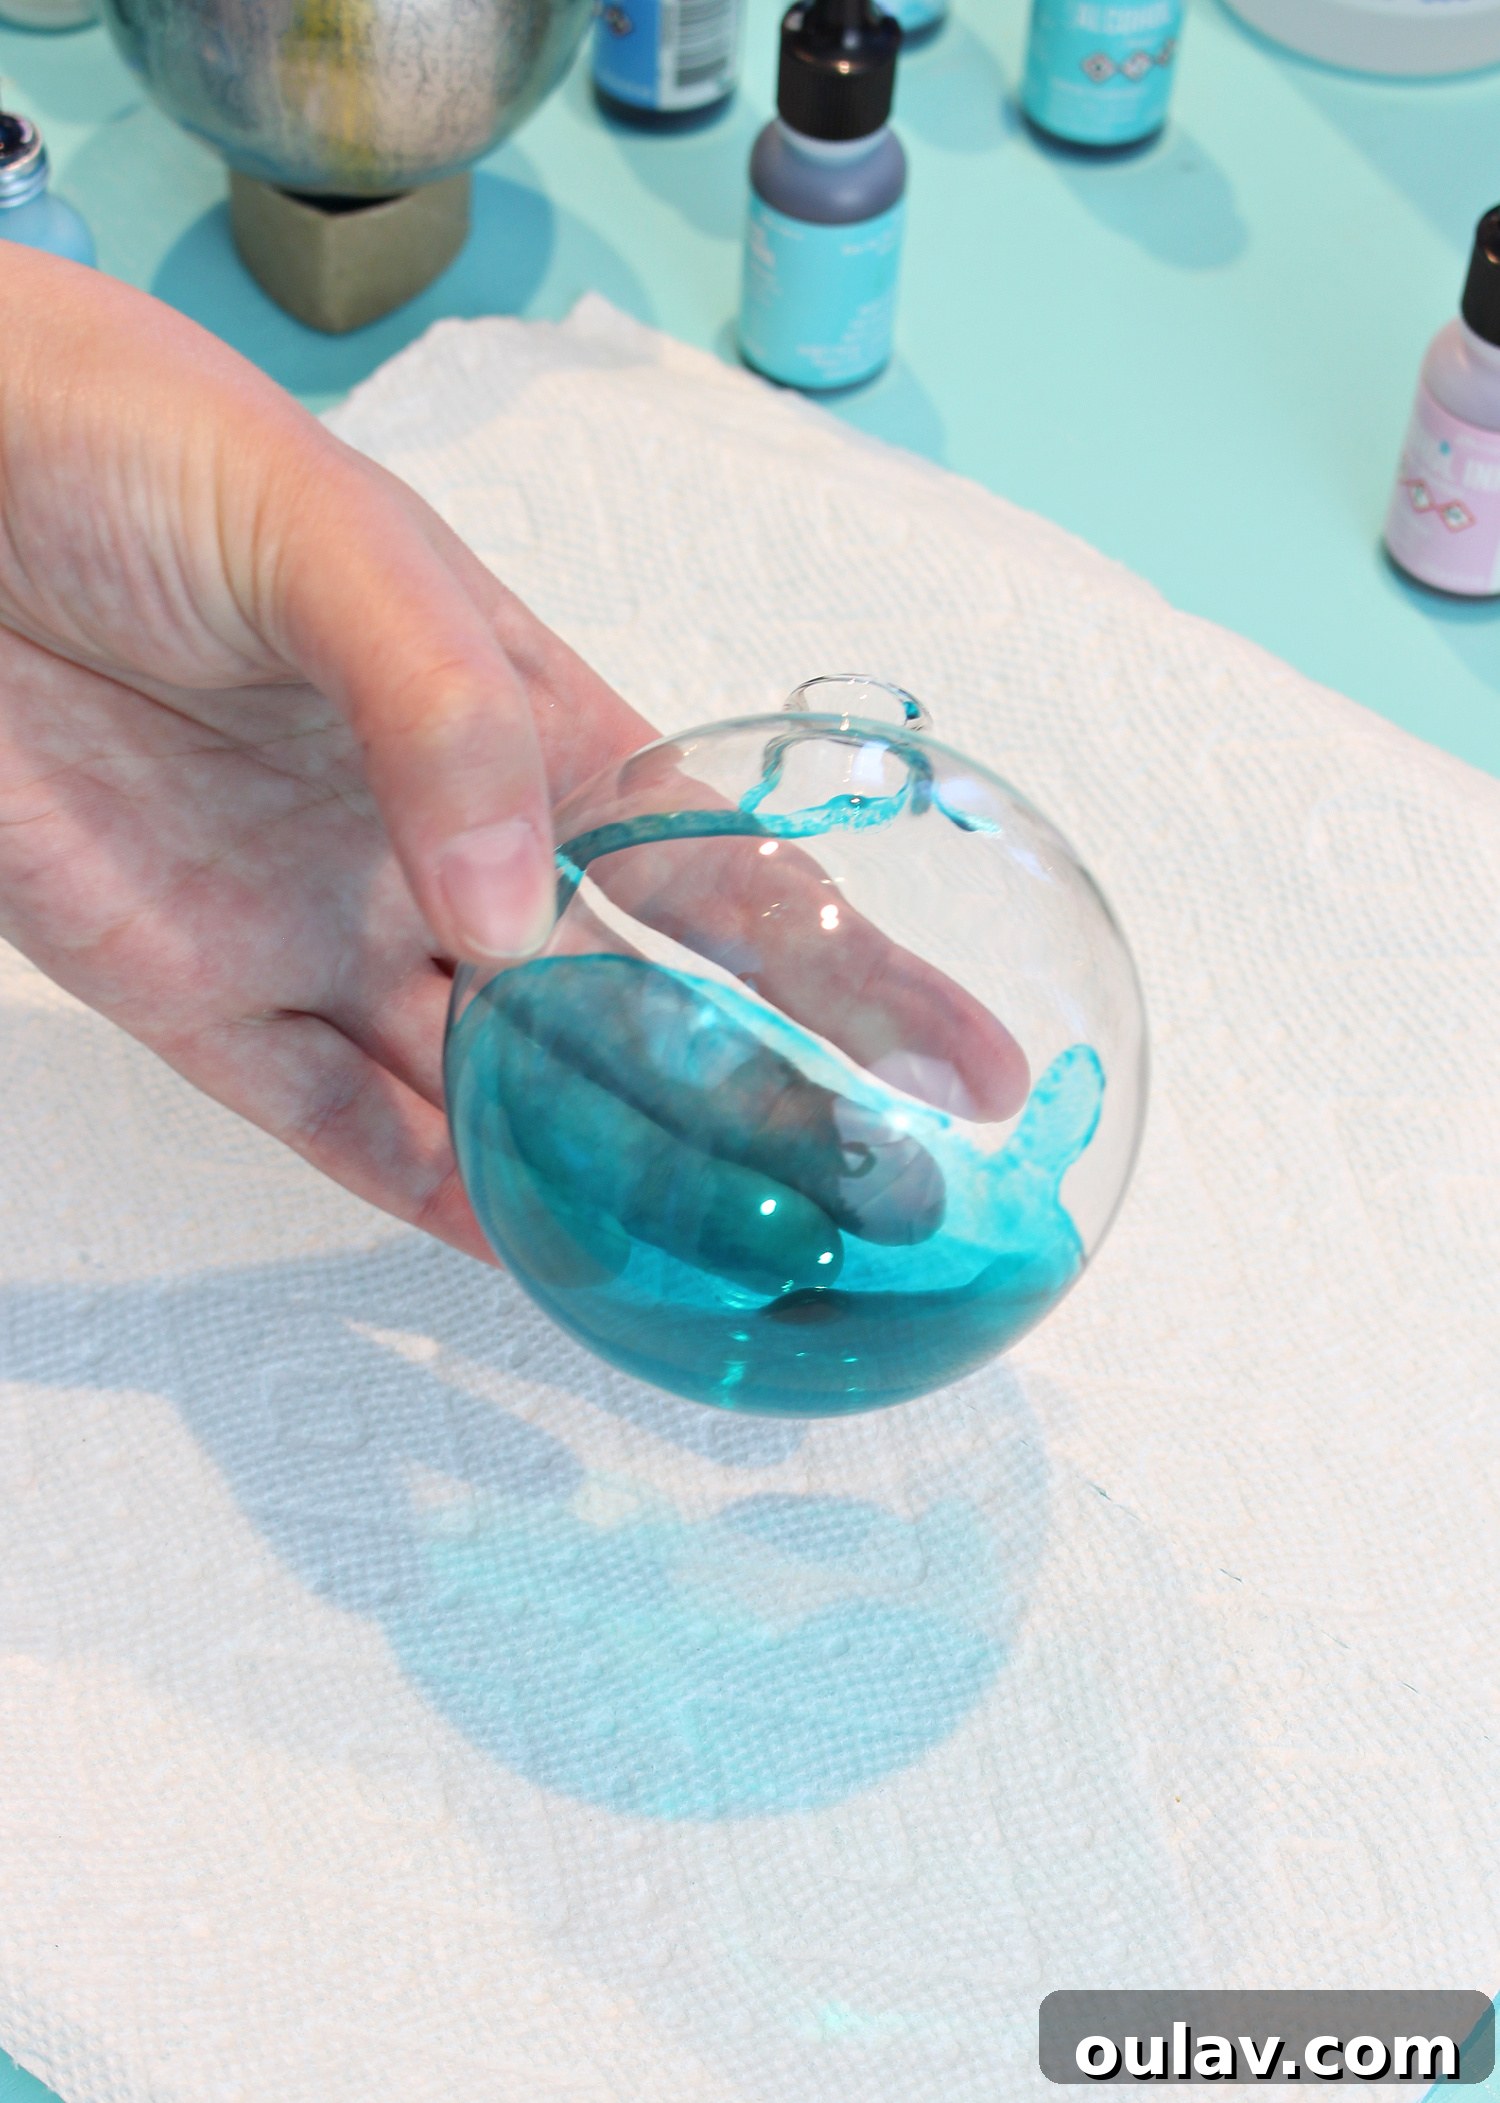
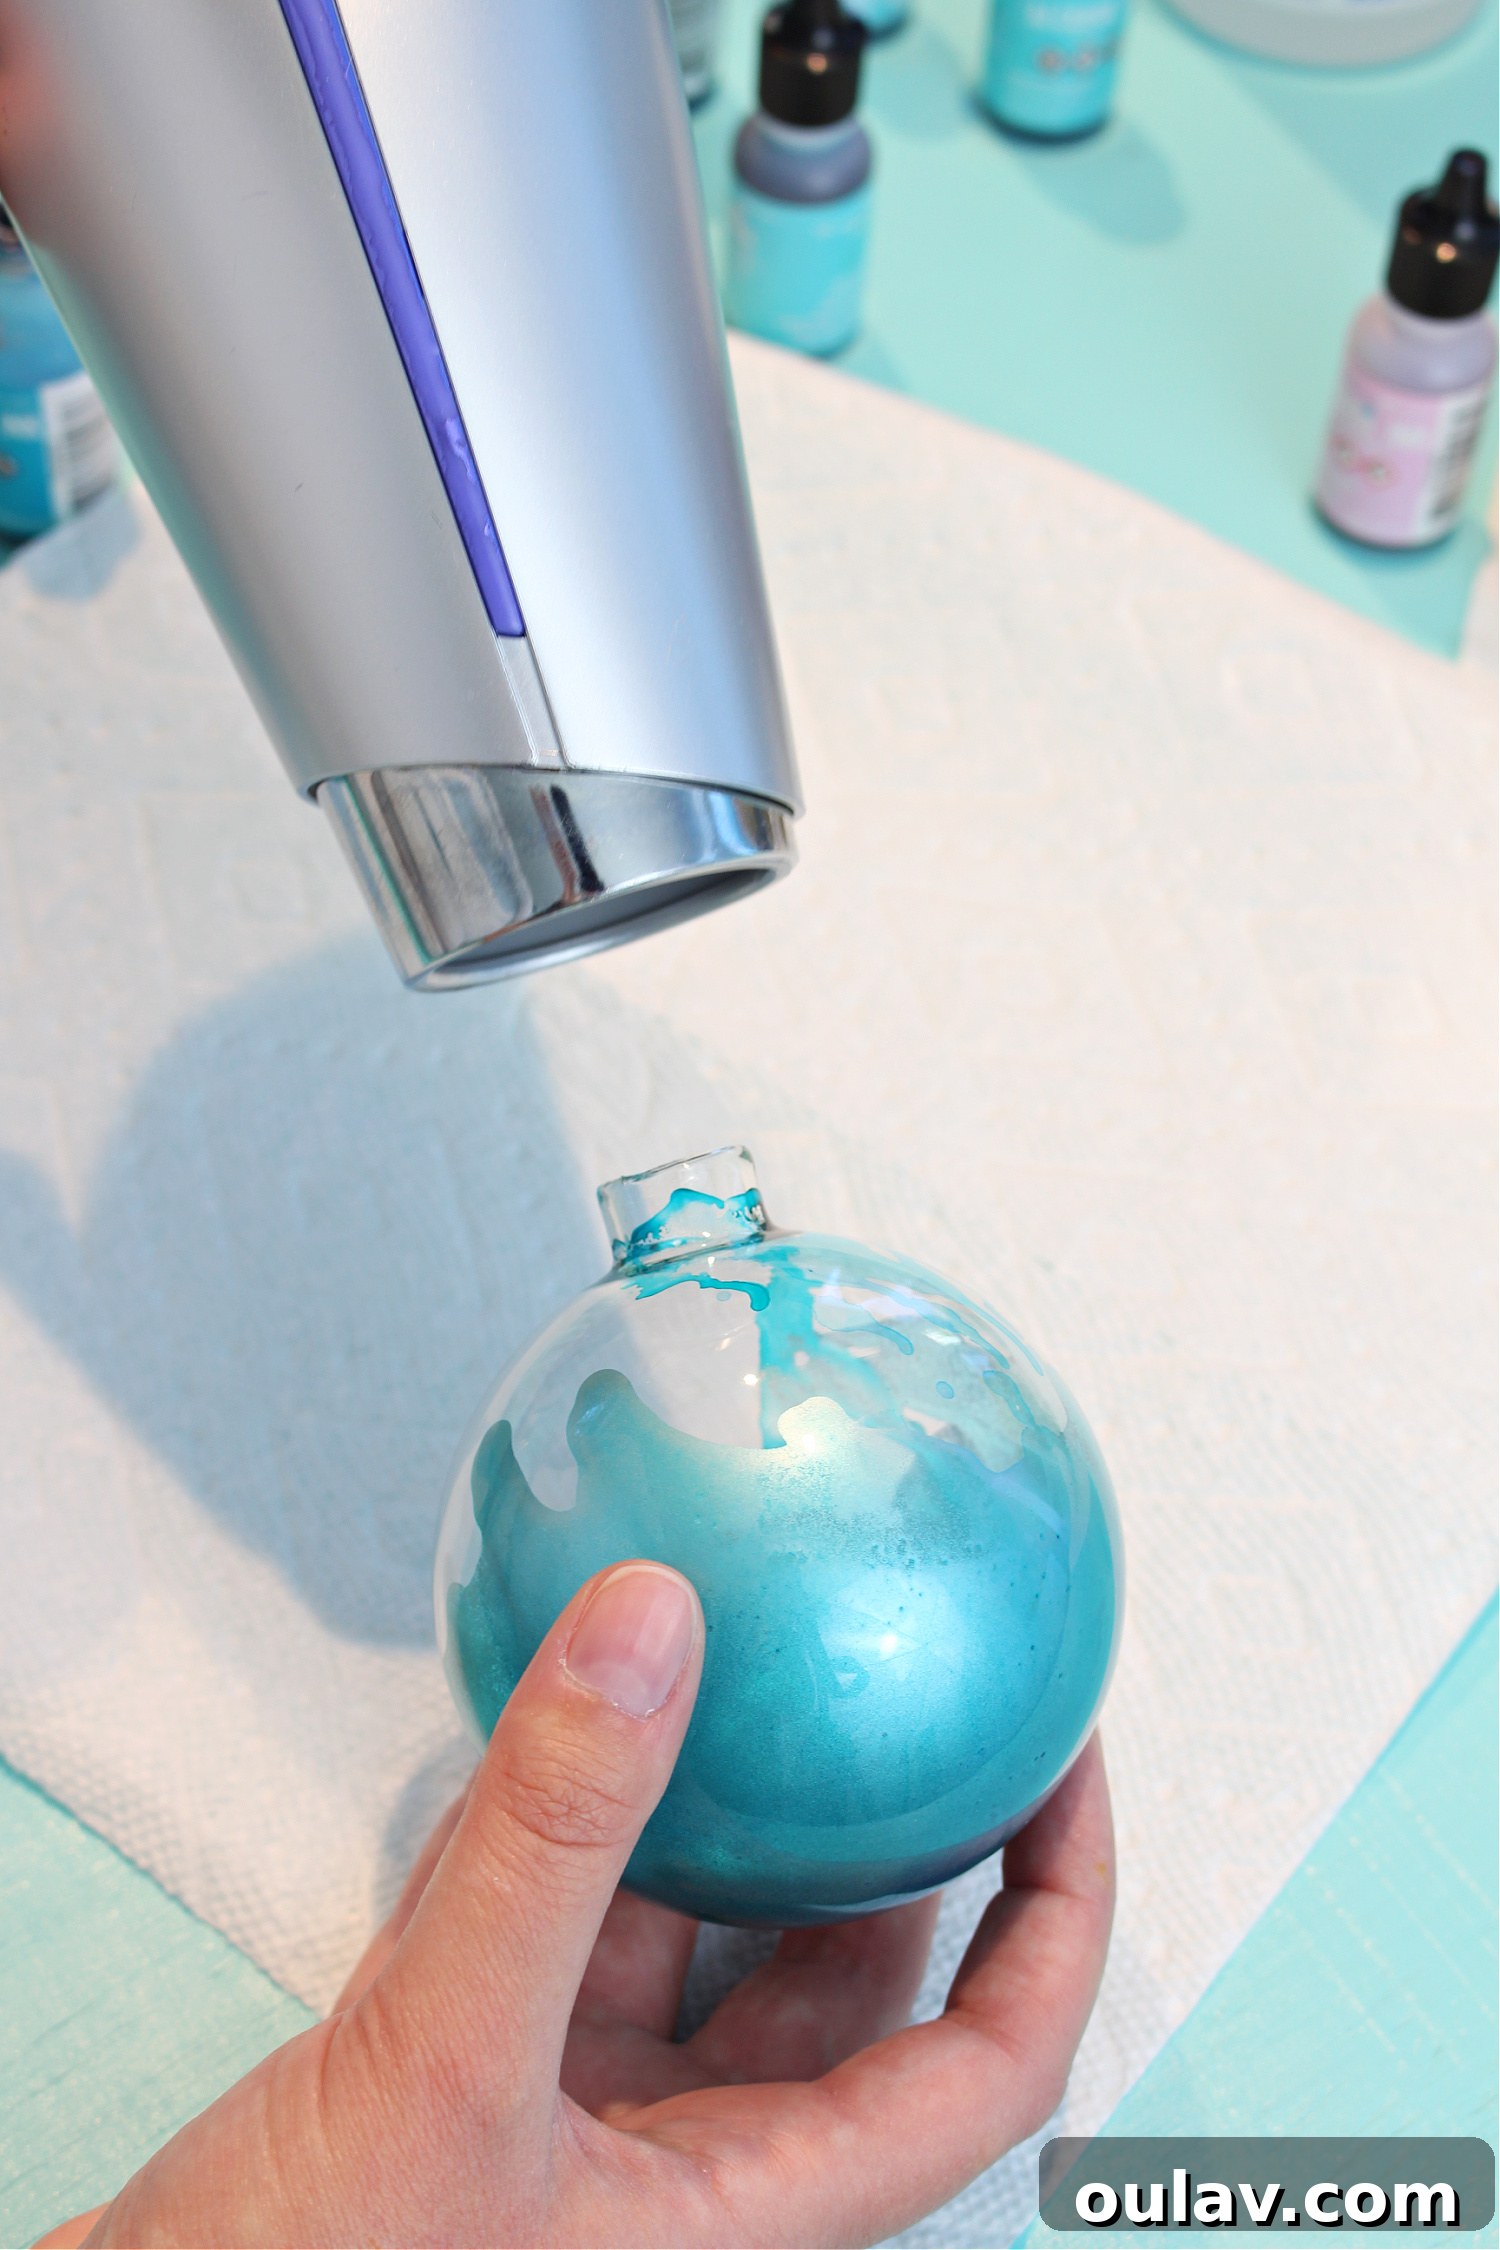
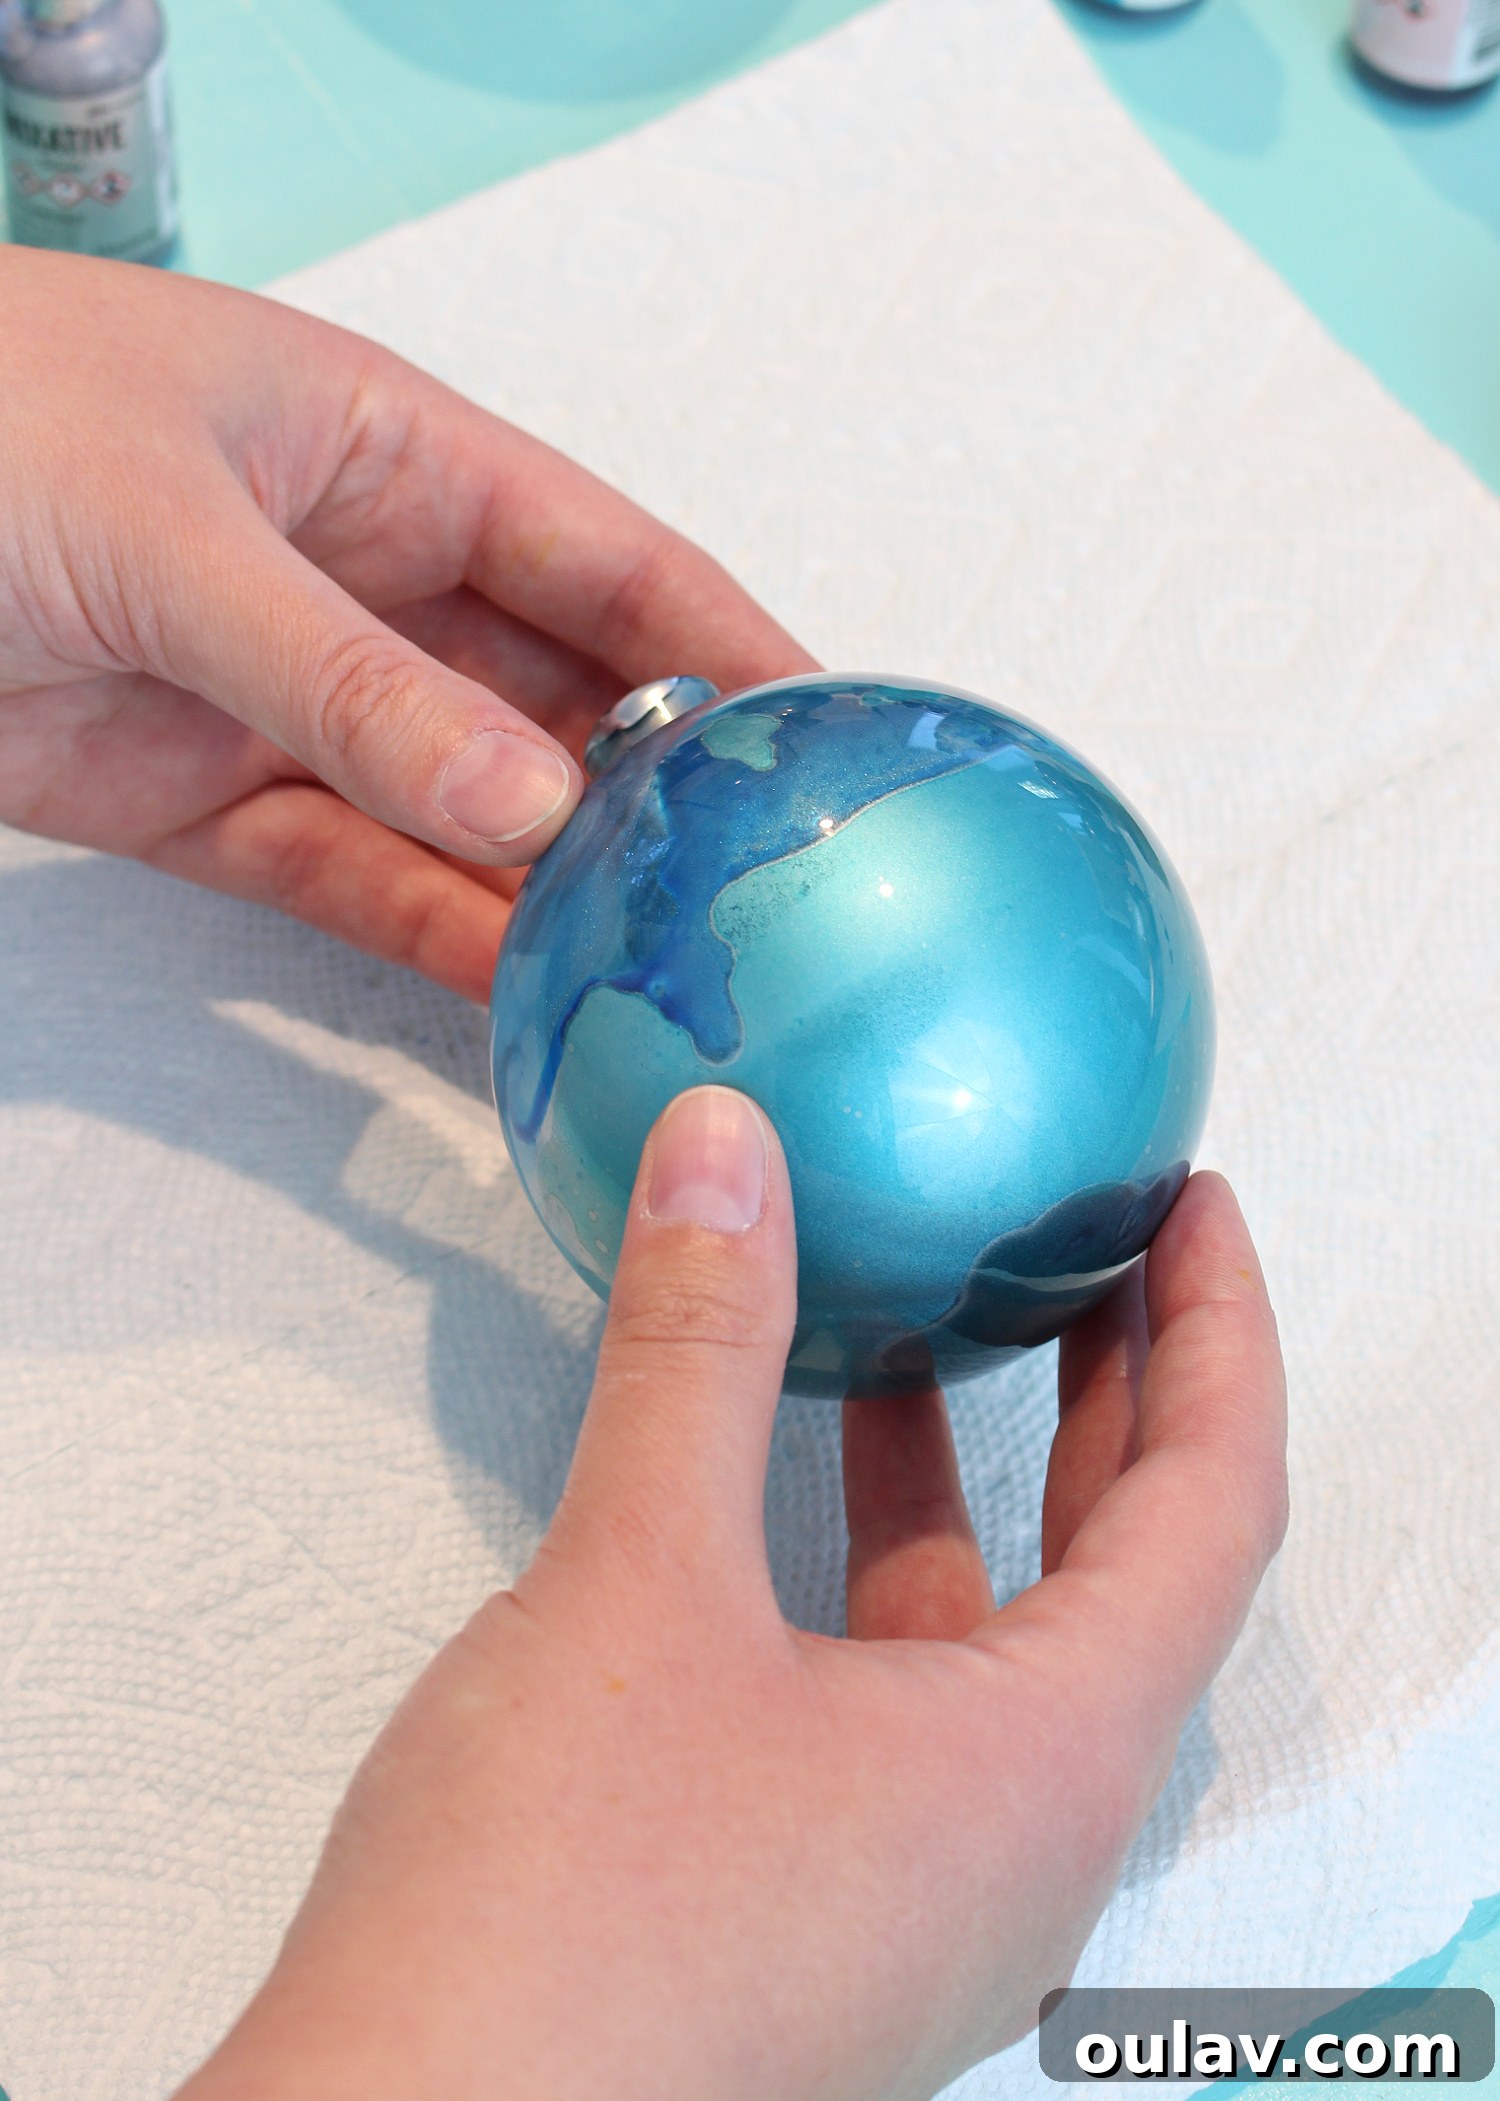
Gently swirl the ornament to spread the ink evenly or to create abstract patterns. The goal is to coat the inside surface. Once you have a desirable pattern, allow this initial “layer” of ink to dry most of the way before introducing additional colors. This partial drying is crucial; if you add new colors too soon, they will completely blend, creating a single, uniform hue rather than distinct layers and swirls. A hairdryer set to a cool or low-heat setting can significantly speed up this drying process, making layering much easier and more efficient.
Step 4: Manipulate the Ink for Unique Designs
To further manipulate the ink and achieve intricate designs, you have several options. You can use a can of compressed air, an alcohol ink air blower, or even simply blow through a straw to direct the ink. Alternatively, continuous gentle swirling of the ornament will also create beautiful, organic patterns. Experiment with these methods to see what effects you can achieve.
Step 5: Layering Colors with Care
As mentioned, if you introduce other colors too quickly, they will inevitably blend into one new color. By allowing the previous layers to dry sufficiently (around 90%), you maintain some distinct separation between colors, even as they gently swirl and interact at their edges. This creates a beautiful, layered depth. A hairdryer is your best friend here, helping to speed up the drying process and making the layering of colors much more manageable and effective.
Step 6: Continue Layering and Observing Color Interactions
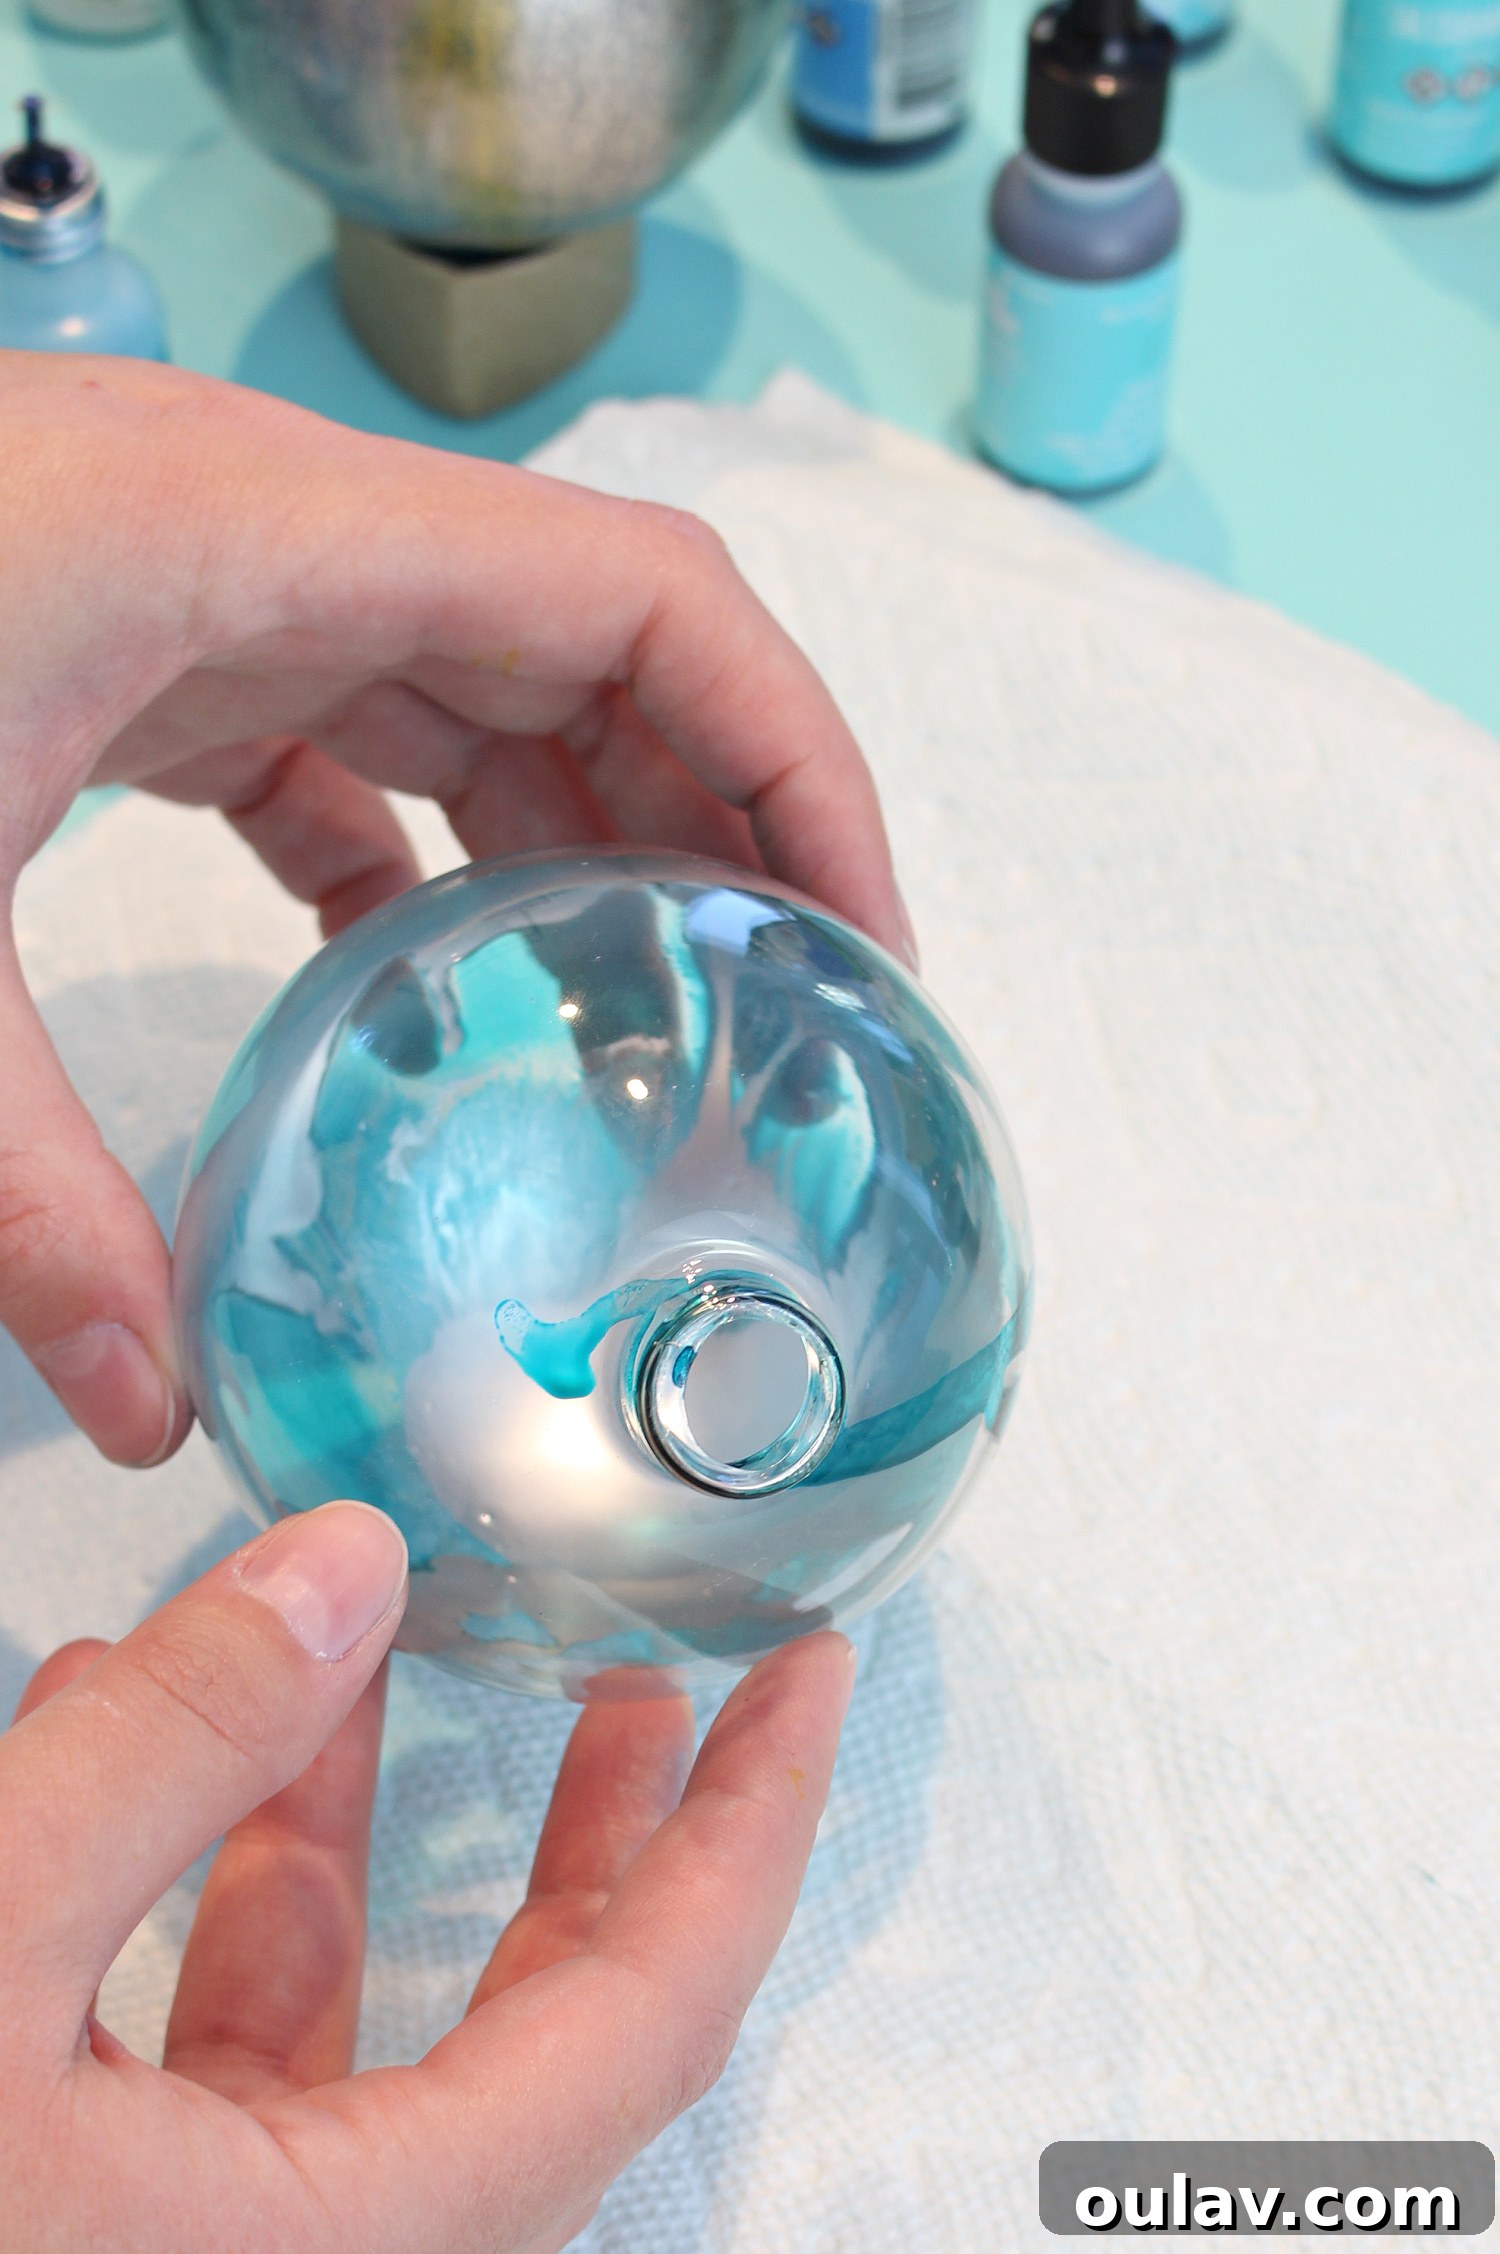
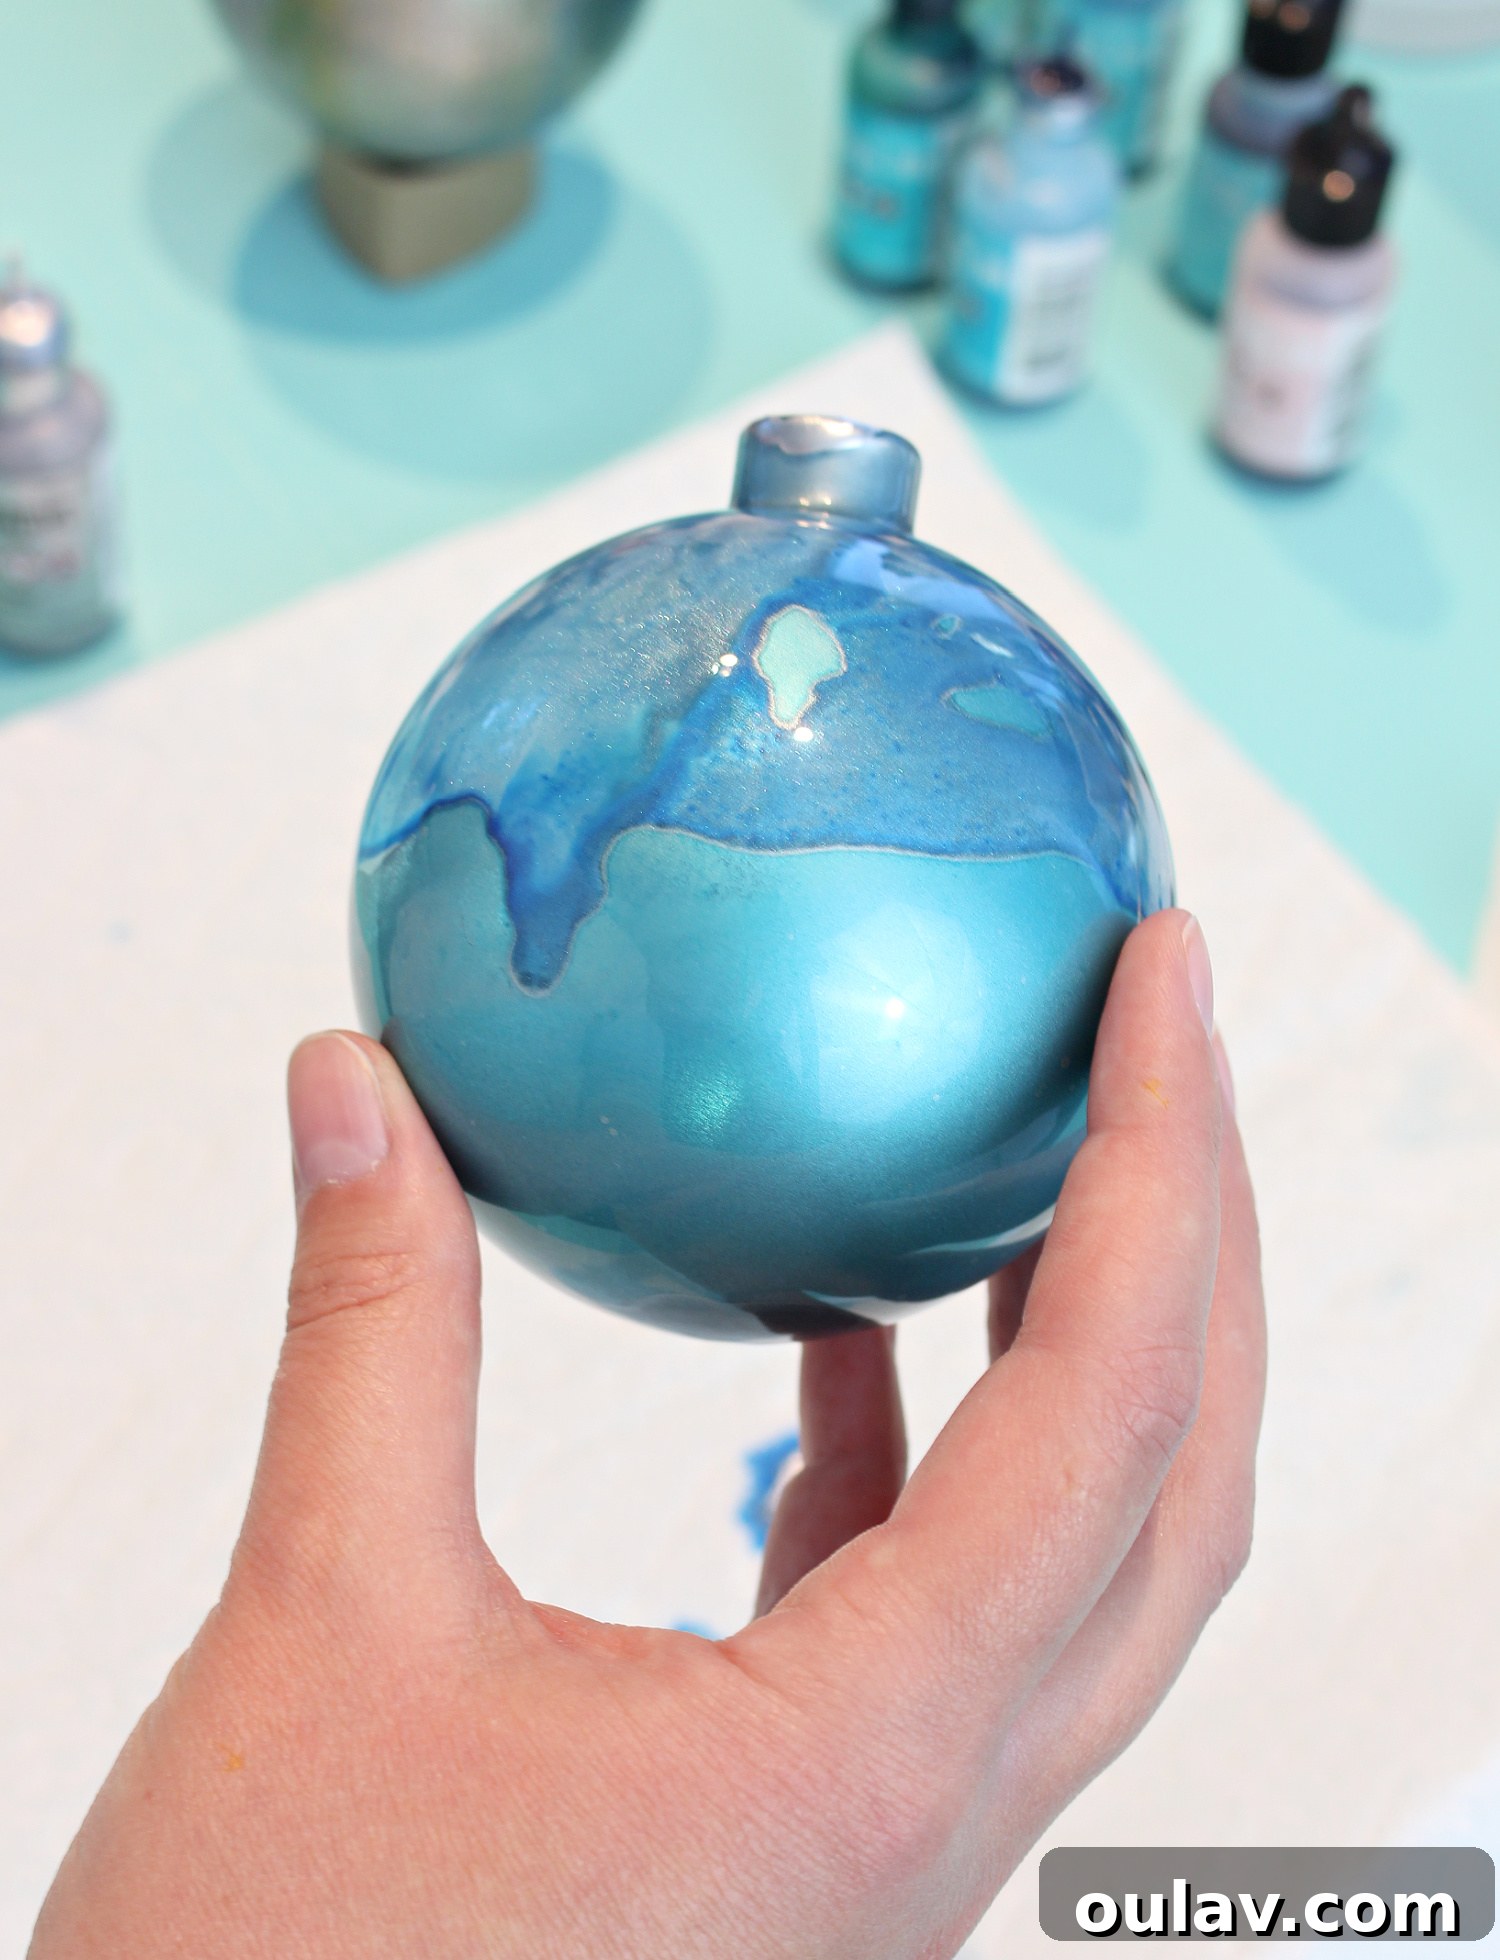
Once the current layer of ink has mostly stopped moving, it’s time to introduce another color and repeat the swirling and drying process. For most of my alcohol ink ornaments, I typically used a combination of 3 to 5 different colors, almost always including a metallic ink for that extra sparkle. Be mindful of color theory as you layer; some mixing will naturally occur, creating new hues (e.g., yellow and blue will form green). Embrace this spontaneity, but also be aware of how colors might combine to avoid unexpected results. Experimentation is part of the fun!
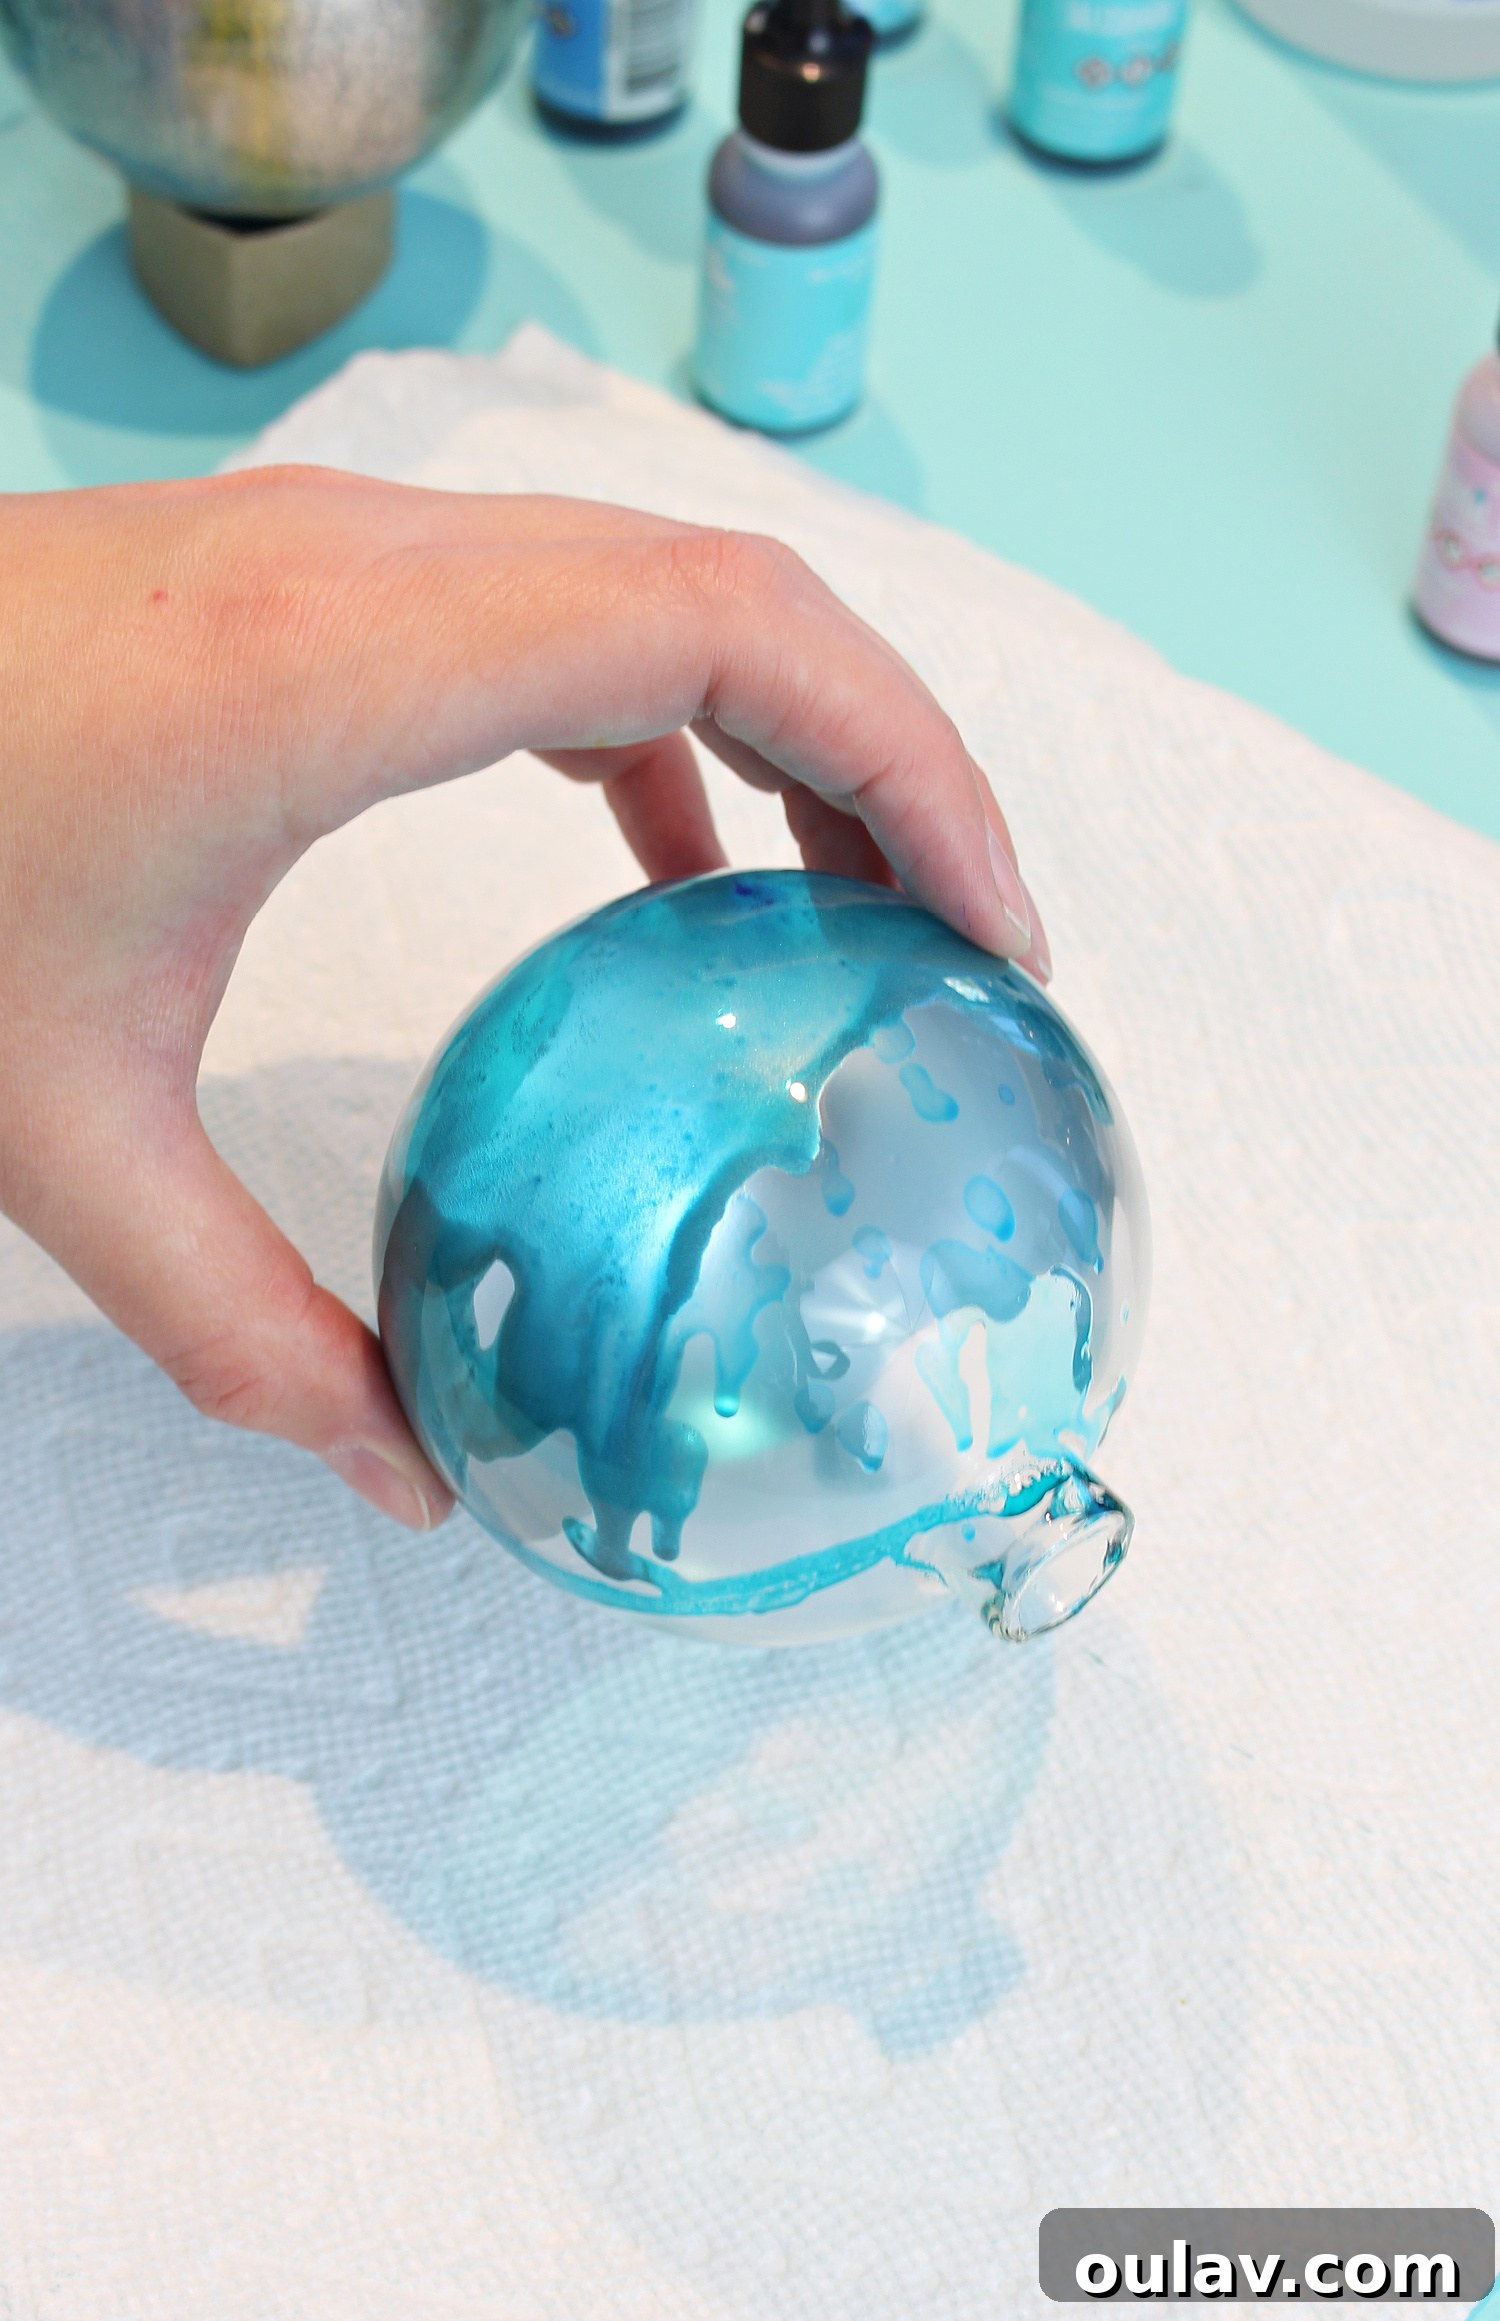
Step 7: Optimize Your Workflow for Patience and Creativity
I discovered that the most efficient way to work was to create several ornaments simultaneously. This allowed me to set one ornament aside to dry while I moved on to swirling inks in another. This not only helped me achieve clearer distinctions between colors but also made the waiting process much more enjoyable (patience isn’t always my strongest suit!). This rotating workflow keeps your hands busy and your creative juices flowing.
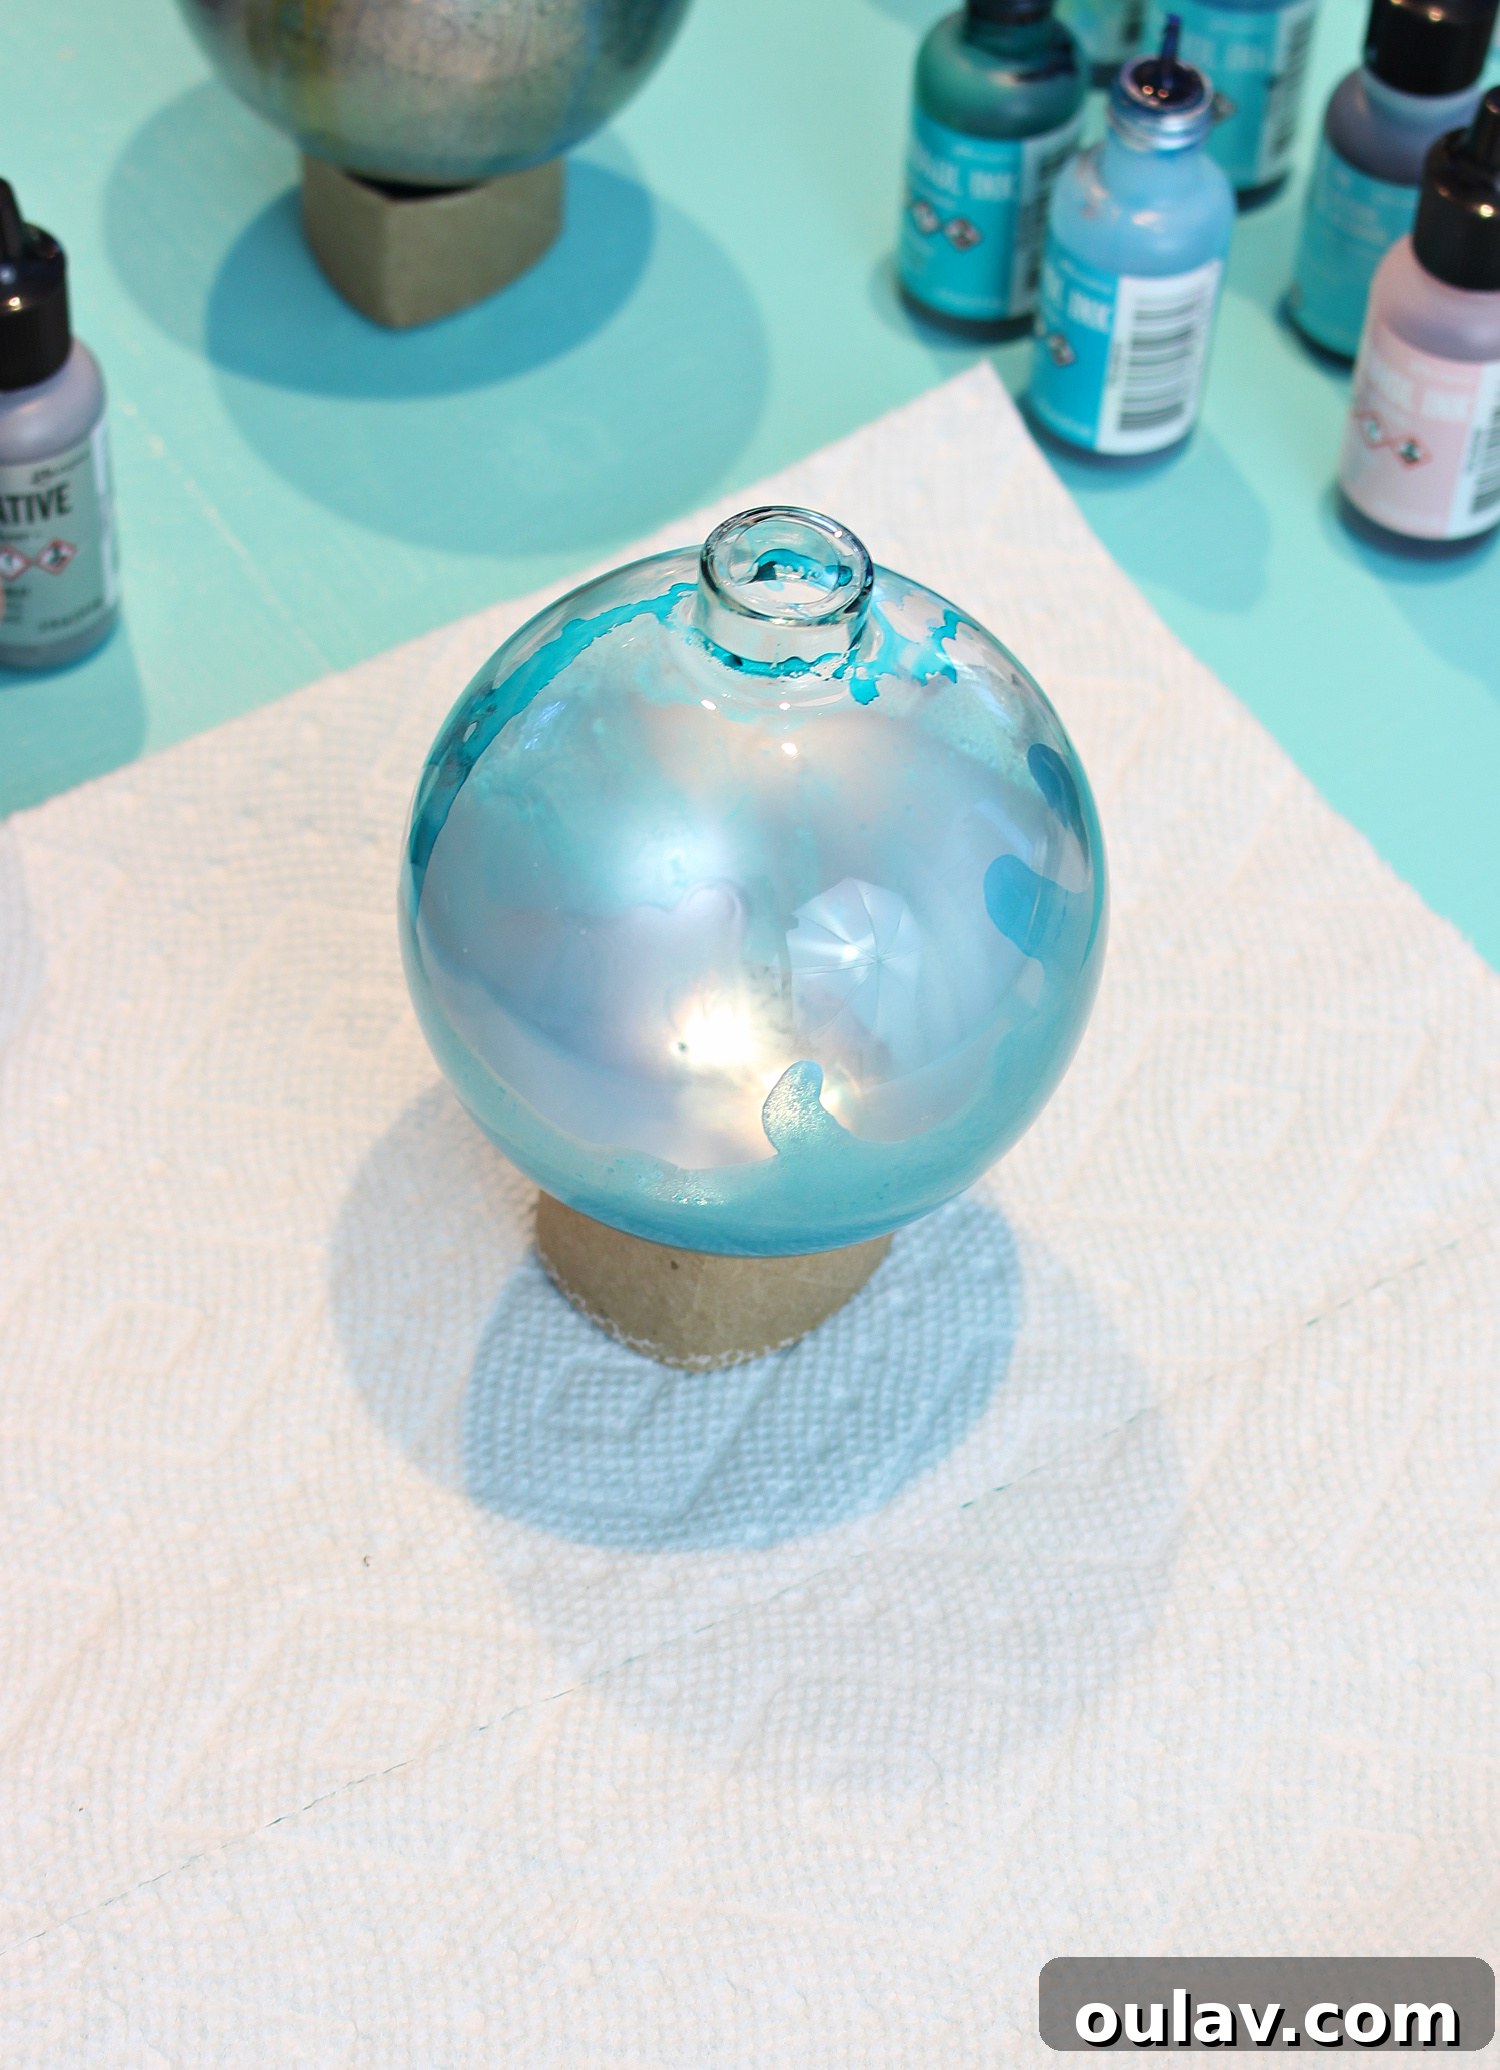
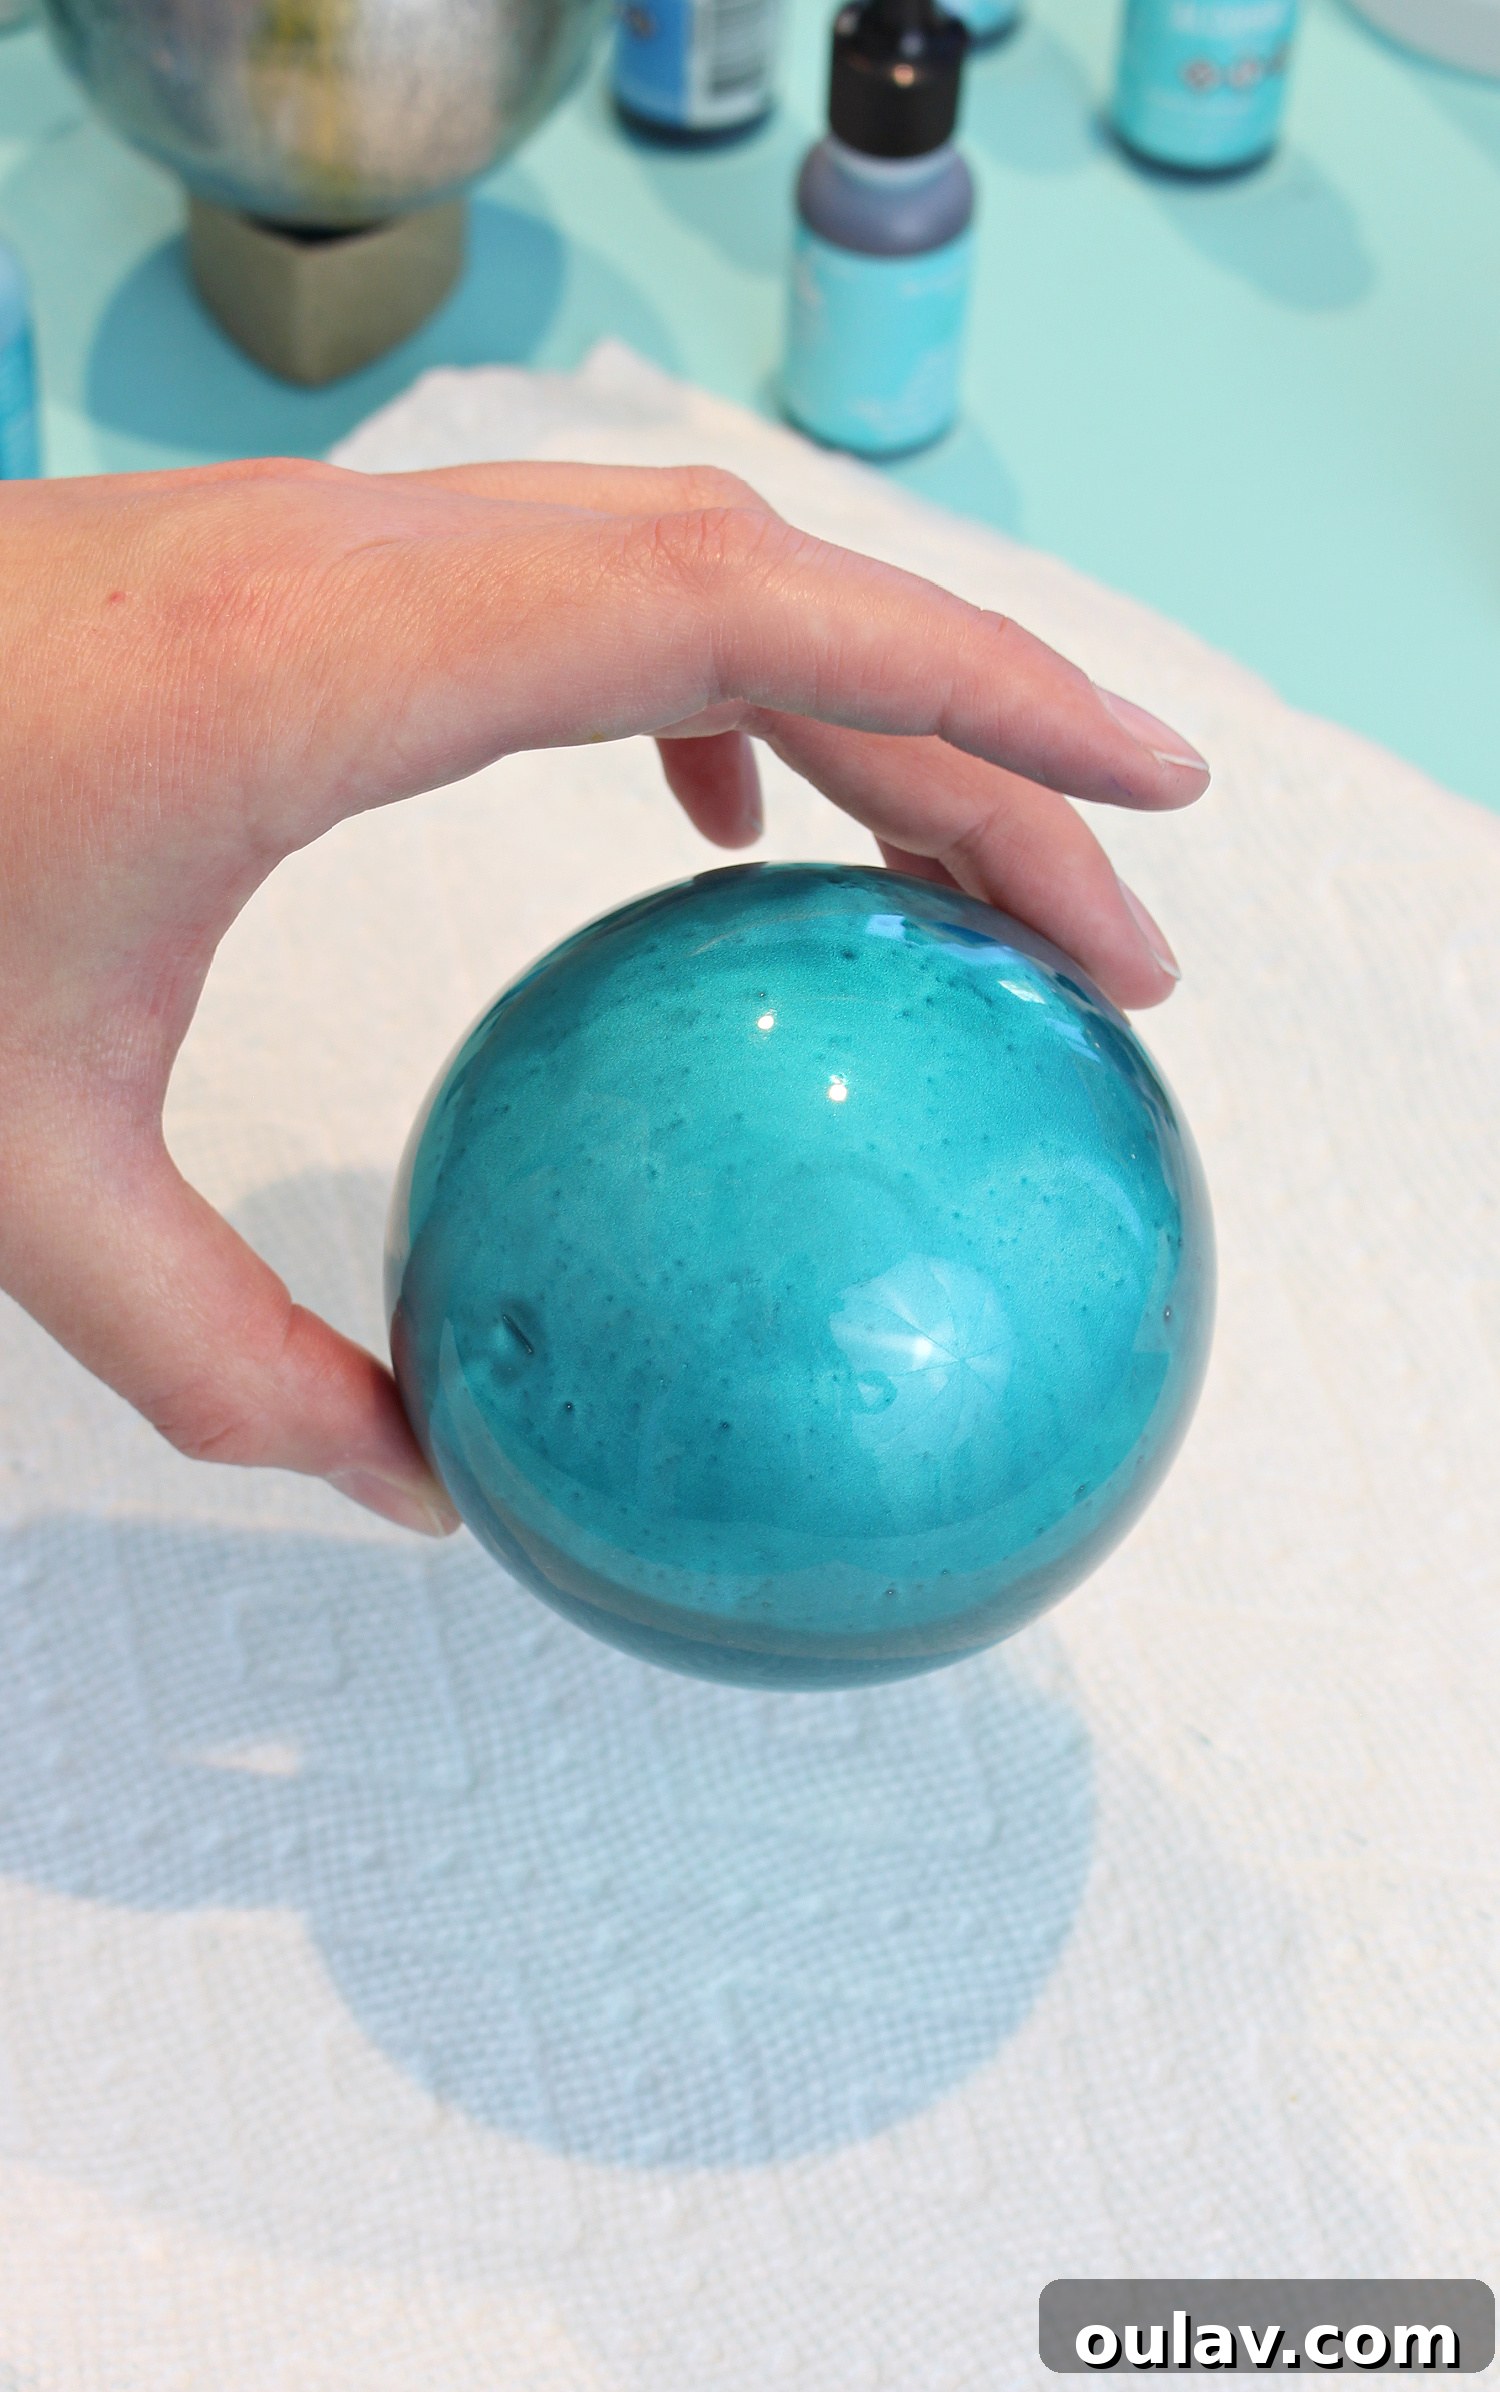
Step 8: Experiment with Movement for Diverse Effects
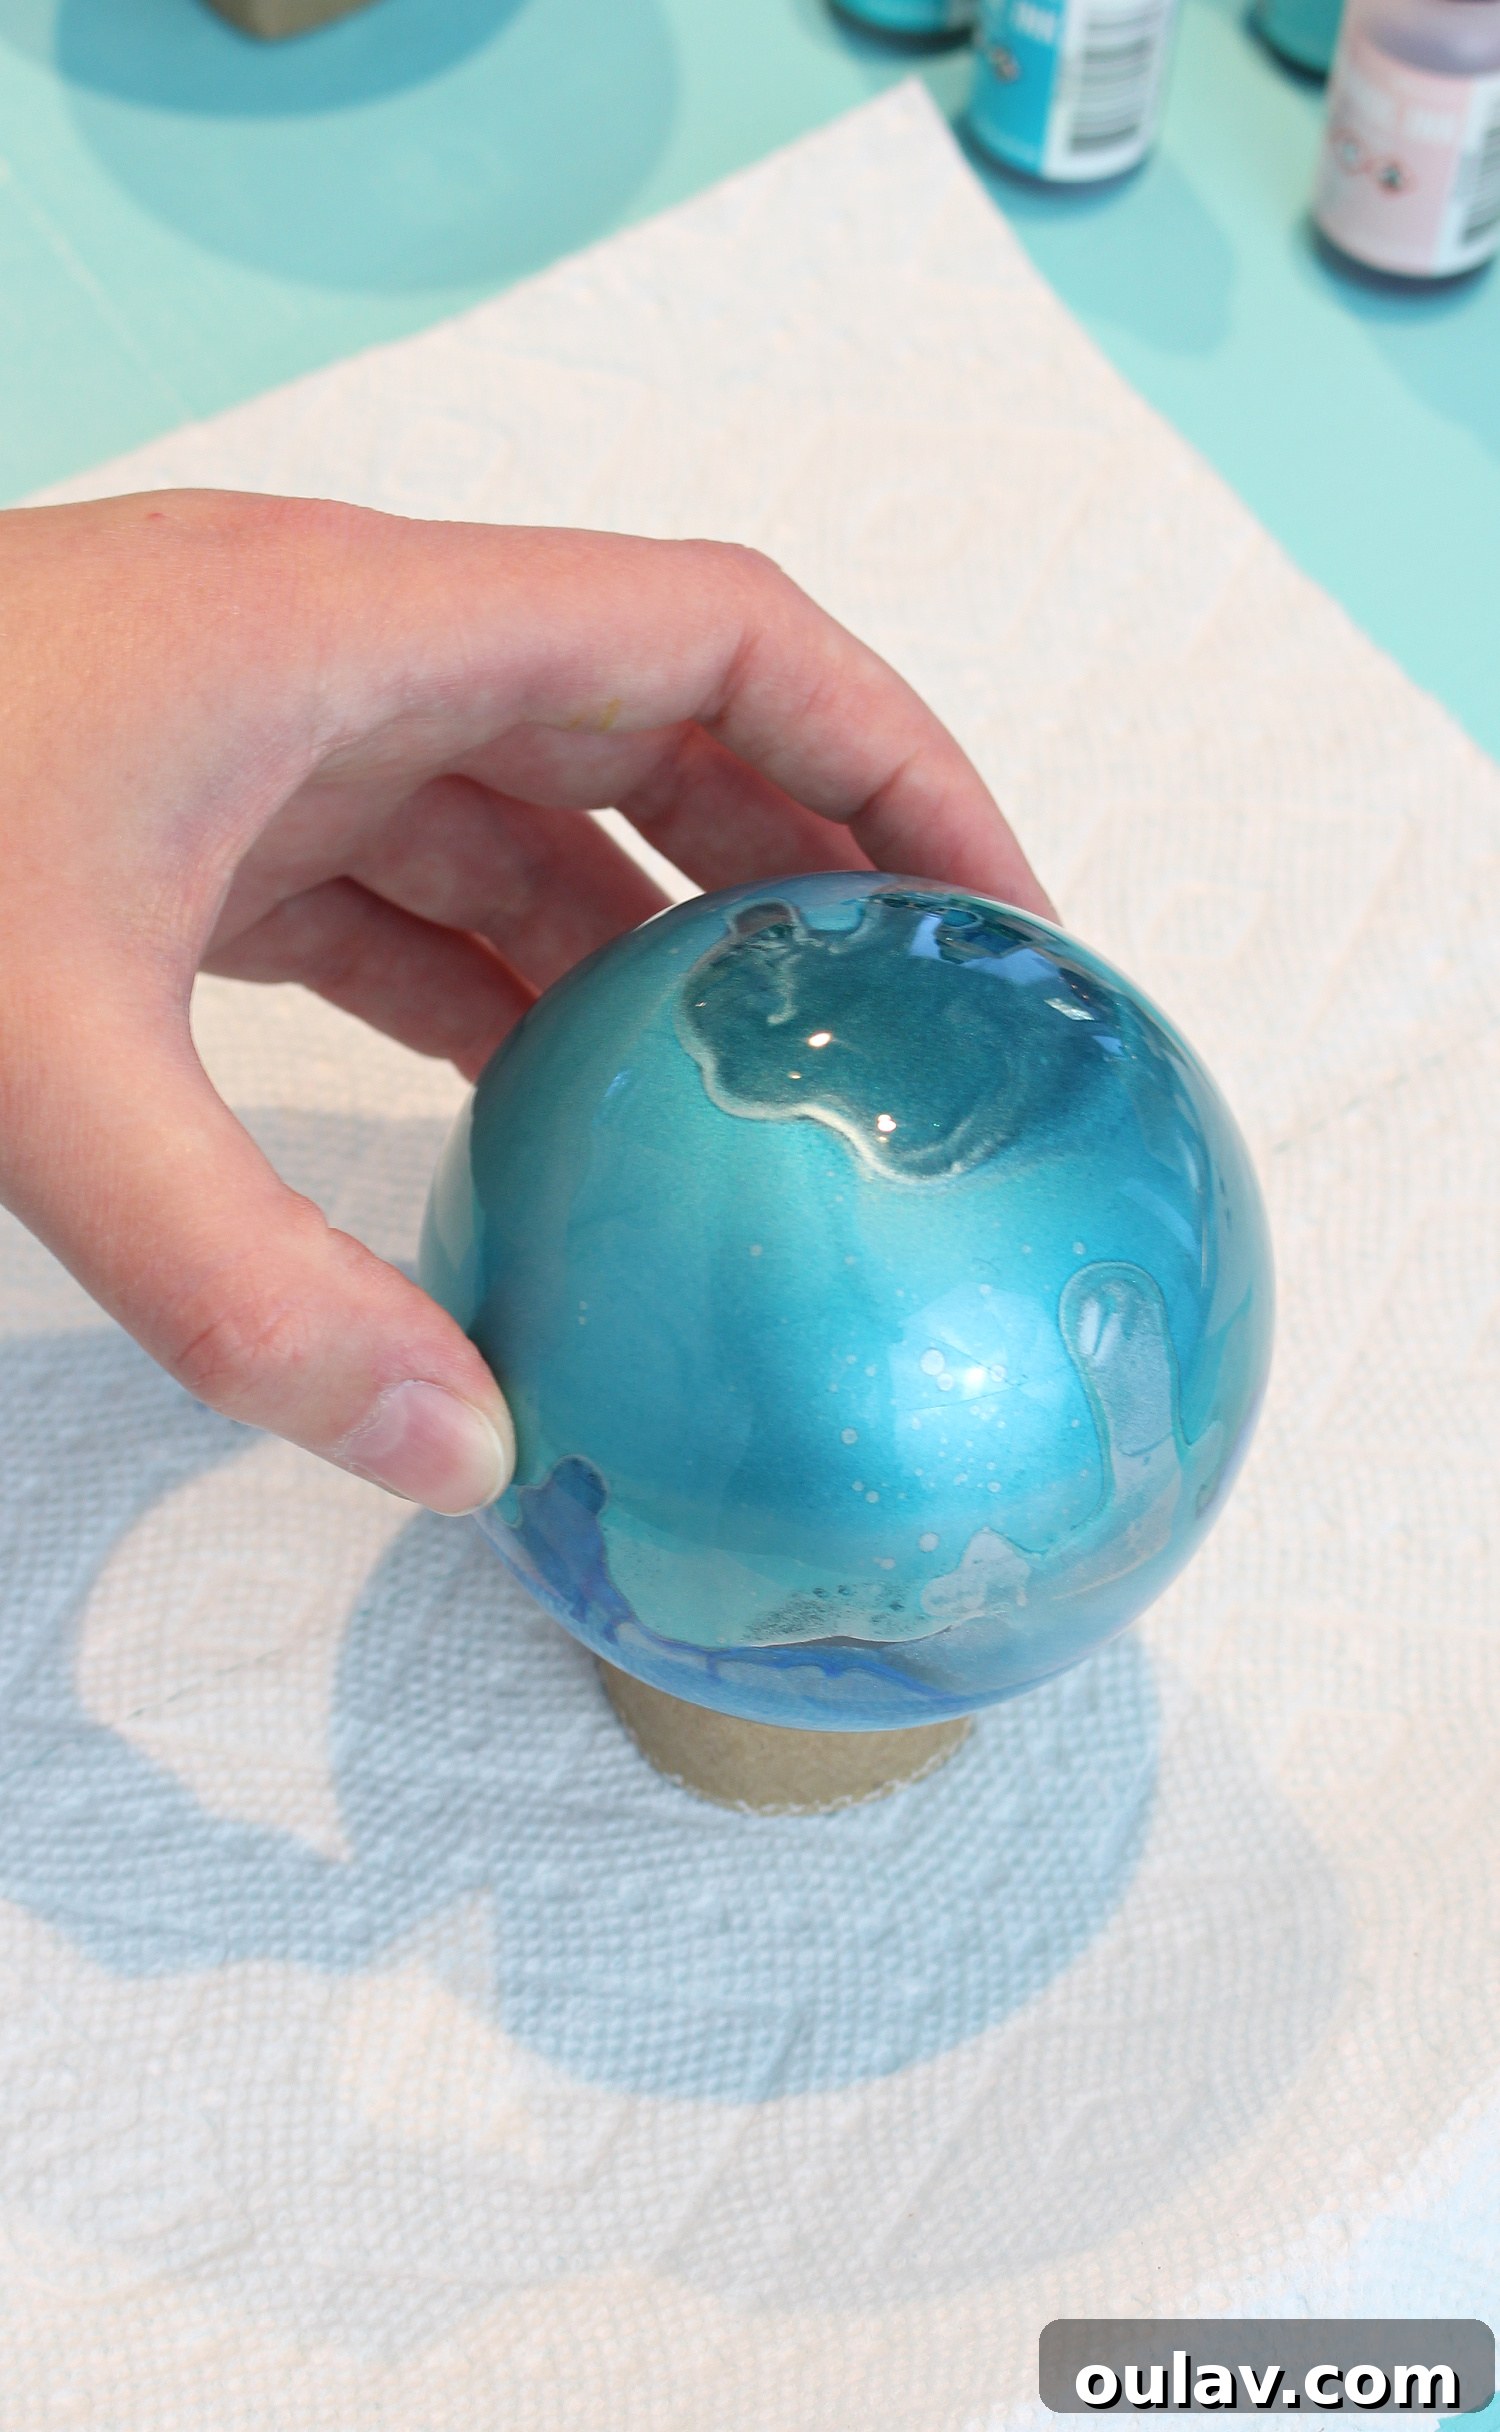
Don’t be afraid to experiment! Tilt and rotate the ornament in various ways to see how the inks respond and flow. Different movements will create vastly different and exciting effects, from delicate veins to bold, sweeping patterns. Each ornament becomes a unique canvas for your creative expression.
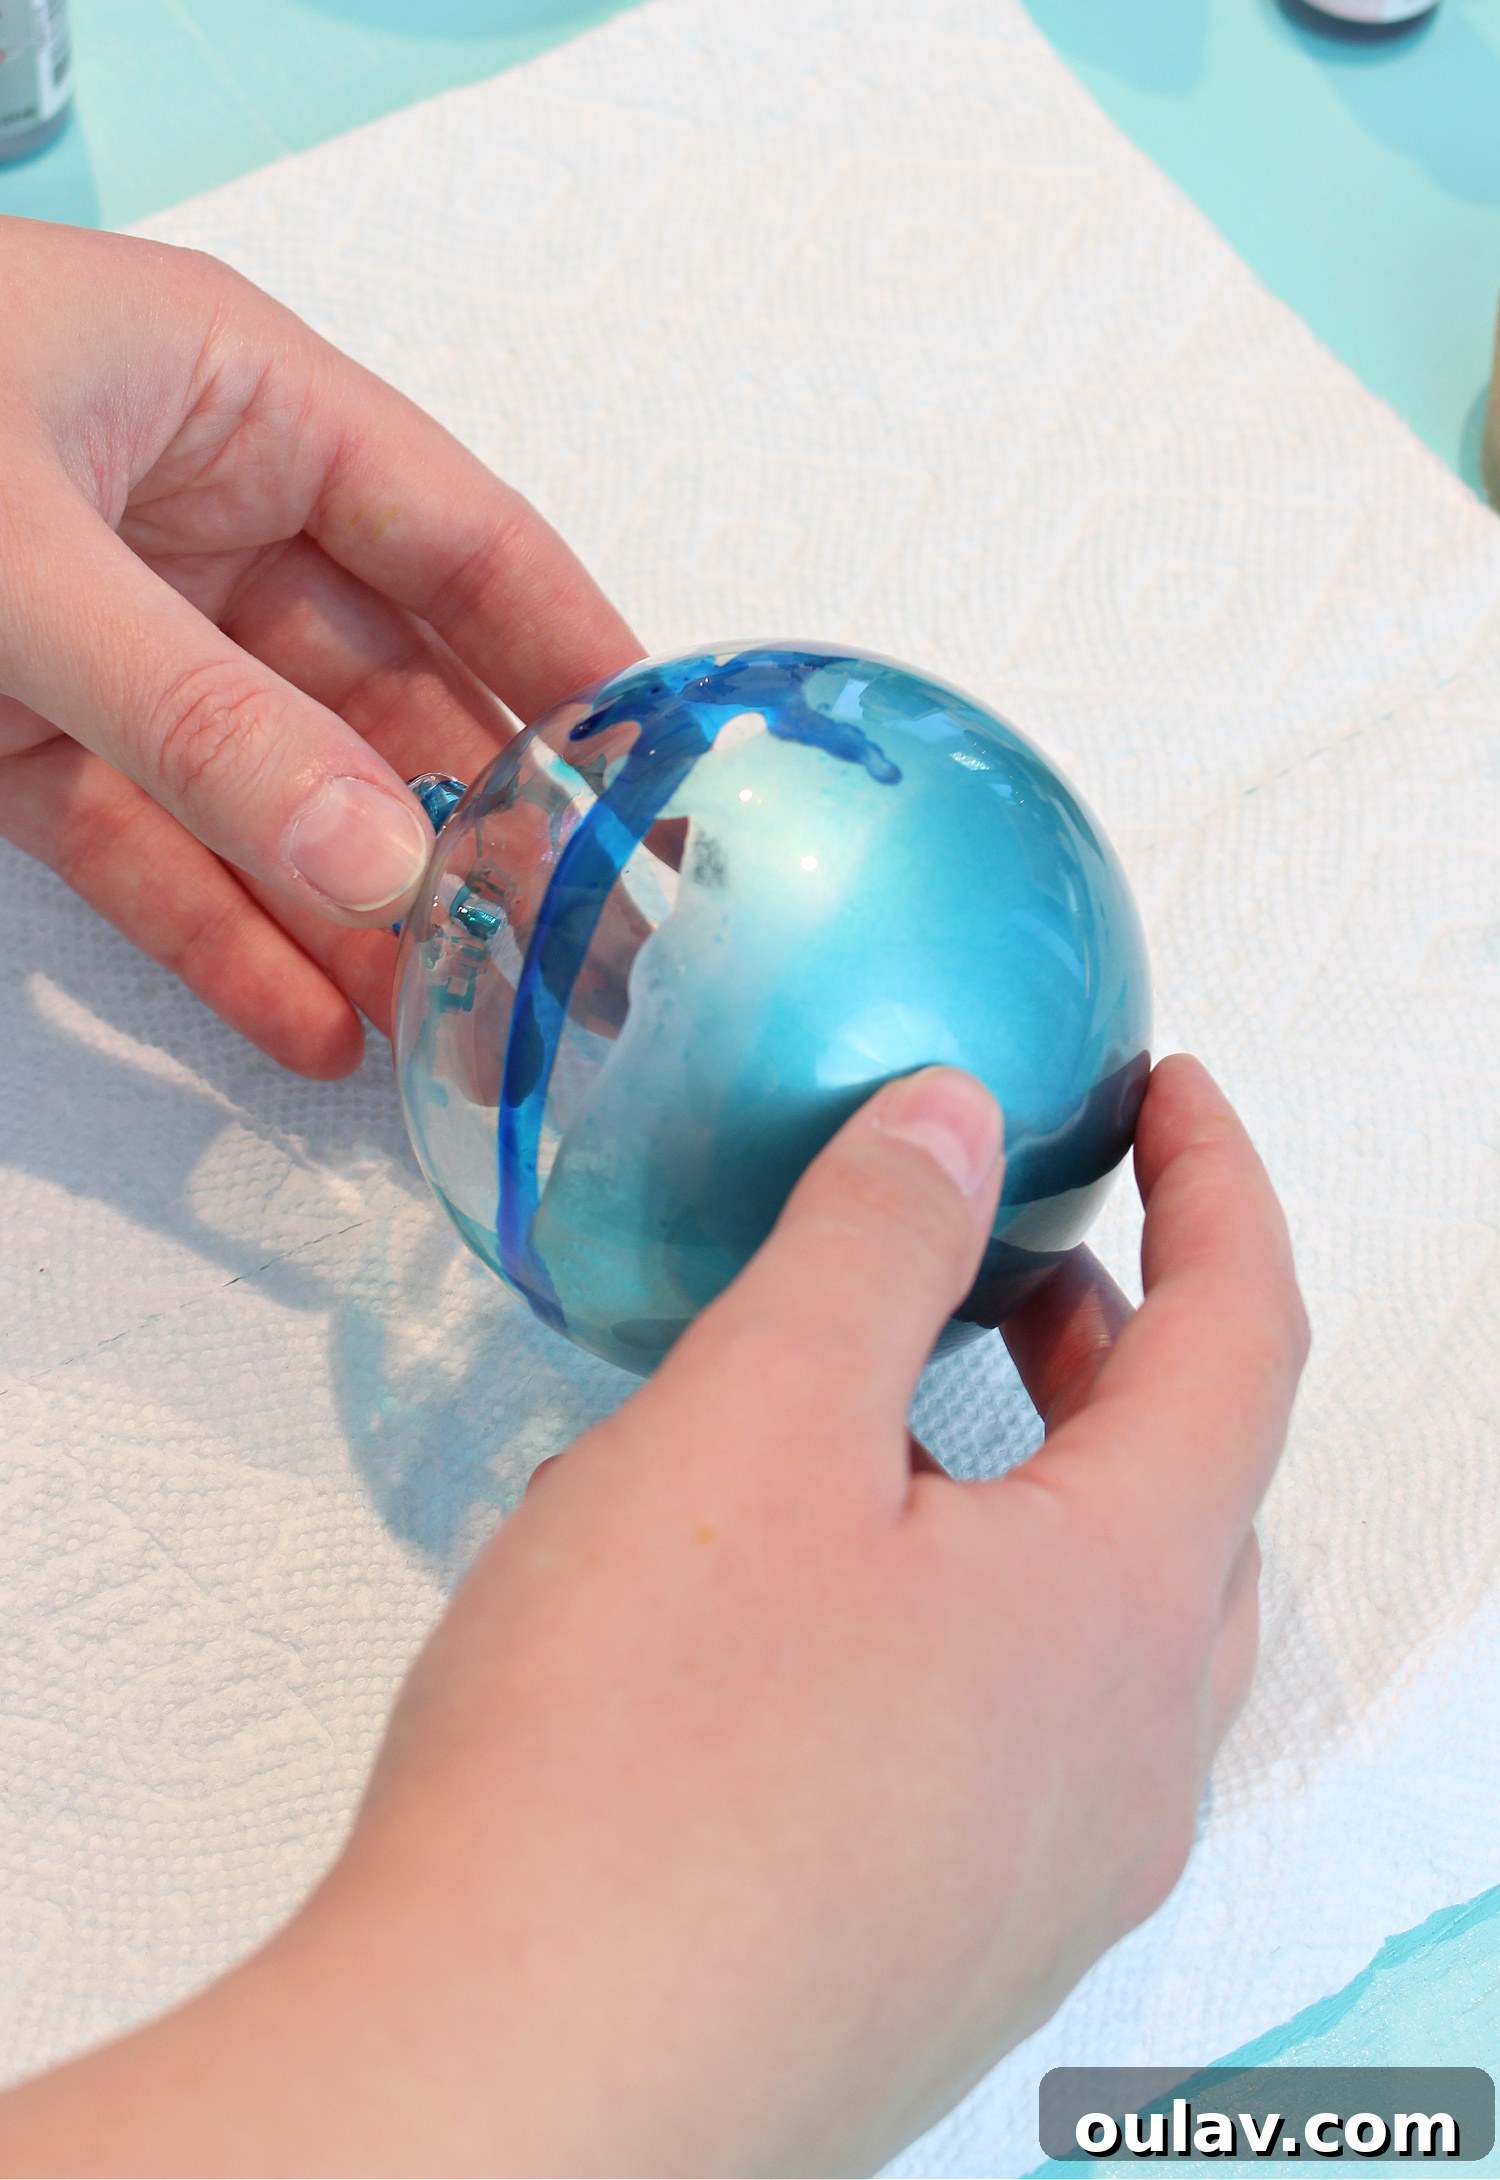
Step 9: Troubleshooting and Refining Your Design
What if you’re not satisfied with a design? No problem! Alcohol ink projects are forgiving. You can swirl in a small amount of rubbing alcohol to reactivate and thin the existing ink, then pour it out and start fresh. Alternatively, you can simply continue adding more colors, building up the layers until you achieve a look you love. Don’t be afraid to adjust and refine as you go.
Step 10: Final Drying and Cleanup
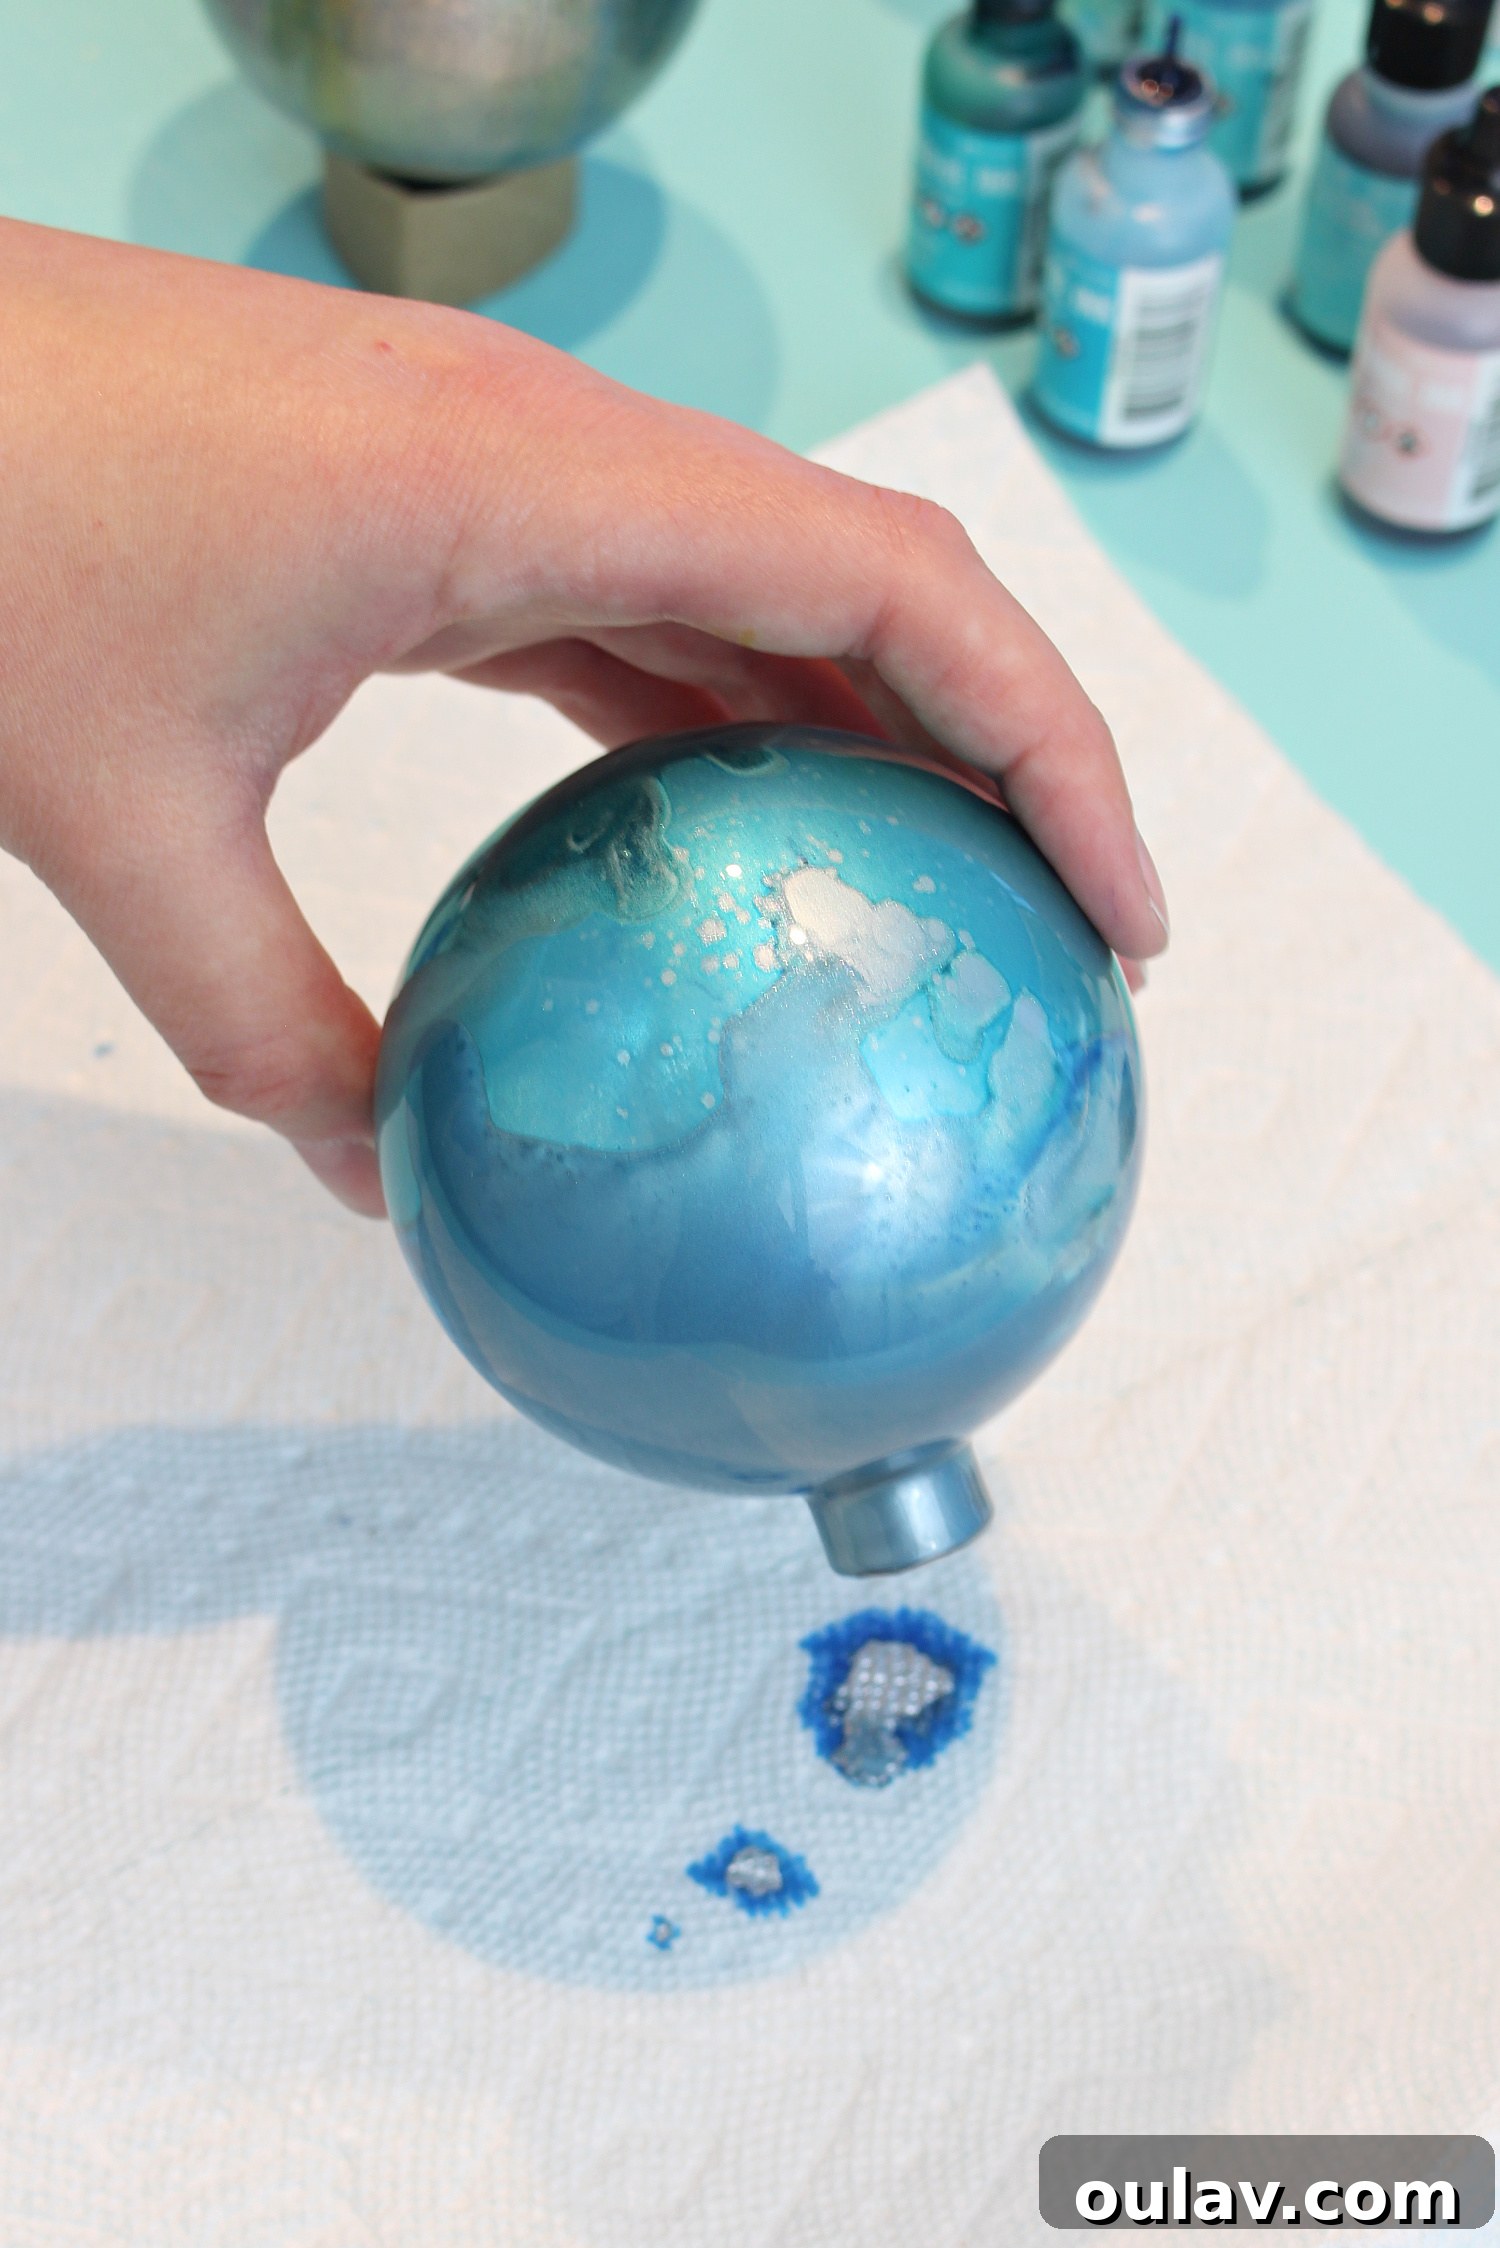
Once you are completely happy with the intricate design inside your ornament, pour out any excess liquid ink. Then, use the hairdryer one last time to thoroughly dry the interior and “lock in” your beautiful creation. Continue blasting with air until you no longer see any ink moving or pooling inside the ornament. Set the finished ornament on one of your cardboard tube stands to air dry completely overnight. Before the ink fully cures, use rubbing alcohol on a Q-tip to clean up any stray ink from the opening or exterior of the ornament. This ensures a pristine finish.
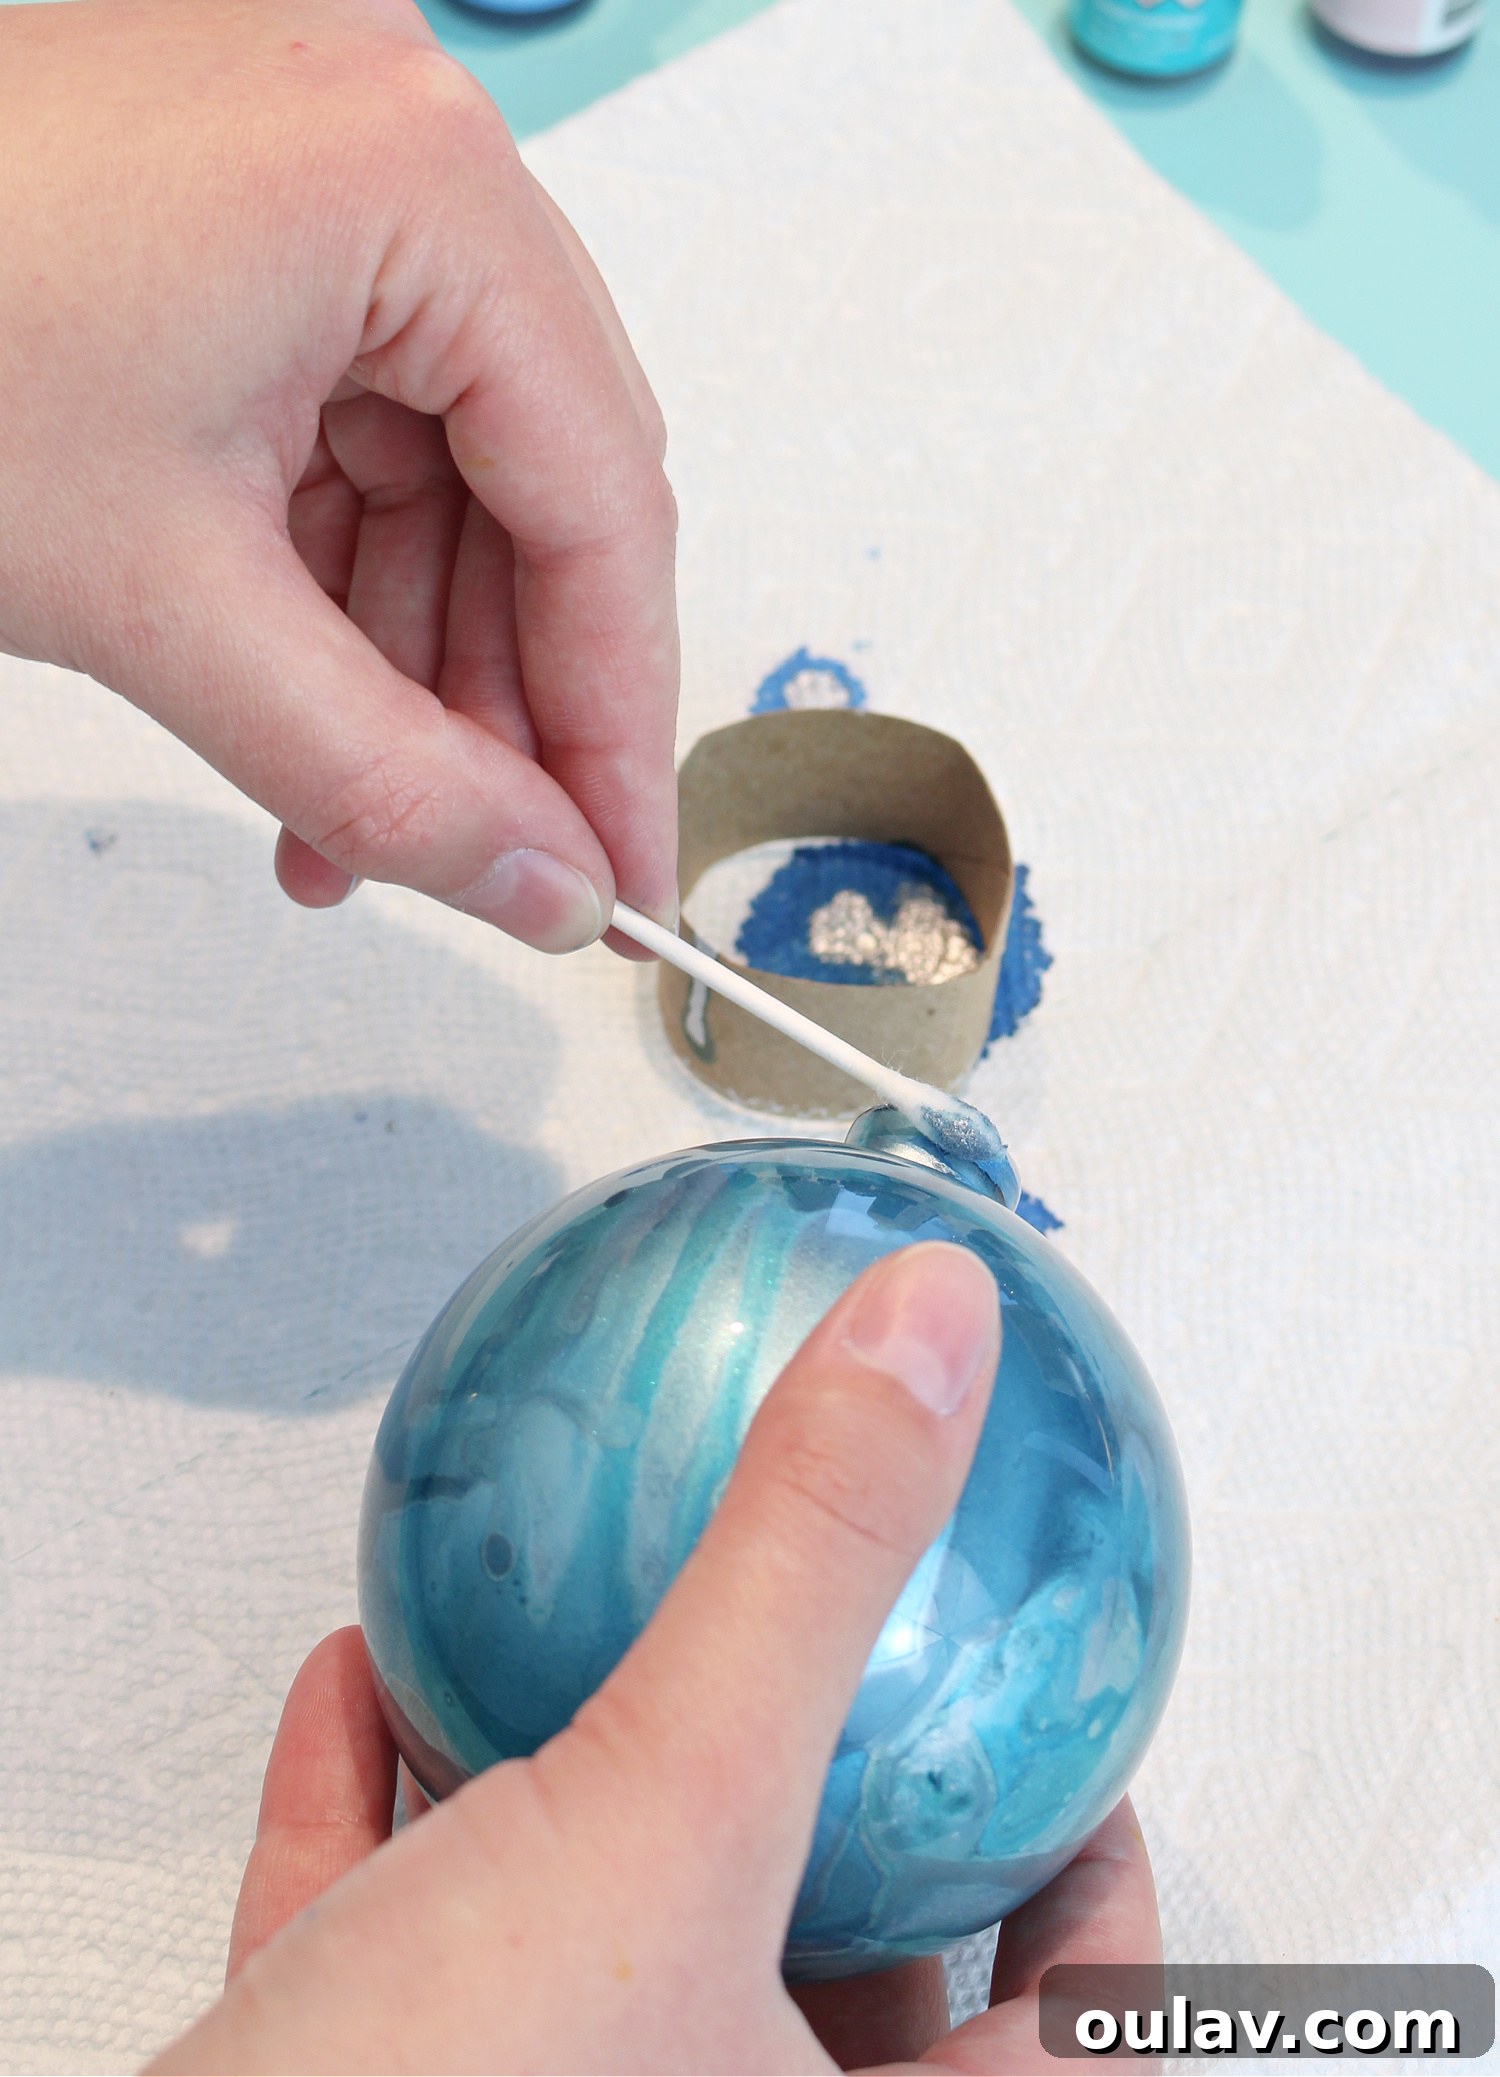
Step 11: Reassemble Your Ornament
After allowing a full overnight drying period to ensure the inks are completely set and cured, you can carefully reattach the ornament cap. Your personalized, hand-painted alcohol ink ornament is now ready to adorn your tree or be given as a thoughtful gift!
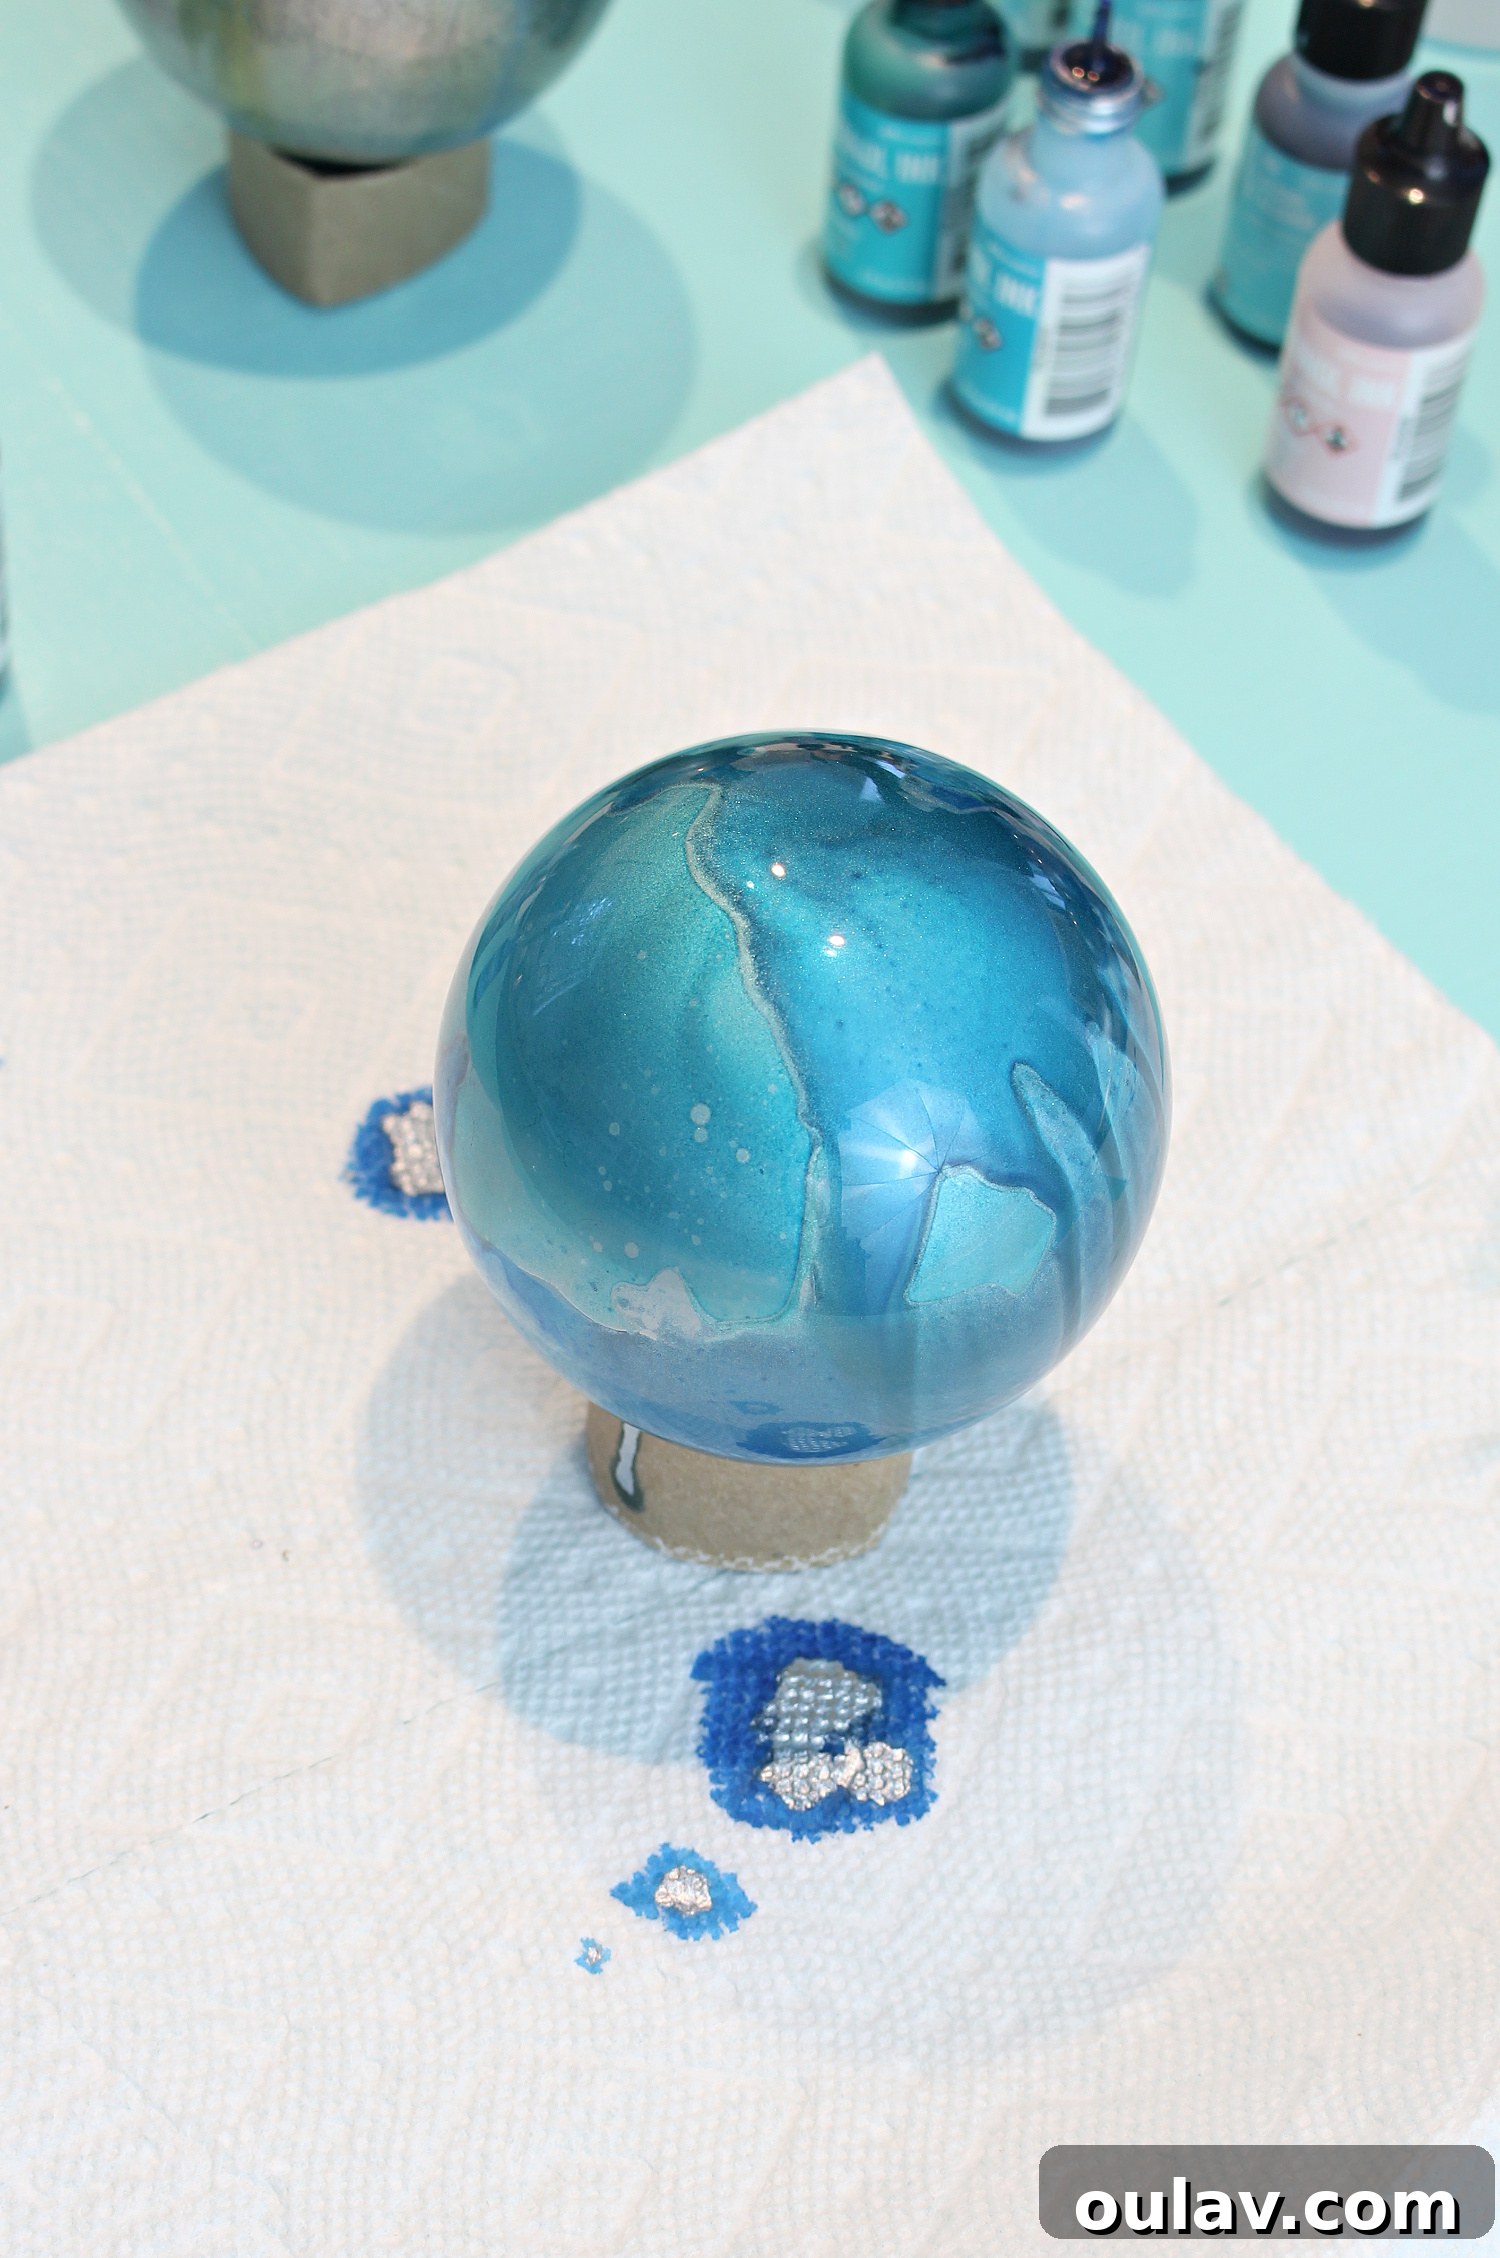
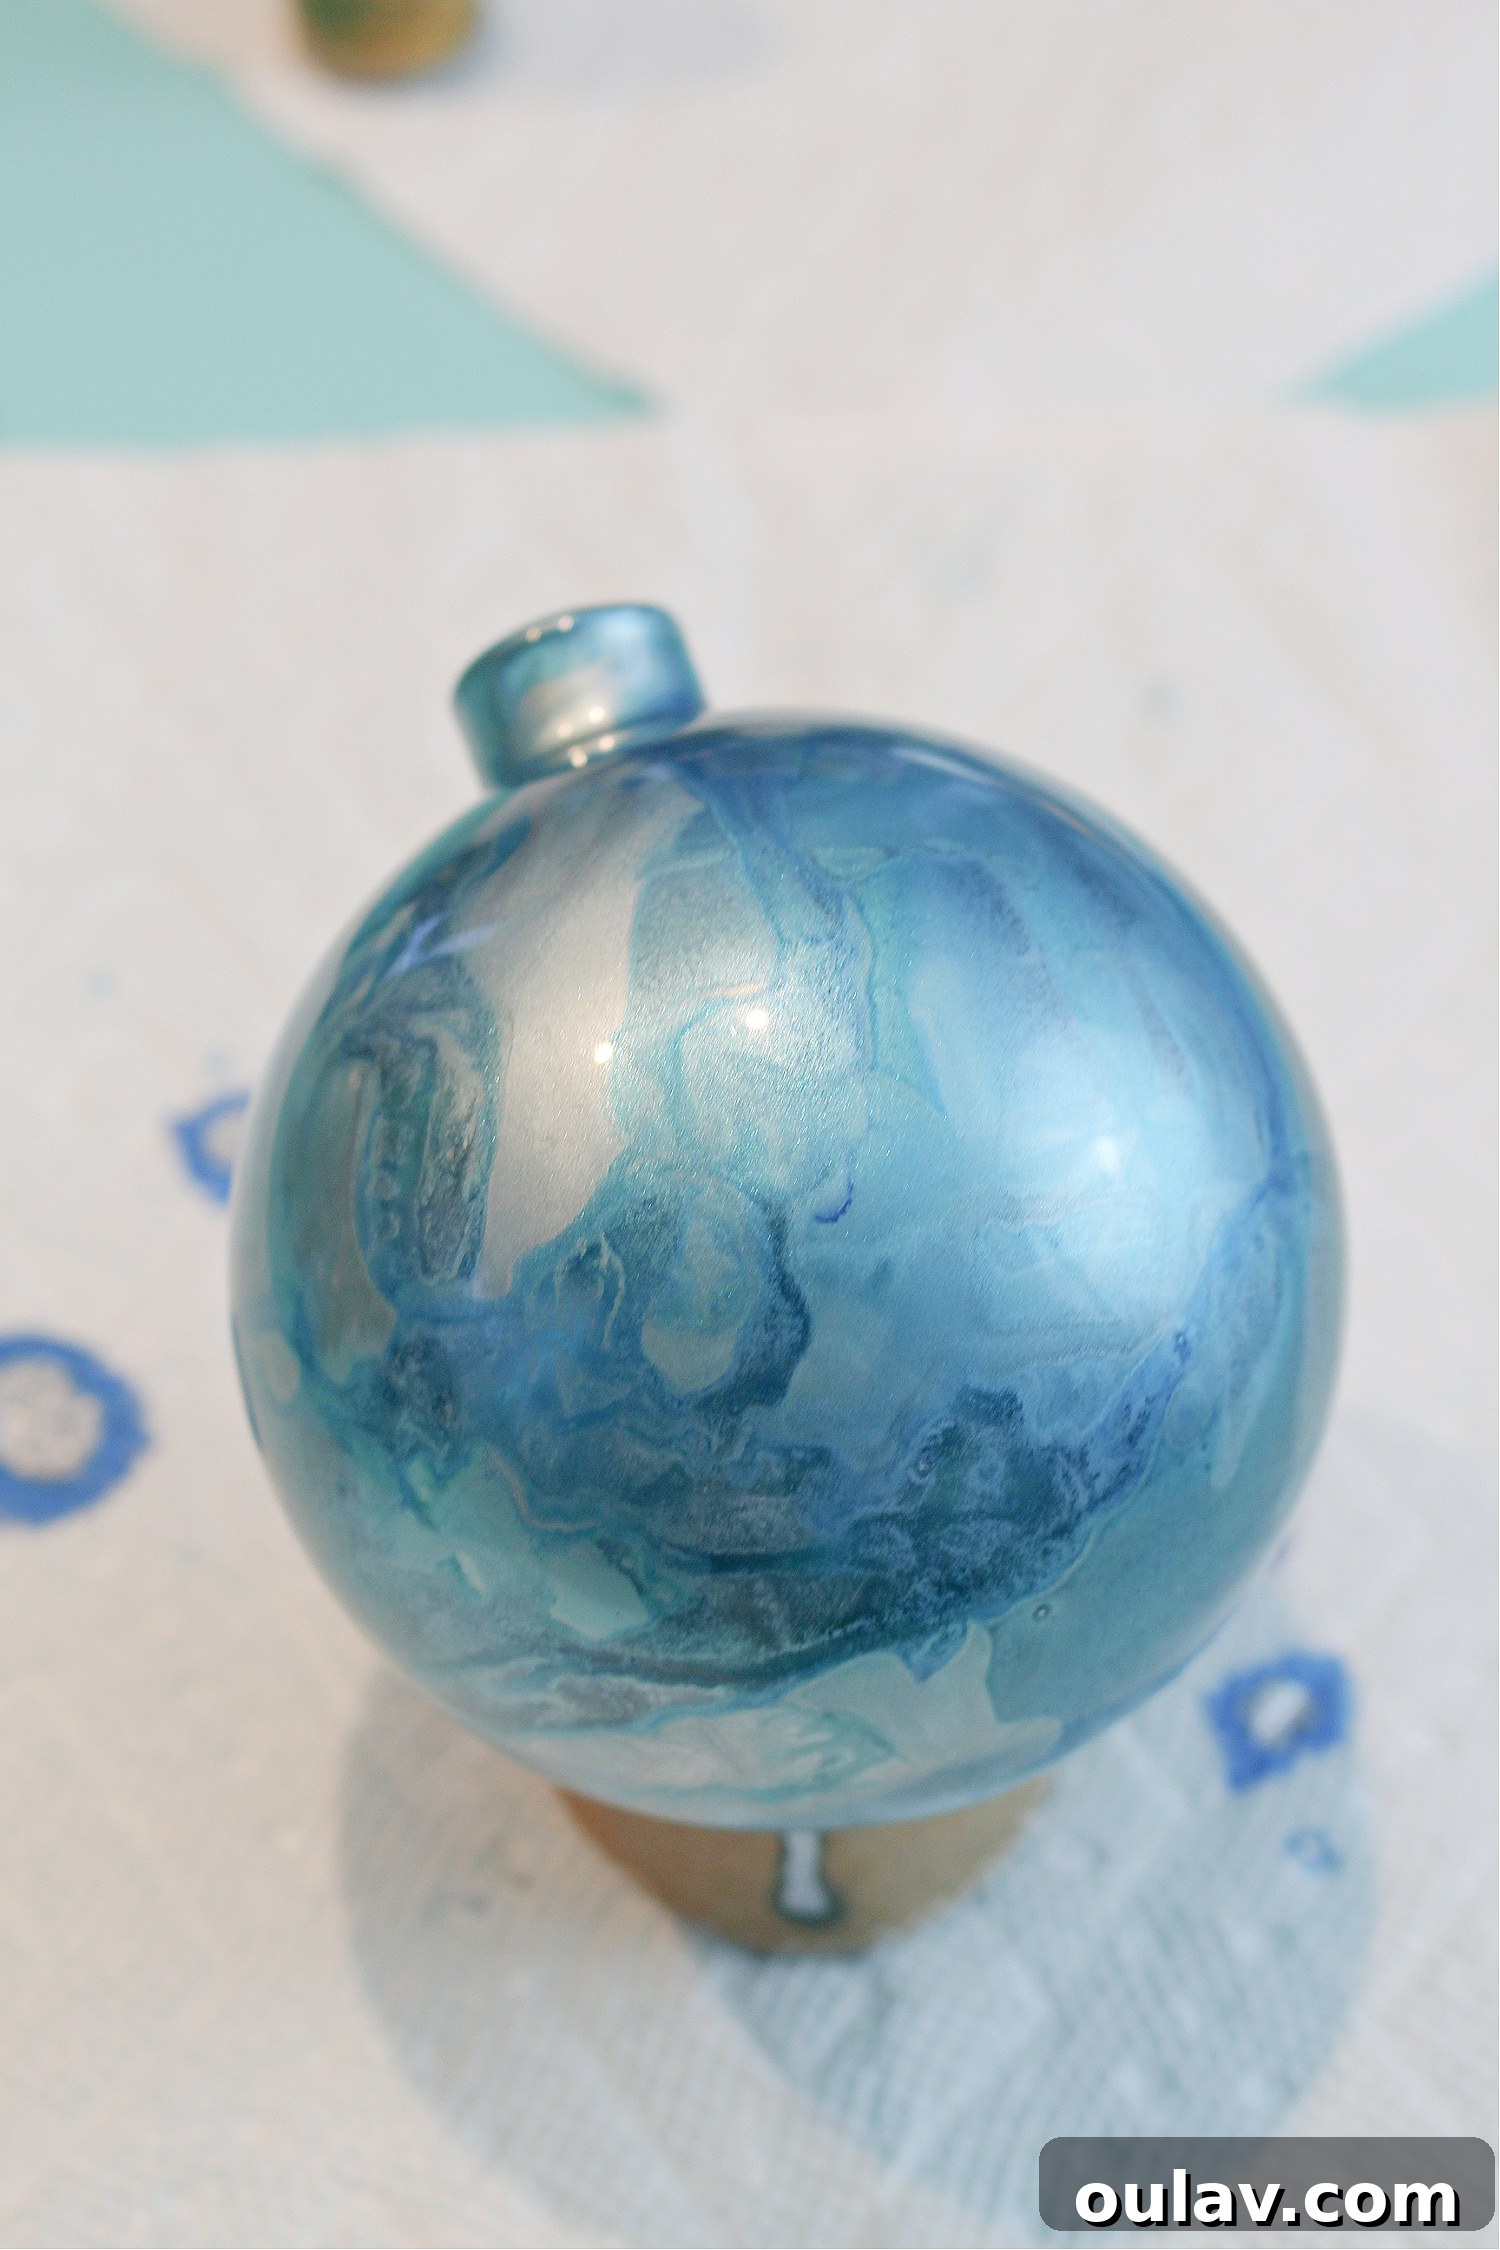
Hot Tip for How to Make Alcohol Ink Ornaments – Patience is a Virtue for Bolder Designs:
The extent to which you allow each layer of ink to dry between color applications directly impacts the final appearance. If you let the ink dry *completely* before adding the next color, you’ll achieve a bolder, more distinct demarcation between hues. This can result in a striking two-tone or multi-layered look, as seen in some of my favorite creations. Conversely, the less the layers have dried, the more they will naturally swirl and blend together, creating softer transitions and new gradient effects. I encourage you to experiment with different drying times between layers to discover the styles and patterns that truly speak to your artistic vision!
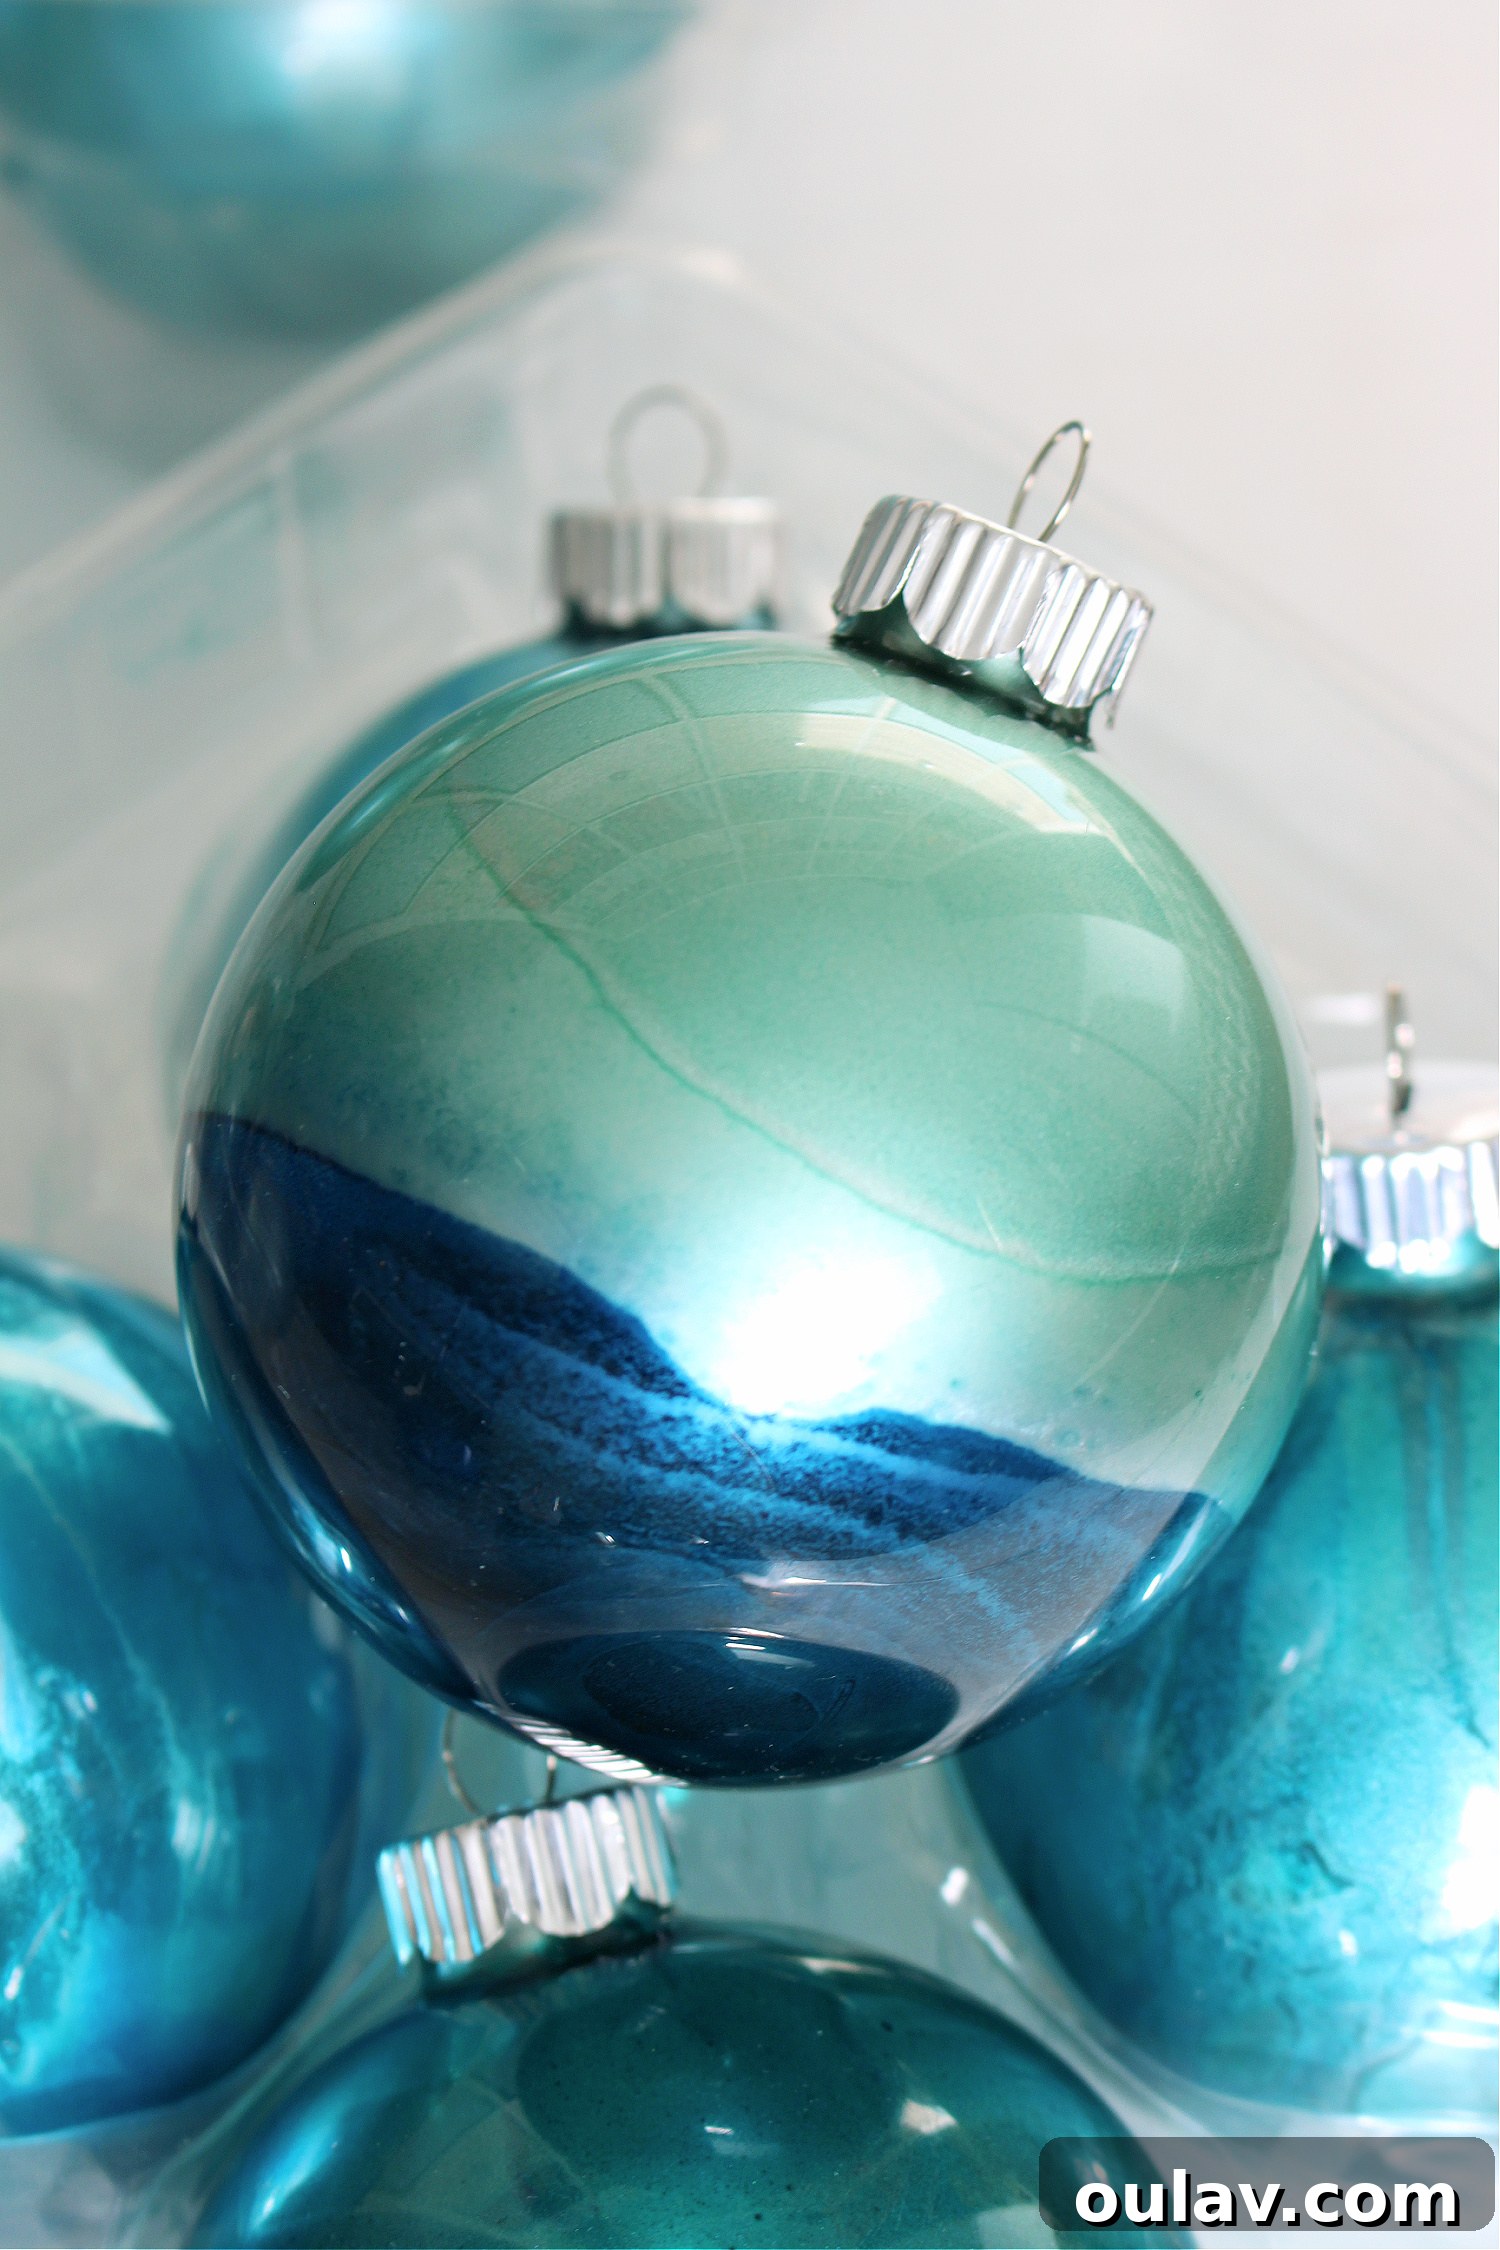
Hot Tip for How to Make Alcohol Ink Ornaments: Embrace the Flow – Be Cool!
My absolute best piece of advice for creating breathtaking alcohol ink ornaments is this: don’t strive for perfection or try too hard to force a specific outcome. Allow the inks to flow naturally. Alcohol inks possess a magical quality, wanting to create beautiful, organic designs all on their own. Your role is simply to guide them with a little coaxing, and then sit back and enjoy the spontaneity of the process! Watching these inks swirl and bloom inside the ornament is mesmerizing. Embrace that joyful journey of creation, and you’ll find that the stunning end results will naturally follow. Let the inks work their magic!
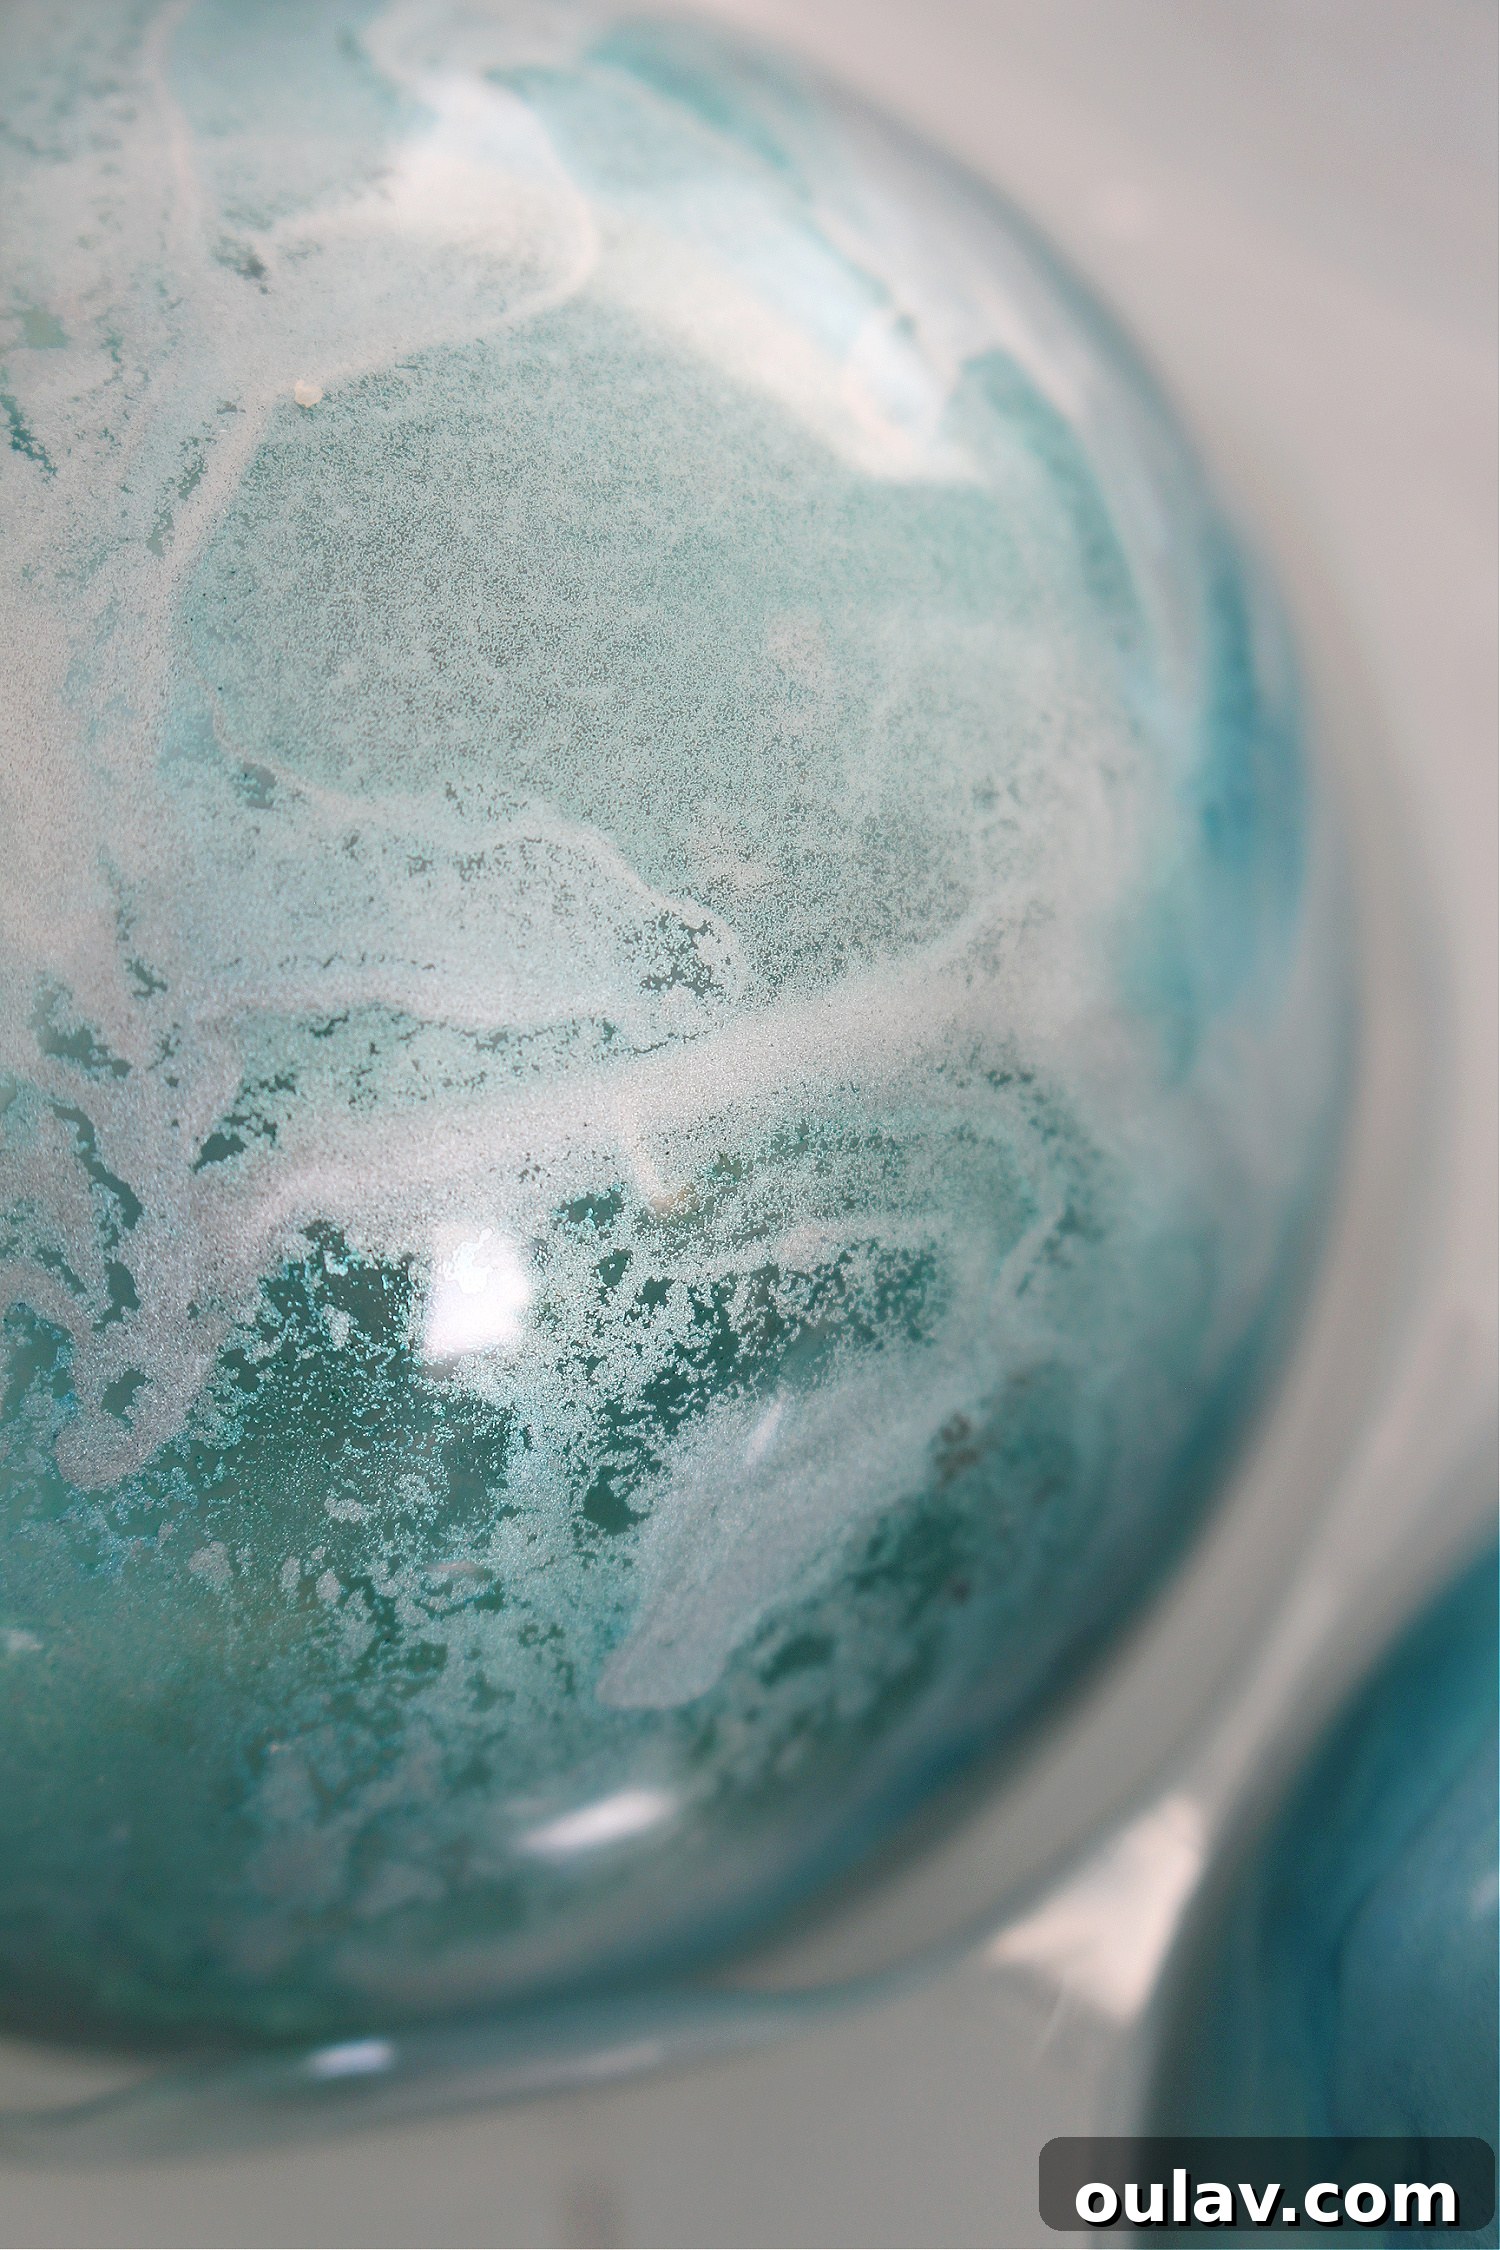
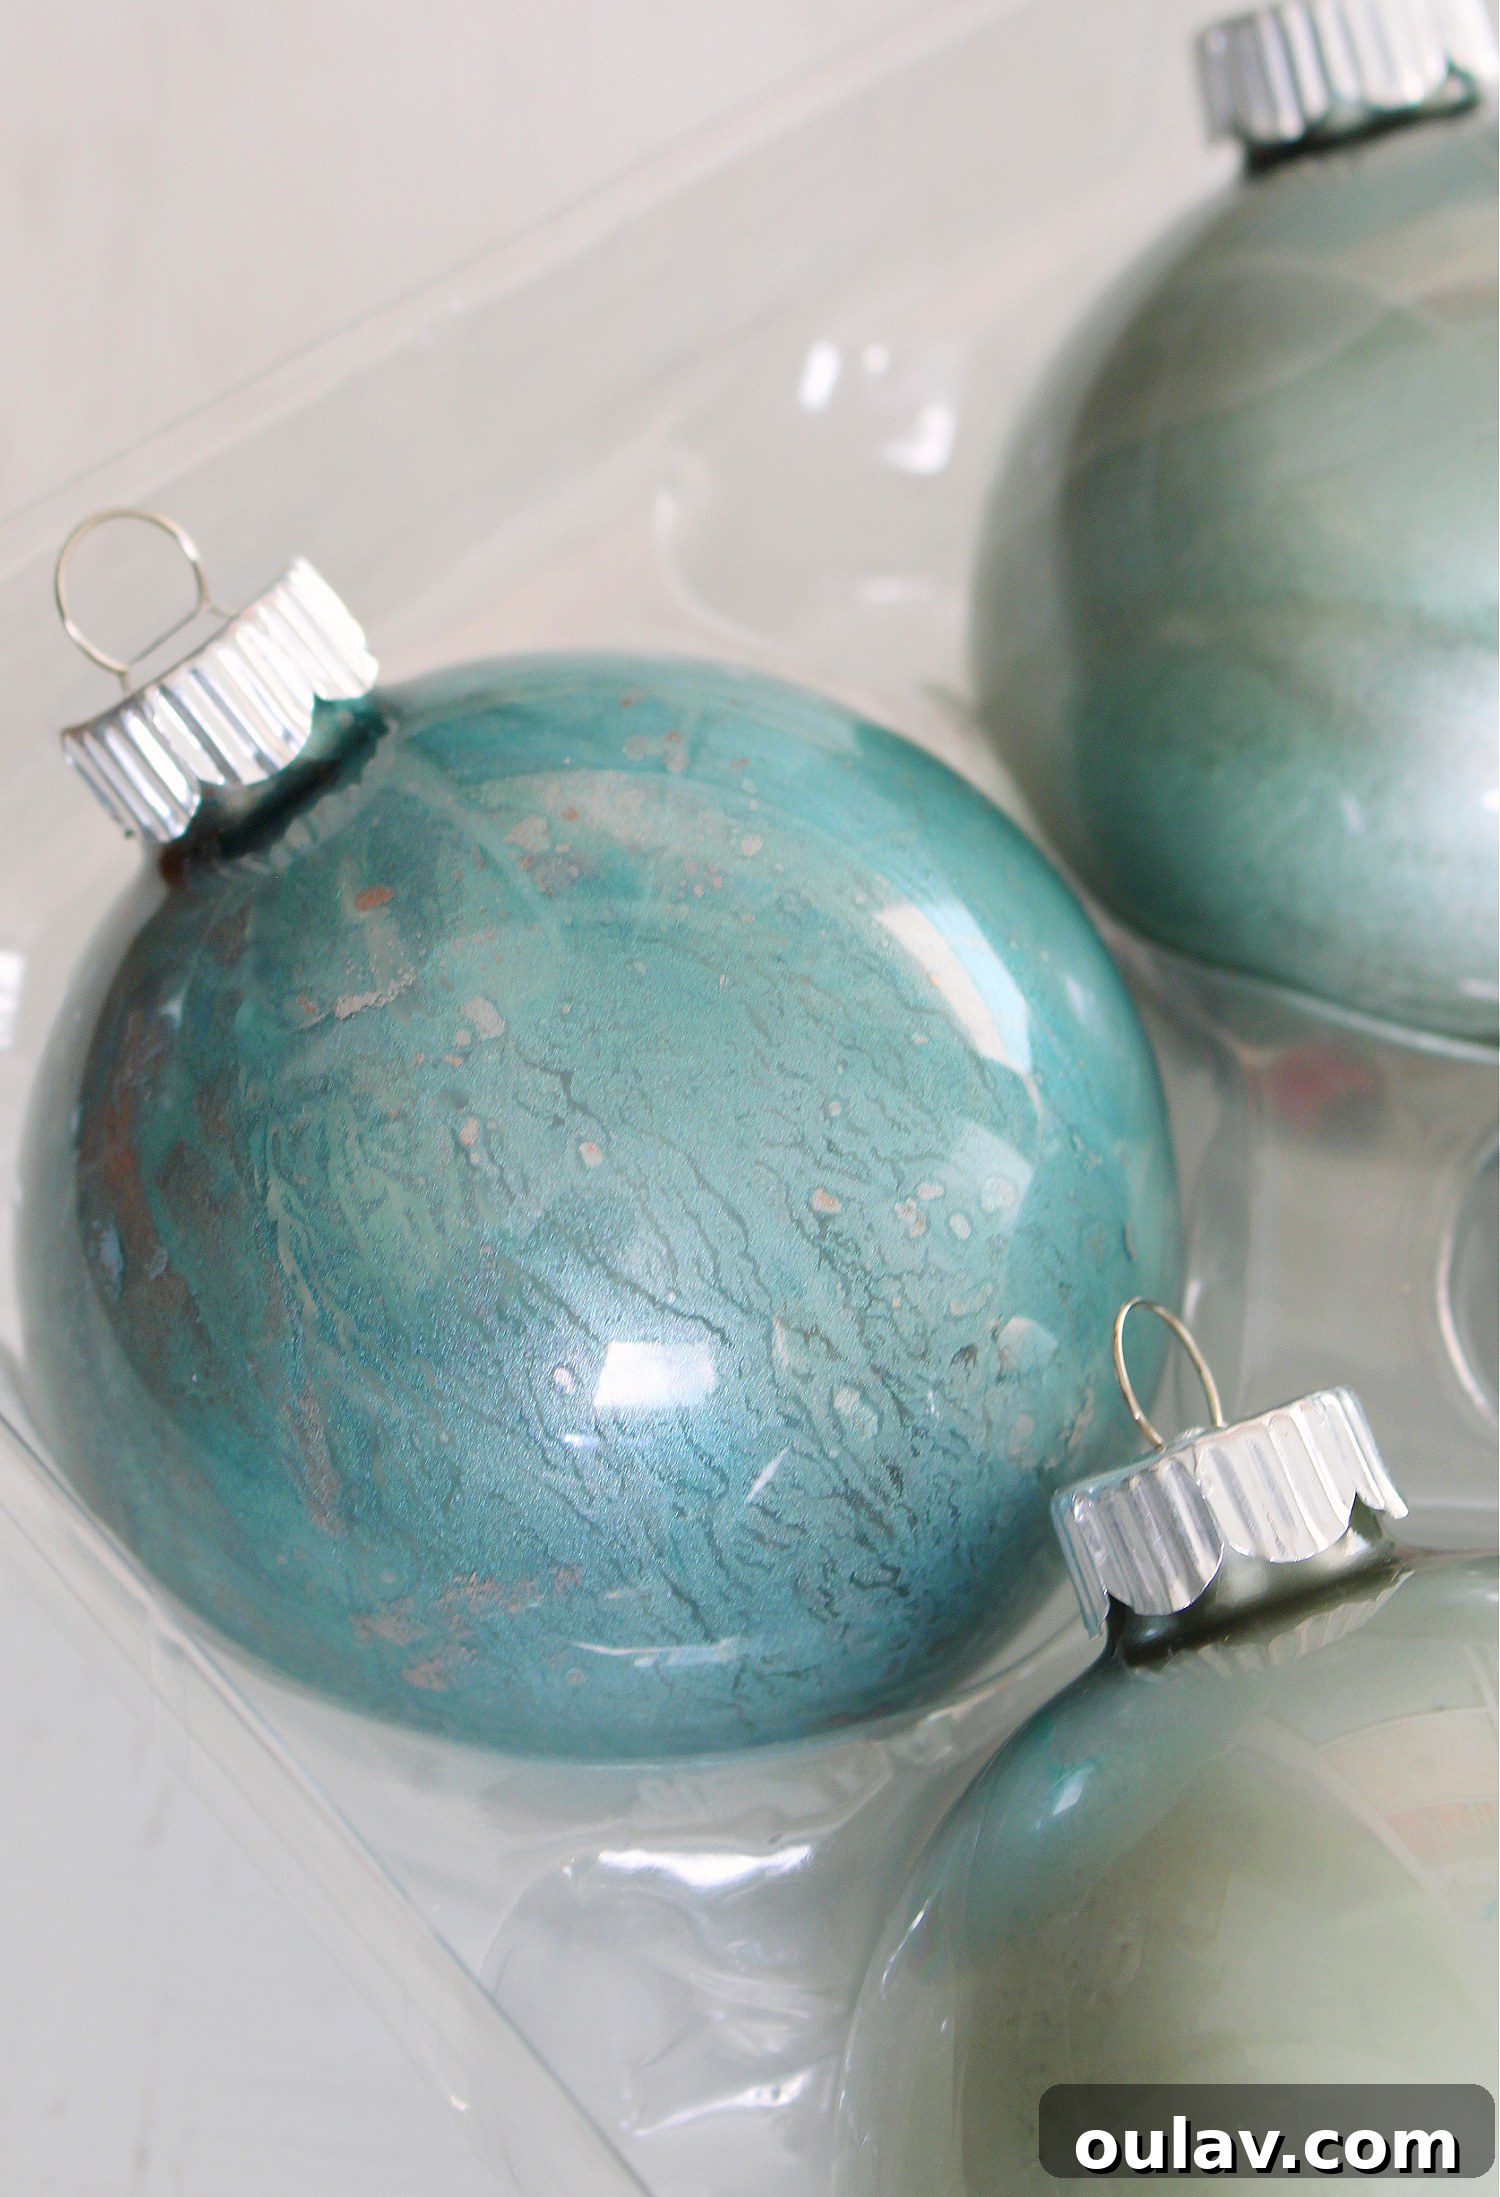
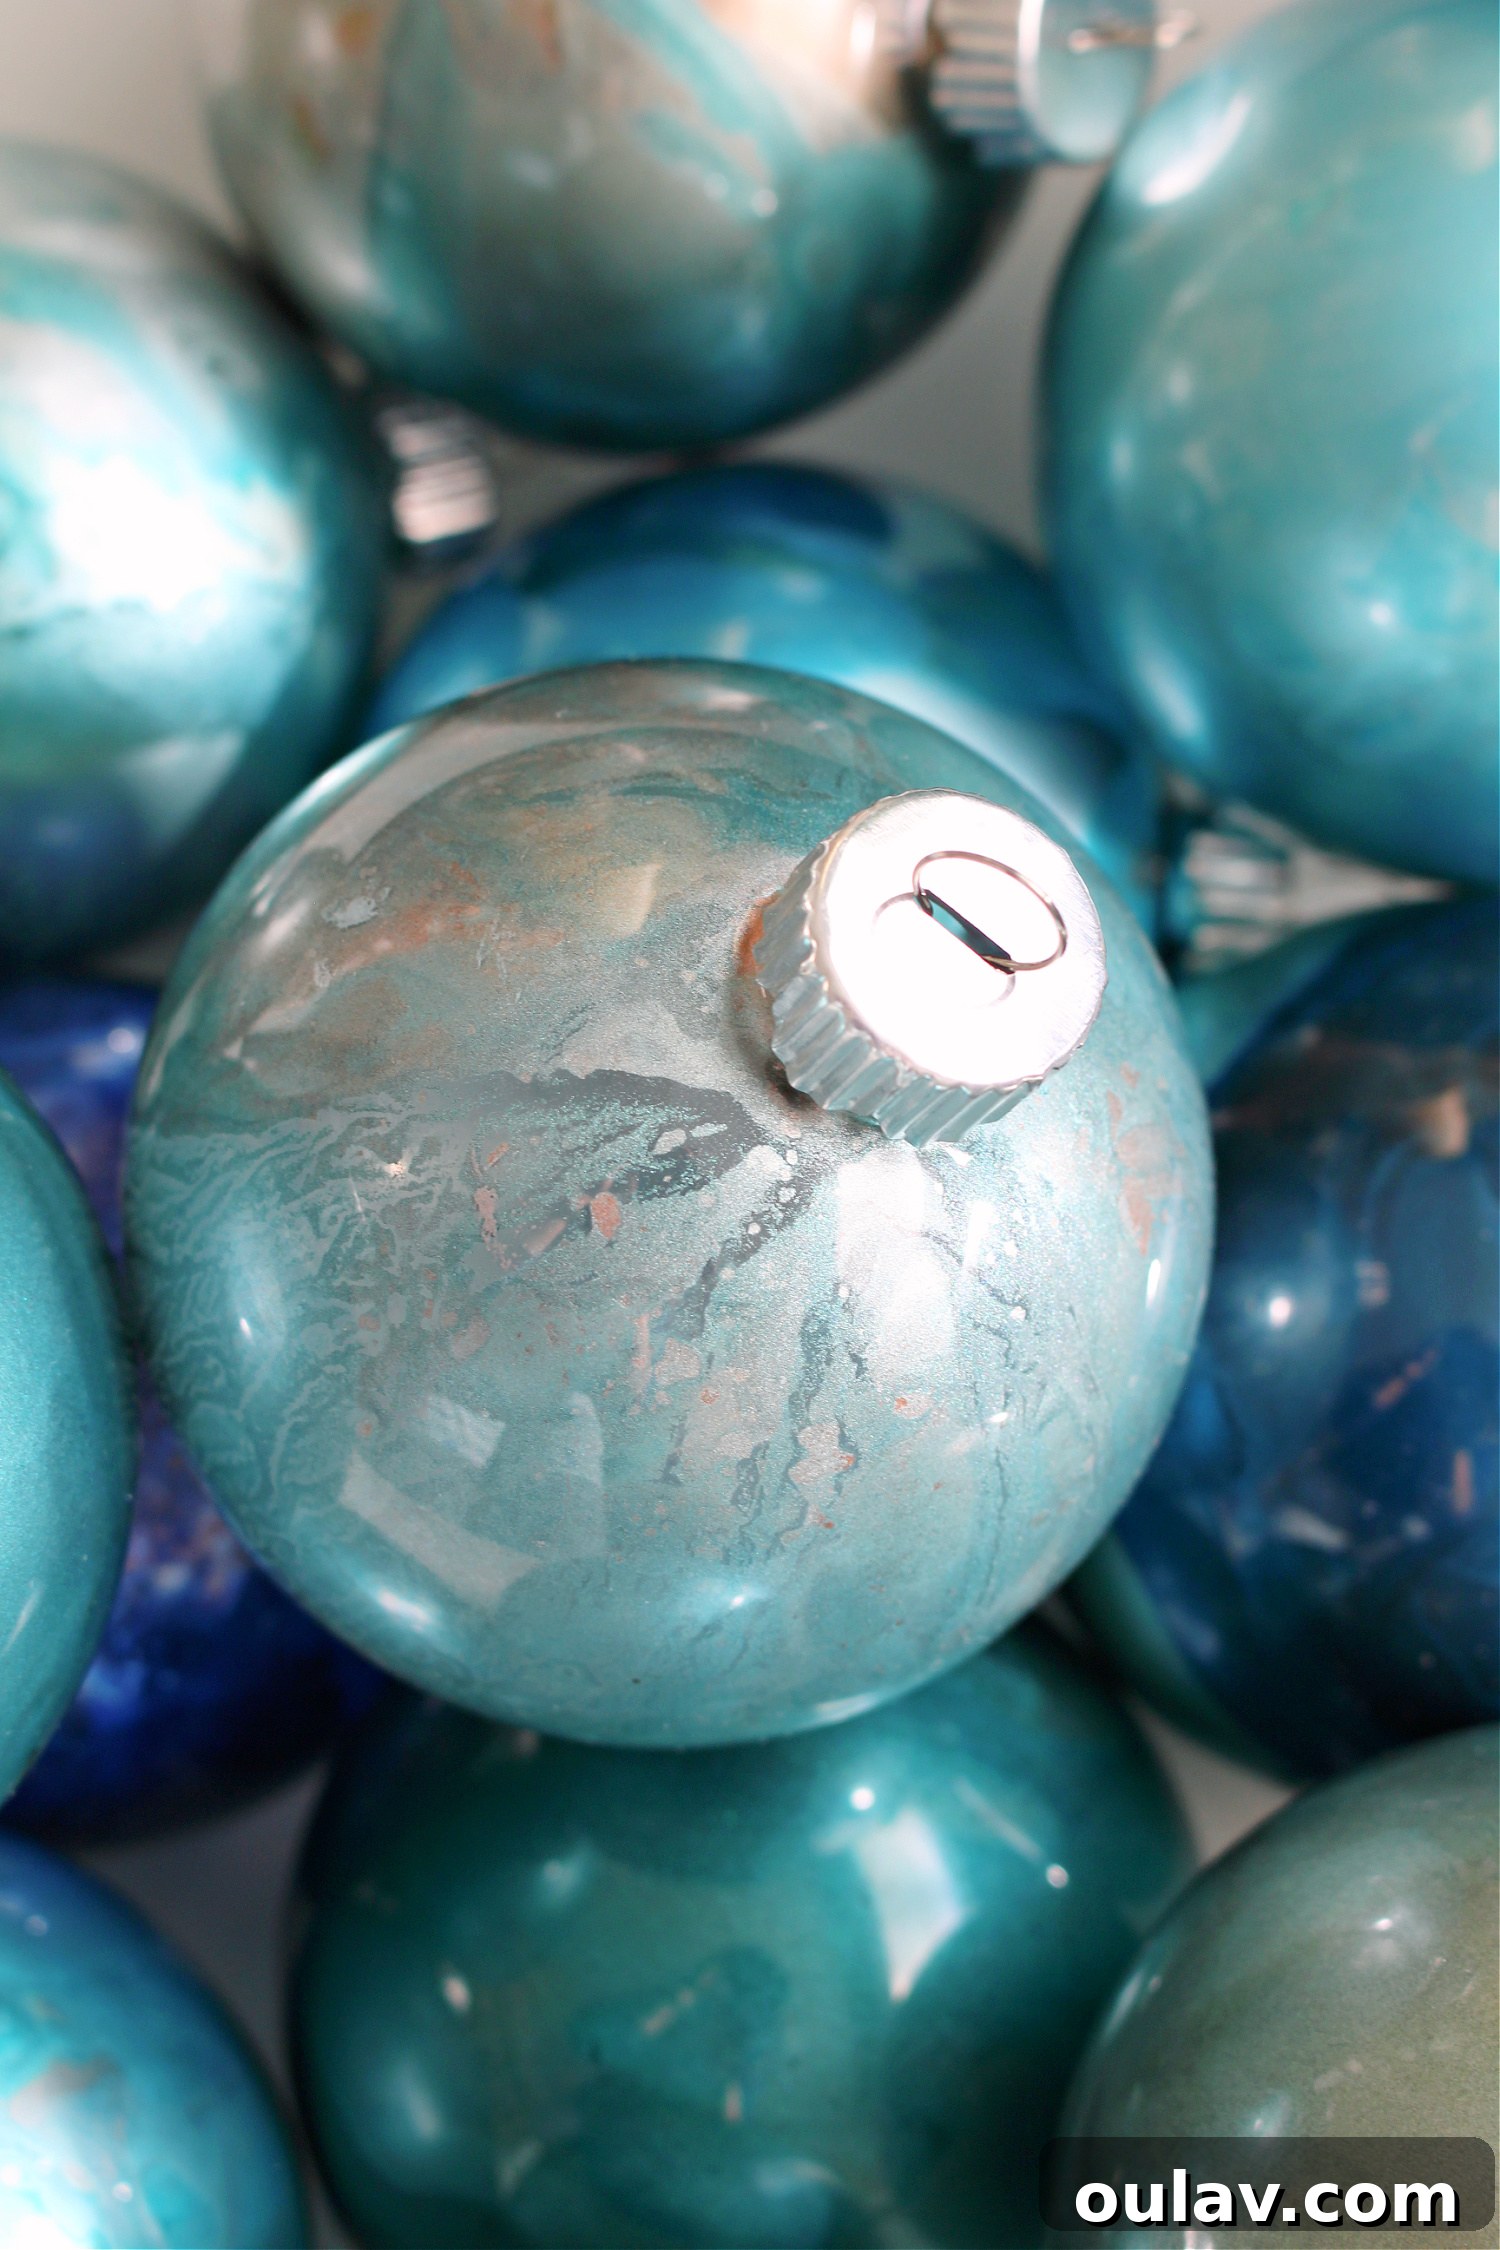
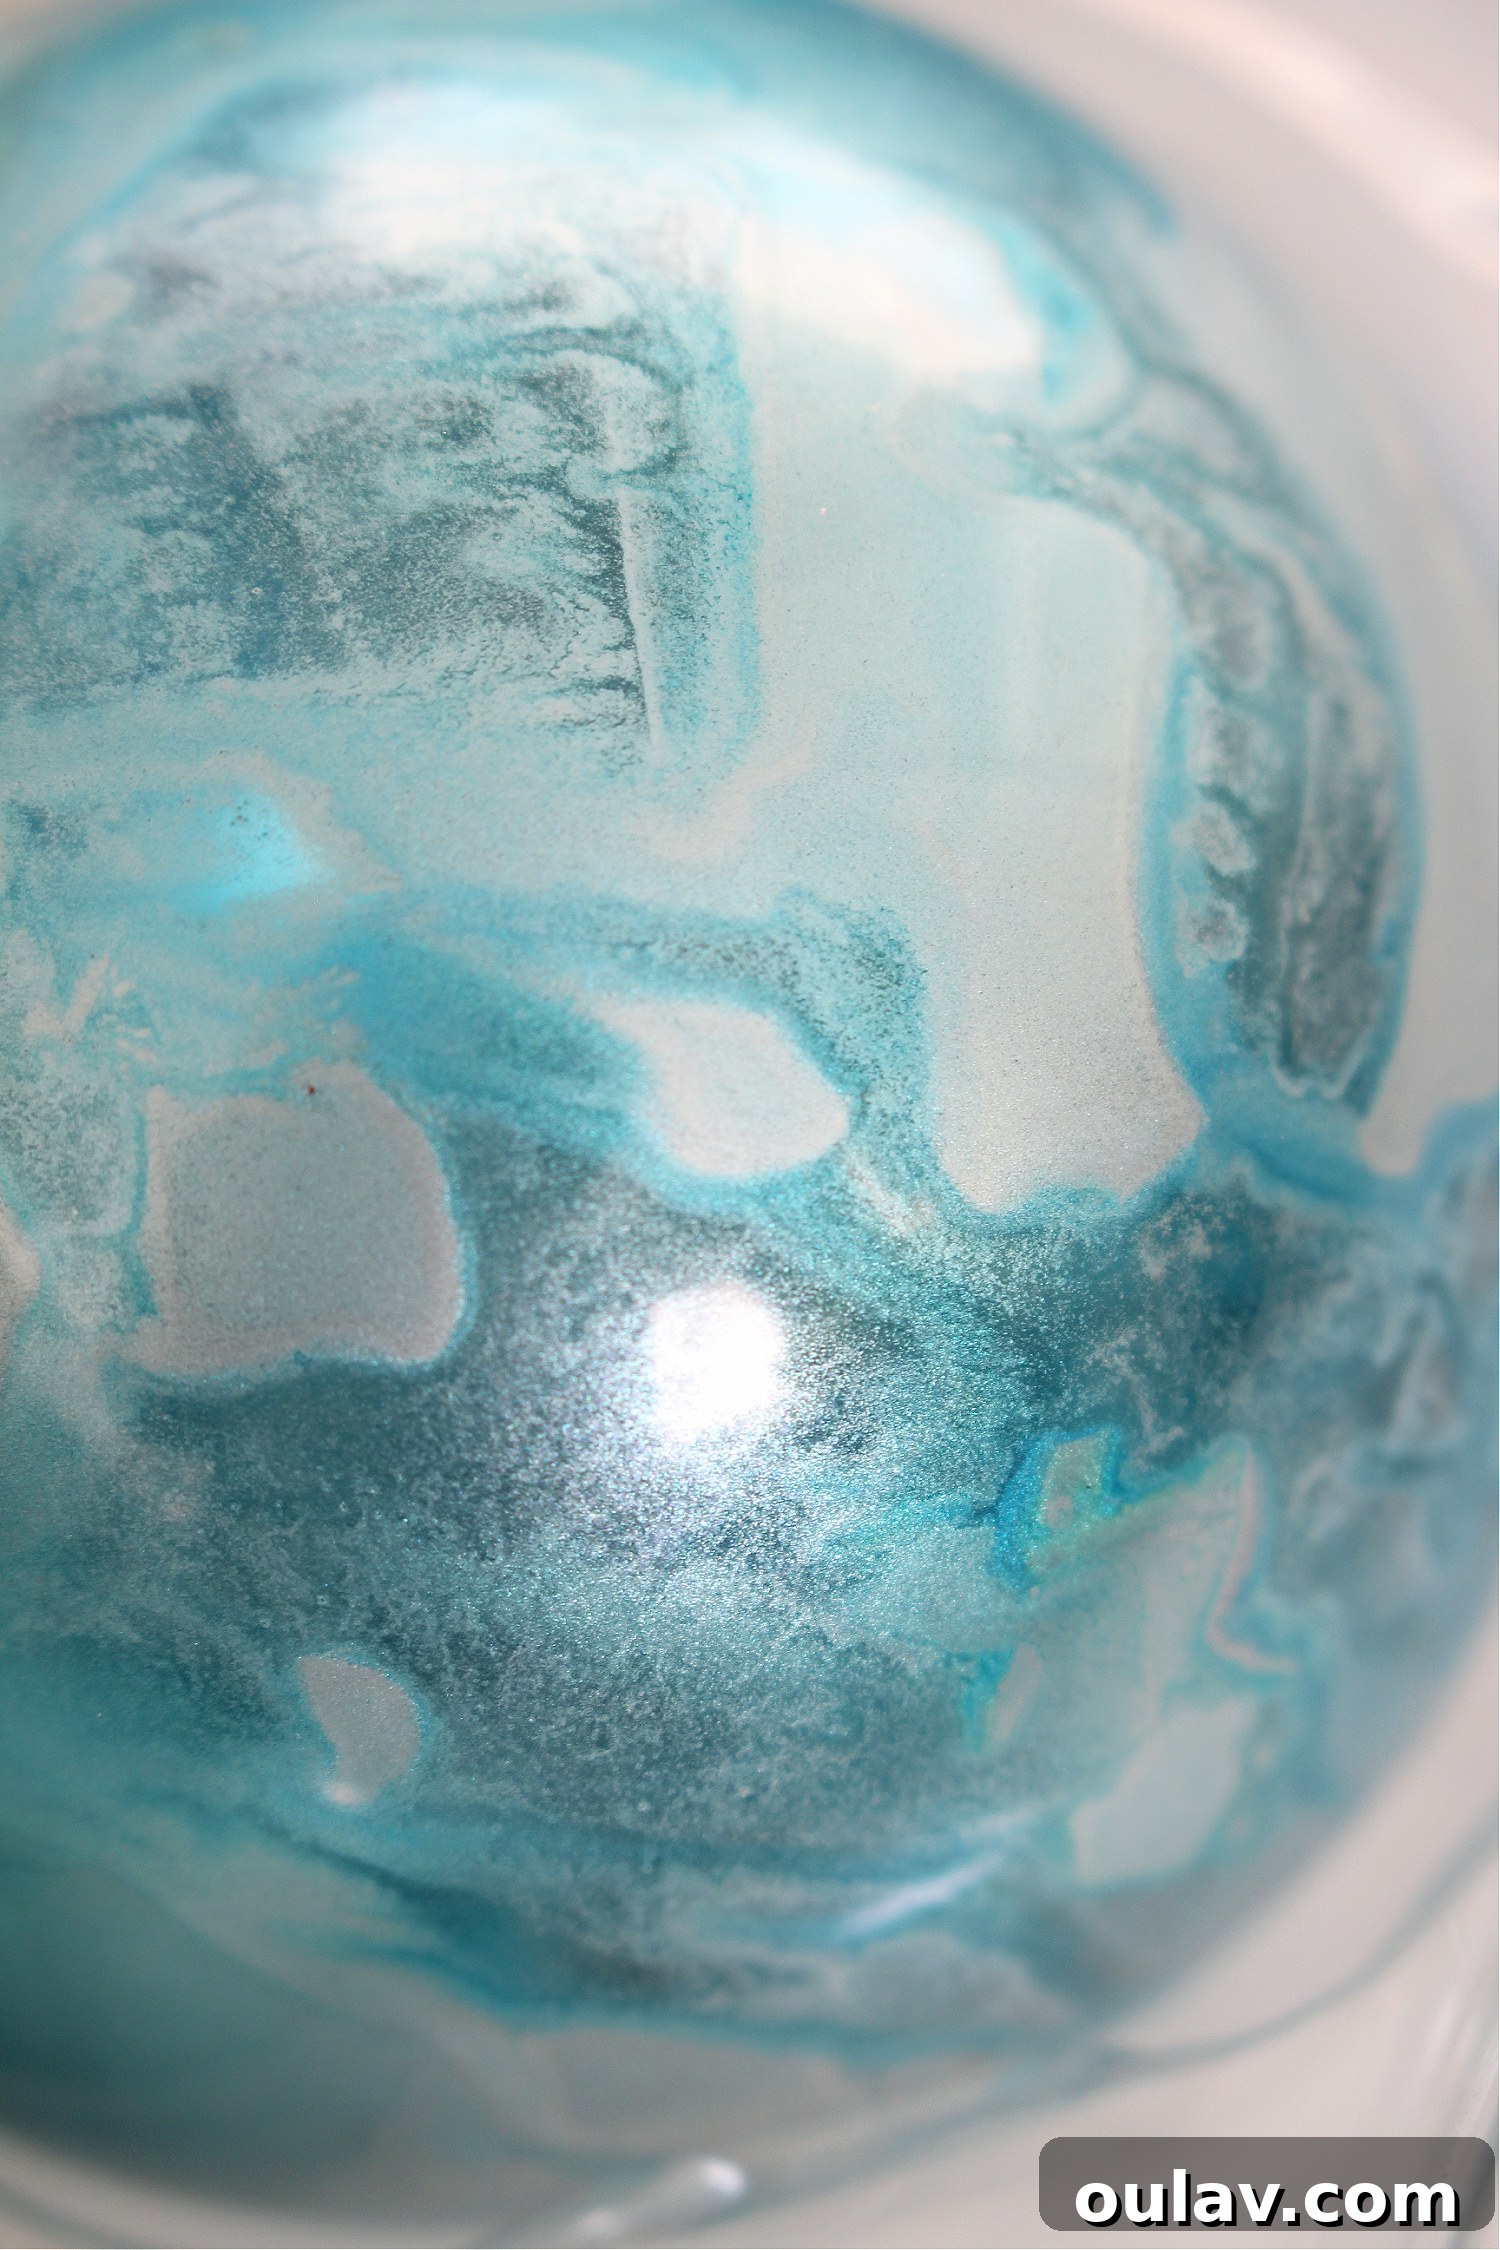
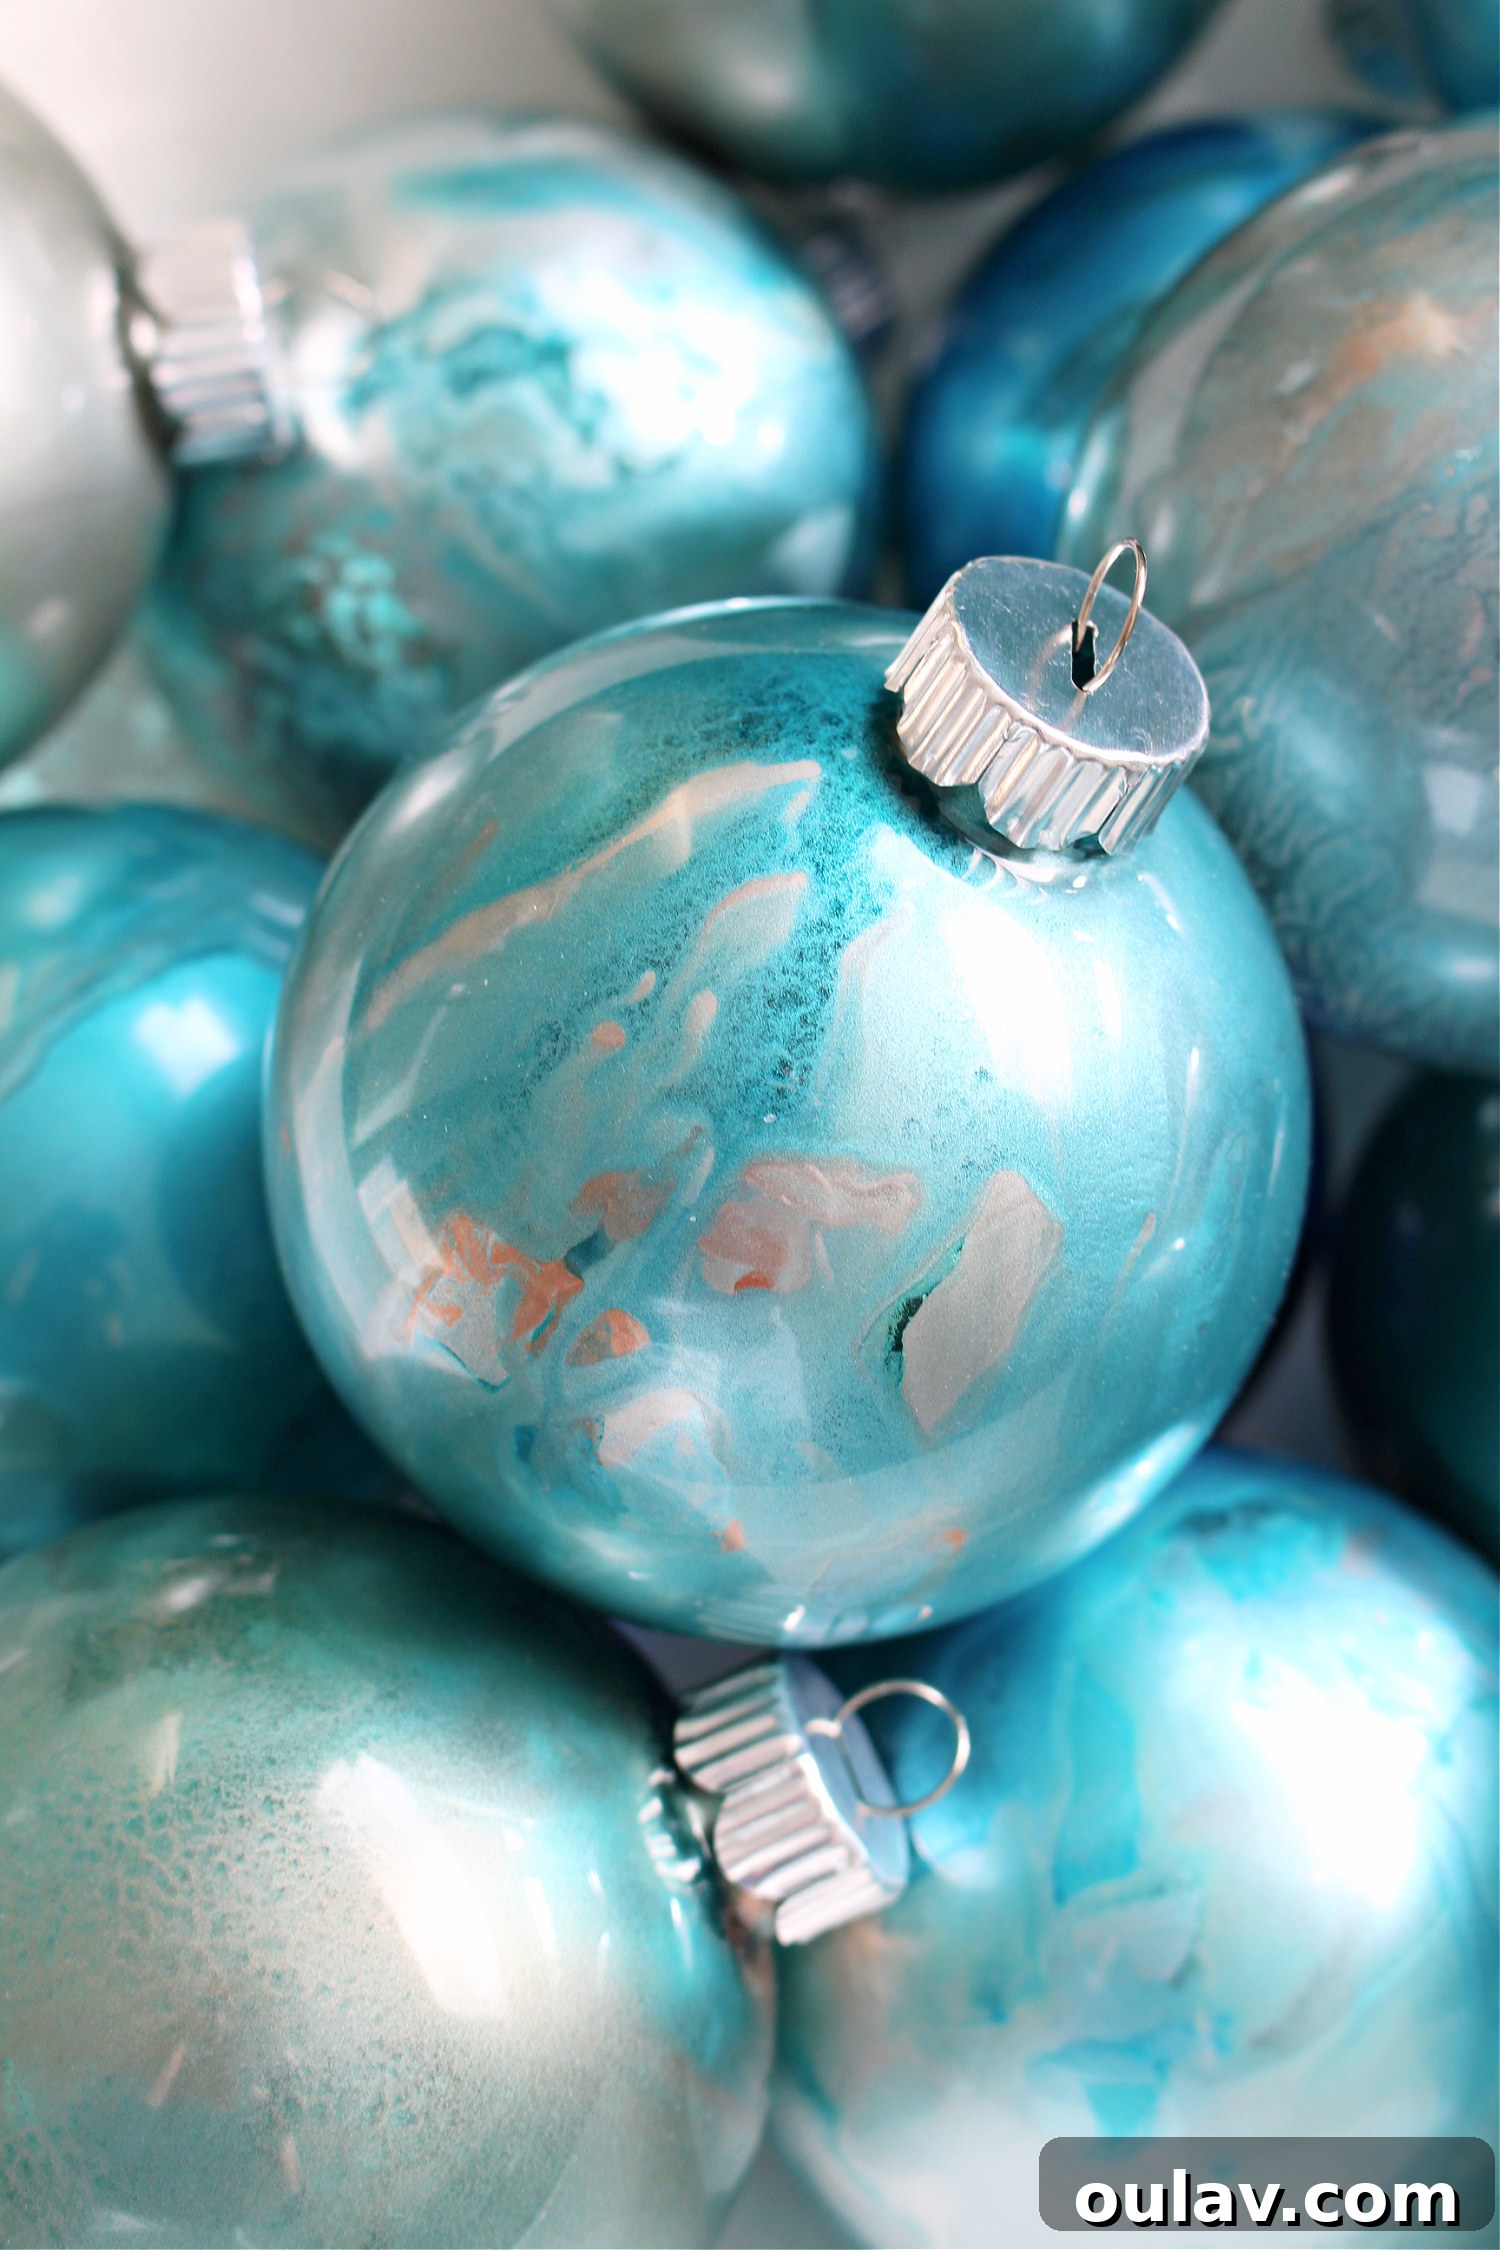
Close Up Views of My Alcohol Ink Ornament Designs:
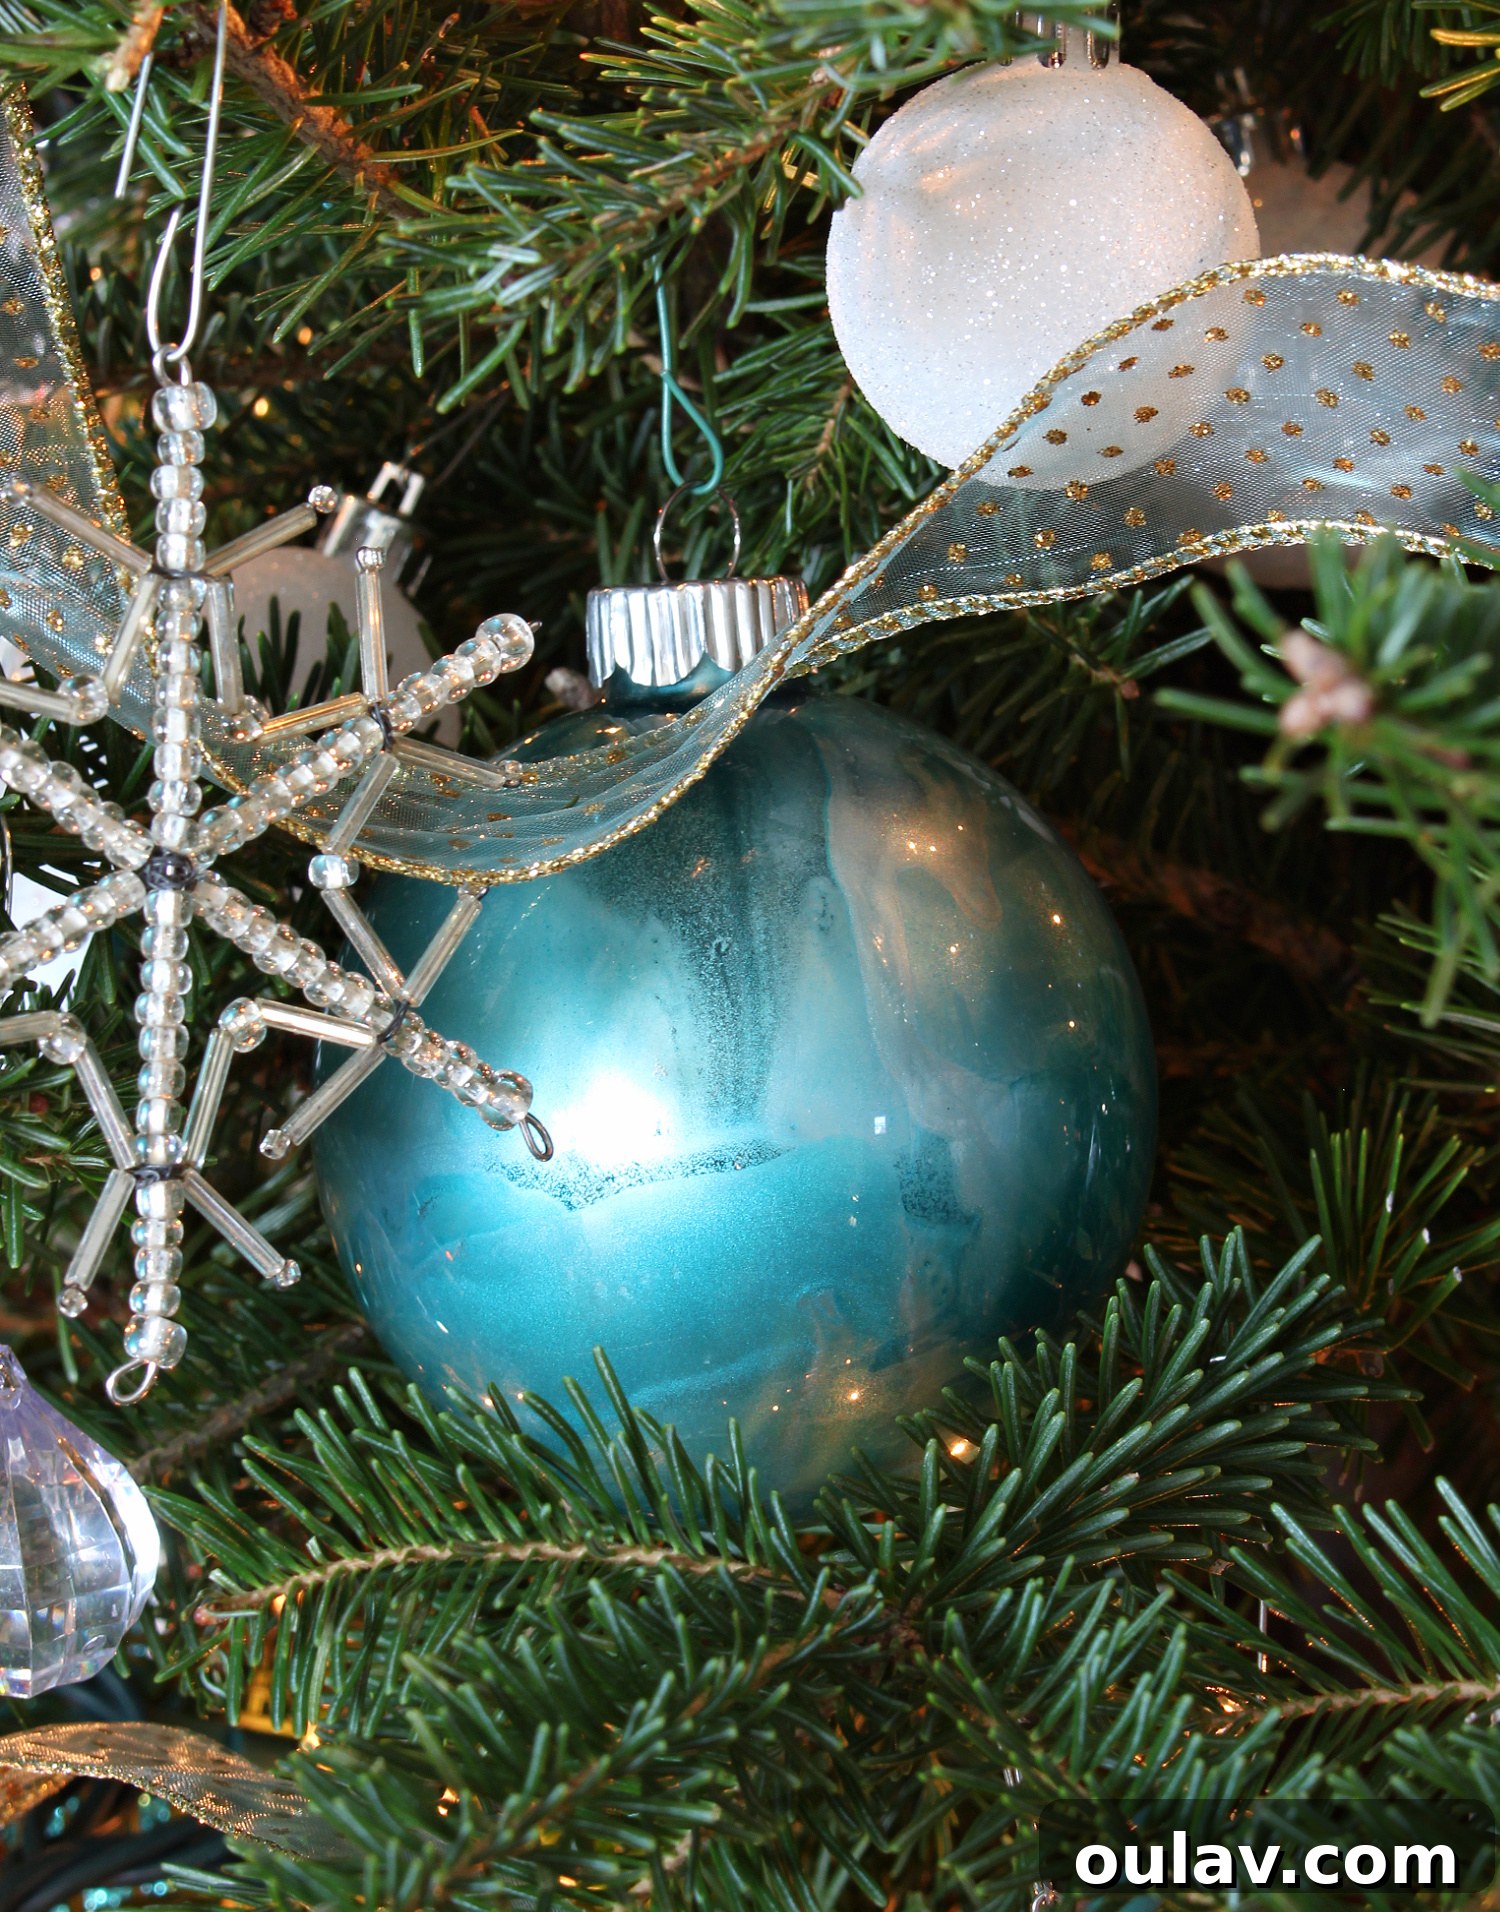
Here’s a closer look at the intricate details and vibrant color combinations achieved with the alcohol ink technique. Each ornament truly tells its own unique story.
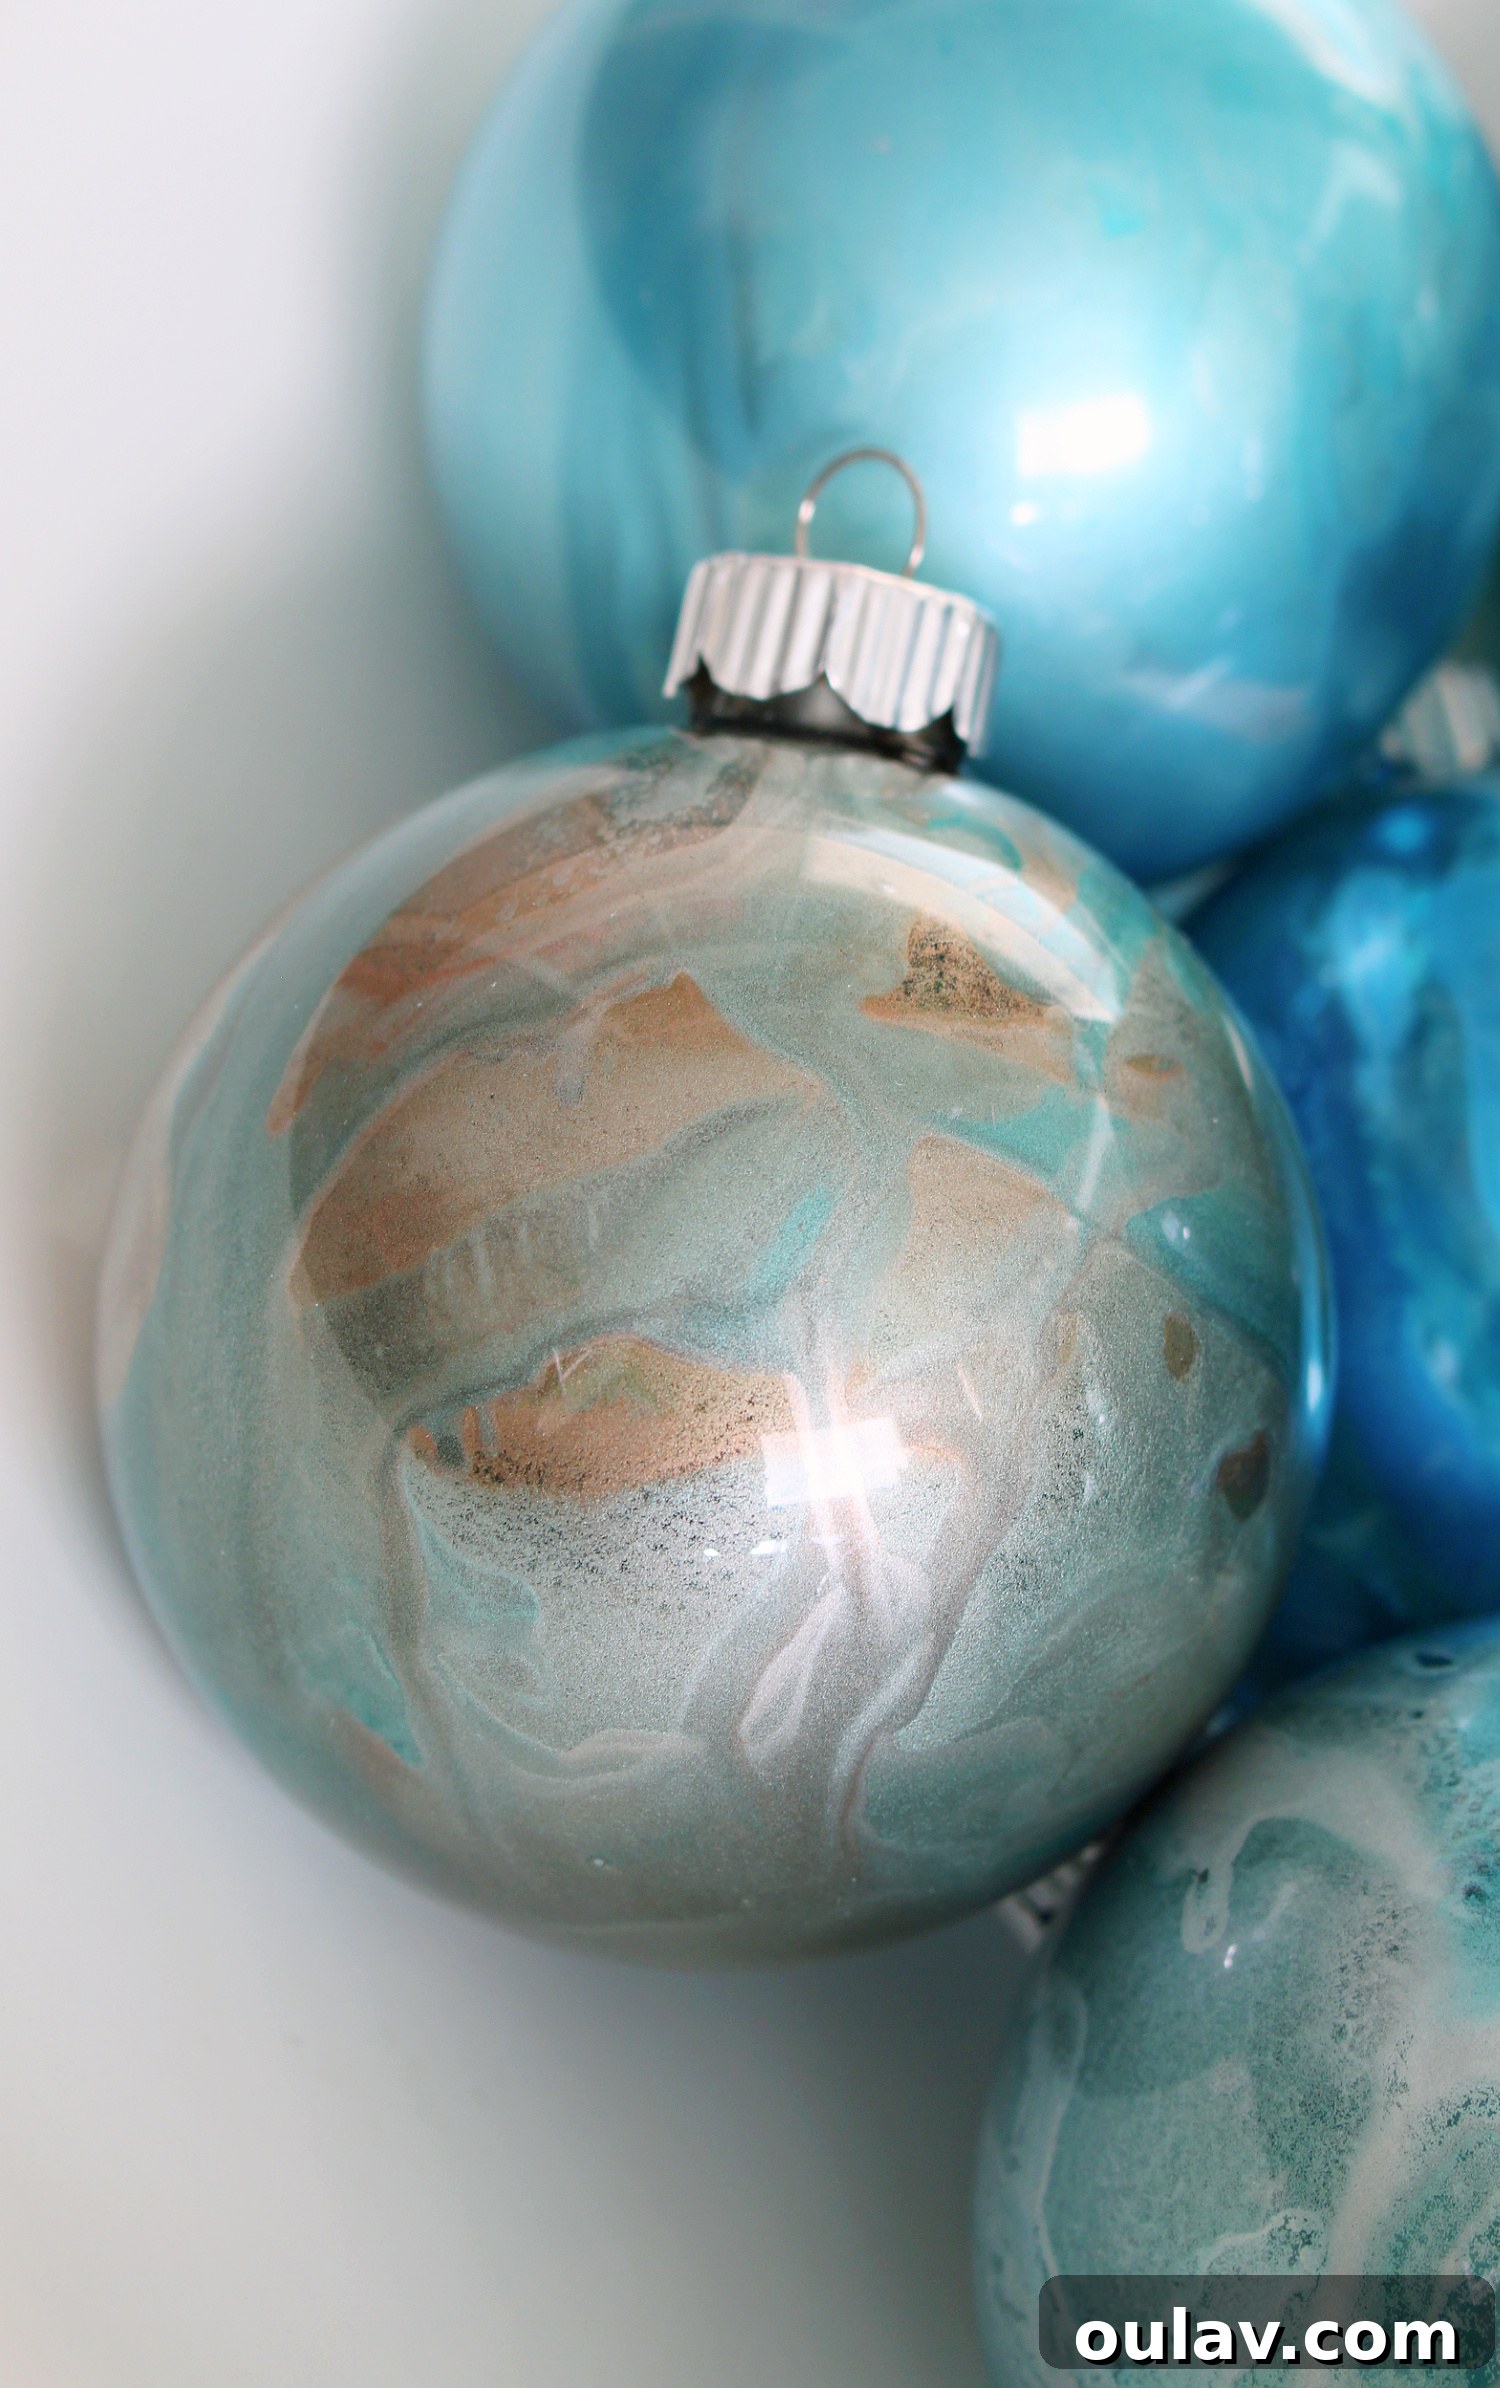
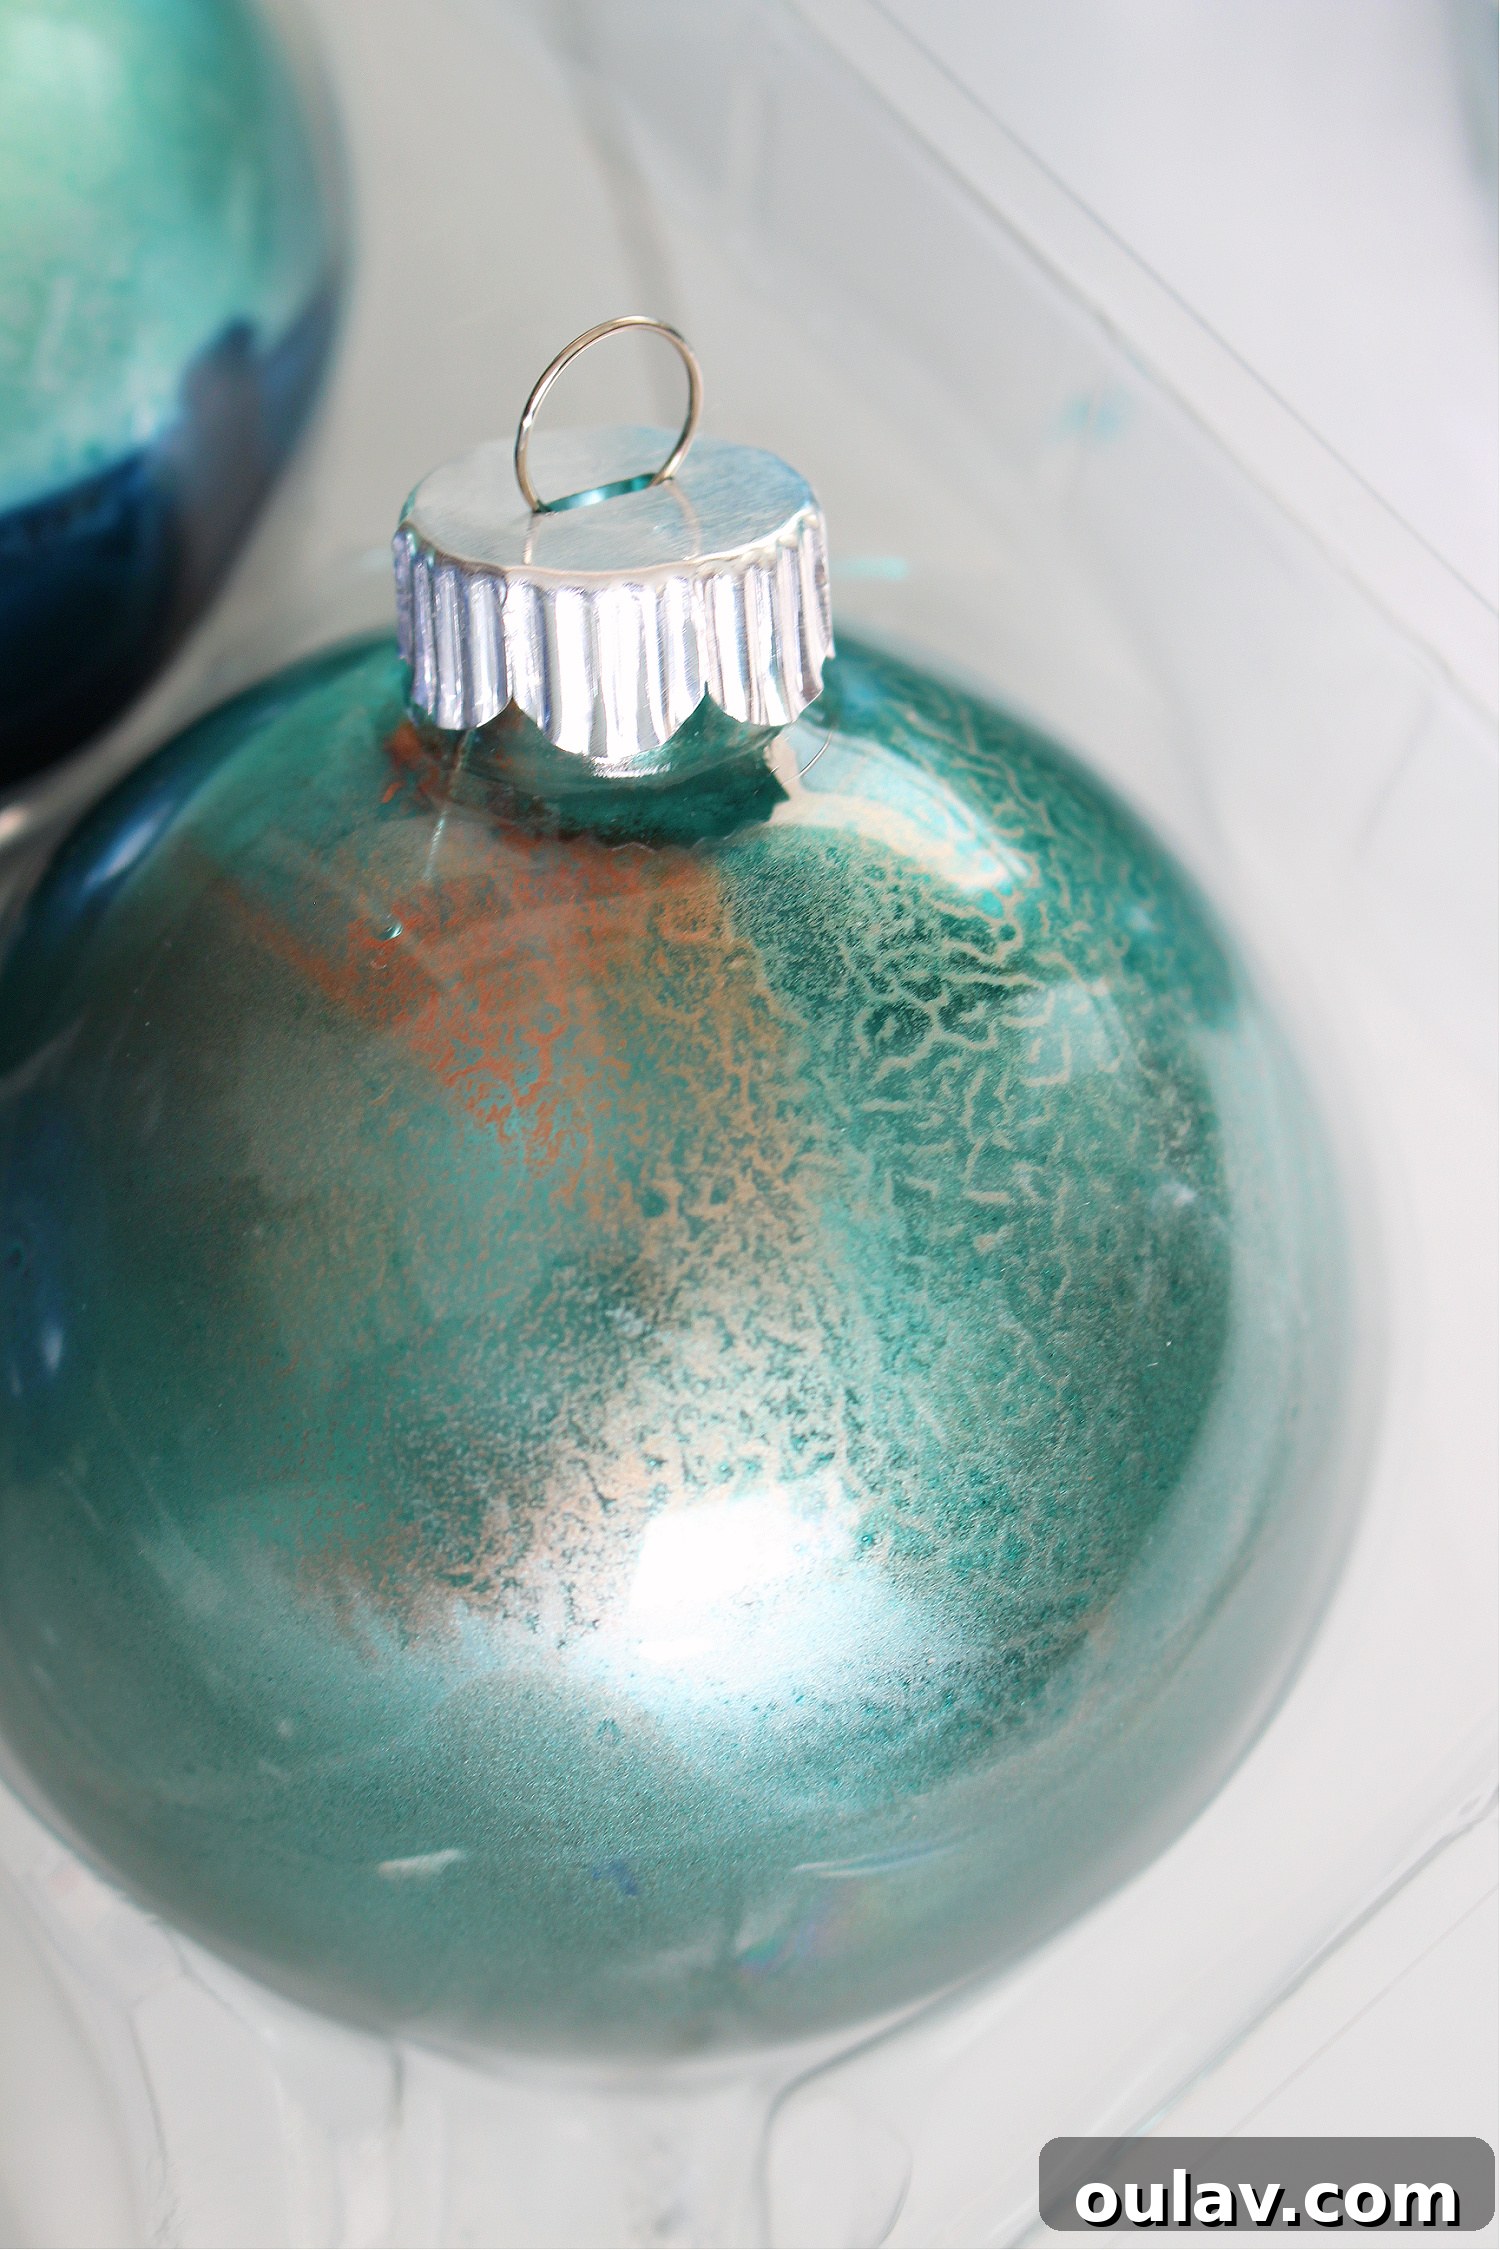
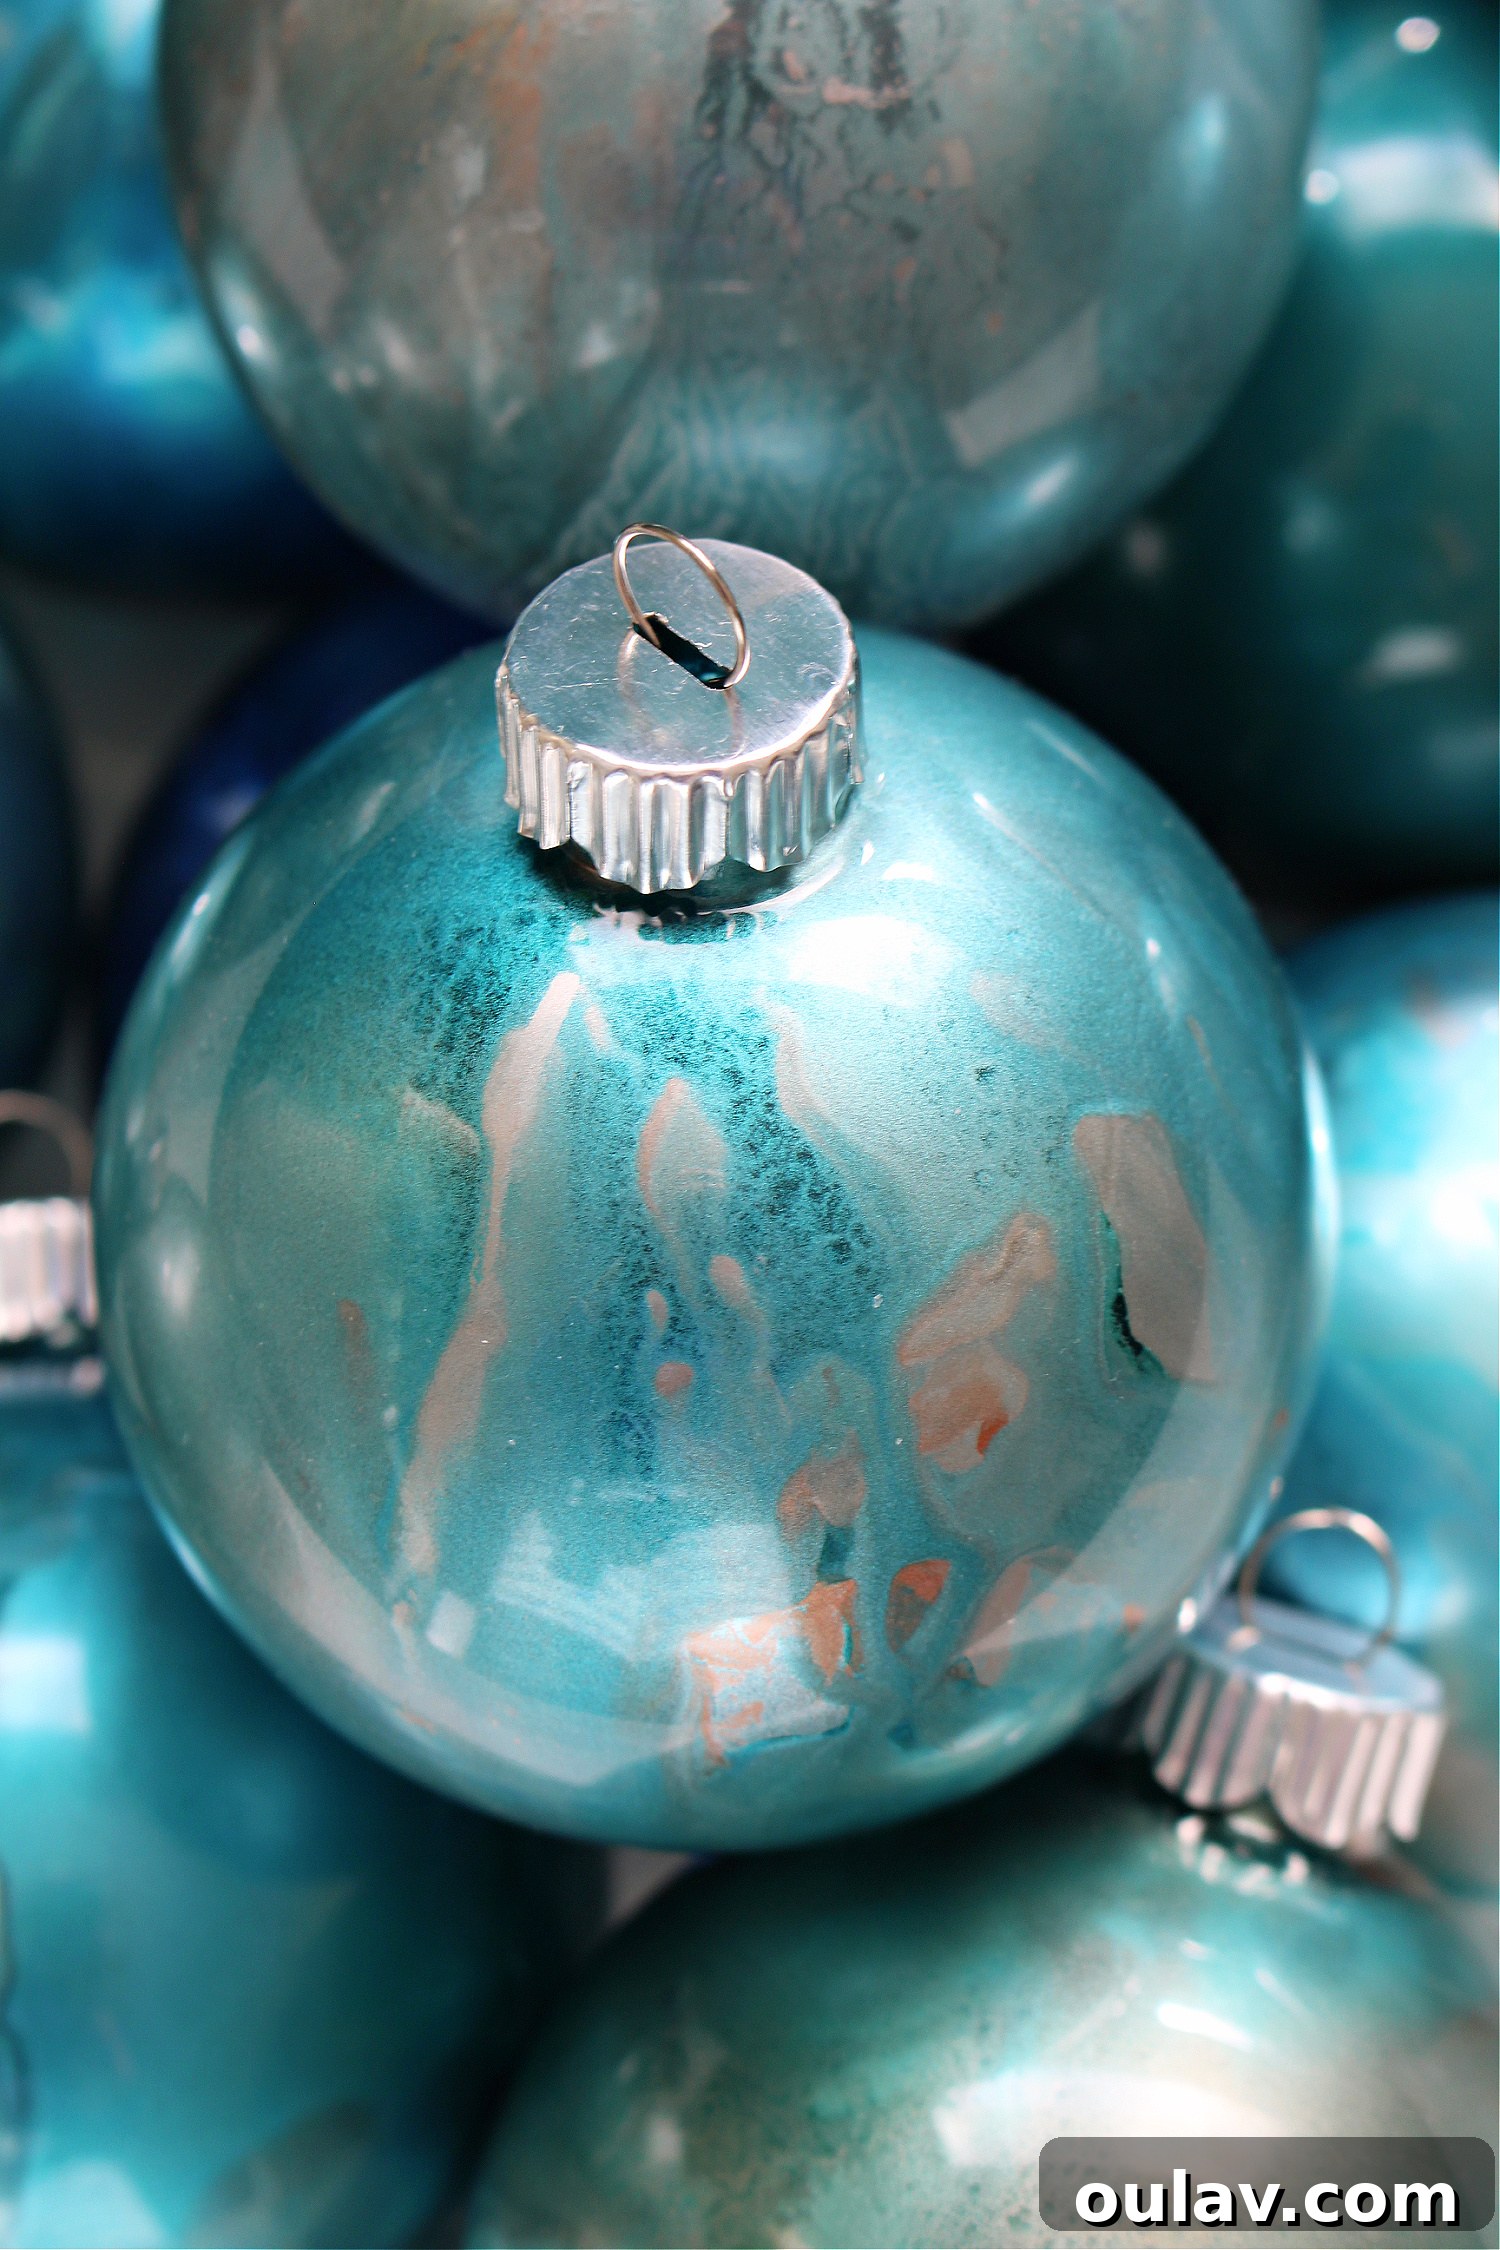
Finished Alcohol Ink Ornaments: A Collection of Beauty
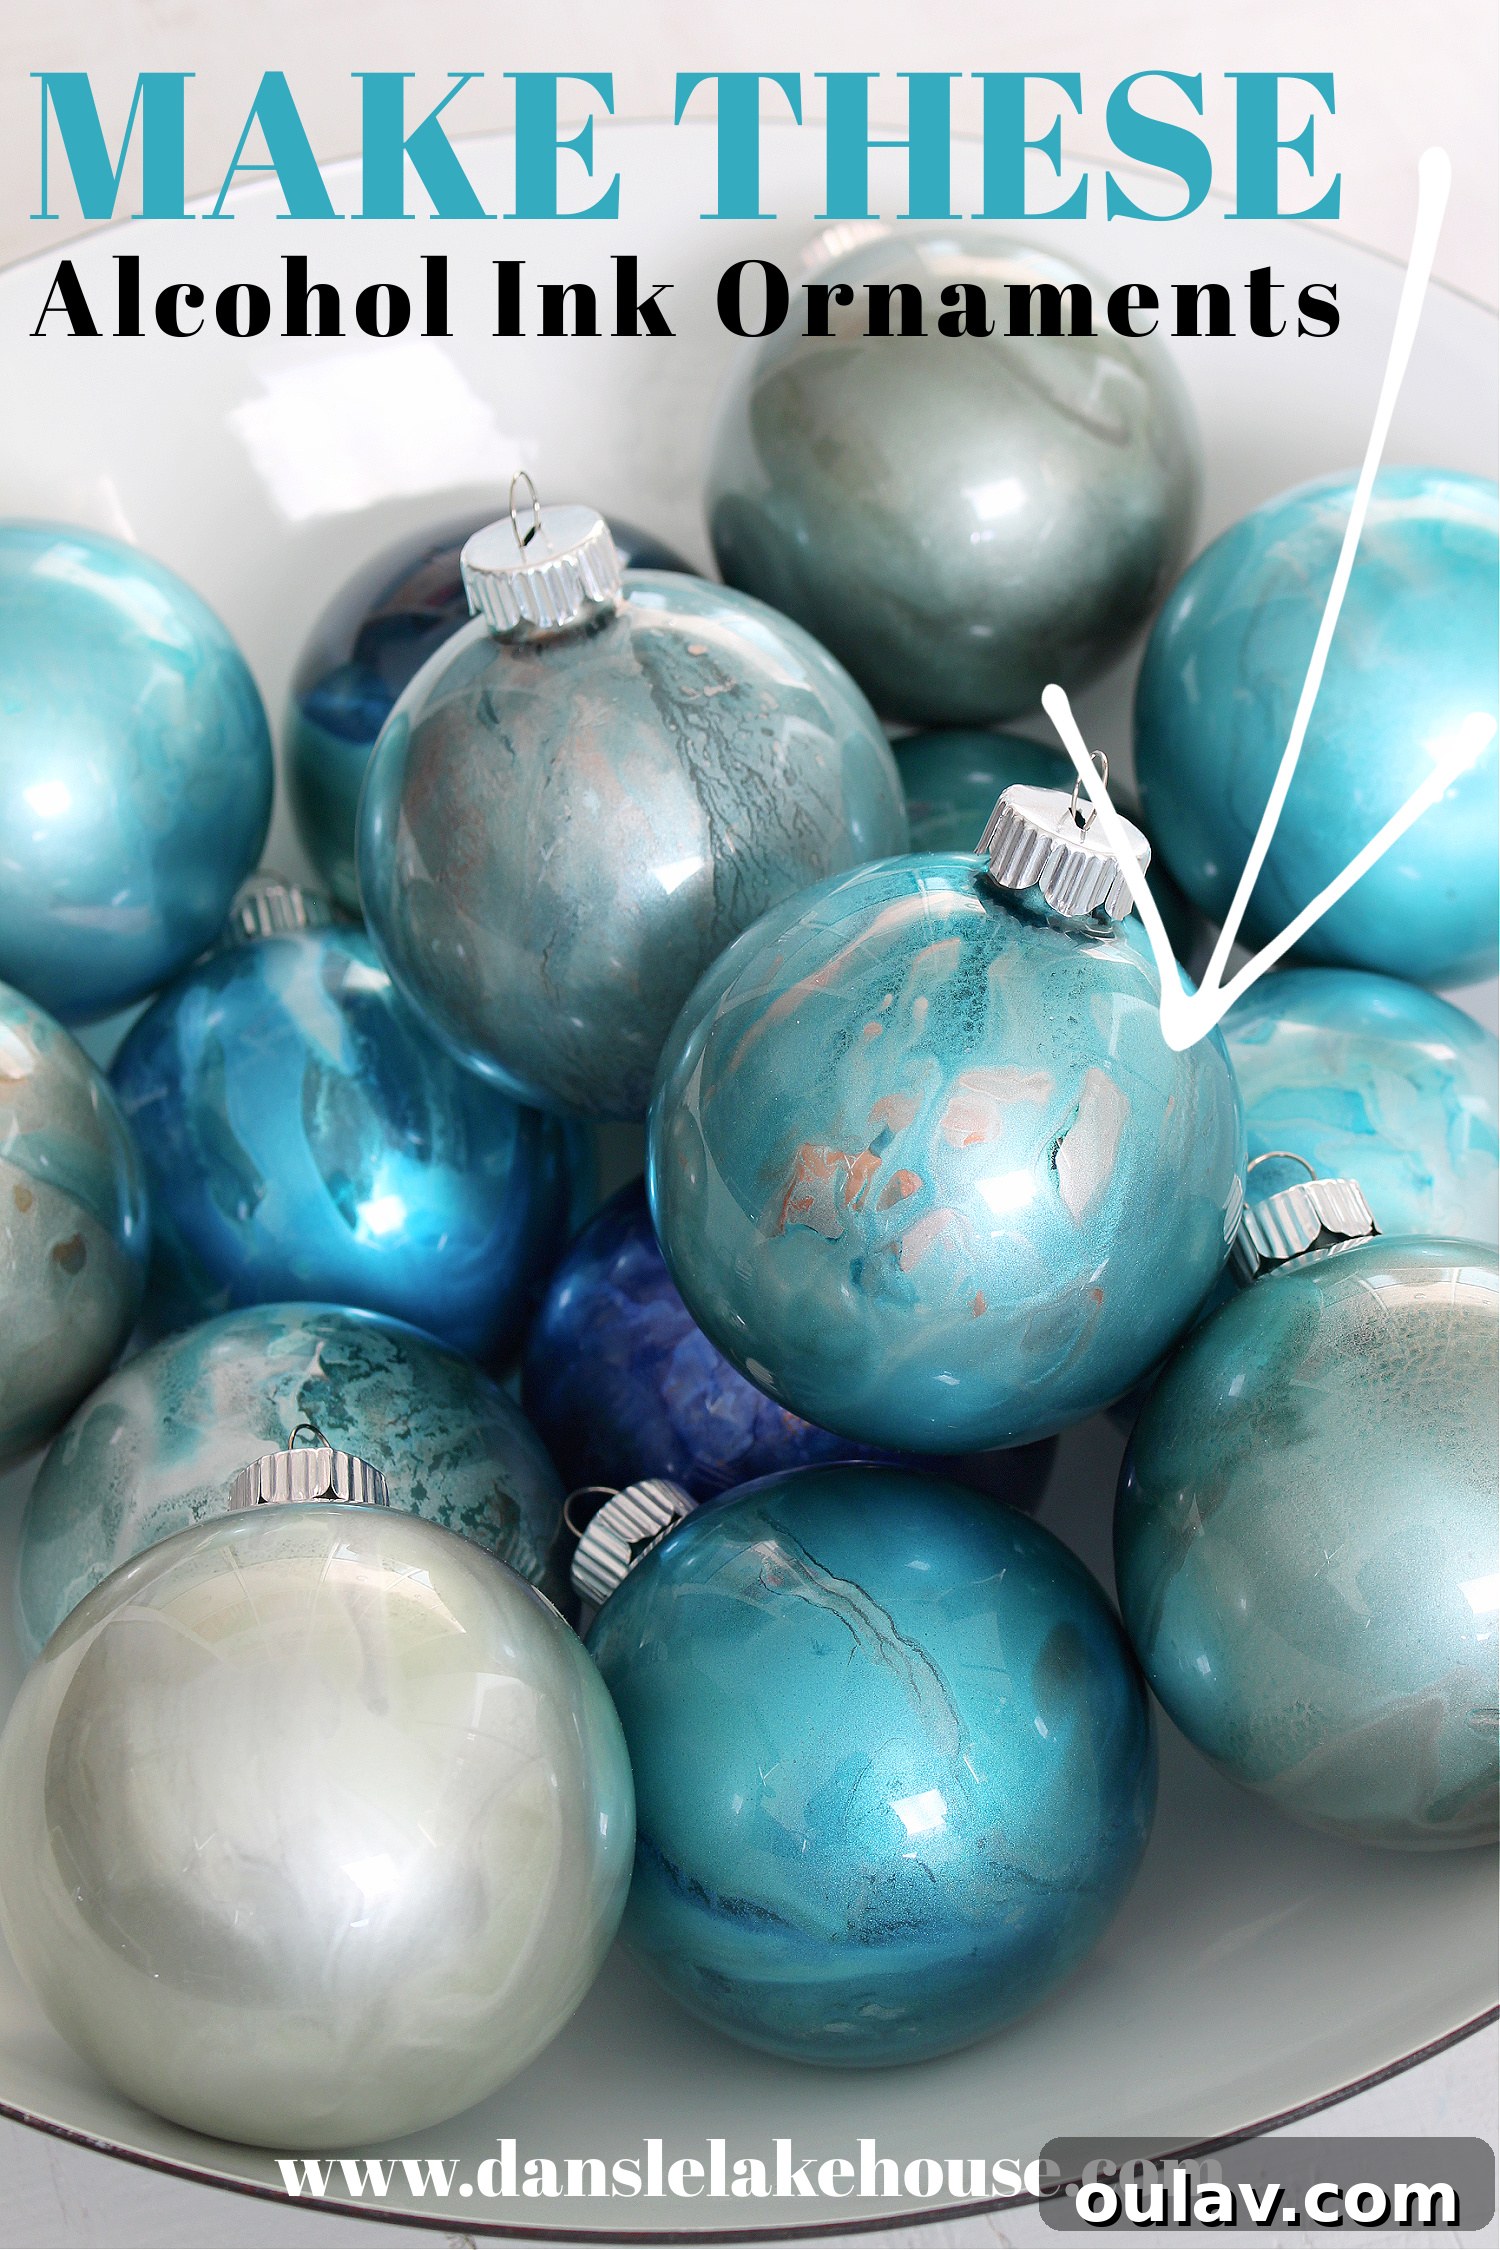
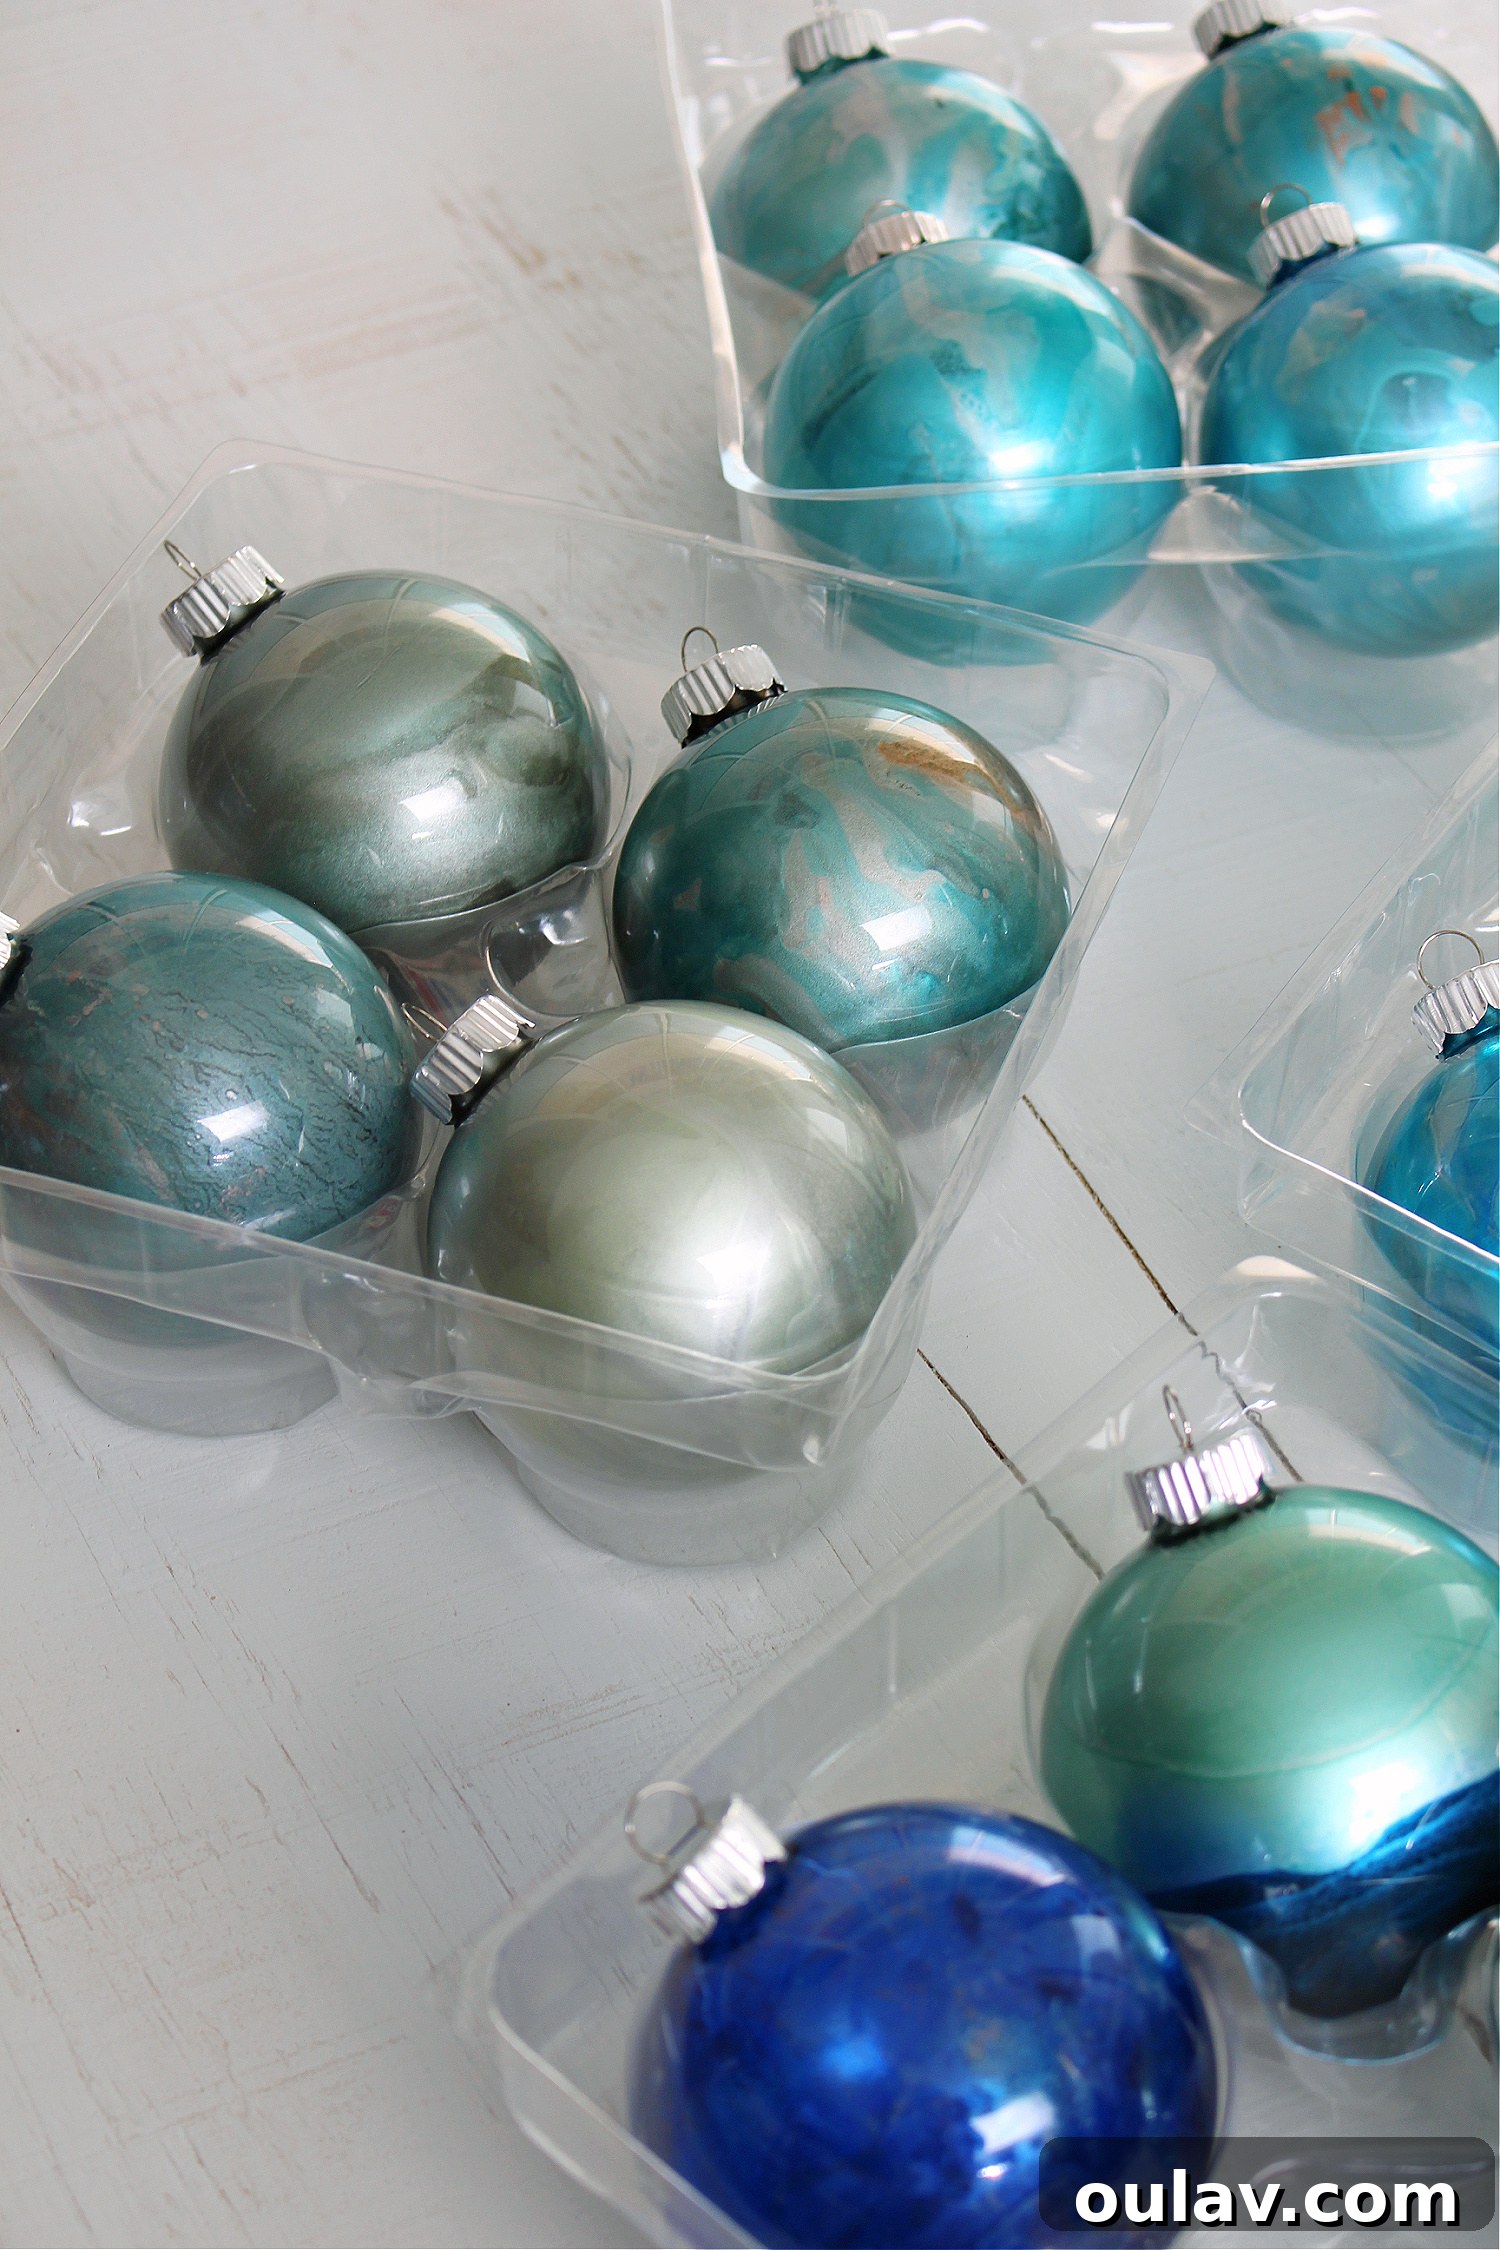
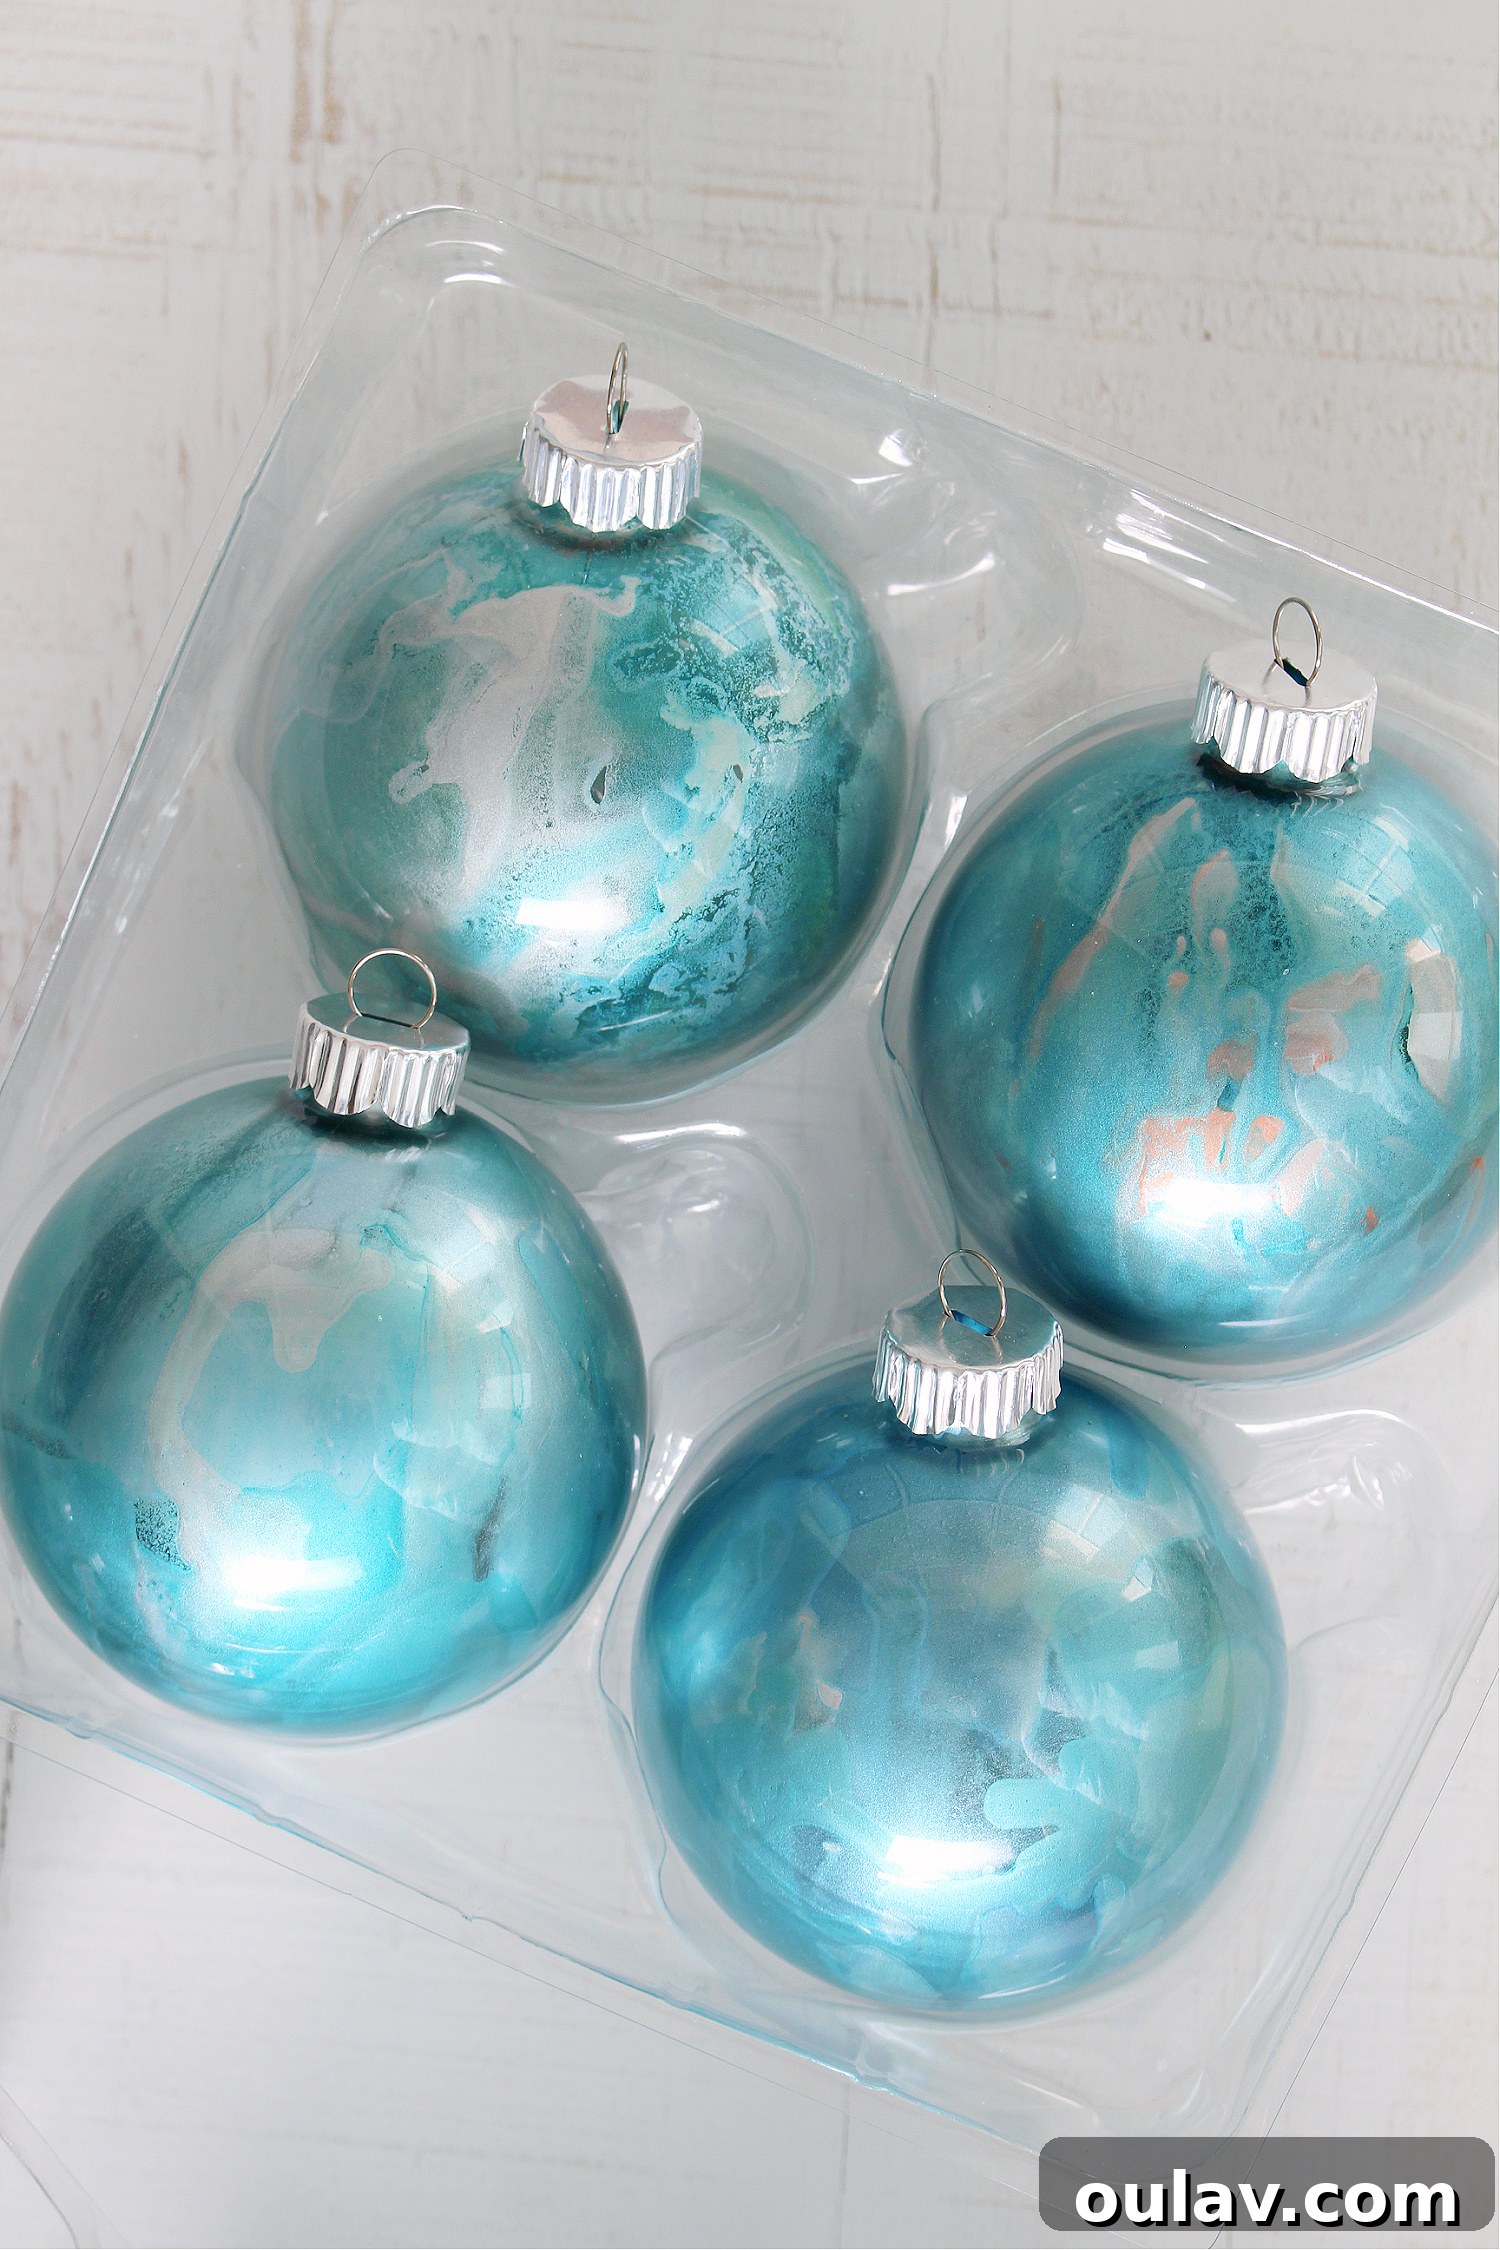
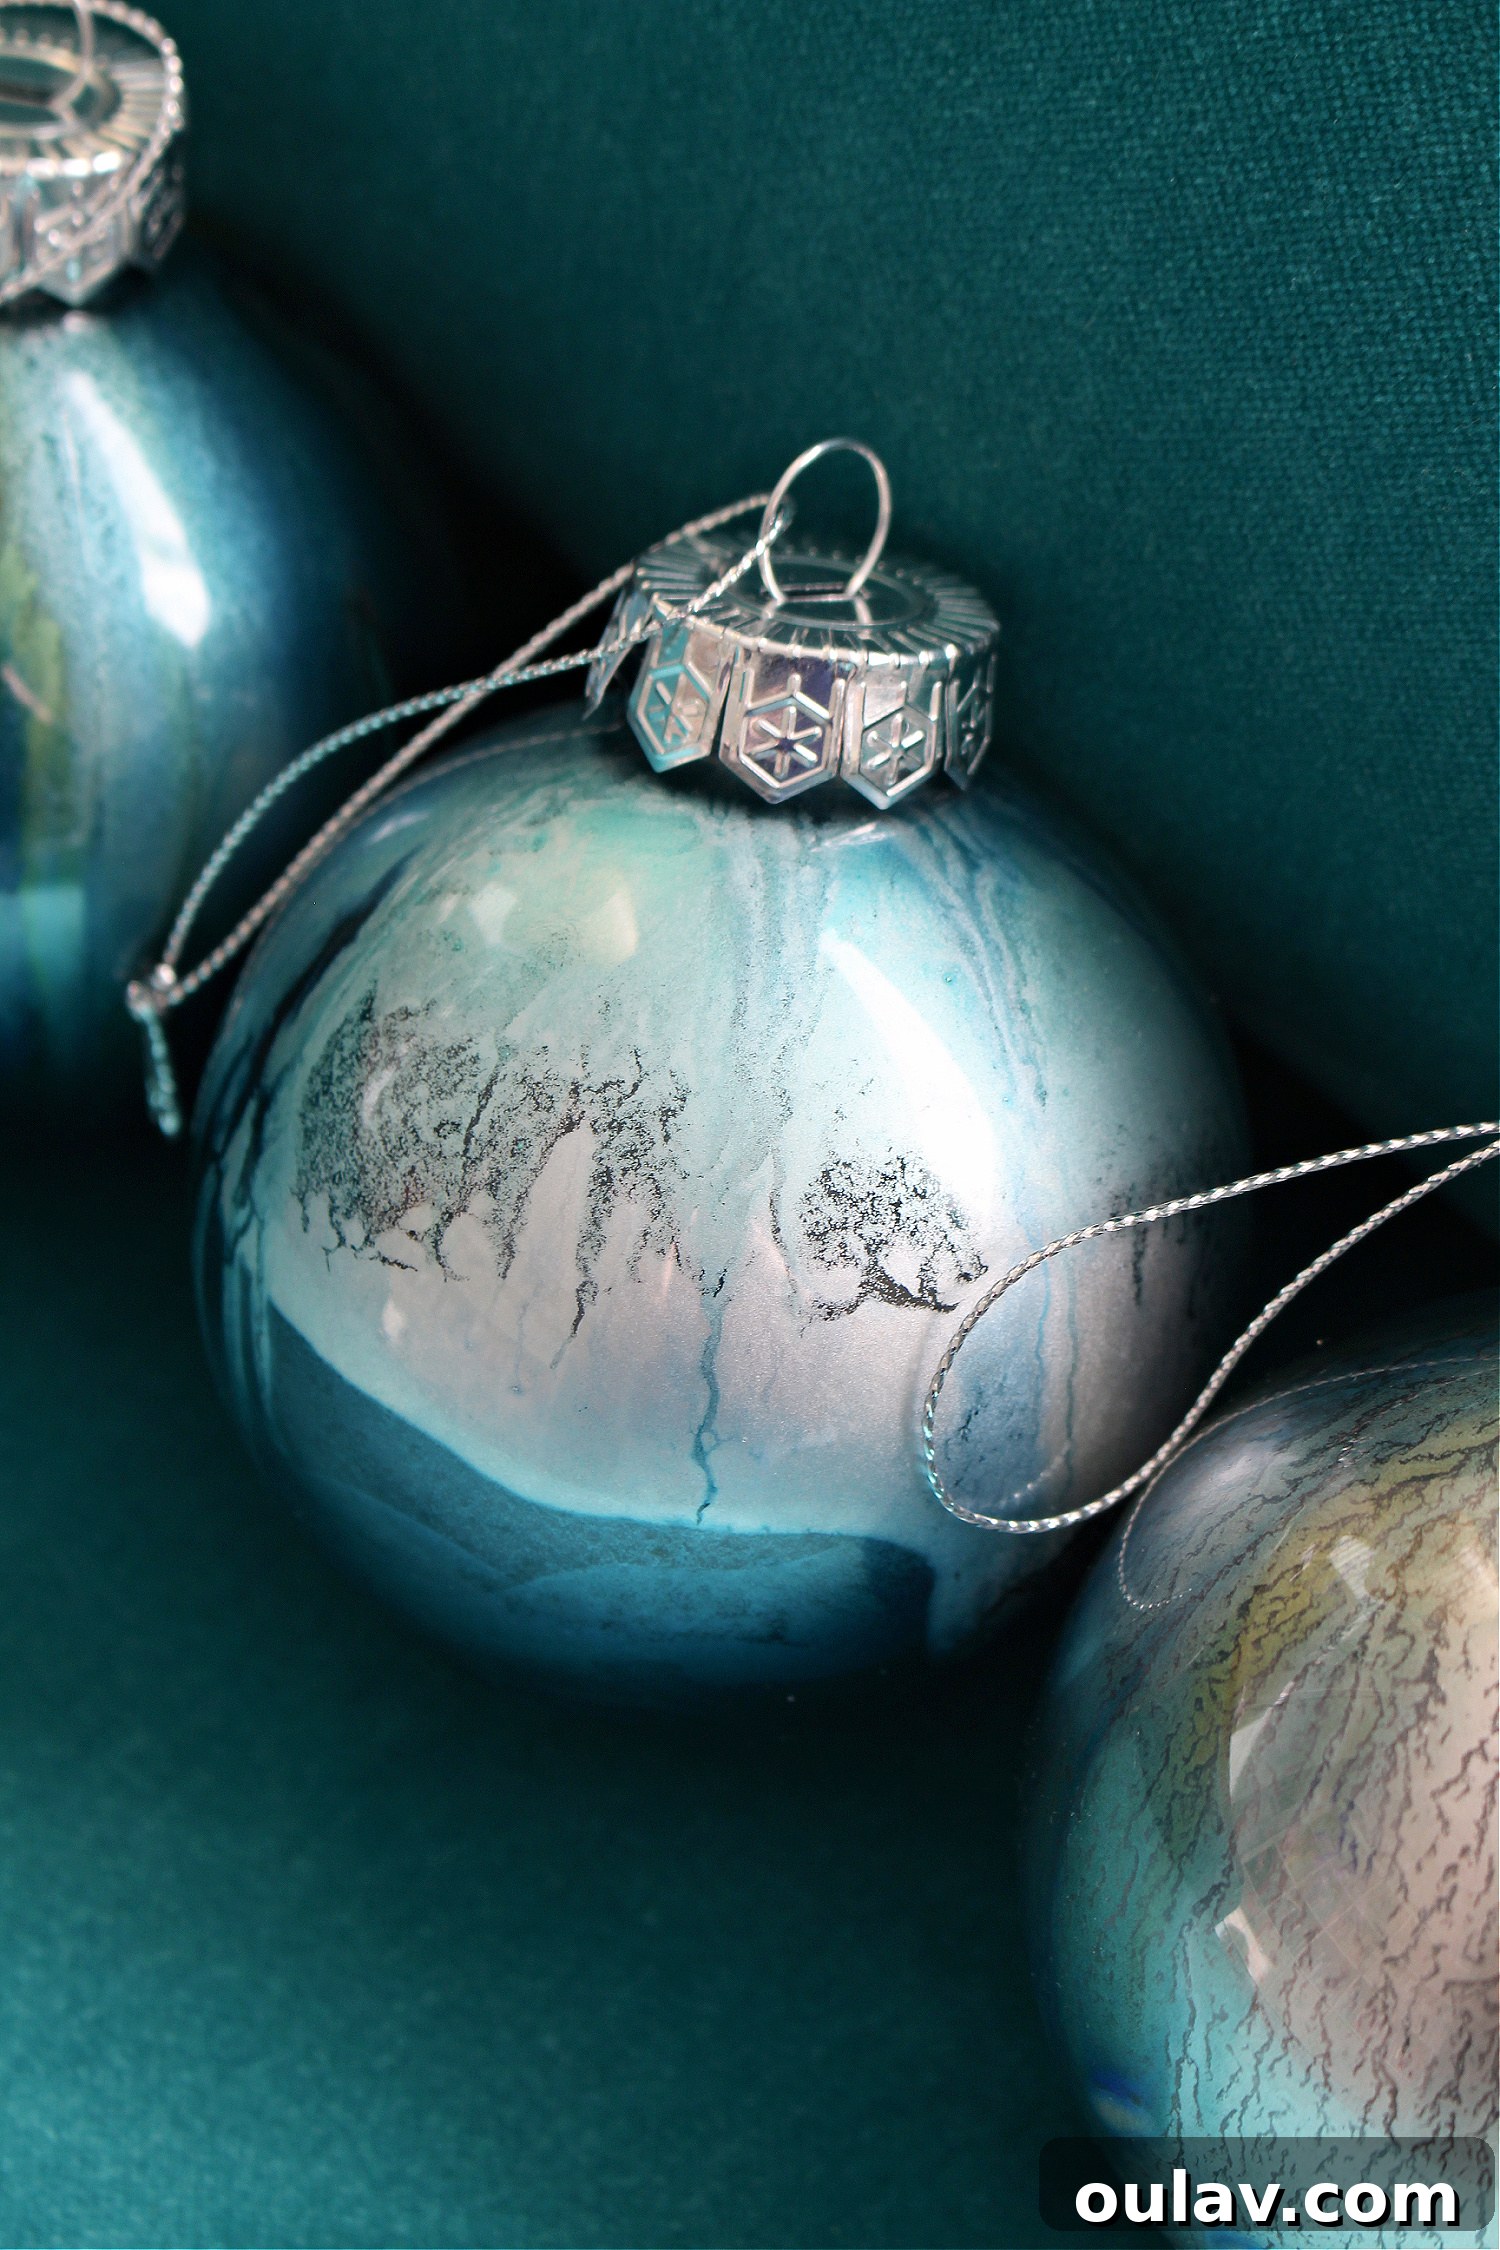
Stepping back from the intricate details, here’s a broader view of the completed alcohol ink ornaments. As you can observe, I found myself drawn to creating a beautiful collection primarily featuring teal and aqua hues, which lend a serene and elegant touch to any holiday decor. Each ornament, despite a common color palette, retains its individual character and unique swirling patterns, making them truly one-of-a-kind treasures.
FAQs About Alcohol Ink Ornaments
How to Remove Alcohol Inks from Skin
While I strongly recommend wearing gloves to prevent any staining, accidents happen! Don’t panic if you get alcohol ink on your skin. The good news is that alcohol inks are soluble in alcohol. A dab of rubbing alcohol (isopropyl alcohol) on a cotton pad or paper towel will usually remove the ink from your skin quite effectively. Just rub gently, and it should lift away.
Can Alcohol Ink Be Used on Glass Ornaments?
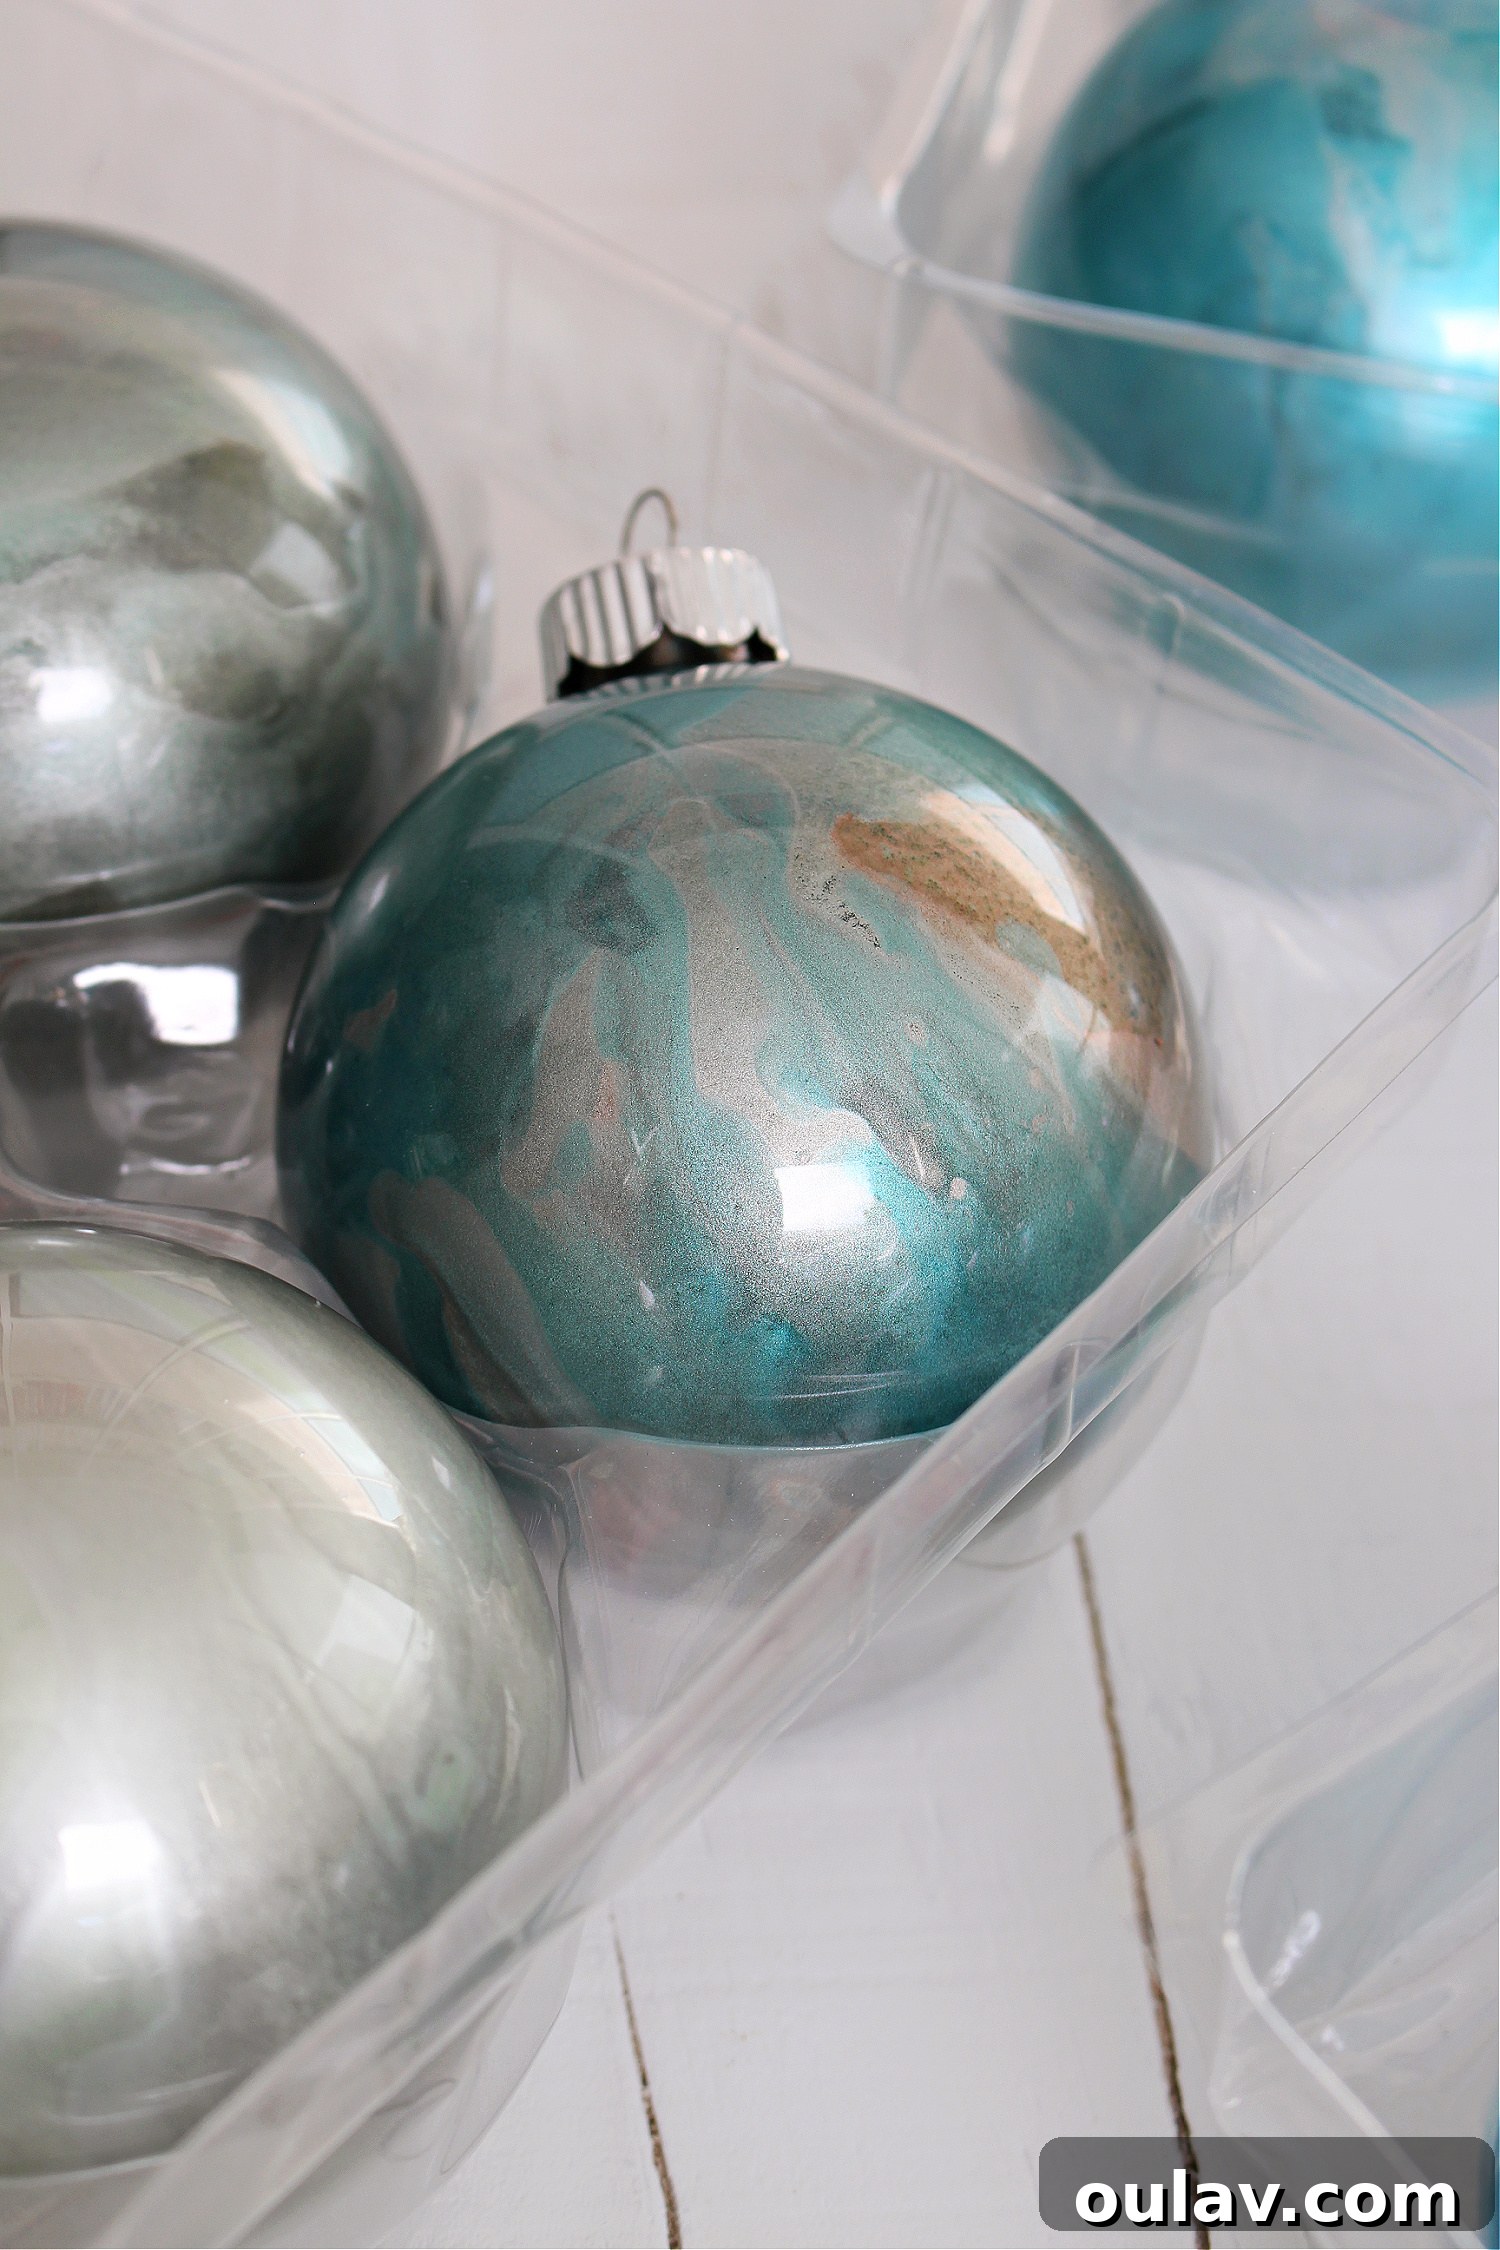
Absolutely, yes! Alcohol ink works wonderfully on glass surfaces. As mentioned earlier, I successfully used alcohol ink on the outside of creamy white glass ornaments last year. For that external application method, I sealed the finished designs with Krylon clear glaze to ensure durability and prevent any transfer of the ink, allowing for handling and enjoyment with zero worries. Alternatively, and as demonstrated in this tutorial, alcohol ink can be applied to the *inside* of clear glass ornaments. This internal method typically requires no sealant as the ink is protected within the ornament, though the ink can be a little trickier to control initially.
The luminous effect achieved by applying ink internally to glass is truly special. It creates a depth and vibrancy that an external application on an opaque surface simply cannot match. The inks flow and swirl in unique ways, reacting with the smooth inner surface of the glass to form captivating patterns. This method yields beautiful, high-end looking ornaments with minimal effort.
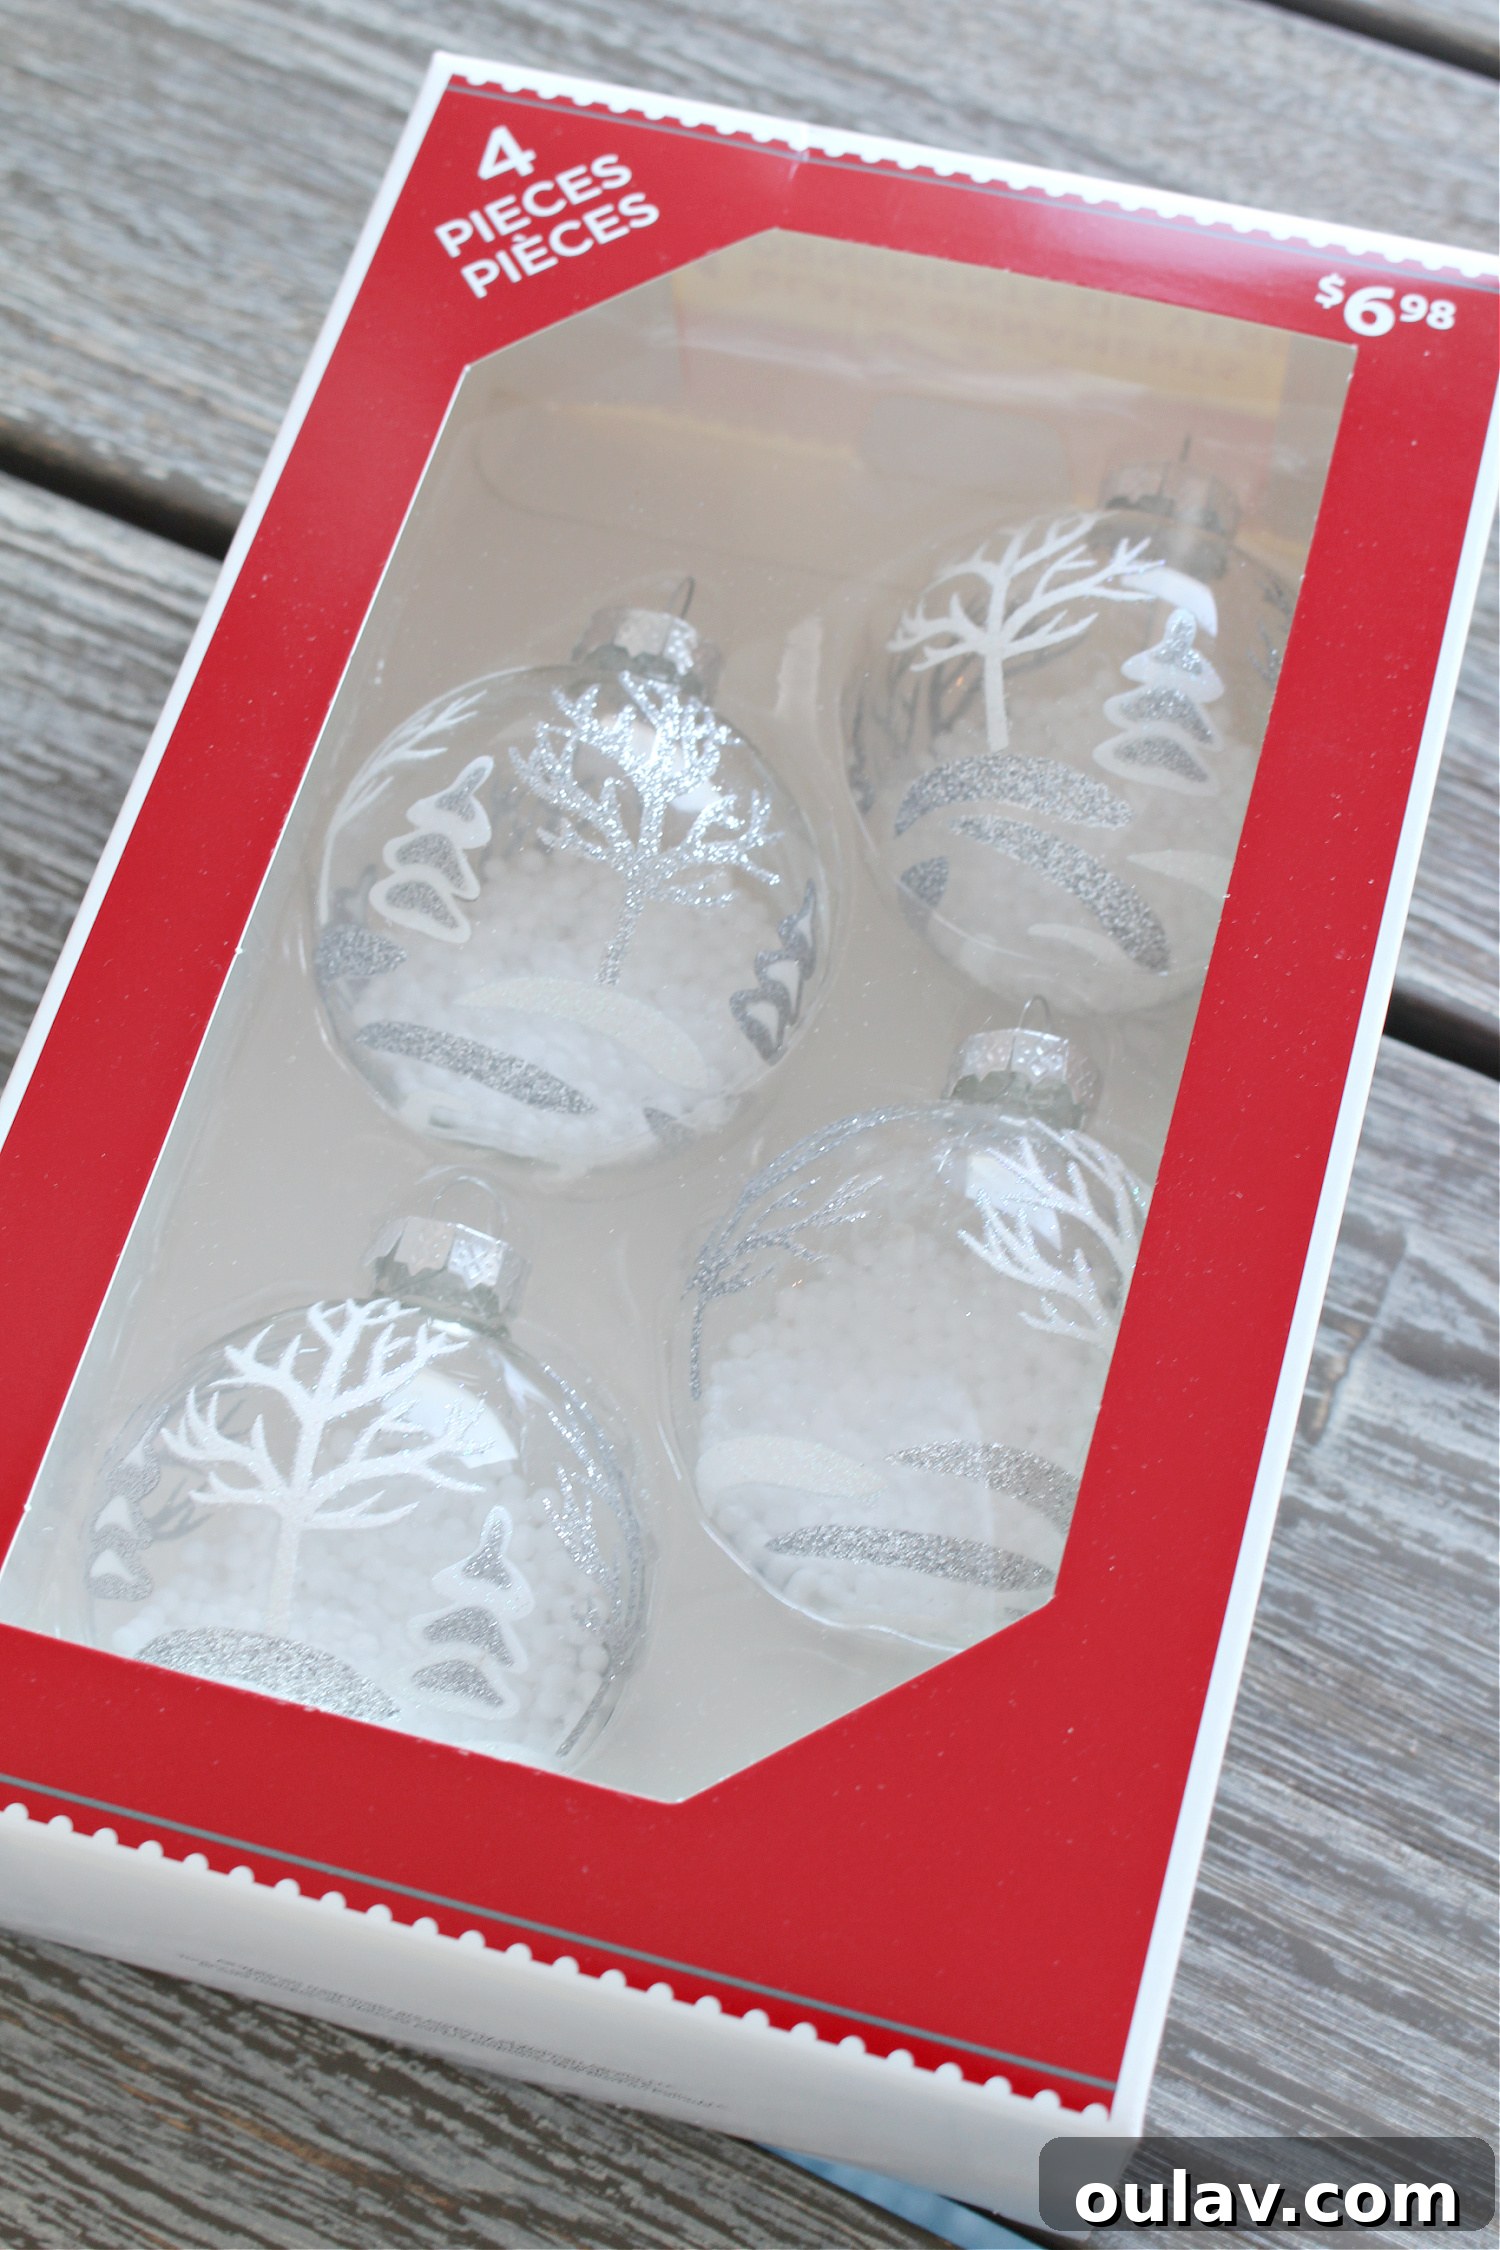
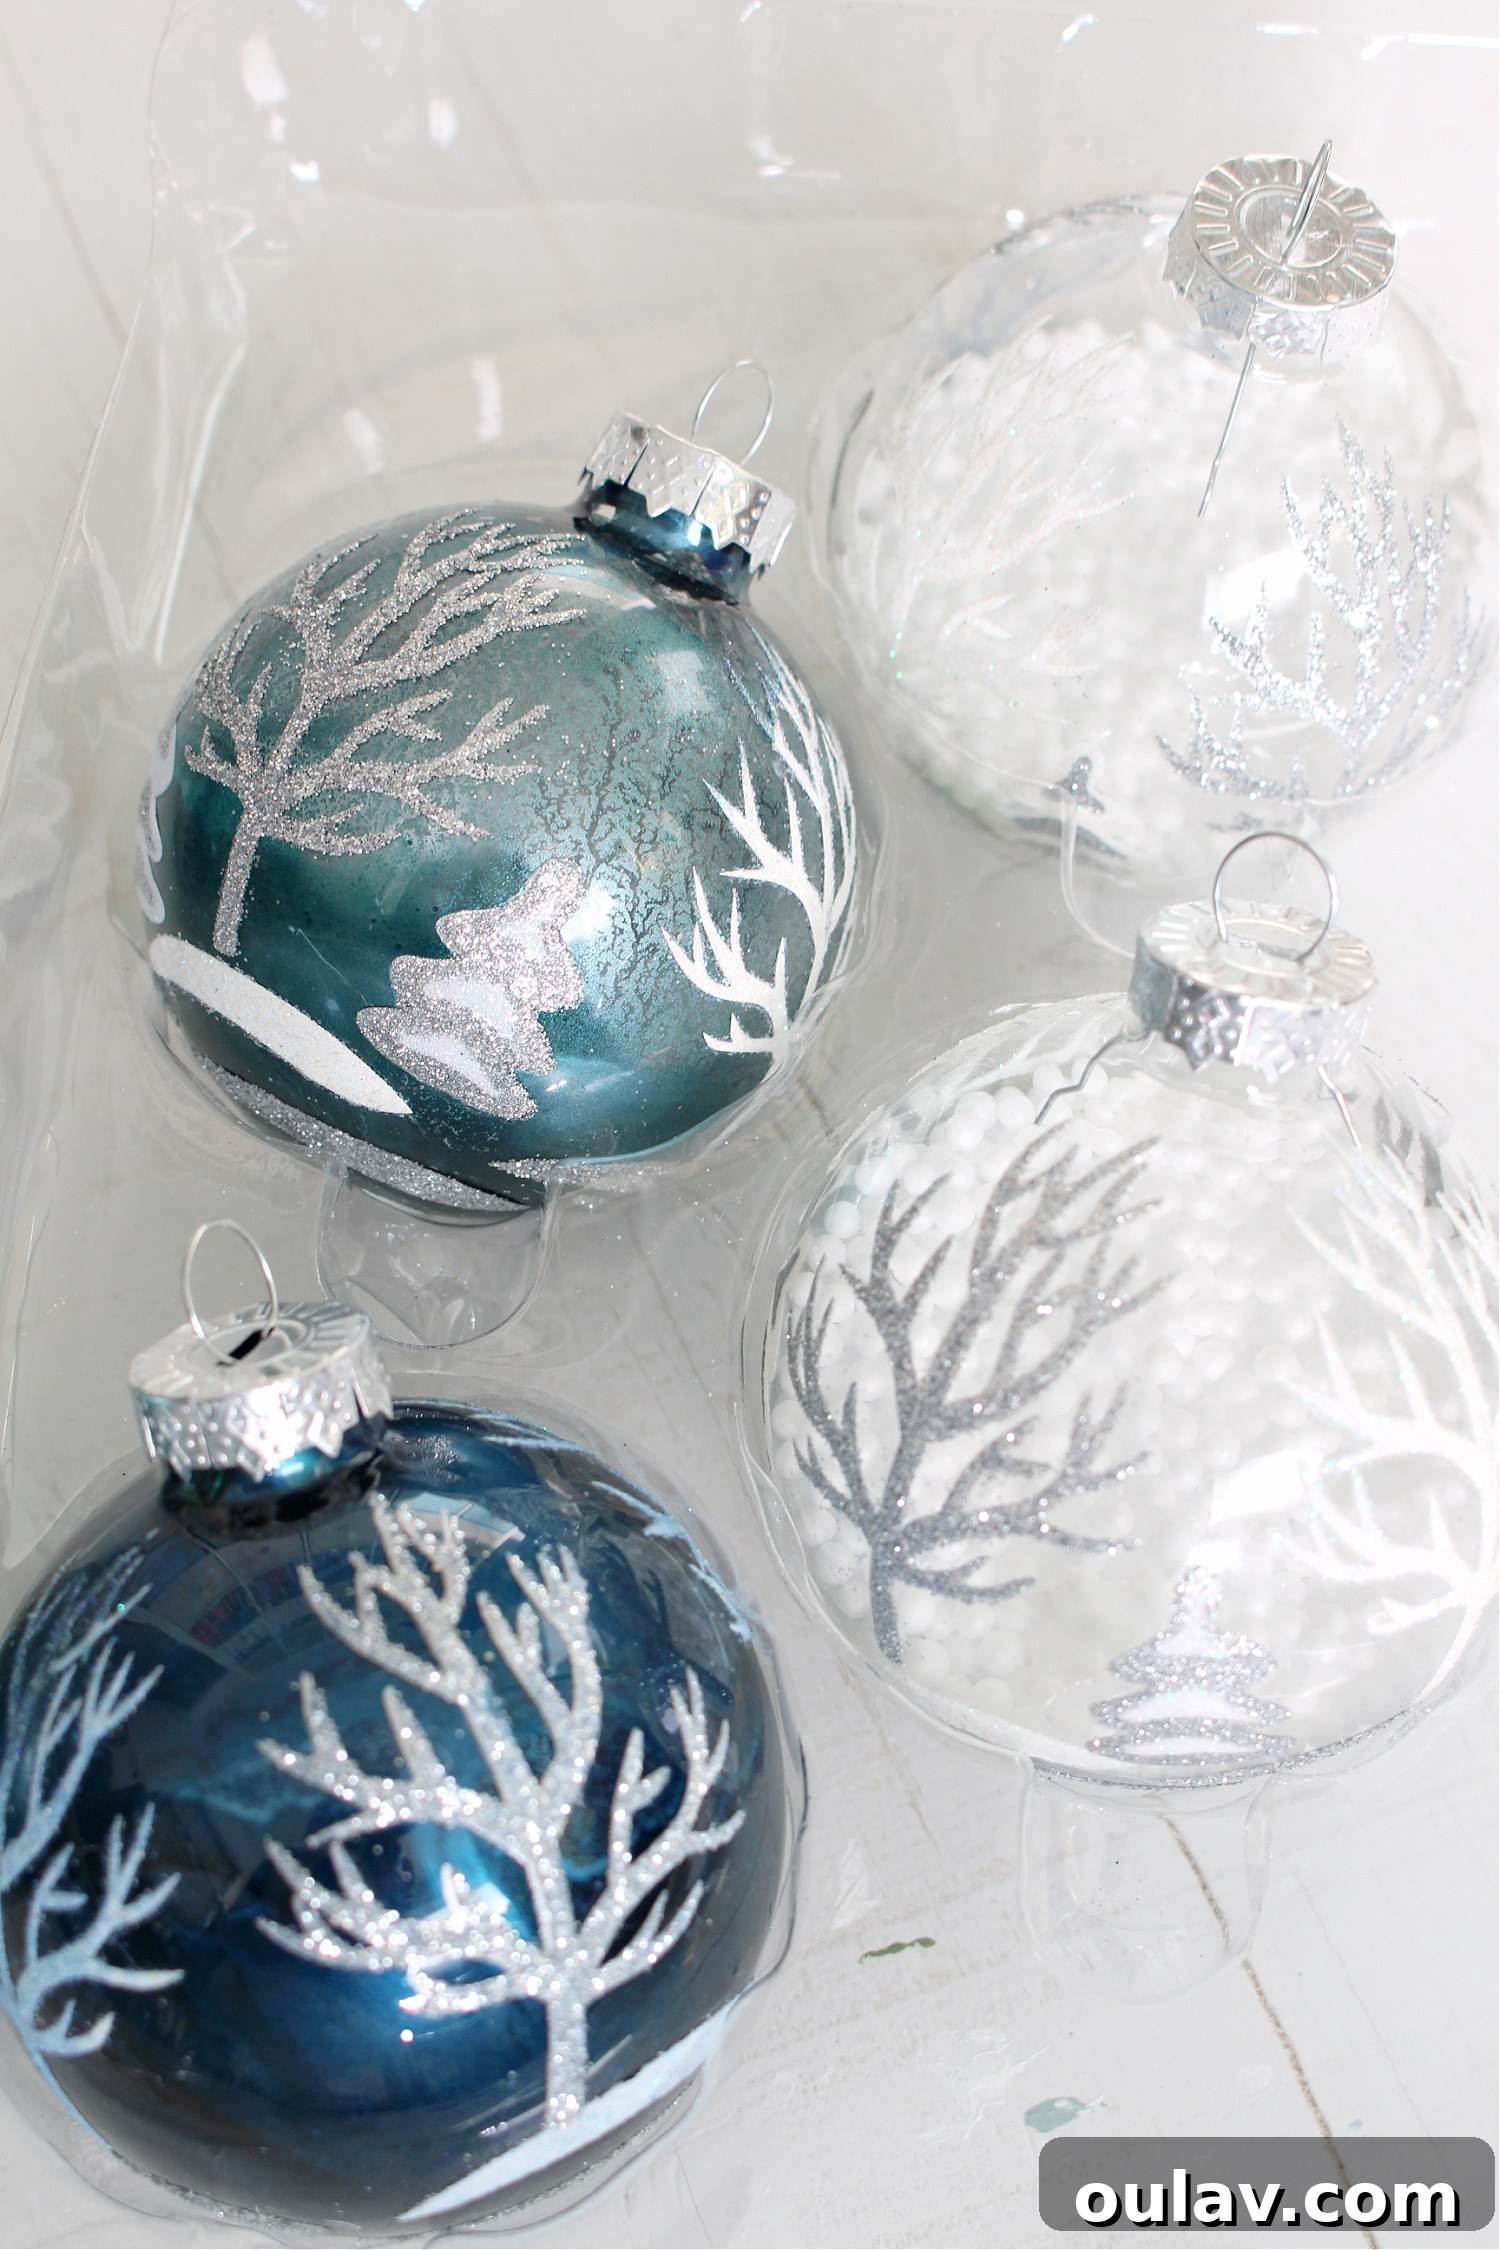
A quick word of caution: I found that glass ornaments with pre-existing designs on the outside (like glitter patterns) are generally not suitable for this internal alcohol ink method. While I initially thought they might be cute, if any alcohol ink accidentally drips onto the exterior, it can easily ruin the existing design, leading to a less-than-perfect result. Stick to smooth, clear glass for the best outcomes.
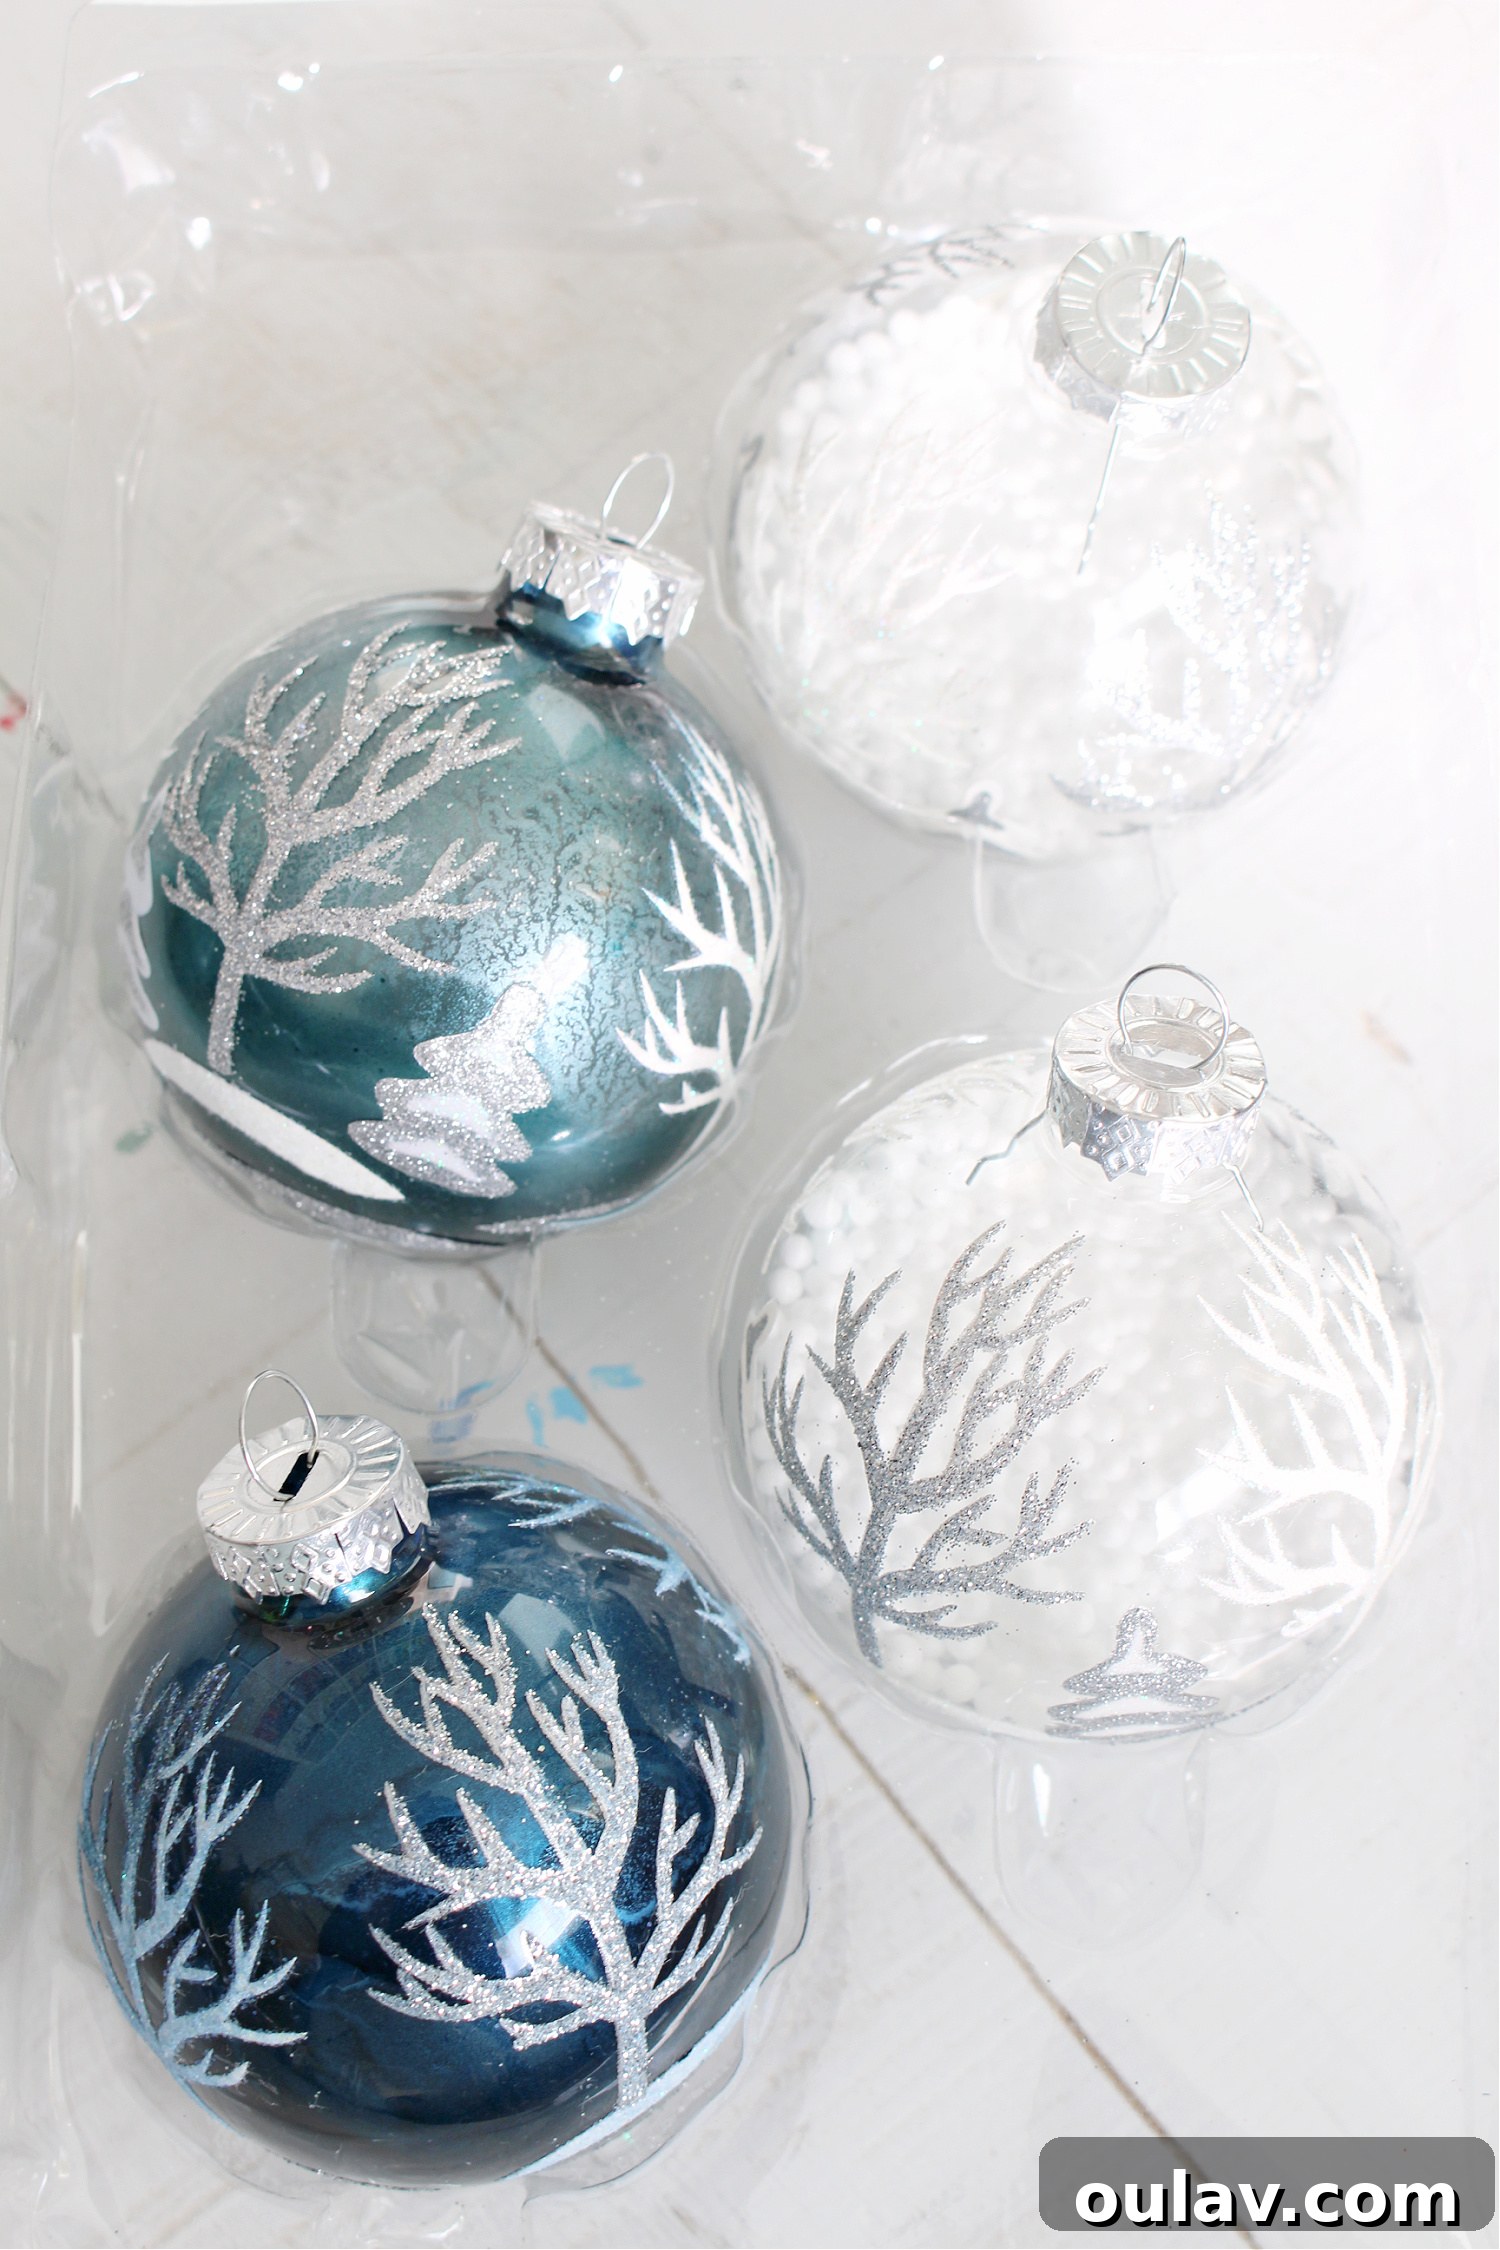
In my experience, large, unadorned clear glass ornaments provided the ideal canvas for these DIY alcohol ink creations. Their ample surface area allows for more expansive and dramatic ink flows, giving the colors space to blend and swirl into magnificent patterns. The transparency of the glass maximizes the visual impact of the vibrant inks within.
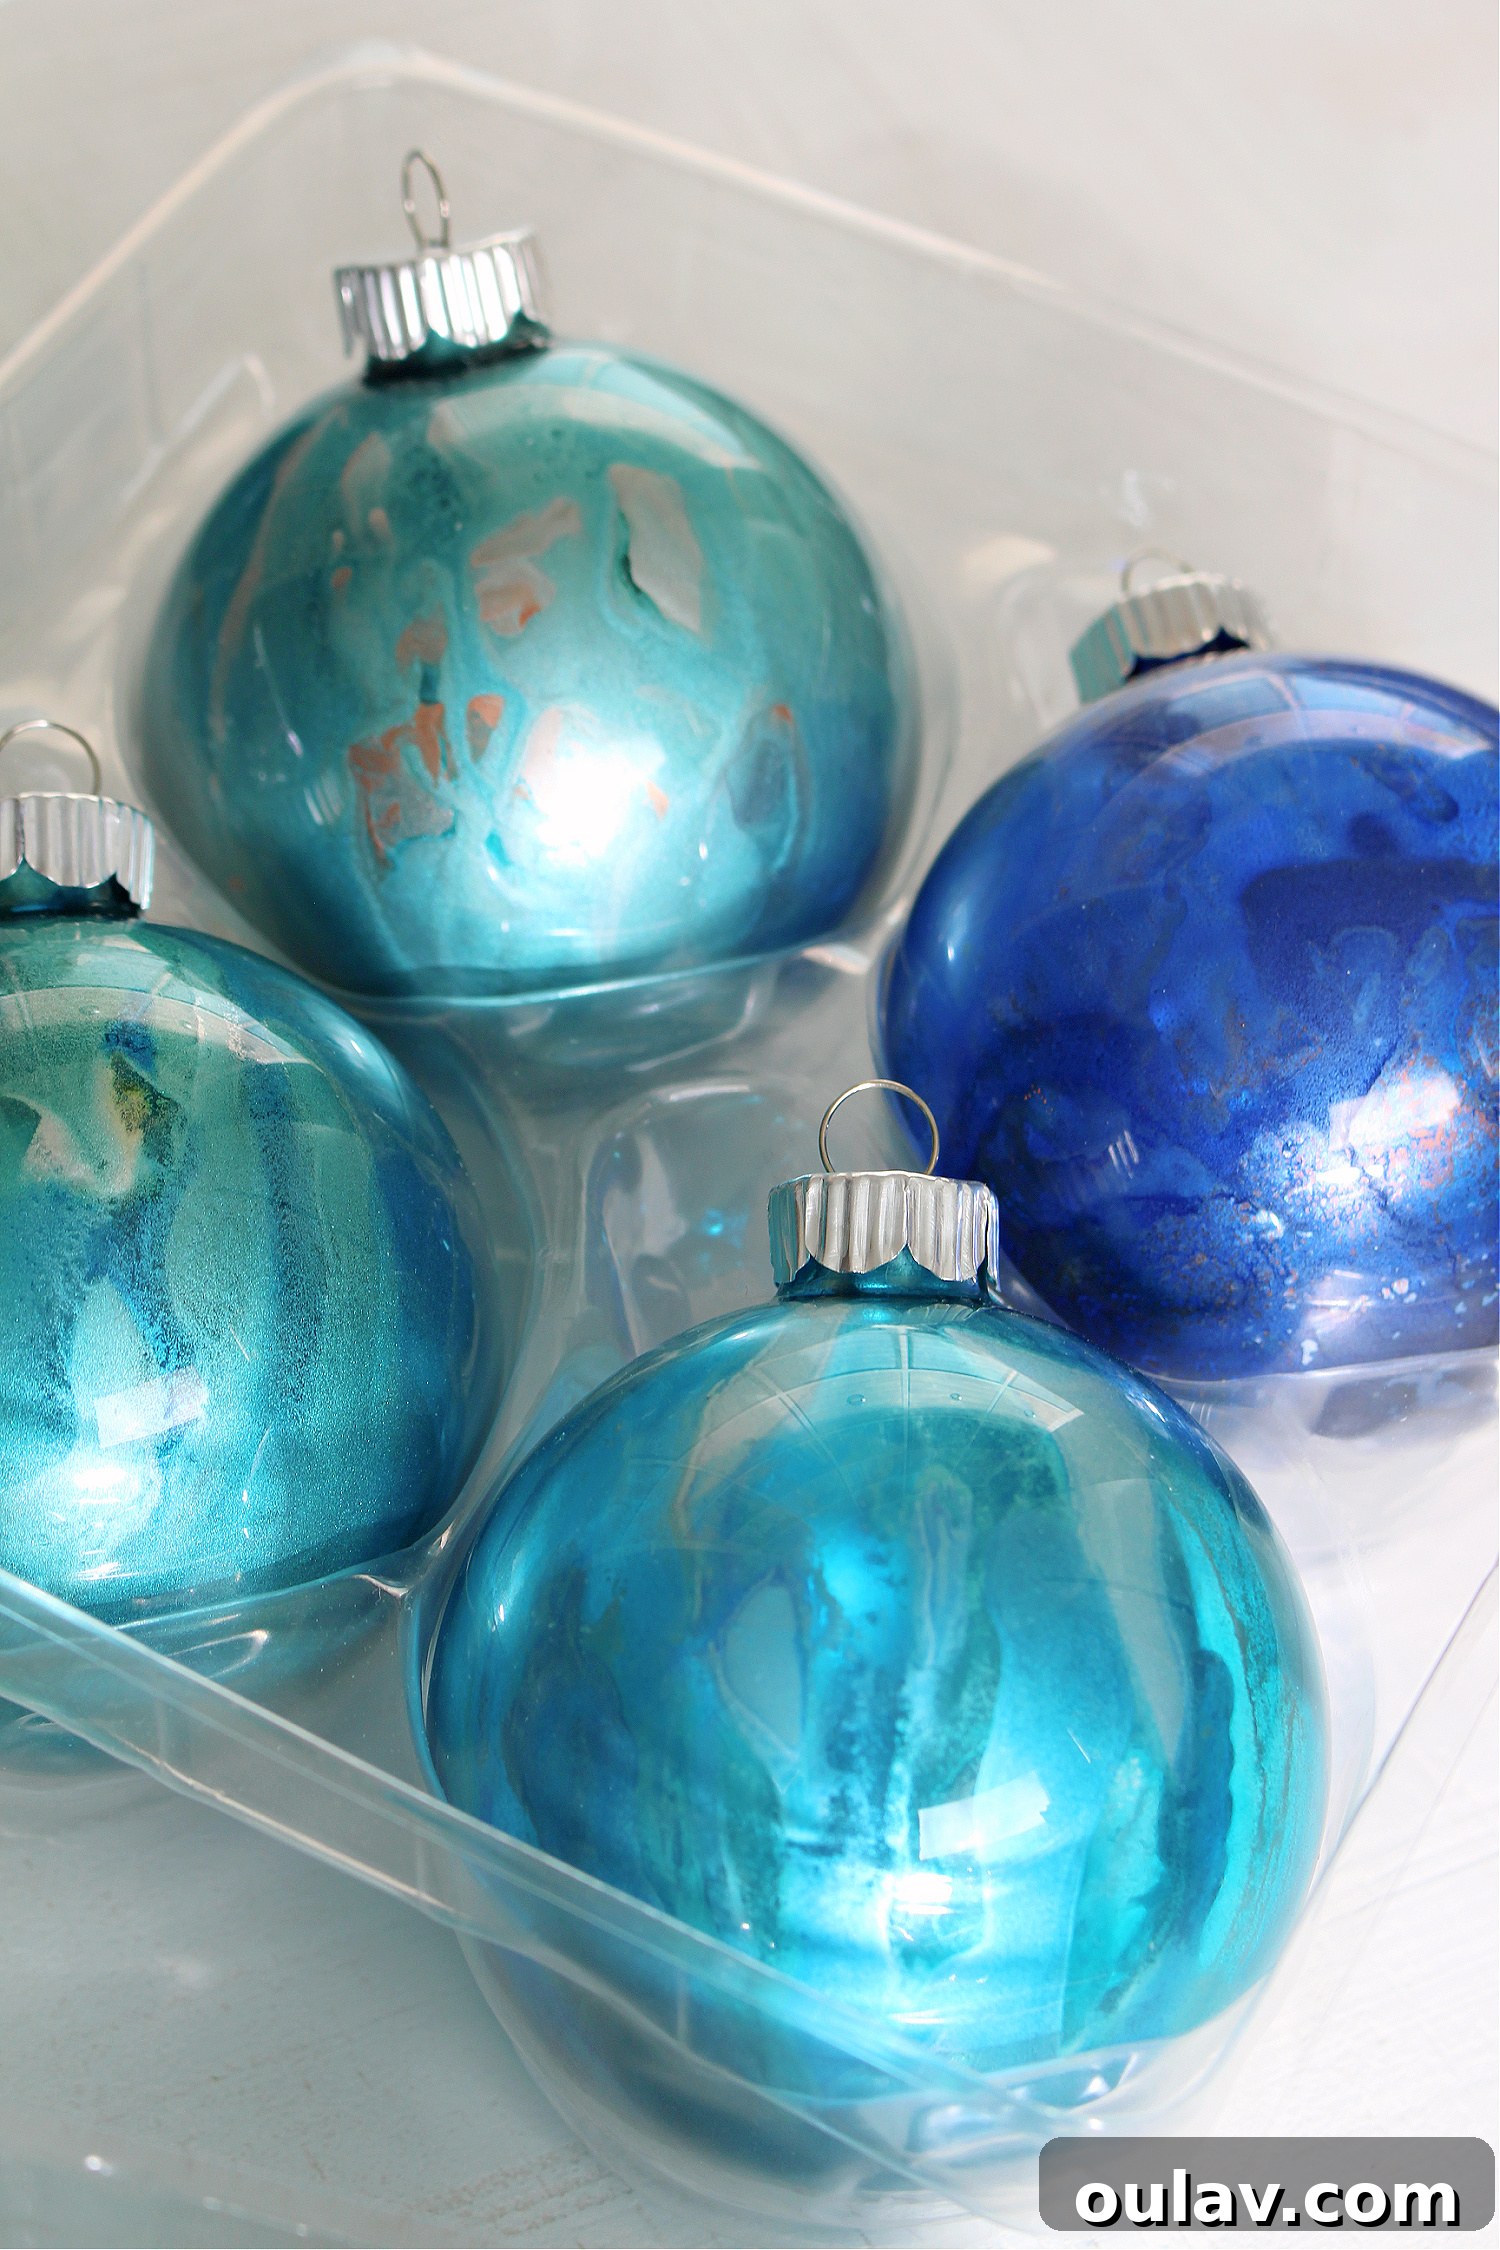
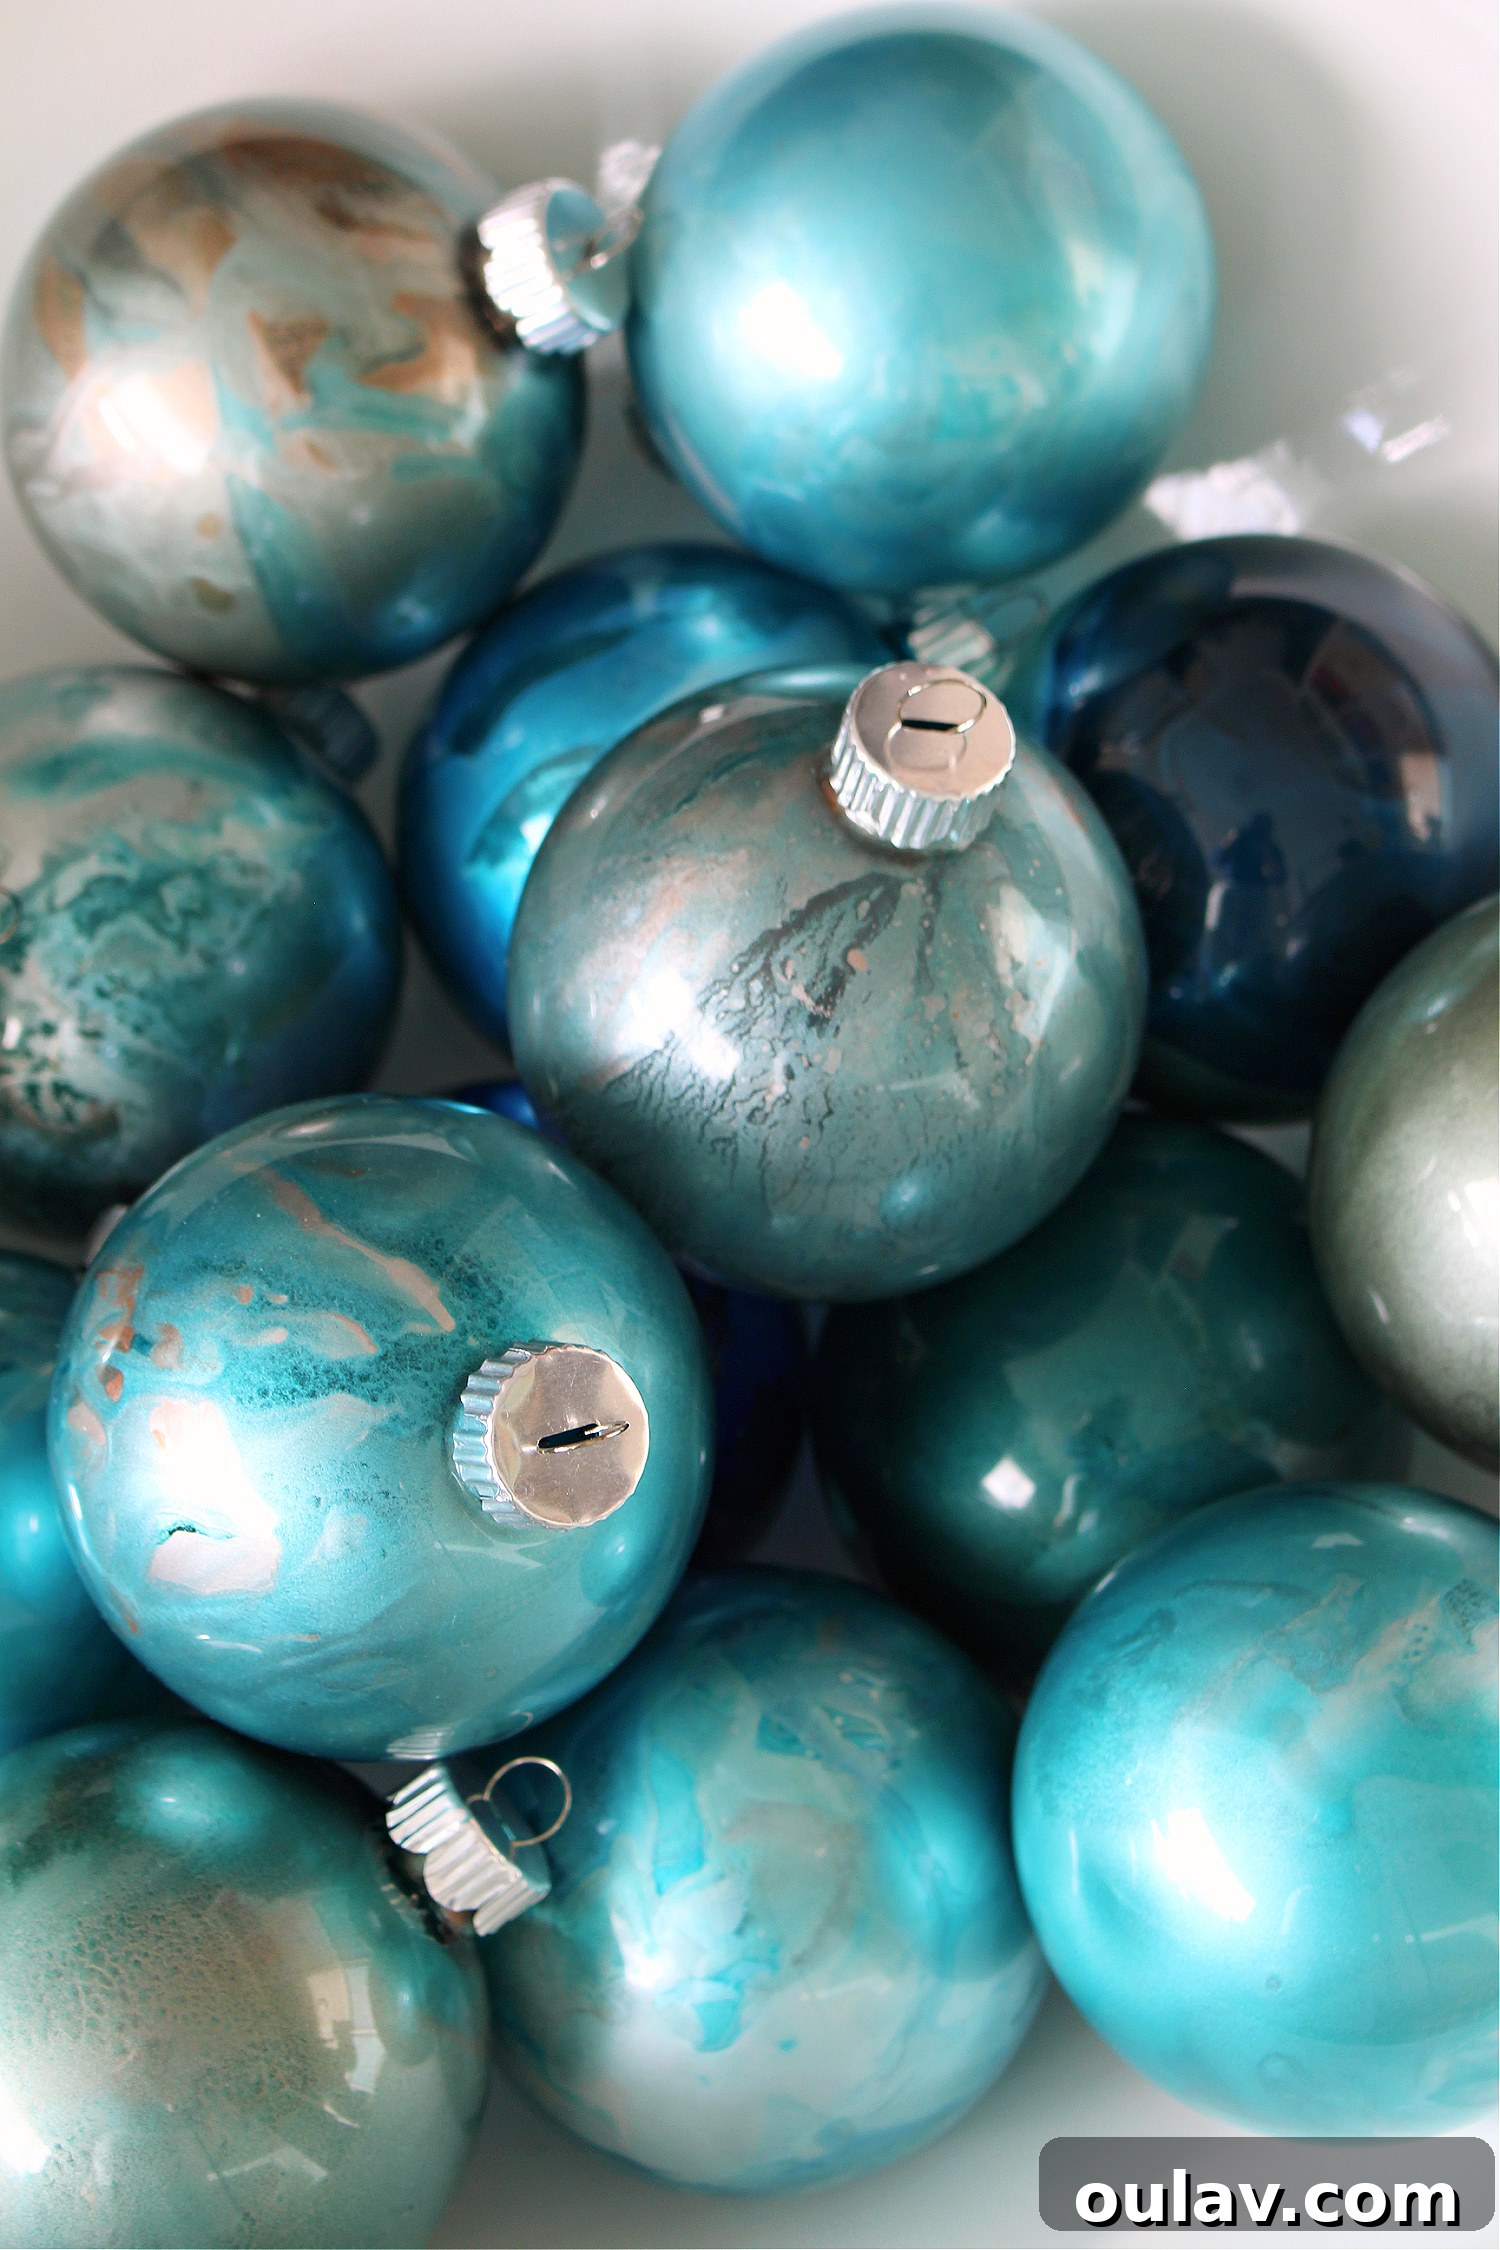
How Do You Seal Alcohol Ink on Glass?
For applications where alcohol ink is applied to the *exterior* of glass, a sealant is crucial to protect the design. I highly recommend using Krylon clear glaze. It creates a durable, protective layer that ensures your beautiful artwork lasts. However, for the internal application method detailed in this tutorial, no additional sealant is typically required. The ink is safely contained within the ornament, shielded from external elements, preserving its beauty for years to come.
Can You Use Alcohol Ink on Plastic Ornaments?
YES, absolutely! One of the most fantastic aspects of this crafting method is that alcohol ink works just as beautifully on clear plastic ornaments as it does on clear glass. This is a huge advantage, especially for those looking for a more durable, shatterproof option, or if you’re crafting with children. I even used some incredibly inexpensive plastic ornaments from a dollar store, and once the alcohol ink was swirled inside, they were transformed into ornaments that look far more luxurious and expensive than their humble origins suggest. The key, again, is to incorporate those metallic inks for that exquisite shimmer. Here’s a look at the “before” state of these simple plastic ornaments:
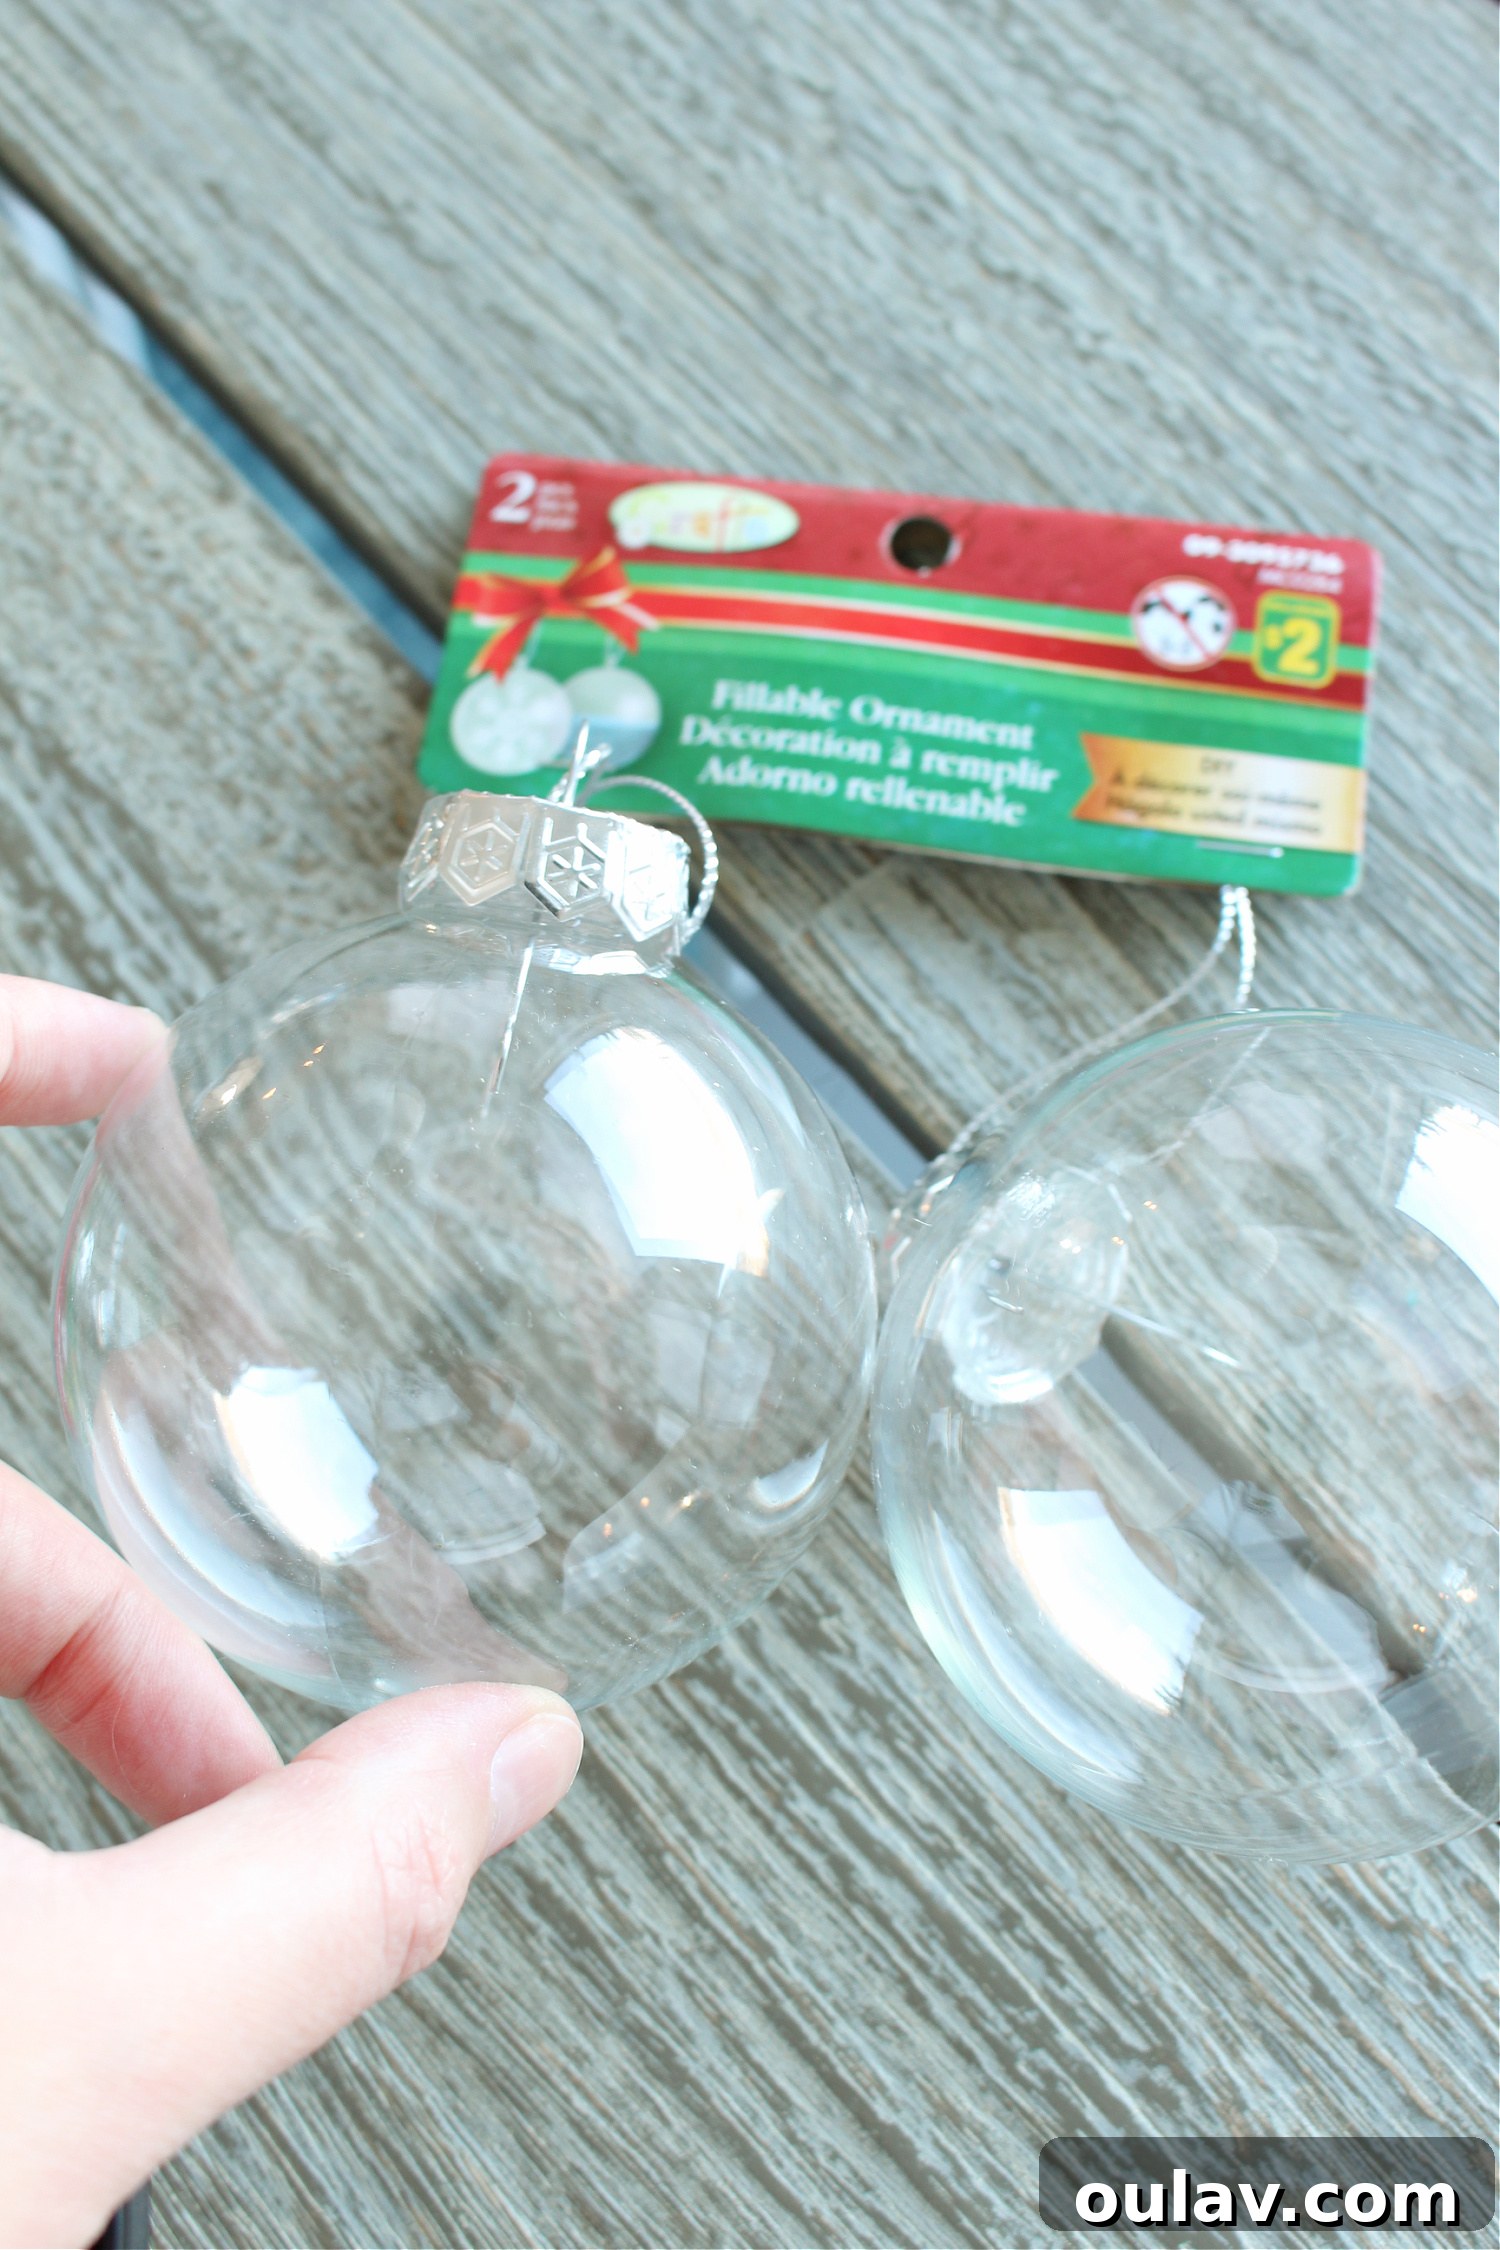
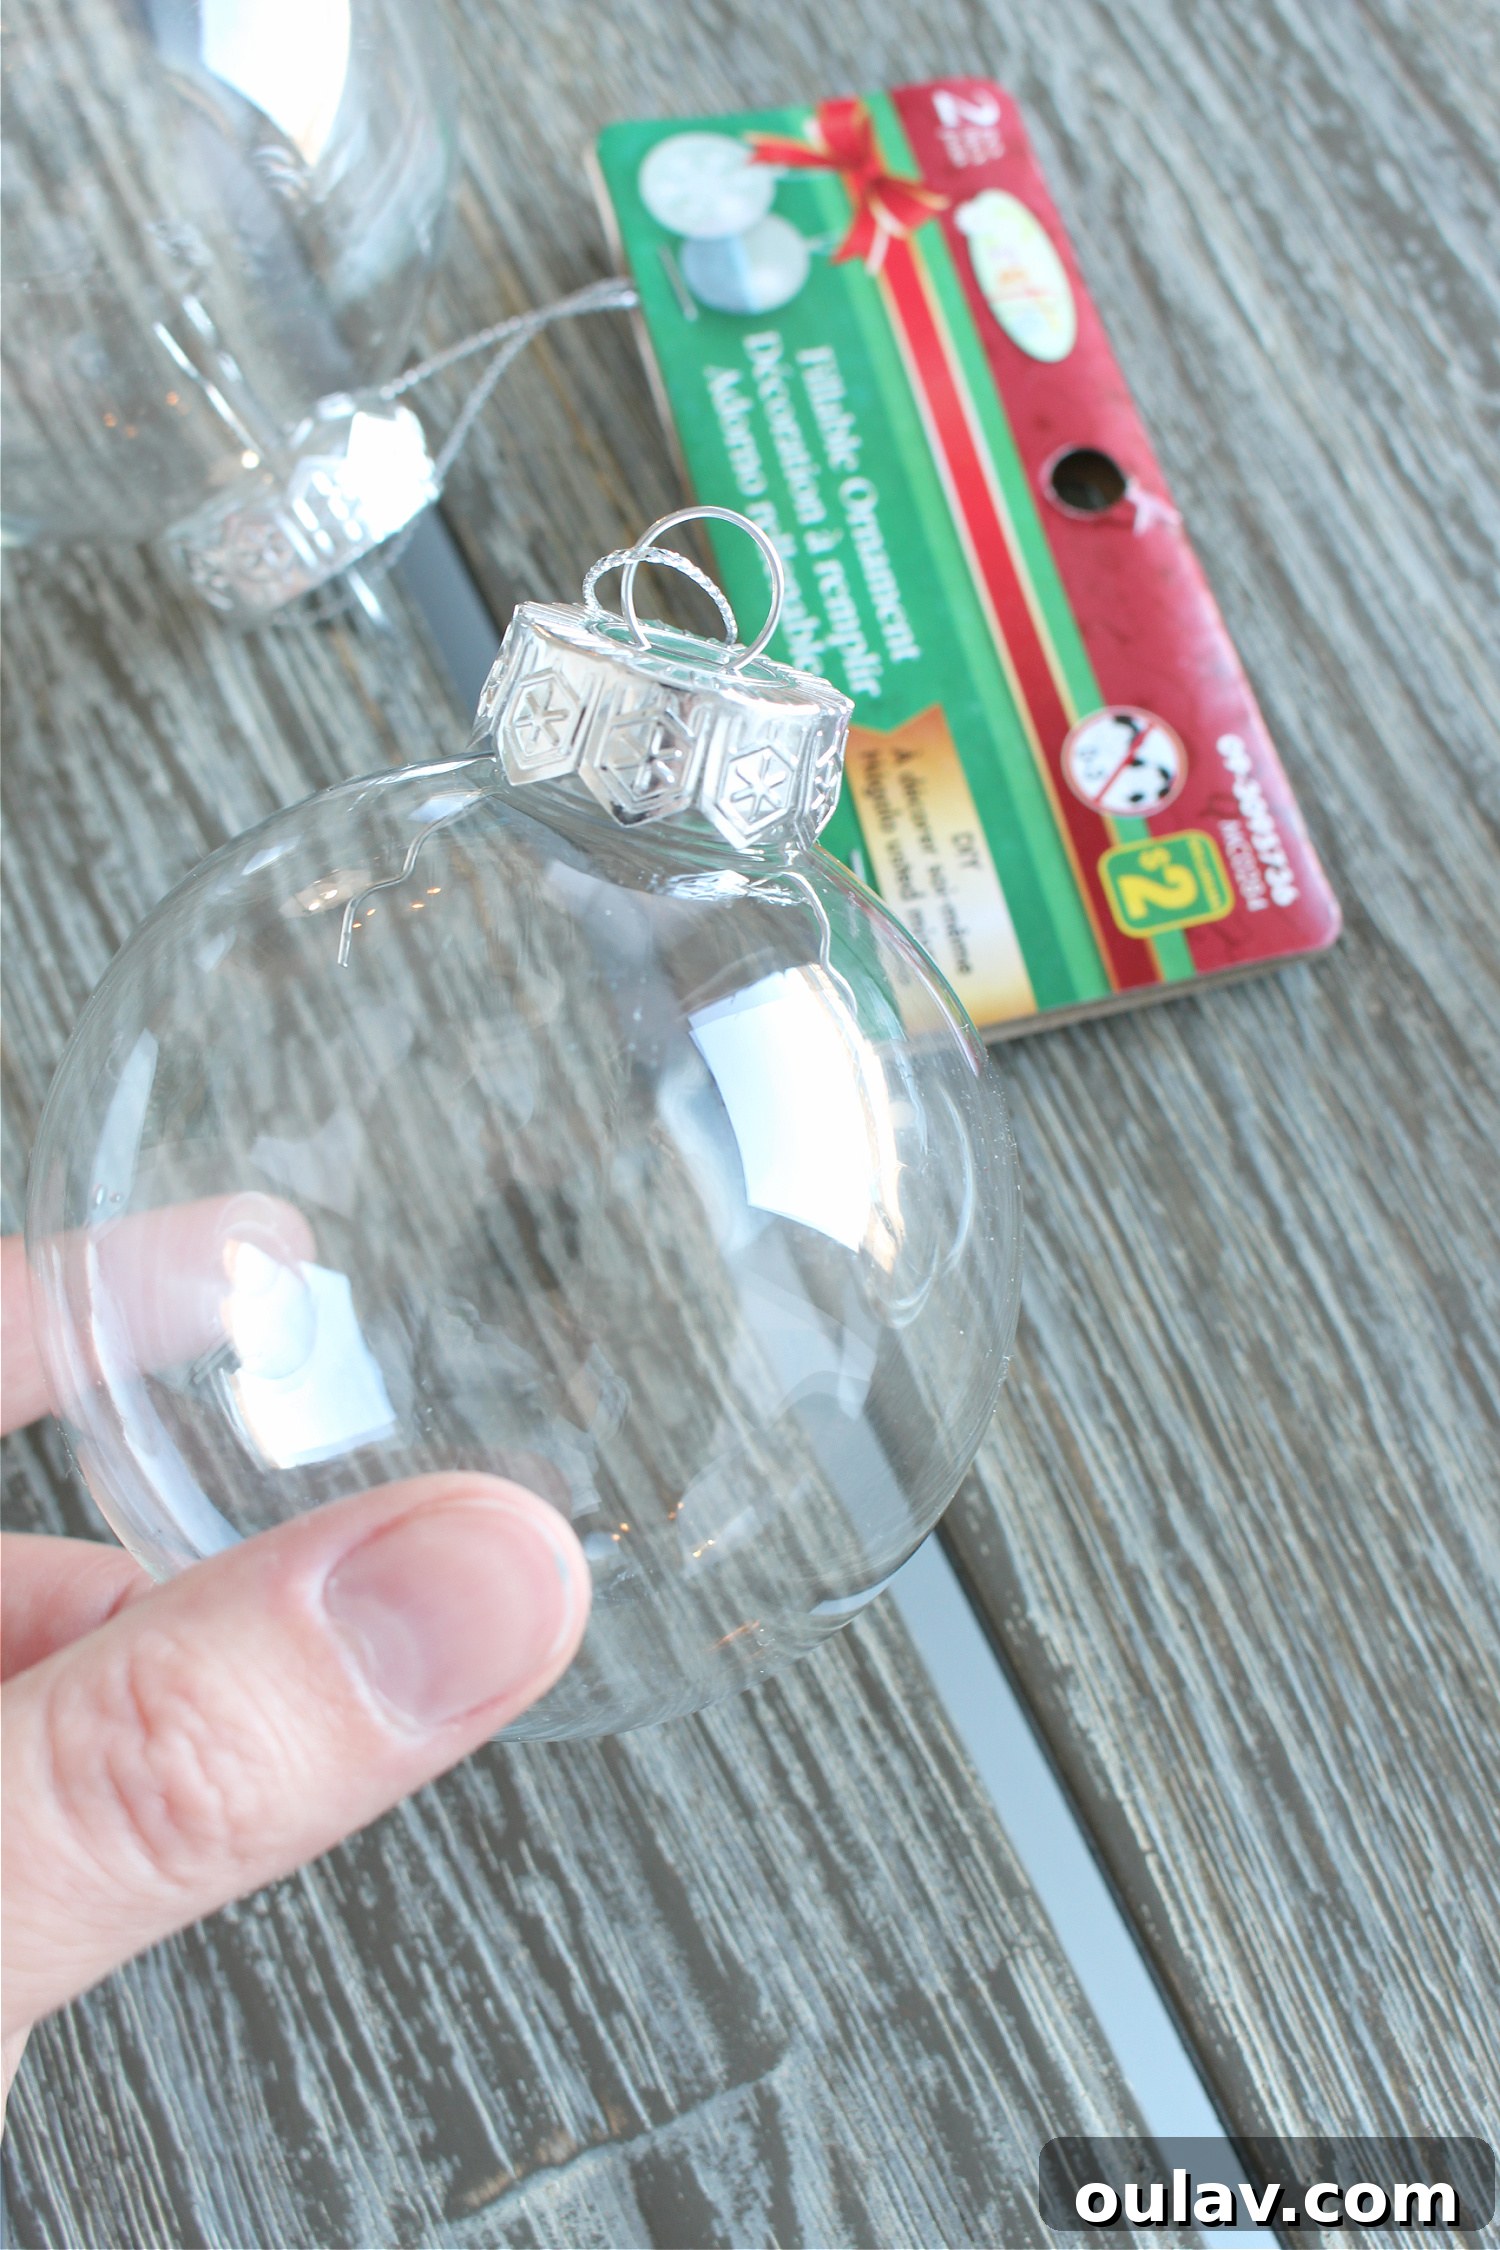
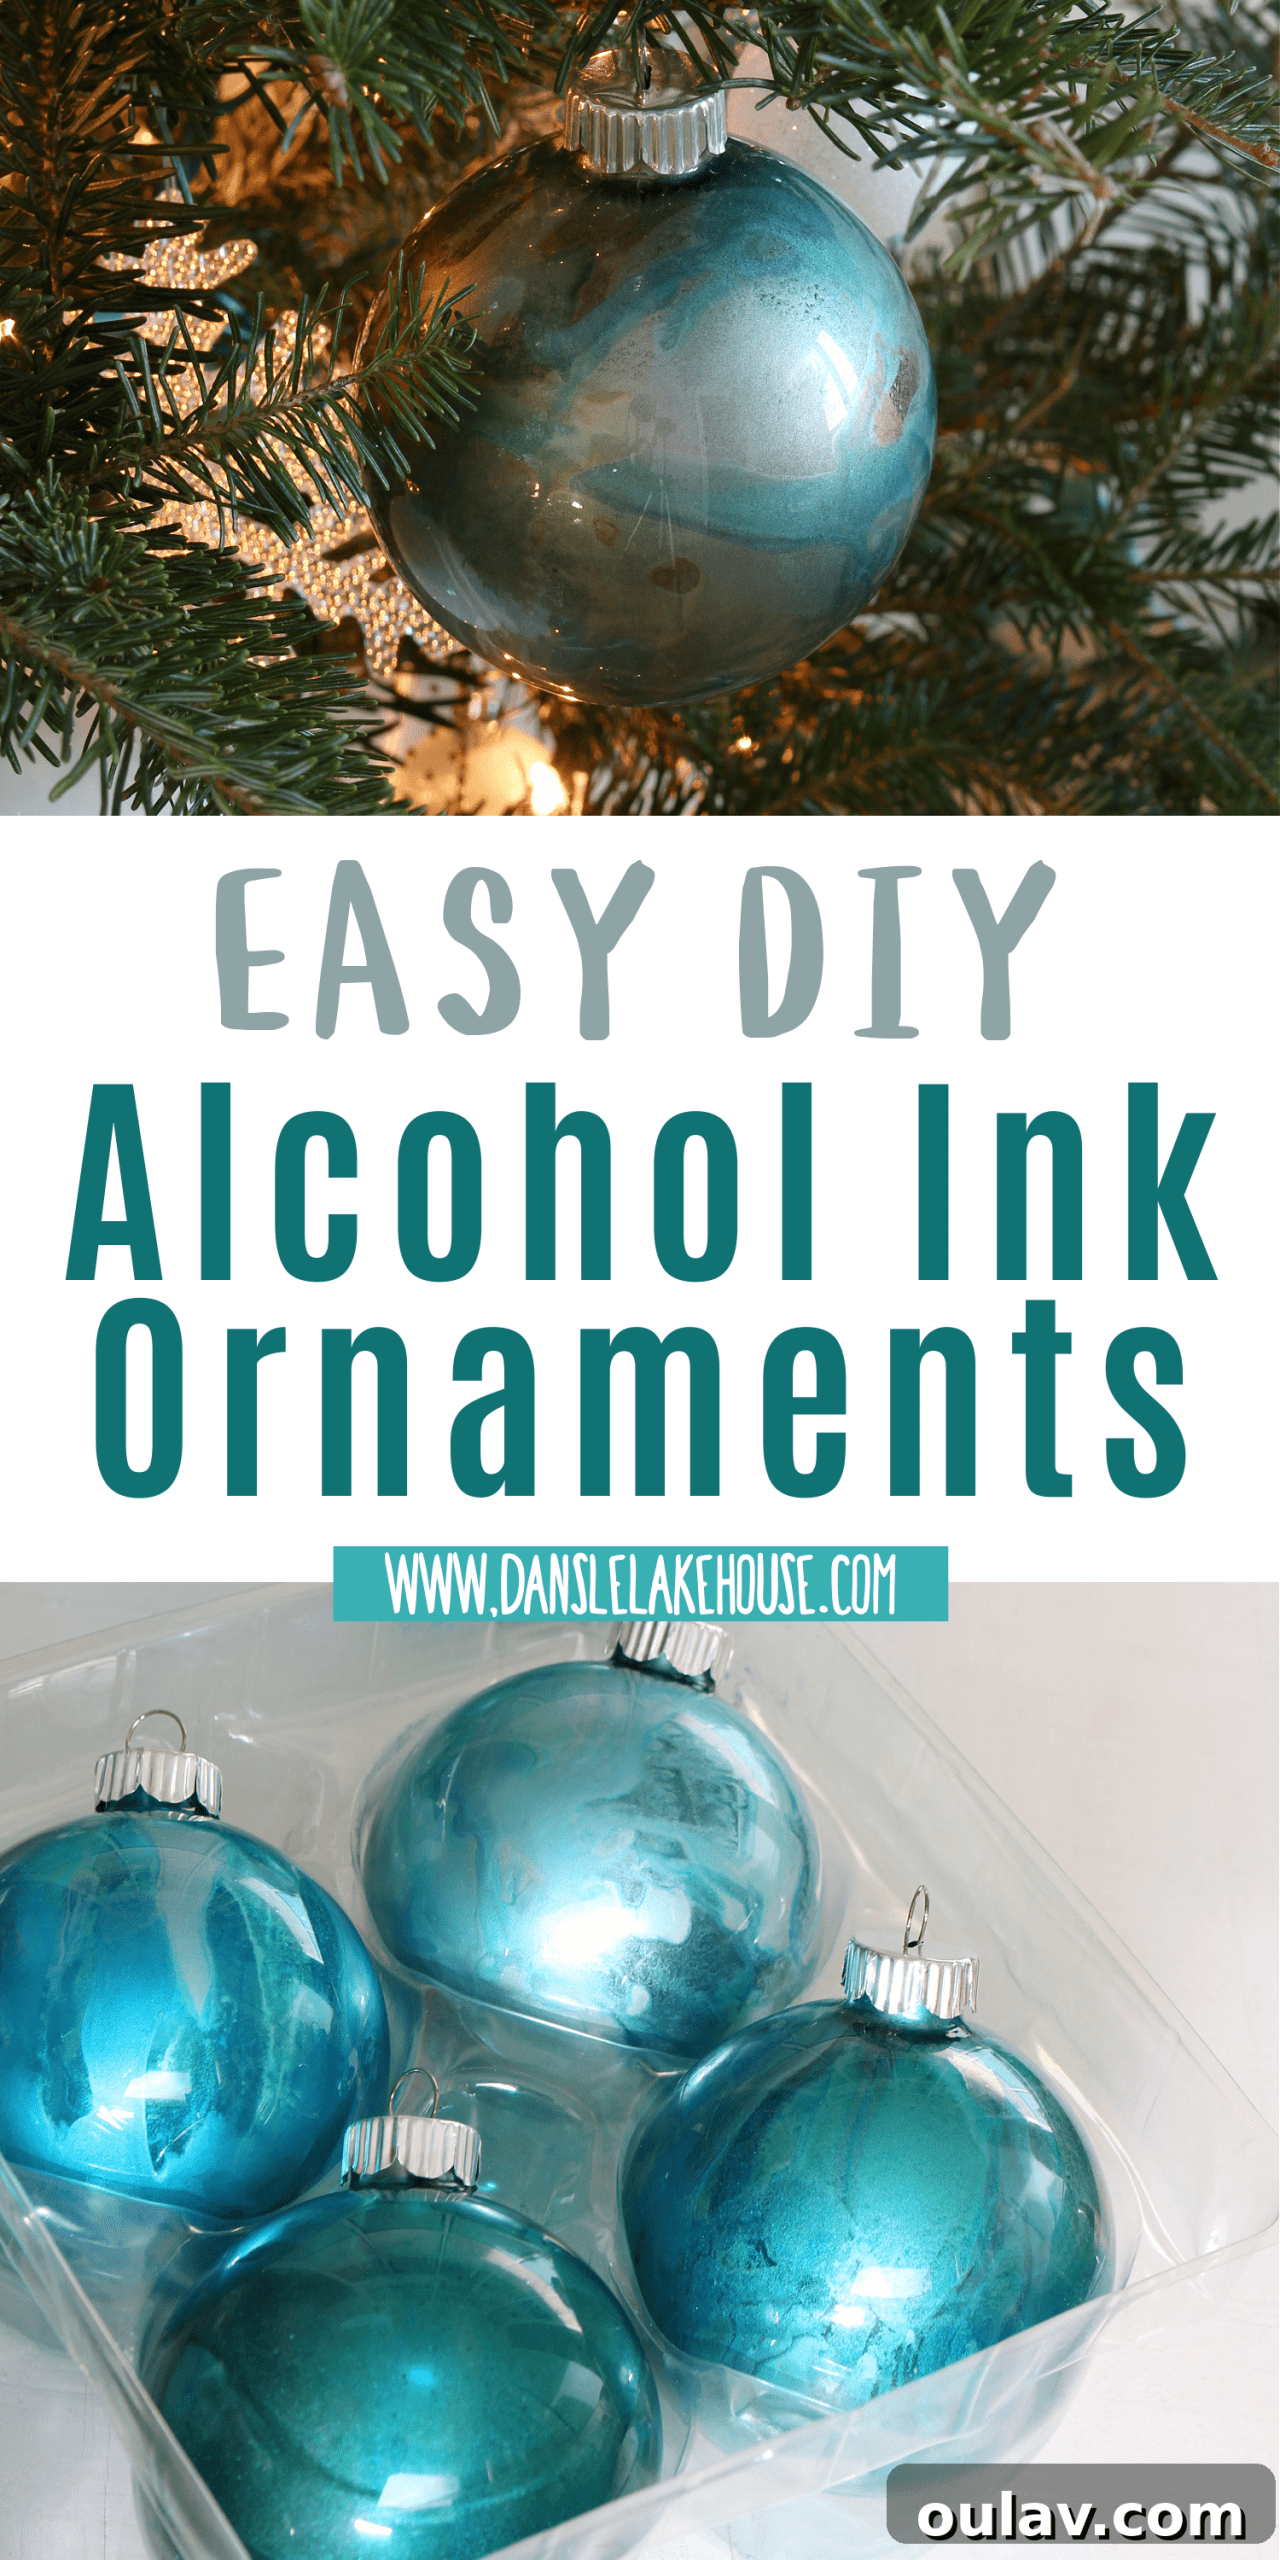
And here are the stunning results of the plastic alcohol ink ornaments! The vibrant colors and metallic accents truly shine through, demonstrating that you don’t need expensive materials to create high-impact, custom holiday decor. The durability of plastic also makes these ideal for homes with pets or children, where glass might be a concern.
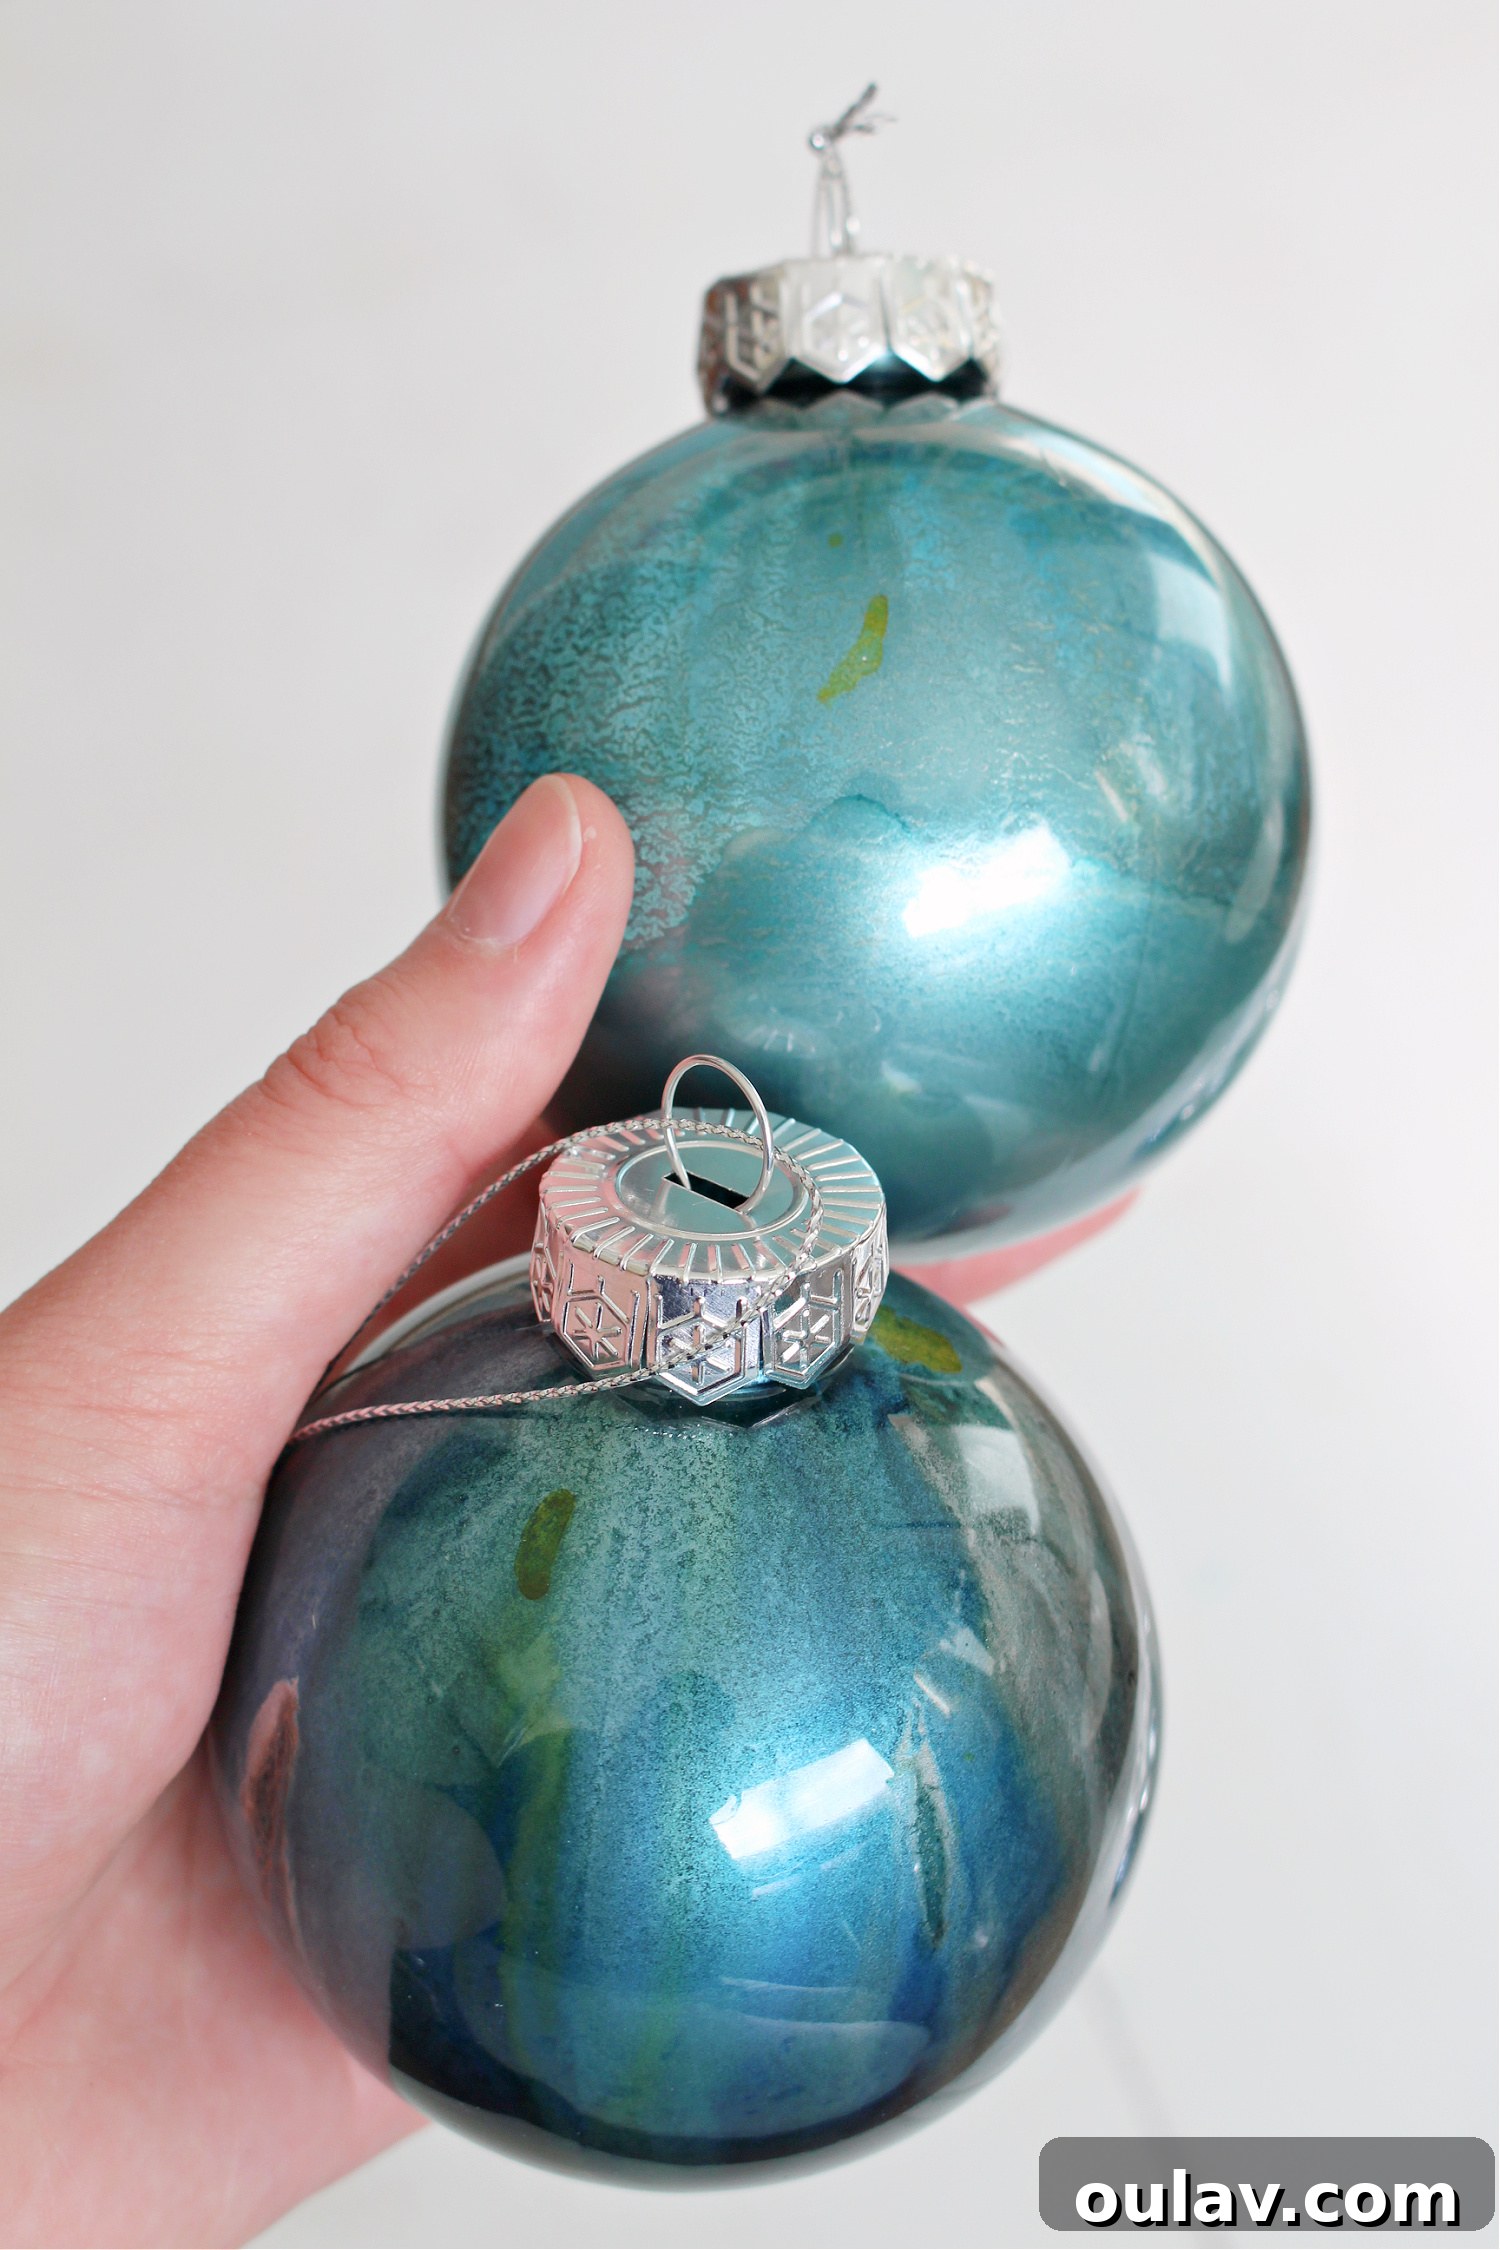
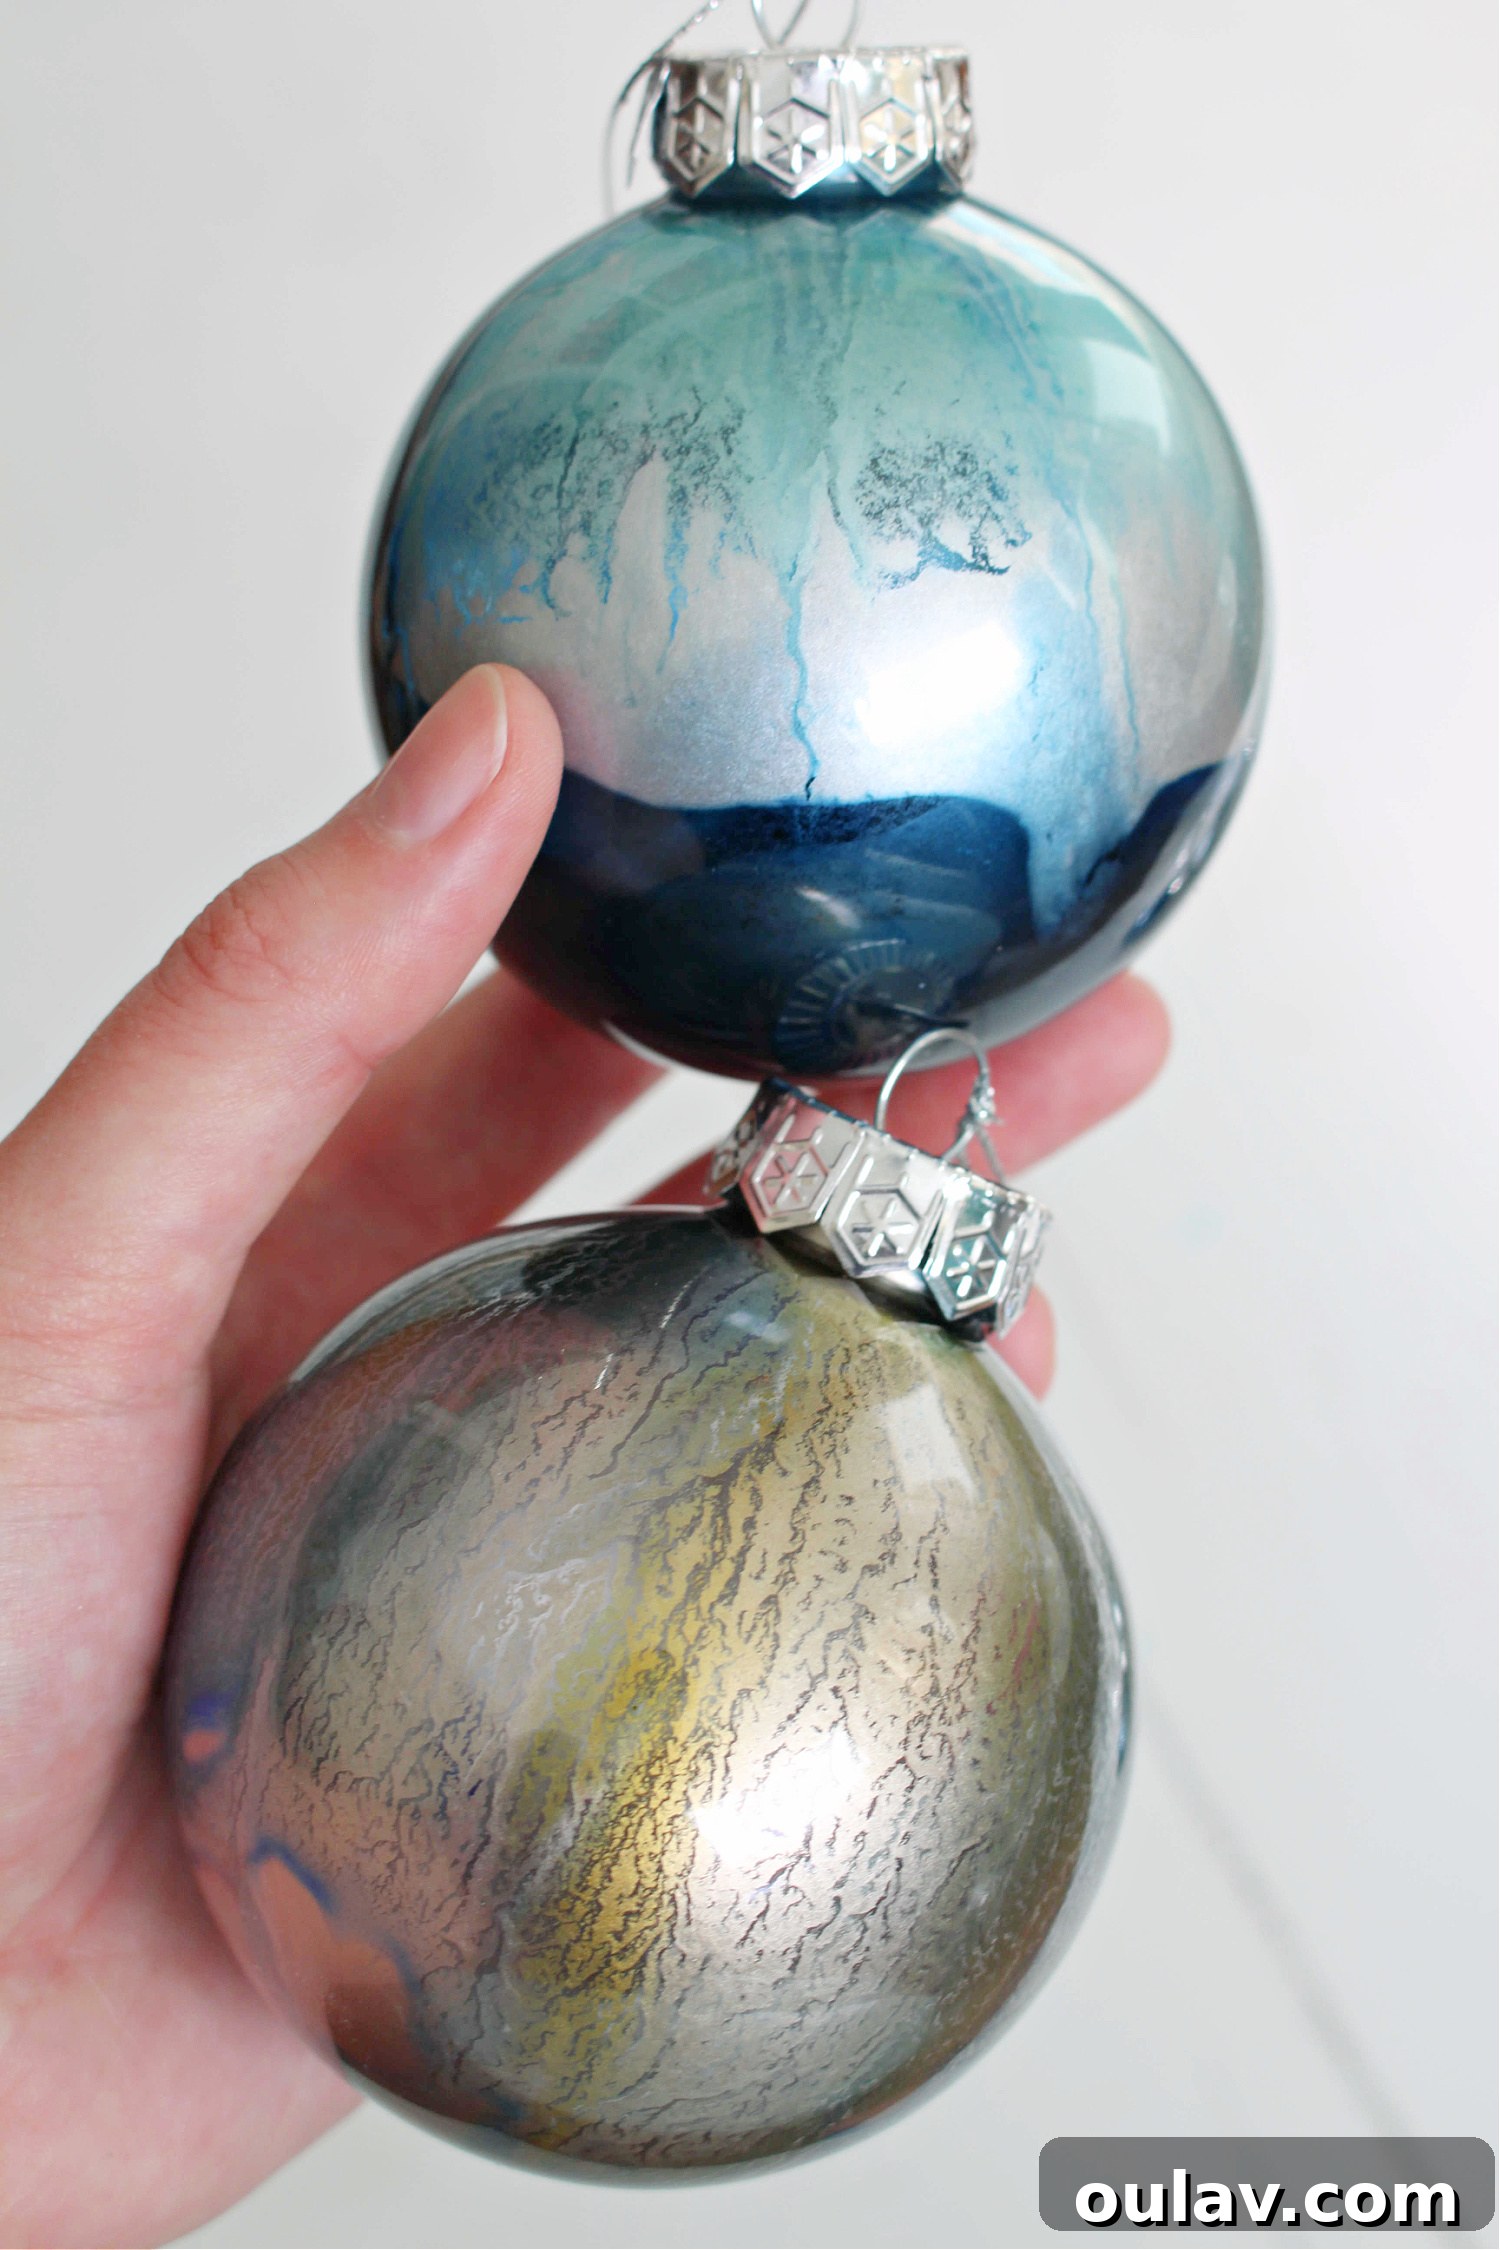
P.S. Don’t Forget to Pin This Tutorial For Later!
If you’re looking for an inspiring and fun DIY project, or if you simply want to add a touch of handmade elegance to your holiday decorations, these alcohol ink ornaments are a perfect choice. Pin this tutorial now so you can easily find it when you’re ready to create your own beautiful collection! Share your creations with us, and happy crafting!