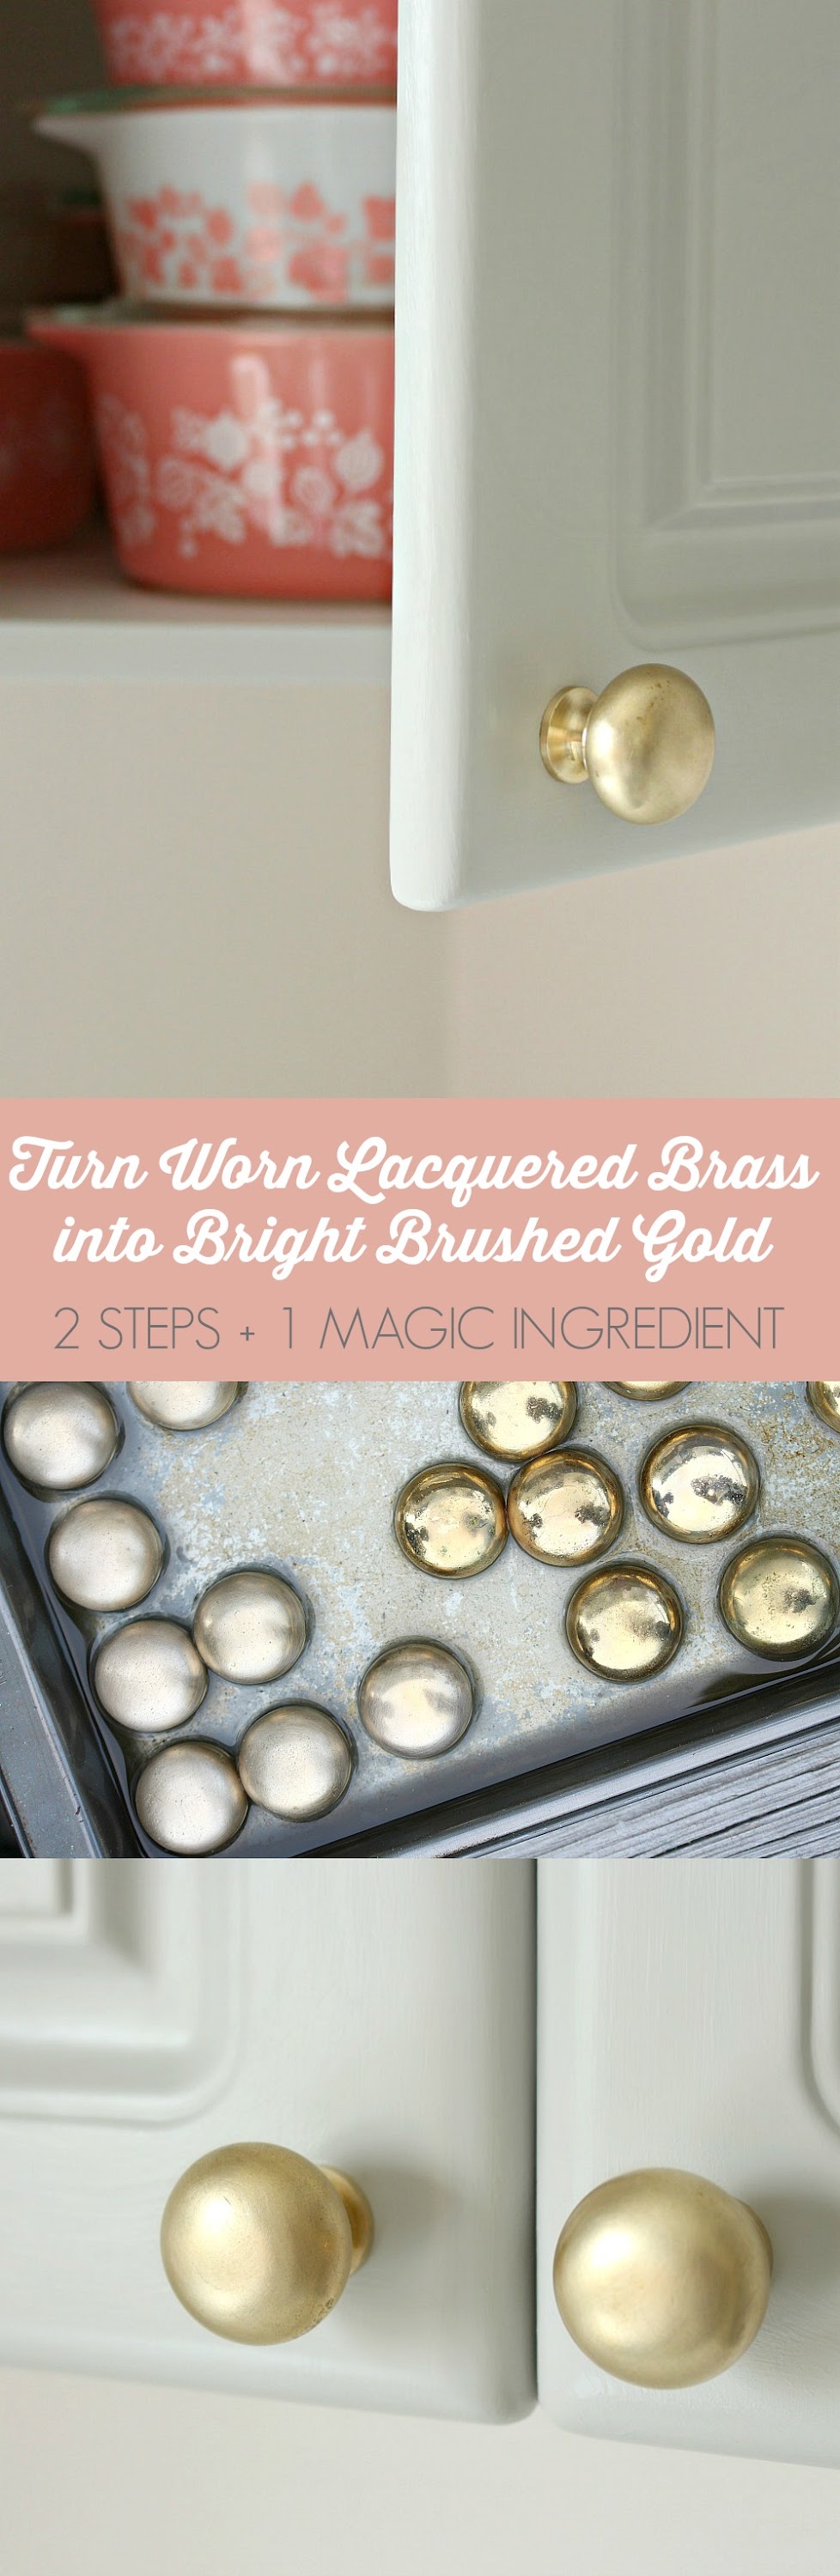
Before diving into the incredibly satisfying process of removing lacquer from brass to unveil a stunning, custom brushed finish, let me share a peek into a much larger endeavor: my Mom and I recently completed a remarkable, budget-friendly kitchen makeover! You can explore the full transformation of this budget-friendly kitchen makeover and witness its beautiful grey, gold, and pink palette right here. Today’s deep dive into brass refinishing is just one exciting, money-saving project born from this extensive renovation. Throughout the coming weeks, I’ll be revealing many more inexpensive DIY hacks from this very kitchen, including painting cabinets, repairing and refinishing laminate countertops, and even finding a permanent home for our beloved tulip table after six years of anticipation!
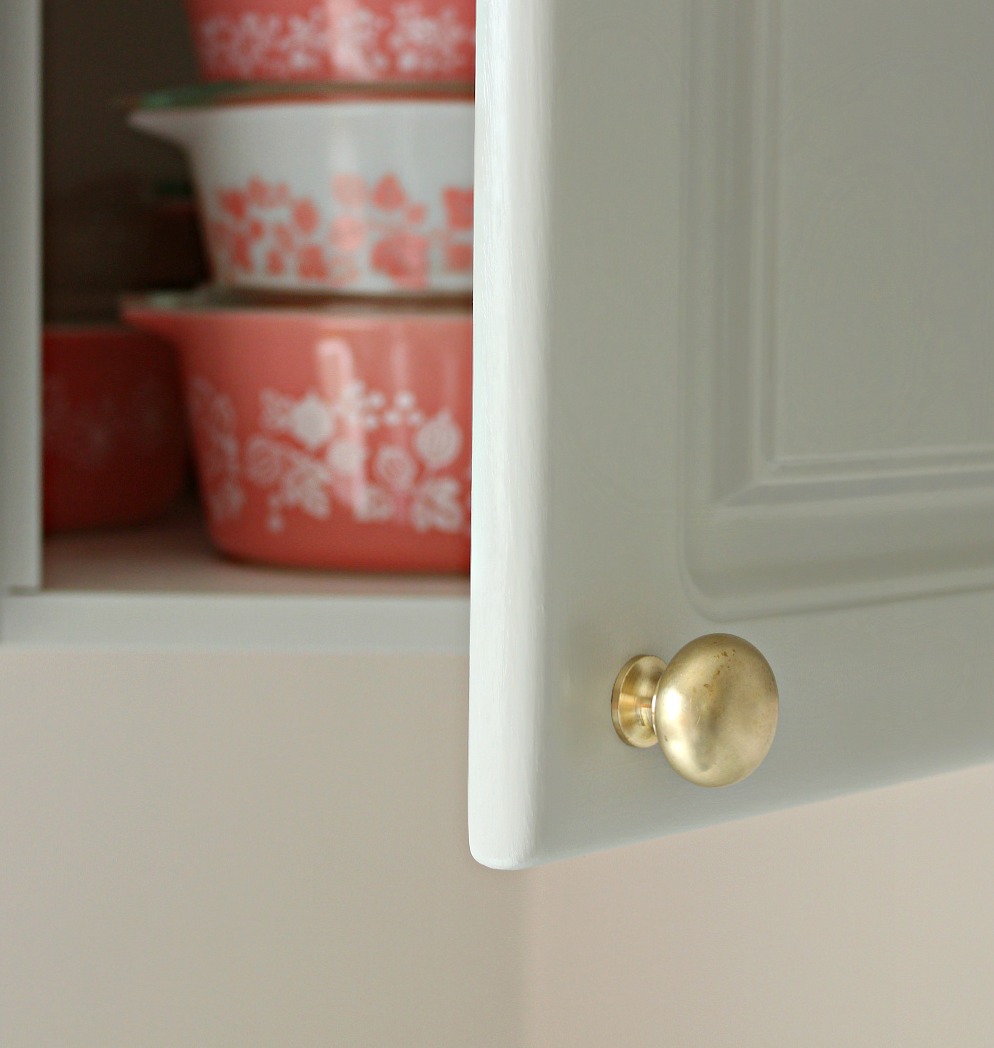
Why Embark on a Brass Hardware Transformation? The Journey from Dated Shine to Timeless Elegance
We were incredibly eager to share our brass knob refurbishment journey and this straightforward guide on how to remove lacquer from brass. But before we get to the how-to, you might be asking: why bother removing the lacquer from the brass knobs in the first place? My Mom’s kitchen cabinetry featured its original brass knobs, dating back to the 1980s. These pieces of hardware were solid, and she genuinely liked their classic shape. However, after three decades of daily use, she had grown tired of the overly shiny, lacquered finish. More importantly, the wear and tear had been uneven: some parts of the brass had begun to develop a beautiful, rich patina, while others retained their original, factory-fresh sheen. This inconsistency created a visual disconnect that detracted from the kitchen’s overall aesthetic.
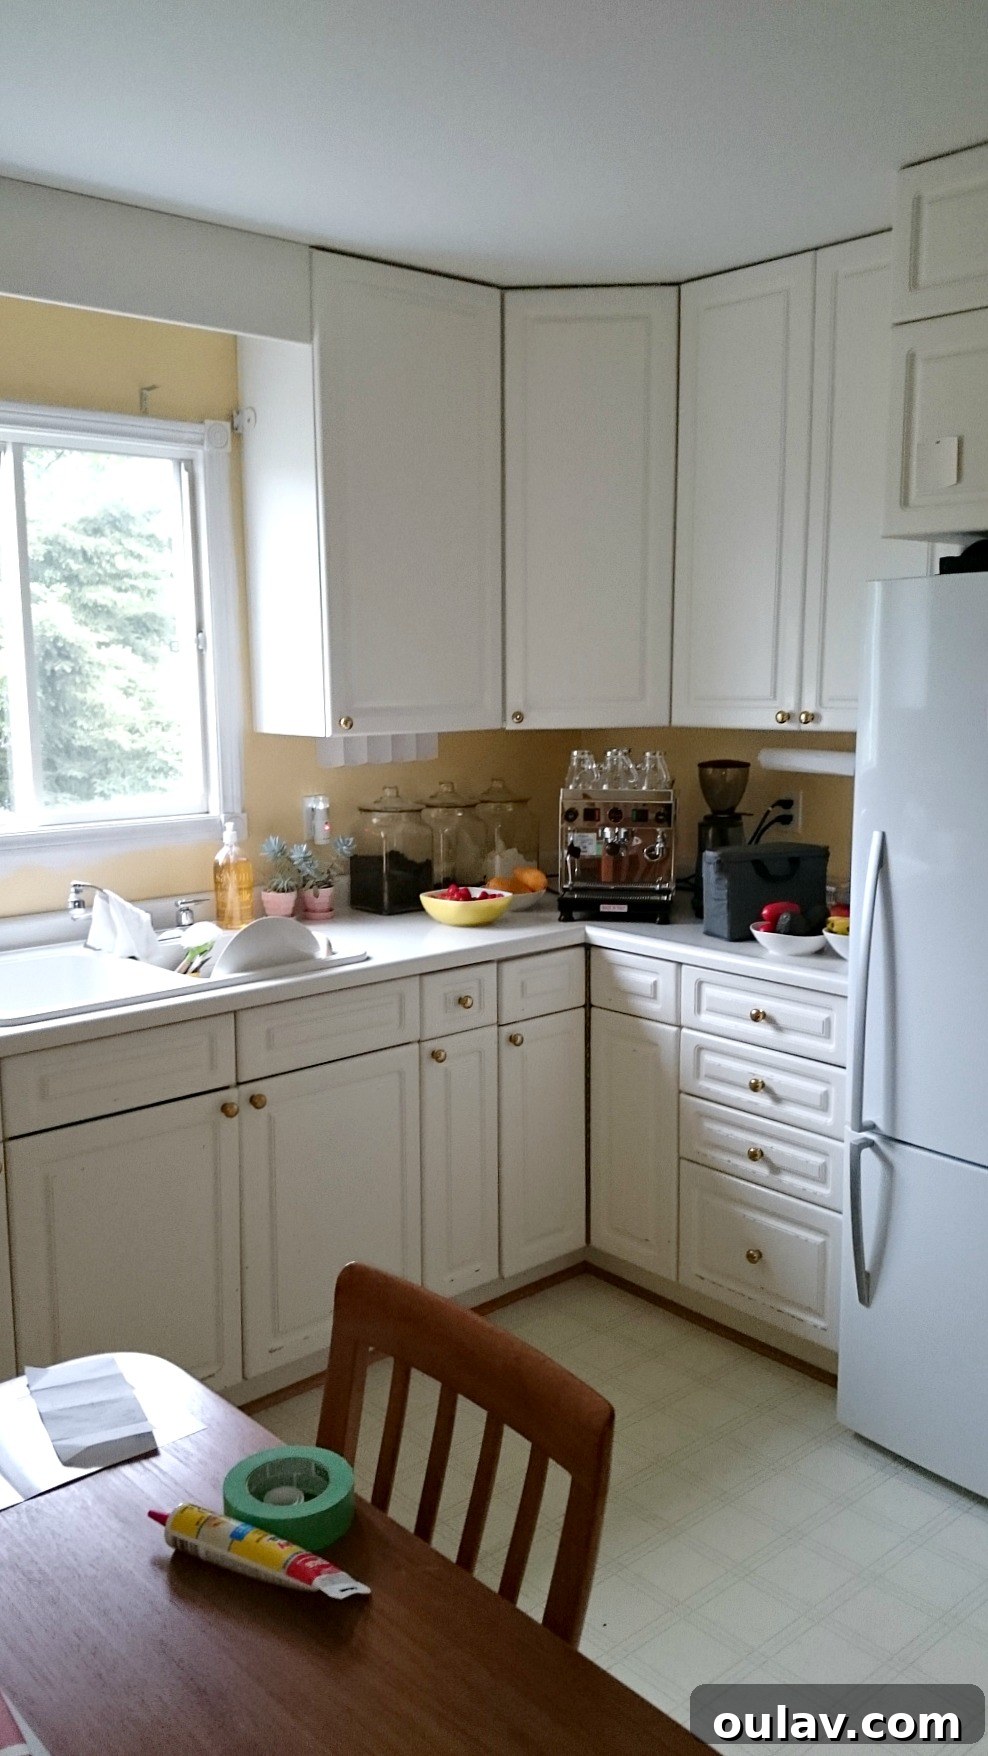
Our primary goal for the kitchen was to strip away its distinctly 1980s vibe and usher in a more current, yet timeless, feel. A fascinating observation contributed to this decision: some of the naturally worn brass knobs had started to resemble the original brass door knobs installed by my Great-Grandfather in the 1950s (as shown in the photograph below). This discovery sparked an idea. We decided to intentionally encourage all the cabinet knobs to adopt that charming, time-worn aesthetic, aiming for a cohesive, aged look across all hardware. This project promised not only a visual upgrade but also a deeper connection to the home’s history and character.

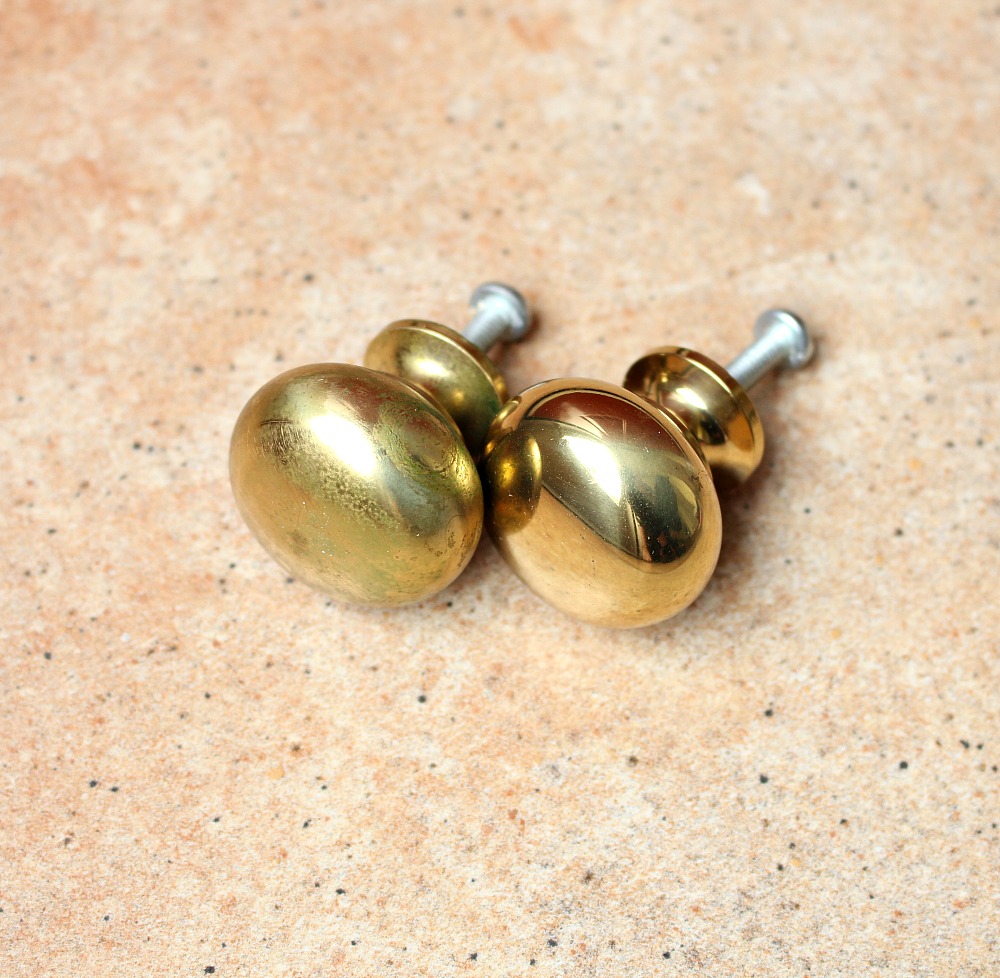
To further illustrate the problem, here’s a closer look at just how unevenly the brass knobs wore over time: the knob on the left exhibits a more developed, rustic patina, while the right knob still boasts the glossy, almost new appearance it had on day one. This stark contrast was precisely what we sought to remedy, aiming for a uniform, subtly aged elegance.
Understanding Lacquered Brass: The Science Behind the Shine
Brass, a timeless alloy of copper and zinc, has been cherished for centuries in architecture and decor due to its warm, golden hue and inherent durability. However, left unprotected, brass naturally reacts with oxygen and moisture in the air, leading to a process known as tarnishing or patination. While some homeowners appreciate the deep, rich brown or greenish patina that develops over time, manufacturers often apply a clear protective coating called lacquer to polished brass. This lacquer serves as a barrier, preventing tarnish and maintaining the brass’s original shiny, polished appearance.
The lacquer, typically a clear acrylic or cellulose-based resin, is meticulously applied, often as a spray, creating an invisible shield. This coating ensures that the brass items, whether they are cabinet knobs, door handles, light fixtures, or decorative pieces, retain their pristine gleam without the need for constant polishing. While lacquer offers excellent protection against corrosion and wear, it’s not without its drawbacks. Over years of use, especially on frequently touched items like kitchen hardware, the lacquer can thin, chip, scratch, or wear away unevenly. This leads to the undesirable patchy look we observed on my Mom’s cabinet knobs, where some areas remained shiny and protected, while others began to tarnish and develop a natural patina.
The decision to remove lacquer from brass usually stems from a desire to either restore the brass to its bare, natural state, allowing it to develop an authentic patina, or to achieve a specific finish, such as a brushed or antiqued look, that the original lacquer prevents. Removing the lacquer opens up a world of possibilities for customization and restoration, enabling you to transform outdated or inconsistently worn brass into pieces that perfectly complement your home’s evolving style.
Can You Remove Lacquer From Brass? Exploring Effective Methods
Yes, absolutely! The good news is that removing lacquer from brass is not only possible but also a relatively straightforward process with the right tools and techniques. Polished brass is typically treated with that protective clear lacquer topcoat precisely to prevent tarnishing, but this coating can indeed be removed. There are generally two primary approaches to tackle this task: mechanical removal and chemical removal.
Mechanical Lacquer Removal: Pros and Cons
Mechanical removal involves physically abrading the lacquer from the brass surface. This can be achieved through methods such as sanding, wire brushing, or using abrasive pads. While effective, mechanical removal has its own set of considerations. For instance, you can see what my brass knobs looked like after I sanded them when preparing them for painting. Sanding can quickly remove the lacquer and can also be used to create a brushed finish directly. However, it requires significant “elbow grease” and careful technique to avoid deep scratches or altering the brass’s shape. Aggressive sanding can also remove a thin layer of the brass itself, which isn’t always desirable, especially on intricate pieces. It’s often messier and more labor-intensive than chemical methods, making it less ideal for multiple items or delicate hardware.
Chemical Lacquer Removal: The Easier Path
For a less labor-intensive and often more uniform result, chemical methods are typically preferred. This involves using a solvent that dissolves or softens the lacquer, allowing it to be wiped or gently scrubbed away without harsh abrasion to the brass itself. Through our experimentation, we discovered that the easiest and most effective method to remove lacquer from brass was to soak the hardware in acetone and then use a non-abrasive scouring pad to gently lift the softened finish. This approach minimizes the risk of scratching the brass and ensures an even removal across all surfaces.
It’s important to understand the aftermath: after removing the lacquer, the brass will appear much lighter, often with a matte or brushed finish. However, as the lacquer is what protects brass from tarnishing, without replacing this protective coating, the brass will naturally begin to develop a patina over time. This is often the desired outcome, as it lends an authentic, aged aesthetic that many homeowners find appealing. If you prefer to halt the patination process or preserve a specific look, a new protective clear coat can be applied.
Essential Supplies for Removing Lacquer from Brass Hardware:
Before you begin, gather these simple yet effective tools and materials to ensure a smooth and safe brass lacquer removal process:
- Acetone: This powerful solvent is the key ingredient for dissolving the lacquer. Look for pure acetone, often found in hardware stores or beauty supply stores as nail polish remover (ensure it’s pure, without added oils).
- Scouring Pad: A non-scratch, gentle scouring pad (like those used for non-stick cookware) is ideal. It provides enough abrasion to lift the softened lacquer without damaging the brass underneath.
- Rubber Gloves: Acetone can be harsh on skin. Always wear protective rubber or chemical-resistant gloves to prevent irritation.
- Old Metal Pan: Choose a metal container that you no longer use for food preparation. Acetone is corrosive to some plastics, so metal is a safer choice for soaking your brass items.
- Paper Towel/Soft Cloth: For wiping away dissolved lacquer and drying the brass.
- Well-Ventilated Area: Acetone fumes can be strong. Work outdoors or in a space with excellent ventilation, and consider wearing a face mask for added protection.
Step-by-Step Guide: How to Remove Lacquer from Brass Effectively
Achieving a beautiful, unlacquered brass finish is simpler than you might think. Follow these detailed steps to safely and efficiently remove lacquer from your brass hardware, revealing its natural beauty.
- Prepare for Soaking: Begin by placing your brass items – whether cabinet knobs, pulls, or other small decorative pieces – into an old metal pan. Ensure the pan is large enough to submerge all items completely without overcrowding. Then, carefully pour acetone over the brass, making sure each piece is fully covered by the solvent.
- Allow Adequate Soaking Time: Let the brass soak in the acetone for at least 2 hours. For older, more stubborn, or thicker lacquer coatings, you might extend this soaking time to 4 hours, or even overnight if necessary. The acetone works by softening and dissolving the lacquer, preparing it for easy removal.
- Gentle Scrubbing to Remove Lacquer: Once the soaking period is complete, don your protective rubber gloves. Remove one brass piece at a time from the acetone. Working in a well-ventilated area (preferably outdoors), gently scrub the surface of the brass with your chosen scouring pad. The lacquer should now be soft enough to come off with moderate effort. Focus on all surfaces, ensuring no lacquered spots remain. If the lacquer is still resistant, return the piece to the acetone for additional soaking.
- Final Wipe and Inspection: After successfully removing the lacquer, wipe the brass item thoroughly with a paper towel or a soft, clean cloth. This will remove any residual acetone, dissolved lacquer, or grime. Inspect the piece carefully under good light to ensure all traces of lacquer are gone and that you’ve achieved a uniform finish.
Achieving a Brushed Gold Finish: Revealing Brass’s Natural Beauty
Because my Mom absolutely adored the transformed look of my brass knobs after I sanded them for painting in a previous project, we were determined to replicate a similar brushed brass aesthetic, but with significantly less manual effort. Our goal was to reveal a consistently brushed finish without the need for extensive sanding. Here’s a detailed breakdown of how we achieved this stunning transformation, complete with step-by-step photos illustrating the process.
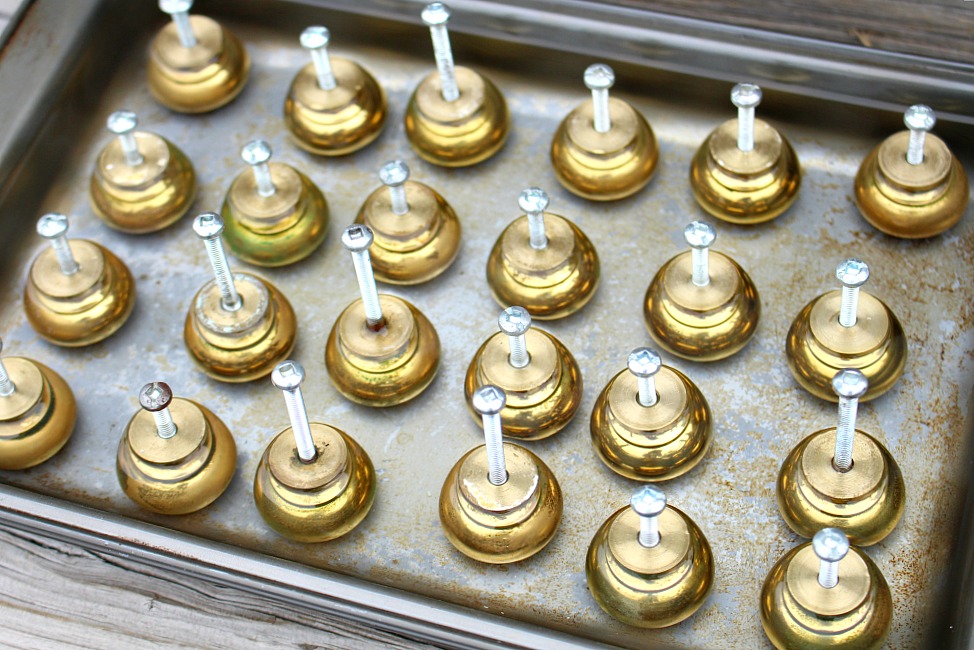
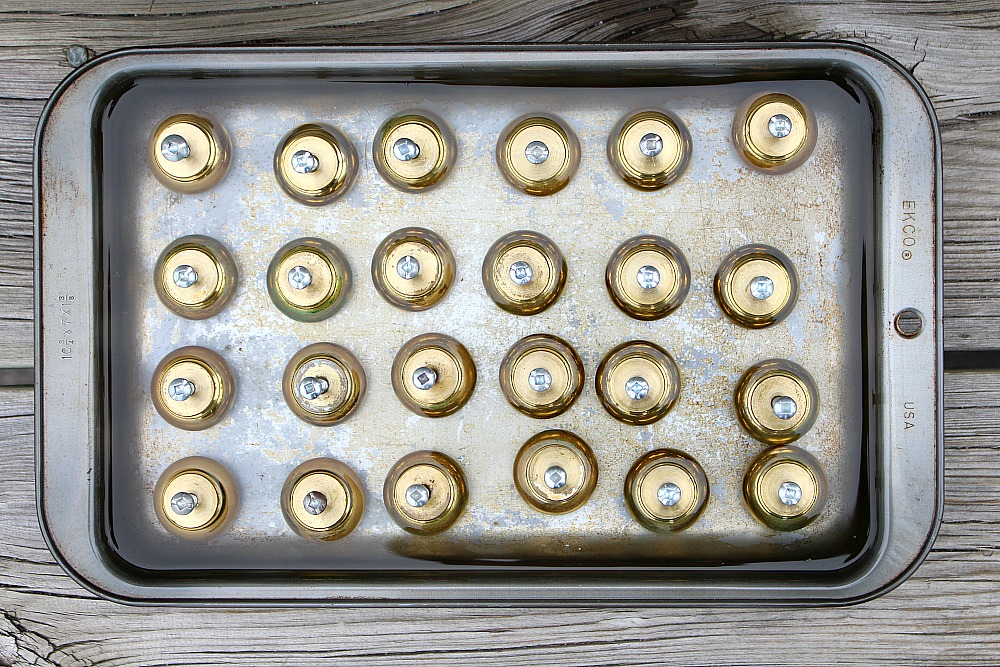
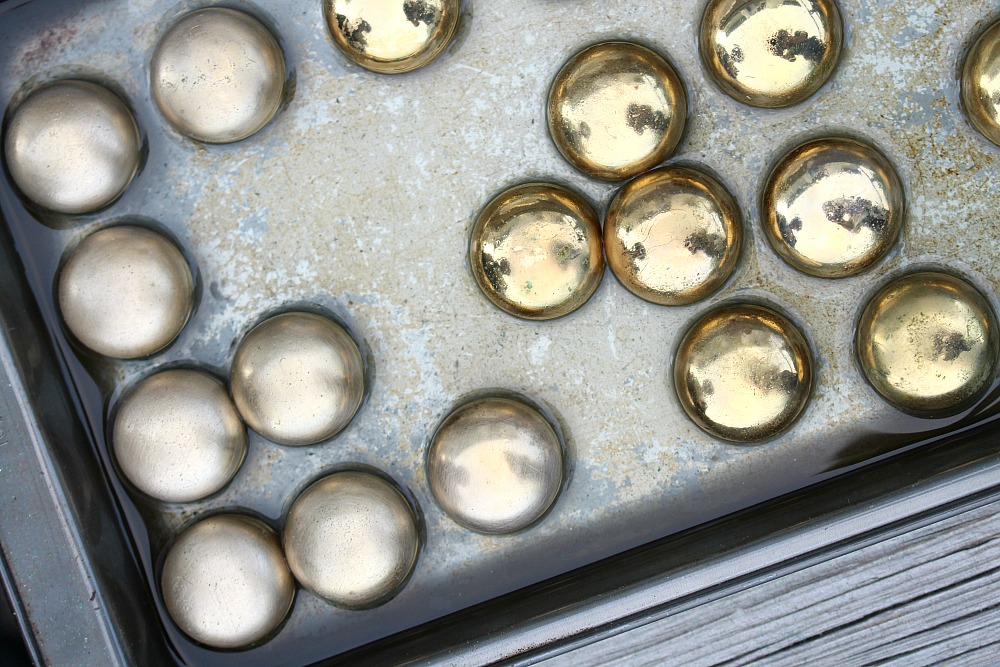
First, we carefully placed all the brass knobs into an old metal baking pan, ensuring they were not overlapping. We then filled the pan with acetone, making sure every knob was fully submerged. We let them soak for a couple of hours, allowing the acetone ample time to work its magic on the stubborn lacquer layer.
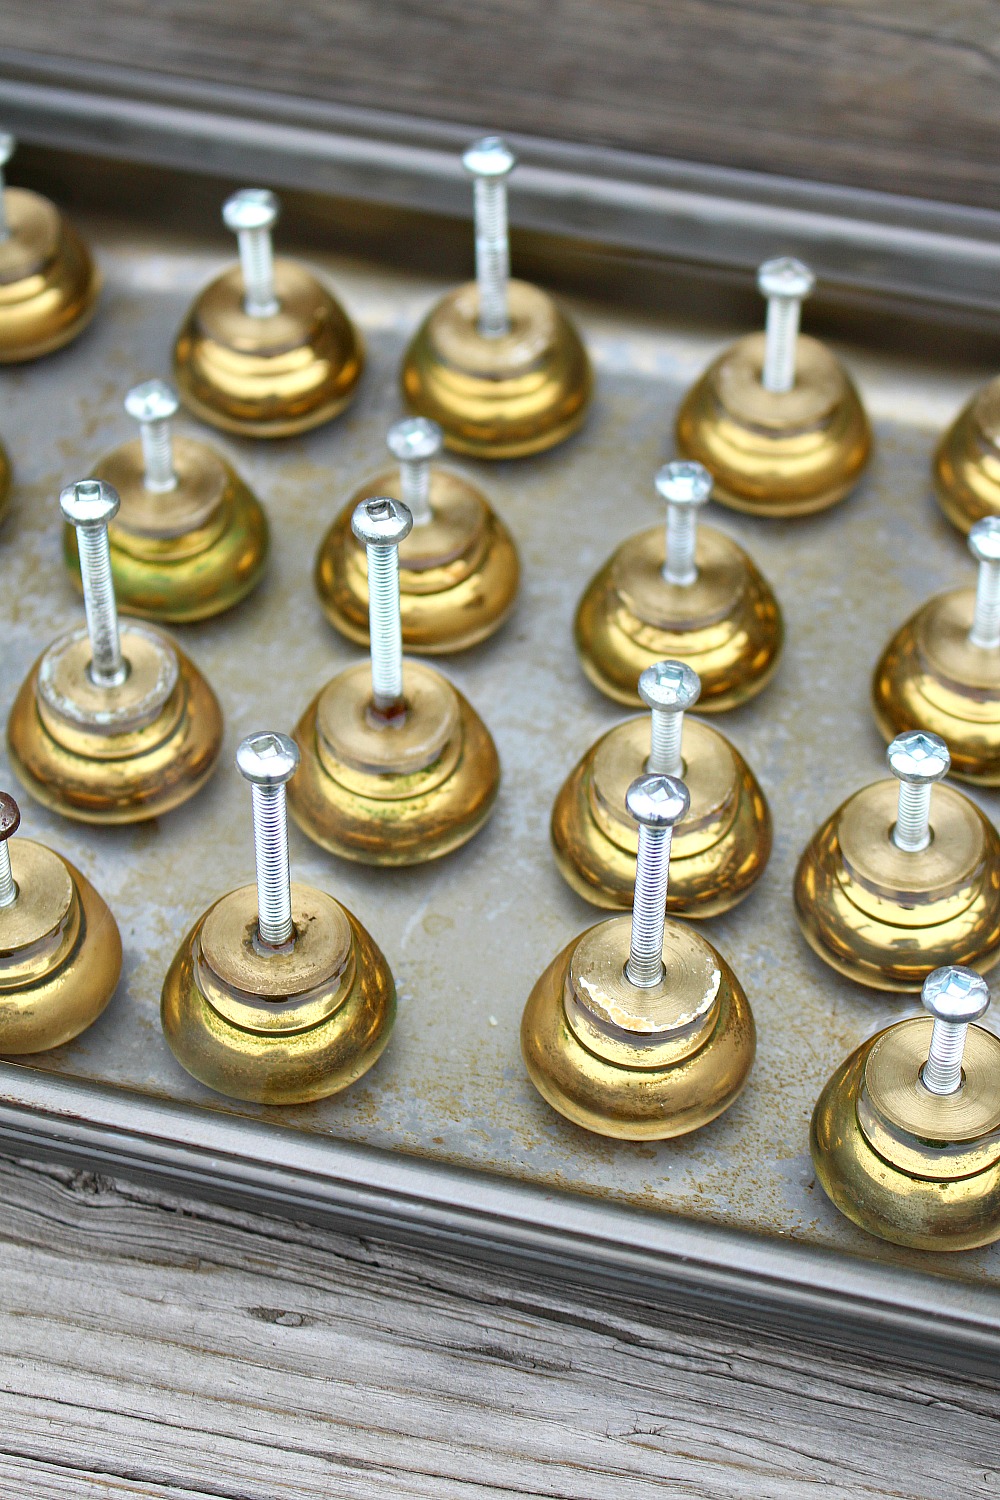
Next, donning robust rubber gloves for protection and working exclusively outdoors to ensure proper ventilation (a face mask isn’t a bad idea either, given acetone’s fumes), we began the scrubbing phase. We meticulously took each brass knob and gave it a thorough, even scrub with a scouring pad. It’s crucial to select a soft scouring pad – similar to the type you’d use for delicate pots and pans – to effectively remove the softened lacquer without introducing unsightly scratches or damaging the underlying brass.
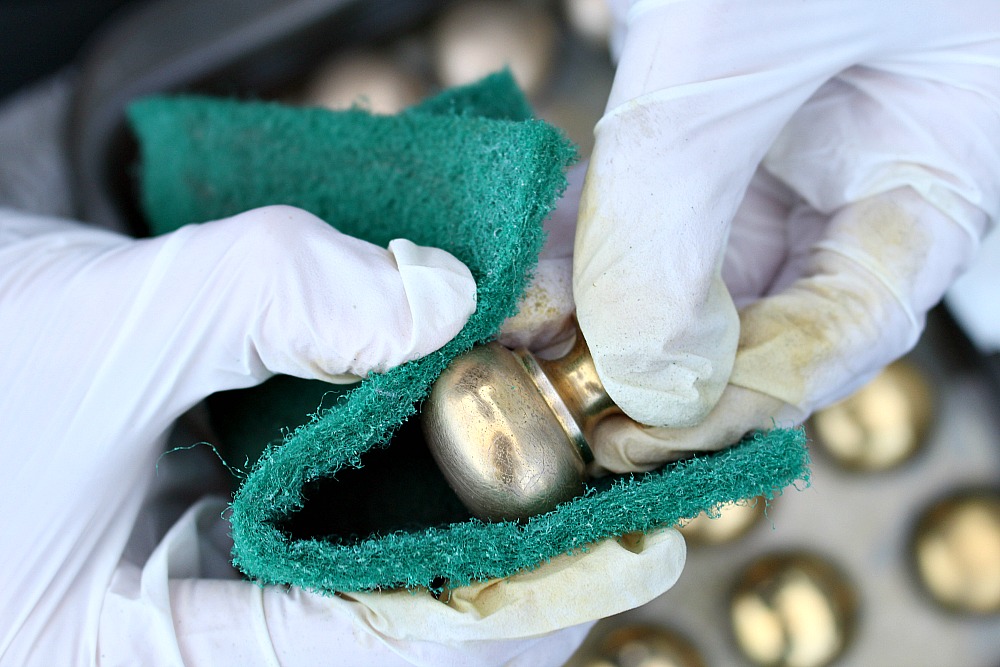
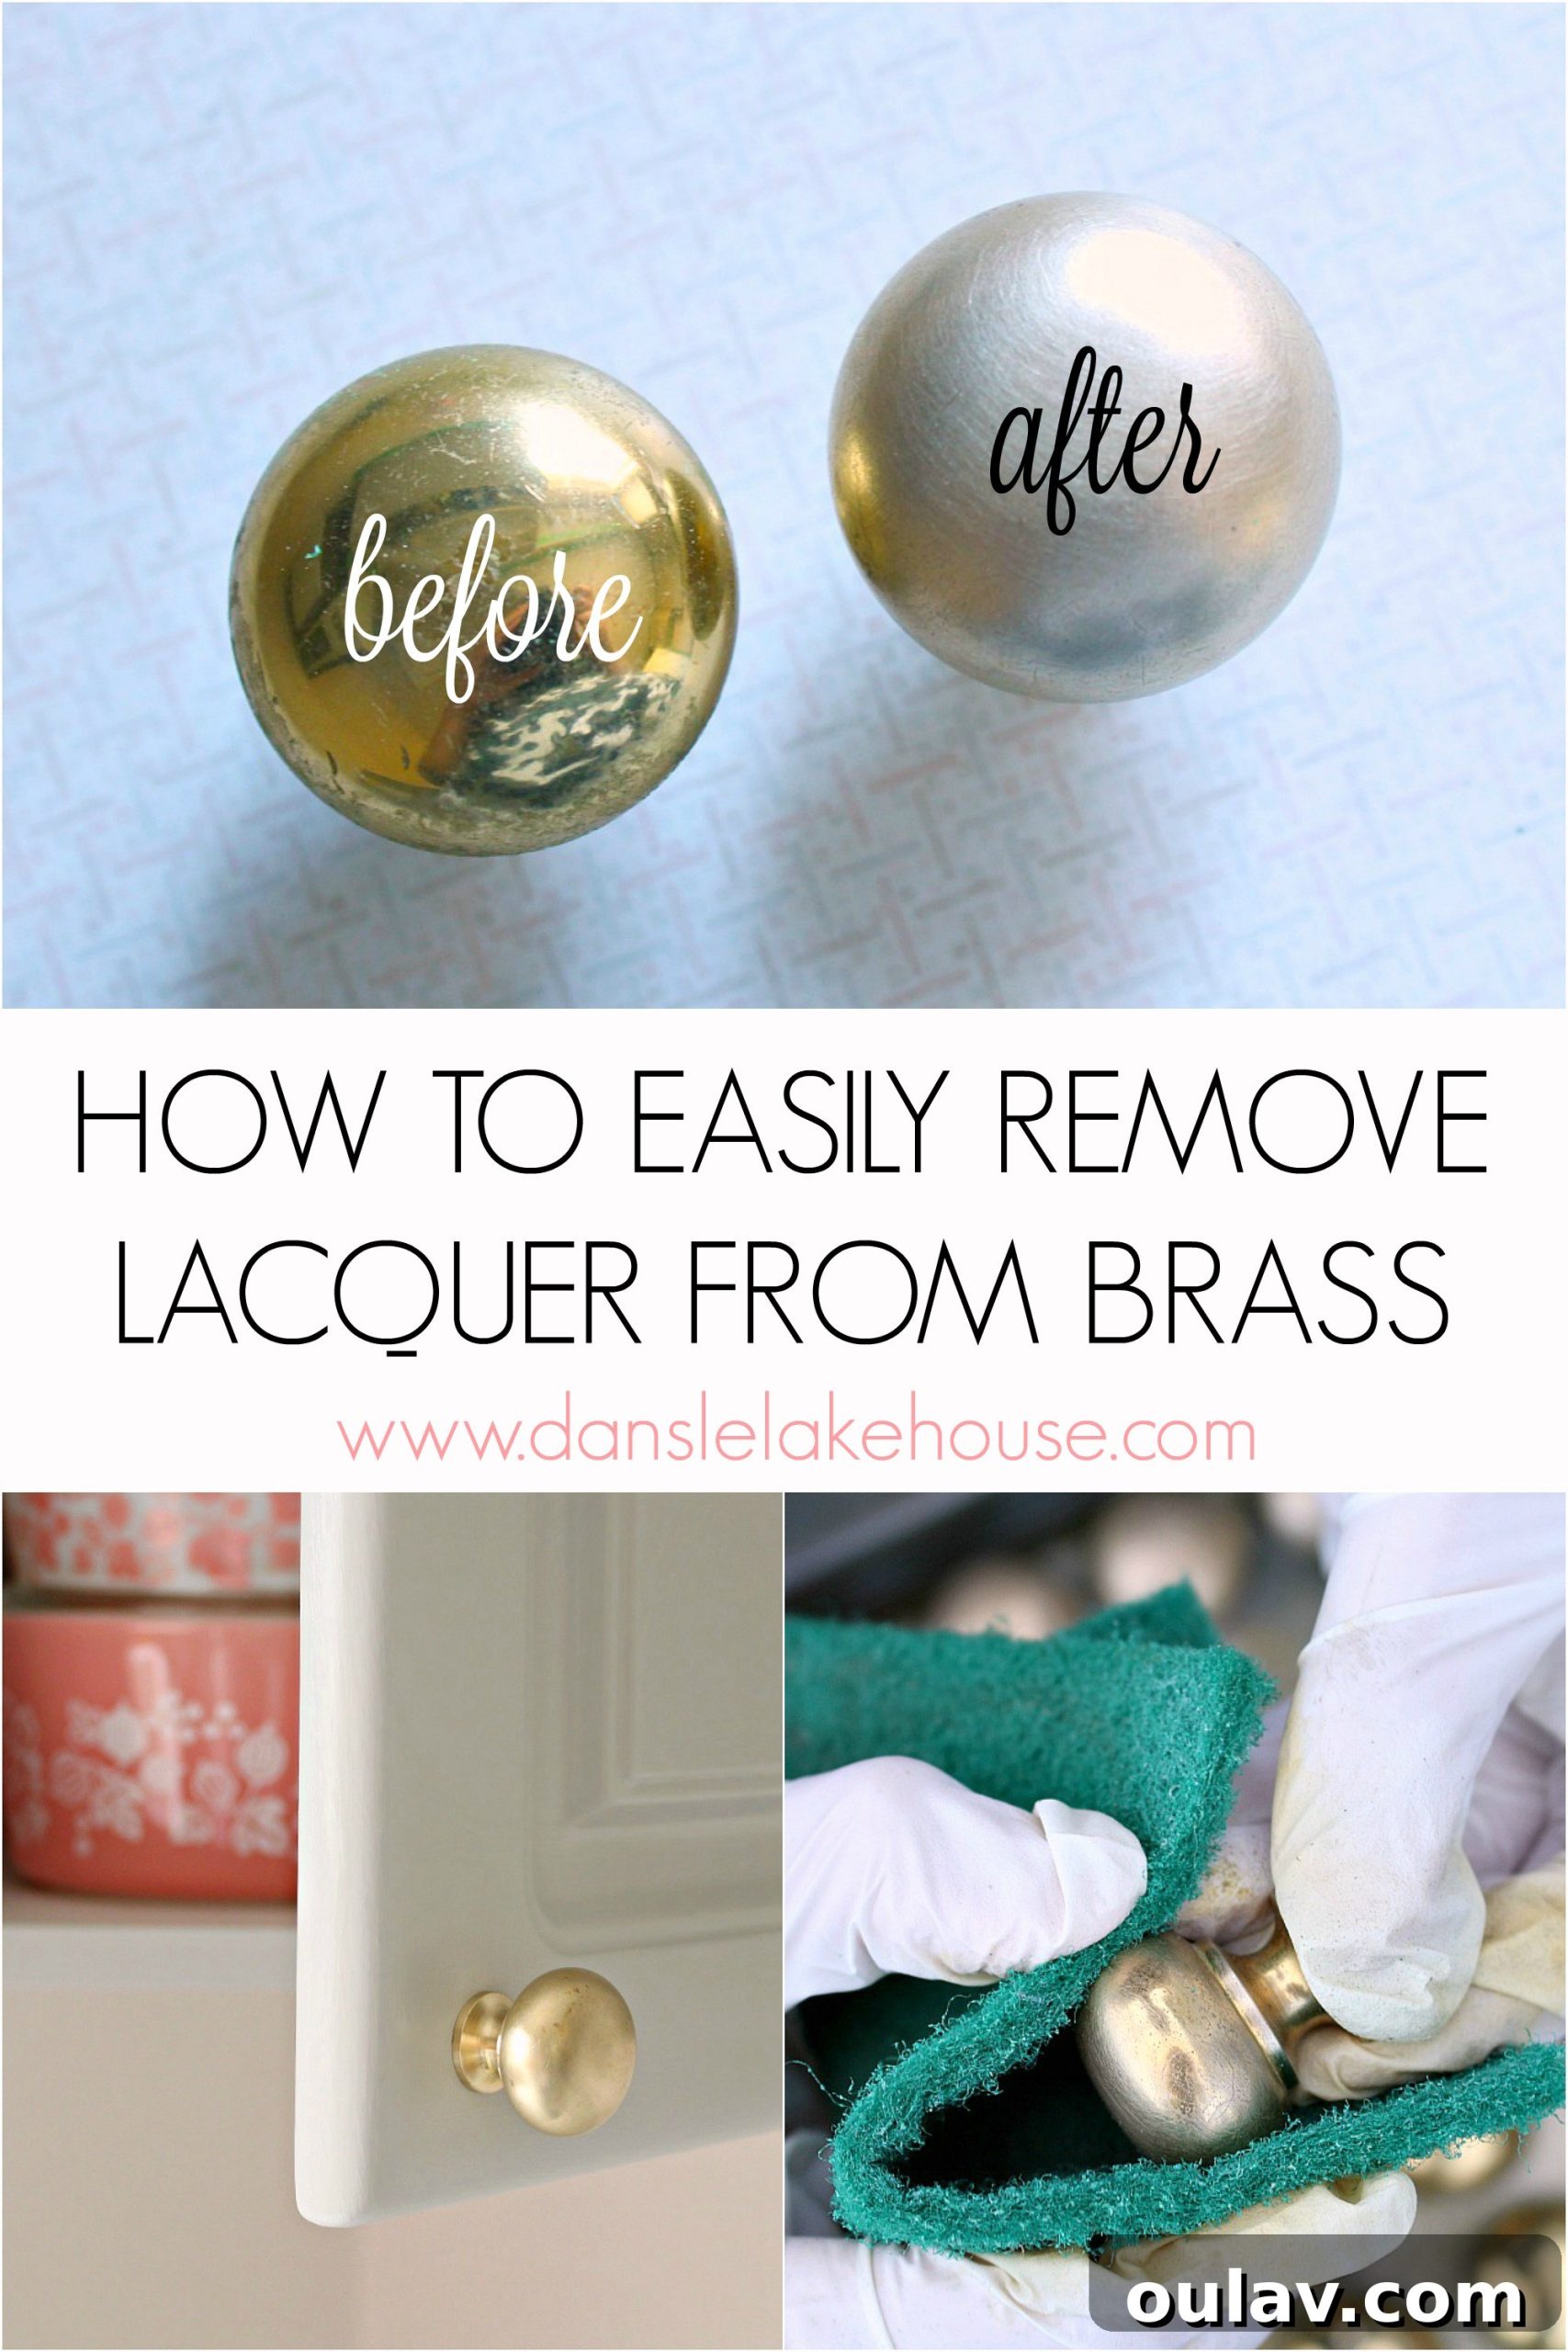
With just a bit of coaxing, the stubborn glossy finish – along with years of accumulated grime – steadily came off. What was revealed underneath was a truly, undeniably gorgeous brushed brass finish. This new look was significantly lighter and brighter than the formerly yellowish, heavily lacquered brass. We successfully transformed what was once polished brass into a uniform, elegant brushed brass, all without the need for intensive sanding! The most rewarding part was seeing all the brass knobs uniformly brushed, with just a hint of minimal, emerging patina here and there. This was a vast improvement over the previous mix of shiny new-looking brass and unevenly worn-out knobs. It genuinely felt like acquiring a set of brand-new brushed brass knobs, but for the cost of a few dollars in supplies and a couple of hours of enjoyable DIY effort.
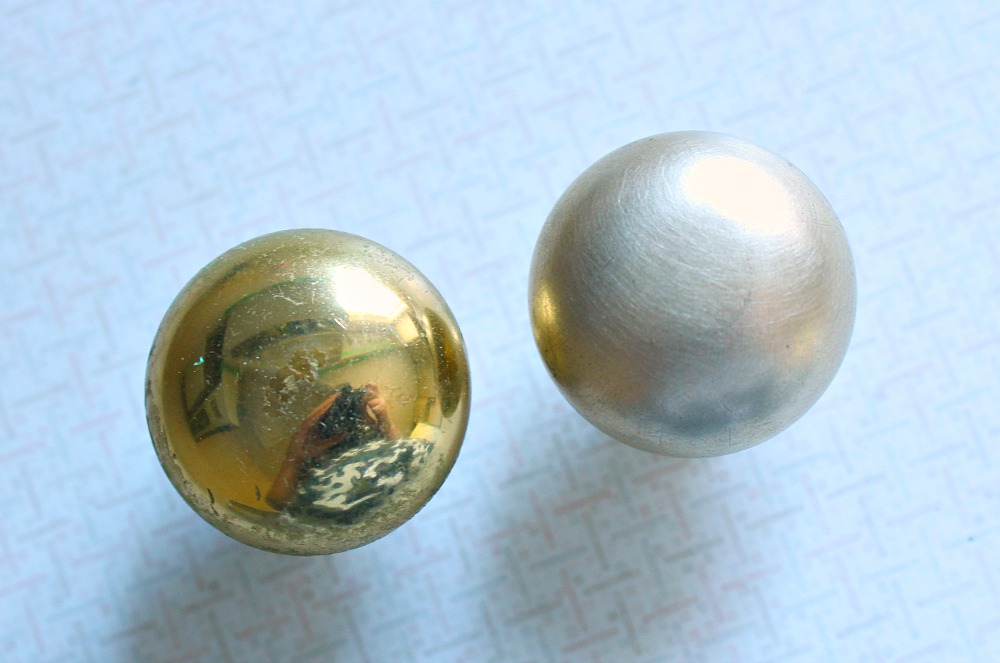
One of the conveniences of working with acetone is its natural evaporative property, meaning it doesn’t necessitate a complex chemical neutralization process. After scrubbing, all we had to do was give the knobs a quick wipe with a paper towel. The difference was astonishing! Observe the comparison: the old, lacquered knob on the left, and its beautifully transformed counterpart, with the lacquer entirely removed, on the right.
Post-Refinishing Care: Embracing or Preserving the Brushed Look
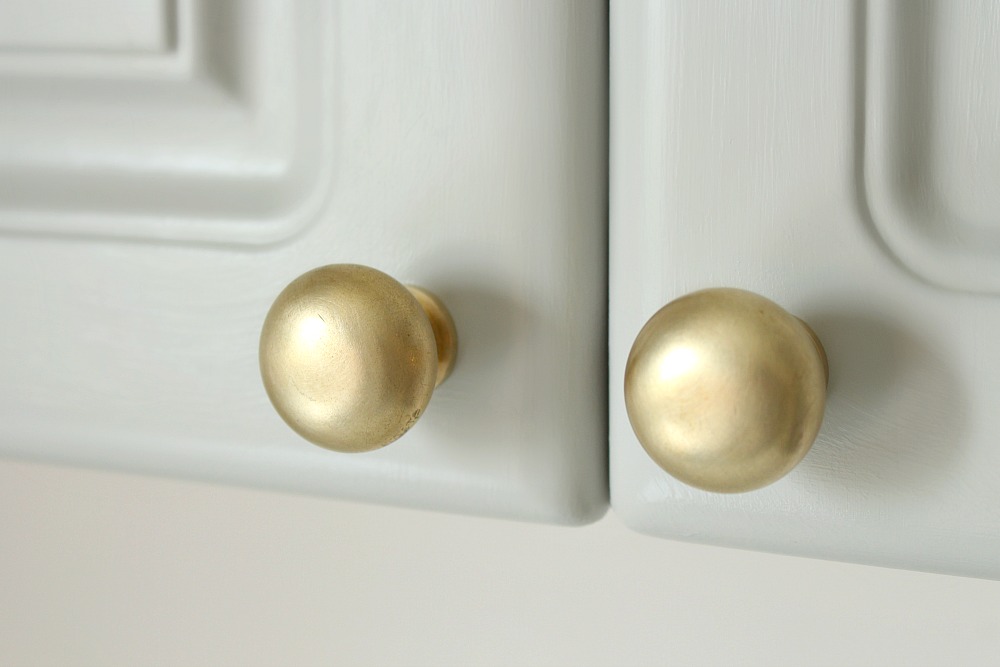
Now, the exciting plan is to let these beautifully refinished brass knobs age naturally. We want them to gradually develop an authentic, rich patina, which will further enhance their character and blend seamlessly with the home’s historic charm. Both my Mom and I absolutely fell in love with this brushed, yet imperfect, look – they now appear as if they’ve been an integral part of the house for years, perfectly suiting its age and architectural style. My Mom is genuinely thrilled with this fresh, sophisticated aesthetic!
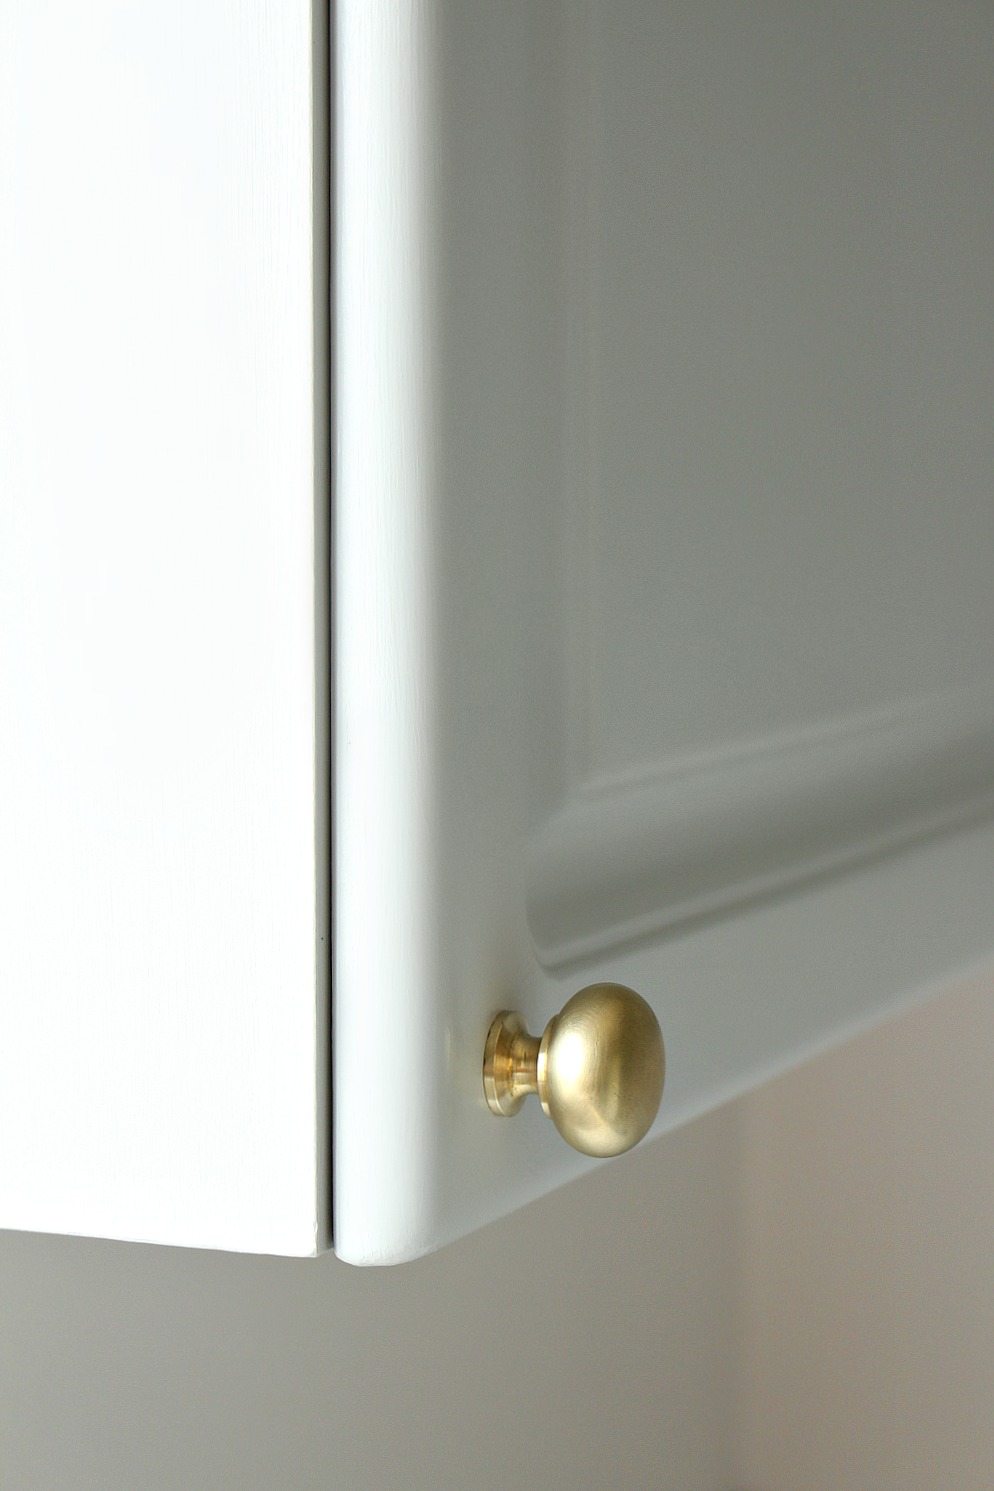
Beyond the visual appeal, the refinished brass hardware creates a stellar contrast and complements the newly painted (spoiler alert!) fog grey cabinetry in the kitchen. The combination creates a cohesive and elegant design statement. If you decide to try removing lacquer from your own brass pieces but prefer to maintain the newly revealed brushed aesthetic without allowing natural aging or patina to develop, you have an option. You can apply a high-quality matte clear coat. This will seal the brass, protecting it from oxidation and preserving its current look for years to come. Regardless of your choice, this DIY project is a game-changer for updating your space on a budget.
Don’t forget to take a moment to see the complete transformation of our budget-friendly kitchen makeover here. We are incredibly proud of our handiwork and the impact these small, yet significant, changes have made!
P.S. Don’t Forget to Pin for Later!