I am thrilled to finally unveil our latest home improvement project: a custom-built DIY front step featuring unique, robust welded legs! This undertaking wasn’t just about functionality; it was a journey of design evolution, practical problem-solving, and a touch of stubborn DIY spirit that ultimately transformed our home’s entrance. Join us as we share the full story, from an embarrassing parking predicament to the meticulous steps of welding and construction.
But first, let’s dive into a tale that, as a DIY blogger, still makes me blush. It’s a testament to how even the most well-intentioned plans can go hilariously awry, especially when a massive truck is involved!
When we first purchased our beloved lakehouse, we were quite content driving a compact black hatchback. The property boasted a generous carport and a large garage—which, from photos, appeared to be a standard two-car width, but was actually two car-lengths deep. While we knew we’d miss the convenience of the attached garage we’d enjoyed at our previous townhouse, we were genuinely pleased to have any garage space at all, with the carport being a welcome bonus for extra parking or outdoor storage. Little did we know, our vehicle situation was about to take an unexpected turn.
Fast forward merely a few months, and our automotive needs dramatically shifted. We invested in a robust Ram 2500 truck. Enthusiastically, we added some impressive roof lights, only to face an immediate, bewildering problem: the truck wouldn’t fit in the garage! It was a genuine “oops” moment, a classic oversight that left us scratching our heads. “No matter,” we thought, “the garage is quite a distance from the house anyway. We’ll simply park in the carport.” This proved to be an even more comical miscalculation. The truck, with its newly added width, was also too wide for the carport! Our grand plans for convenient parking quickly evaporated.
For what felt like an eternity – perhaps one winter, maybe even two, as the chilly seasons now blend into a single memory of inconvenience – our impressive truck sat exposed outside. Each snowfall, each freezing morning, brought a fresh wave of frustration. The daily trek through the elements just to get to our vehicle was a constant reminder of our parking predicament. Eventually, a moment of clarity struck: the truck *would* fit in the carport if only the existing concrete step wasn’t obstructing the path. This realization sparked a new DIY mission: remove the old, bulky step and construct a narrower, more strategically designed replacement that would finally grant us the crucial extra space needed. While it would still be a tight squeeze, allowing us to only open the doors on one side, it was a compromise we were more than willing to make for the sake of shelter and convenience.
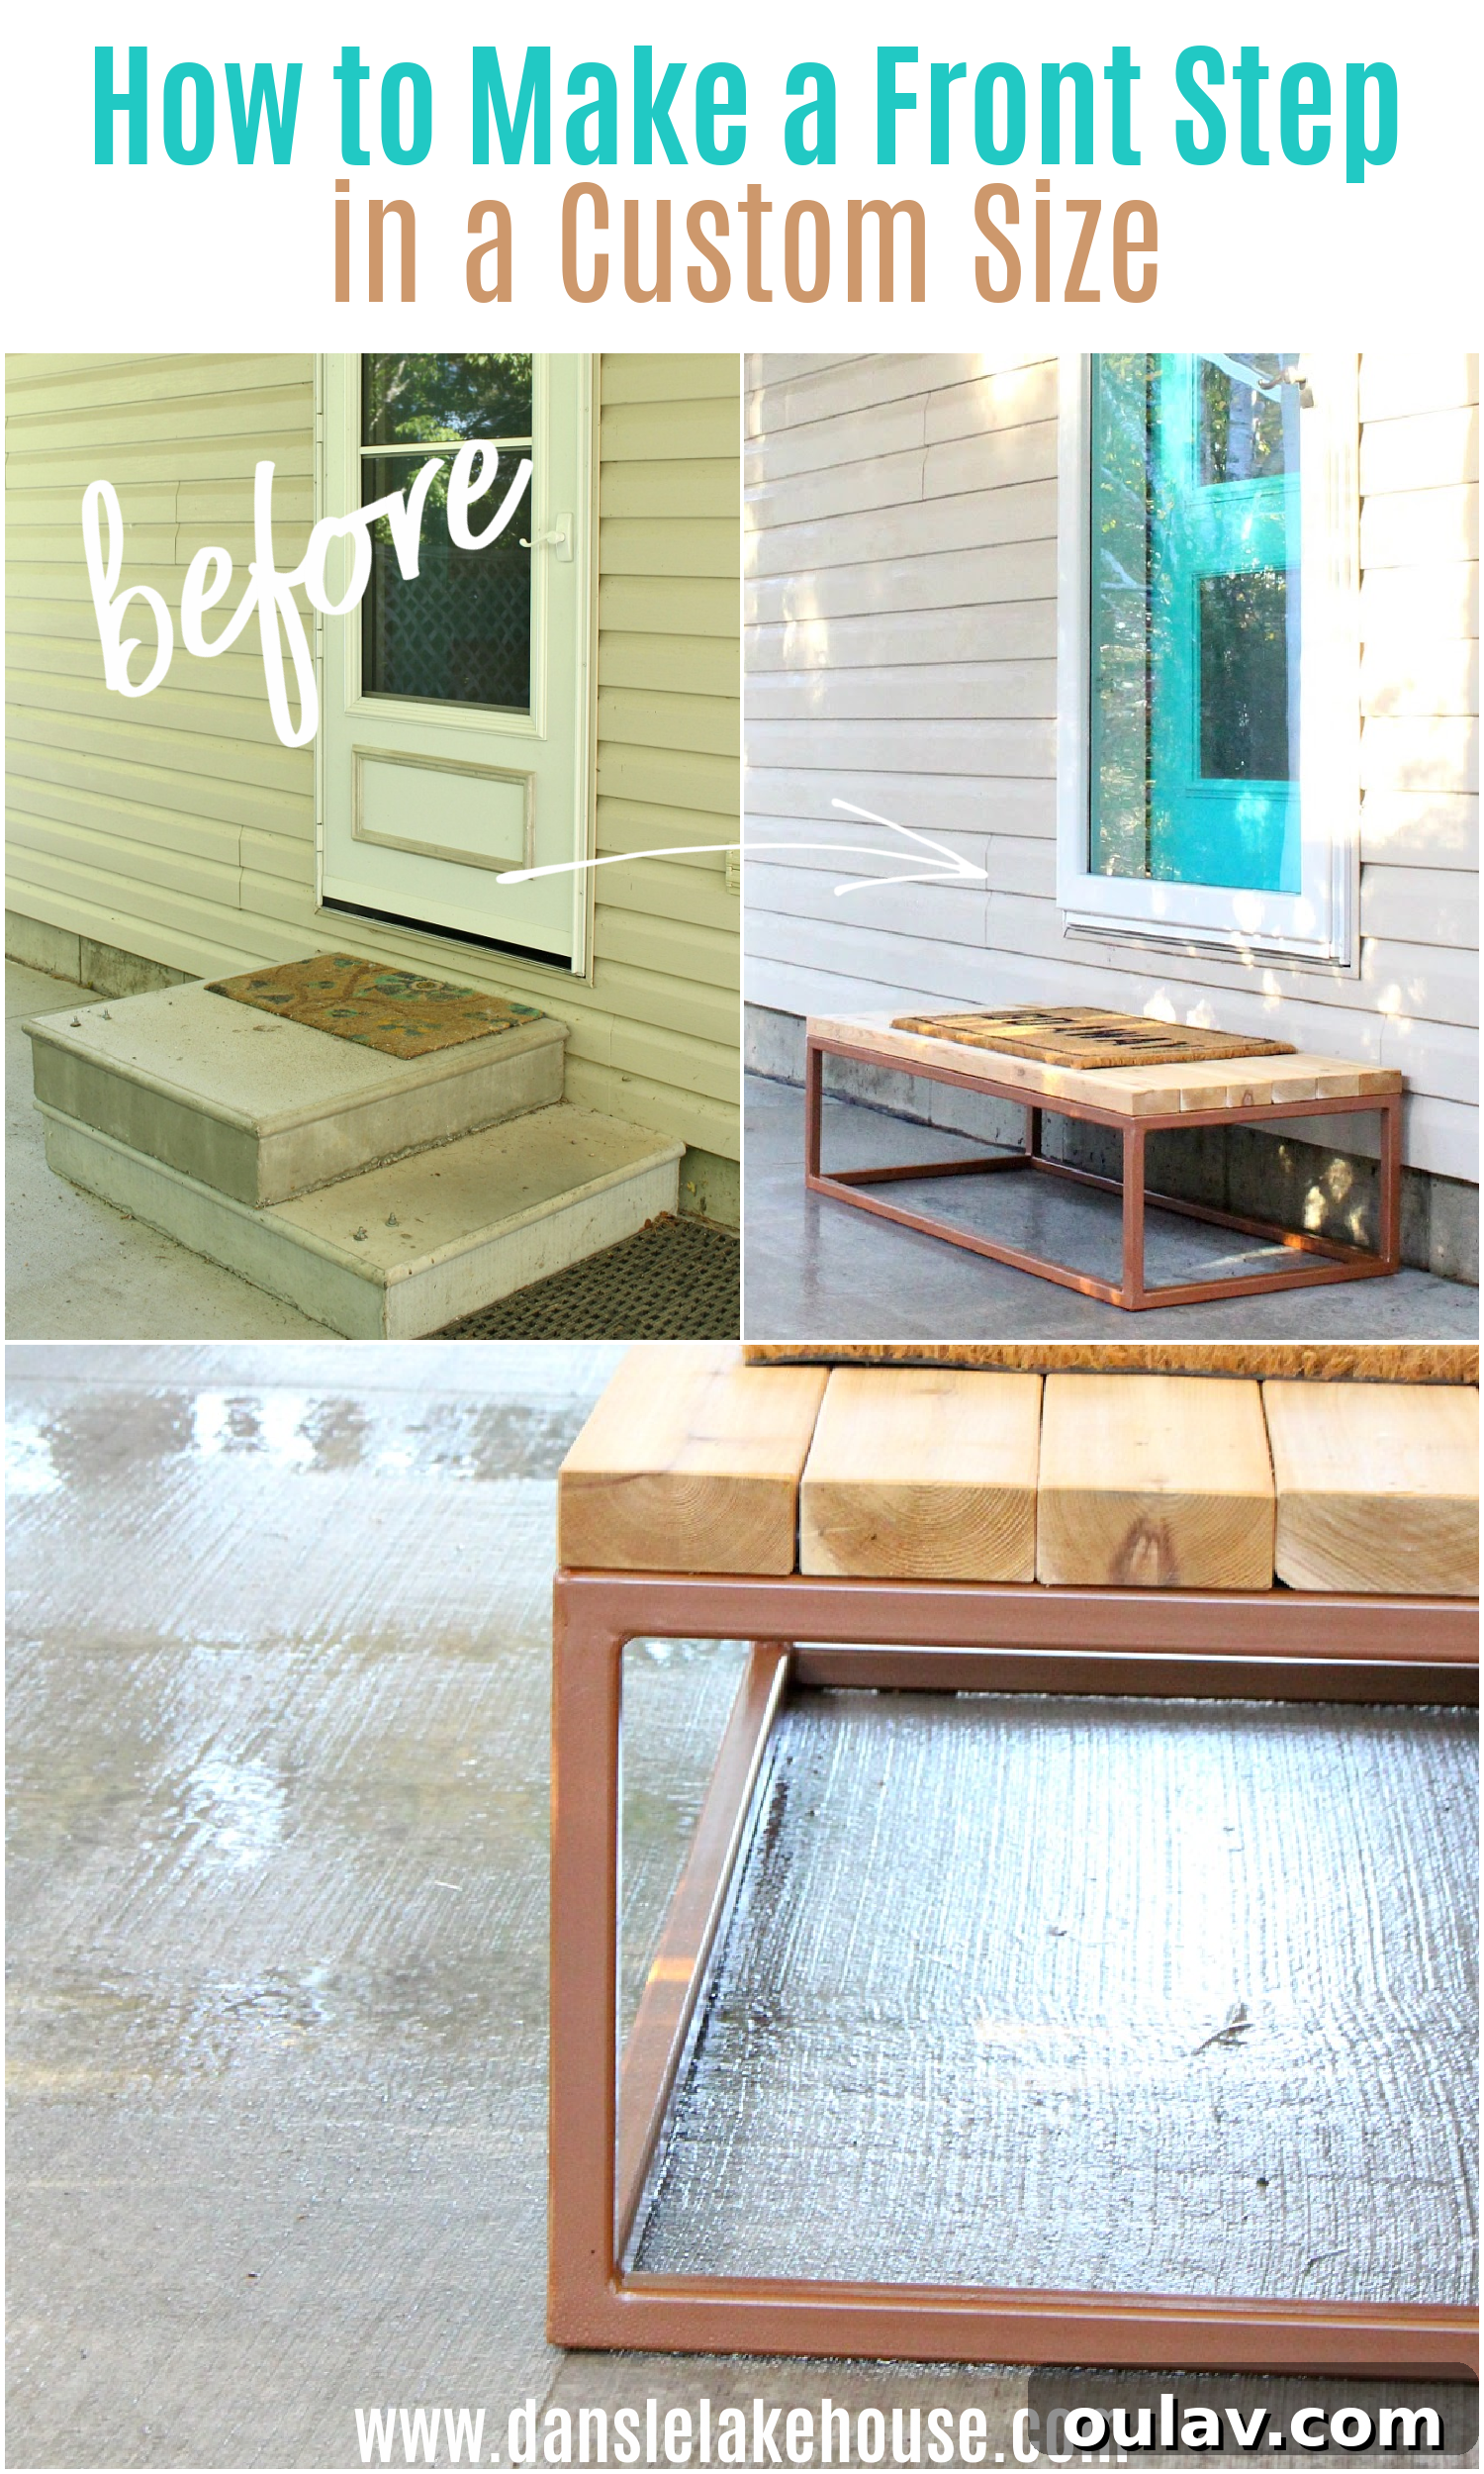
| Before: The bulky concrete step that was an obstacle. |
As someone who genuinely dislikes renovation waste, I was absolutely delighted when my father-in-law expressed interest in taking the old concrete step off our hands. He gladly accepted it, finding a new purpose for its sturdy form. In the interim, he generously lent us his own step to use while we painstakingly planned and constructed our new DIY front step. This gesture was truly helpful, providing a temporary solution while we embarked on our ambitious custom build.
| One Step Forward (haha), Two Steps Back: The temporary step from my father-in-law. |
Our initial enthusiasm for a new step, however, quickly became a classic case of overthinking. We found ourselves completely engrossed in designing incredibly complicated solutions. We imagined intricate poured concrete forms, elaborate decorative details, fancy tiling, and a myriad of other complex additions. This endless planning, with its “blah blah blah” of details, consumed so much time that winter unexpectedly snuck up on us. And just like that, our grand plans for a new step were put on hold, completely unbuilt! My husband’s dad, with a good-natured chuckle, never missed an opportunity to tease us whenever he saw his old step still firmly in place at our front door. It was a constant, albeit gentle, reminder of our procrastination.
You see? It really was quite embarrassing! Especially considering that the warmer months of the *next* year almost slipped by us again without any progress. But this time, we made an unwavering vow to ourselves: we would FINALLY finish that damn DIY front step! On the bright side, the extra year of deliberation proved beneficial. It gave us the valuable time to realize that we weren’t truly as smitten with the idea of a concrete step as we initially thought. In fact, I had grown quite fond of the naturally weathered wood step Hubby’s Dad had lent us. Its rustic charm and simple aesthetic resonated more with our evolving taste. This realization led to a significant shift in our design. We decided to create a bright, shiny new wood front step, built upon a sturdy, modern welded metal base. Our hope is that this untreated wood will gracefully weather over time, eventually developing a beautiful, soft grey patina that will complement our lakehouse perfectly.
This custom front step is actually Project #2 in my ambitious grand scheme to experiment with untreated cedar and copper finishes. This unique material combination was directly inspired by the existing roof and siding pairing of our lakehouse, creating a cohesive aesthetic. If you missed it, Project #1 was our stunning cedar bench with a matching welded base, which perfectly demonstrated the potential of these materials in an outdoor setting. The success of that project gave us the confidence and excitement to tackle this new challenge.
For this particular project, we gravitated towards a clean, minimalist design – a simple, elegant cubed structure. Our metal of choice, as with our previous projects, was durable square metal tubing. This material not only offers excellent structural integrity but also allows for a modern, sleek aesthetic that complements the natural warmth of the cedar wood.
(Please try to ignore the rather terrifying spider making an appearance in this shot – it’s just part of the candid DIY experience!)
Essential Supplies for Our DIY Welded Front Step Project:
To embark on your own welded front step creation, gather these crucial tools and materials. Quality supplies are key to a durable and aesthetically pleasing result:
- 4.5″ Angle Grinder: An indispensable tool for cutting metal, grinding welds, and smoothing surfaces.
- Grinding Disk: Used with the angle grinder to remove excess weld material and rough spots.
- Flapper Disk: Ideal for smoothing and finishing welds, achieving a clean, polished look on your metal frame.
- Cutting Disk: For precisely cutting your metal tubing to the required lengths.
- 1″ Square Metal Tubing: The primary material for constructing the sturdy, modern base of your step.
- Welding Magnets: Invaluable for holding metal pieces at perfect angles (90°, 45°, etc.) during tack welding, ensuring accuracy.
- Steel Step Drill Bit: Essential for drilling clean, precise holes into the metal tubing for attaching the wood top.
- Flux Core Wire Feed Welder: A versatile and relatively easy-to-use welder for DIY metal projects.
- Rust-Oleum Spray Paint (Copper): To provide an attractive, protective finish to your welded metal frame.
- Untreated Cedar 2x4s: For the wooden top of the step, chosen for its natural beauty and weather-resistant properties.
Crafting Your Custom Welded Outdoor Step: A Step-by-Step Guide
The fundamental process for welding the base of our custom outdoor step mirrors the techniques we’ve refined through our various other welded projects, such as the elegant welded bed frame and the functional welded desk. Success in these projects begins with meticulous planning and precise execution. Here’s a detailed breakdown:
1. Design and Preparation: The Foundation of Success
Before any cutting or welding begins, it’s paramount to clearly envision your project. We meticulously sketched out our desired design for the step, taking careful measurements to ensure it would perfectly fit the designated space and provide the necessary clearance for our truck. From these sketches and measurements, we created a comprehensive cut list for all the metal tubing pieces. This initial planning phase is crucial; it simplifies the subsequent shopping for supplies and significantly minimizes waste, saving both time and material. With all the necessary square metal tubing and other supplies procured, the first physical step was to precisely cut each piece according to our detailed cut list, using the cutting disk on the angle grinder. Always prioritize safety during this stage by wearing appropriate protective gear, including eye and ear protection.
2. Assembly and Tack Welding: Ensuring Precision
Once all the individual metal components were cut, the next critical phase was assembling the framework. We carefully laid out the pieces, rigorously measuring them to confirm absolute squareness at every joint. This step is non-negotiable for a stable and aesthetically pleasing structure. Only when we were certain of the alignment did we proceed with tack welding. Hubby strategically opted to construct the bottom frames first, creating two robust rectangular bases. These were then joined together by the upright legs, forming the three-dimensional structure of the step base. The welding magnets proved to be an immense help here, securely holding the metal pieces at precise 90-degree angles while tack welding, making this stage significantly easier and more accurate. They were truly an excellent investment for any welding enthusiast.
3. Completing the Welds: Strength and Durability
With all the pieces firmly tacked in place and the squareness of the entire frame thoroughly verified one final time, Hubby proceeded to complete all the welds. This involves running continuous, strong beads along each joint, ensuring the metal frame is incredibly robust and capable of withstanding the elements and daily use as an outdoor step. Safety, as always, is paramount during this stage, requiring a welding helmet, gloves, and protective clothing.
Below, you can see the step base immediately after the welding was completed, showcasing the raw, unrefined state before grinding:
Using the powerful angle grinder, Hubby meticulously removed any weld spatter – those small, unwanted bits of molten metal – and expertly smoothed out all the weld seams. This grinding process is crucial for both aesthetics and safety, as it eliminates sharp edges and prepares the surface for painting.
And, voilà! The result is a beautifully smooth, clean frame with impeccably finished corners. This attention to detail transforms the raw metal into a polished component ready for the next phase:
Finishing Touches: Painting and Wood Installation
With the demanding welding and grinding phases complete, the metal base was ready for its protective and decorative finish. I opted to paint the metal the same striking copper hue we used for our DIY bench and our modern DIY firepit. This particular Rust-Oleum spray paint has quickly become my absolute favorite. Not only do I adore the rich, warm copper color, but its formulation is remarkably forgiving compared to other spray paints—even other products within the Rust-Oleum line! I’ve witnessed drips and sags miraculously level out on their own, leaving a smooth, professional finish. Furthermore, the dry time is significantly less fussy, making the painting process much more enjoyable. I’ve used this high-heat enamel on numerous diverse projects, and its performance consistently impresses me. UPDATE: While I still genuinely love the aesthetic of the copper color, which is perfect for complementing outdoor entertaining spaces like barbecues, I’ve found that after a couple of years, it hasn’t provided the robust rust protection I truly need in our environment. Therefore, I plan to repaint the base with a different Rust-Oleum product specifically formulated for superior rust prevention, ensuring the longevity of our welded outdoor step.
Take a closer look at the finished metal base. Can you spot the ingenious tabs Hubby added? While it’s technically feasible to drill directly through the square metal tubing to secure the wood top, these strategically placed tabs made the entire process significantly easier and more efficient. The wooden step itself is crafted from untreated cedar 2x4s, meticulously glued together using a high-quality waterproof wood glue, ensuring durability against the elements.
Our preparation for the cedar planks was wonderfully simple: we gave them only a light sanding. Our intention is to let nature take its course, allowing the untreated cedar to gracefully weather over time and develop a beautiful, natural grey finish, which we believe will perfectly complement the lakehouse aesthetic. However, if you prefer a more immediate or protected finish for your own DIY front step, you could certainly apply a high-quality deck finish – specifically one designed for exterior use and capable of withstanding constant foot traffic. This will provide additional protection and allow you to control the wood’s appearance.
As part of this entrance overhaul, you’ll also notice we upgraded our storm door. This wasn’t merely for aesthetic reasons, though it certainly helps showcase our new front door more effectively. To be entirely honest, the brutal winds sweeping off Lake Superior had taken their toll on the old storm door, mercilessly whipping it against the house until it was beyond repair. So, in a way, we were compelled to make this upgrade, and we seized the opportunity to choose a new storm door featuring a much more robust and reliable latch system, ensuring it can withstand future gusts!
And, of course, a certain furry family member absolutely loves the improved vantage point the new step offers for diligently guarding the house. It’s safe to say this project has earned his paw of approval!
Perhaps the most satisfying outcome of finally completing our DIY front step is that I can now proudly display the “Go Away” door mat I acquired at HomeSense years ago. I had been patiently saving it, knowing it would be the perfect humorous addition to our new front entrance! And it seems to work remarkably well: a package requiring a signature was recently left discreetly beside the step, even though I was home and available to sign for it. It just goes to show the power of a clear message!
Excellent…. I might just have to stock up on more of these! This one, for example, is even more direct, leaving no room for misinterpretation. I know my front door might appear a bit sparse, devoid of the usual planters, wreaths, and other embellishments that often grace a blogger’s “necessities.” However, in our specific situation, there’s simply no practical room for such decor! With our massive truck consistently parked nearby and our enthusiastic dogs frequently bursting out the door, any kind of decorative item would honestly just slow us down and, almost certainly, end up being knocked over. Functionality and practicality take precedence here.
Nevertheless, just take a moment to truly appreciate that “Before” and “After” transformation. Even without a single tchotchke or elaborate decoration, simply replacing the storm door and constructing this stunning new DIY front step has made an immense improvement to our home’s curb appeal and overall functionality. And while you’re visualizing, just imagine how it will look once we eventually add new wood siding to complete the exterior renovation – the possibilities are truly exciting!
| Before: An outdated entrance. |
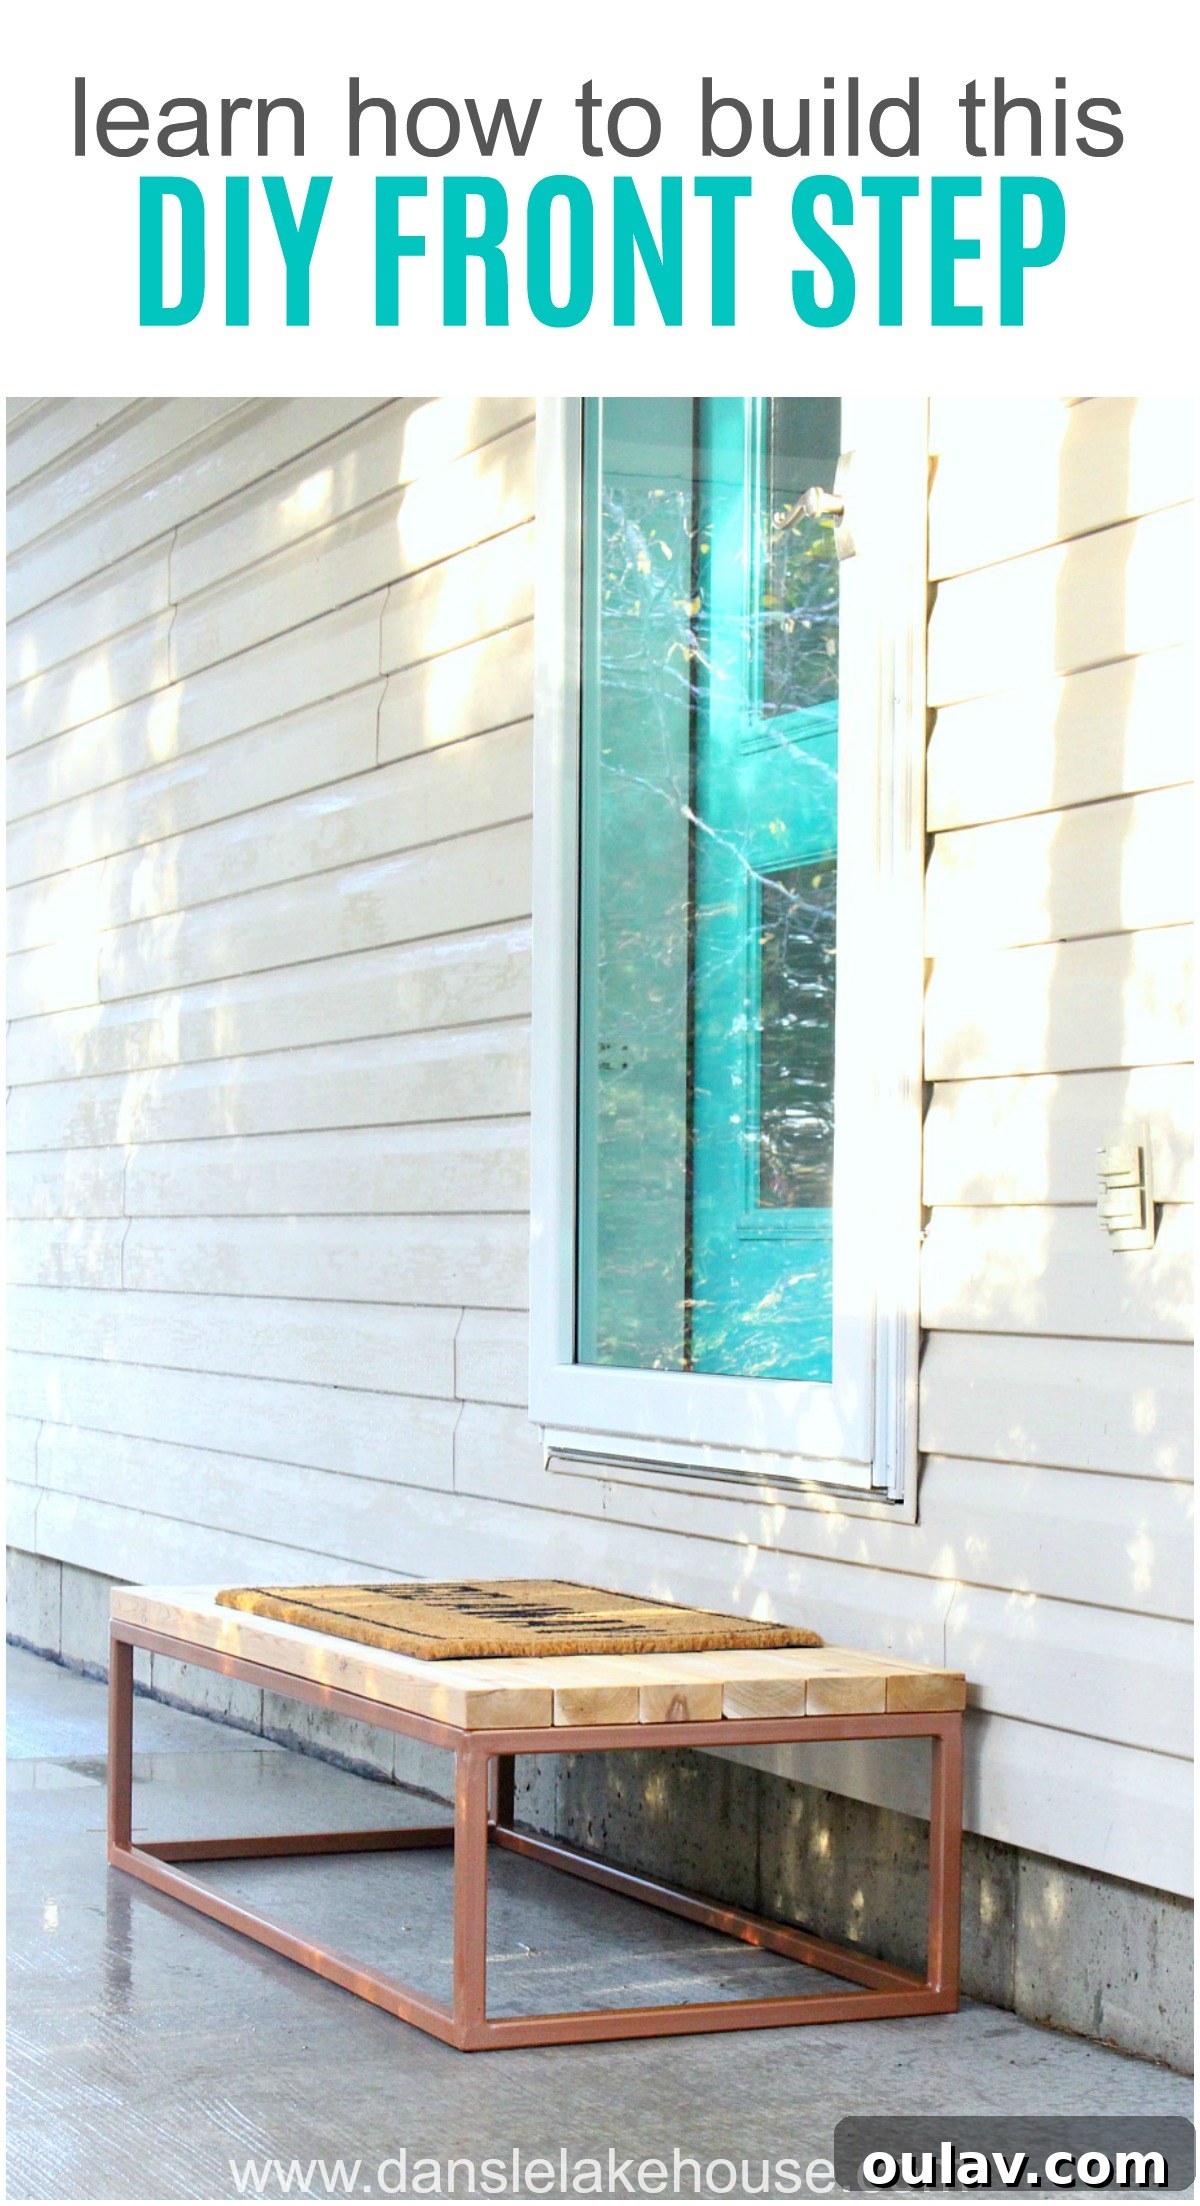
| After: Our modern, custom welded step and new storm door. |
Did you happen to notice how sparkling clean the concrete surrounding the step is in the “After” photos? That’s another recent DIY triumph! I stumbled upon a pressure washer tucked away in our garage and, inspired by its discovery, I dedicated three glorious days to *CLEANING ALL THE THINGS*. It’s amazing what a good deep clean can do for the overall appearance of an outdoor space!
If this project has sparked your interest in metalwork and custom home solutions, be sure to check out our other inspiring welded projects by clicking here. There’s a whole world of possibilities when you combine wood and metal!
P.S. Don’t Forget to Pin This Project for Later Inspiration!