Once upon a time, the thought of embracing natural knotty pine in my home was as foreign as owning a pet unicorn. My design journey began with a fervent desire to paint over every inch of existing wood paneling, a trend that saw the swift transformation of our lakehouse fireplace from dated pine to a chic charcoal grey almost immediately after we moved in. It was a no-regrets decision, and for years, painted surfaces reigned supreme in my design playbook. However, life, and particularly rural living, has a fascinating way of subtly shifting perspectives.
My evolution wasn’t entirely linear. There was a period where, in the spirit of budget-conscious practicality, we installed a faux tongue and groove paneling in the kitchen. This was less about design preference and more about cleverly concealing the aftermath of cabinet and tile removal – a testament to ingenuity rather than a genuine love for wood grain. Yet, a few years down the line, I found myself making entirely different choices. The guest bunkie bedroom and bathroom, for instance, became sanctuaries where the natural knotty pine was not only kept but celebrated. This initial departure could be attributed to a convenient blend of laziness and penny-pinching, as the sheer scale of painting those spaces was daunting. But then, a more profound shift occurred. I deliberately added pine paneling to a recent fireplace bump-out project, admittedly to complement existing wood, but it marked a distinct pivot.
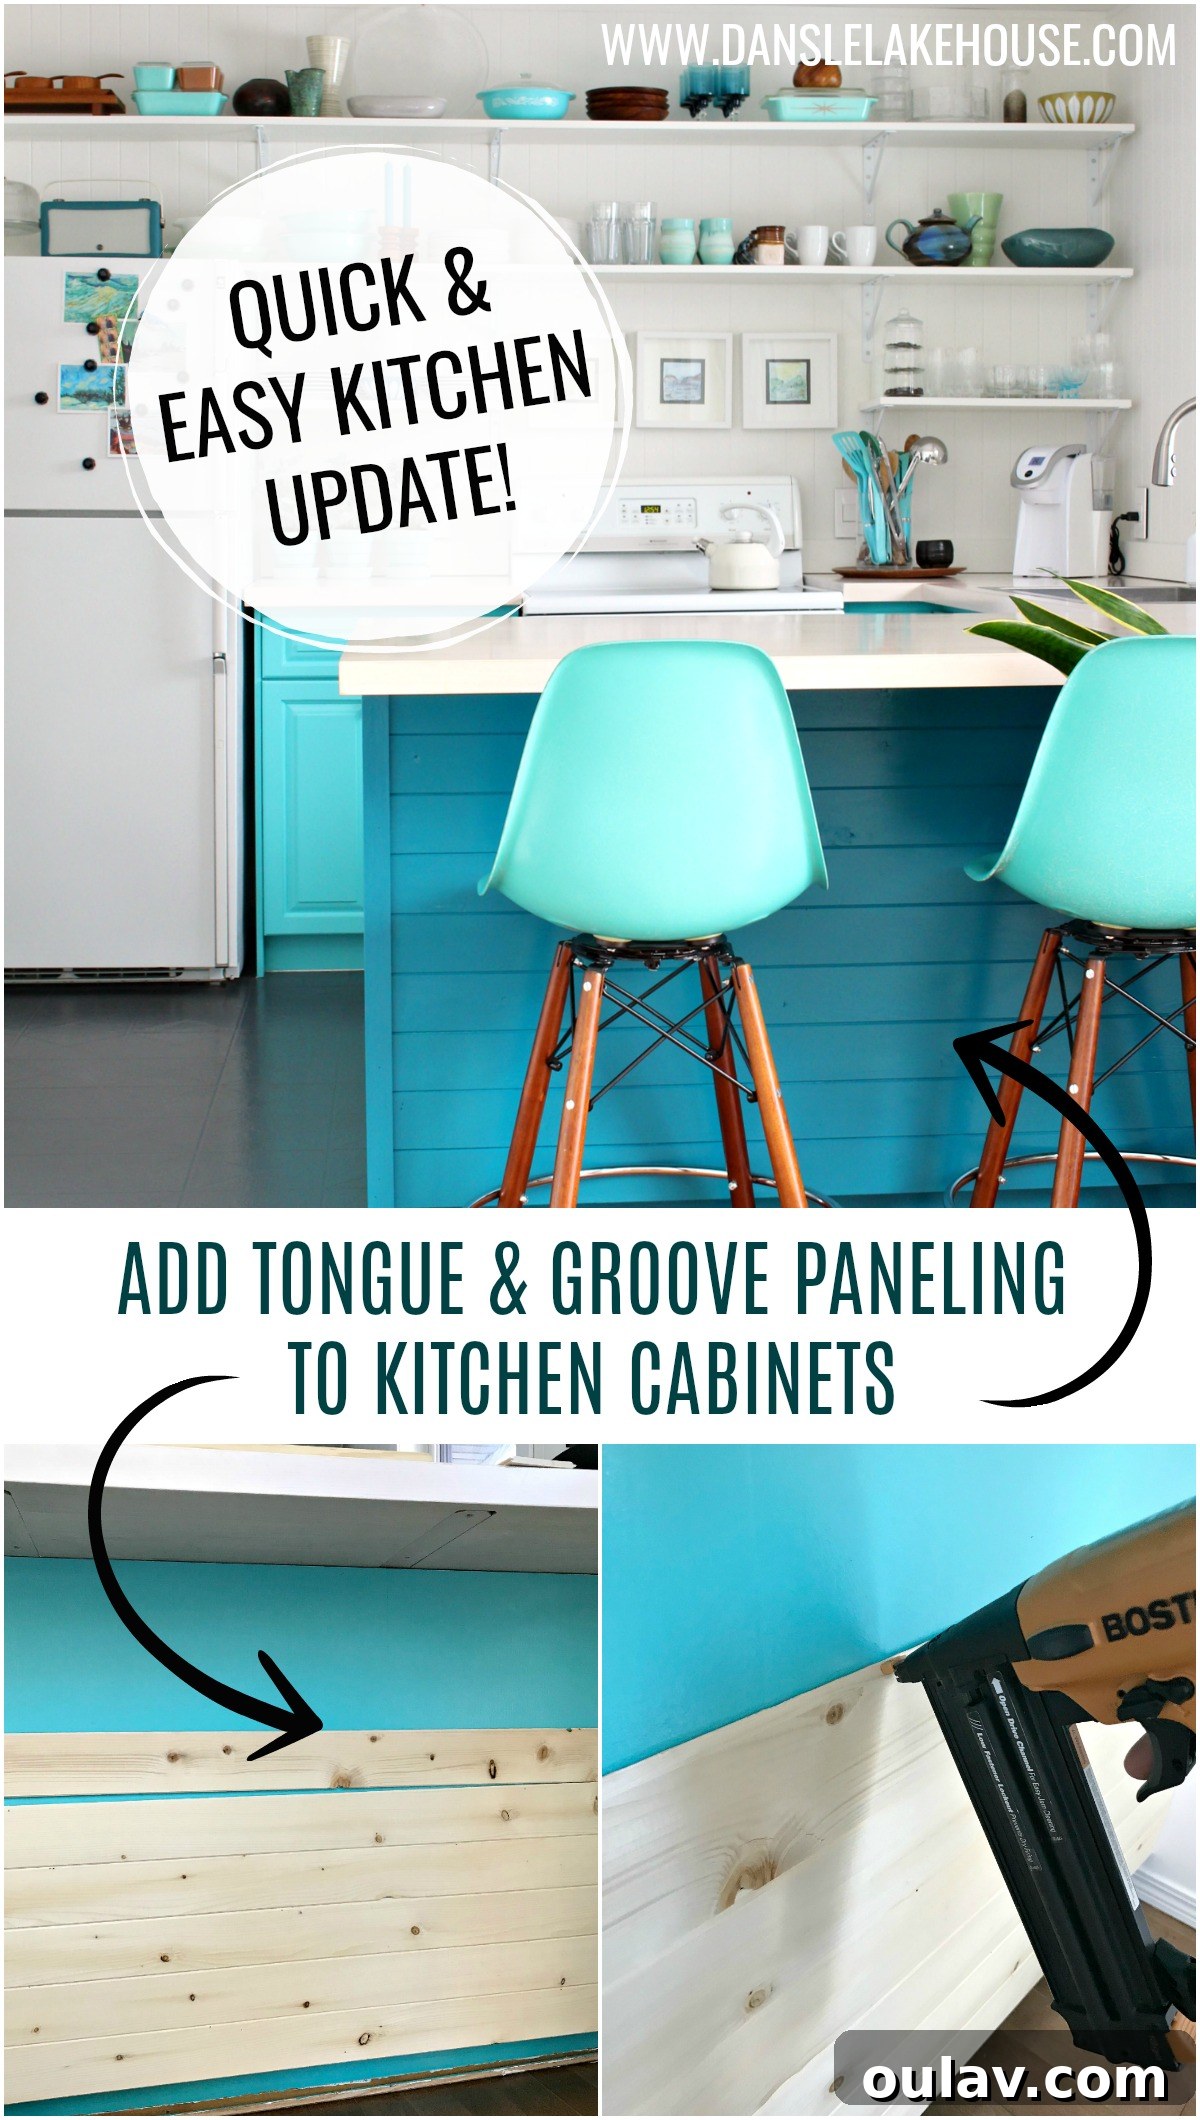
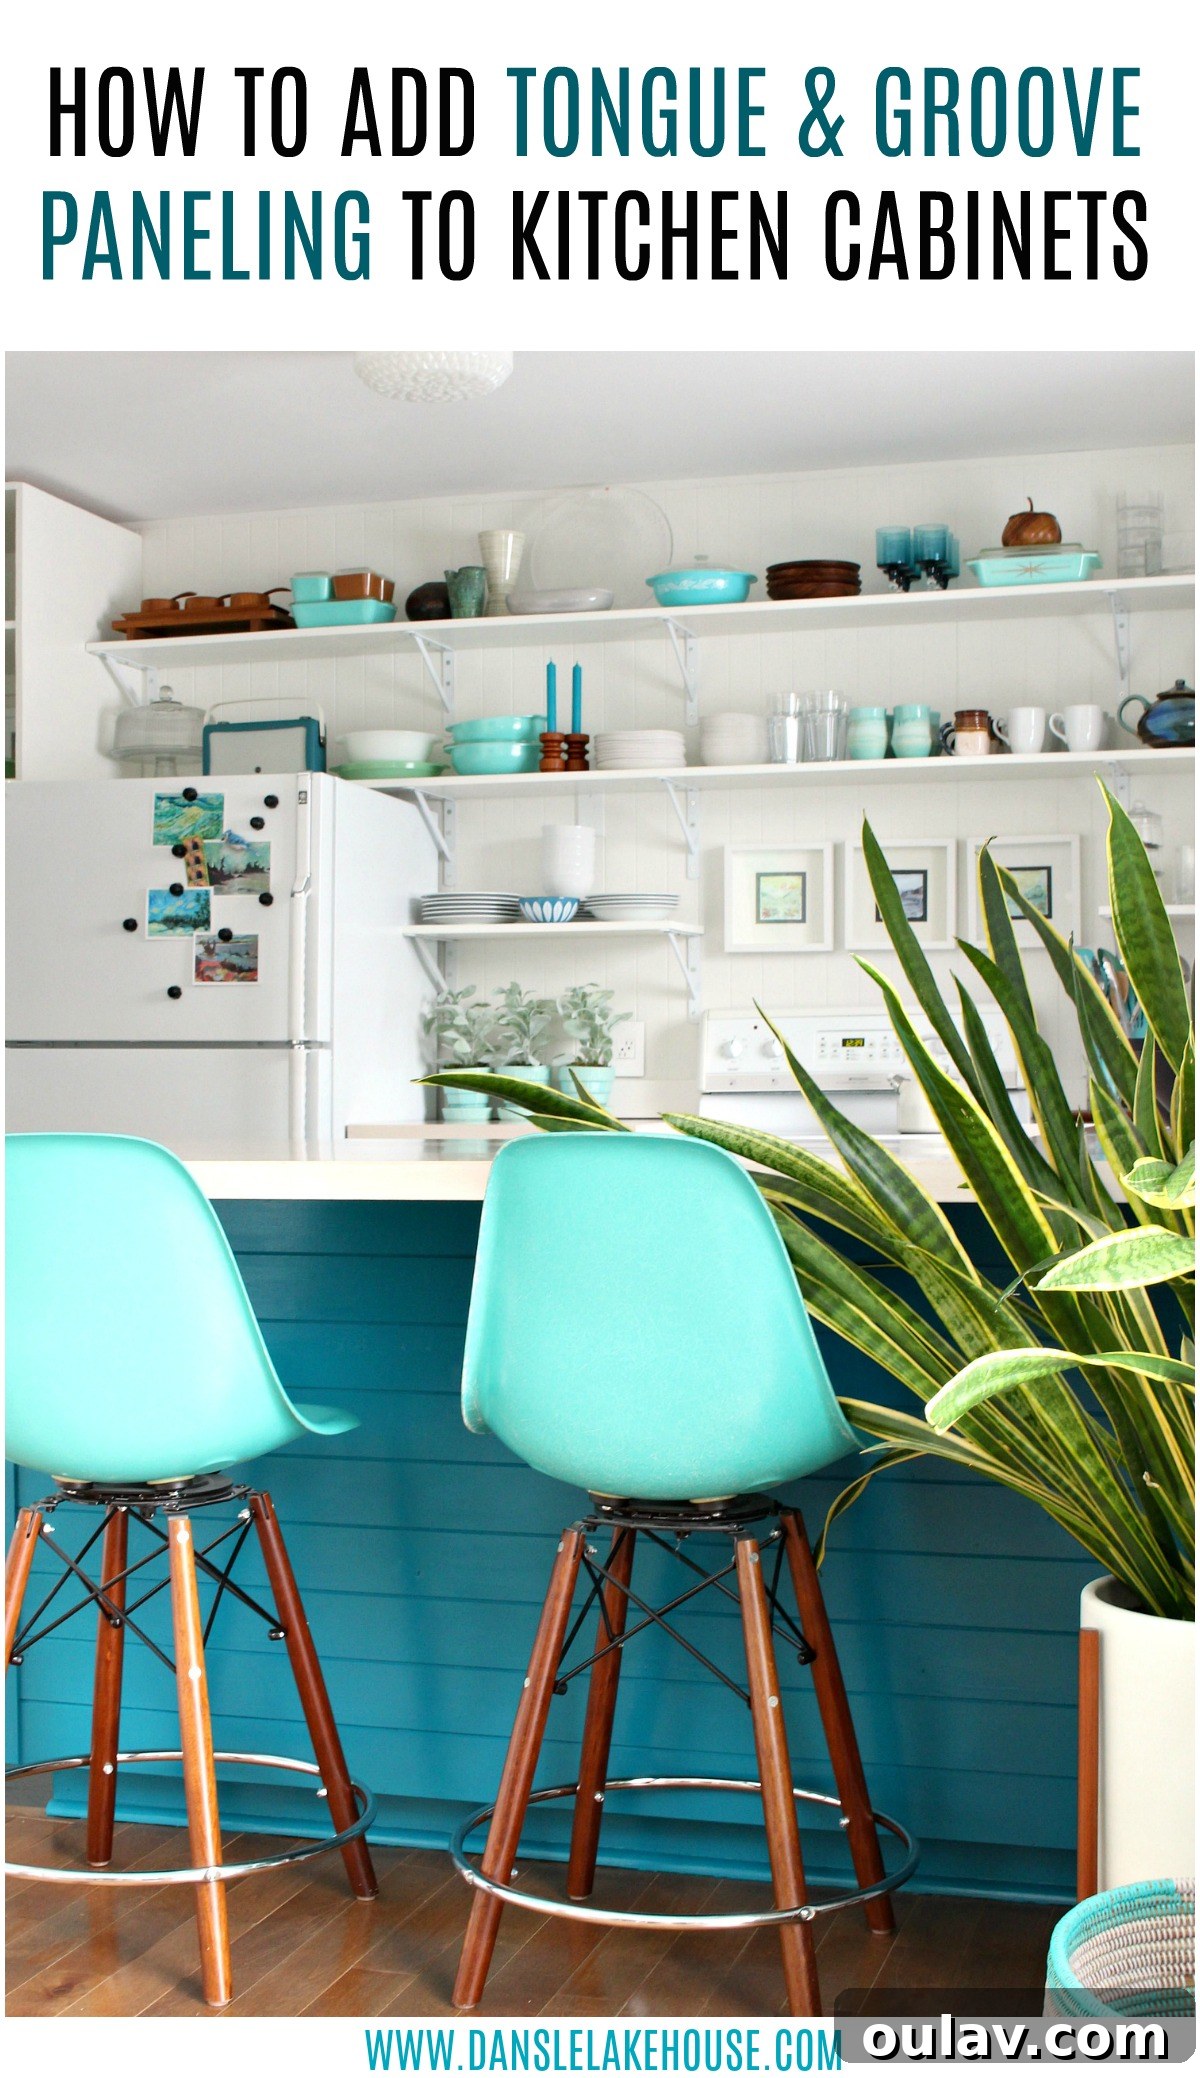
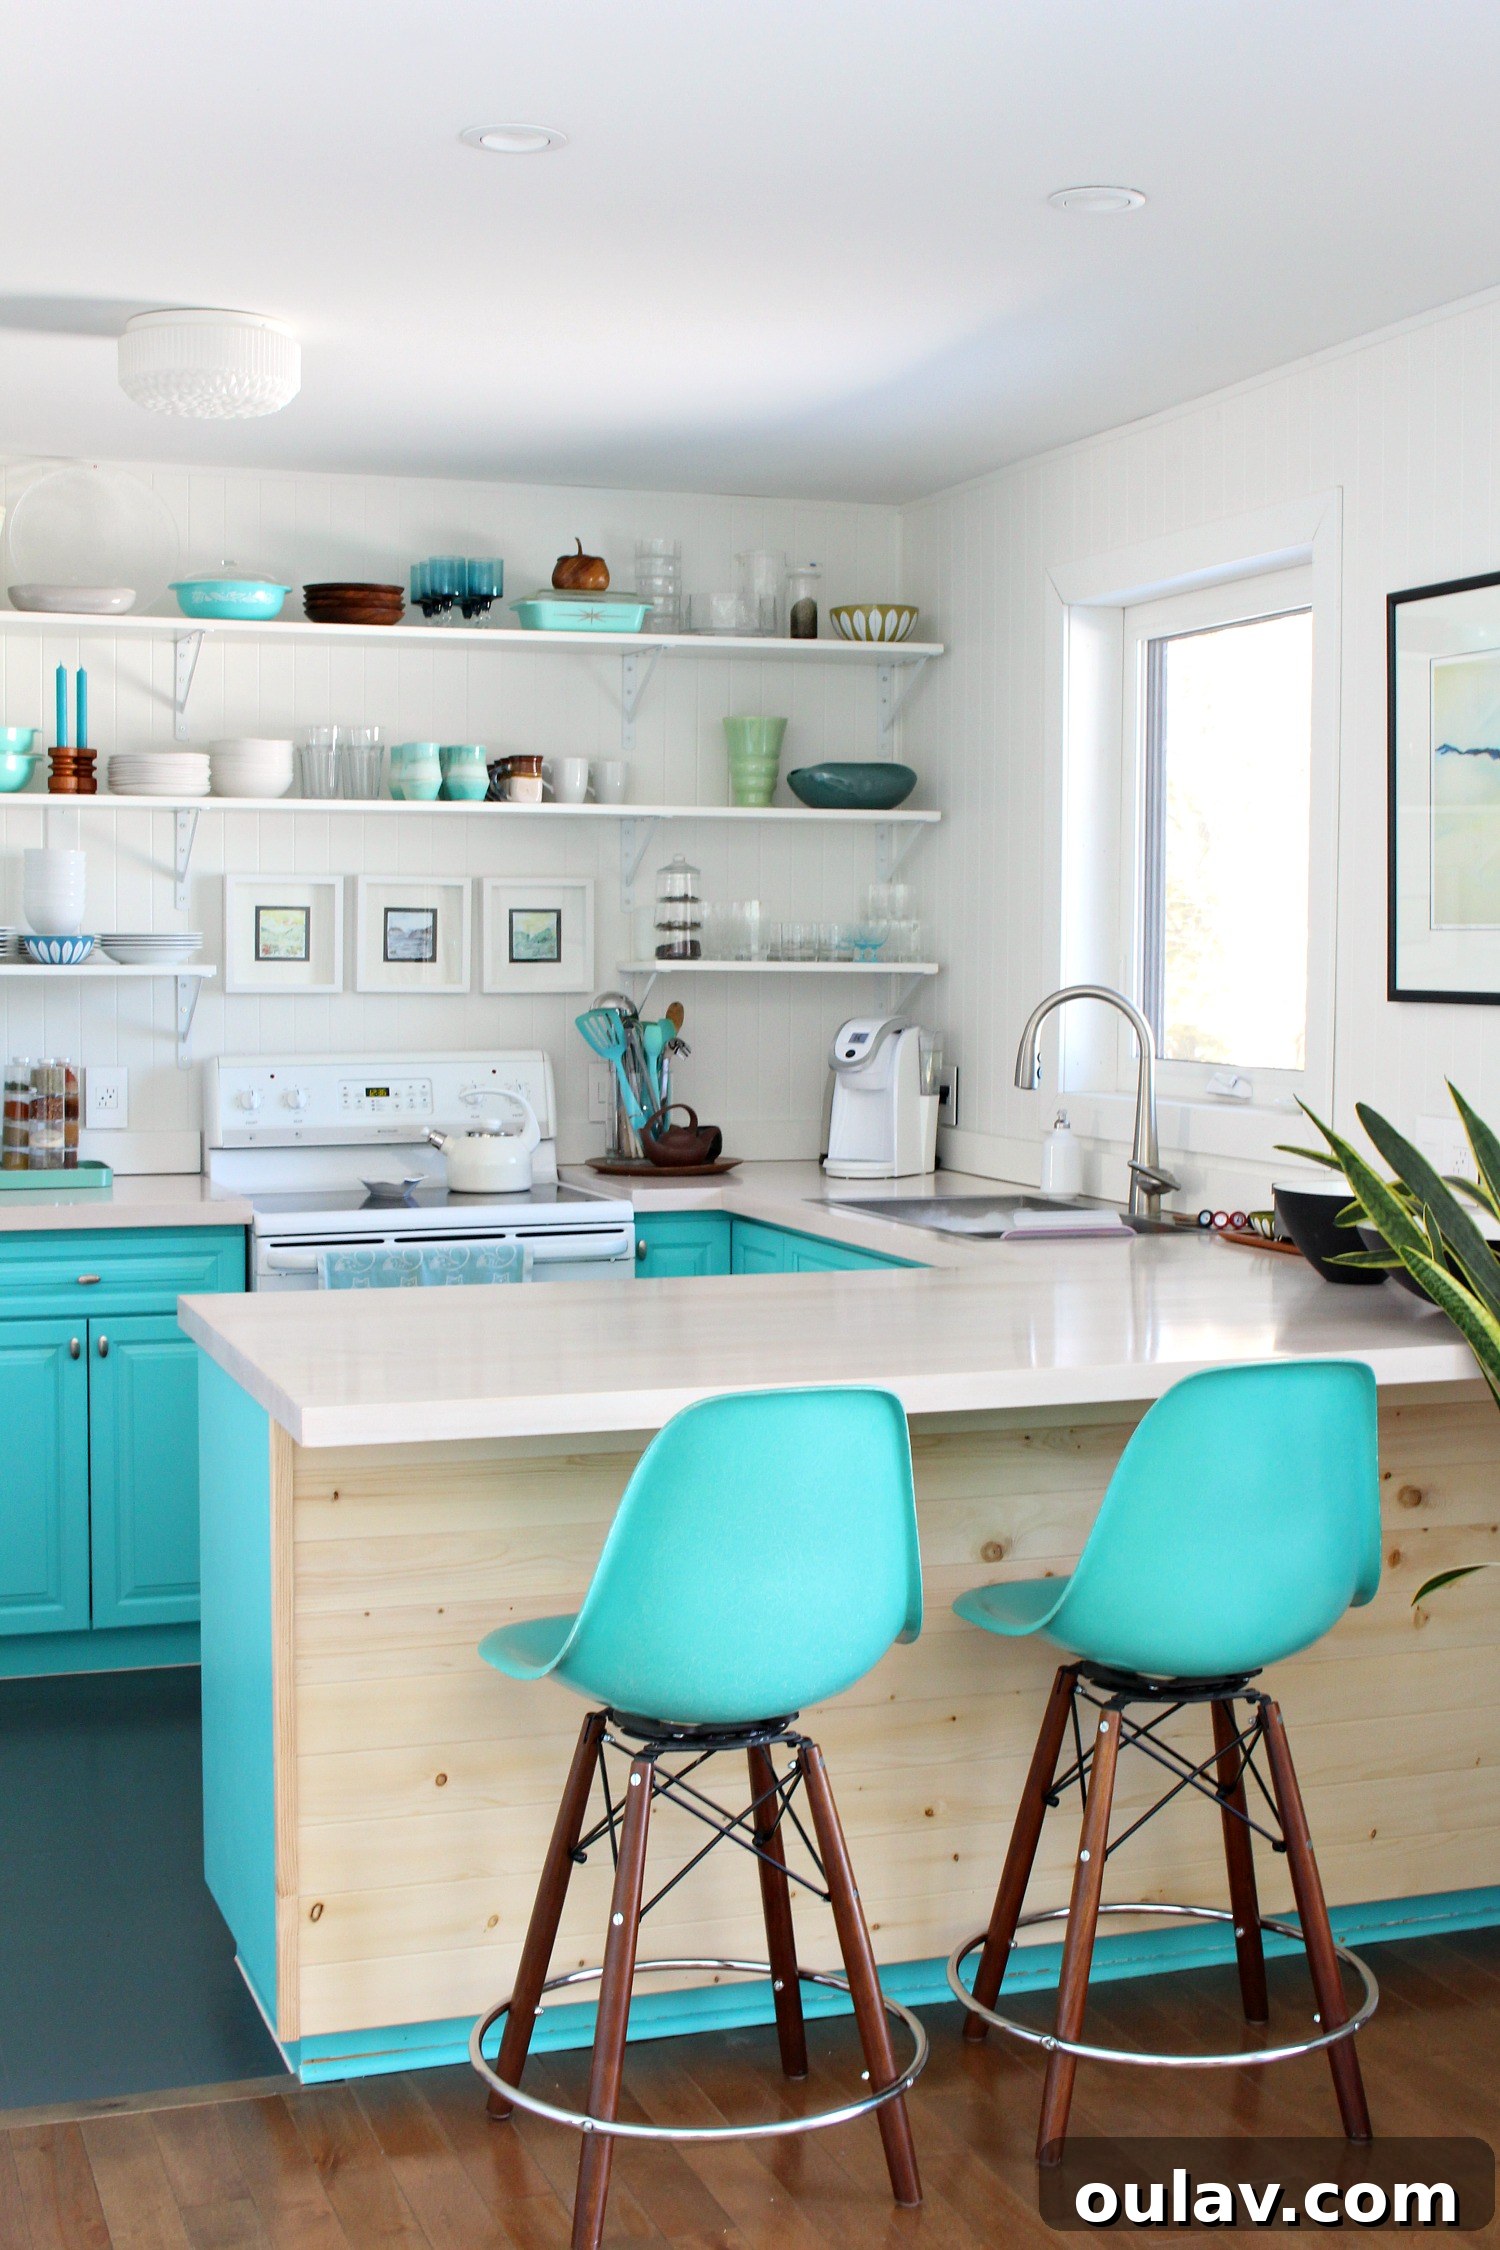
And now, here we are, embarking on a project that truly signifies this transformation: adding authentic pine tongue and groove paneling to the backs of our kitchen cabinets. There’s no ulterior motive, no hidden agenda, only the simple belief that it would enhance the space – and it absolutely does! I even caught myself admiring the natural wood, fantasizing about knotty pine floors to complete the rustic charm. It seems the lake water has indeed worked its magic. If you, like me, are finding yourself drawn to the warmth and character of paneling, you’re in the right place. Read on to discover the surprisingly simple process of installing tongue and groove paneling on kitchen cabinets, and witness its incredible transformative power.
Revitalizing the Kitchen on a Budget: Why Paneling?
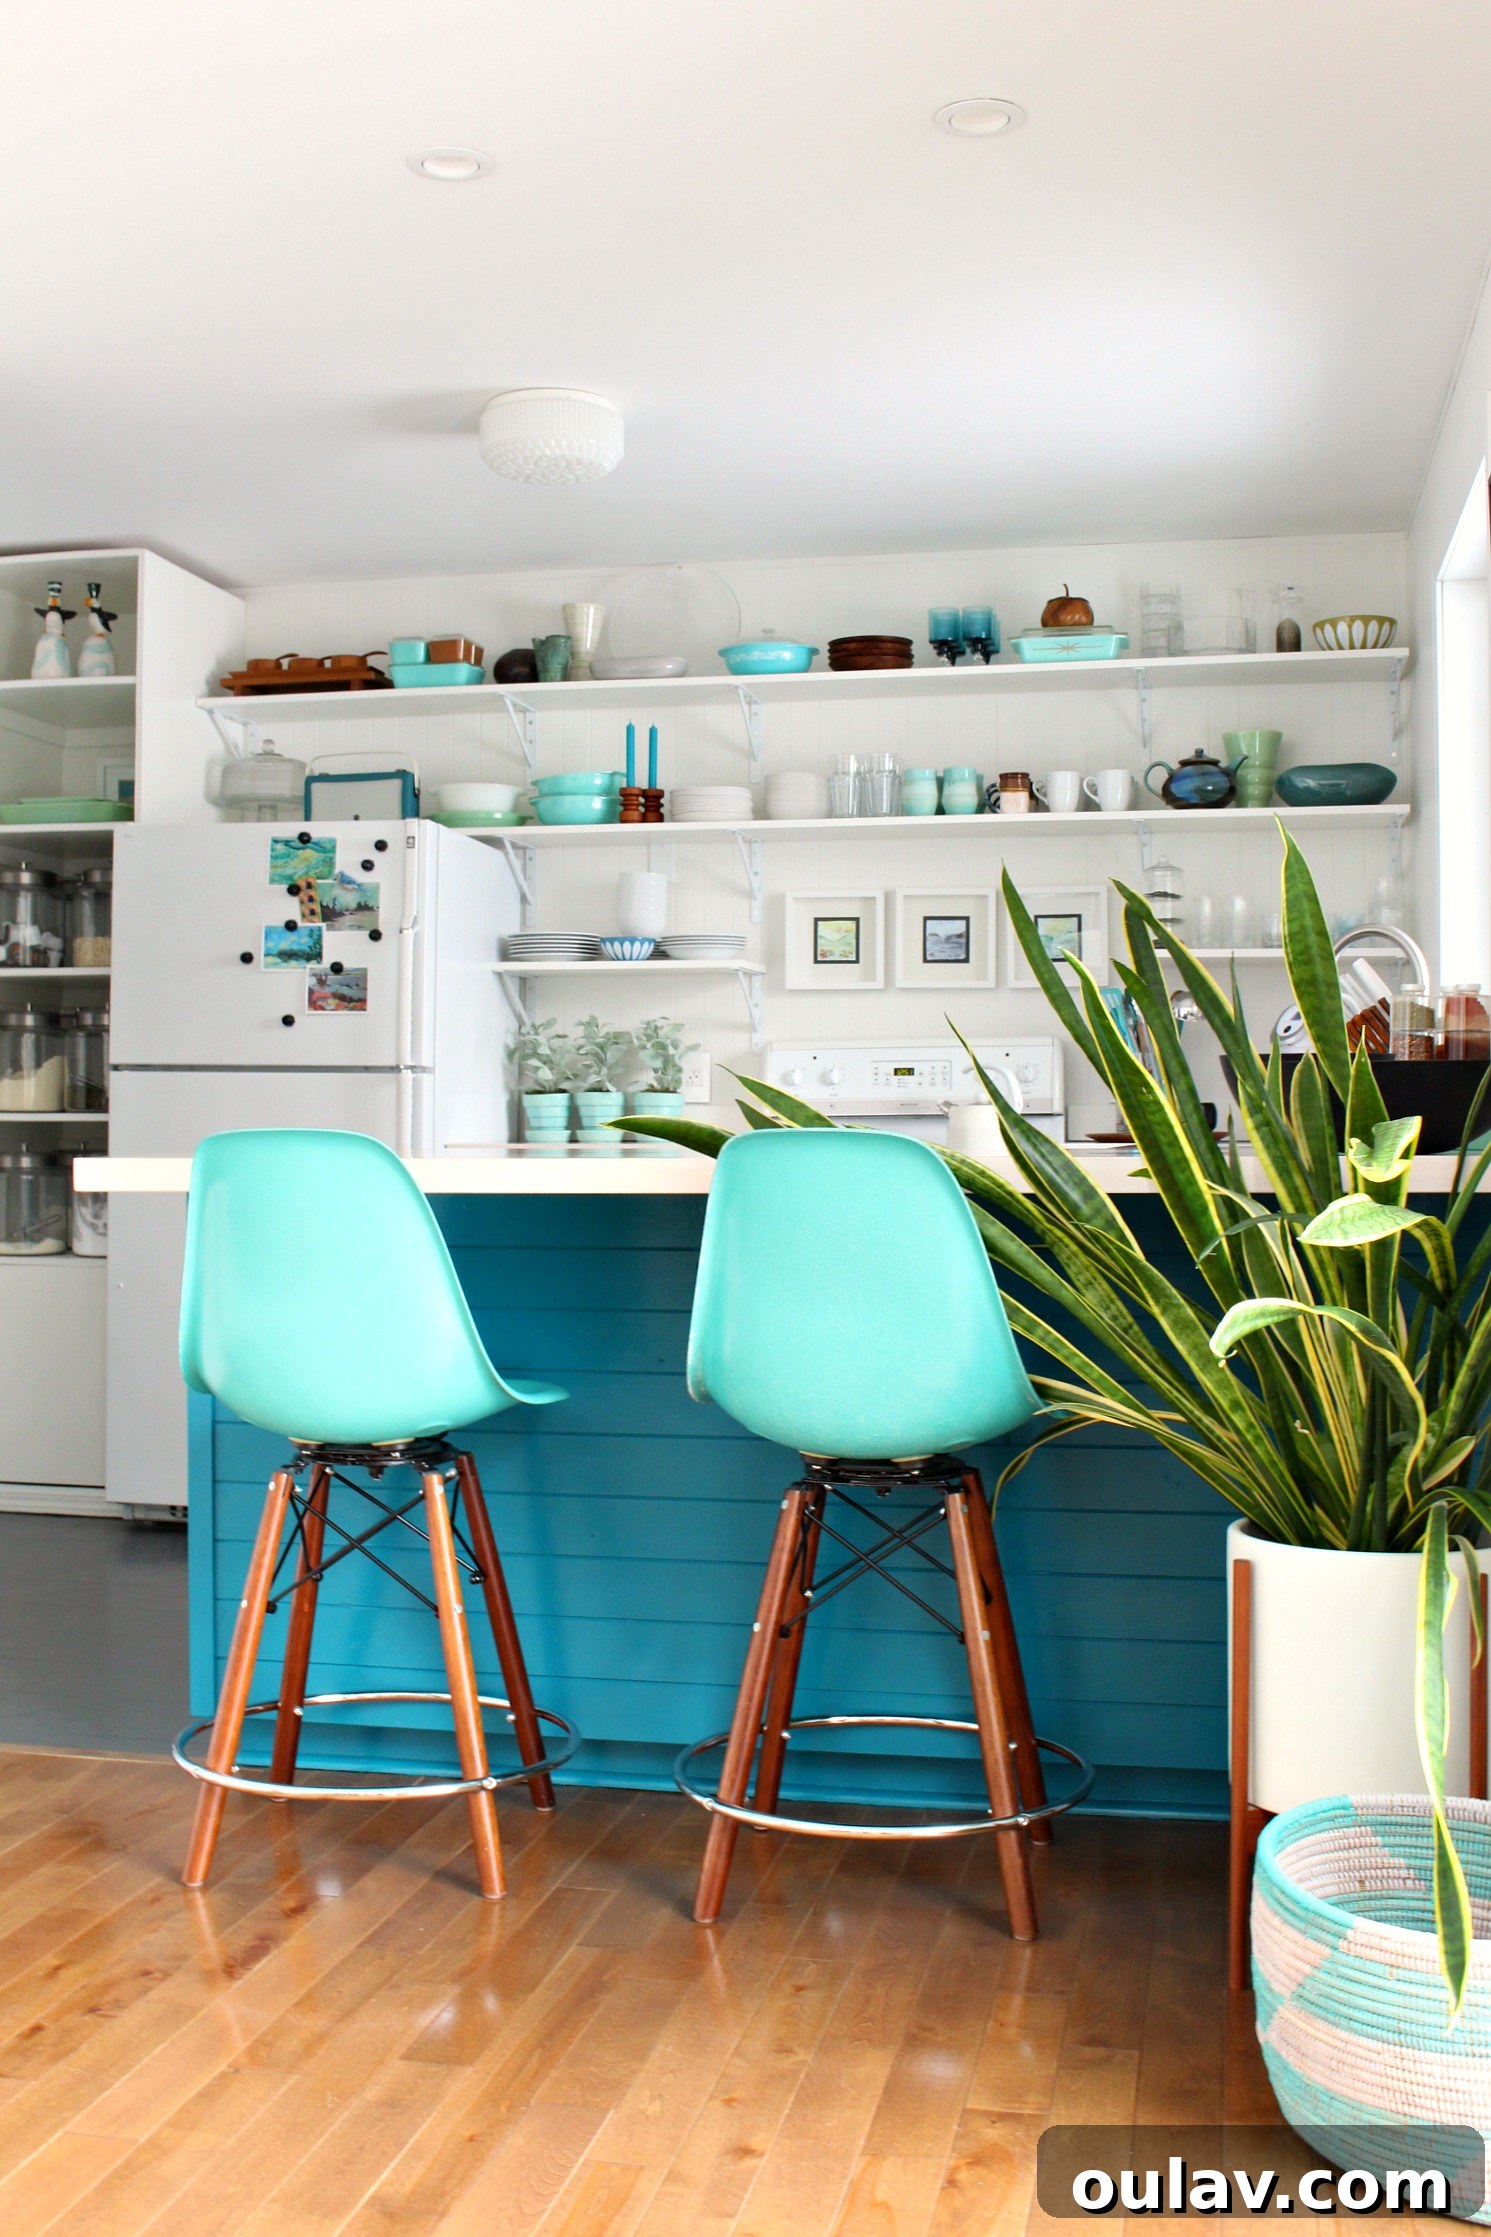
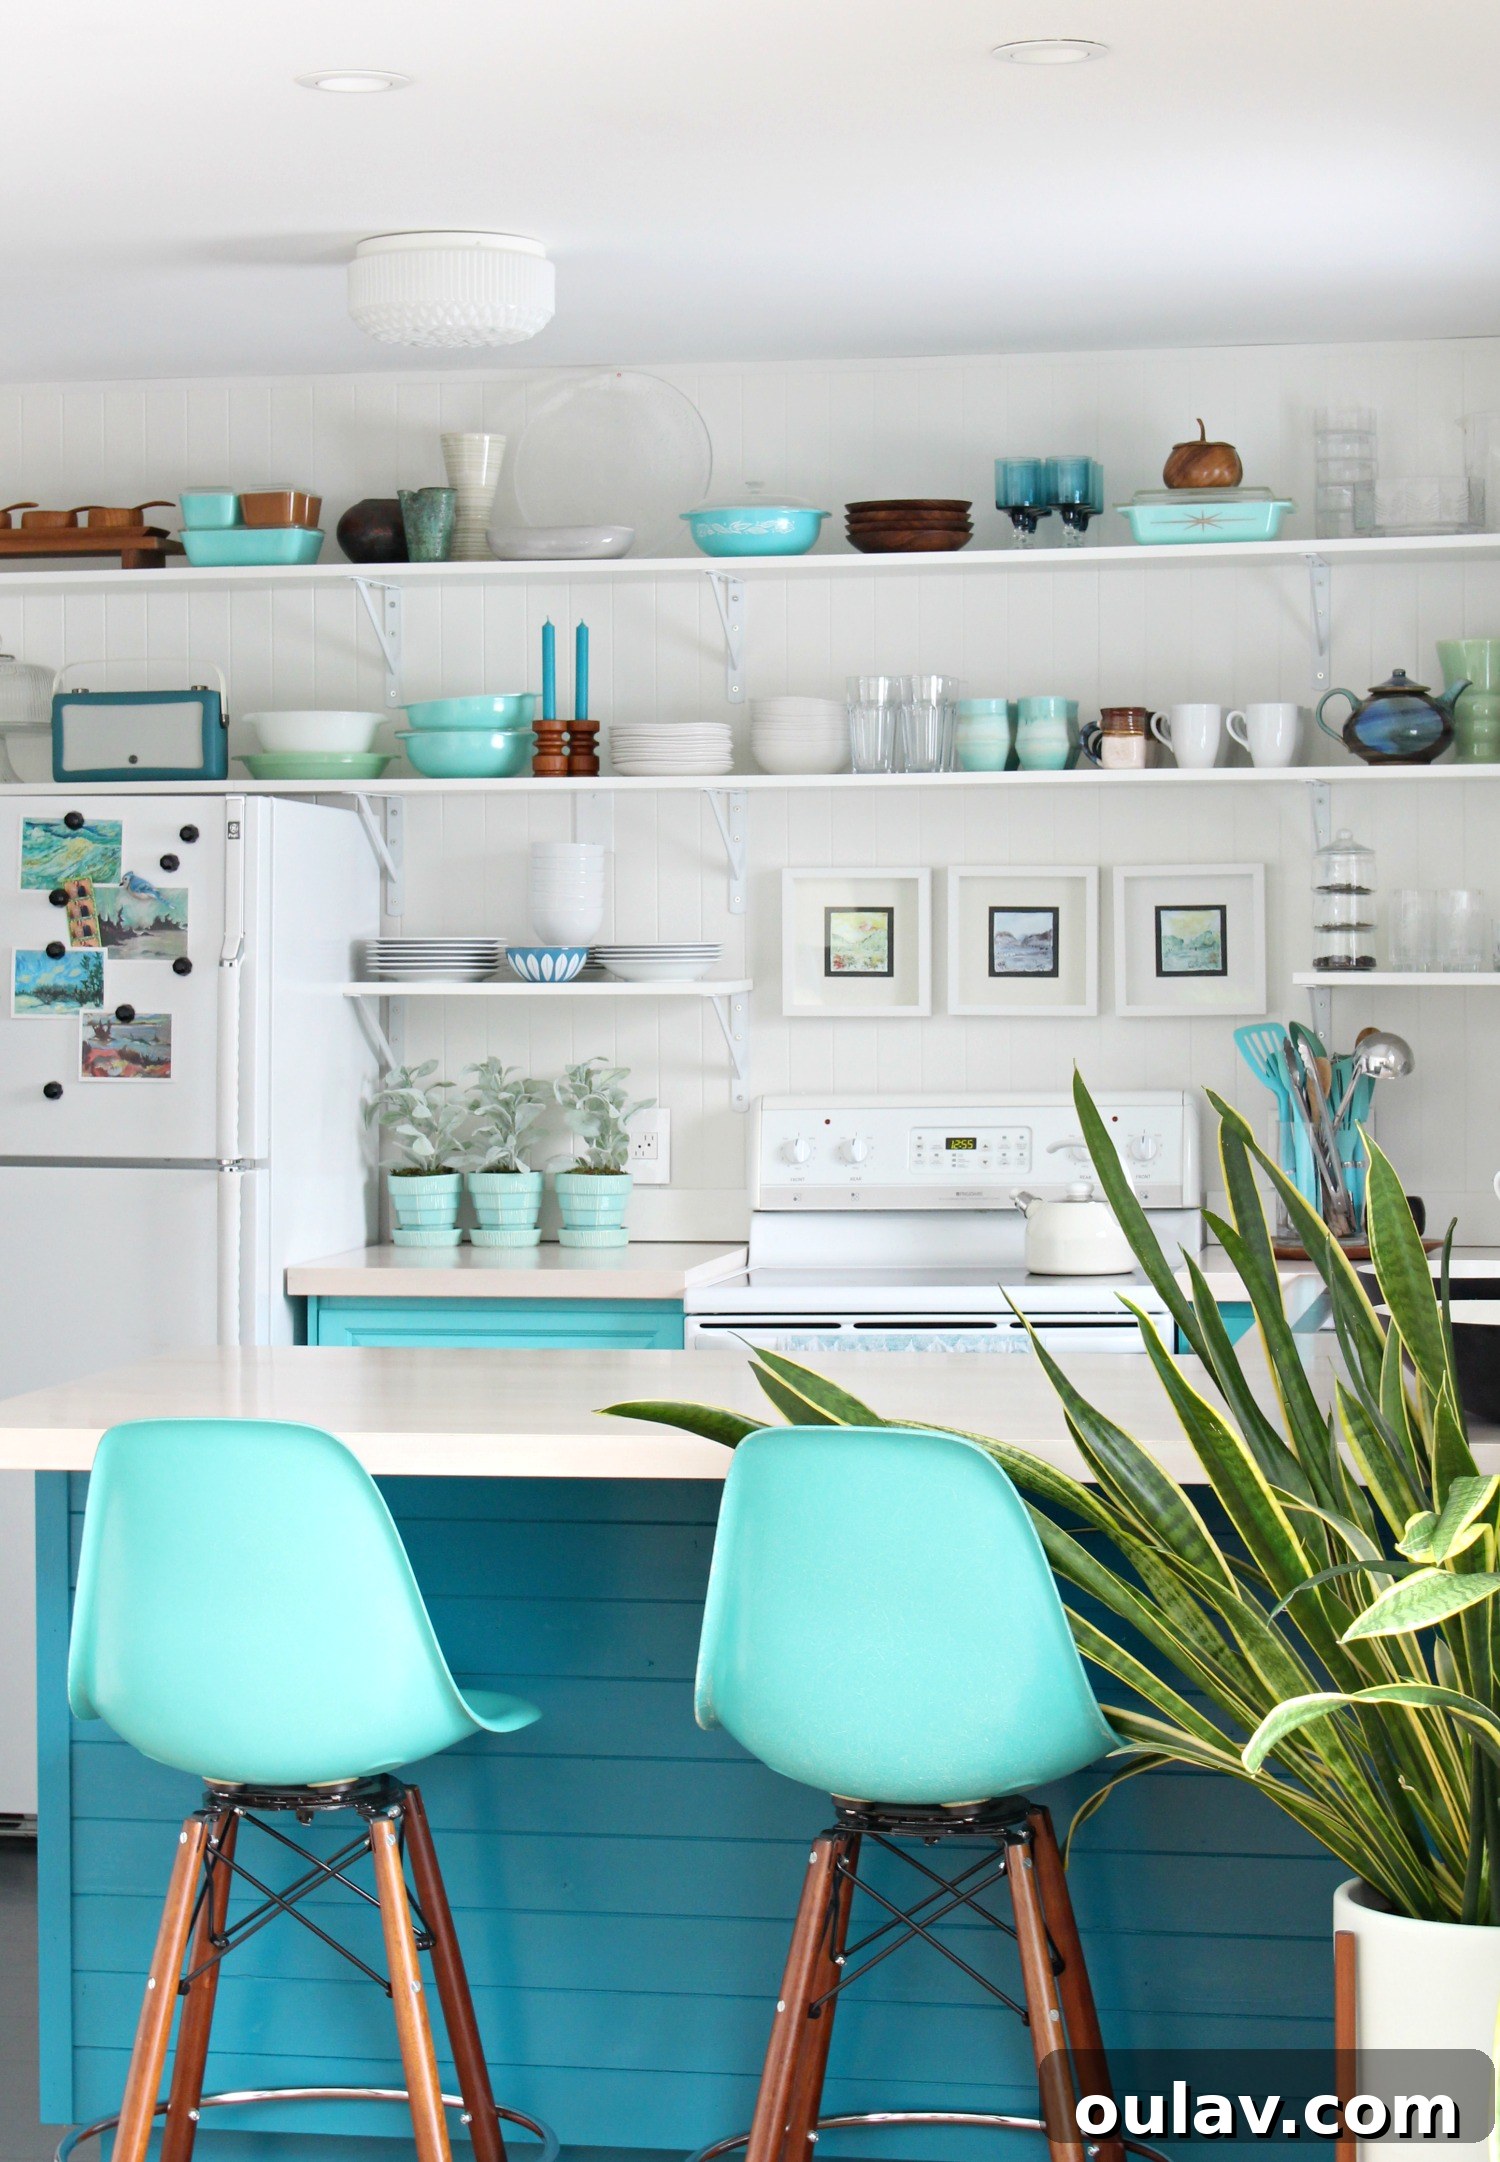
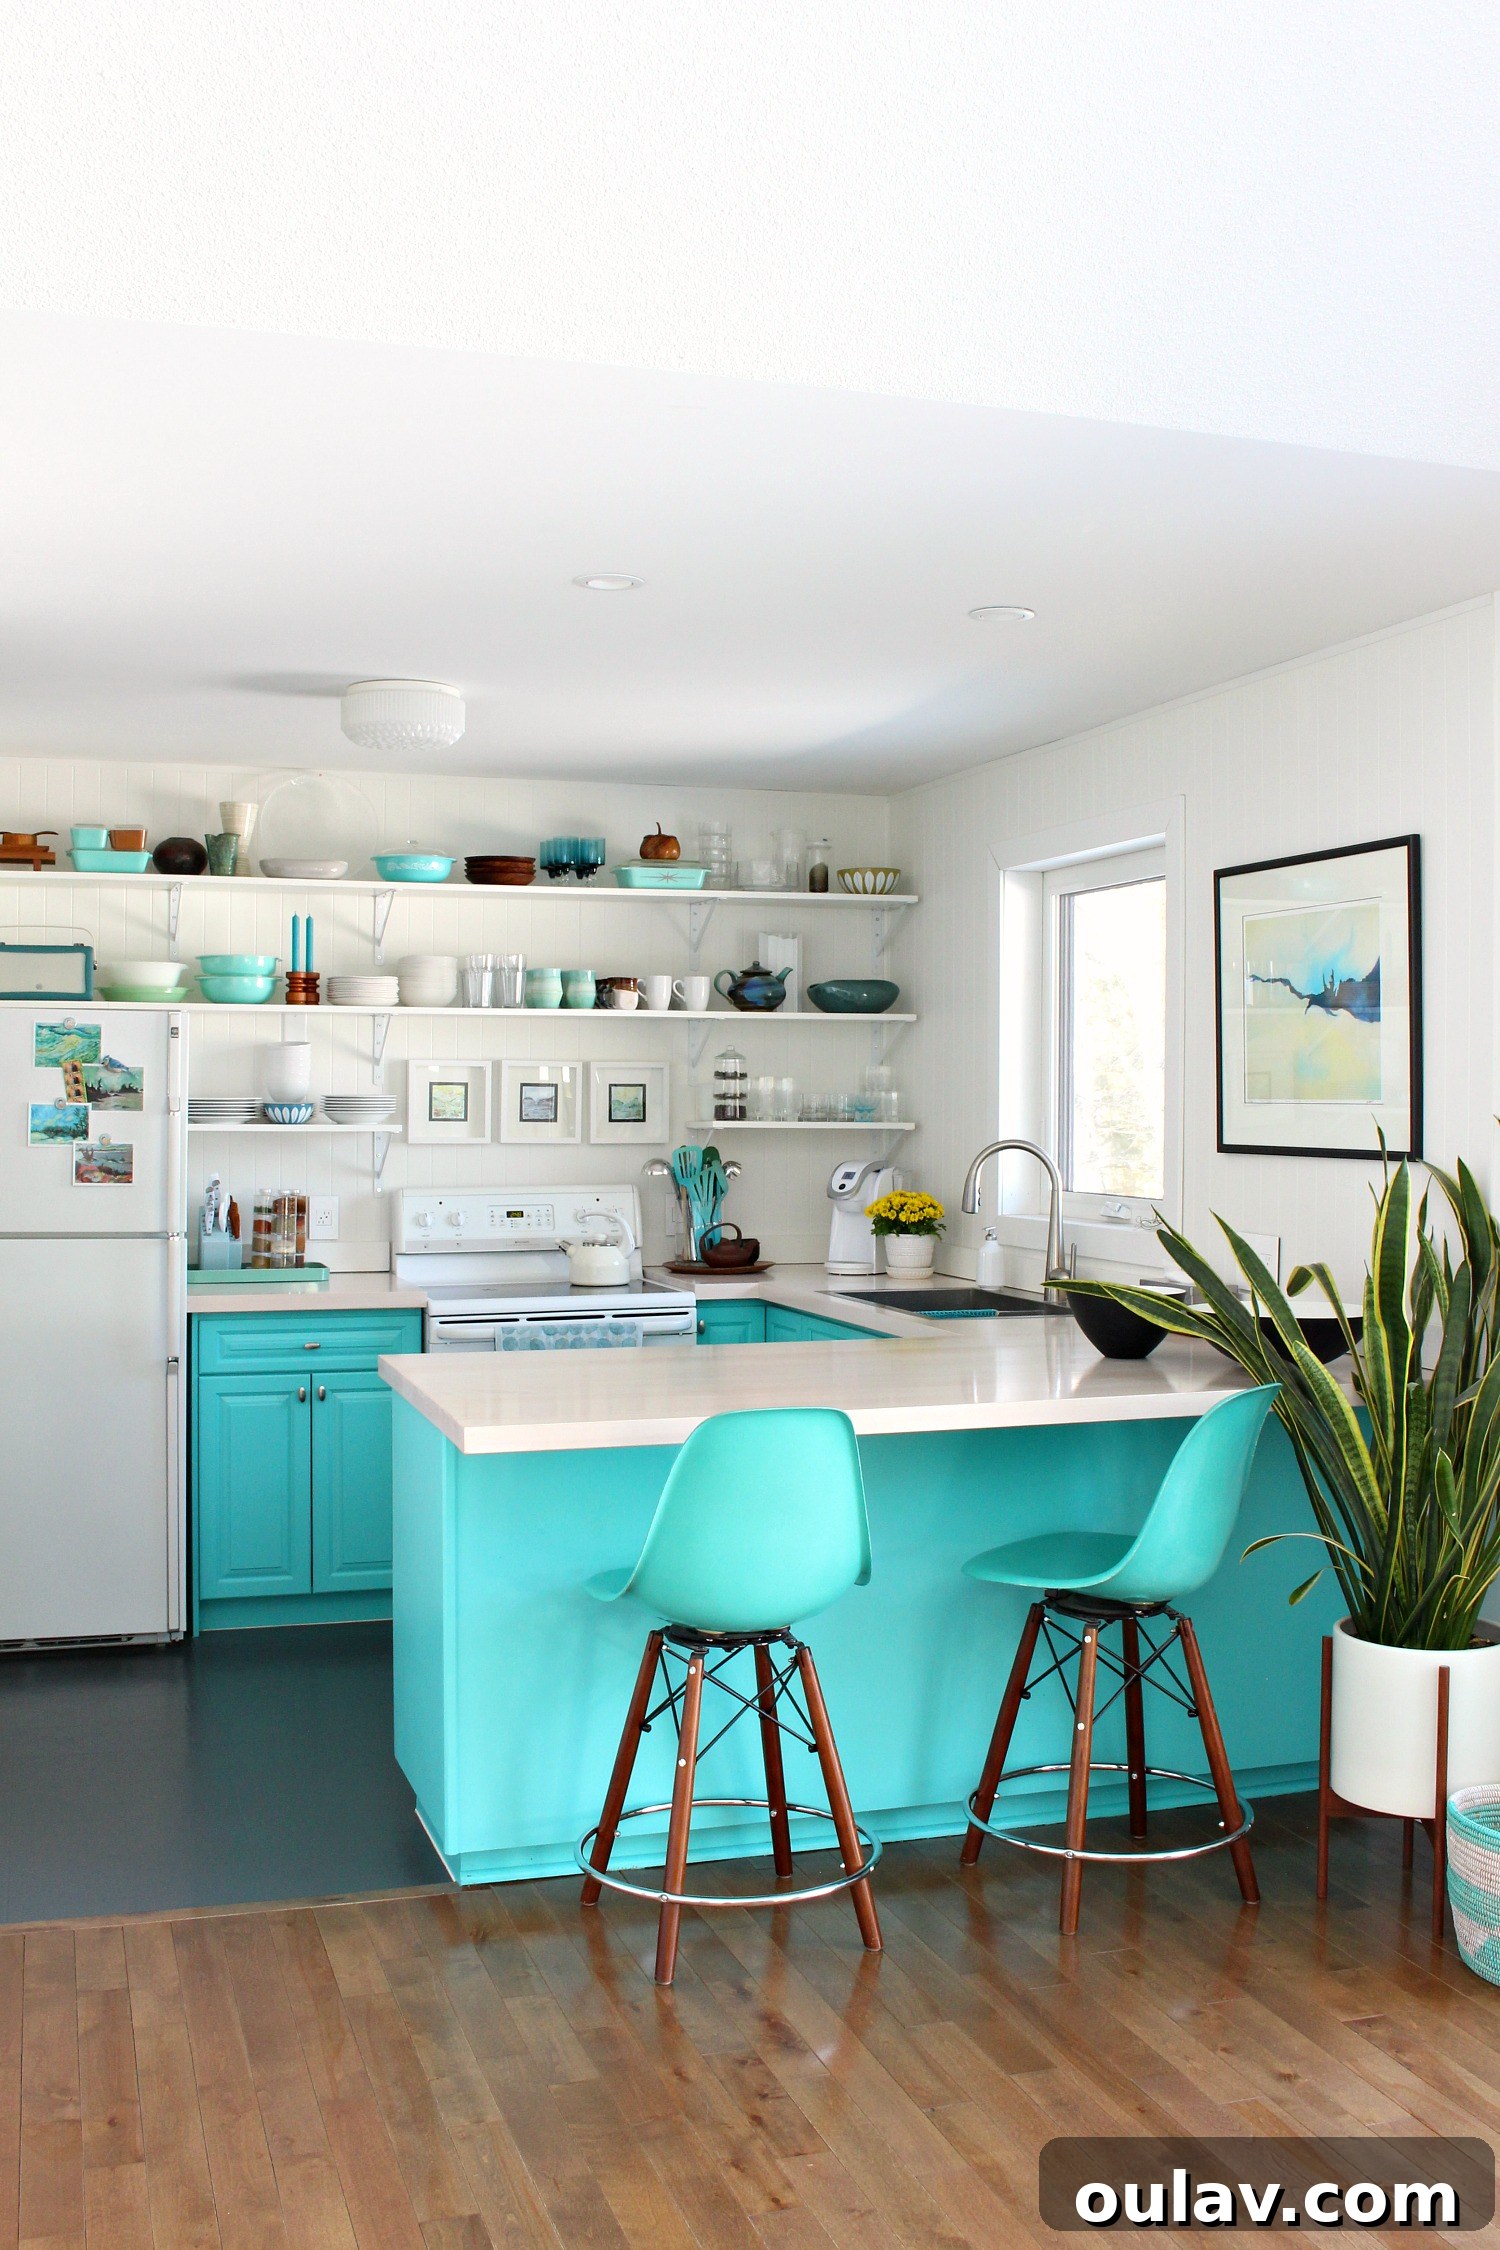
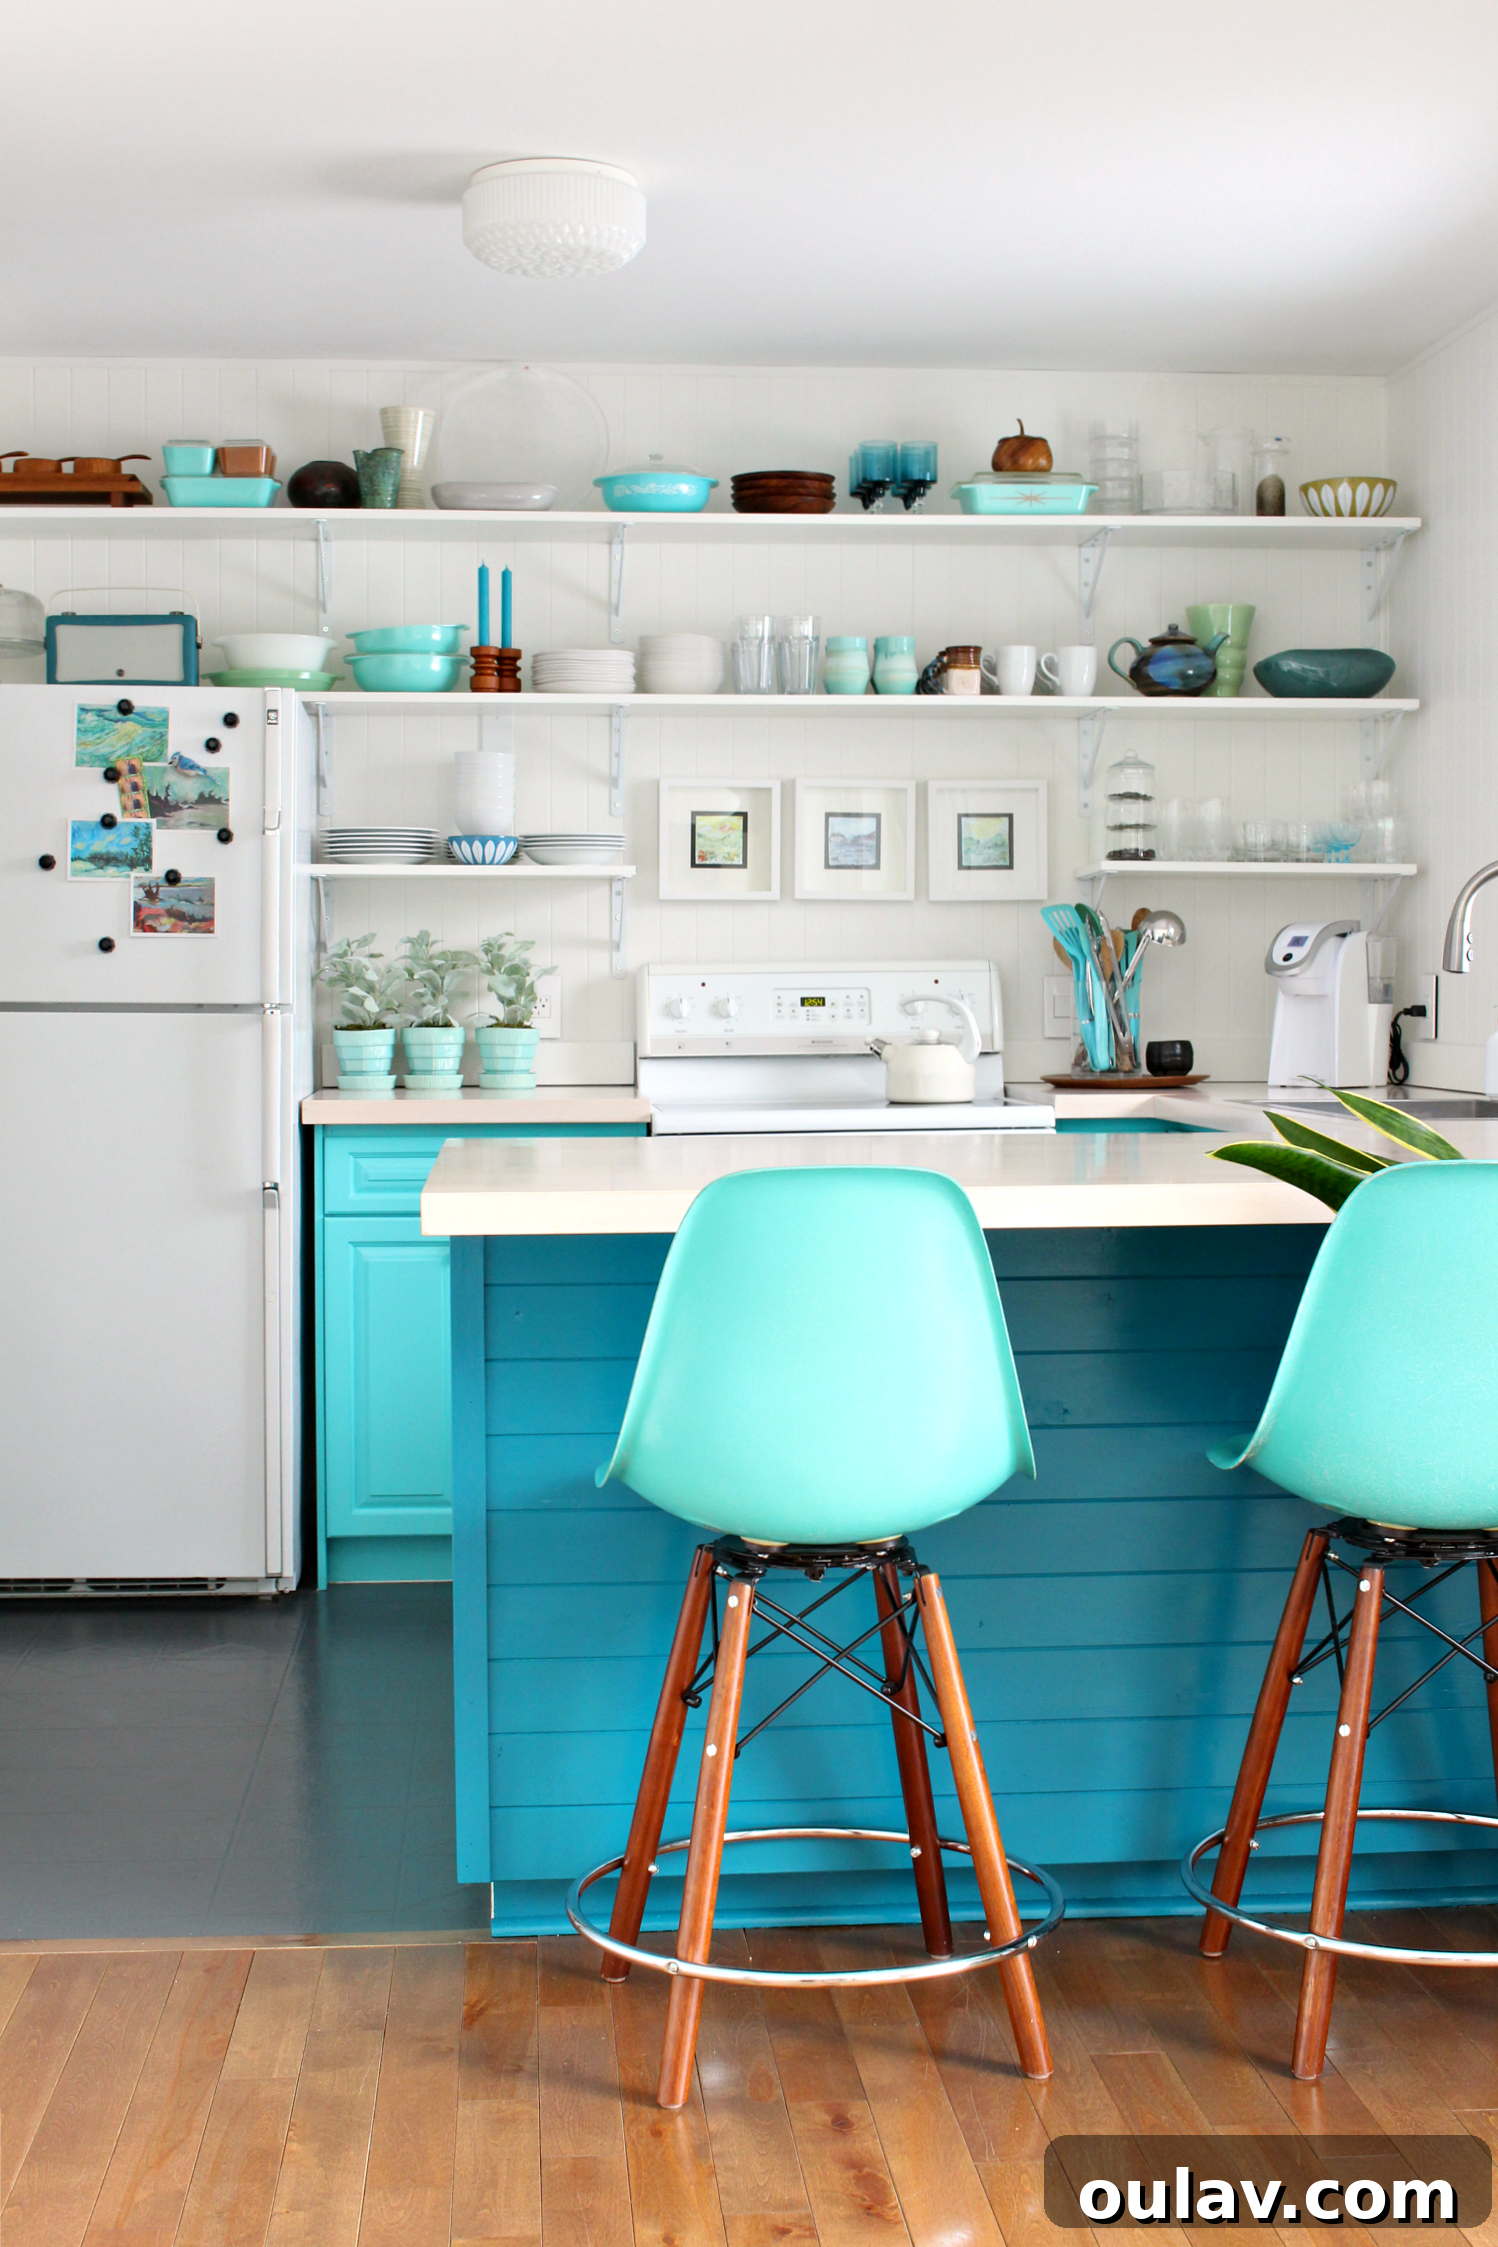
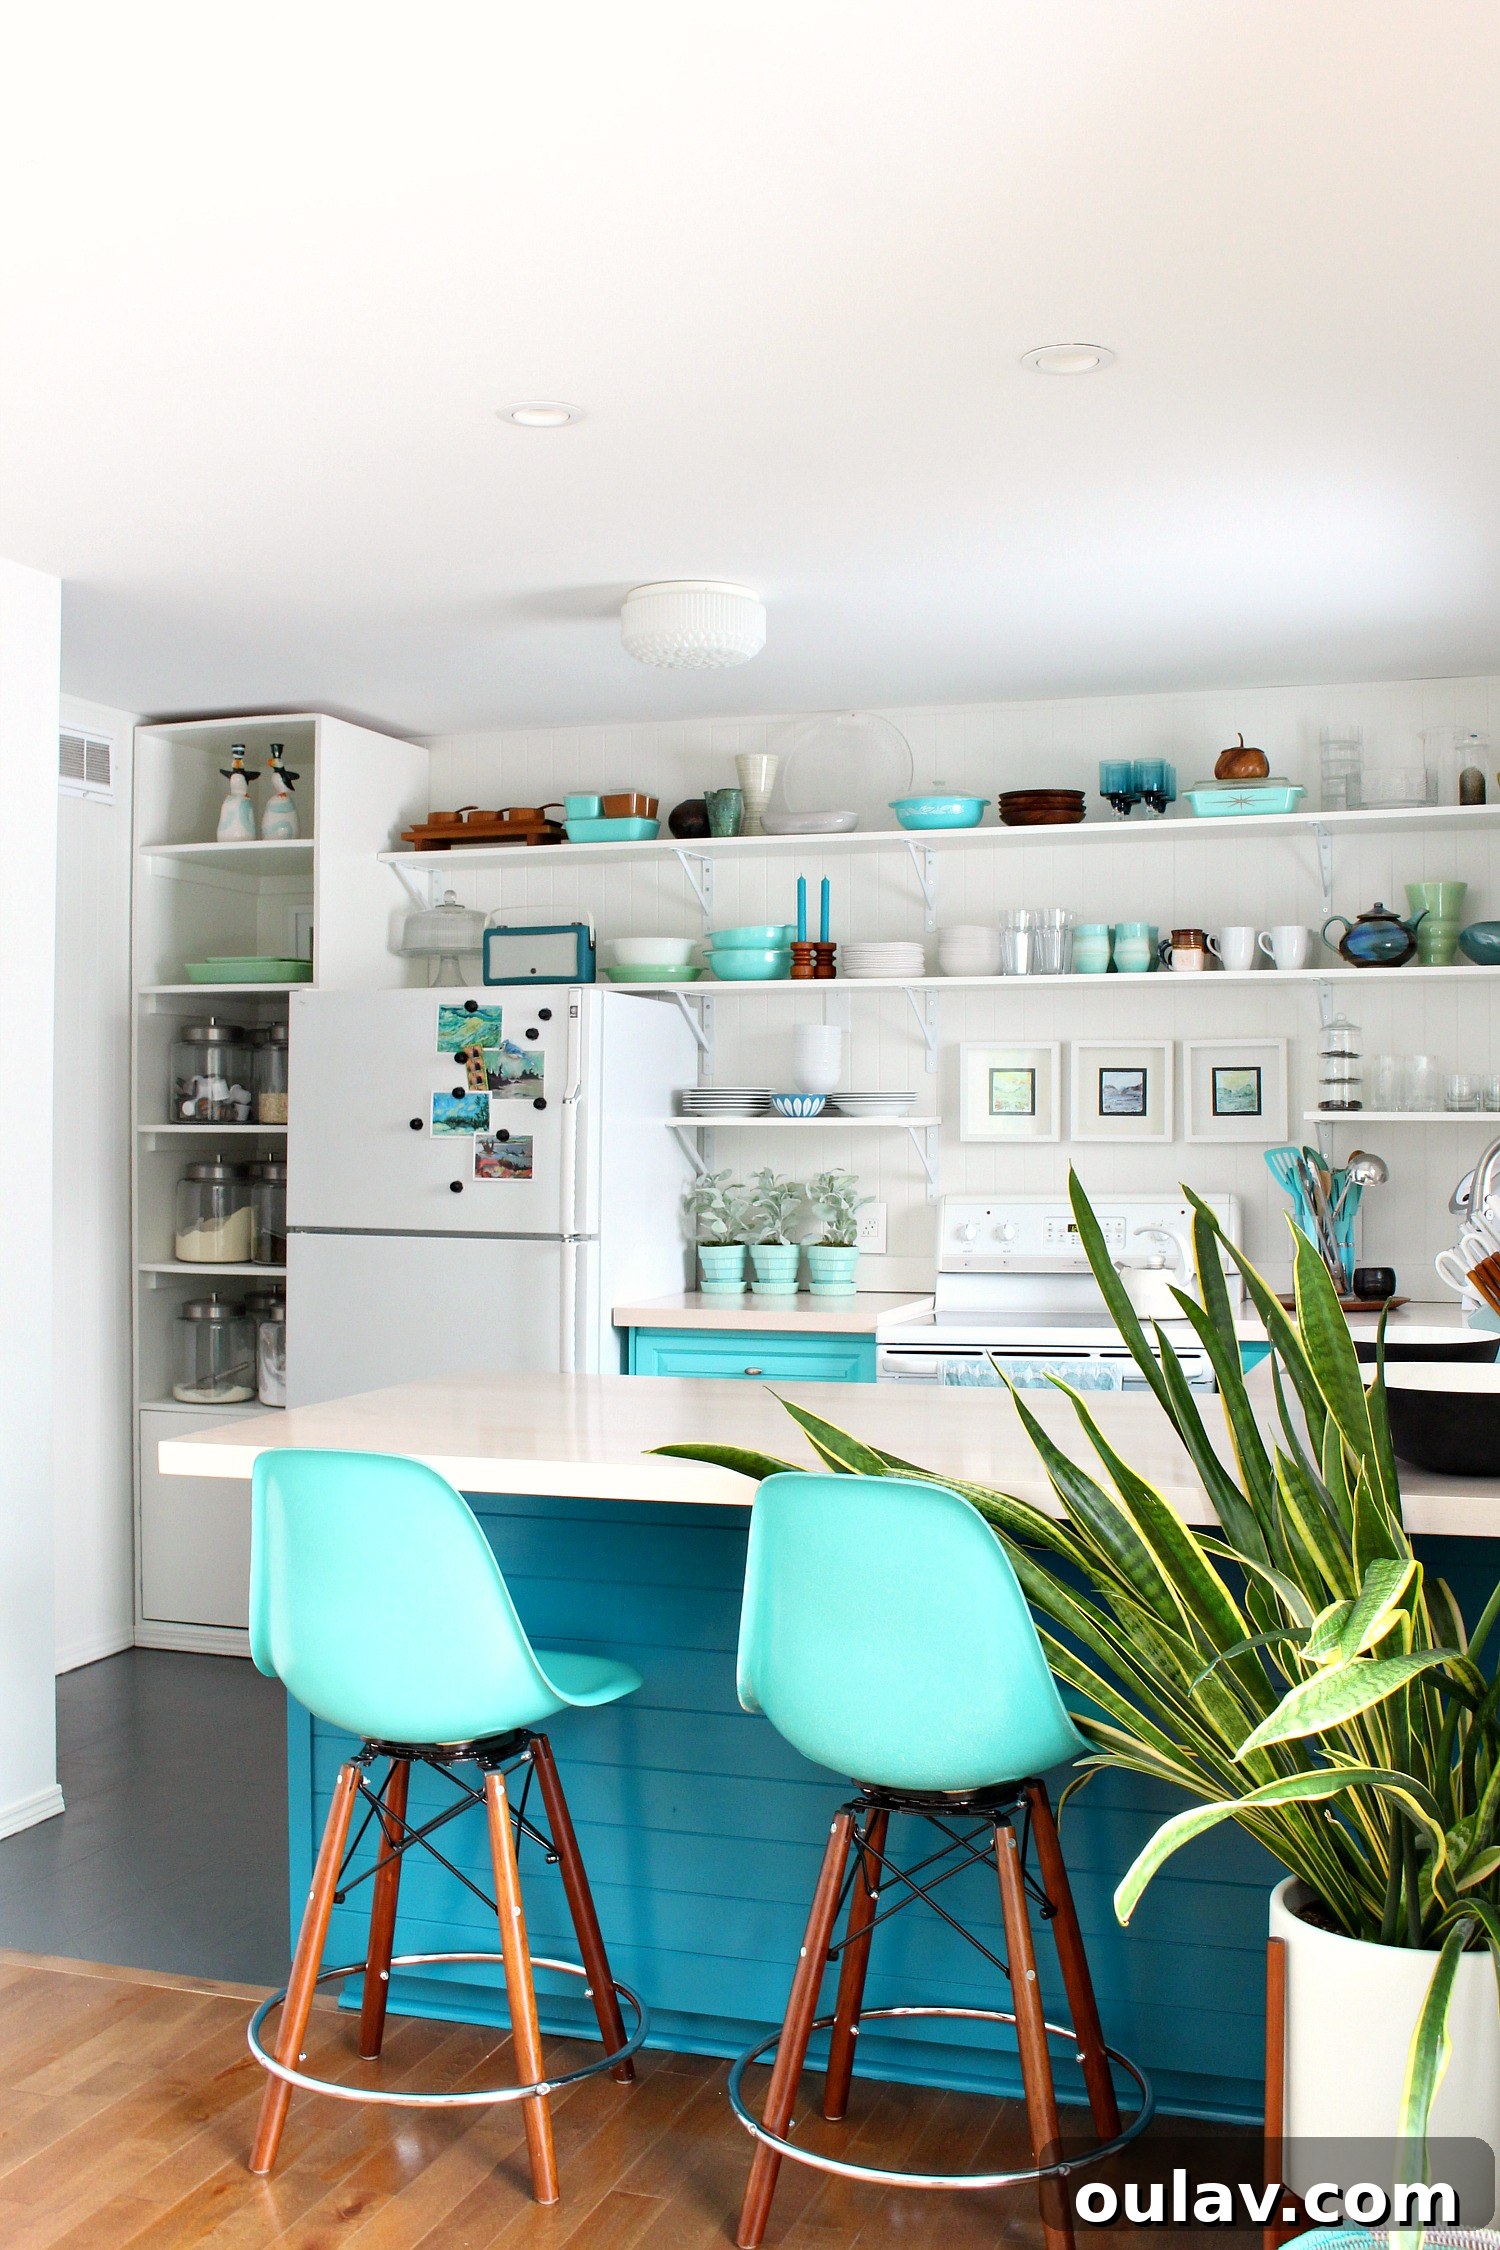
Our kitchen has always been a space with temporary intentions, a notion that has stubbornly persisted for five years since its initial “reveal.” Life, however, has a way of diverting renovation funds towards other passions – a sailboat, a classic Camaro restoration, and numerous exterior home projects have consistently drained our kitchen reno savings. To be frank, we’re currently on a tight budget! After half a decade with turquoise cabinets, open shelving, and solid maple counters, the space was due for a refresh, something impactful yet affordable while we diligently save for the grand renovation someday.
My initial thoughts for sprucing up the cabinet backs gravitated towards decorative tiles or intriguing wallpaper. However, after successfully using a thin tongue and groove paneling for the TV bump-out project, a lightbulb went off. This material offered the perfect blend of aesthetic appeal and practical application for the kitchen cabinets. It presented an excellent opportunity to create a sense of cohesion within our open-concept kitchen, living, and dining area, tying in the rustic charm subtly introduced elsewhere. Beyond continuity, the paneling promised to add much-needed texture and visual interest, elevating the simple open shelves from purely functional to beautifully integrated design elements, all without breaking the bank.
How to Install Tongue and Groove Paneling on Kitchen Cabinets
A DIY Guide to a Stylish Kitchen Makeover
Supplies You’ll Need:
- Tongue and groove paneling (ensure it’s suitable for interior use and desired thickness)
- 1-inch air nails (or brad nails)
- Air nailer/brad nailer and air compressor
- Miter saw or circular saw (for precise cuts)
- Measuring tape and pencil
- Level
- Sanding block or sandpaper (for custom trim)
- Wood glue (optional, for custom trim)
- Primer and paint (optional, if you plan to paint the paneling)
- Corner trim (optional, if existing trim doesn’t accommodate new thickness or if creating custom trim)
Step-by-Step Installation Process:
1. Acclimatize Your Wood Paneling
Just like hardwood flooring, wood paneling needs time to adjust to your home’s humidity and temperature levels. This crucial first step, often overlooked, prevents unsightly shrinking or expanding after installation and painting. In our dry home, skipping this step means tiny, unpainted edges might become visible as the wood contracts. Lay out your paneling pieces in the room where they’ll be installed for at least a few days – ideally a week – to allow them to stabilize. This ensures a seamless and professional finish.
2. Measure, Cut, and Plan Your Layout
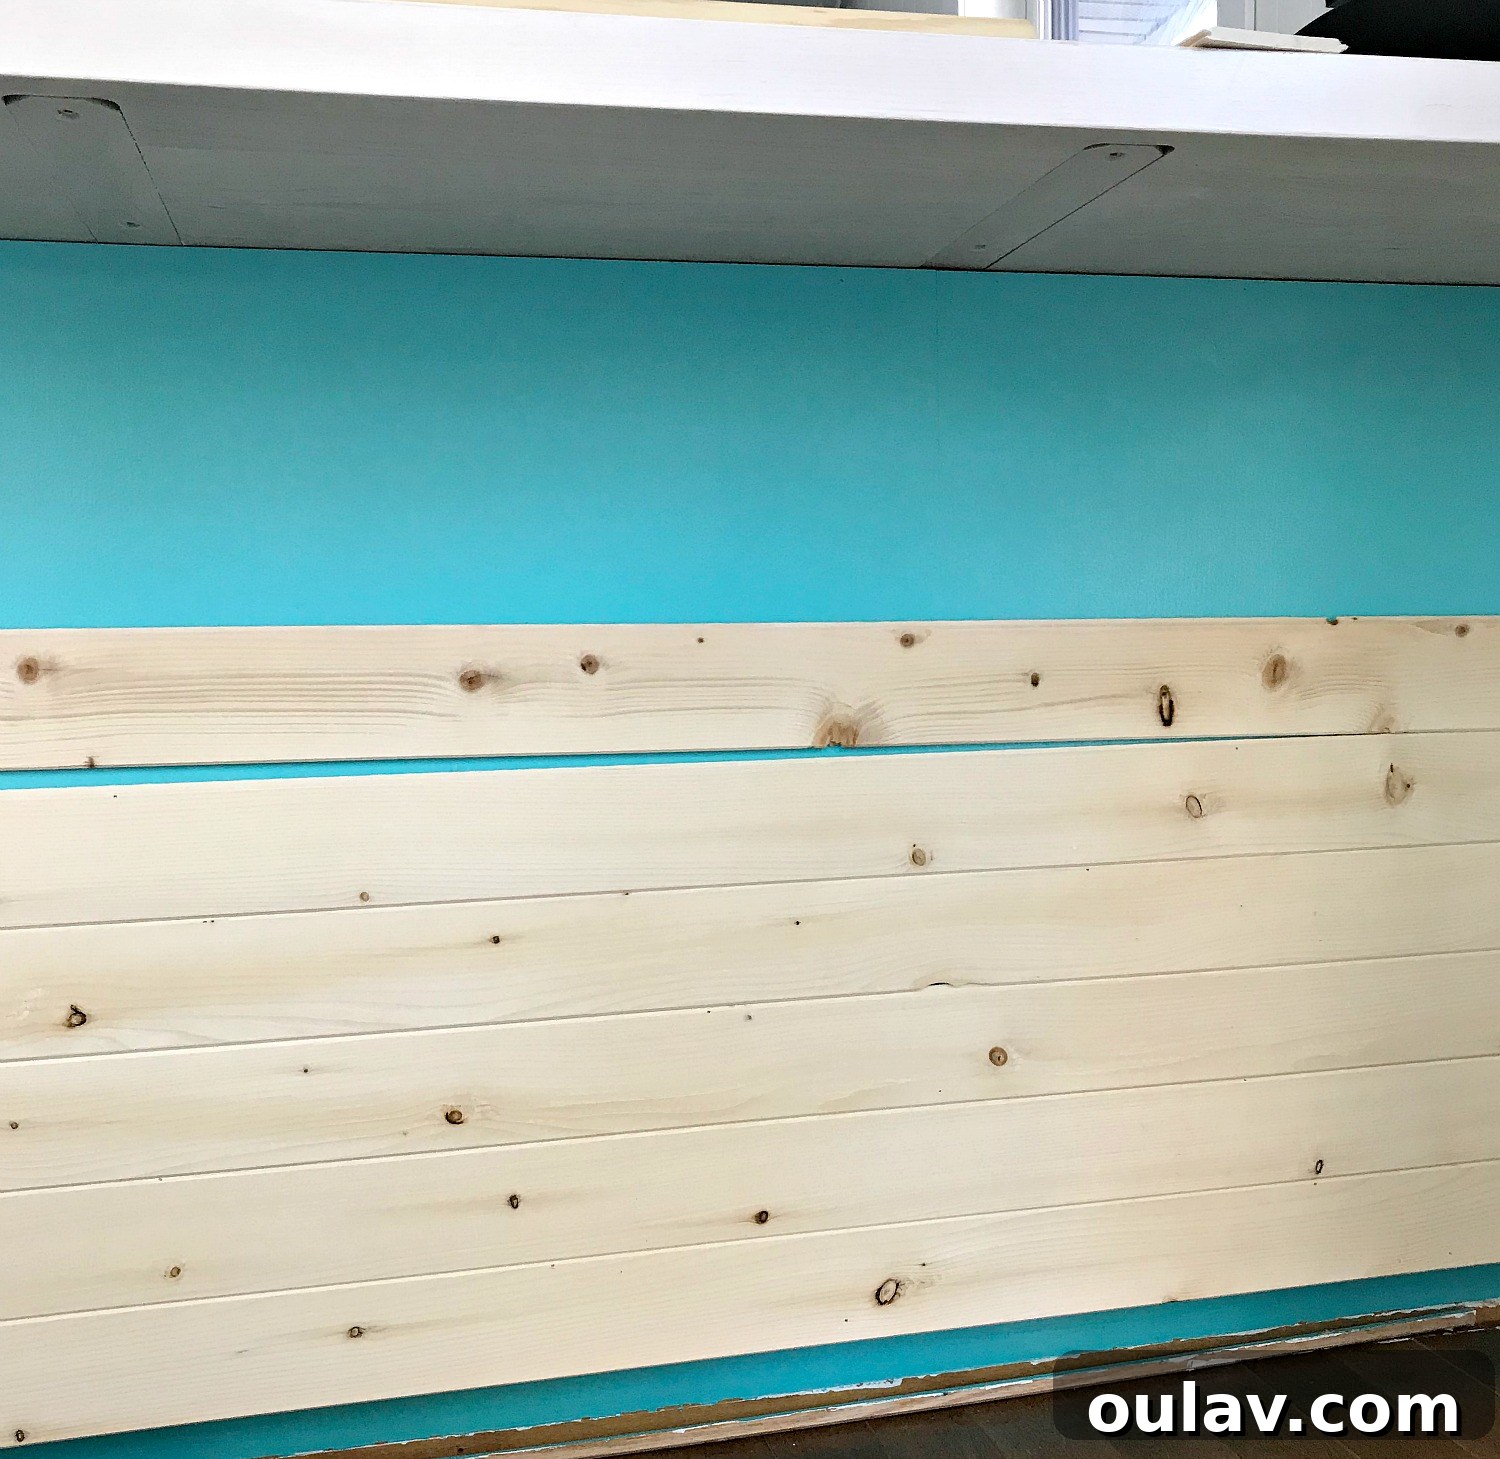
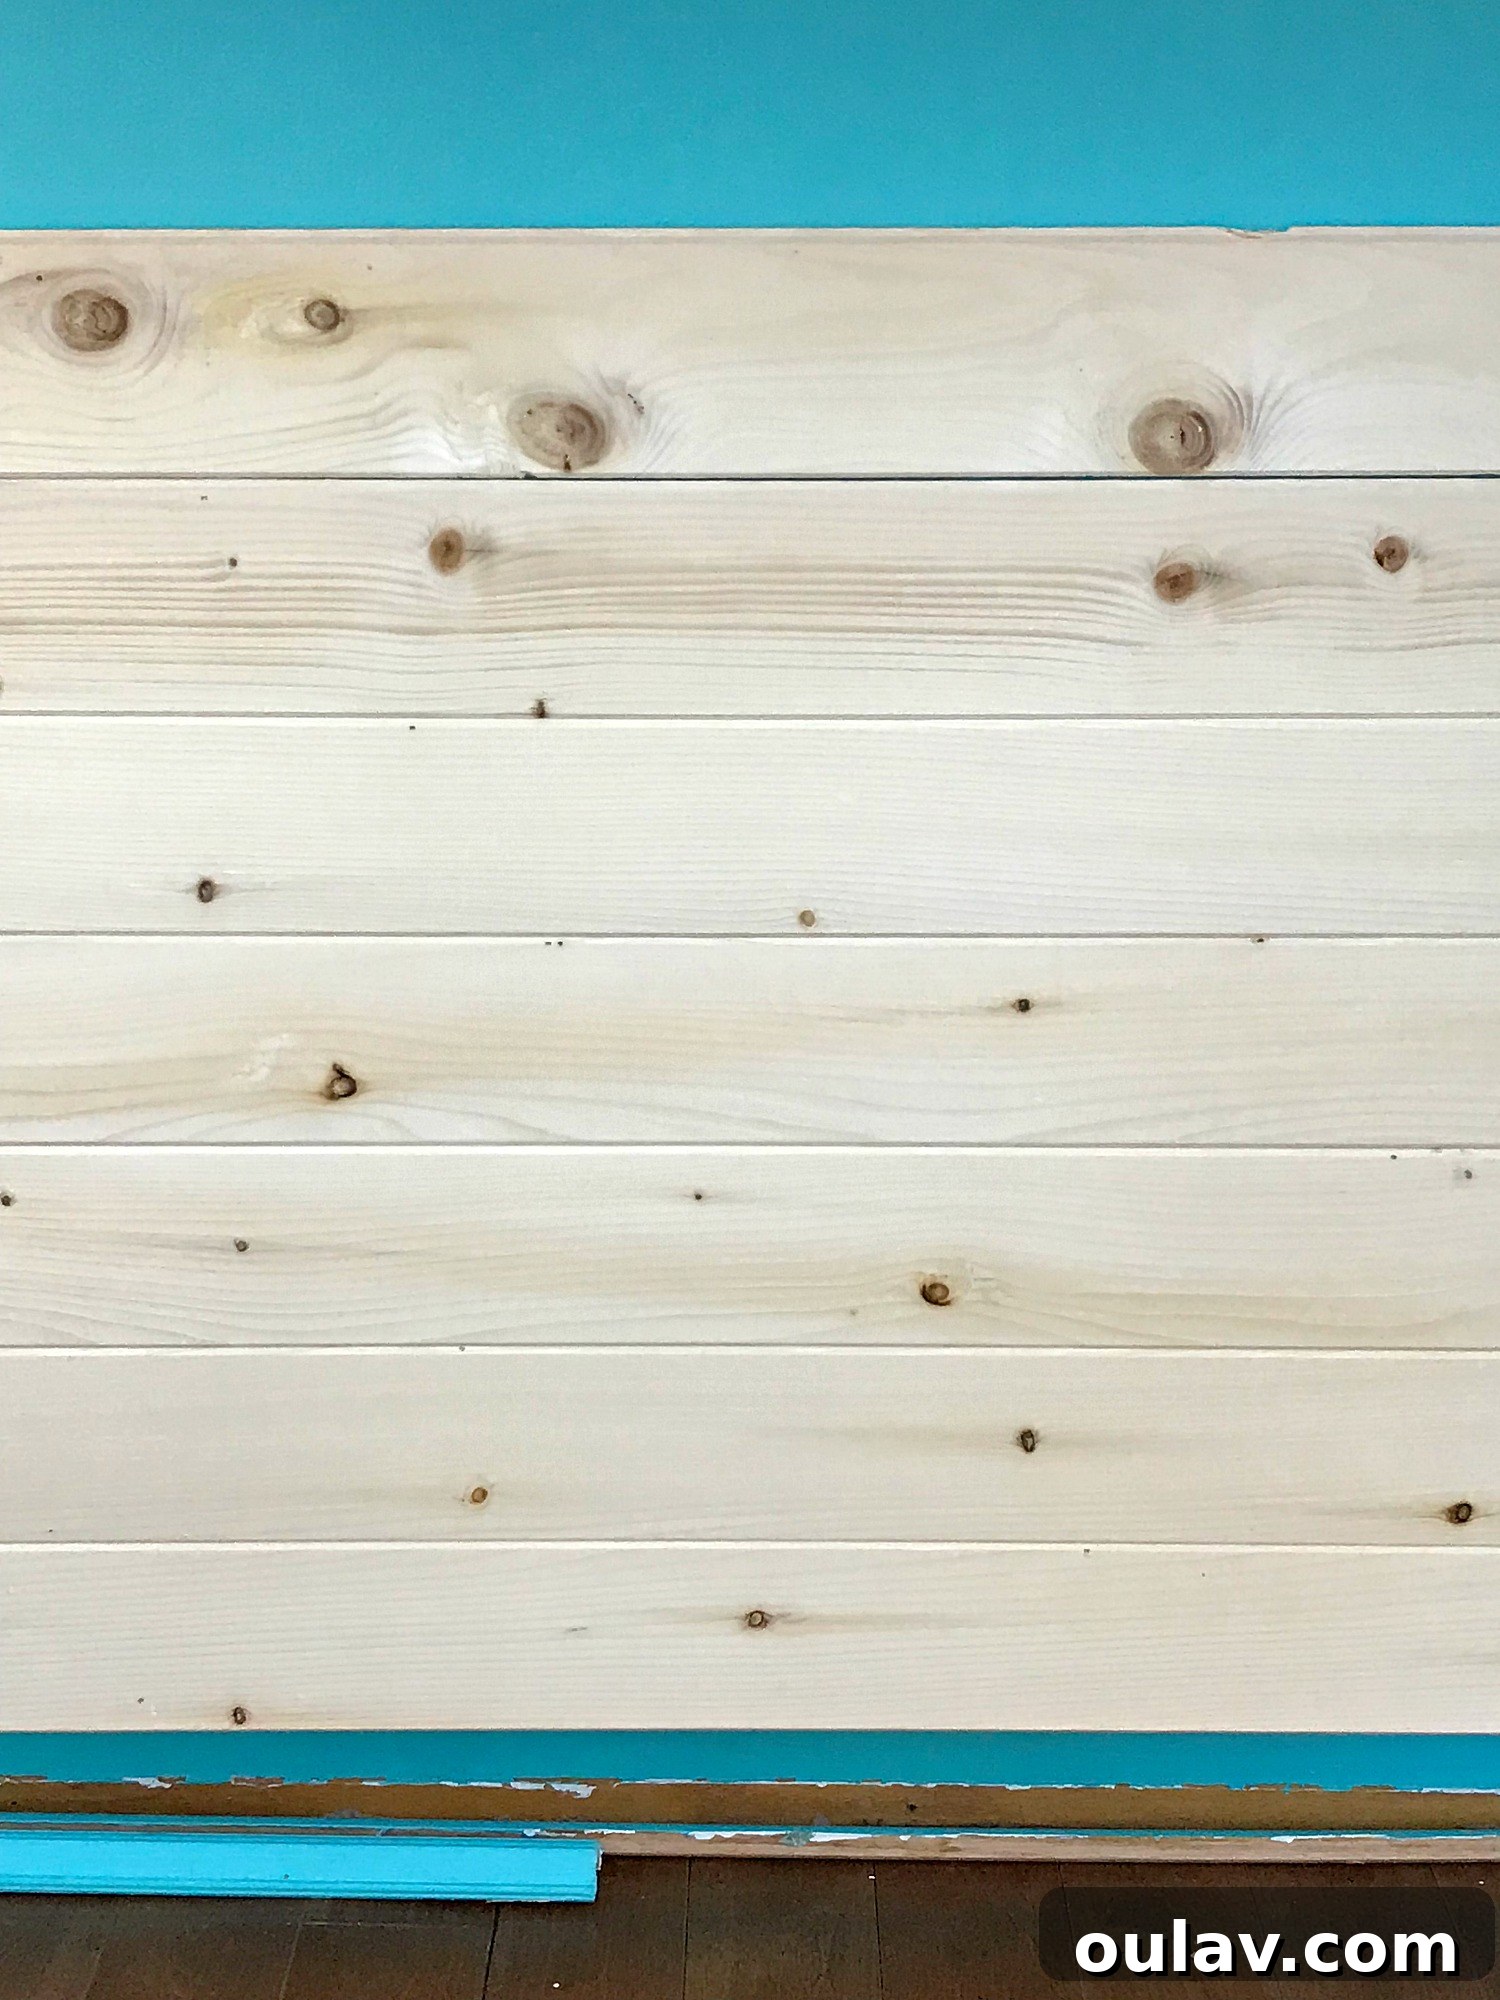
Once the wood has acclimatized, it’s time to prepare for installation. Carefully measure the width and height of the cabinet backs you intend to panel. Using a miter saw or circular saw, cut the paneling pieces to the required length. A strategic approach is to start installing your paneling from the bottom of the cabinet space. This allows you to use full-width pieces where they are most visible. Any pieces that need to be cut to a narrower width can be reserved for the very top, where they will be less conspicuous or completely hidden by the countertop above. For a clean aesthetic, we installed our paneling with the tongue facing upwards. This orientation helps create a smoother, more refined appearance.
3. Secure the First Board (and Ensure It’s Level!)
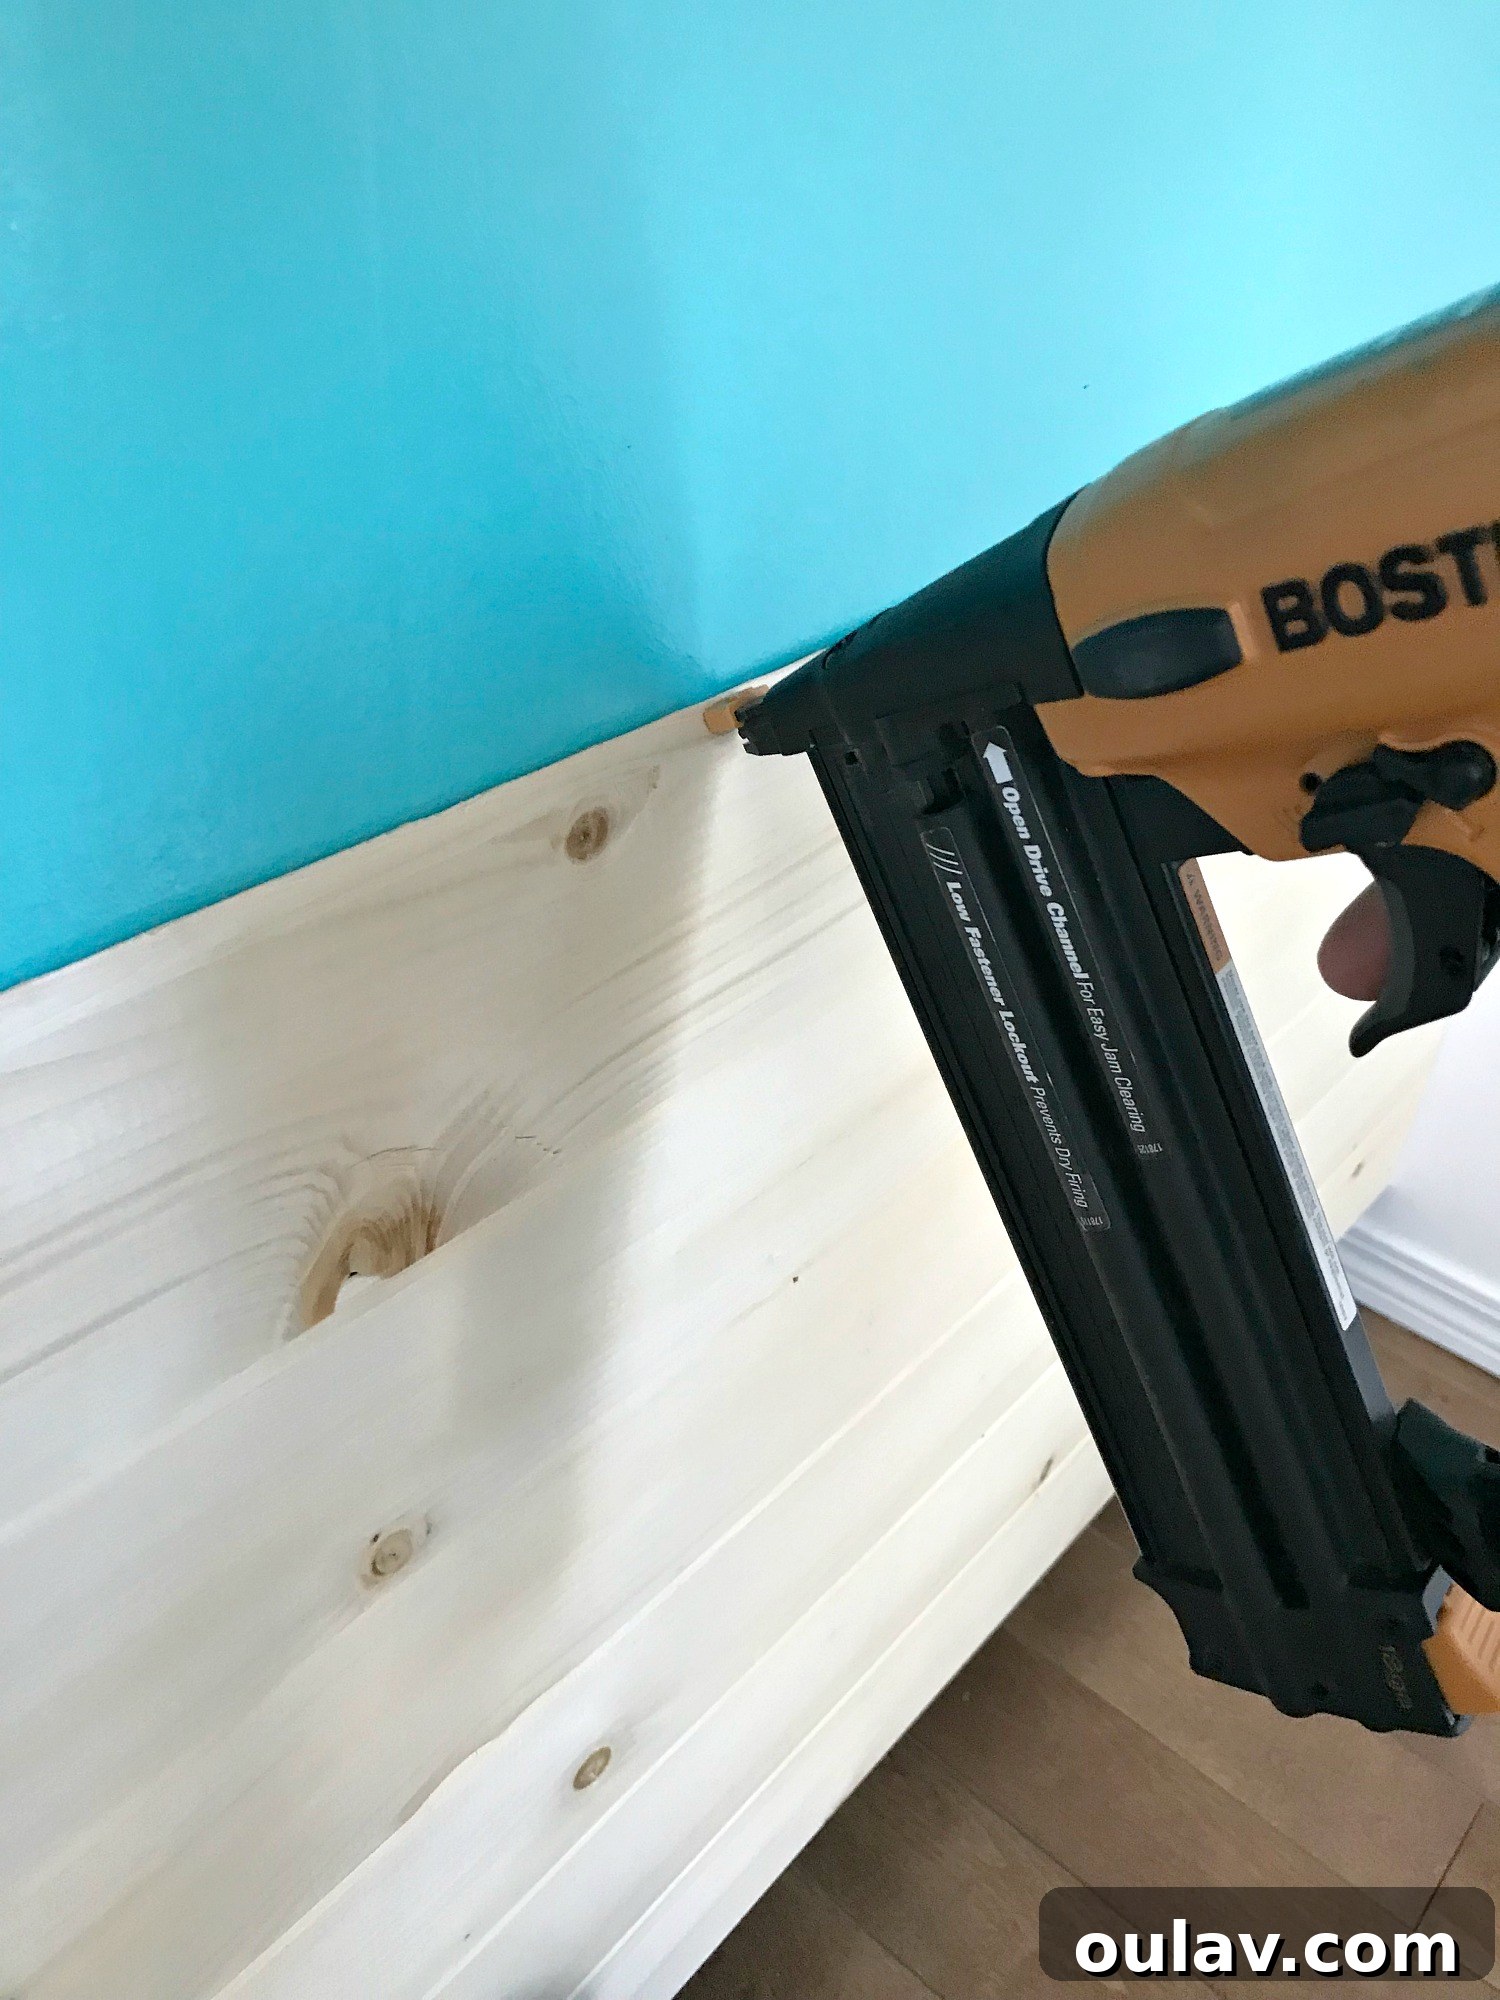
The success of your entire paneling project hinges on the first board. It’s imperative that this initial piece is perfectly level, as all subsequent boards will follow its alignment. Use a reliable level to check and recheck its position. Once you’re confident in its alignment, use 1-inch air nails (or brad nails) to secure it firmly. Apply nails along the top, bottom, and ends of the board. These nails will hold it in place and provide a stable foundation for the rest of your installation. For this specific application, where the paneling is decorative and not structural, construction adhesive wasn’t deemed necessary, simplifying the process.
4. Continue Installing Boards, One by One
With the first board securely in place, the rest of the installation becomes a straightforward process. Take each subsequent paneling board and carefully align its groove over the tongue of the previously installed board. You might need to gently tap the new board into place with a rubber mallet and a scrap piece of wood to ensure a tight, seamless fit. Once aligned, affix the new board with a few nails at its ends and along the tongue (where the nail will be hidden by the next board). This method ensures that most of your nails are concealed, contributing to a cleaner, more professional finish. Work your way up, board by board, maintaining consistent pressure and alignment.
5. Tackle the Top Board and Corner Trim
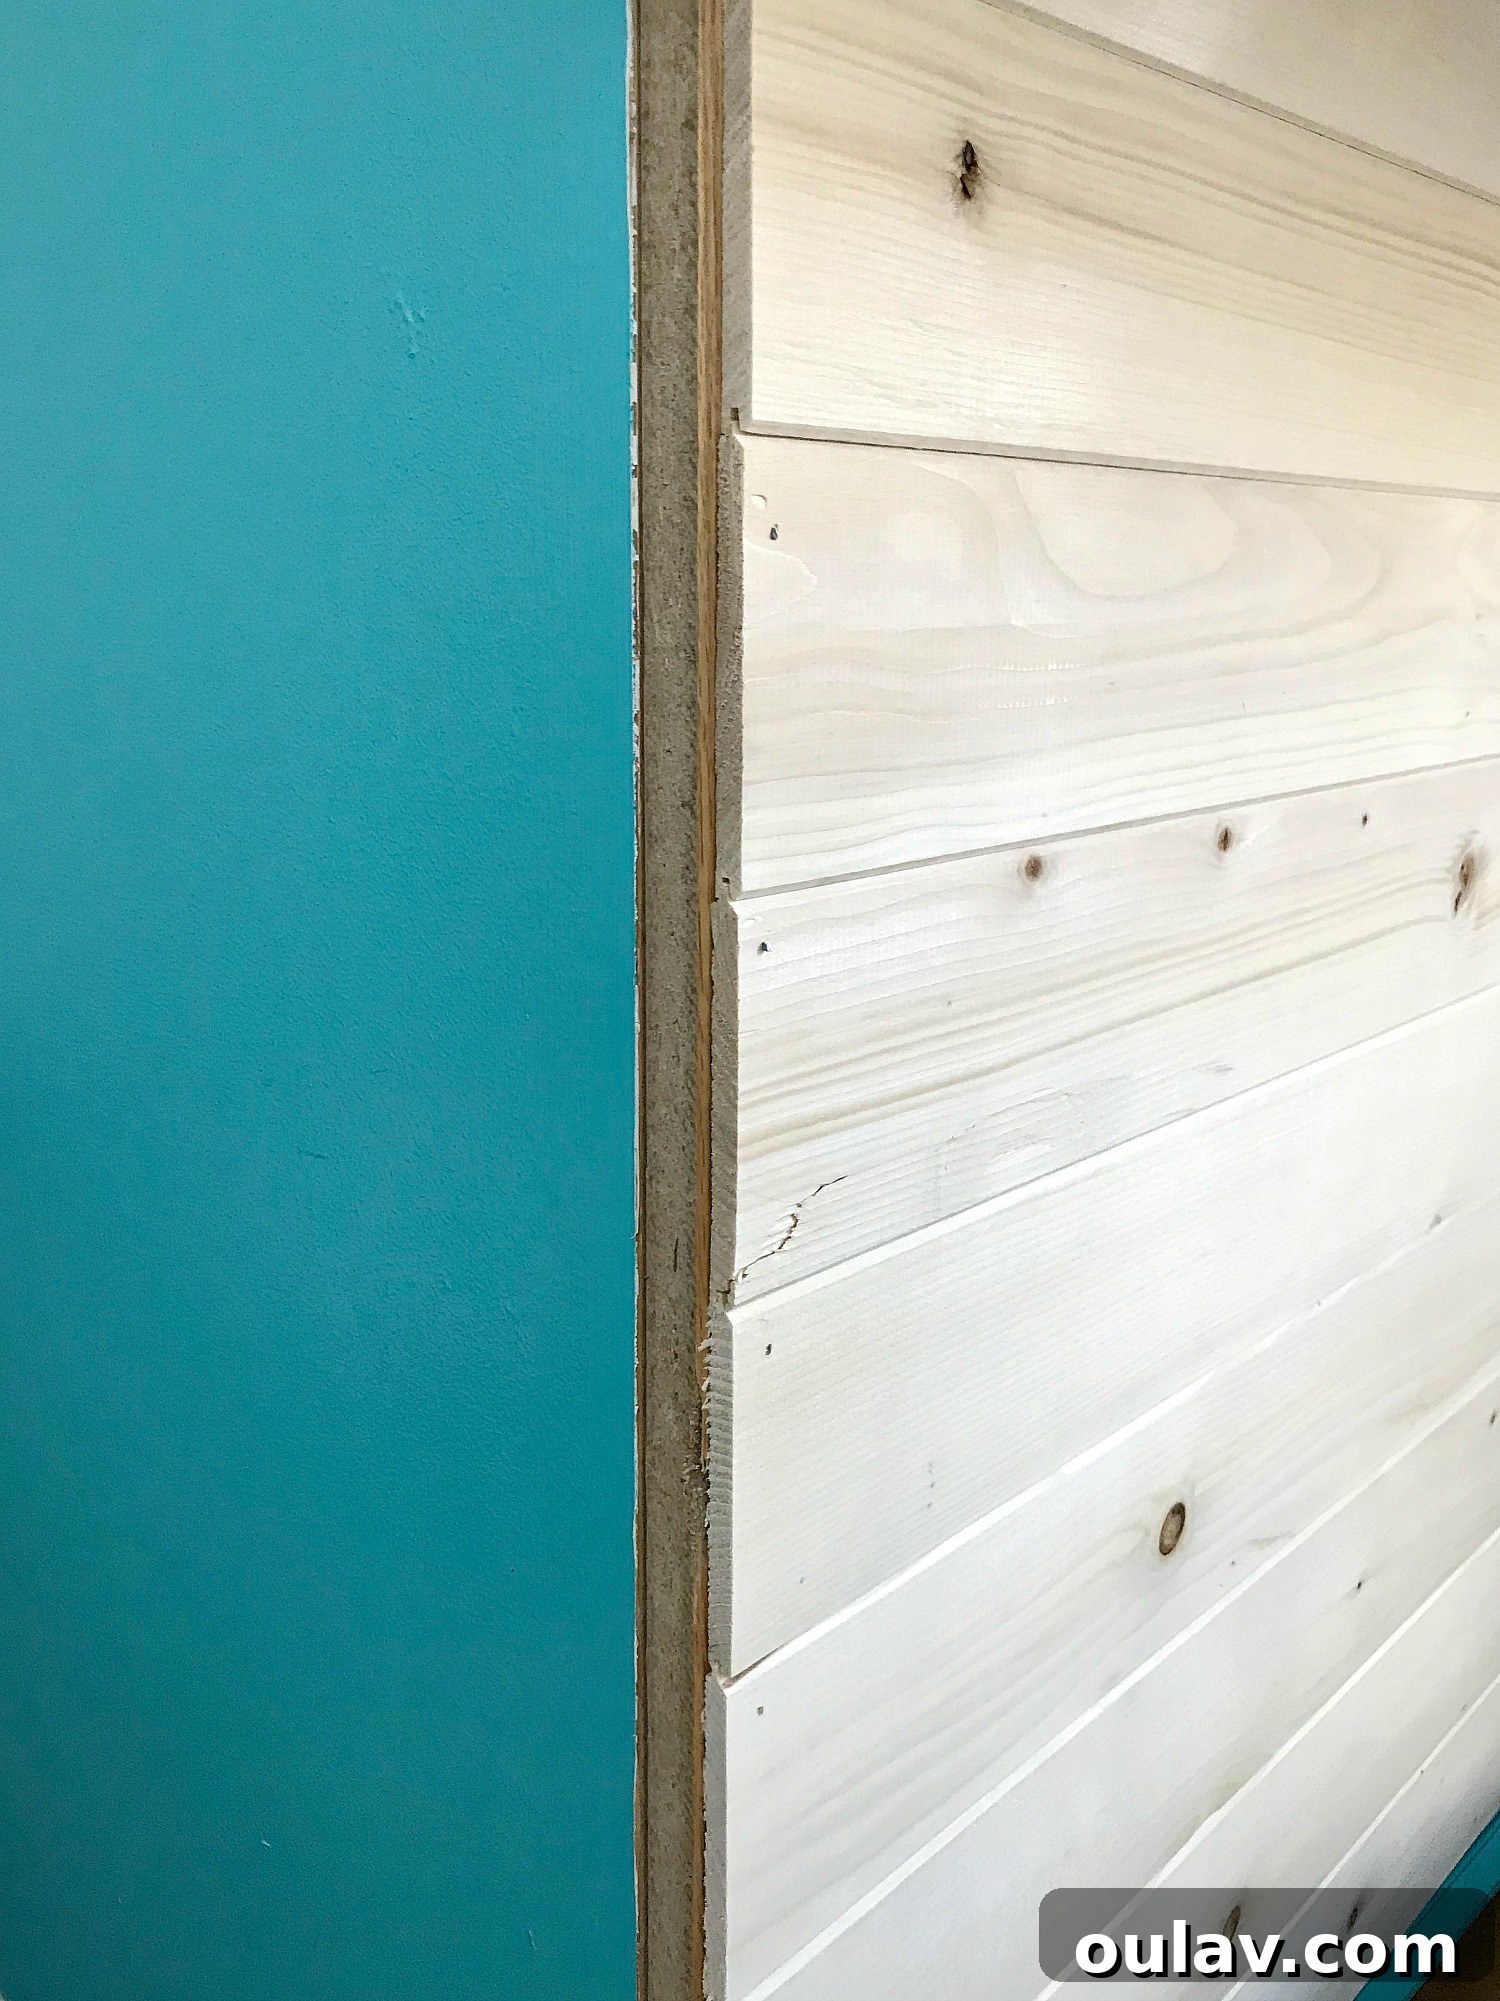
The final, uppermost board will likely need to be trimmed lengthwise to fit snugly into the remaining space. Since this piece will be positioned high up or underneath a countertop, any minor imperfections in the cut will be largely unnoticeable. In our case, the added thickness of the new paneling meant that the existing corner trim no longer fit correctly. Rather than trying to force it or find a perfect match, we opted to create custom corner trim. This involved gluing together two 1/2-inch pieces of wood, then gently sanding the corner edges to create a soft, rounded profile, eliminating any sharp angles. This DIY approach not only ensured a perfect fit but also added a personalized touch to the finish.
The Teal Transformation: A Splash of Color
Learning how to install tongue and groove paneling on kitchen cabinets is genuinely a straightforward and quick project, even for novice DIYers. After the installation, I paused, admiring the raw, natural pine. A part of me, the part influenced by rural living and evolving tastes, wondered if leaving it natural wouldn’t be best. I spent a few days contemplating this, questioning my very identity. If not for painting things teal, then what purpose did I serve?
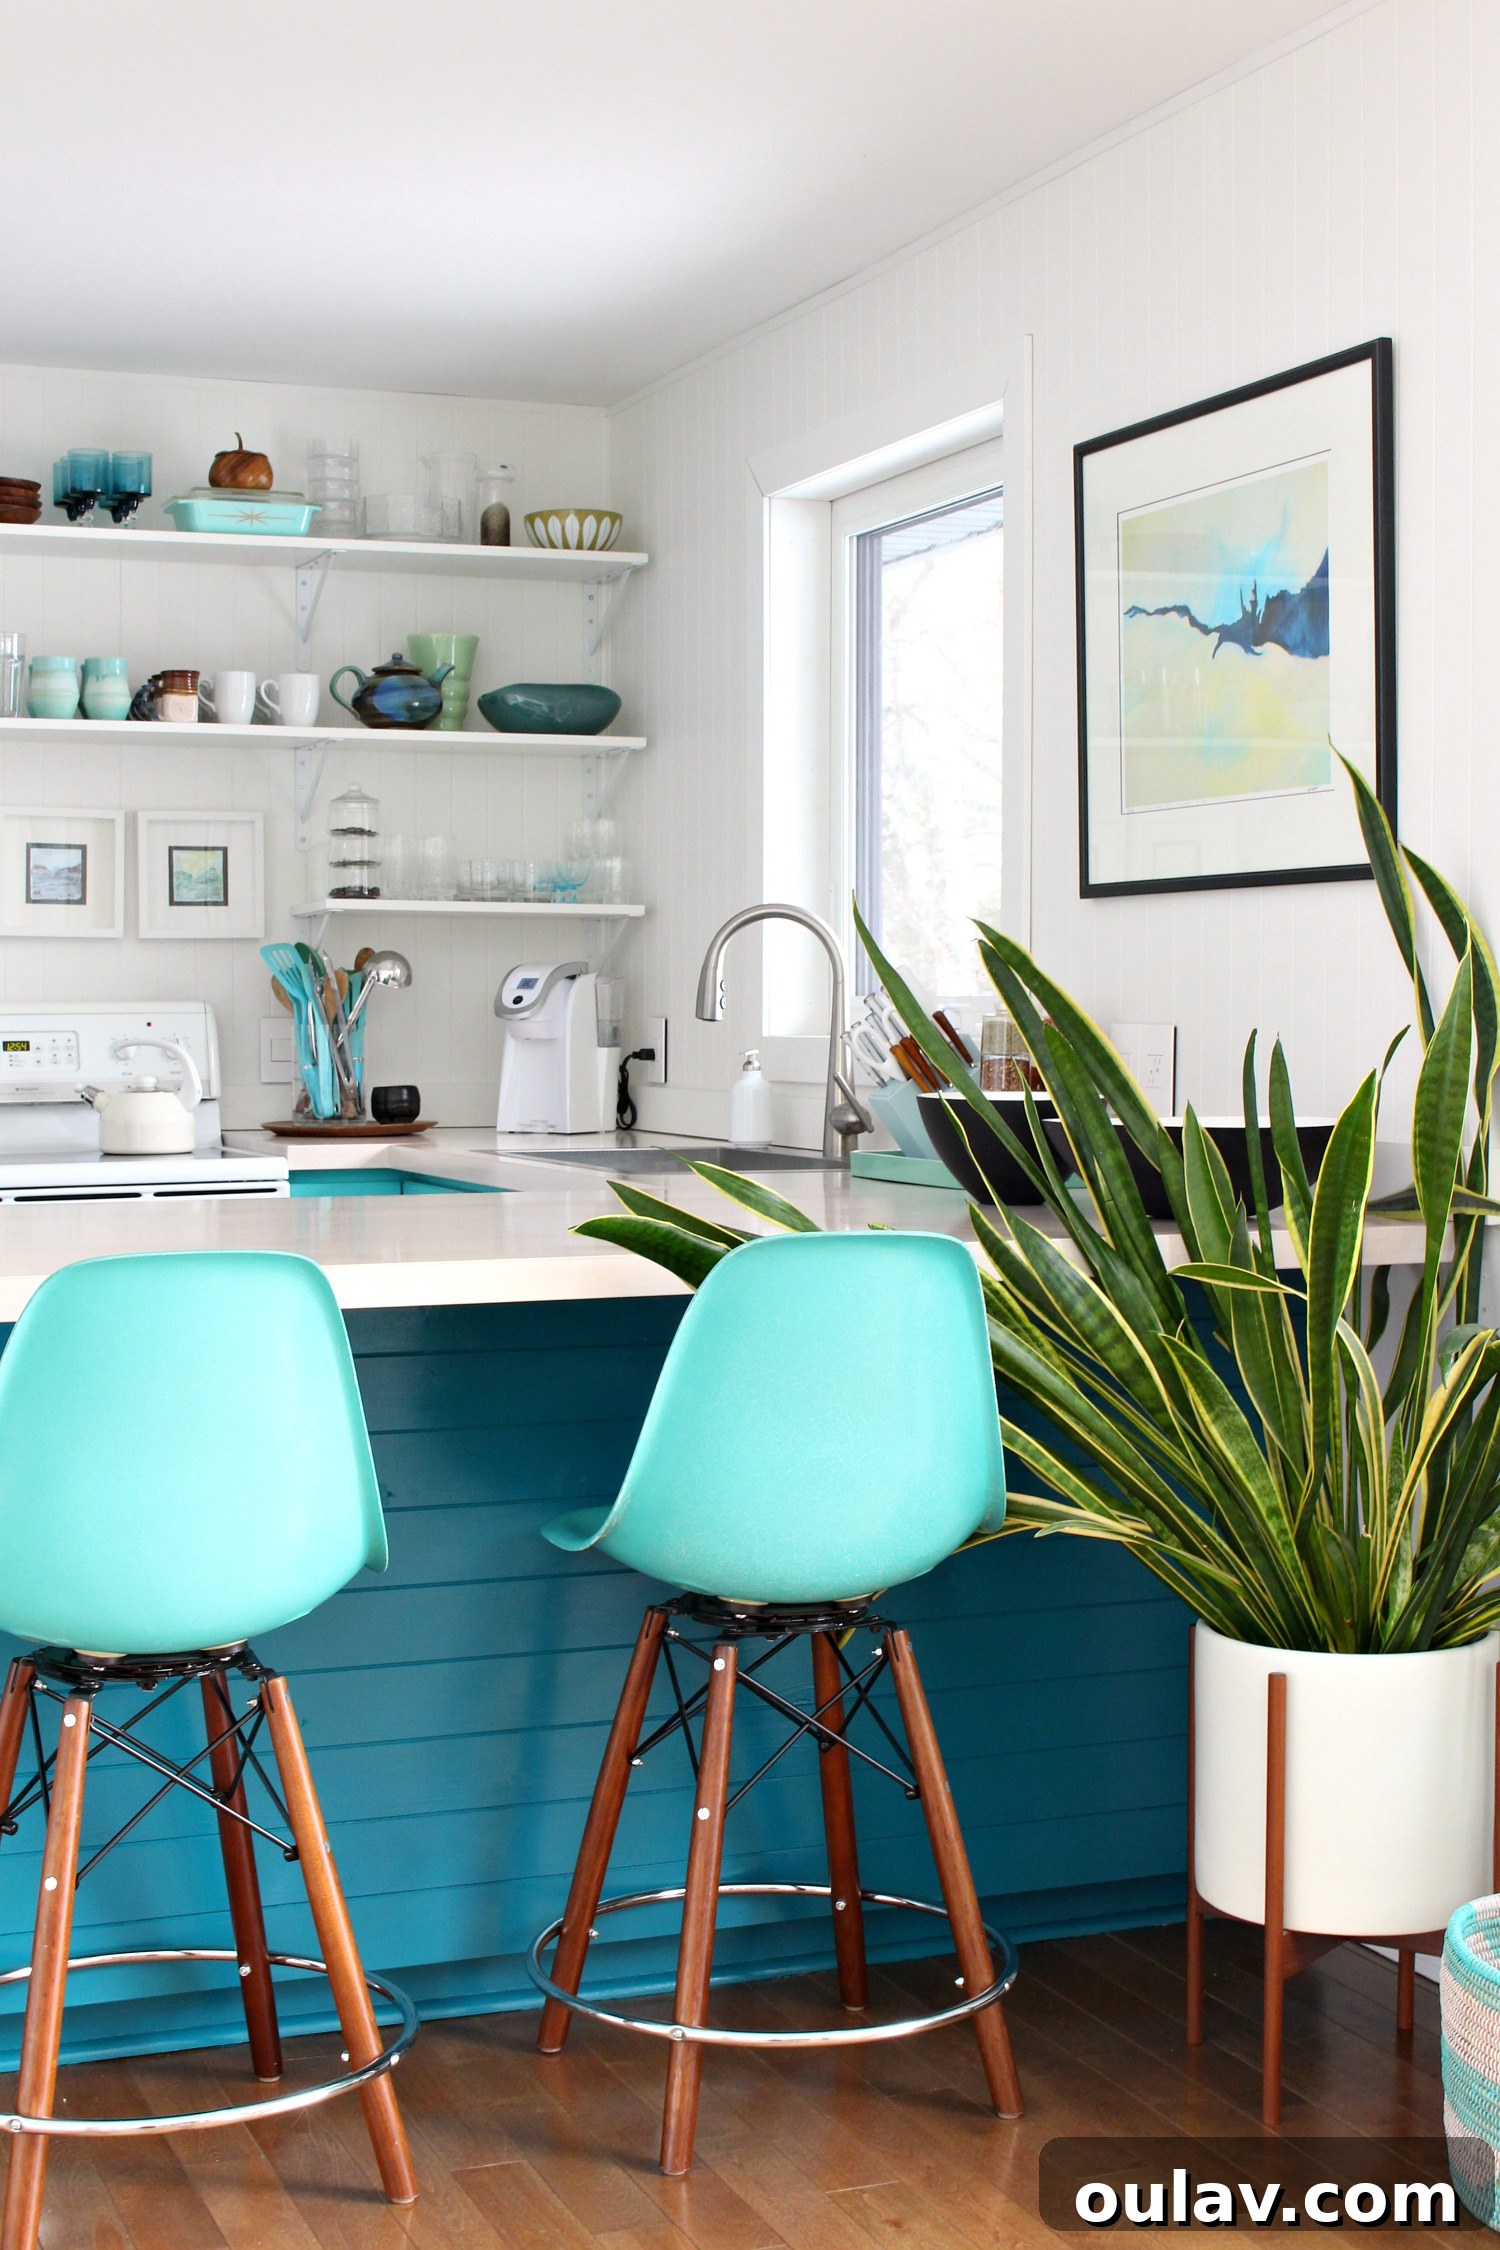
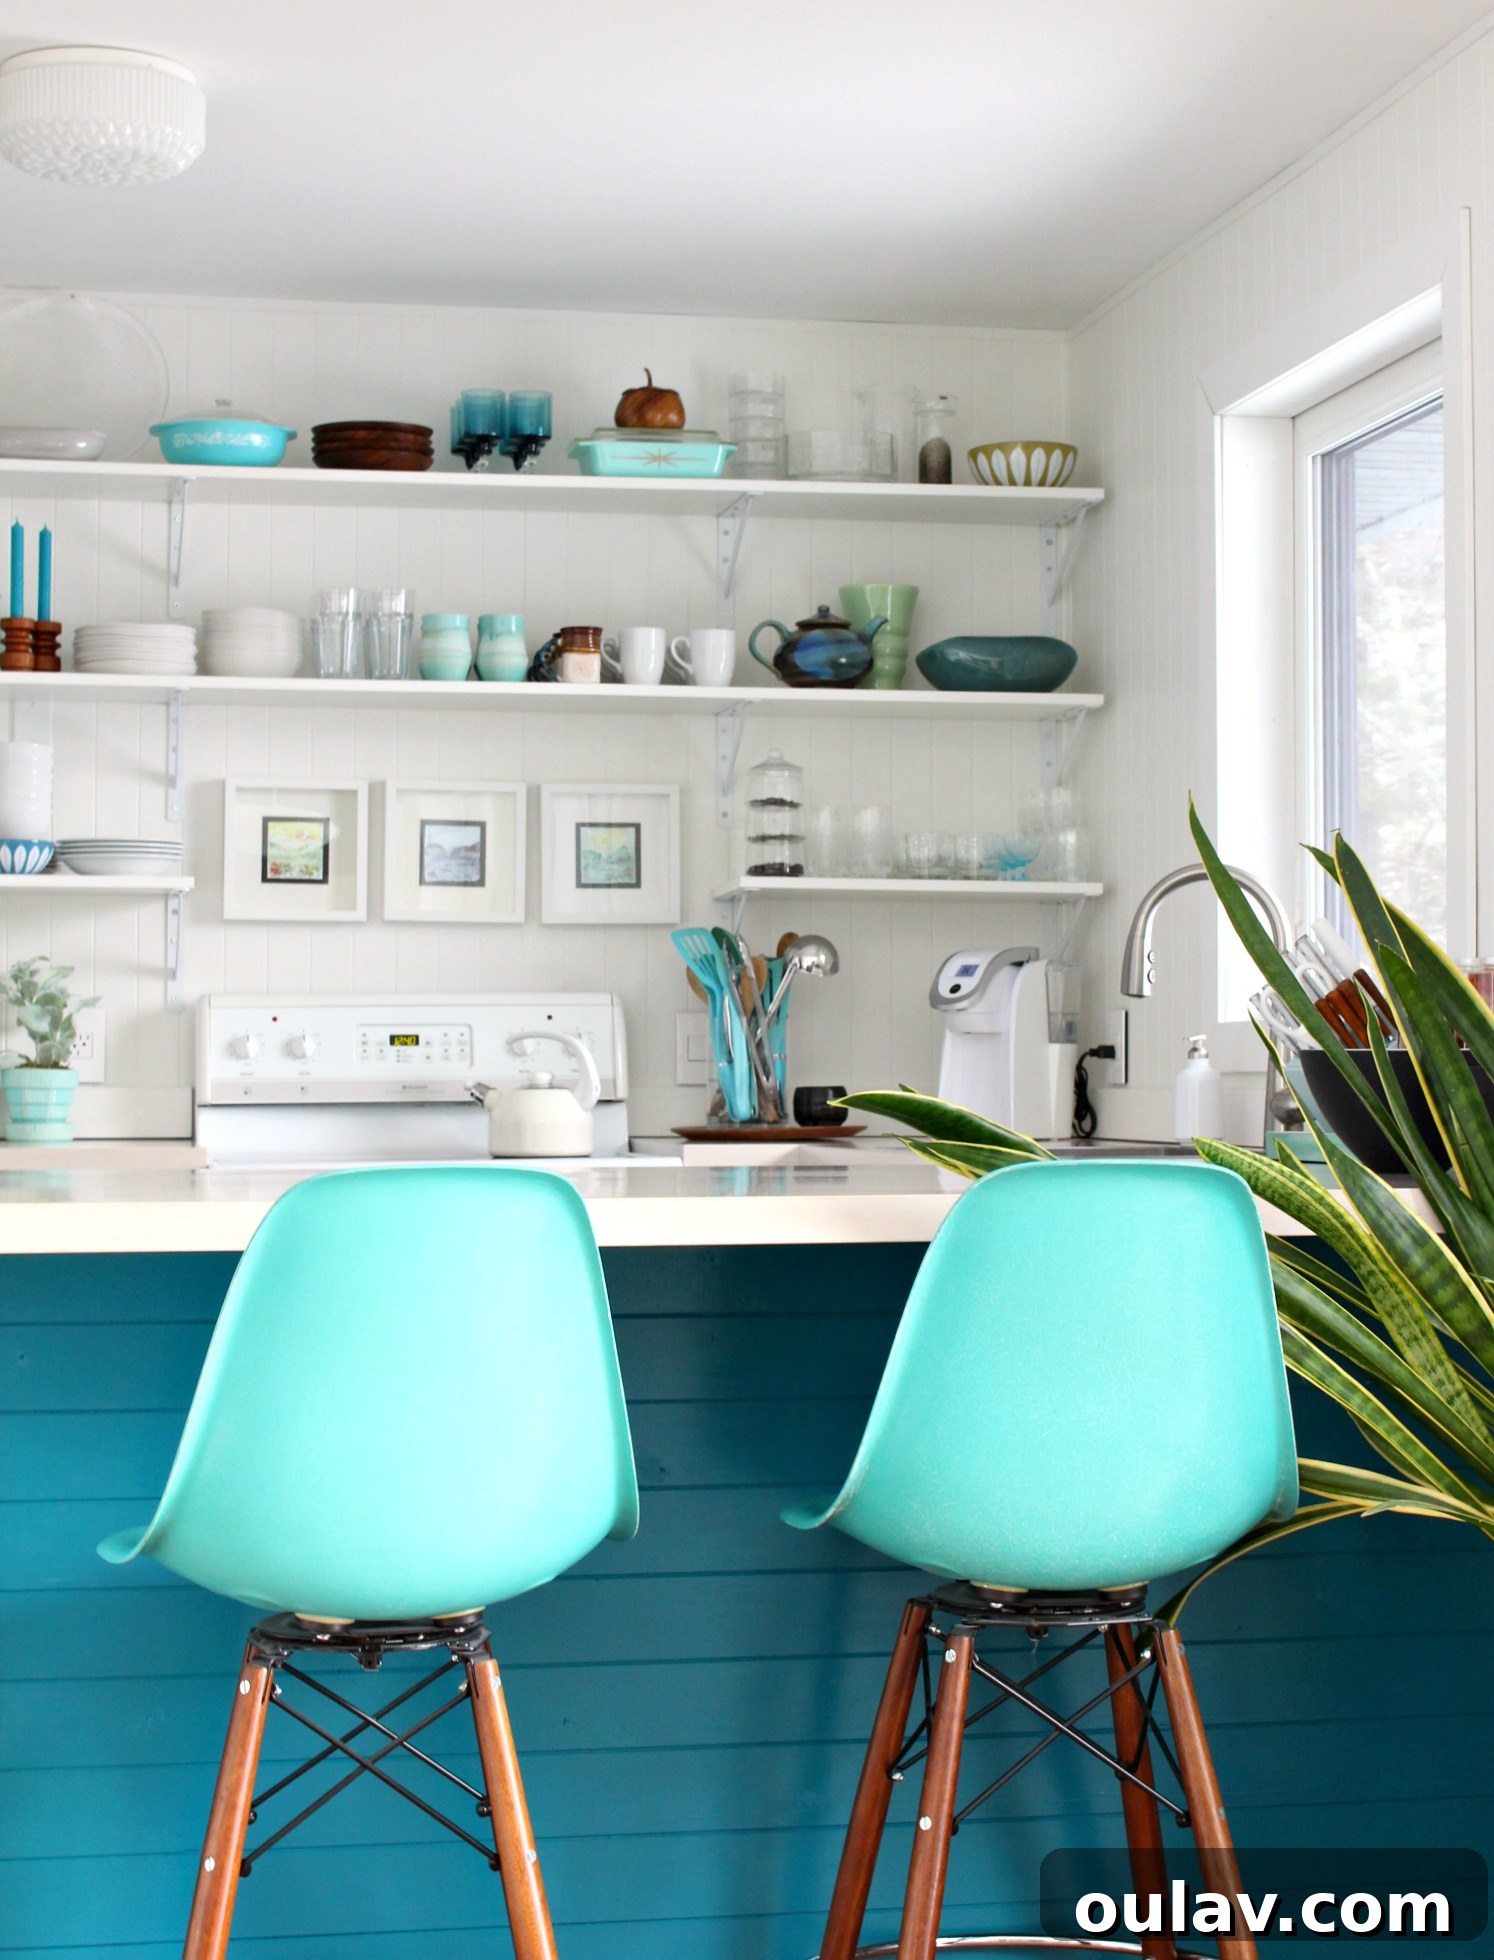
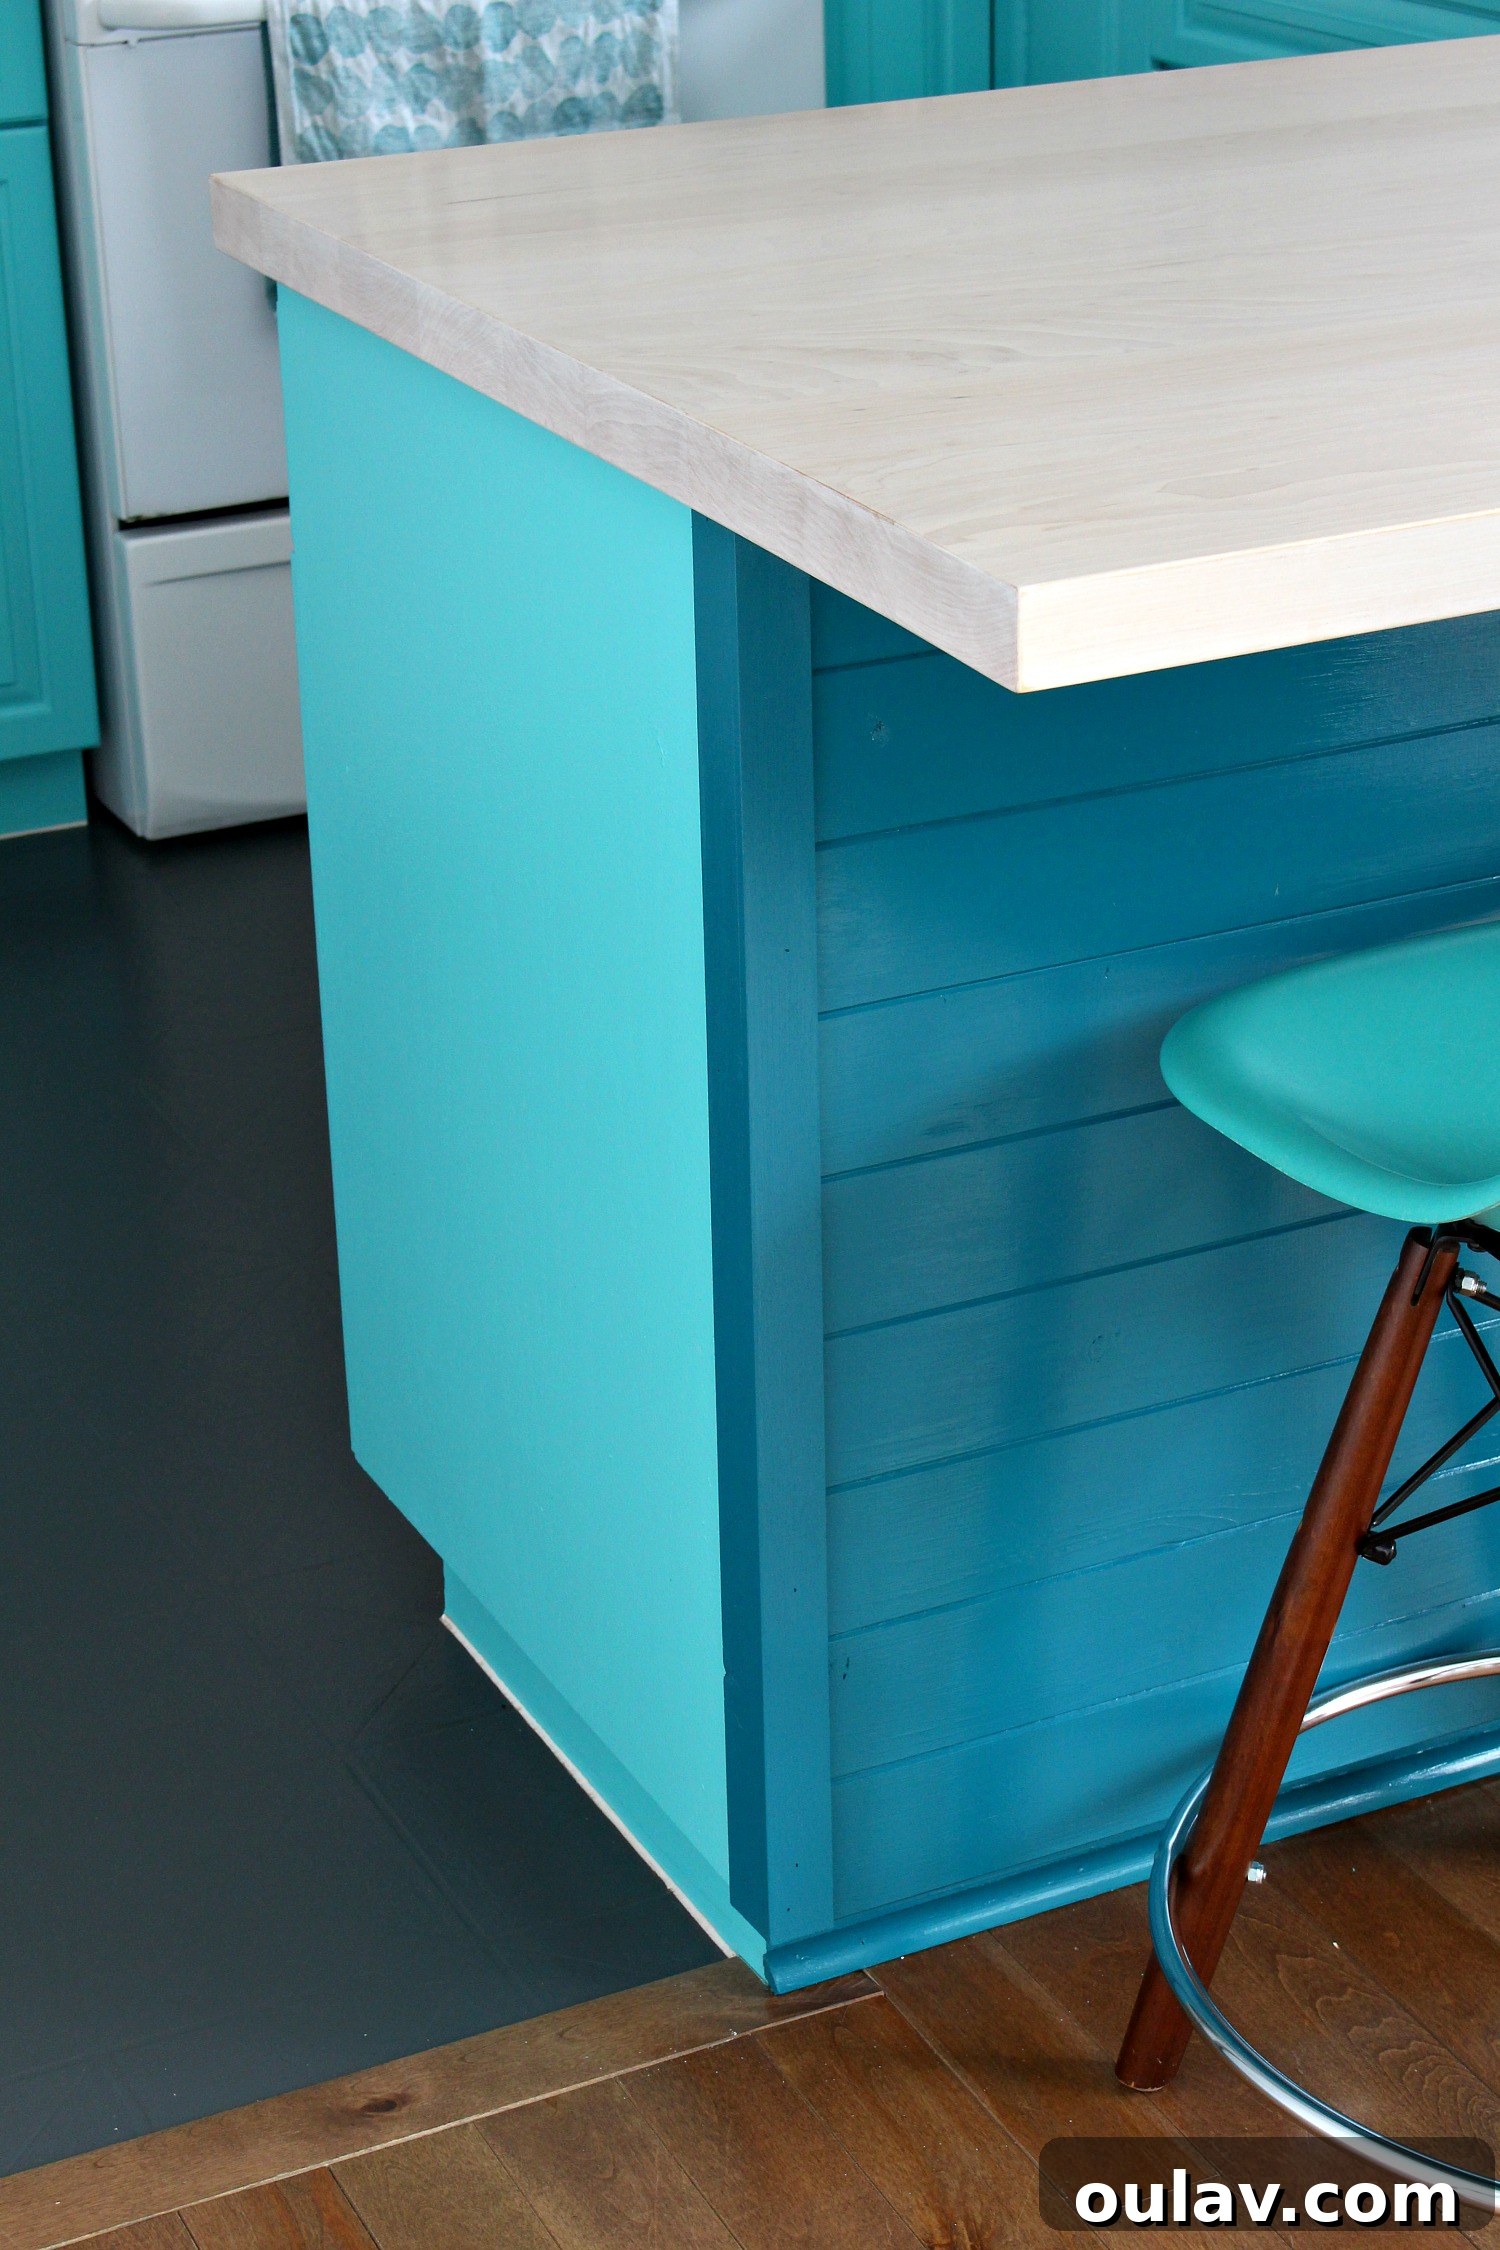
Ultimately, the siren call of color was too strong to resist. I decided to paint it. While a full kitchen repaint had been a fleeting thought, my deep affection for the existing aqua cabinets remained steadfast. The paint had held up remarkably well over the years, making the prospect of sanding, priming, and repainting the entire kitchen feel wasteful – and knowing my luck, a new coat might chip. Instead, I chose to retain the cheerful turquoise and focus my painting efforts solely on the newly installed paneling. This decision led to a delightful dilemma: should I opt for a soft, dusty grey-blue for an airy, beachy vibe, or a rich, deep teal for a moodier, more earthy feel? I bought a can of light blue, then, on an impulse, returned for a can of teal!
The beauty of painting just the cabinet backs is the incredible flexibility it offers. This quick update took me a mere half-hour, requiring no extensive taping or tarping. It instantly dawned on me: why struggle to choose just one color when I can effortlessly change it with the seasons or my mood? This project became a canvas for ongoing creativity.
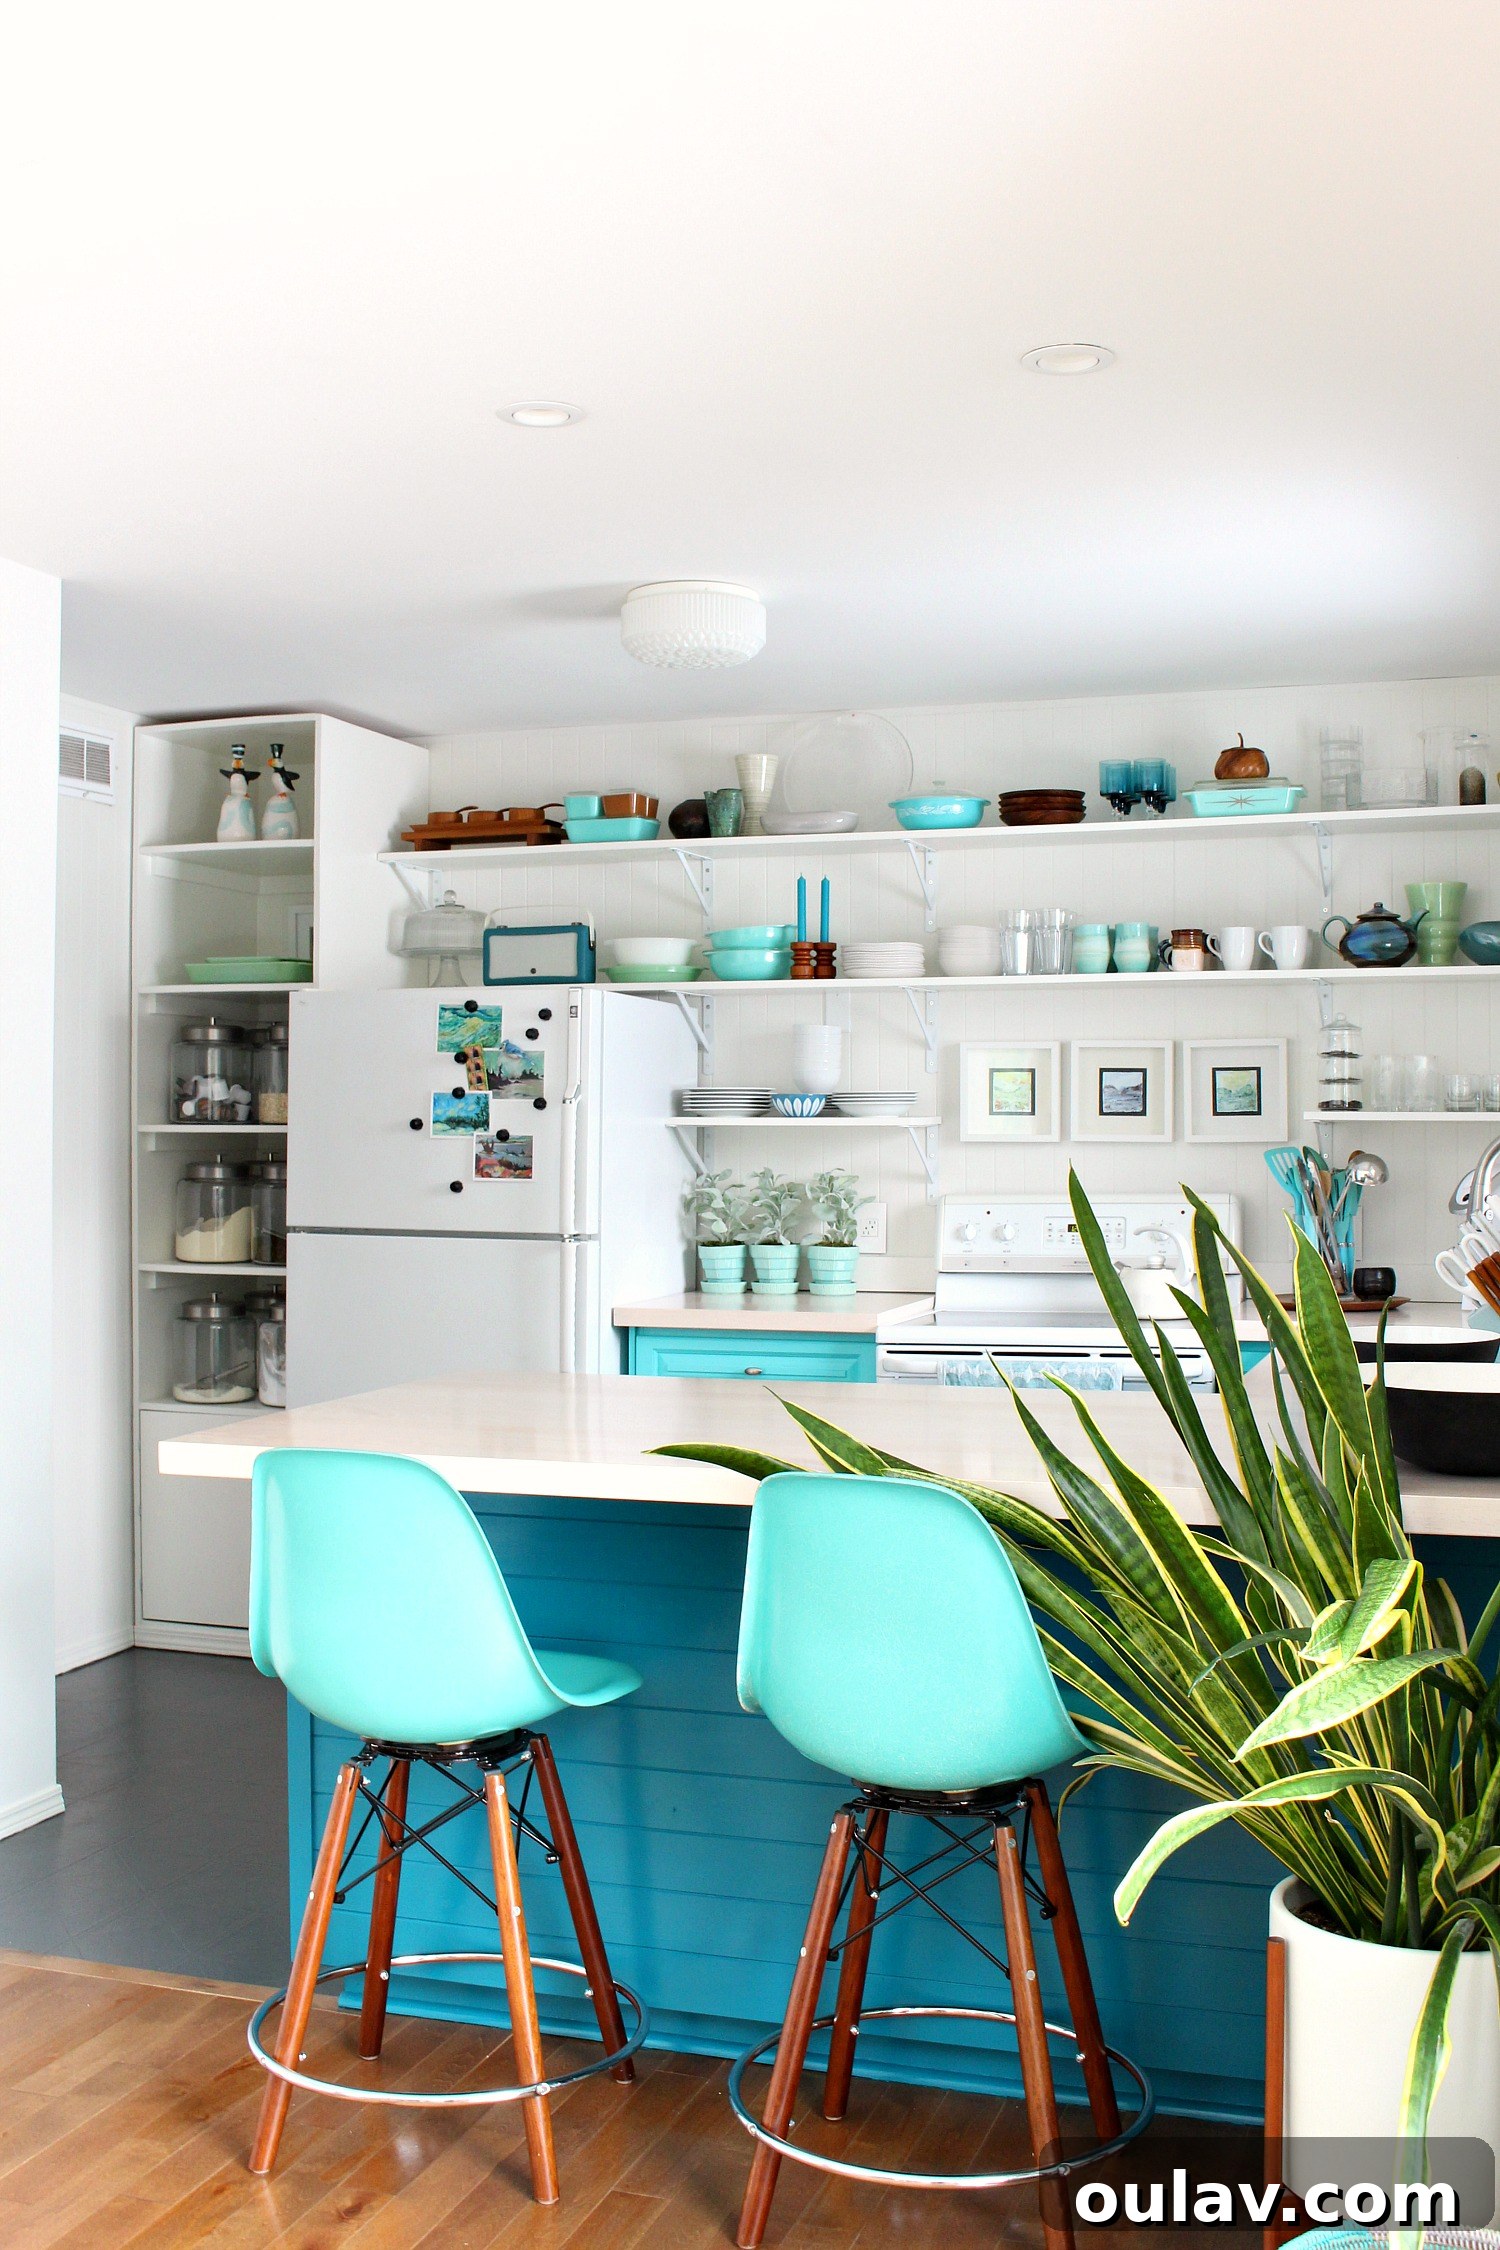
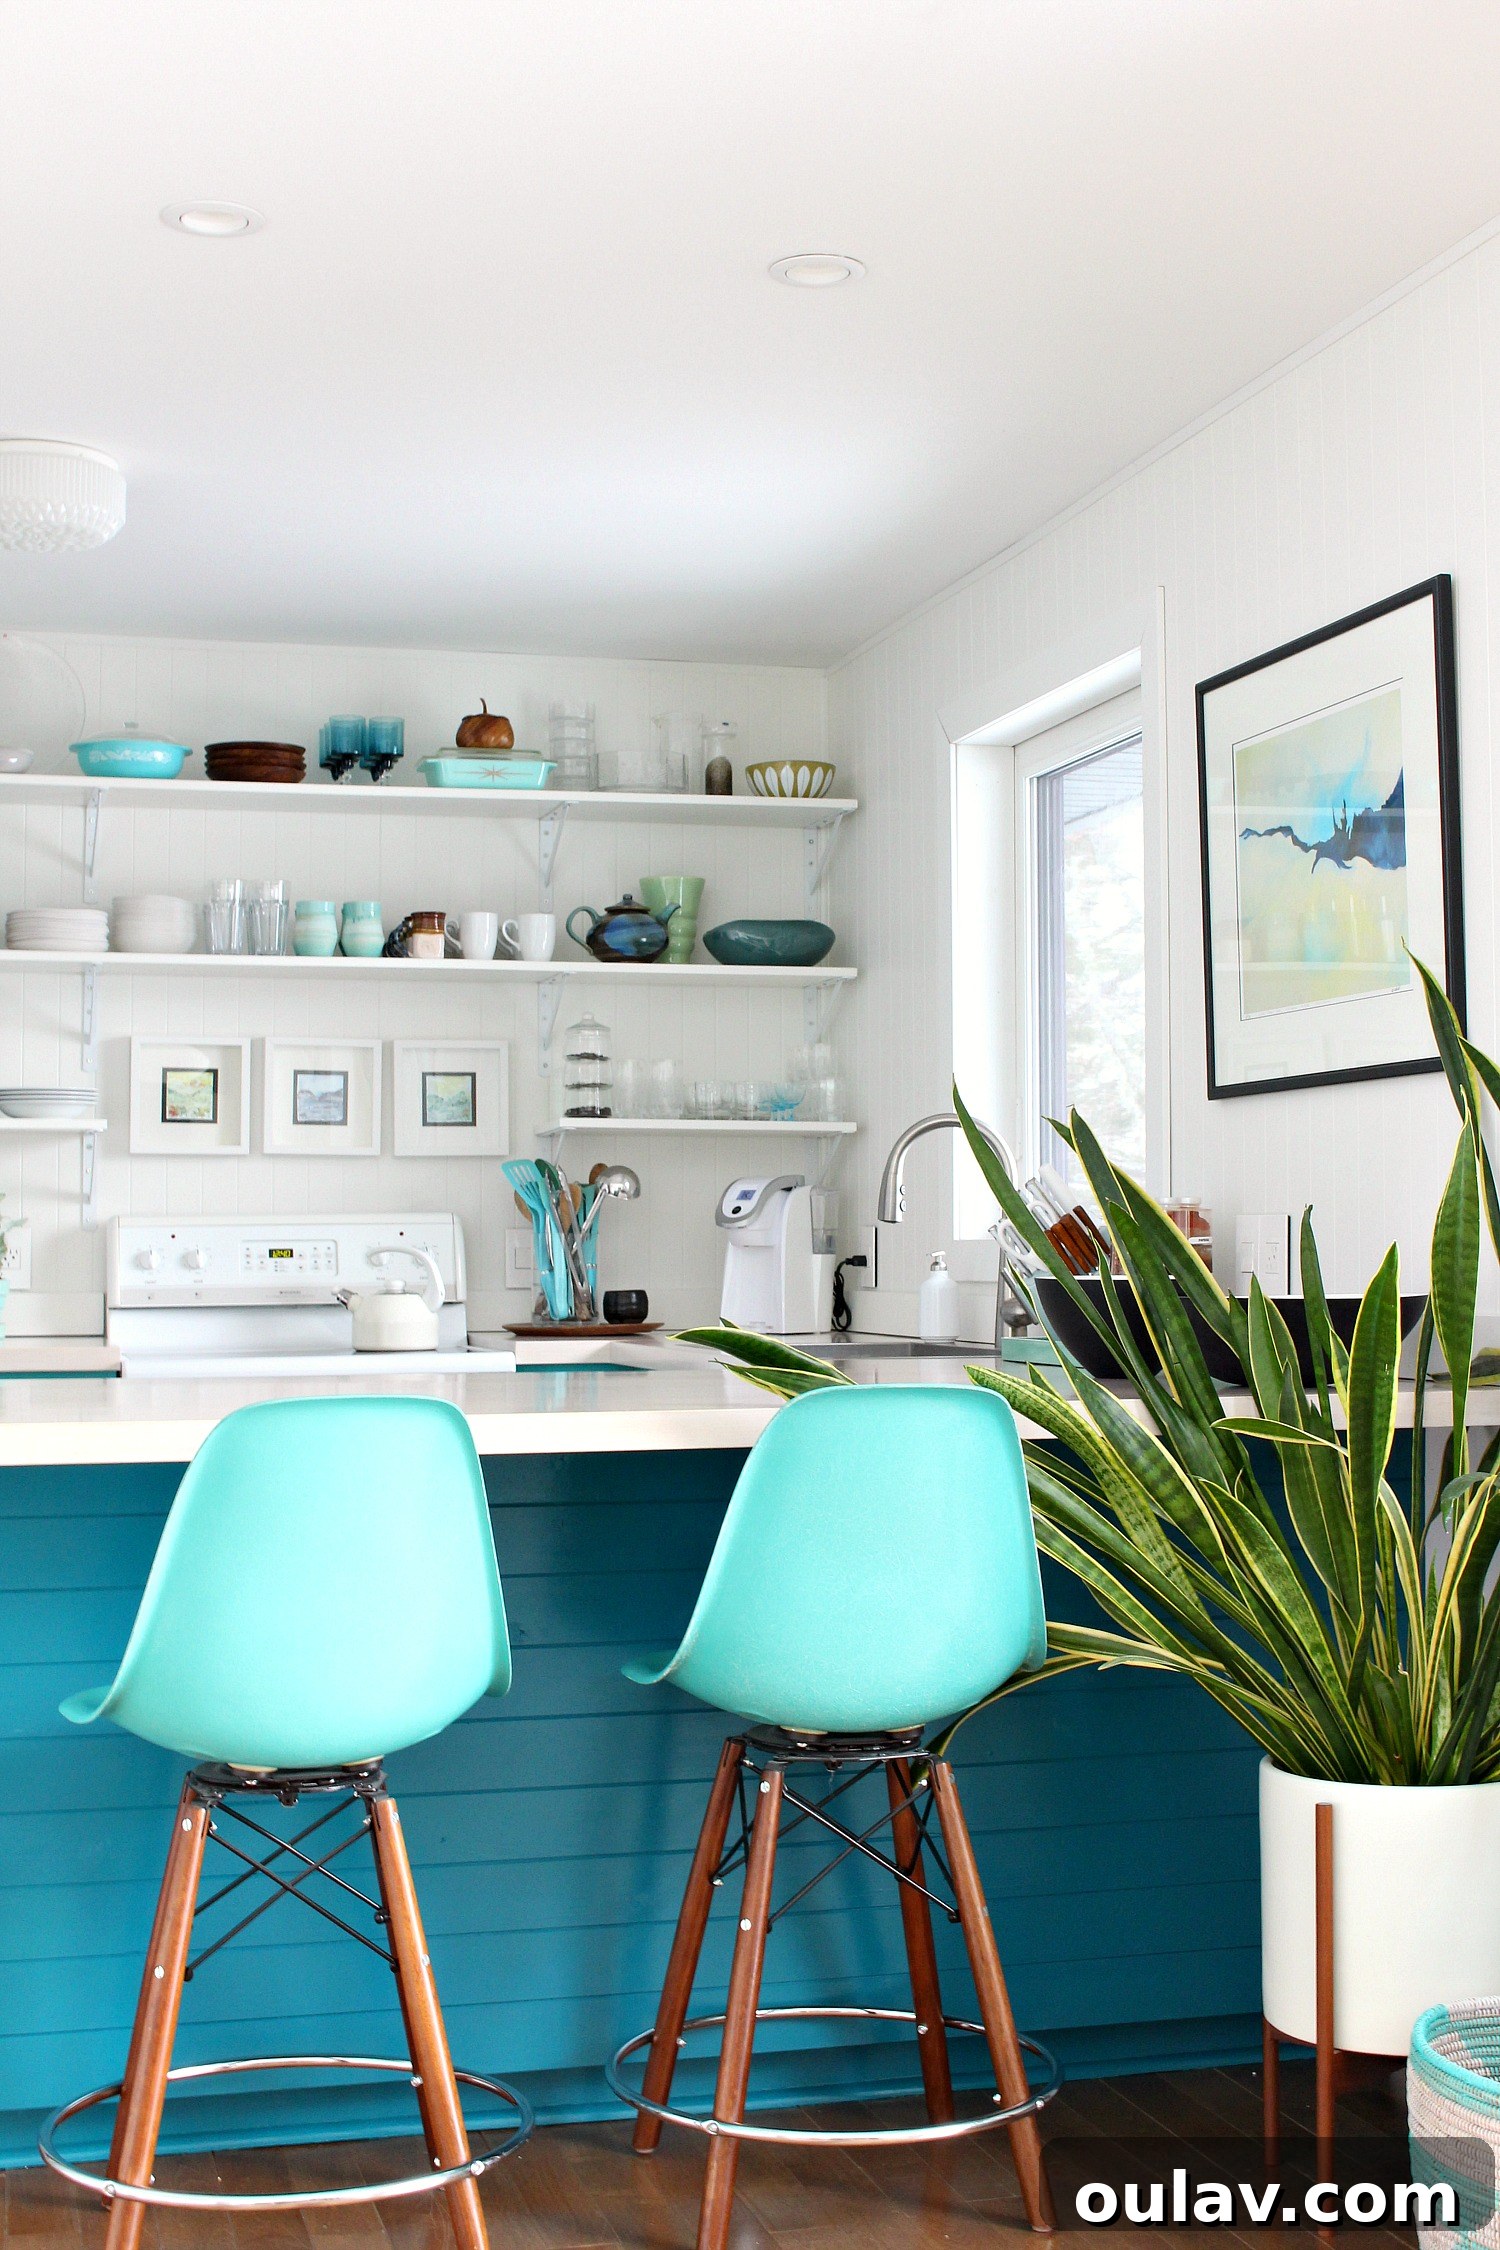
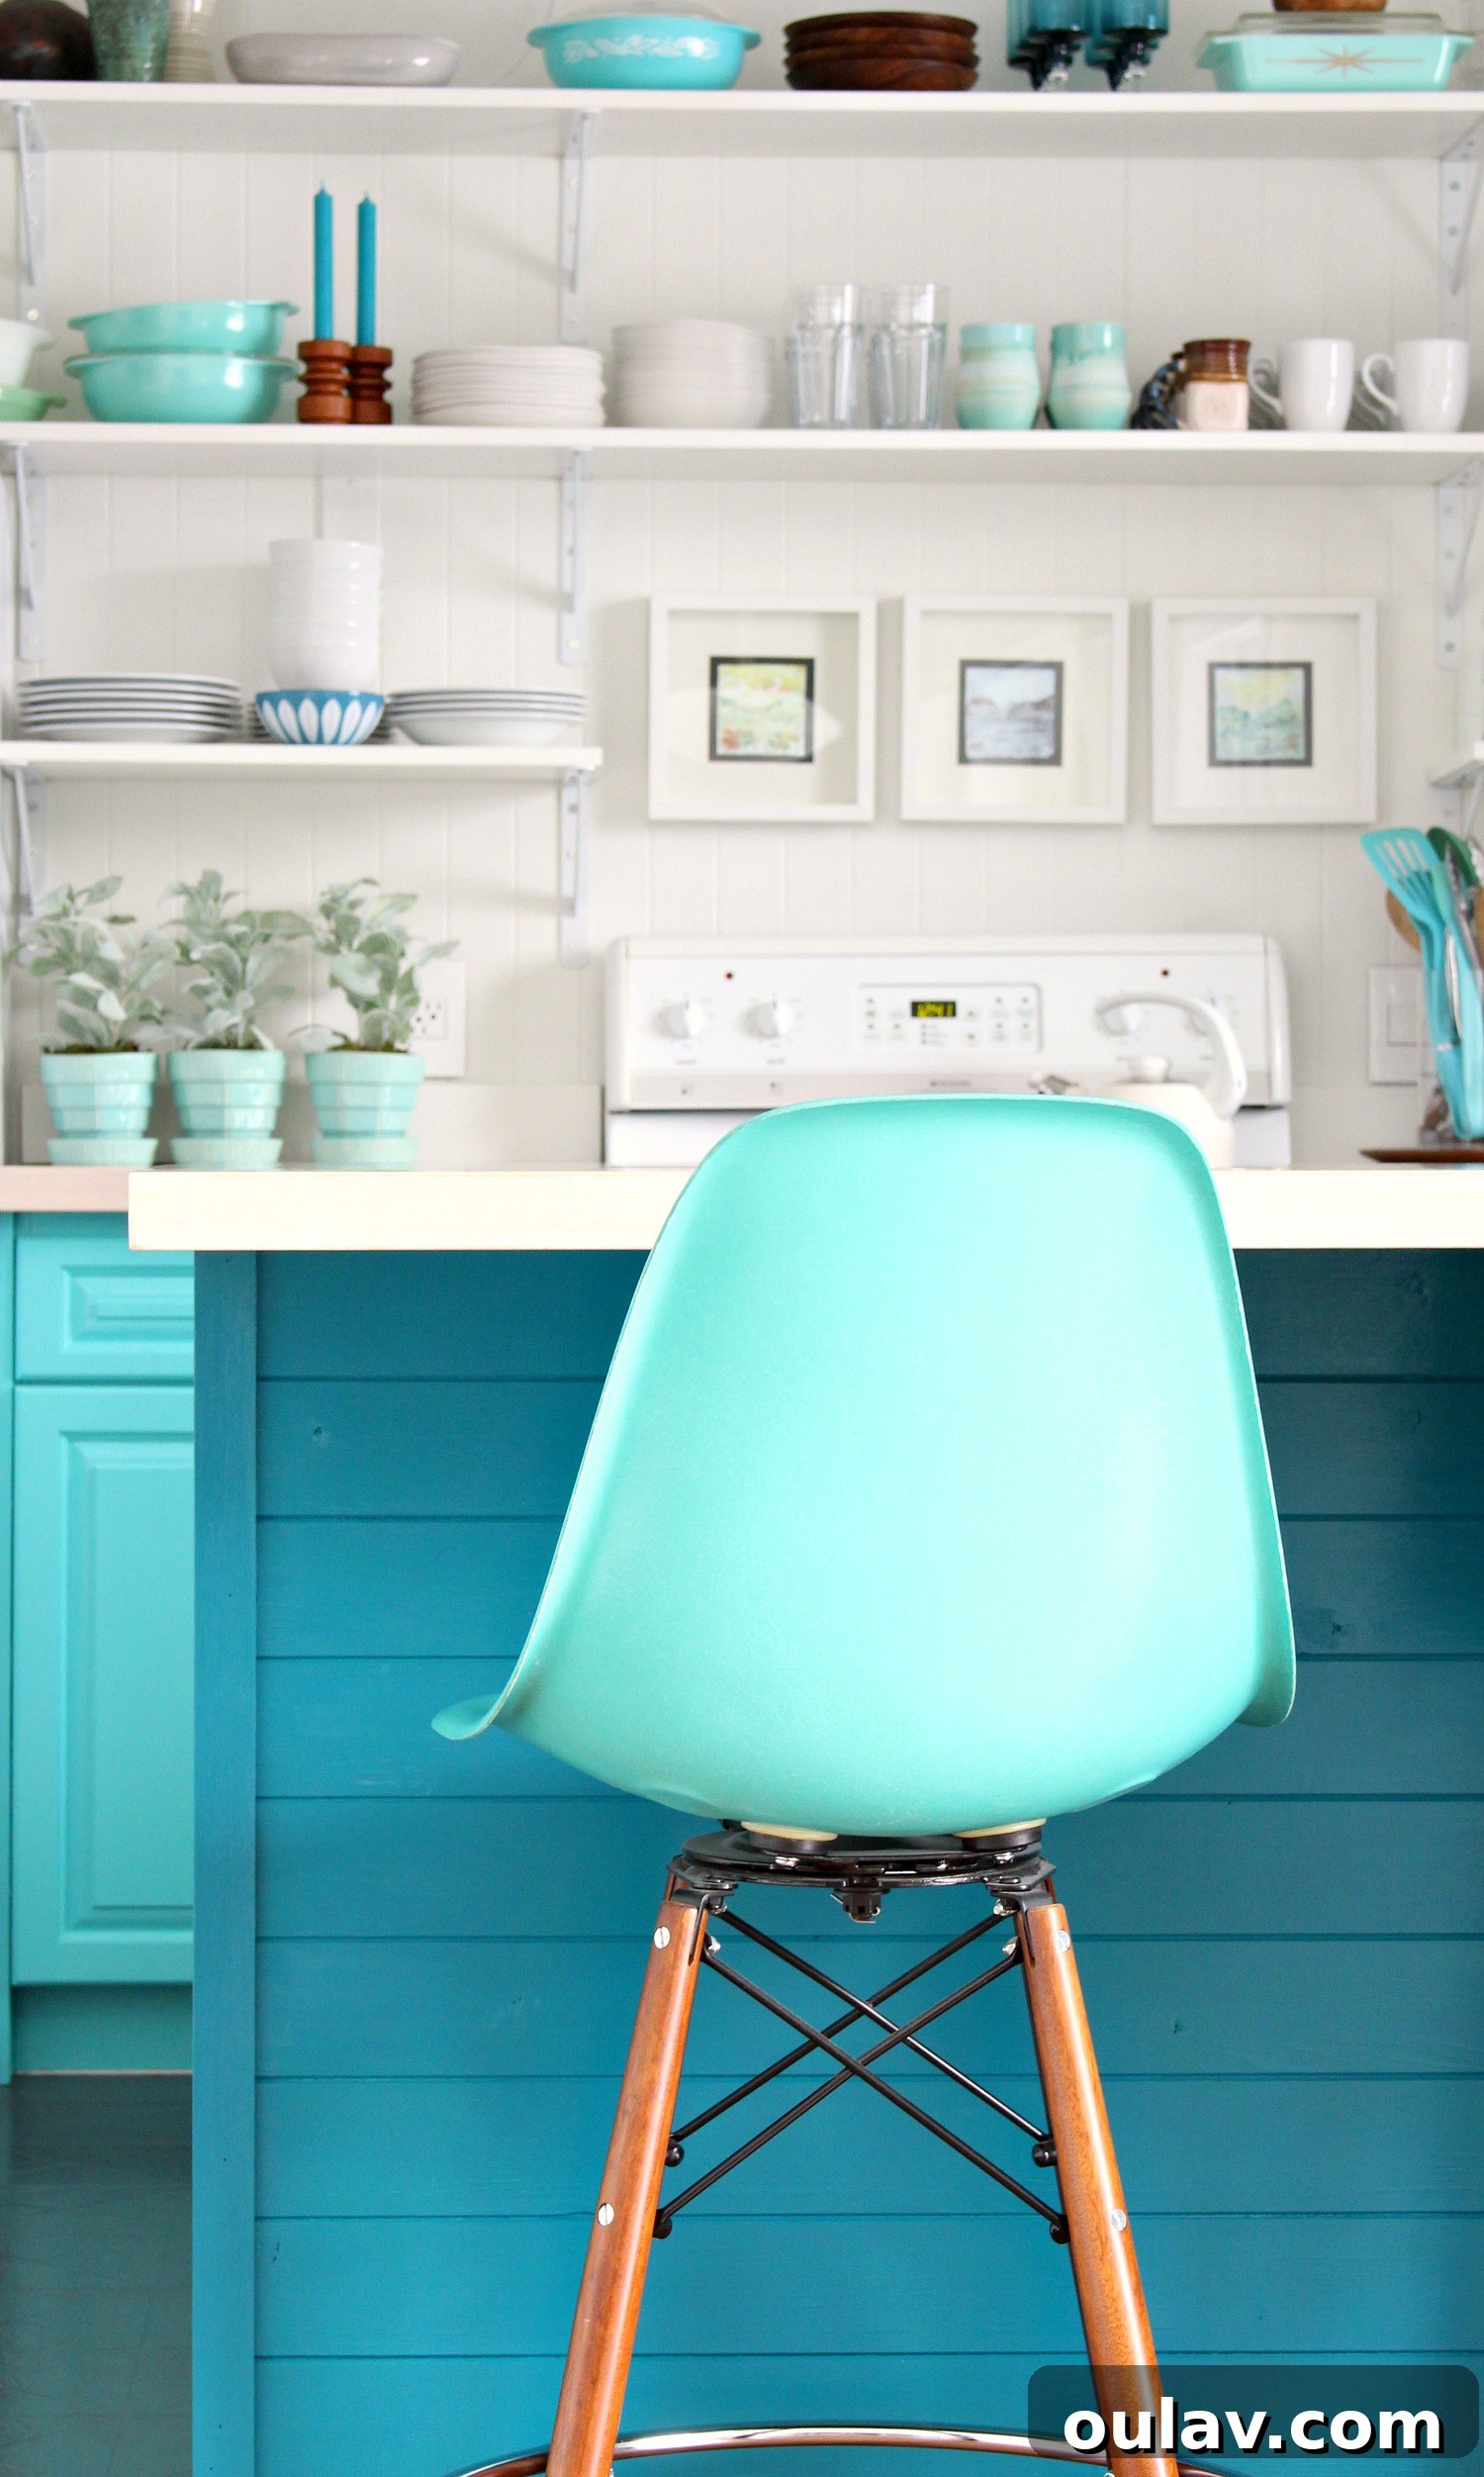
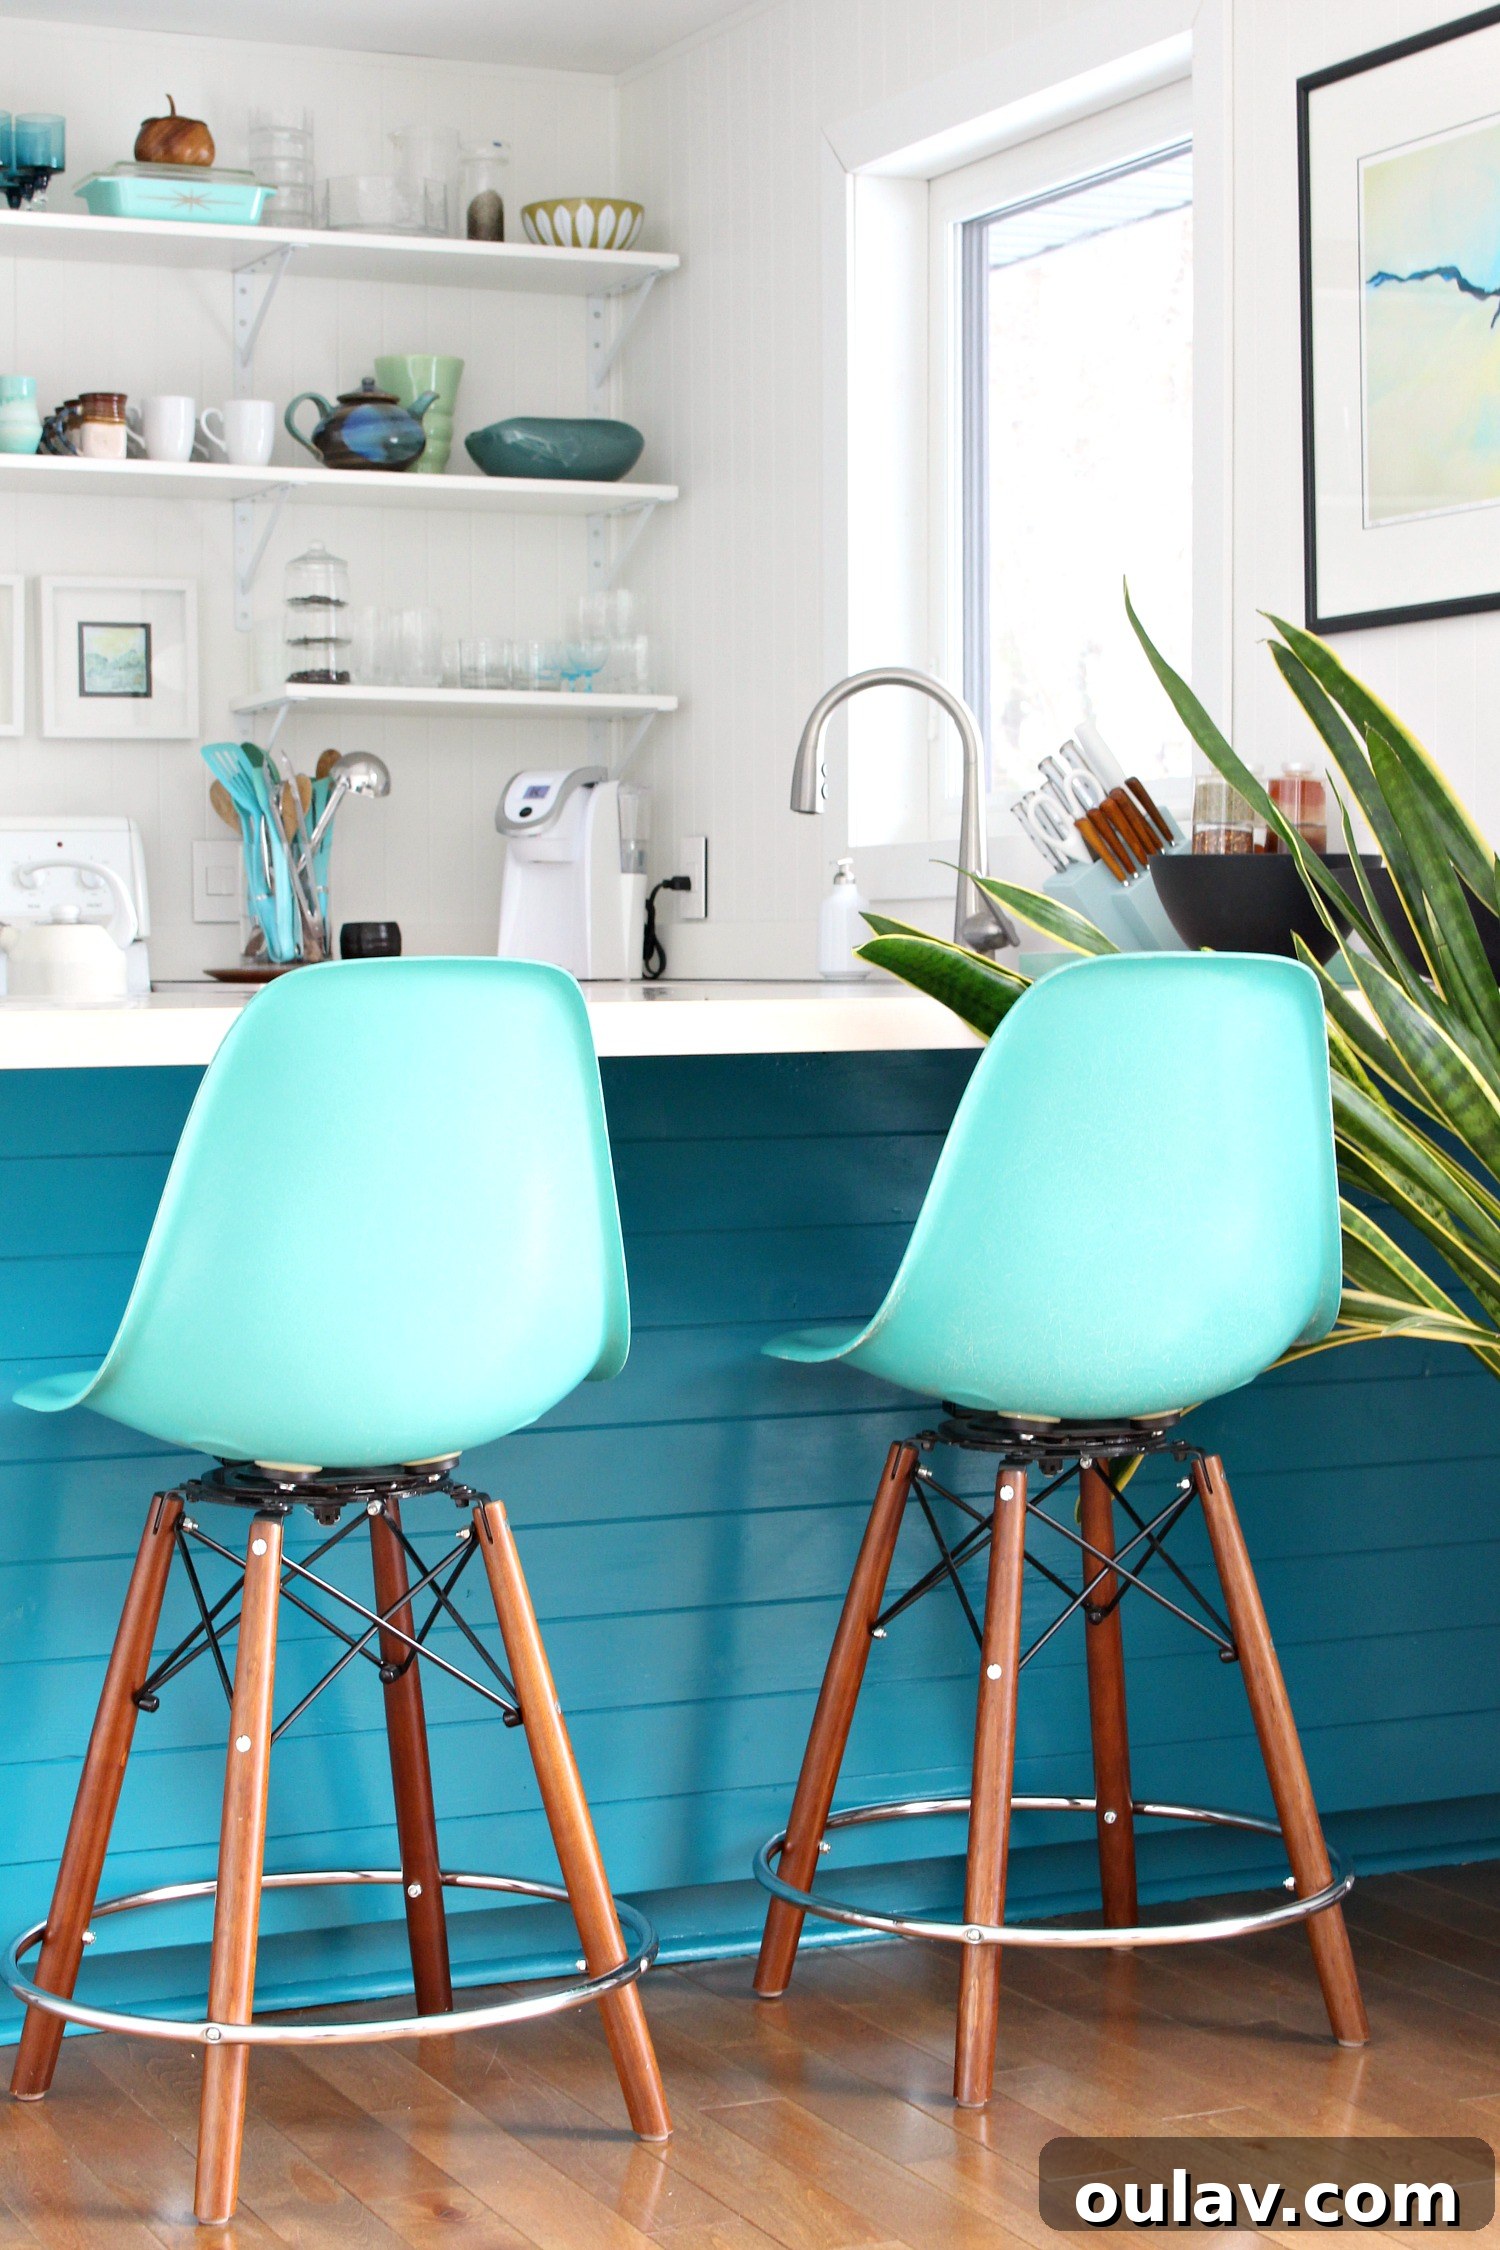
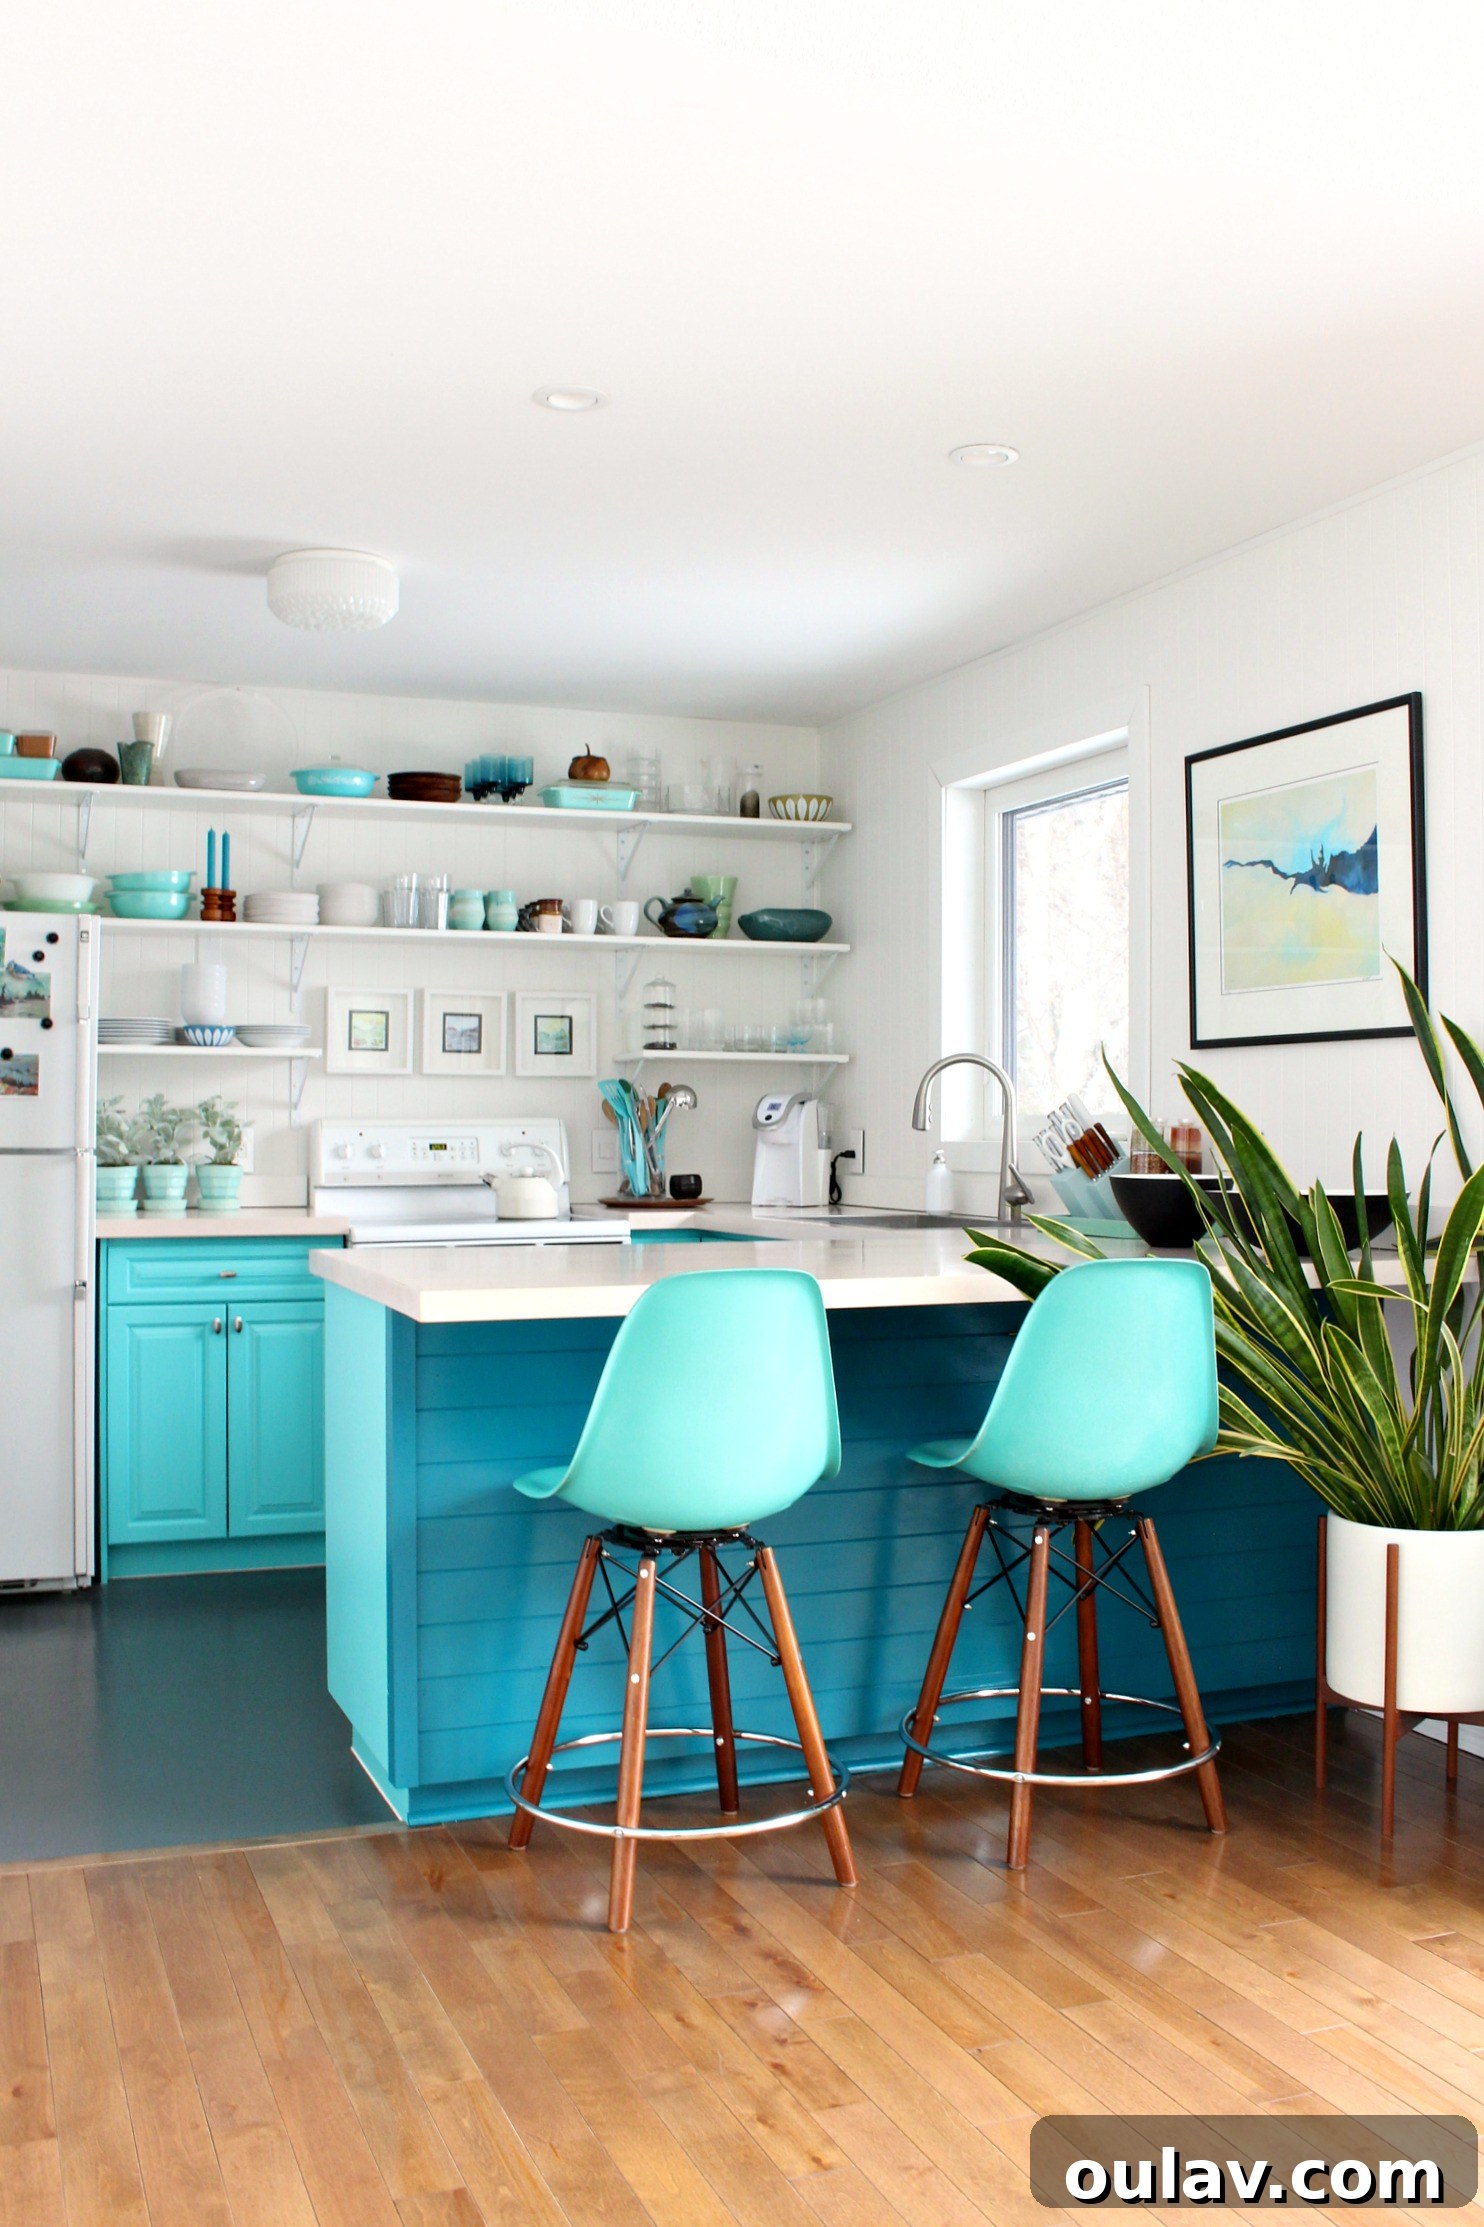
Currently, the vibrant teal reigns supreme, making the turquoise bar stools pop with renewed energy. When I inevitably tire of this shade, the light blue waits patiently in the wings. Perhaps a moss green or a sophisticated charcoal grey will follow. This simple, adaptable project offers a wonderfully fun and budget-friendly way to refresh the kitchen while we accumulate savings for the larger, “real deal” renovation. The immediate impact of the new color is undeniable, breathing fresh life into the space. My only lingering question is whether to extend the paint to wrap around the visible sides of the cabinets or to keep it confined to the paneling itself… decisions, decisions!
What’s Next for This Hardworking Kitchen?
This paneling and paint refresh is just one step in our ongoing journey to revive this beloved, hardworking kitchen. I’m currently immersed in another exciting DIY project that promises to bring even more character and functionality to the space. For an exclusive sneak peek and behind-the-scenes glimpses of what’s coming next, be sure to follow me on Instagram! You’ll find updates in my stories, and to ensure you don’t miss the full reveal, I encourage you to sign up for our newsletter below. I’ll be sharing some much better, brighter photos soon; these initial shots were taken on a particularly gray day, but I was eager to capture the “before” before tearing into more of the kitchen’s evolution.