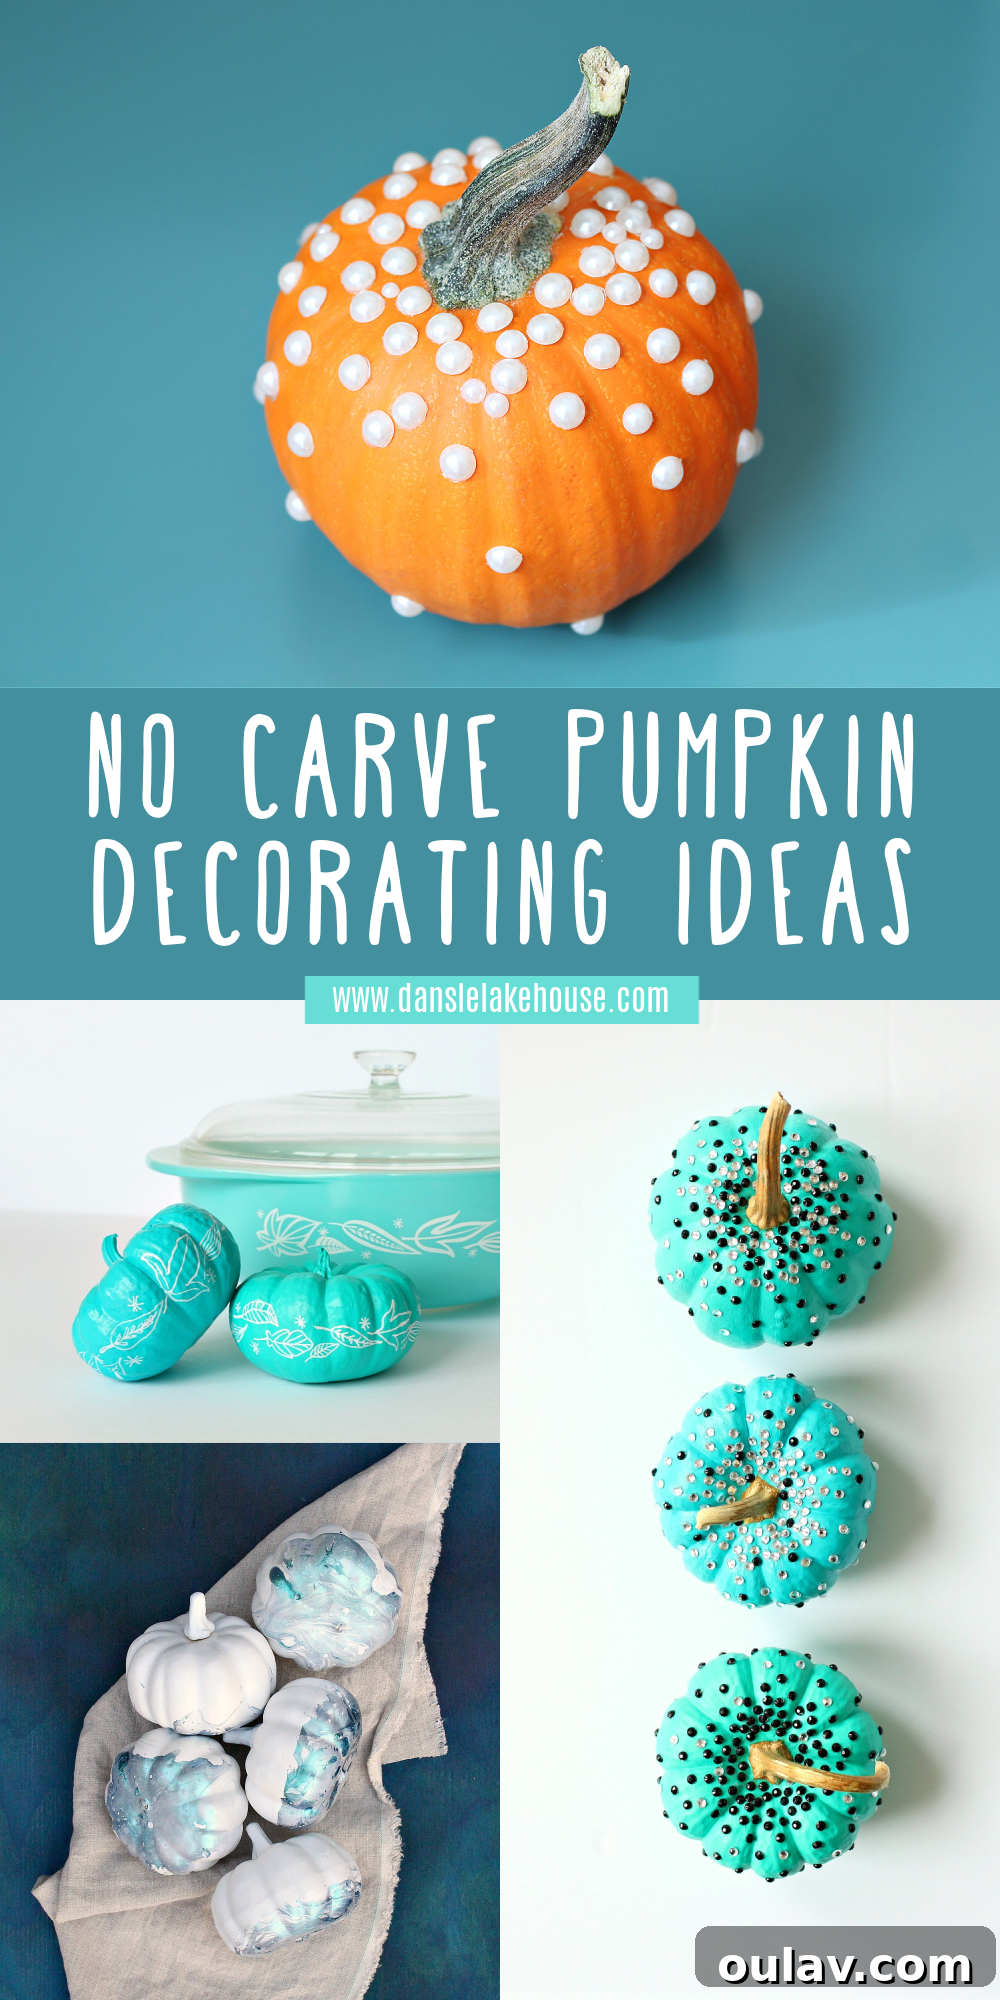
As autumn leaves begin their vibrant dance and a crisp chill fills the air, the beloved tradition of pumpkin decorating beckons. However, for many, the thought of scooping out gooey insides and dealing with messy carving can dampen the festive spirit. If you’re looking for an alternative that is equally captivating yet considerably cleaner and easier, you’ve come to the right place. This comprehensive guide rounds up a delightful array of easy, no-carve pumpkin decorating ideas that promise a mess-free and enjoyable experience. Say goodbye to pumpkin guts and hello to elegant, stylish, and remarkably simple ways to transform your pumpkins into stunning seasonal showpieces. These creative concepts are perfect for anyone seeking to infuse their home with autumn charm without the fuss, making decorating accessible and fun for all skill levels. From shimmering pearls to artistic marbling, prepare to discover your next favorite fall DIY project.
Elevate Your Decor: The Elegant Pearl Pumpkin
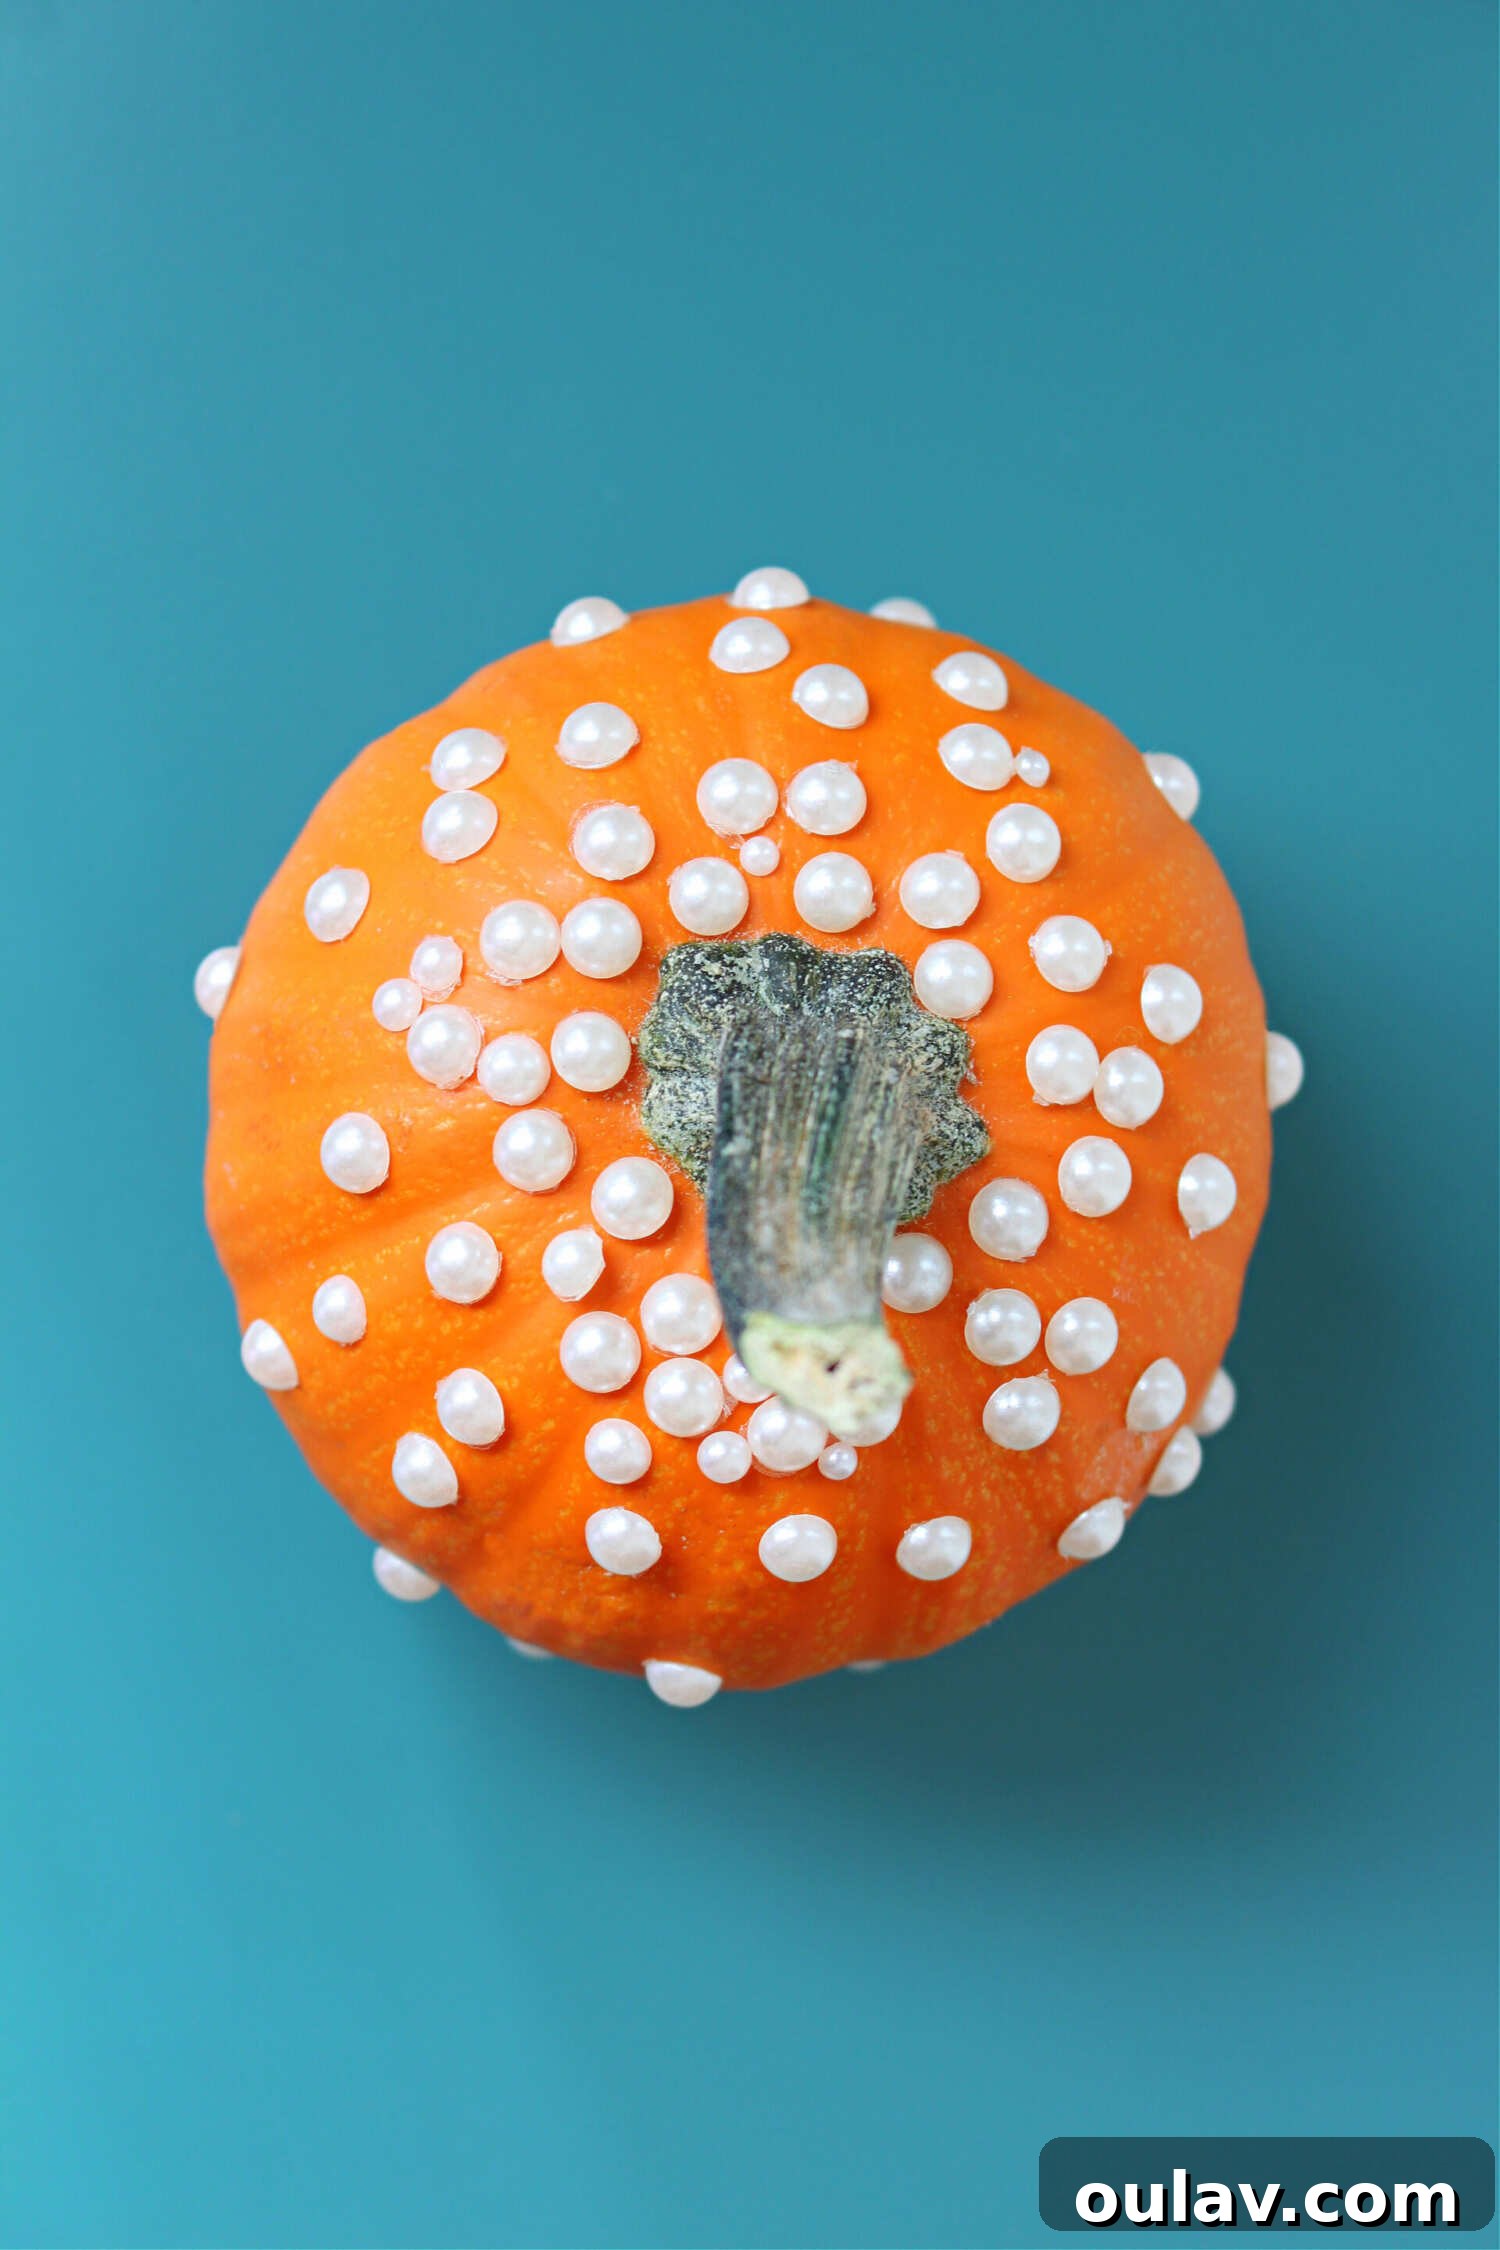
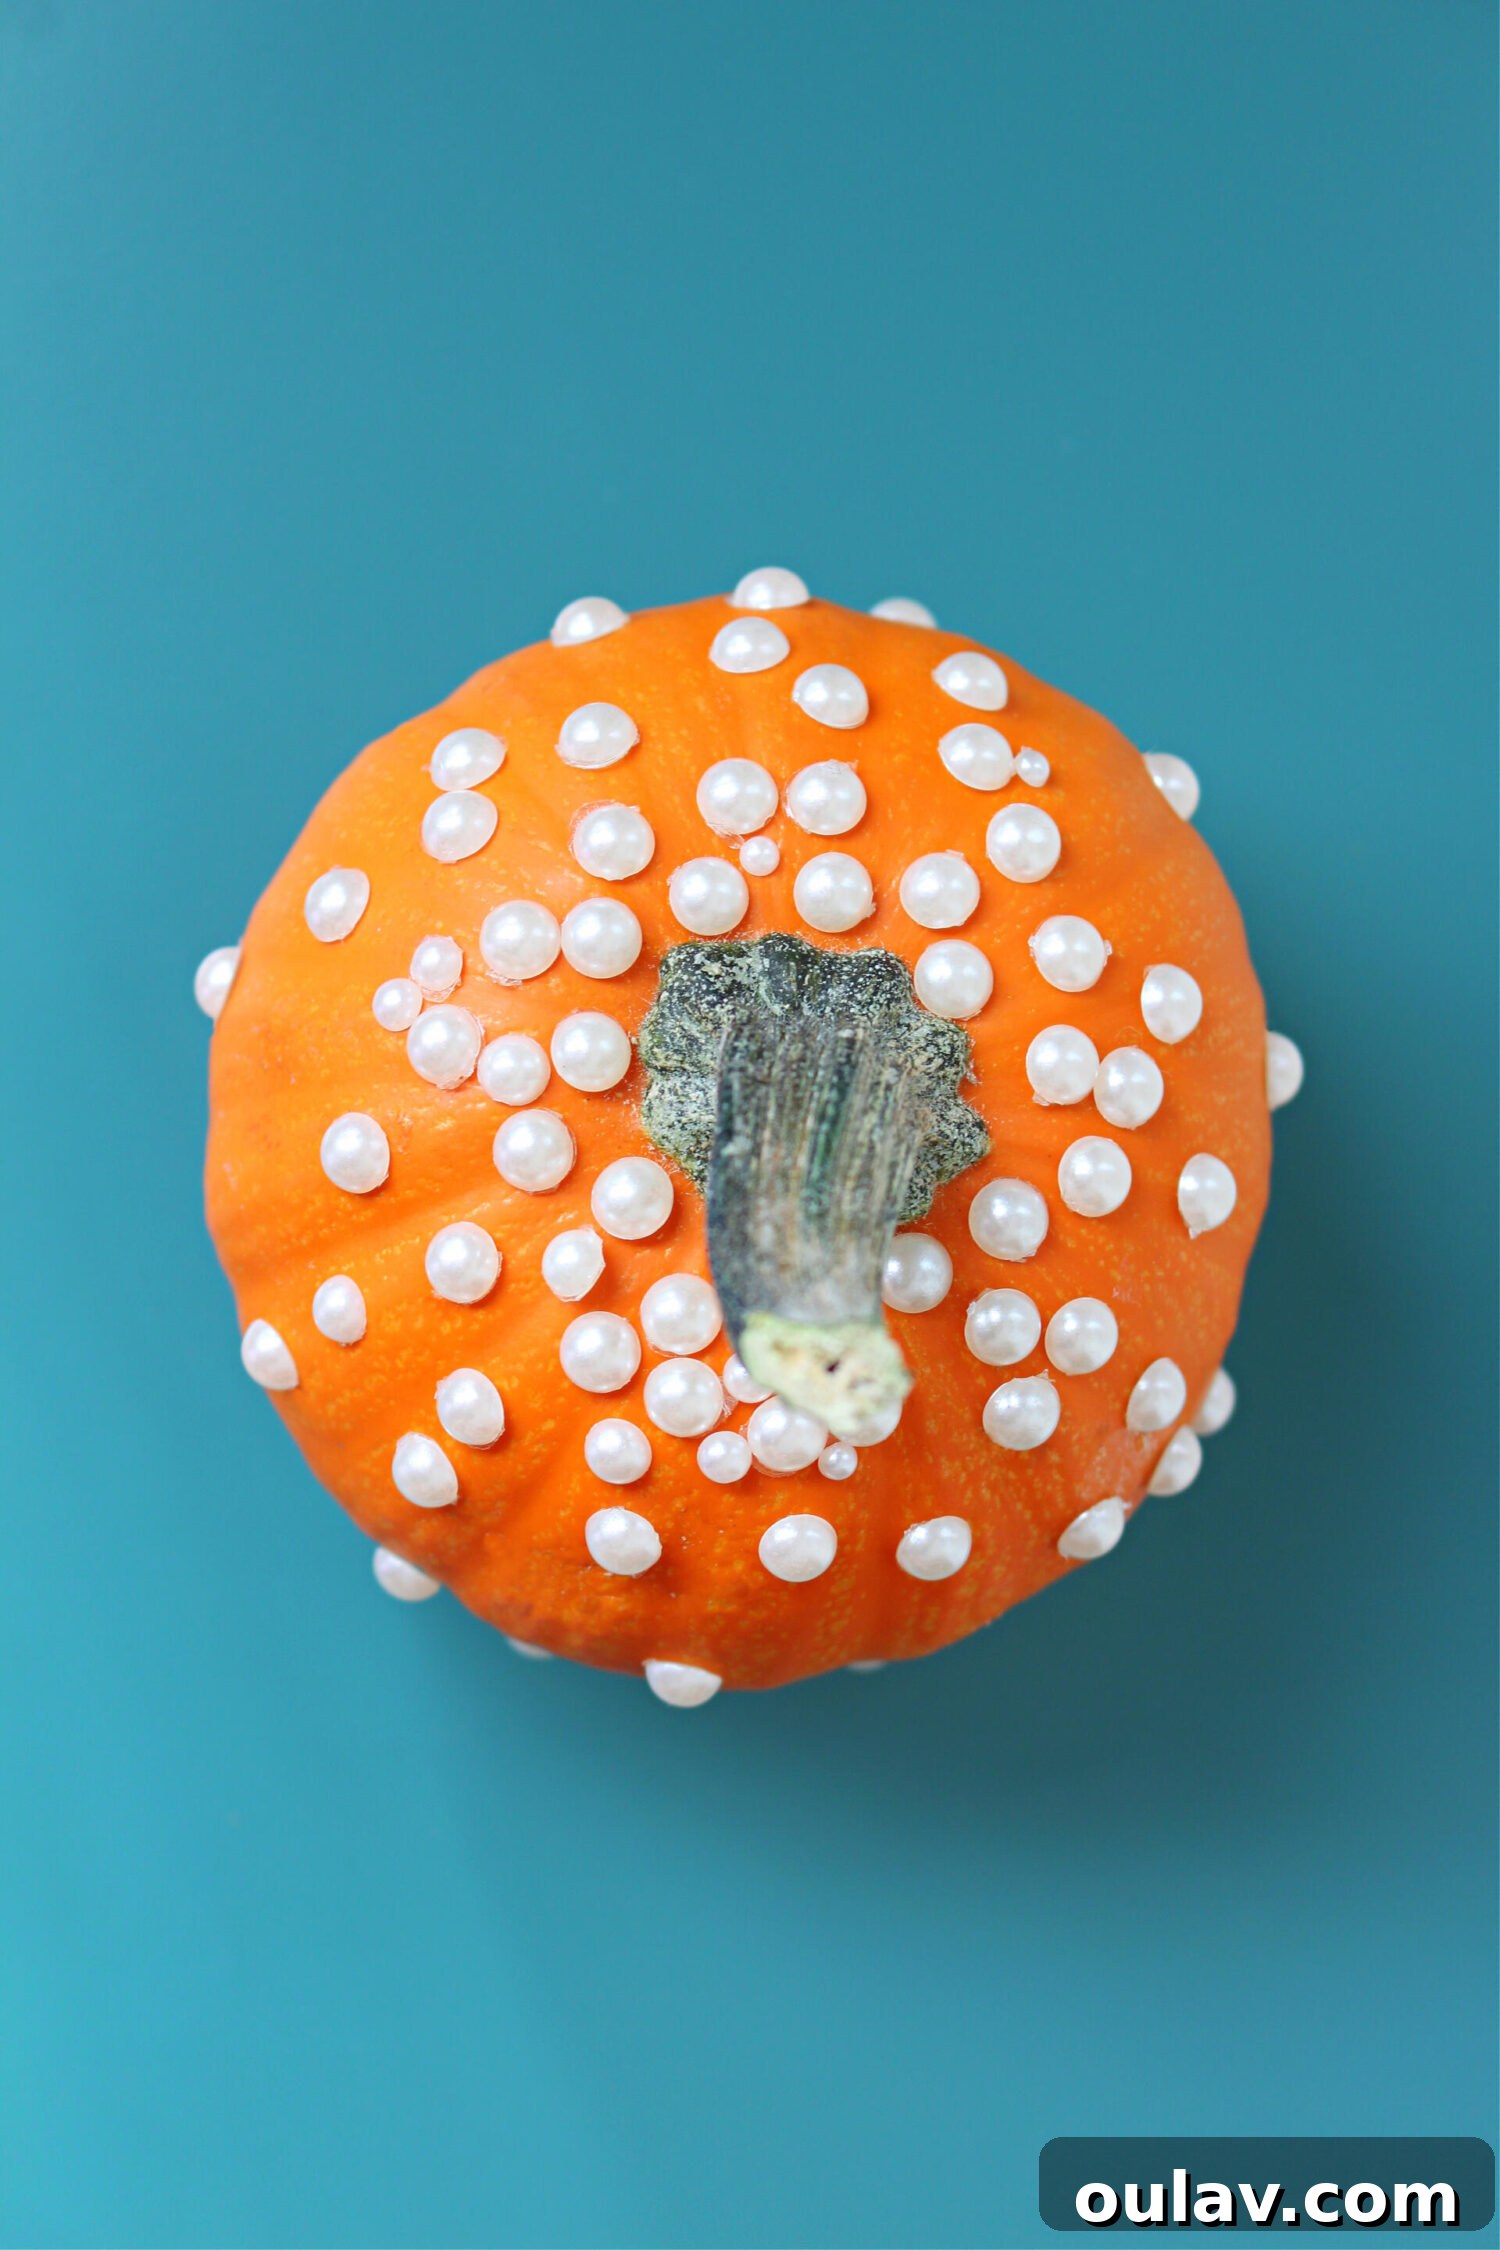
Introducing a fresh and undeniably chic addition to the no-carve pumpkin repertoire: the exquisite Pearl Pumpkin. This sophisticated idea, which I recently brought to life, transforms a humble mini pumpkin into a piece of elegant seasonal decor with minimal effort. The secret lies in using self-adhesive pearls, readily available at most dollar stores or craft shops. Simply select your natural mini pumpkin, ensuring its surface is clean and dry, and then artfully apply the pearls. The beauty of this method is its unparalleled simplicity – no messy glues, no lengthy drying times, and absolutely no stress. The self-adhesive nature of the pearls means they can be easily removed once the season concludes, allowing you to reuse them for other craft projects or store them away for next year. While stunning on any pumpkin, imagine the ethereal beauty these pearls would impart on crisp white mini pumpkins, creating a truly luxurious and timeless display. This project is perfect for those aiming for a high-end, glamorous aesthetic without breaking the bank or dedicating hours to complicated crafting.
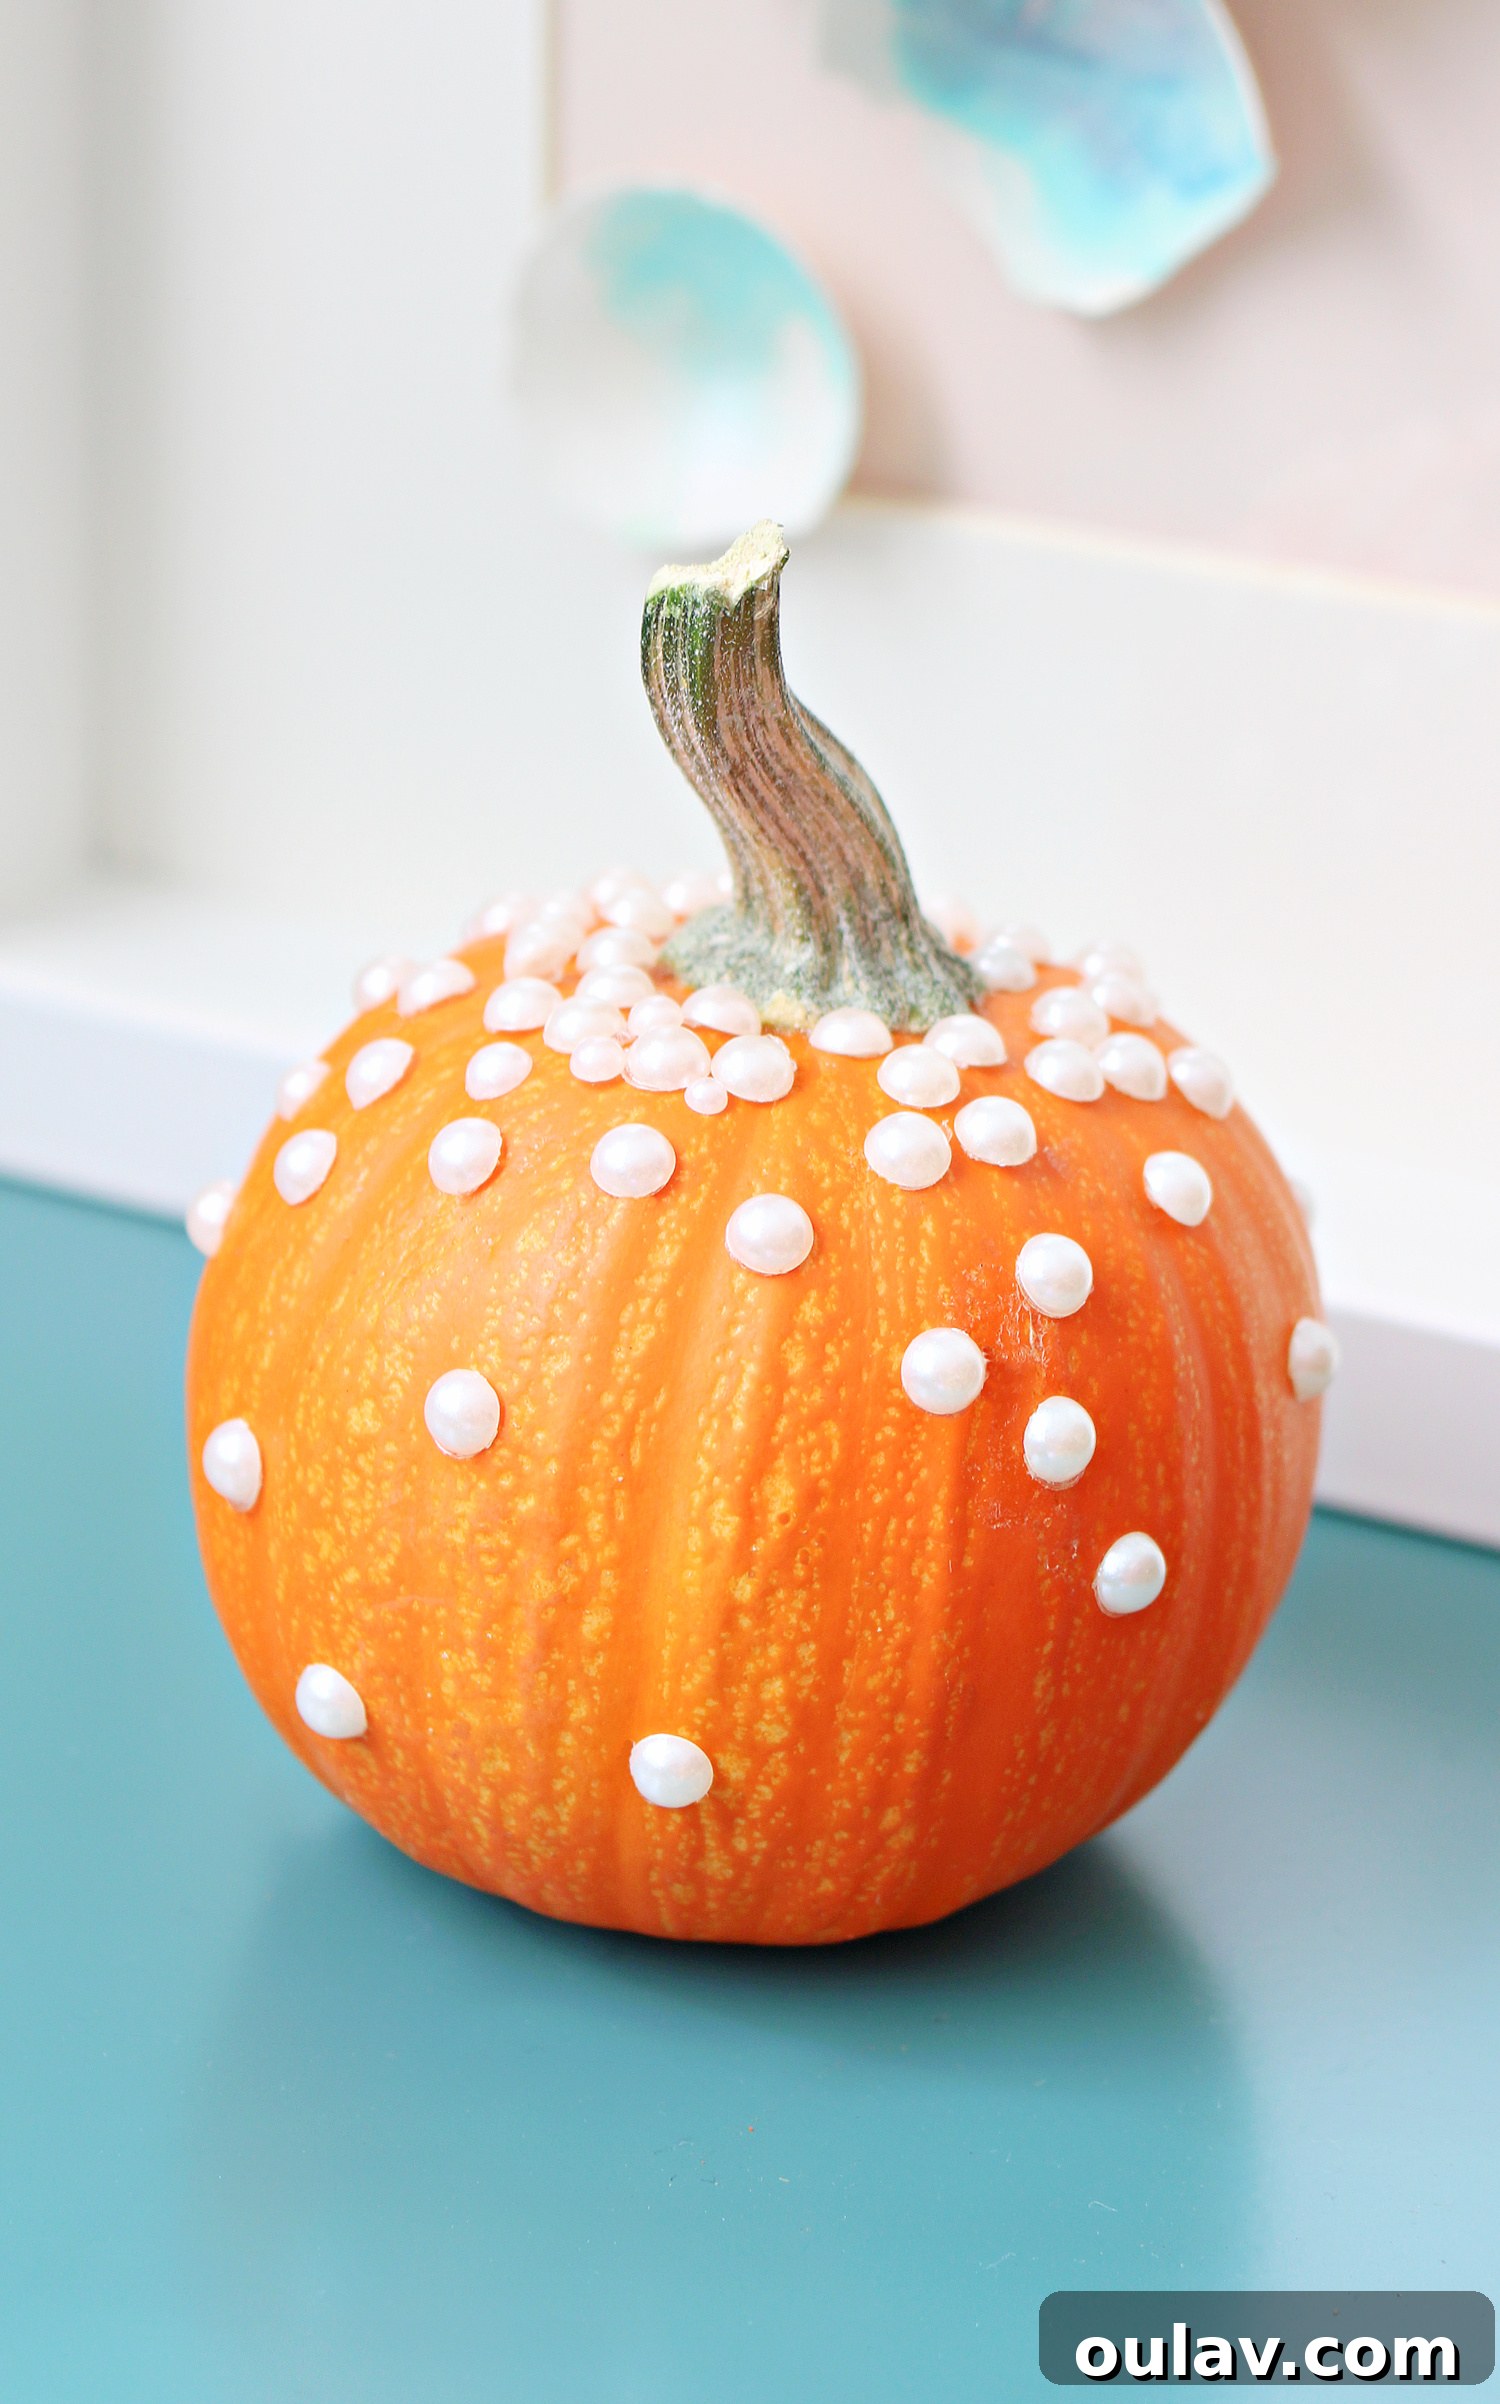
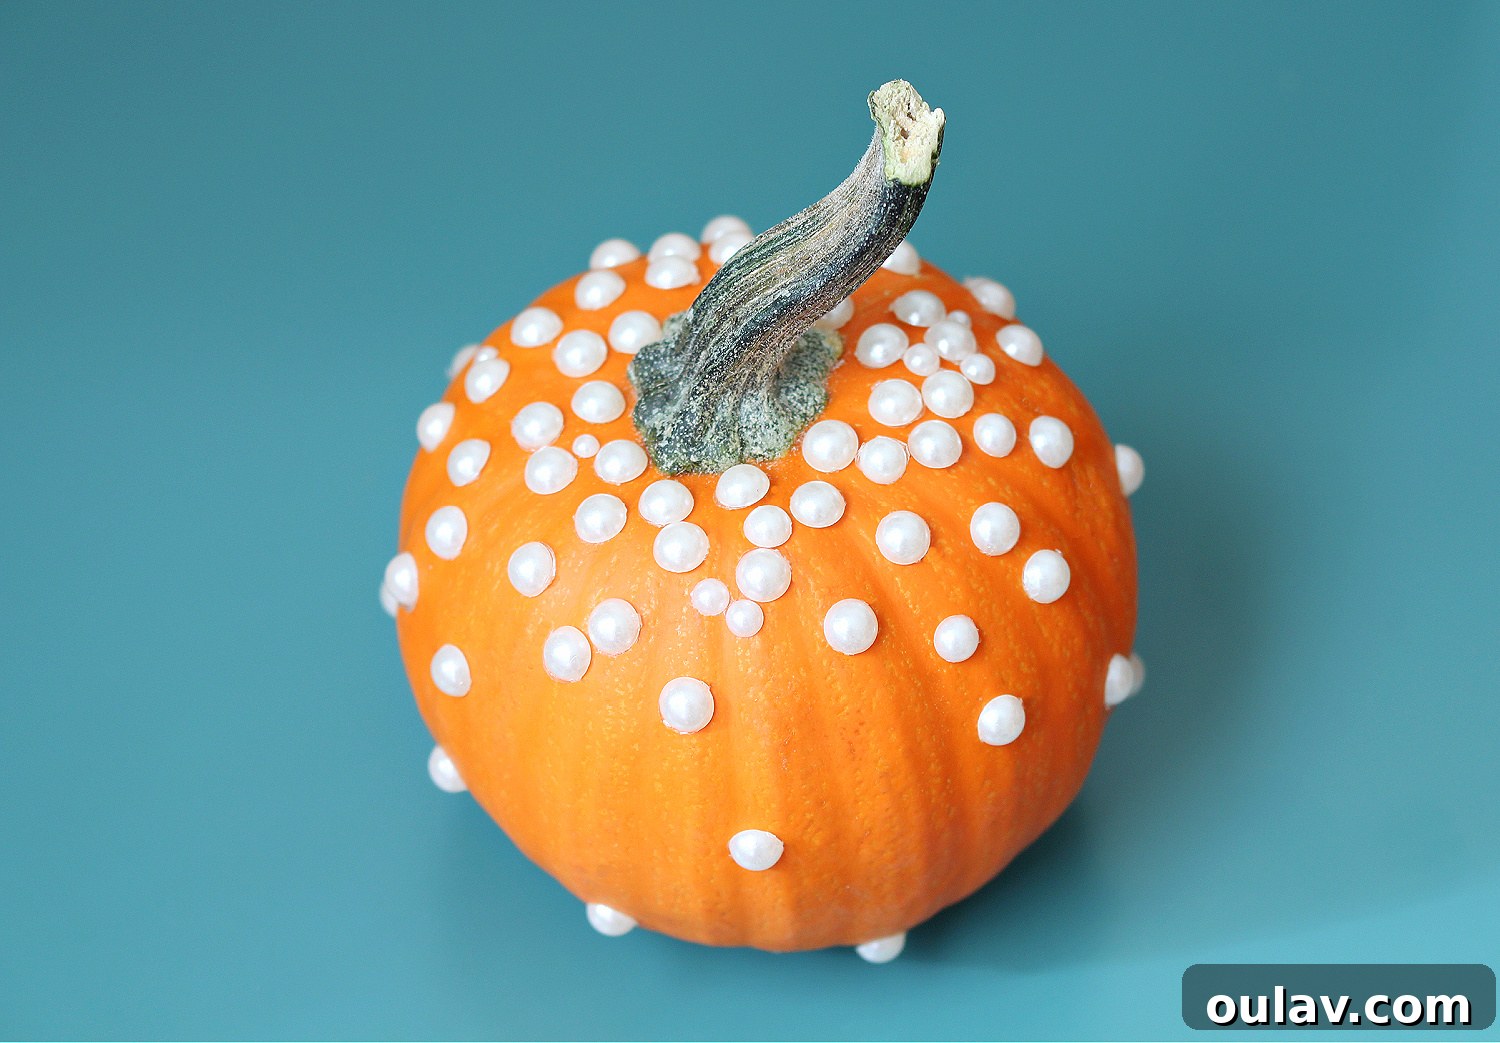
Sparkle and Shine: The Dazzling Rhinestone Pumpkin
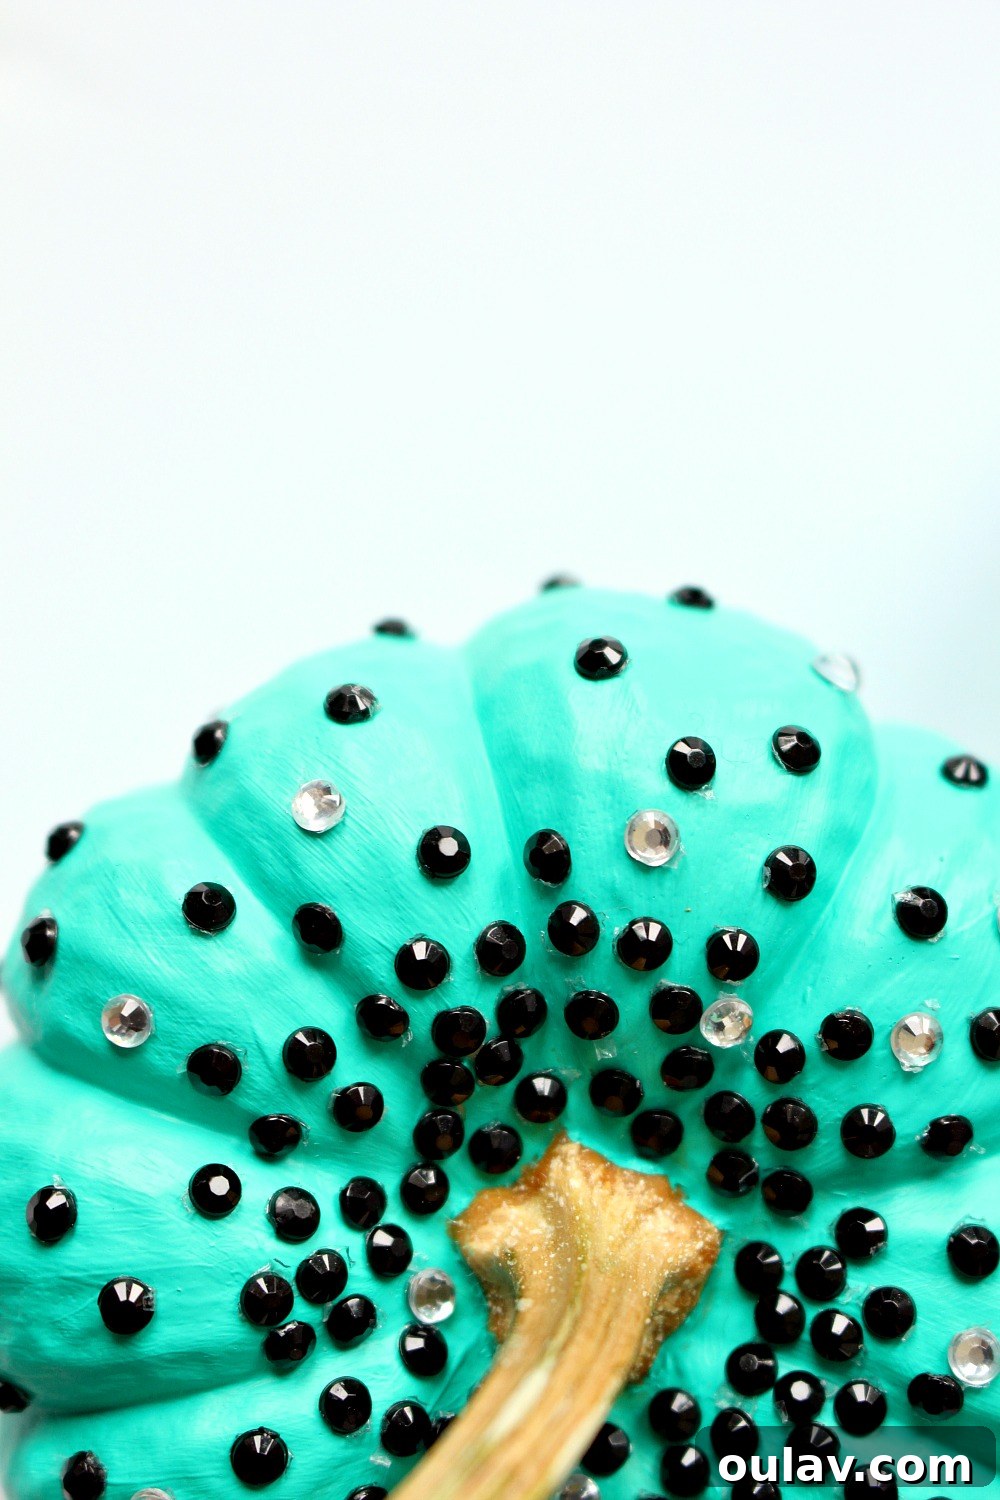
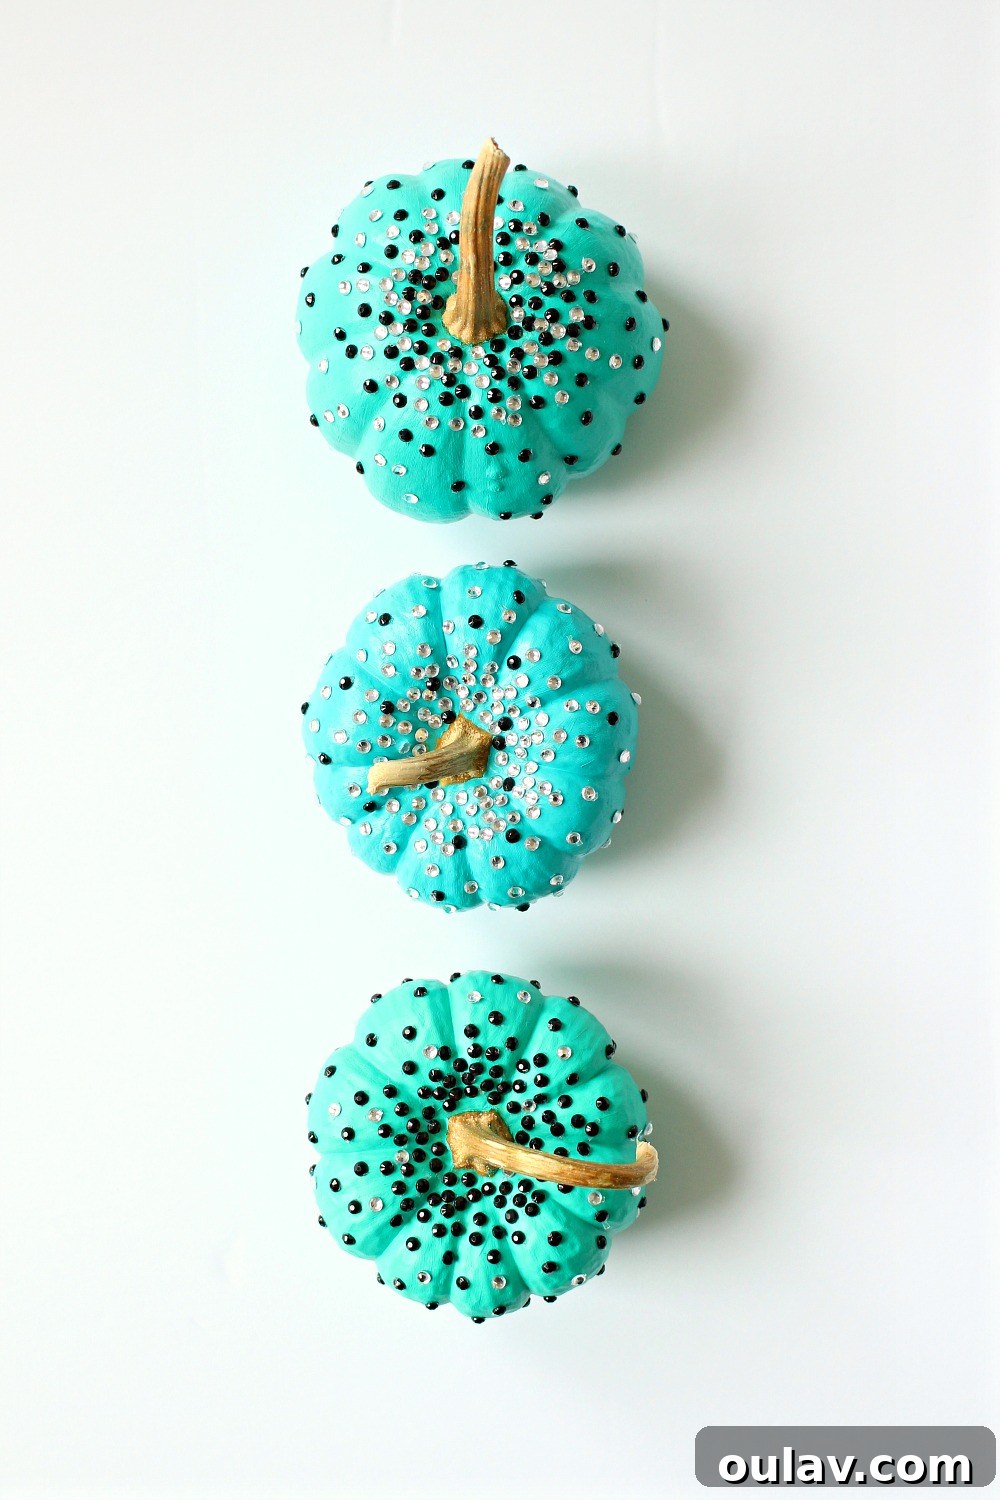
If you adore a touch of sparkle, the Rhinestone Pumpkin stands out as one of the most beloved and incredibly easy no-carve pumpkin decorating ideas. This concept mirrors the simplicity of the pearl pumpkin, offering a radiant twist. For this particular rendition, I opted for a vibrant color palette, painting several mini pumpkins in various enchanting shades of turquoise. Turquoise, with its refreshing and modern appeal, always makes a fantastic foundation for eye-catching decor. Once the paint was dry, the magic happened by simply applying dollar store stick-on rhinestones. Just like their faux pearl counterparts, these rhinestones come equipped with their own adhesive backing, completely eliminating the need for messy glues. The application process takes mere minutes, yielding a dazzling result that’s sure to catch the light. The combination of black, white, and turquoise creates a striking and sophisticated Halloween theme, diverging from traditional orange and black while still embracing the festive spirit. These bedazzled pumpkins are perfect for adding a touch of glamour to mantels, tabletops, or entryways, ensuring your fall decor truly shines.
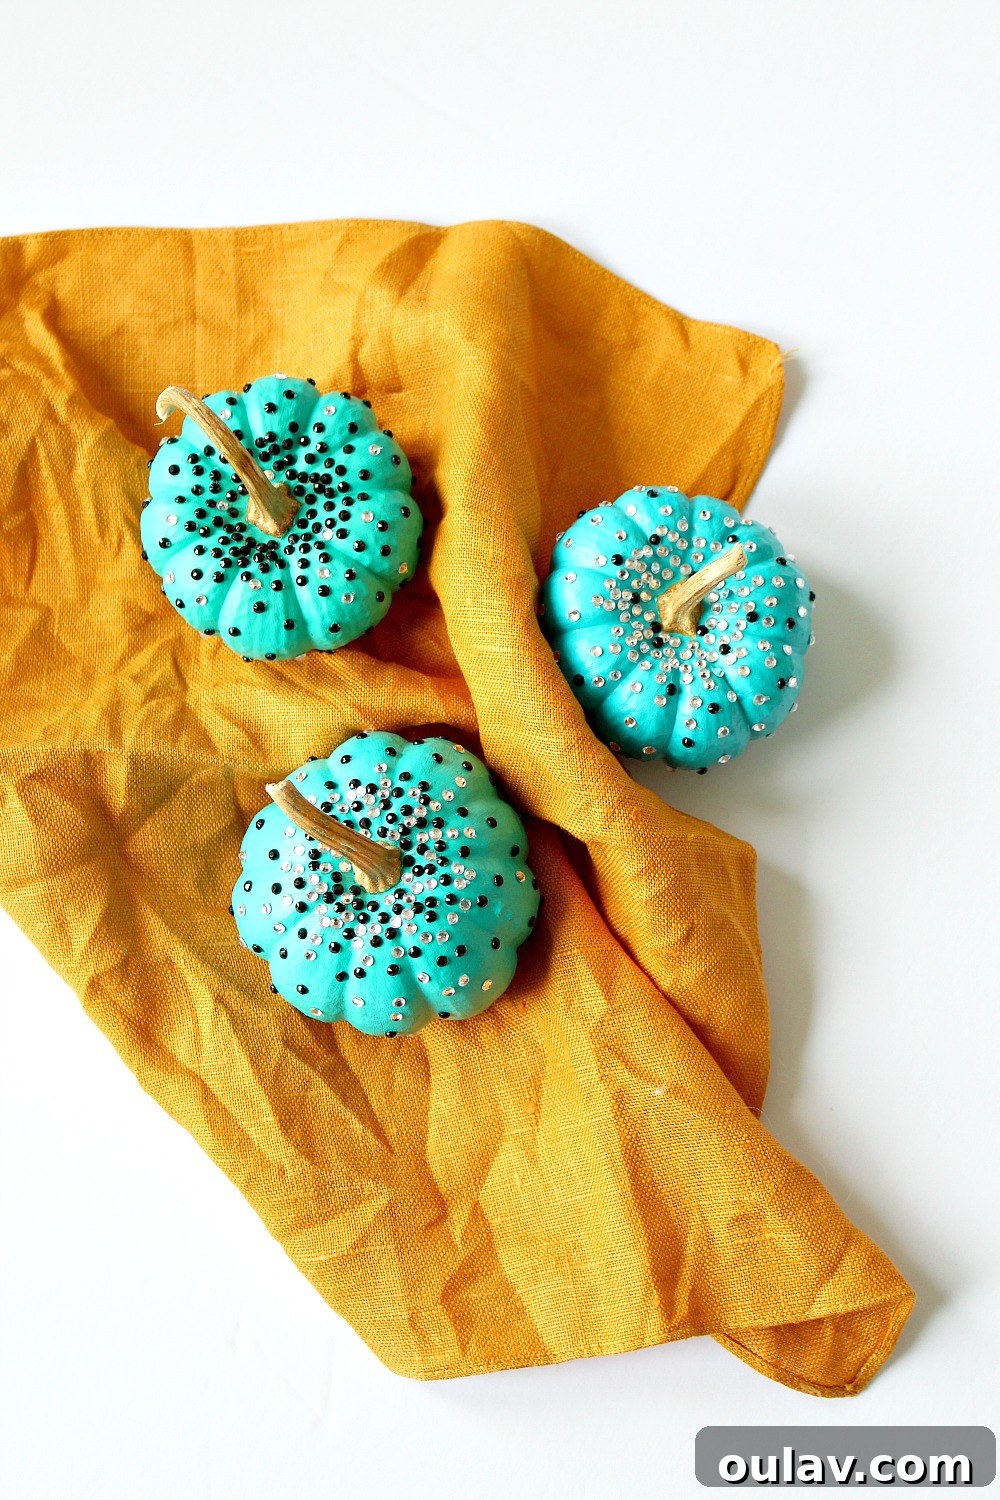
Artistic Flair: The Hypnotic Nail Polish Marbled Pumpkin
Unleash your inner artist with another incredibly quick and captivating no-carve pumpkin decorating idea: the Nail Polish Marbled Pumpkin. This project is deceptively simple, yet it produces truly stunning, unique, and abstract works of art. The process is as straightforward as “dip and dry!” To begin, gather a shallow container, preferably disposable, filled with water (room temperature works best for optimal marbling). Select a few nail polish colors you wish to use – this is a fantastic opportunity to repurpose those polishes you no longer wear but love the shades of. Drizzle drops of nail polish onto the surface of the water; the polish will spread out to form delicate films. You can gently swirl the colors with a toothpick or skewer to create intricate patterns. Then, carefully dip your pumpkin into the water, allowing the marbled film to adhere to its surface. Slowly lift the pumpkin out, let any excess water drip off, and allow it to dry completely. The result is an absolutely gorgeous, one-of-a-kind finish that mimics natural stone or cosmic patterns. Each marbled pumpkin will be unique, making it a truly personalized piece of fall decor. This method offers an exciting way to experiment with color combinations and create a high-impact visual display in minutes.
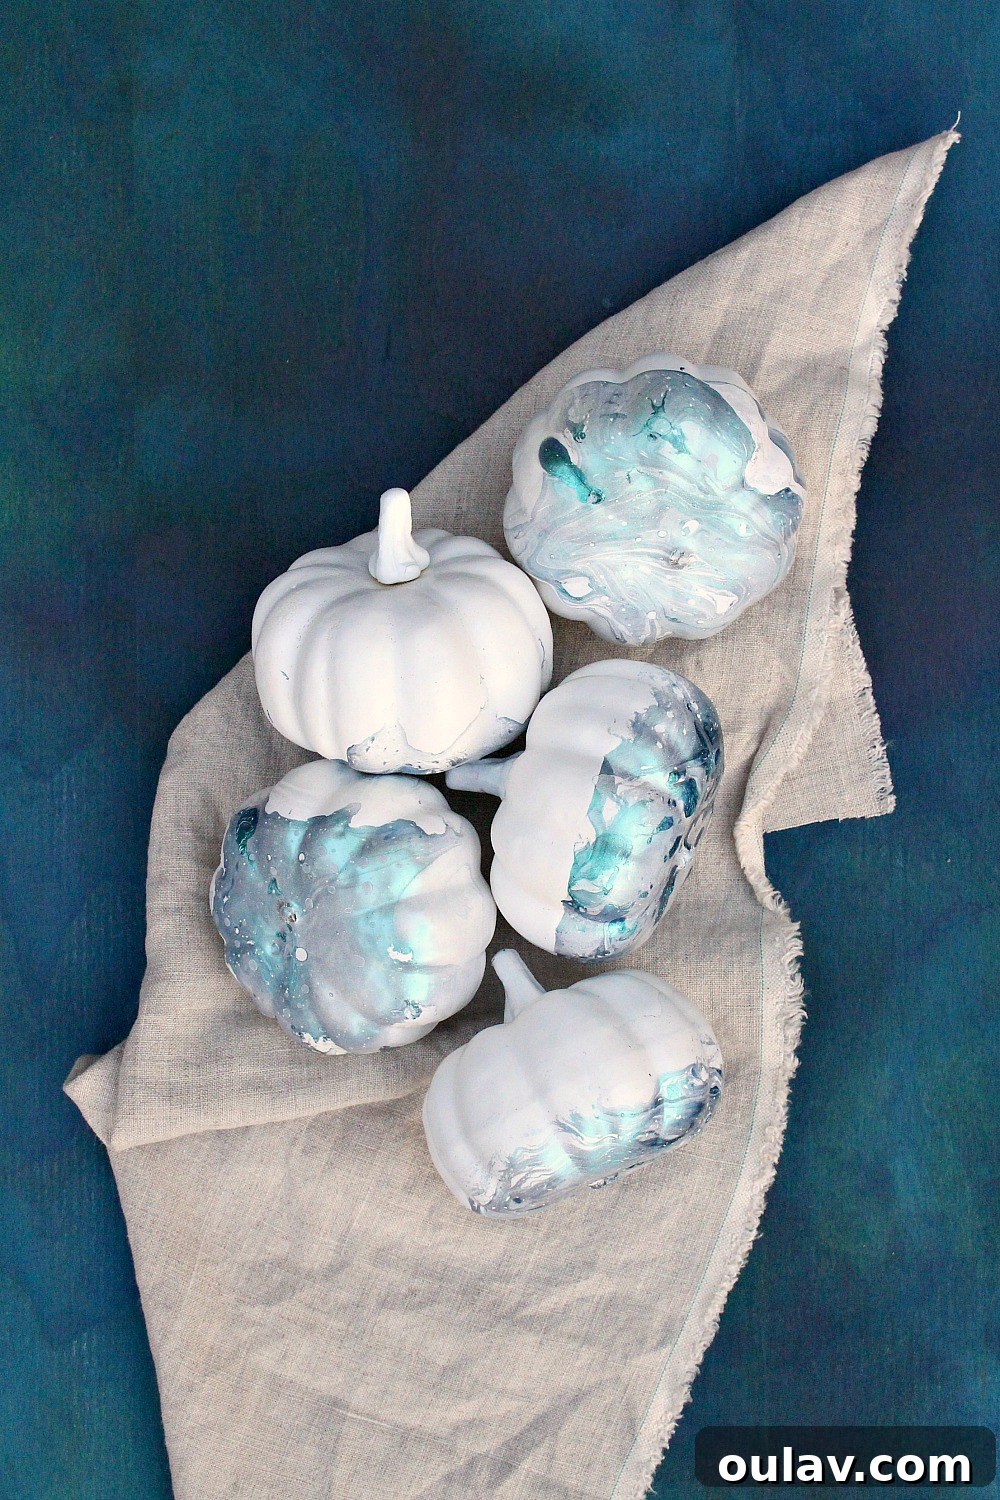
Smooth Transitions: The Sophisticated Gradient Spray Paint Pumpkin
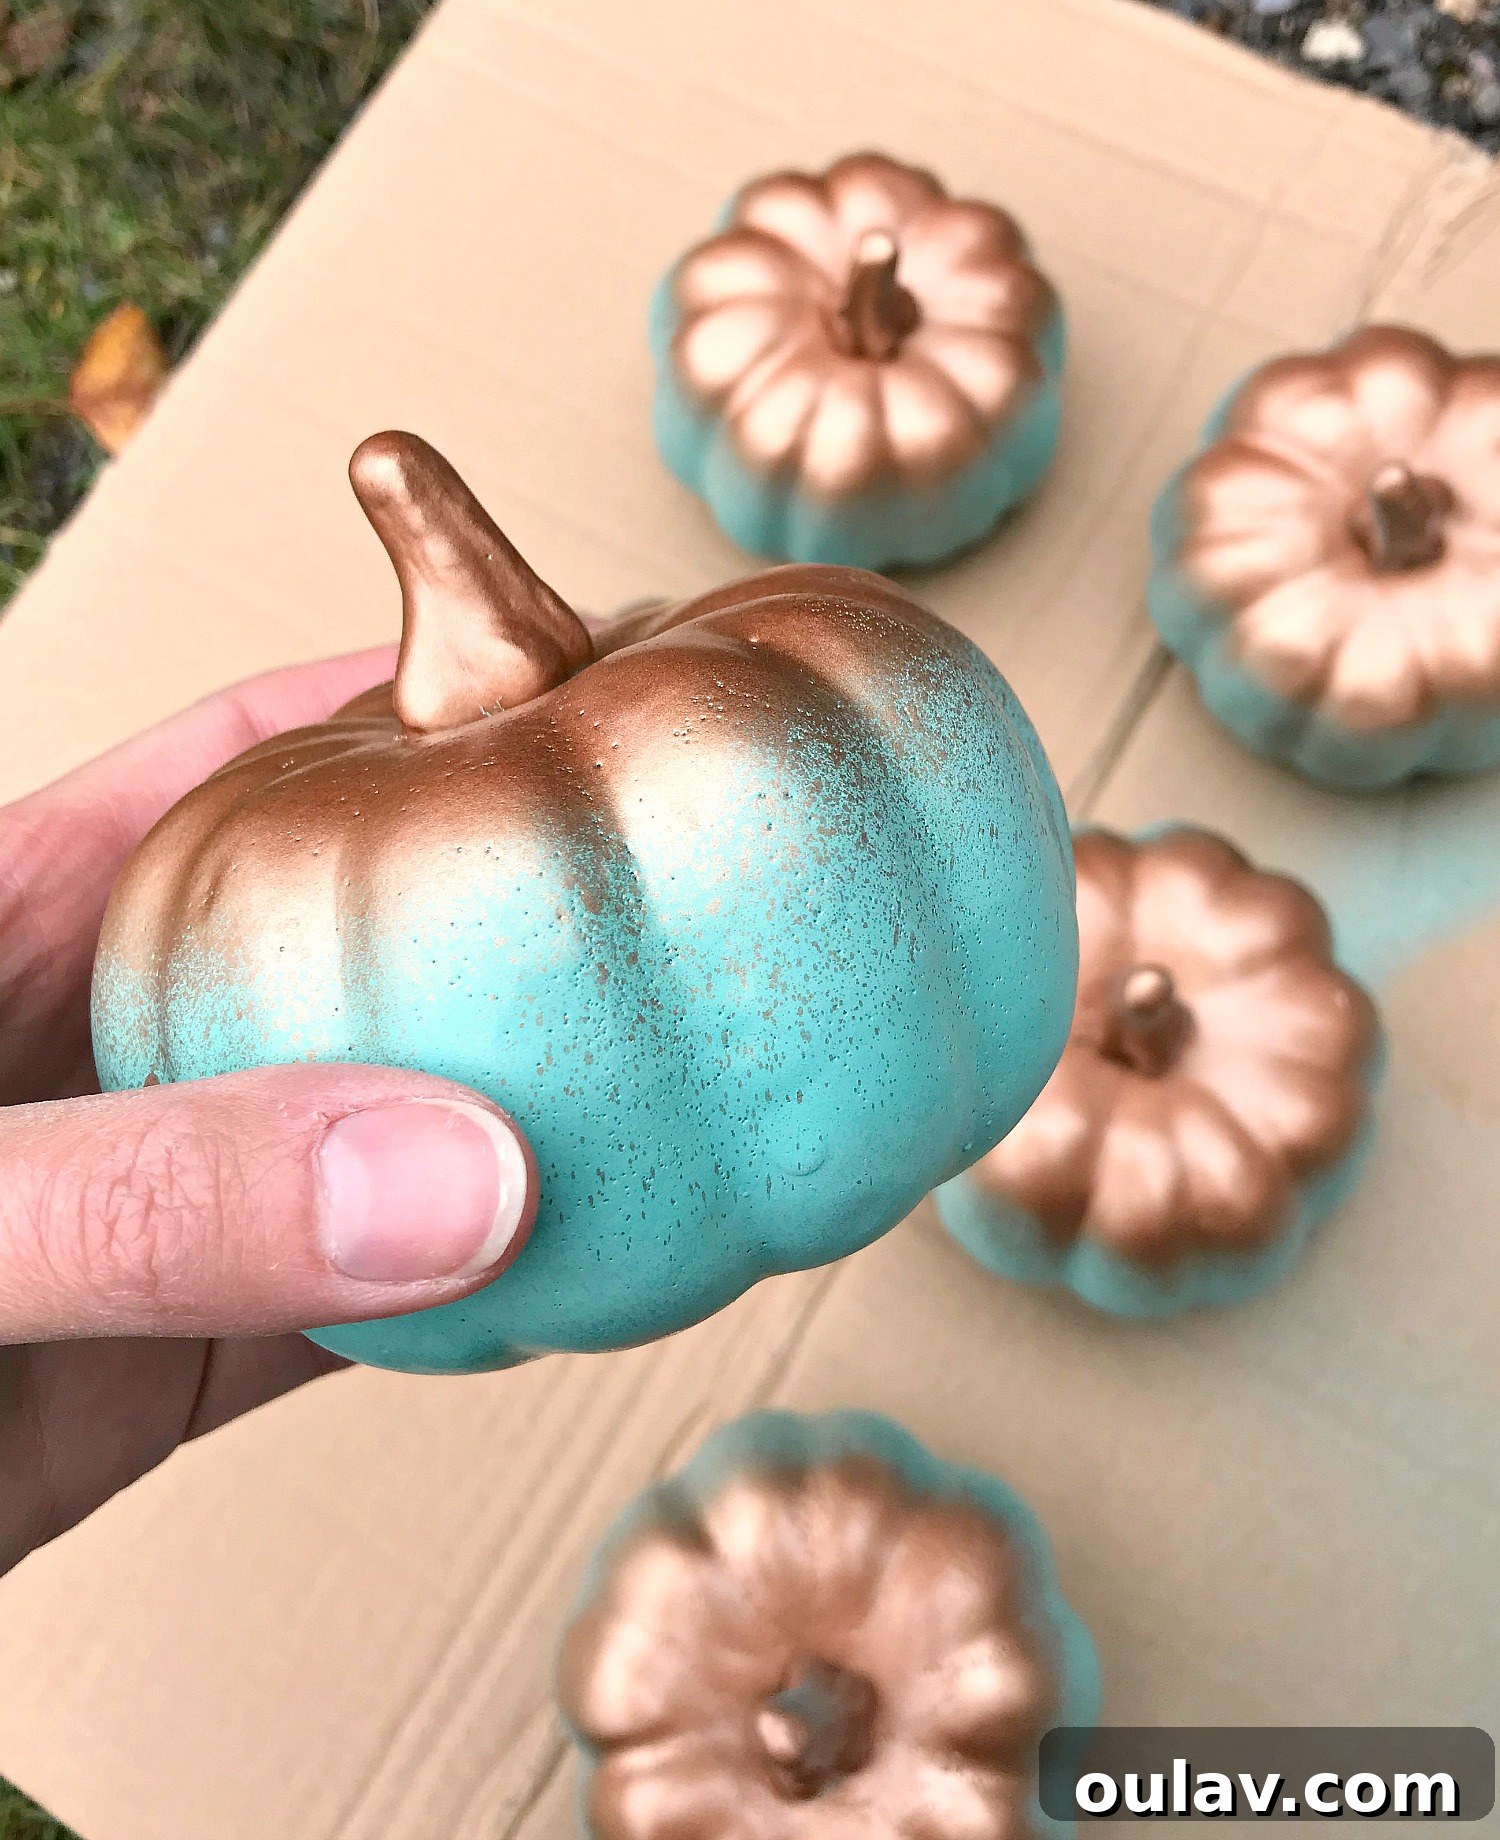
For those who appreciate modern aesthetics and seamless color transitions, the Gradient Spray Paint Pumpkin idea offers a wonderfully creative outlet. This technique is not only a fantastic way to utilize those leftover bits and pieces of paint and spray paint you might have lying around, but it’s also perfect for giving a fresh, updated look to previously painted faux pumpkins. I’m a firm believer in the power of repainting faux mini pumpkins year after year; it’s an eco-friendly approach that allows for endless creative variations. To achieve a beautiful gradient, select two or three complementary colors. Begin with your lightest shade at the top or bottom, and gradually layer darker shades, allowing for a soft blend where the colors meet. The key is to apply thin, even coats and to maintain a consistent distance while spraying, moving your hand smoothly to create that desired ombré effect. This method can transform an ordinary pumpkin into a piece of art that looks professionally designed. Whether you opt for subtle shifts in tone or dramatic contrasts, the gradient pumpkin adds a sophisticated and contemporary touch to any autumn display. It’s a magical way to breathe new life into existing decor and create truly captivating focal points.

Rustic Charm: The Versatile Chalk Paint Pumpkins
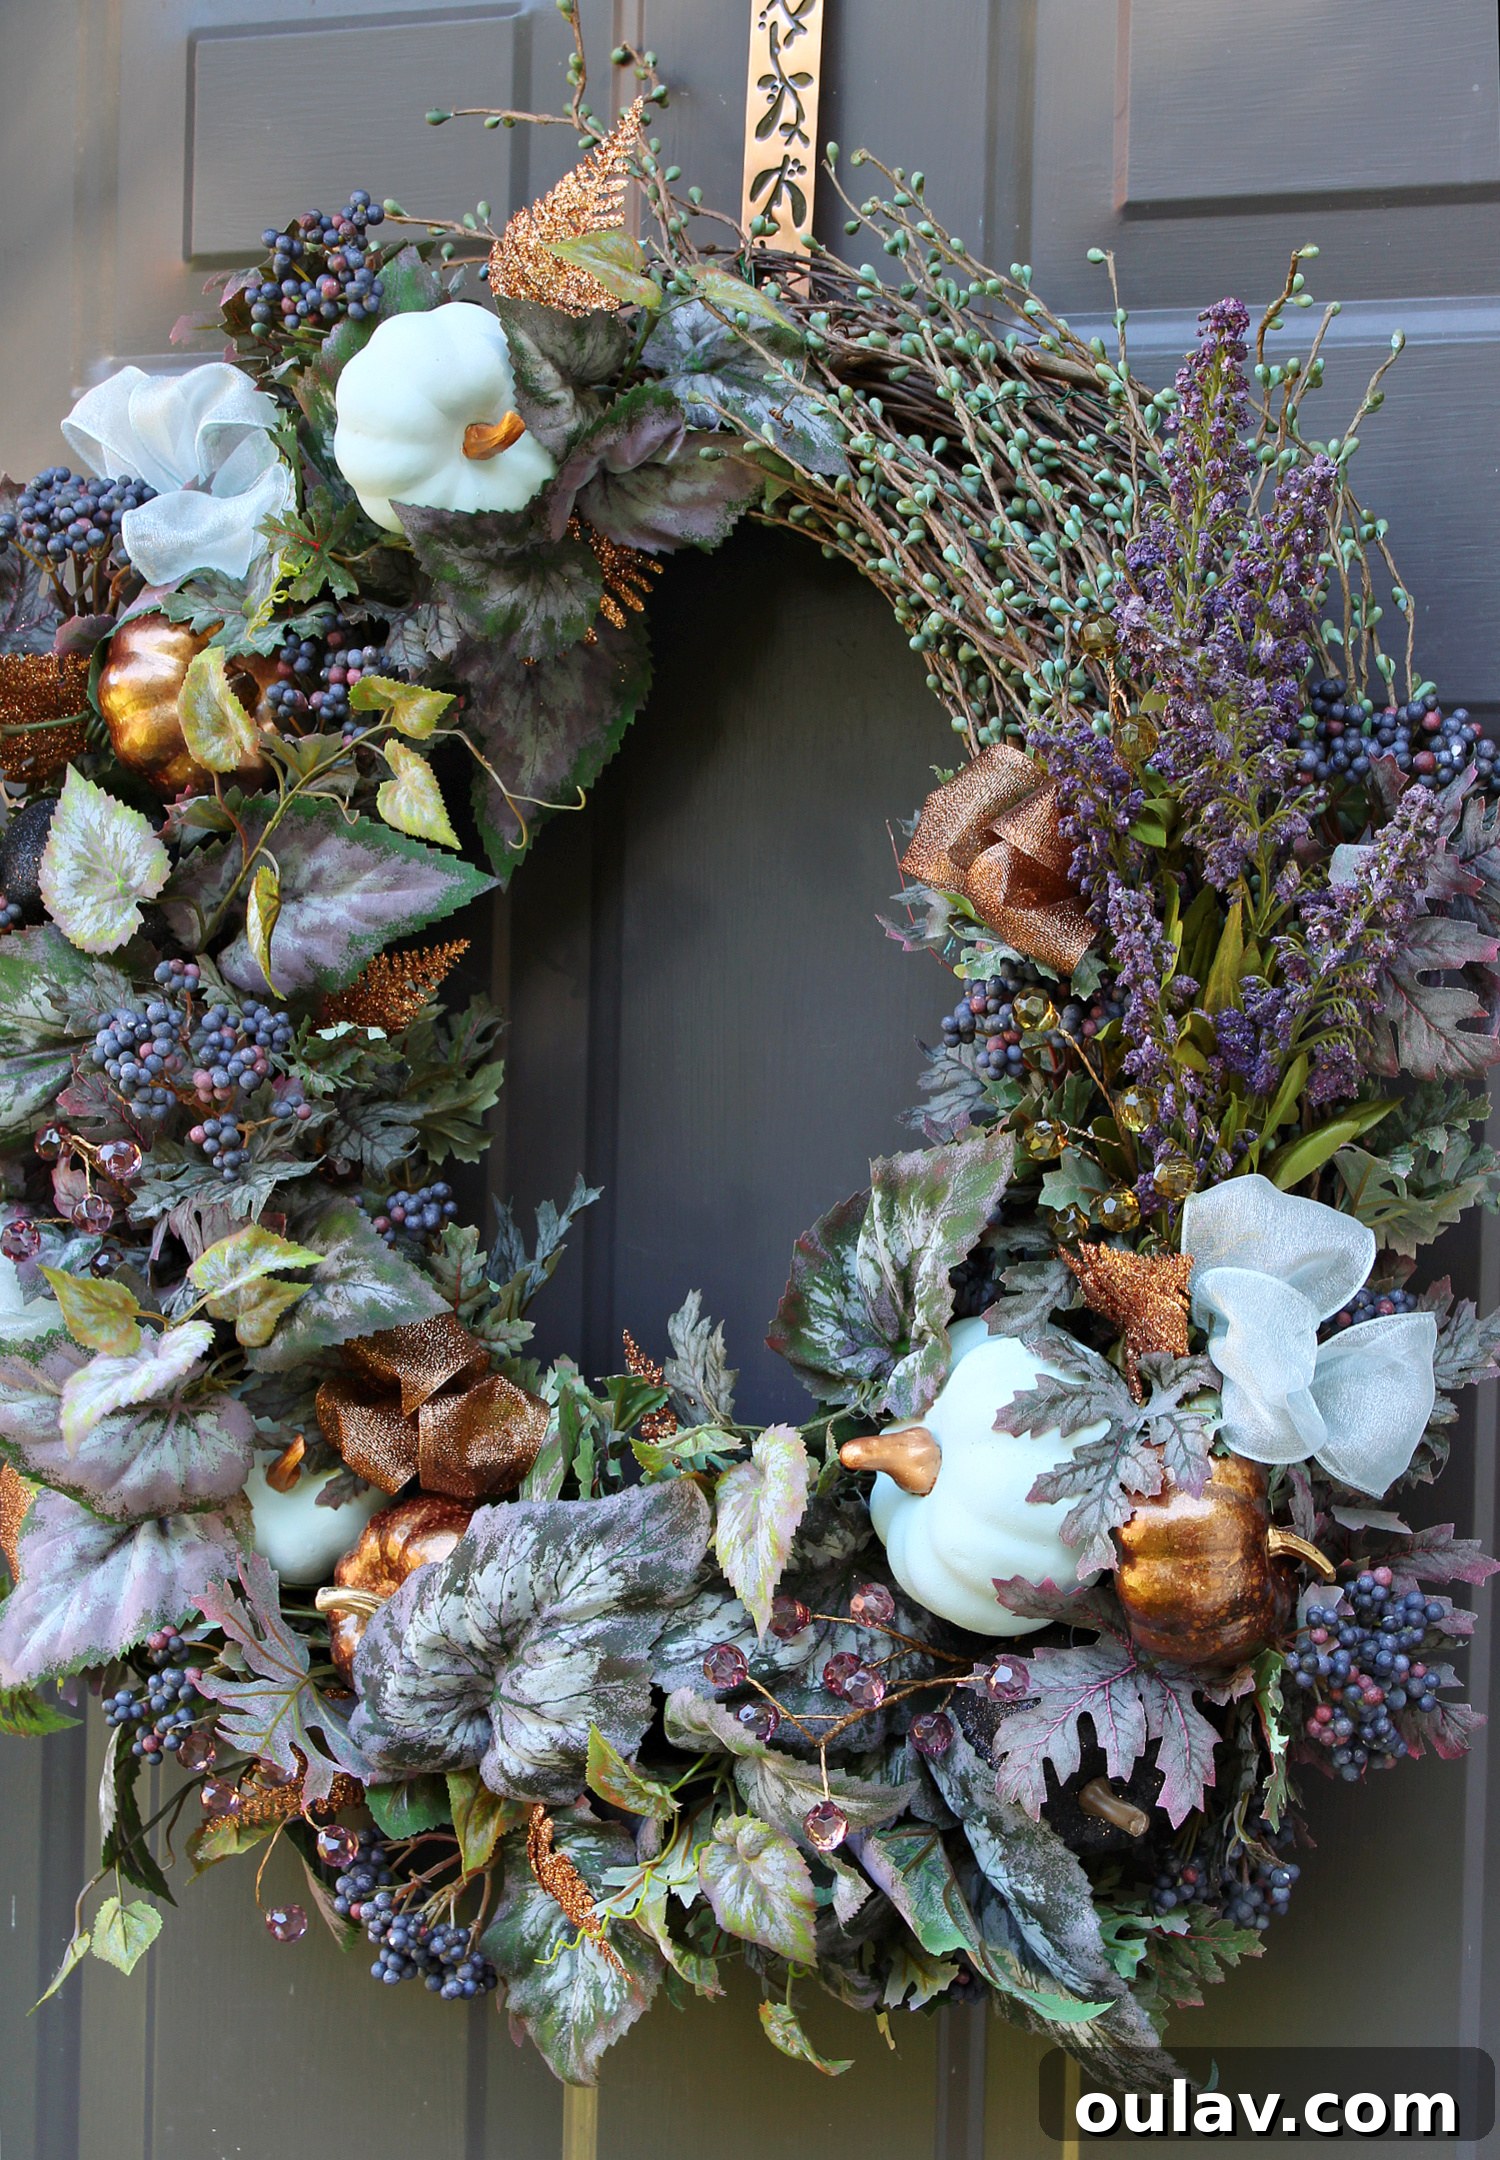
Before the emergence of naturally blue-grey pumpkins became more common, an ingenious solution for achieving that coveted muted, farmhouse aesthetic was to simply paint mini pumpkins with chalk paint. Chalk paint is renowned for its velvety matte finish and excellent adhesion, making it ideal for transforming the vibrant orange of traditional pumpkins into sophisticated, subdued tones like pale blue, grey, cream, or even rich plums. This method is especially effective for creating a cohesive and elegant fall display. To further enhance the charm of these inexpensive pumpkins, consider adding a metallic touch by painting the stems a contrasting color, such as copper. A product like Rub ‘n Buff would also work wonderfully for a shimmering, aged metallic finish on the stems, elevating the overall look. You might recall seeing some of these very chalk-painted pumpkins featured in my gorgeous DIY fall wreath this year, proving their versatility and ability to complement a variety of autumnal palettes. Chalk paint pumpkins offer a beautiful way to personalize your fall decor with a touch of rustic elegance, perfectly fitting into modern farmhouse, vintage, or even coastal-inspired themes.
Custom Creativity: The Inspired Pyrex Painted Pumpkin
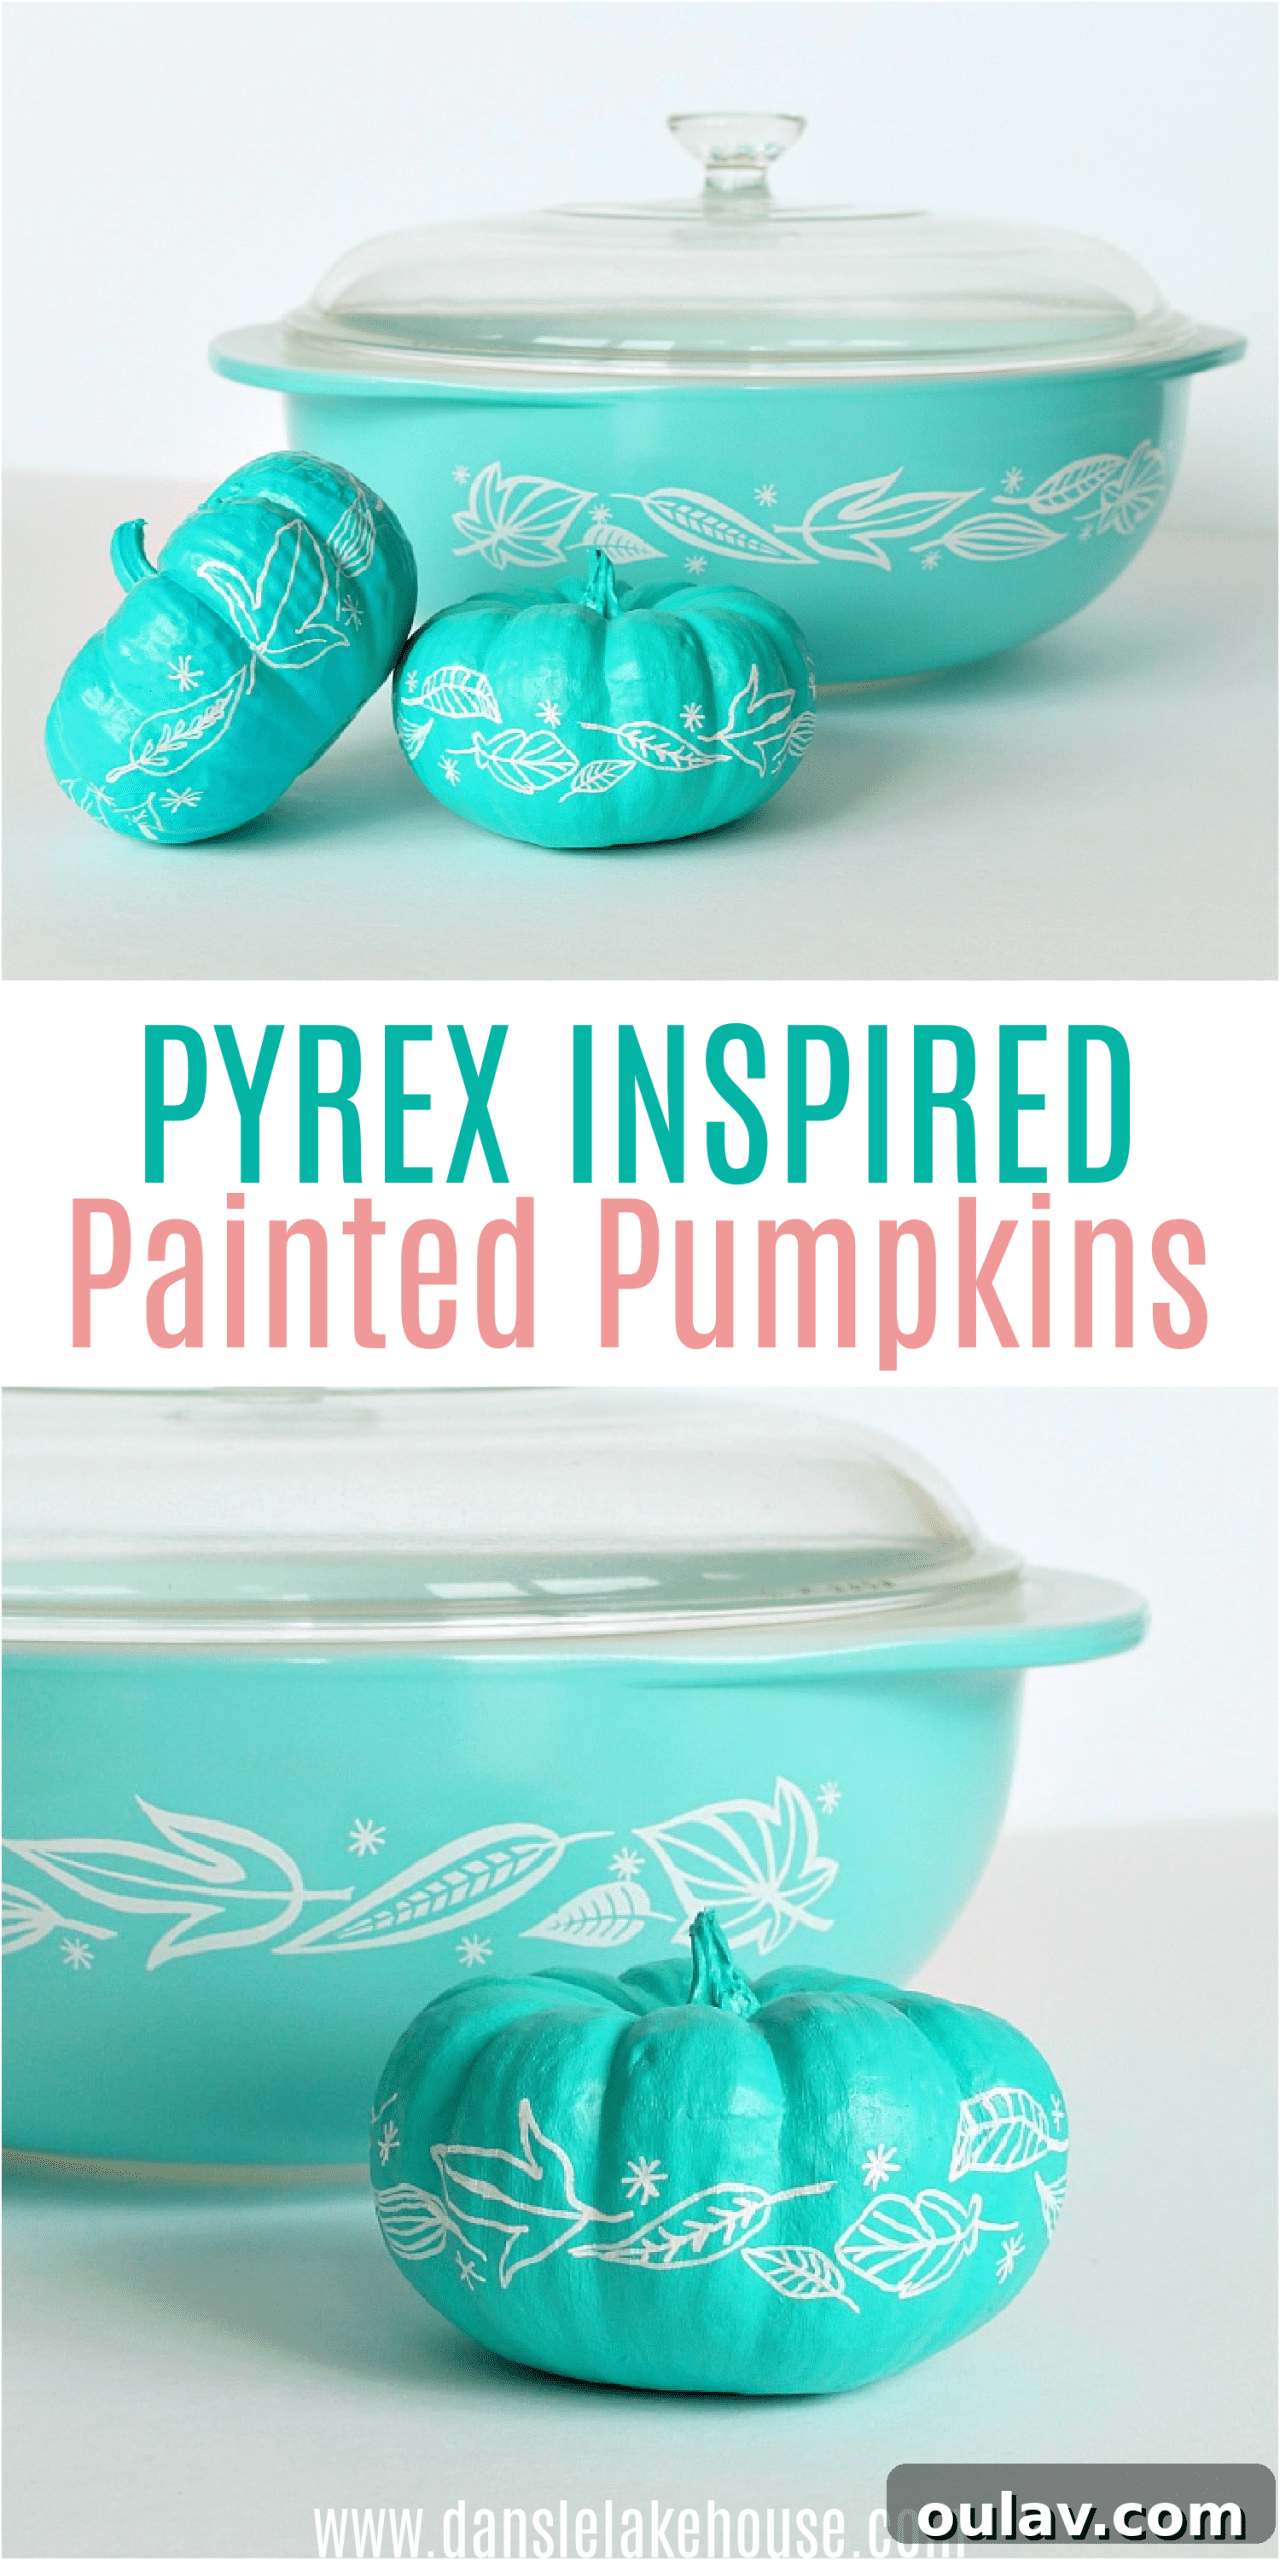
For those who love to infuse their decor with personal touches and unique patterns, the Pyrex Painted Pumpkin offers an incredible avenue for creativity. While I initially drew inspiration from a distinctive vintage Pyrex pattern for this project, the true beauty of this method lies in its boundless potential. With a simple paint marker, you can adorn a pumpkin with virtually ANY hand-drawn design your heart desires. Imagine intricate mandalas, whimsical polka dots, classic stripes, personalized monograms, or even abstract doodles – the possibilities are limitless. Using a paint pen for pumpkin decoration is an exceptionally fast, clean, and incredibly precise way to add detail and personality. Unlike brushes, paint pens offer excellent control, allowing for sharp lines and intricate patterns without the mess of liquid paint. This method is perfect for individuals who enjoy drawing or lettering, transforming a plain pumpkin into a bespoke piece of art. Whether you replicate a beloved pattern, create a holiday-specific design, or simply freehand something unique, the paint pen pumpkin is a delightful way to express your artistic flair and make your fall decor truly one-of-a-kind. It’s a testament to how simple tools can lead to sophisticated results.
I sincerely hope you’ve enjoyed exploring these easy DIY no-carve pumpkin decorating ideas. As a fan of last-minute seasonal projects that deliver big impact, I can confidently say that each of these creative endeavors can be completed in under 15 minutes, making them perfect for busy schedules or spontaneous crafting sessions. They are designed to be mess-free, allowing you to enjoy the festive process without the clean-up hassle. These simple yet stylish methods offer a fantastic way to personalize your fall and Halloween decor, reflecting your unique taste and adding a touch of handmade charm to your home. Whether you choose the shimmering elegance of pearls, the dazzling sparkle of rhinestones, the artistic swirl of marbling, the smooth transition of gradients, the rustic appeal of chalk paint, or the custom creativity of paint pens, your pumpkins are sure to become a focal point of admiration.
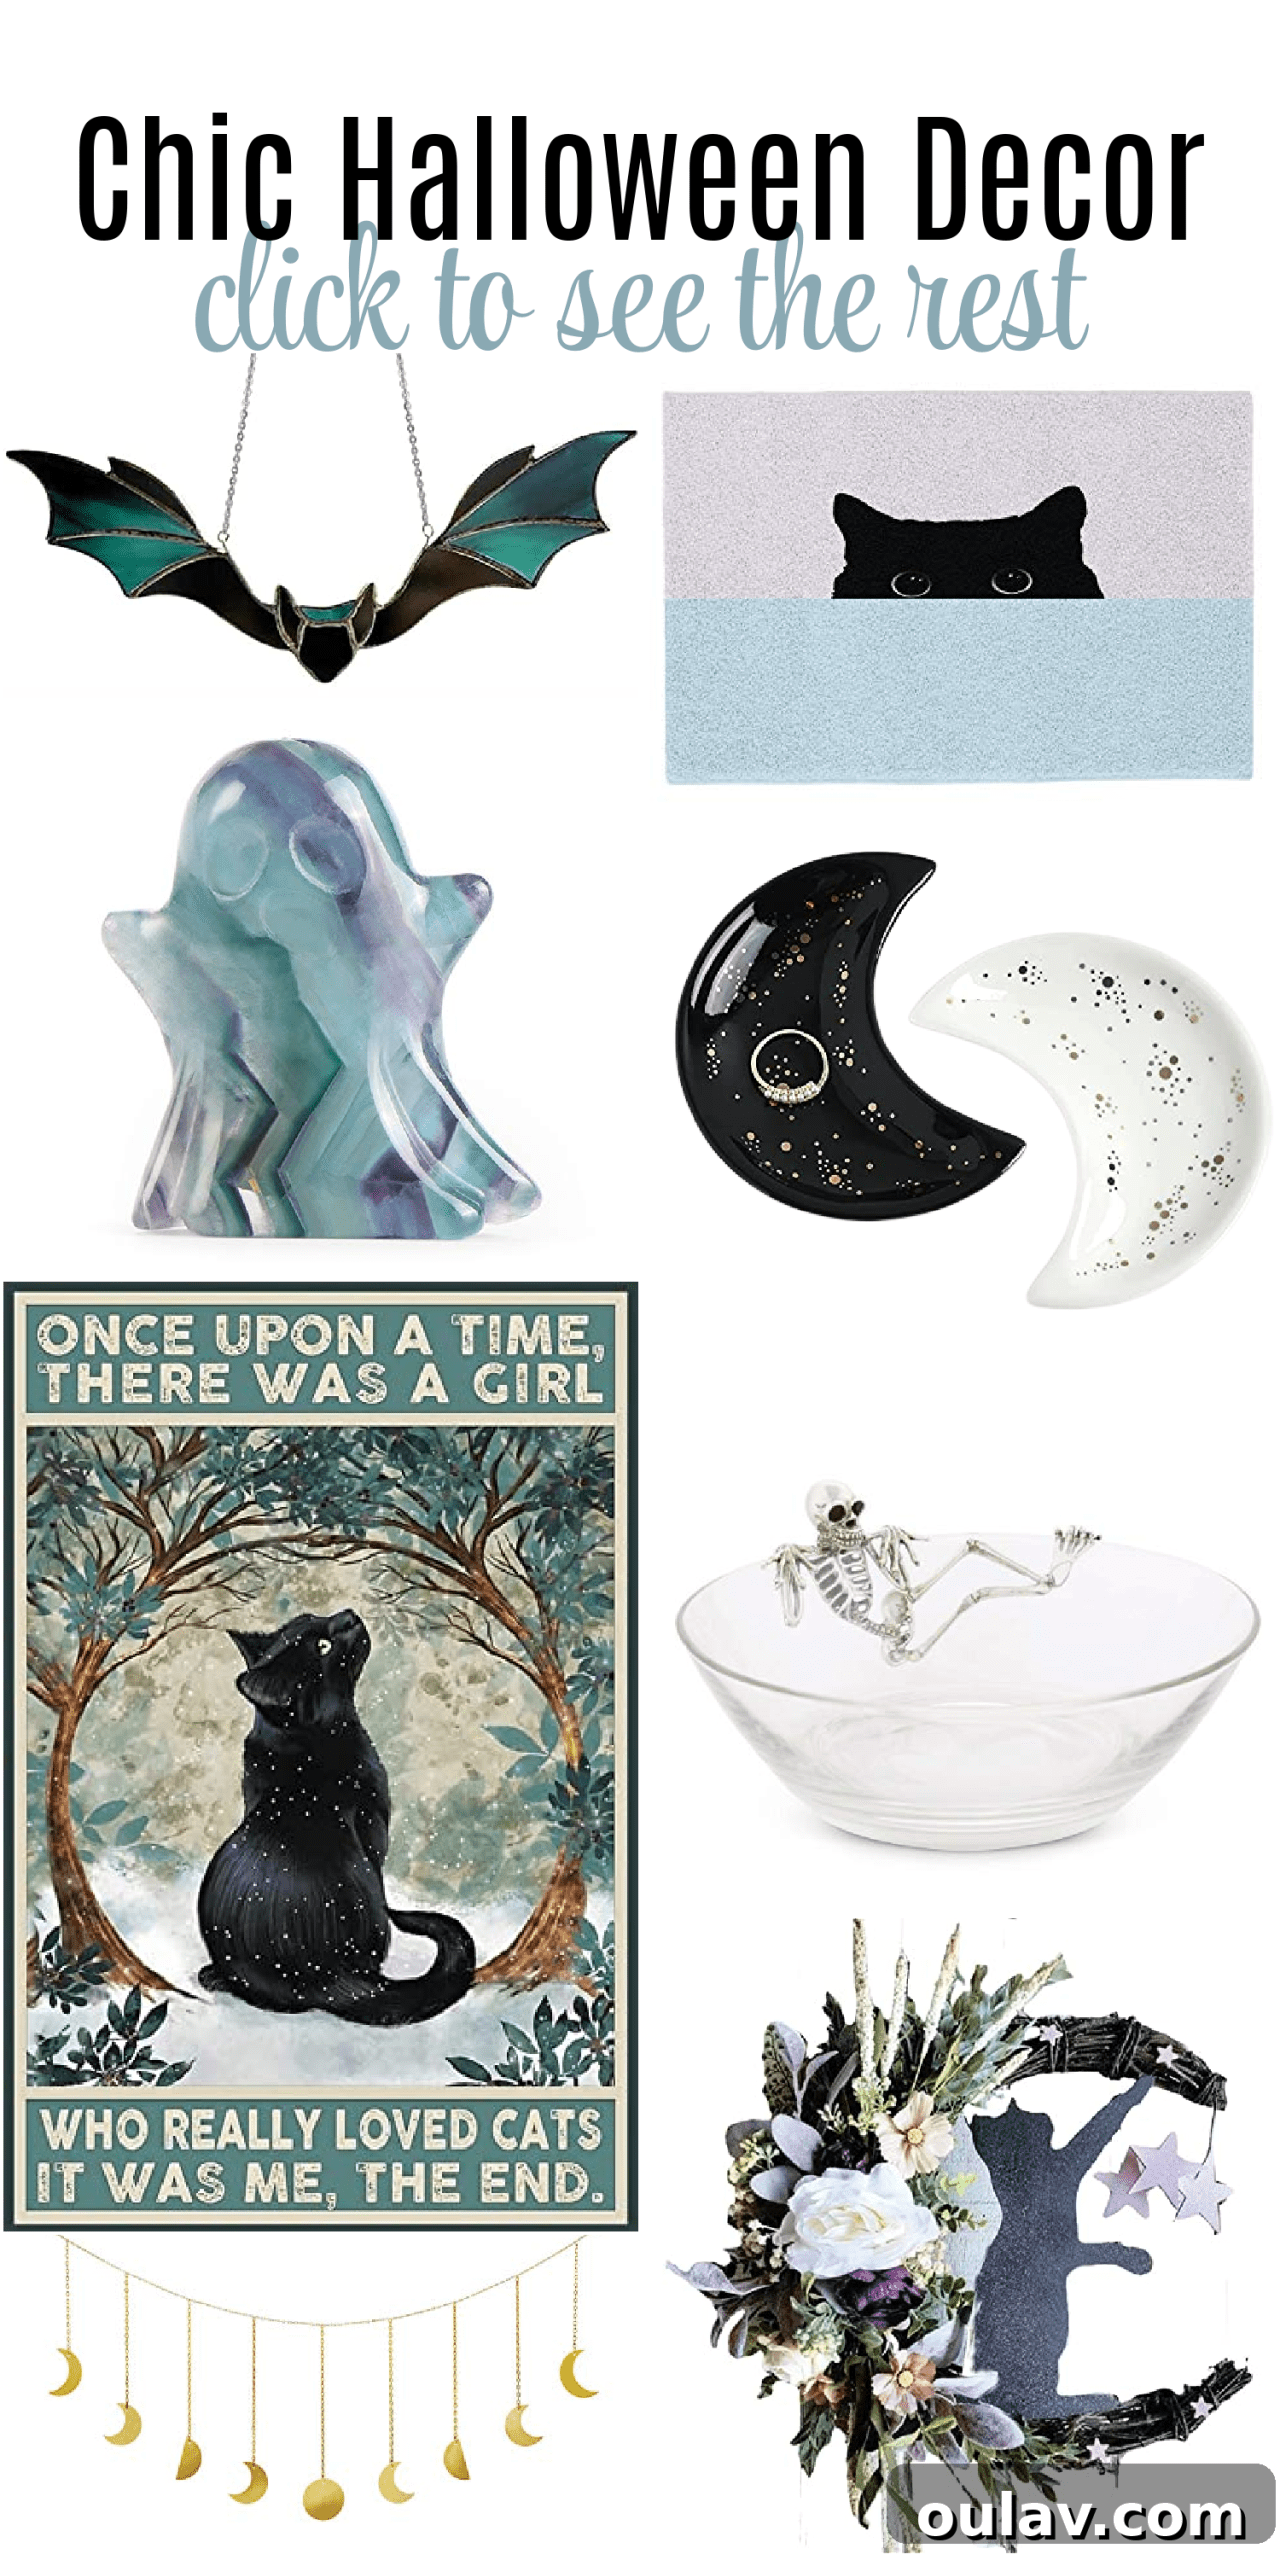
Speaking of last-minute decorating and stylish holiday accents – for those seeking to extend their autumn aesthetic beyond pumpkins, I’ve curated a stunning collection of truly chic Halloween decor. This handpicked selection features items in a beautiful and unexpected color palette of aqua, black, white, and plum, offering a sophisticated alternative to traditional Halloween hues. Discover unique pieces that will elevate your holiday styling and create a cohesive, elegant look throughout your home. This curated list is designed to inspire and help you effortlessly achieve a polished and stylish seasonal atmosphere, proving that Halloween decor can be both festive and incredibly chic. From subtle accents to statement pieces, you’ll find everything you need to complete your autumn transformation with flair.
P.S. Don’t Forget to Pin These Inspiring Ideas for Later!