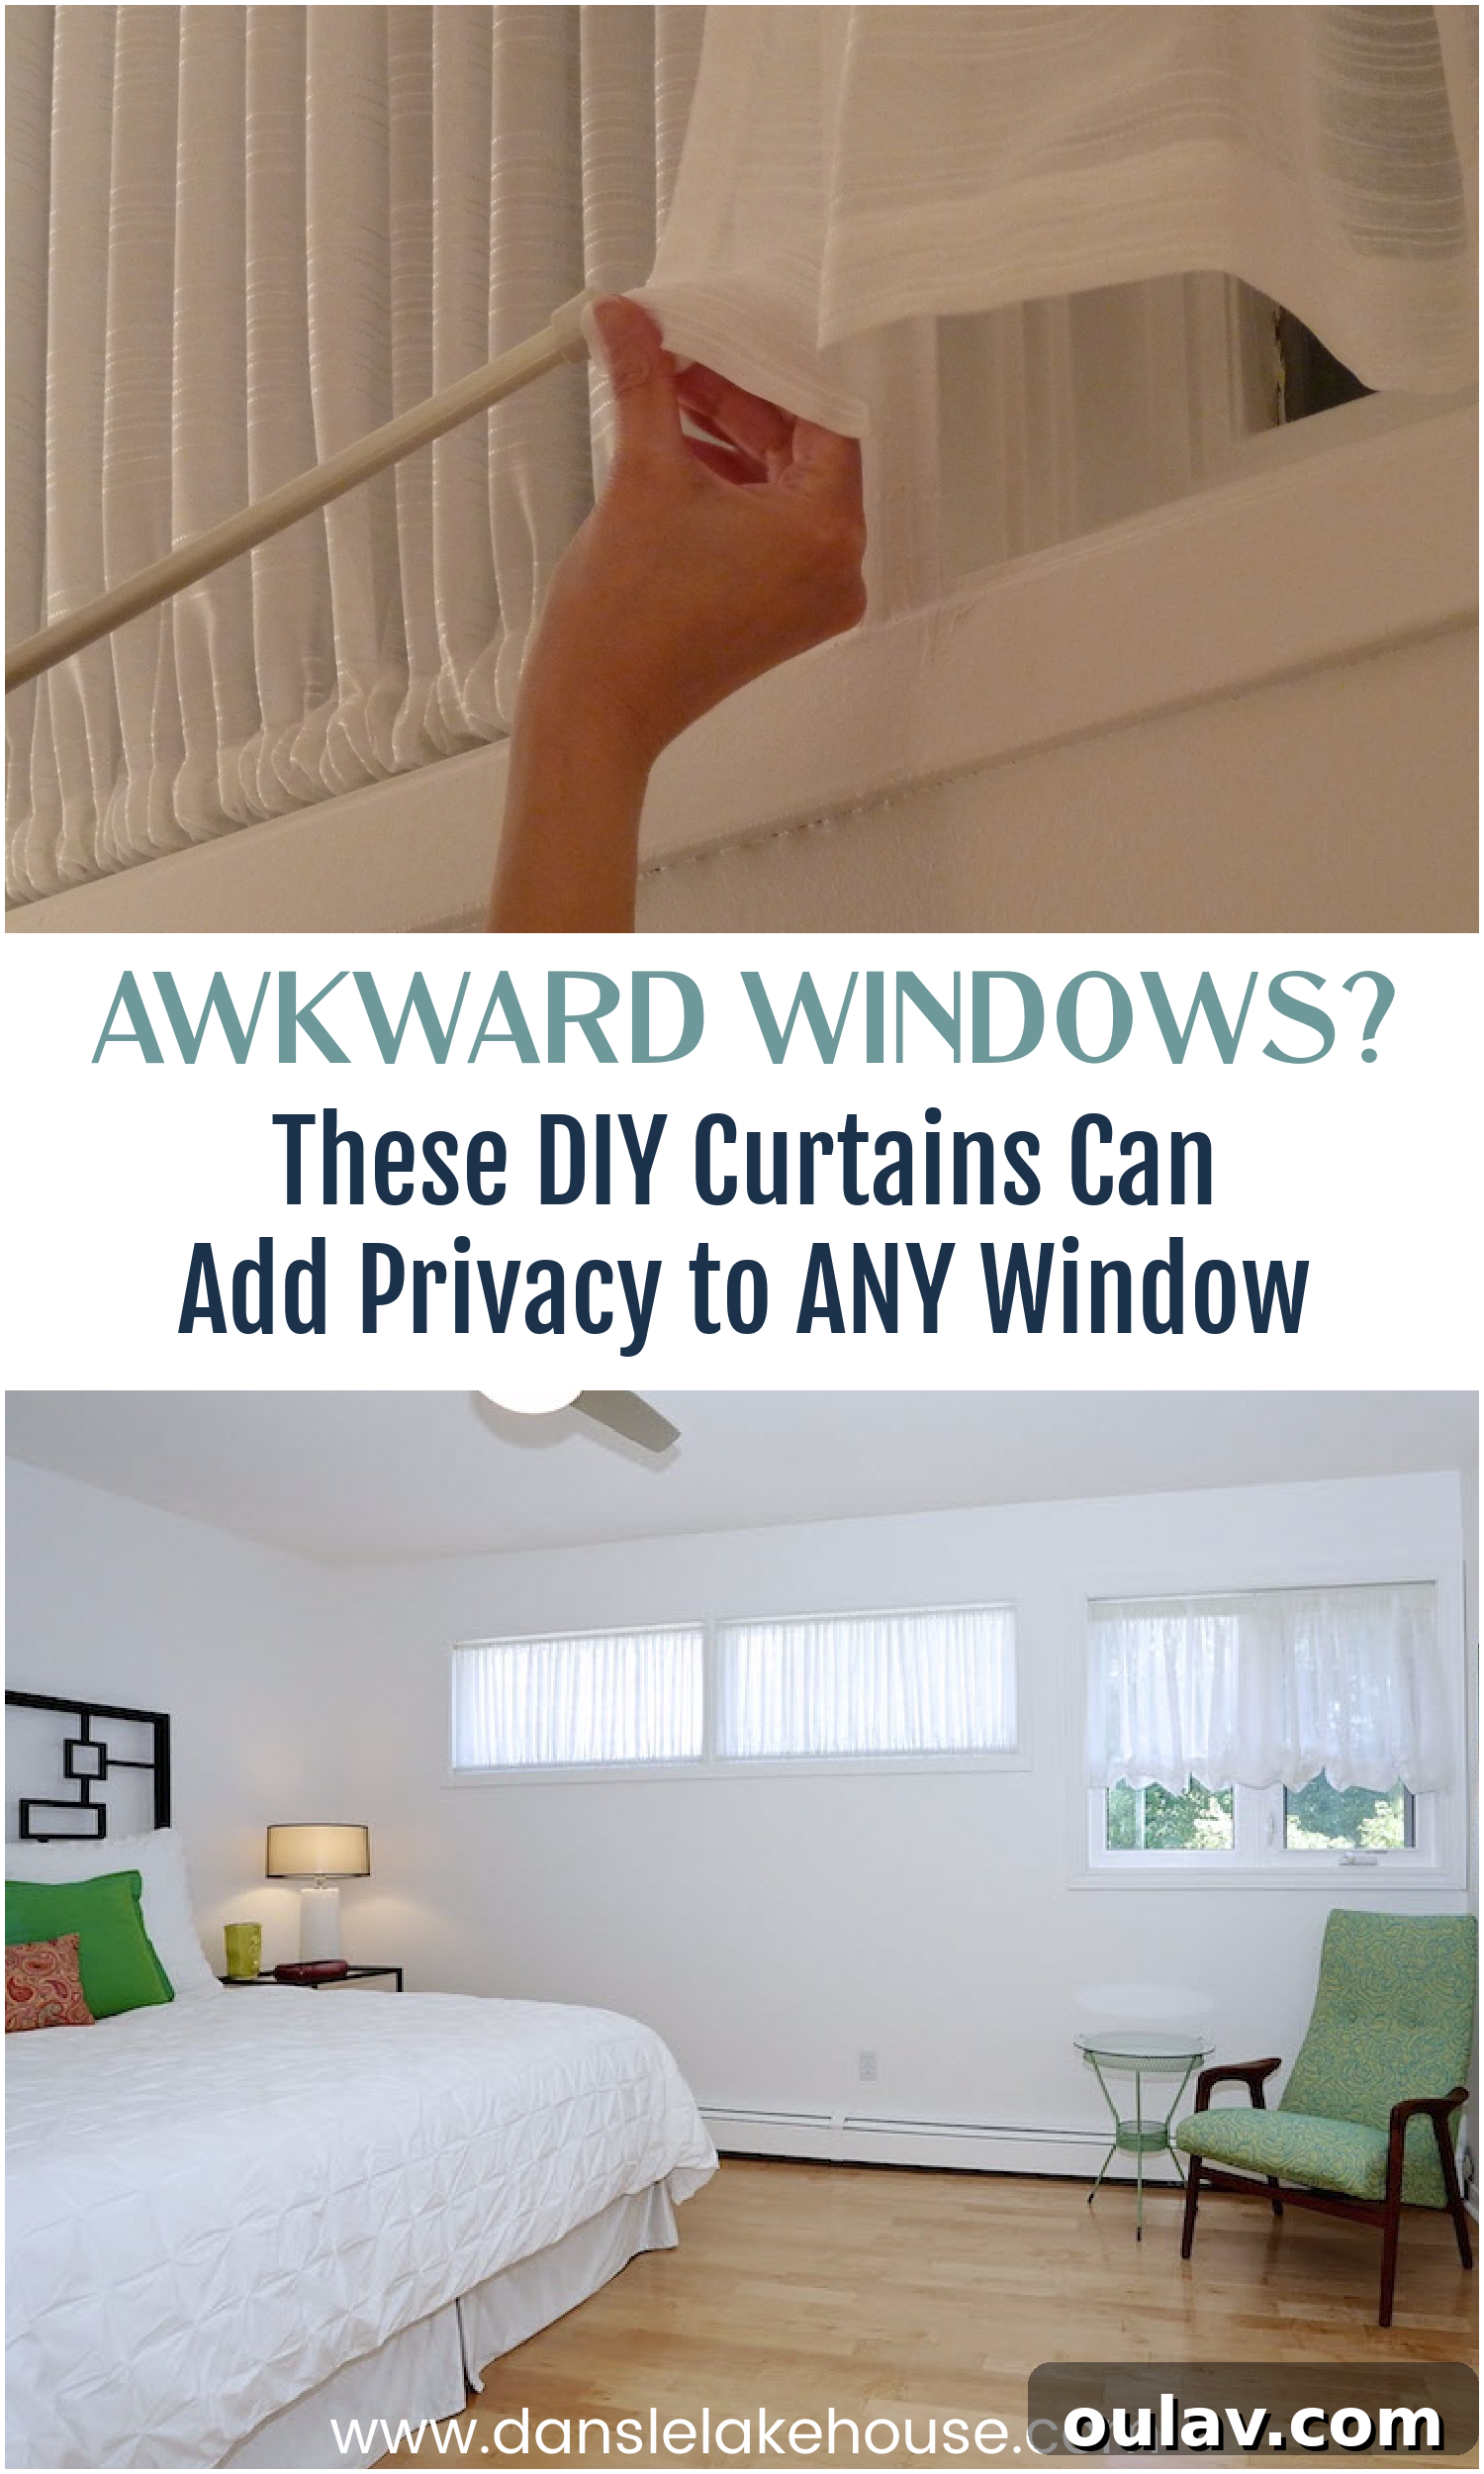
Are you struggling to find stylish and functional window coverings for those tricky, awkward windows in your home? You’re not alone! Many homeowners face the challenge of small, narrow, or uniquely shaped windows that don’t quite fit standard curtain solutions. Today, I’m thrilled to share an incredibly easy, budget-friendly, and highly effective DIY window covering idea that will not only solve your dilemma but also add a touch of custom elegance to your space: ruched curtains using tension rods.
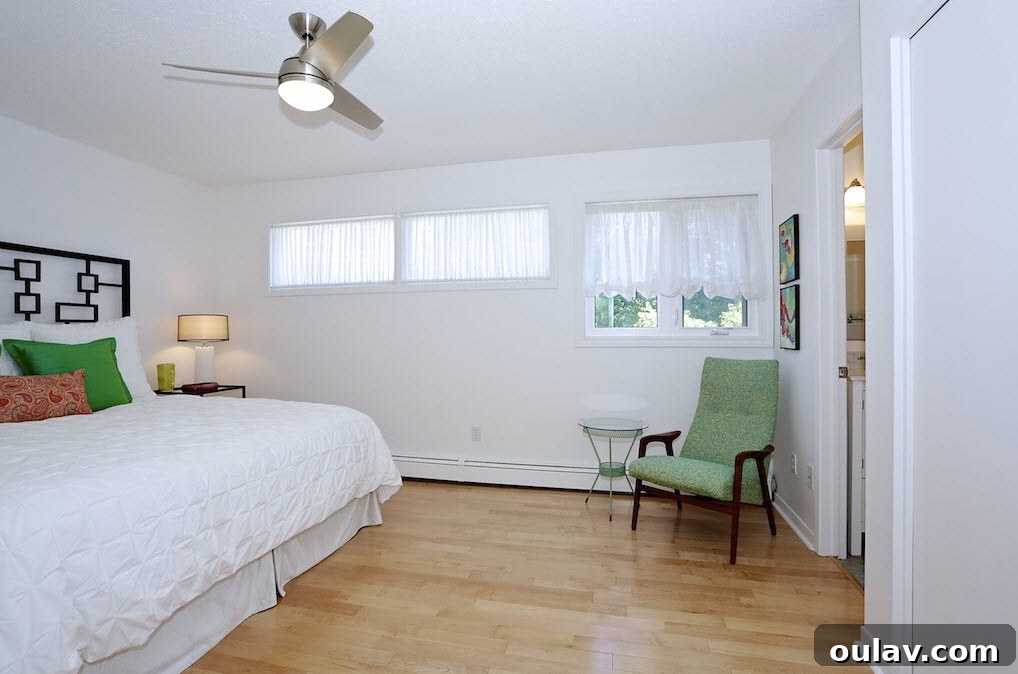
DIY Ruched Curtains: The Perfect Solution for Awkward Windows
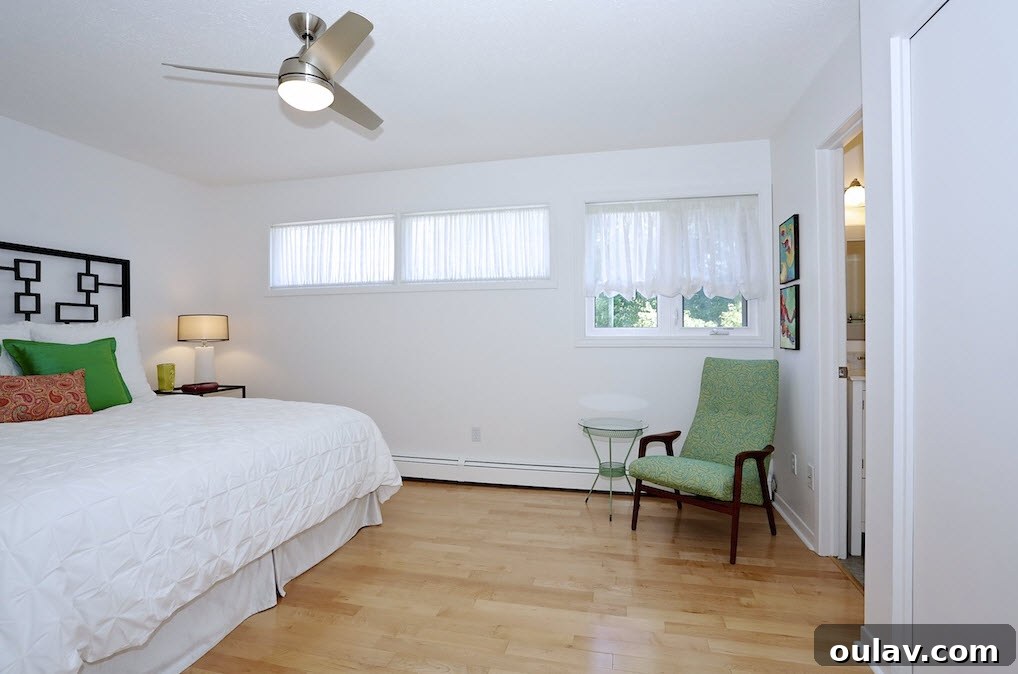
My journey to this ingenious window treatment began with a dual need. I had a regular window in my guest room that needed an inexpensive refresh, but more importantly, I had several awkward narrow windows in the same space that demanded a unique approach. This guest room recently transformed into a cozy sewing sanctuary during my mom’s visit, making privacy and controlled light essential. The challenge was finding a solution that was both functional and aesthetically pleasing without breaking the bank.
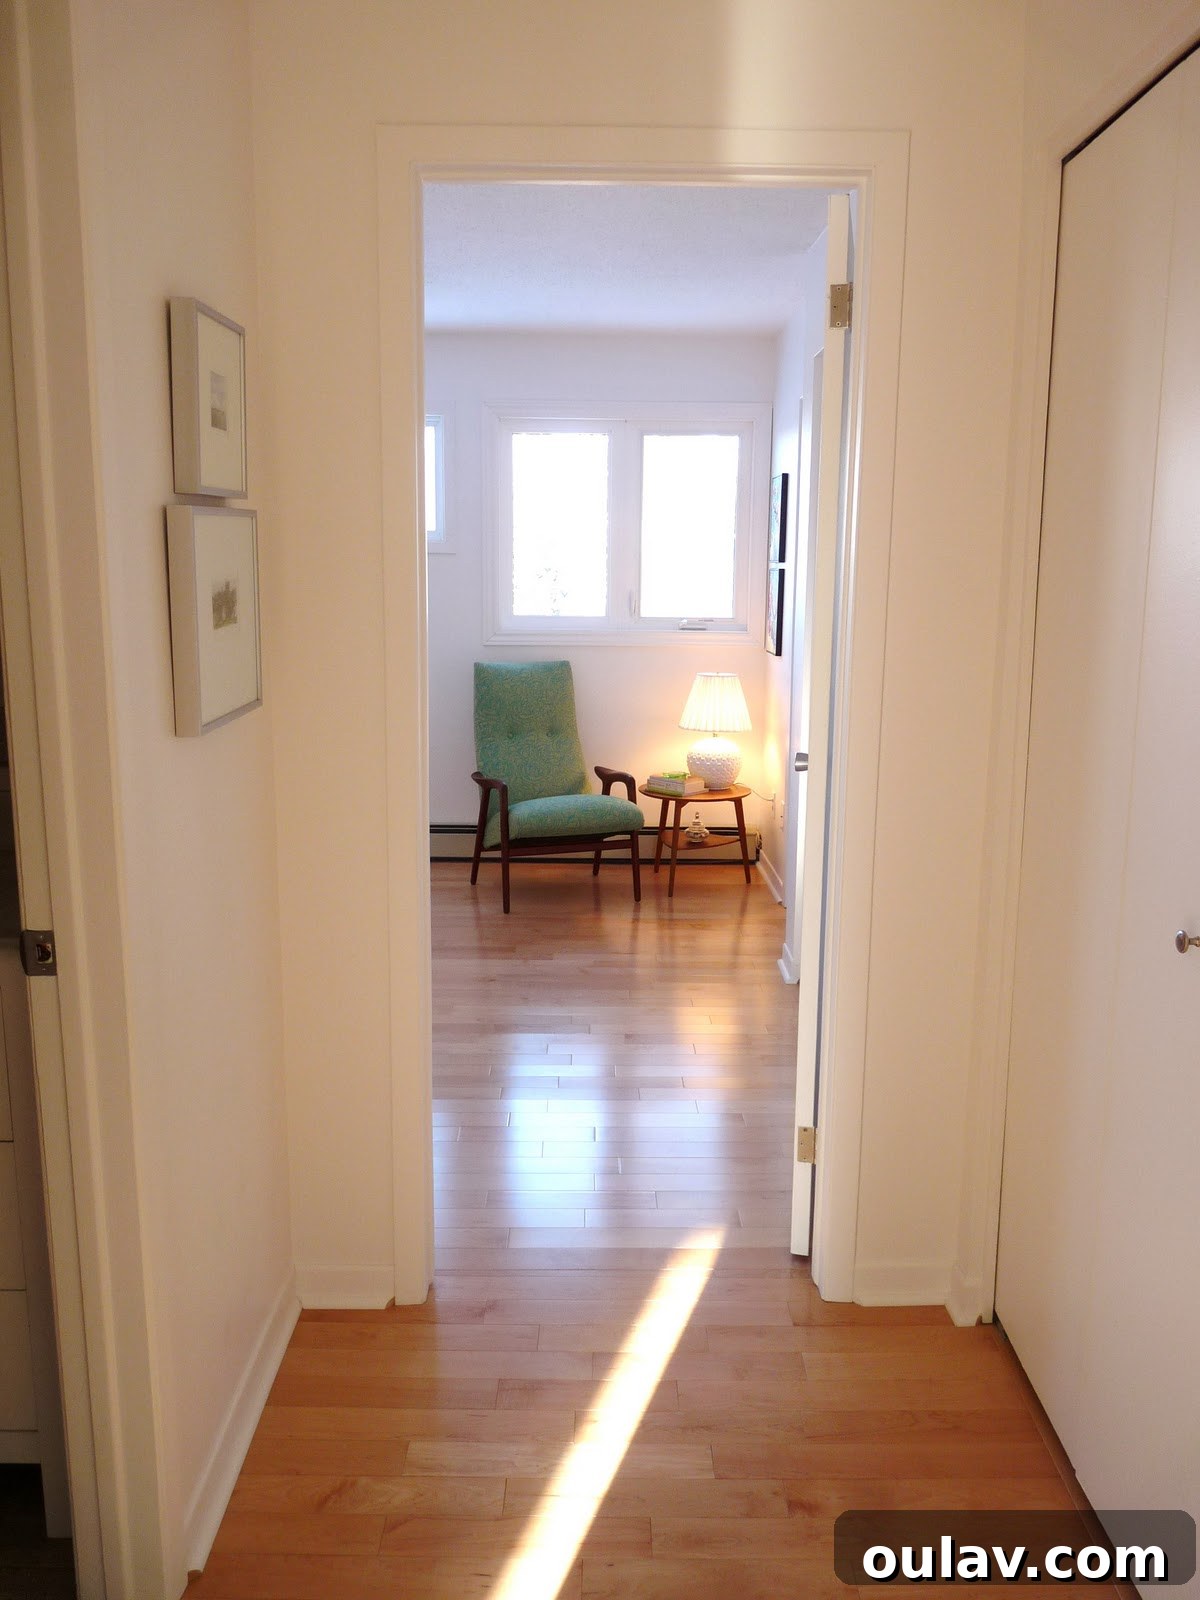
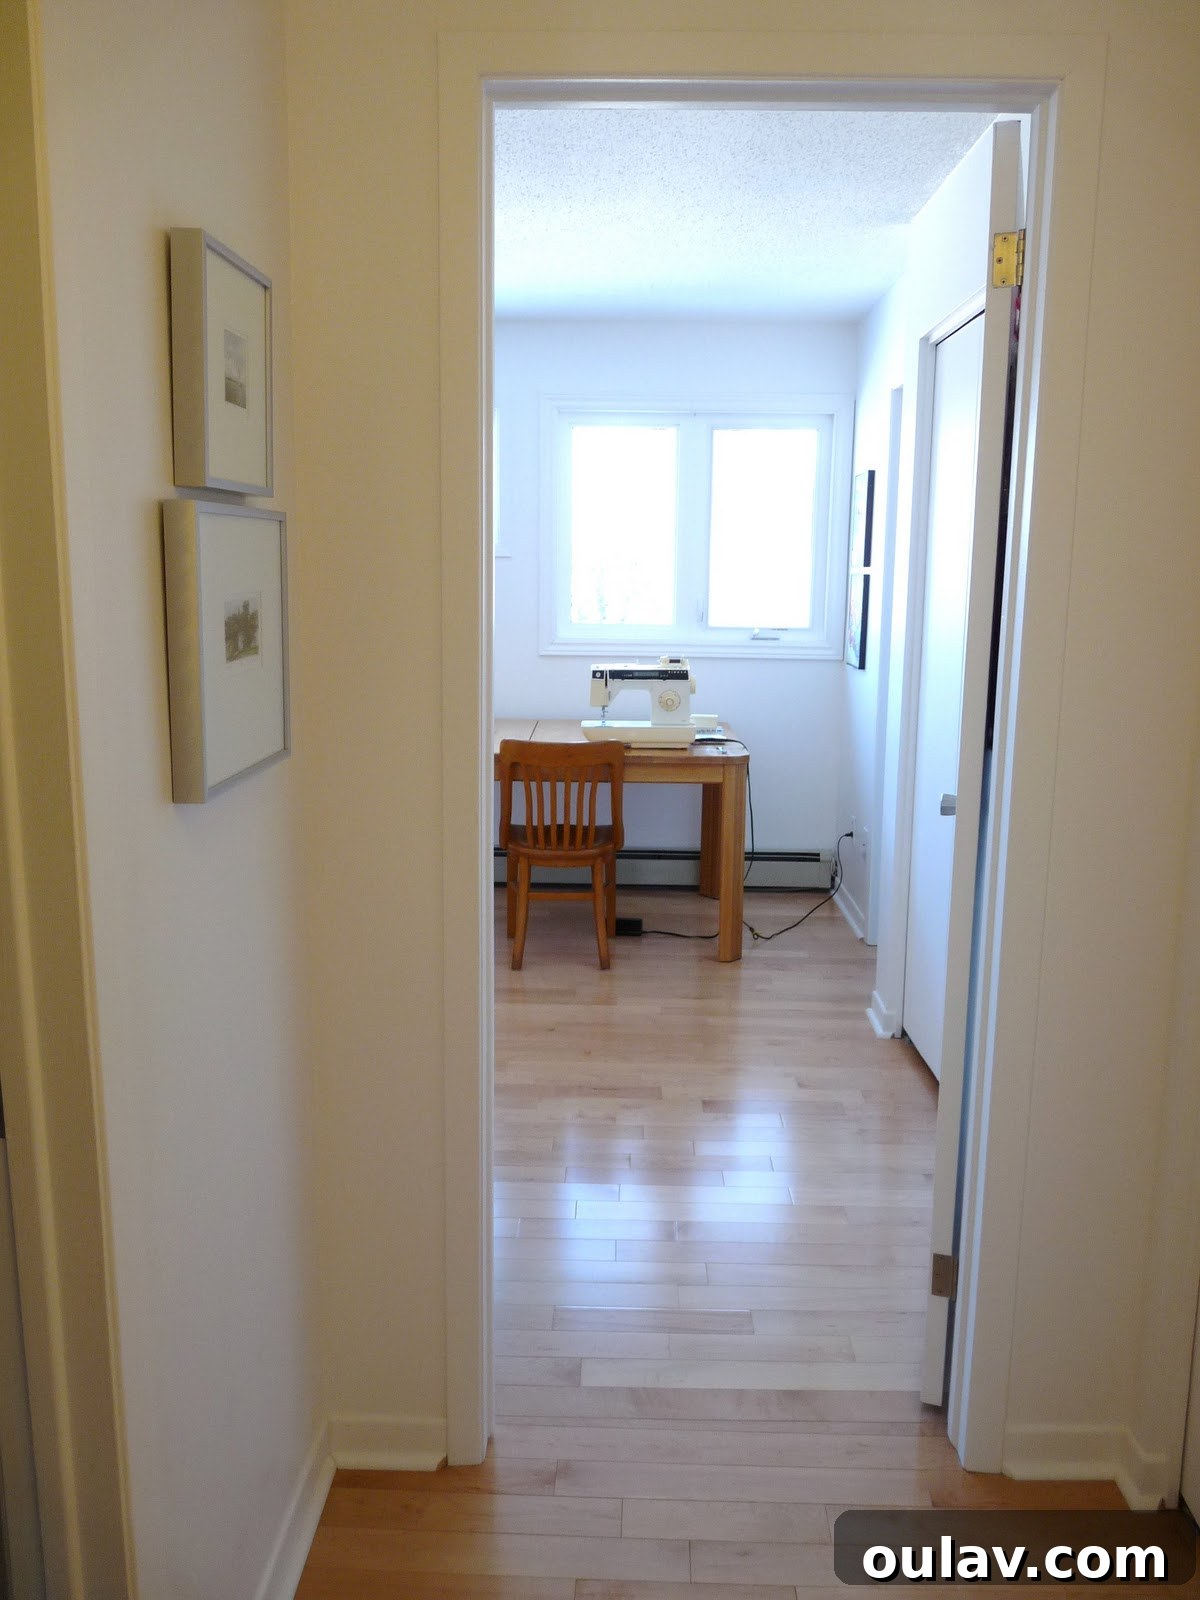
Does this setting scream, “Please drop your bags and start sewing immediately!”? Perhaps. I absolutely cherish my mom’s visits, not just for the company, but because she’s an incredible sewing partner who helps me make significant progress on my DIY home decor projects. Plus, these new window coverings were destined for her temporary retreat, ensuring she benefited directly from the enhanced privacy. No more peering neighbors, which is always a bonus!
The Awkward Window Dilemma: Why Standard Treatments Fall Short
In other bedrooms throughout our home, implementing DIY curtains has been straightforward: a simple curtain rod, a few DIY curtain panels, and clip rings. This classic combination creates a beautiful and functional look for standard-sized windows.
However, this conventional system simply wouldn’t work for the tiny, narrow windows in the guest bedroom. Standard panels would overwhelm the small frames, making the room feel cramped and disrupting the clean lines I envisioned. I briefly considered custom blinds, admiring their sleek, fitted appearance, but a quick glance at the budget confirmed that wasn’t a viable option. Custom solutions often come with a premium price tag, which I wasn’t prepared to pay for this guest space. This left me searching for an alternative that could emulate the refined, tailored look of custom blinds while remaining firmly within a DIY budget.
Our goal was to create fitted sheer curtains that could be installed *inside* the window casing for a truly streamlined, custom appearance. We specifically chose sheer fabric for a crucial reason: it allows natural light to filter into the room, keeping the space bright and airy, while the gathering of the fabric provides ample privacy. It’s the perfect balance for a room that needs both light and seclusion.
How to Make a DIY Window Covering for Awkward Windows: A Step-by-Step Guide
The beauty of these DIY ruched curtains lies in their simplicity. They consist of a single horizontal panel of fabric, carefully cut to the height of your window, with additional length for creating rod pockets and hems. Here’s a detailed breakdown of the process:
Materials You’ll Need:
- Sheer or lightweight fabric (we used leftover sheer material, making this project extra budget-friendly!)
- Two tension (compression) curtain rods per window (choose flatter rods for a snug fit inside the casing)
- Sewing machine and coordinating thread
- Fabric scissors
- Measuring tape
- Straight pins
- Iron and ironing board
Step-by-Step Instructions:
1. Measure Your Windows Accurately
Precision is key for a custom look. Measure the exact height of the inside of your window casing, from top to bottom. For the fabric length, add approximately 4-6 inches to this measurement. This extra length accounts for creating the top and bottom rod pockets (typically 2-3 inches each) and any minor hemming adjustments. For the width, we recommend doubling the width of your window. This generous allowance ensures you have enough fabric to create beautiful, full gathers and achieve adequate privacy. If you prefer a less ruched look, you can use 1.5 times the window width, but doubling provides the most polished, luxurious finish.
2. Prepare and Cut Your Fabric
Before cutting, iron your fabric to remove any wrinkles and ensure a straight, even cut. Carefully measure and cut your fabric panel according to your determined length and width. If your fabric has a pattern, consider how it will look when ruched.
3. Sew the Top and Bottom Rod Pockets
This is where the magic happens. On both the top and bottom edges of your fabric panel, create a channel for the tension rods. Fold the fabric over once (about 1/2 inch) and press, then fold over a second time to create a casing wide enough for your tension rods to slide through comfortably. Pin in place and stitch along the inner edge of the fold. Ensure the pocket is wide enough to easily insert the rod but snug enough to hold the fabric securely. This double-pocket design is what gives the curtains their distinct, custom appearance, as opposed to a single top pocket which can create a more “country kitchen” style.
4. Hem the Sides of Your Curtain Panel
Once the rod pockets are sewn, finish the raw side edges of your fabric panel. Fold each side in by about 1/2 inch, press, then fold again for a clean, finished hem. Stitch these hems in place. This step gives your curtains a professional, polished look and prevents fraying.
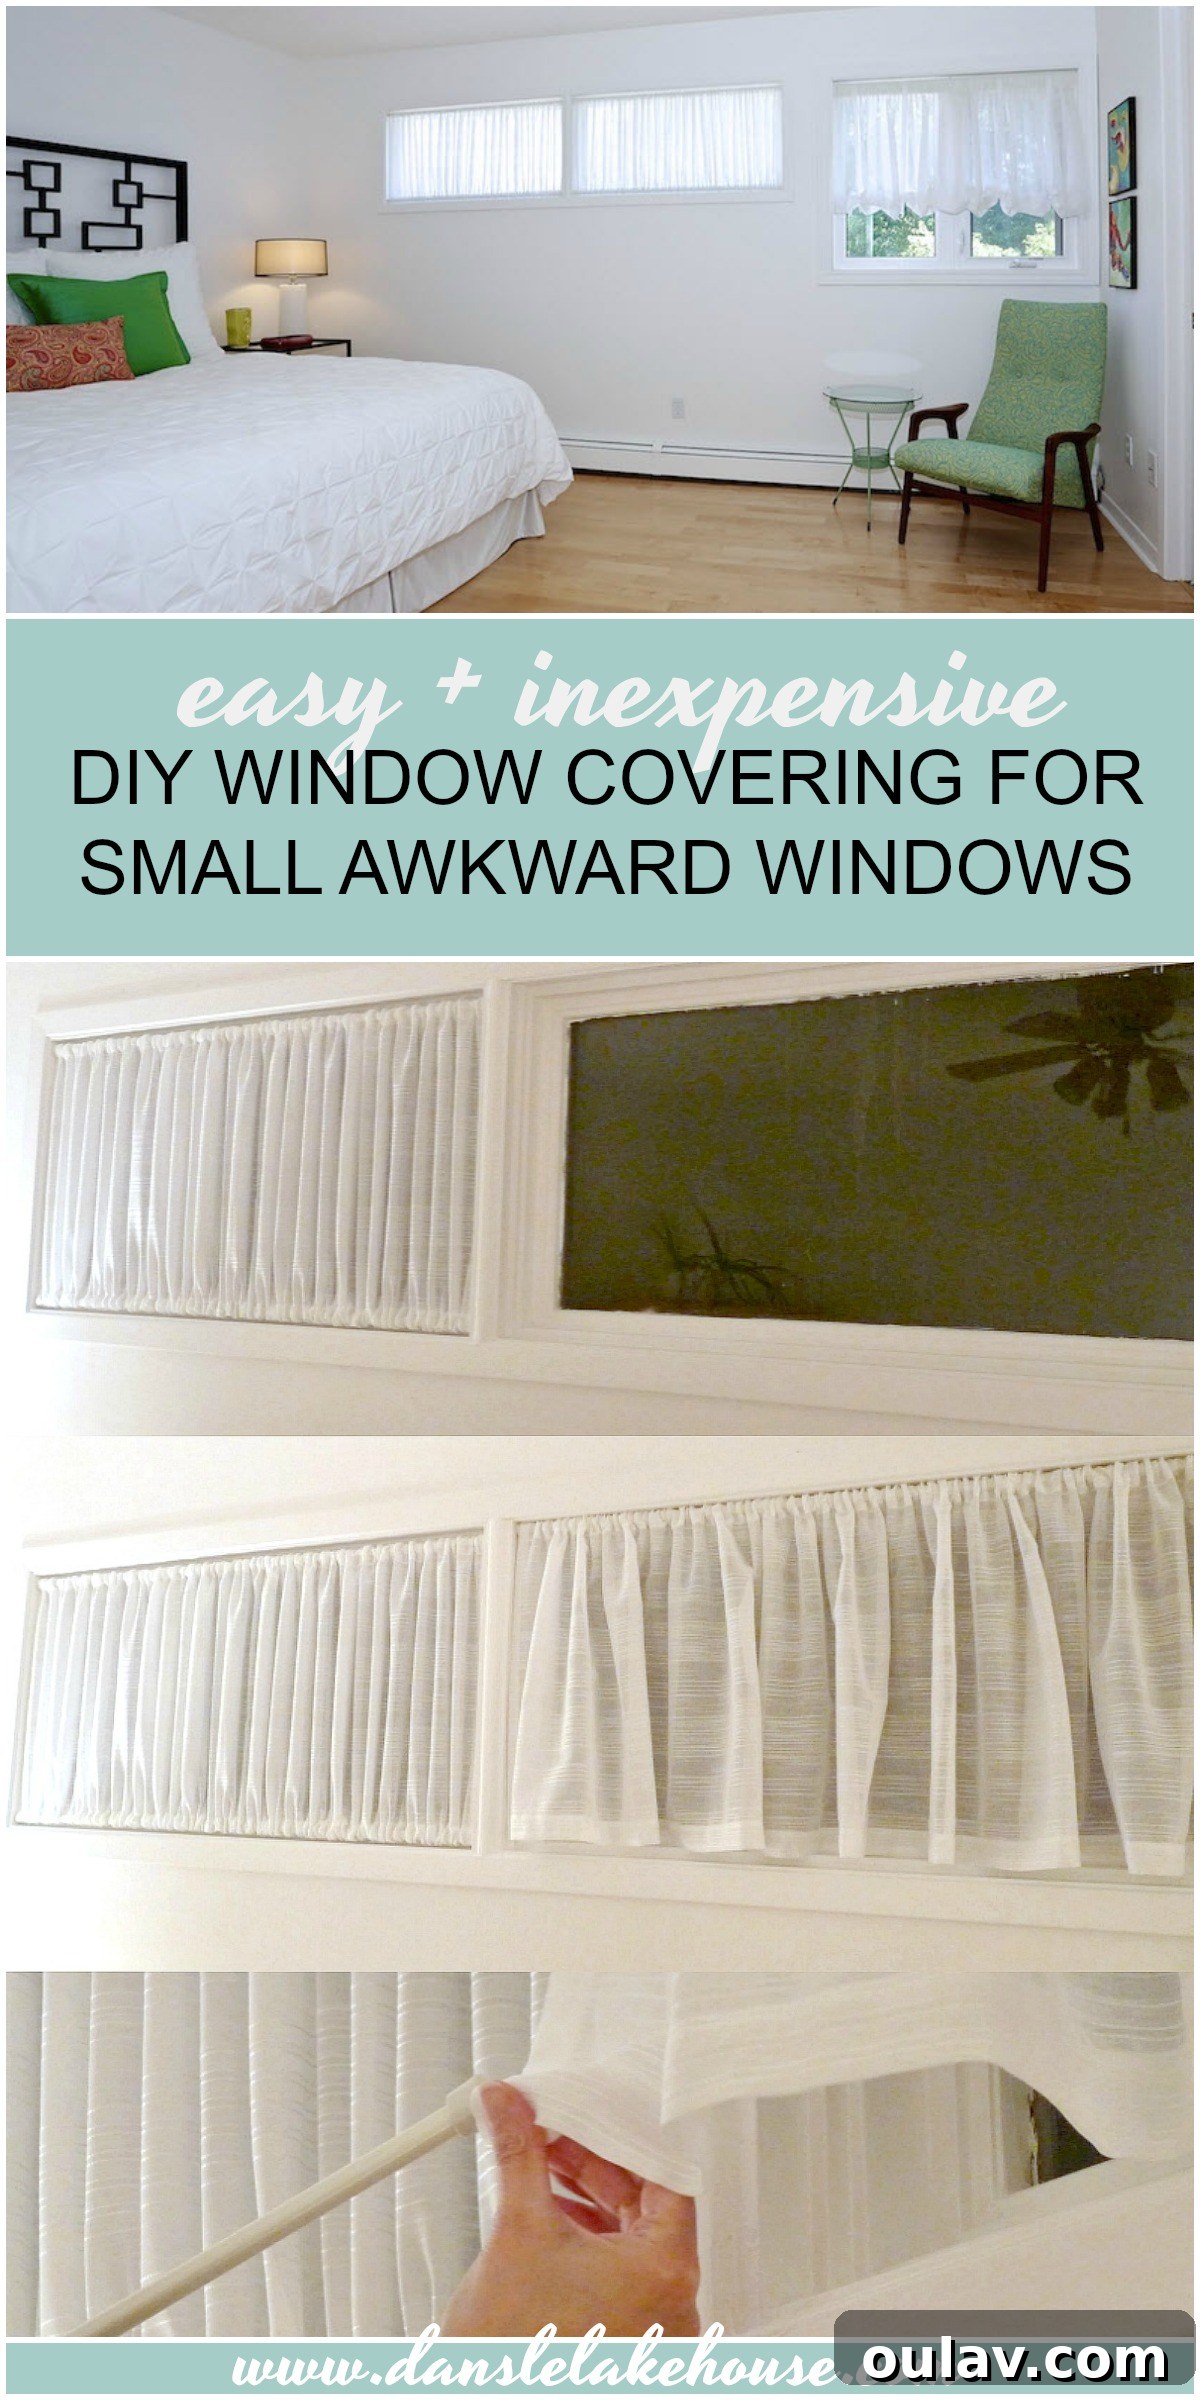
To me, when the curtain is cinched at the bottom also, it looks more polished and custom:
5. Install Your Ruched Curtains
With the sewing complete, it’s time to install your beautiful new window coverings! Insert one tension rod into the top pocket of your fabric panel and the other into the bottom pocket. Carefully fit the top rod into the upper part of your window casing, extending it until it holds firmly. Then, fit the bottom rod into the lower part of the window casing, extending it to create tension. This top and bottom tension rod system is what allows for the charming ruched effect. The width of your curtain fabric, as discussed, determines how much ruching you’ll achieve. You can experiment with the fabric to create your desired level of gather – from slightly gathered to completely tight for maximum privacy.
6. Adjust for Even Ruching
Once the rods are in place, take a moment to adjust the fabric. Gently slide the gathers along the rods to ensure the ruching is distributed evenly across the entire width of the window. A little fiddling and fussing here will make a big difference in the final aesthetic. Step back, admire, and make any final tweaks until you’re completely satisfied with the look.
The Stunning Transformation: Before & After
The transformation is truly remarkable! From stark, exposed windows, we now have soft, elegant, and private coverings that perfectly complement the room. My mom and I were incredibly proud of the splendid job we did on this DIY window covering for awkward windows.
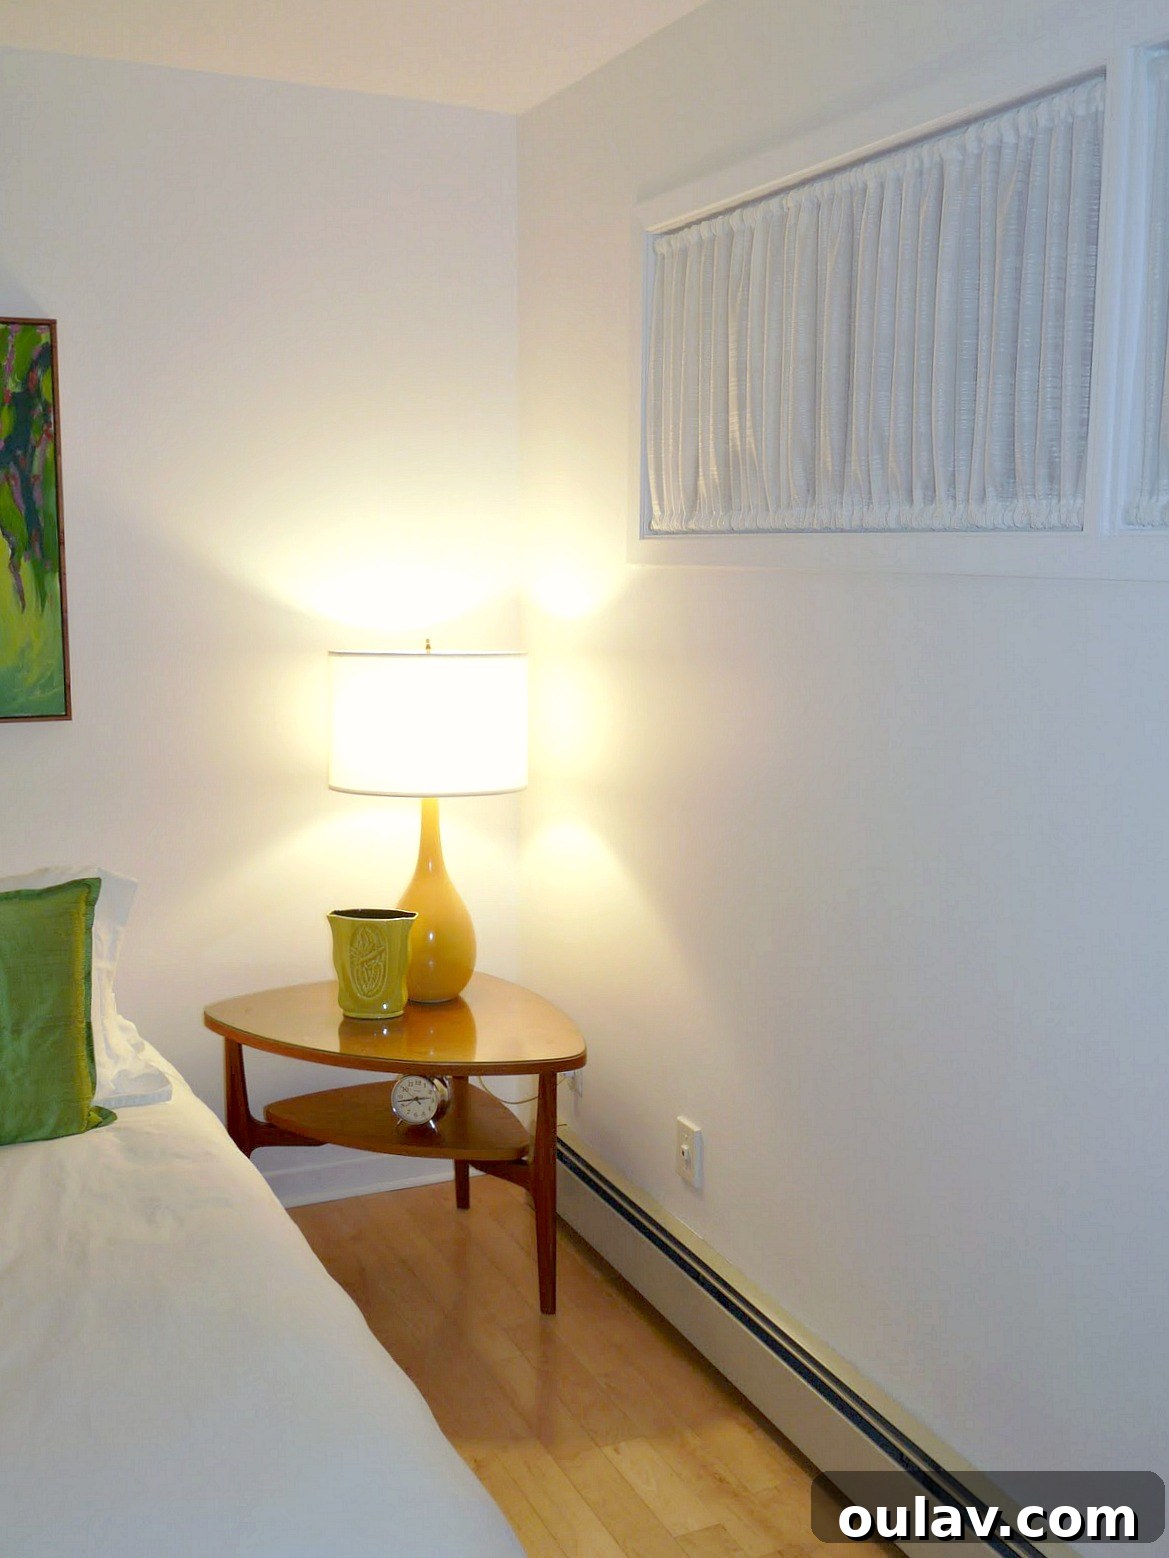
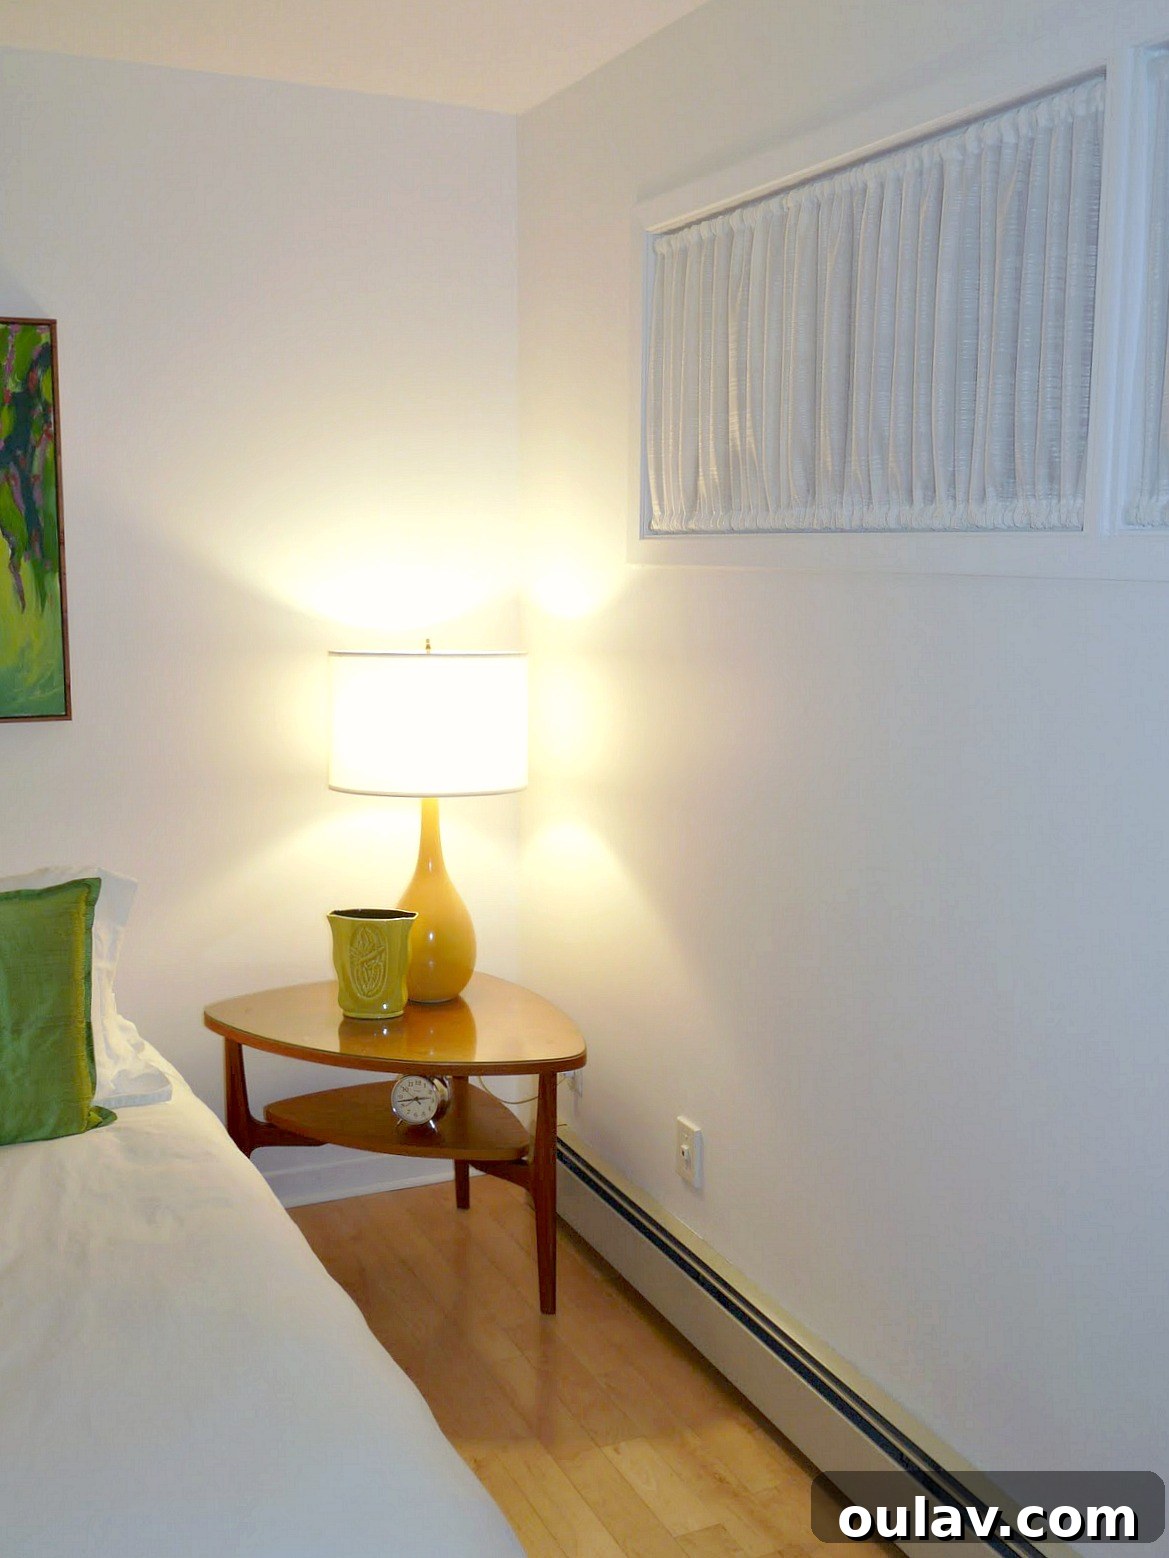
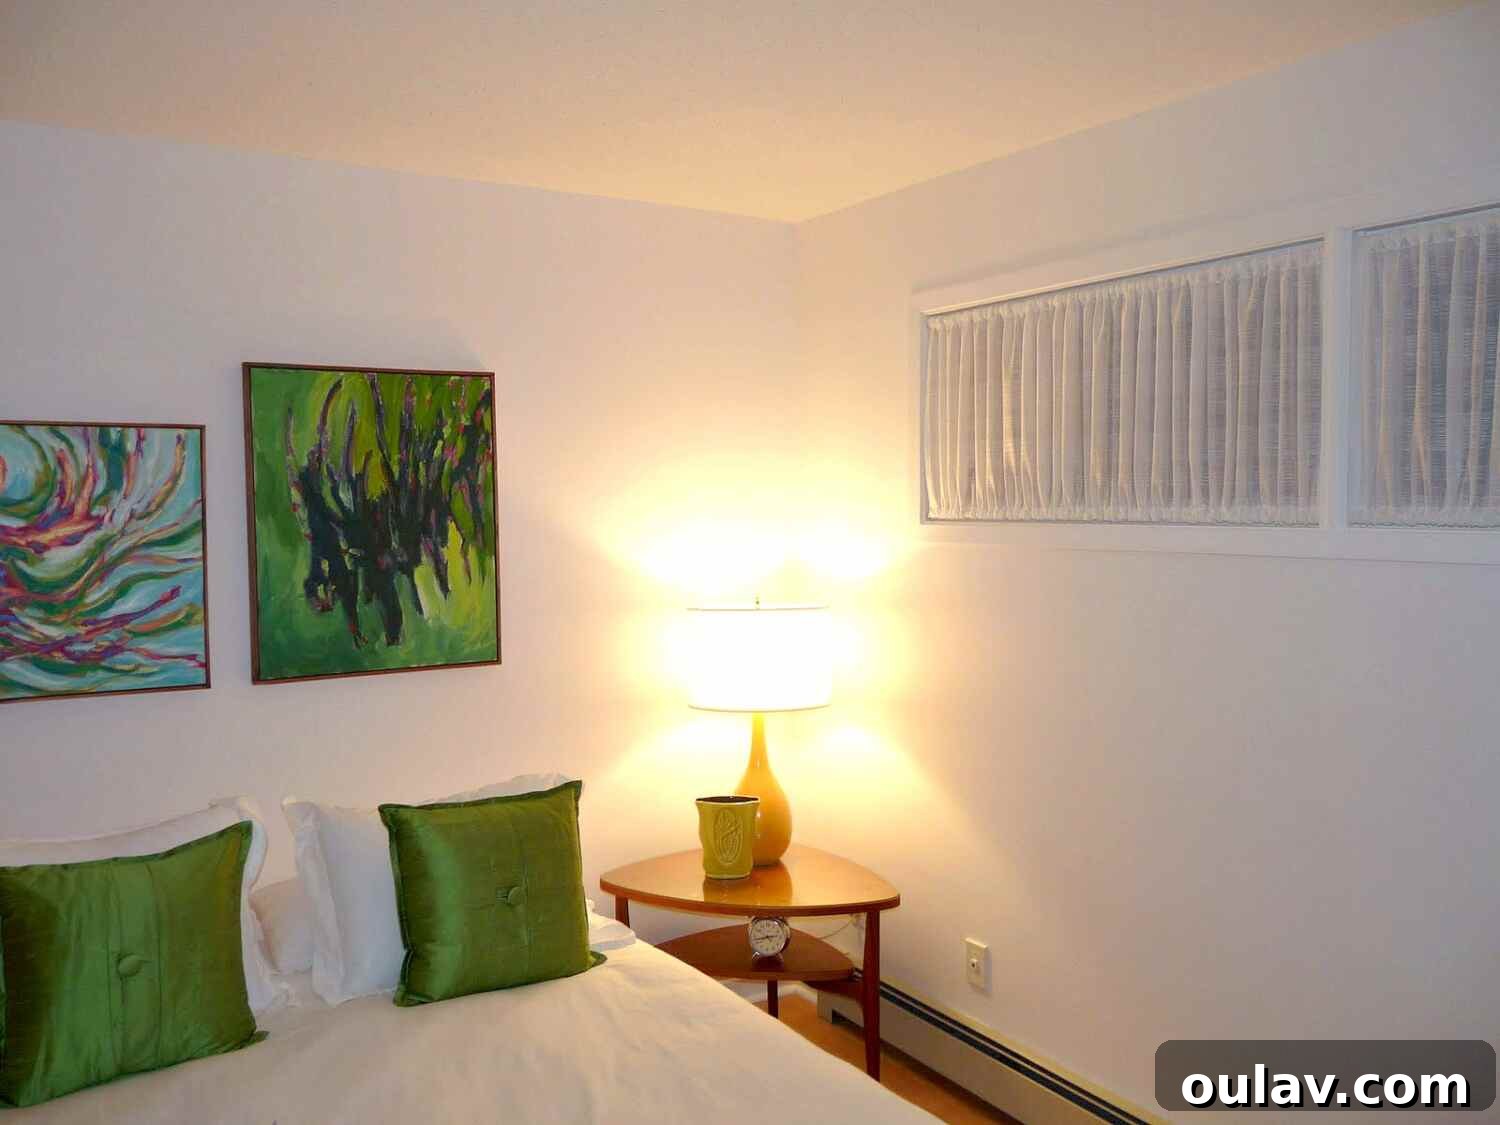
To give you an even better view of the exquisite detail, I’ve adjusted the exposure on the photos below. You can truly appreciate the delicate texture and elegant folds created by the ruching.
I absolutely adore how these DIY window coverings turned out! They provide the much-needed privacy without sacrificing natural light, and the custom, fitted look elevates the entire room’s aesthetic. It’s a testament to how a simple, inexpensive DIY project can make a huge impact.
A View from the Outside: Curb Appeal and Privacy
It’s not just about what’s inside! The exterior view of window treatments is just as important. These ruched curtains offer a neat, uniform appearance from the outside, contributing positively to the home’s curb appeal. The gathered sheer fabric ensures that while light comes in, prying eyes stay out, creating a peaceful and private environment for anyone staying in the guest room.

Final Thoughts and Inspiration
If you’ve been grappling with small, narrow, or otherwise awkward windows, I sincerely hope this DIY curtain tutorial provides you with the inspiration and practical steps you need to tackle them. This project is a fantastic way to add a custom touch to your home without the custom price tag. It proves that with a little creativity and basic sewing skills, you can achieve beautiful and functional results. Perhaps this idea will even spark a unique solution of your own!
P.S. Don’t Forget to Pin for Later!
Loved this tutorial? Make sure to save it for future reference or to inspire your next home decor project! Pin these images to your favorite Pinterest boards.