
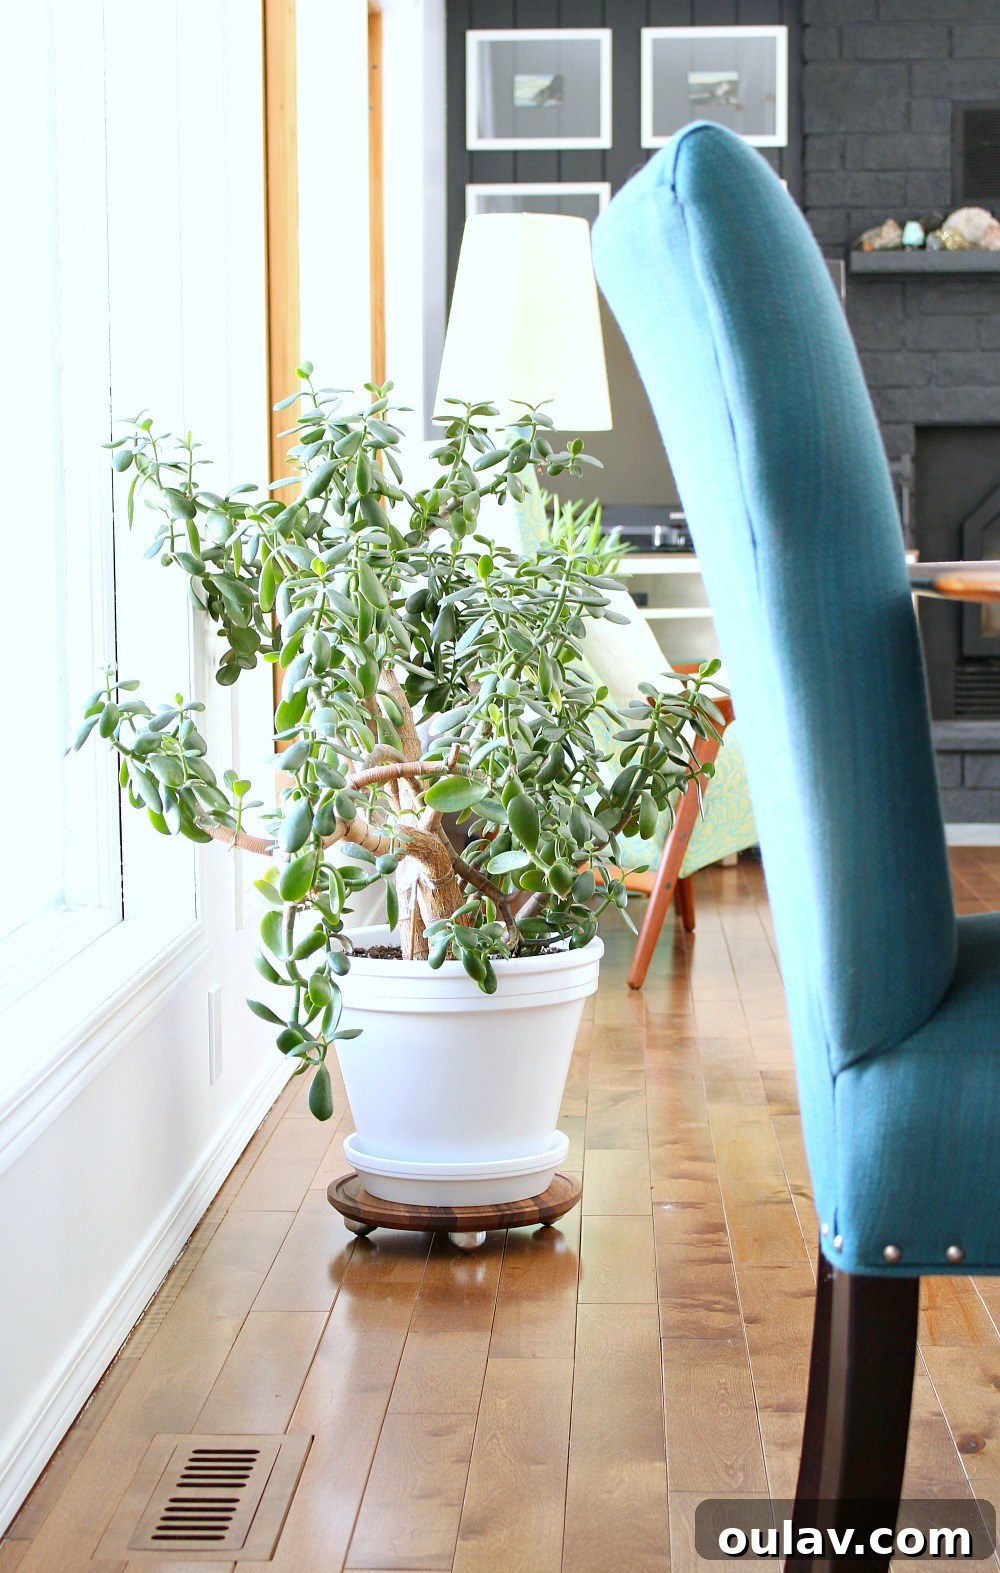
Are you ready to transform your indoor plant care routine and elevate your home decor with a simple yet incredibly effective project? Today, I’m thrilled to share a quick and elegant solution for managing those heavy, beloved houseplants: a stunning, modern, DIY plant dolly on wheels. This isn’t just a functional piece; it’s a stylish addition that blends seamlessly with your existing decor. The best part? You only need a drill – no complex woodworking skills required!

Before diving into the detailed steps of crafting this easy rolling plant caddy, allow me a moment of well-deserved self-congratulation for keeping this magnificent jade plant not just alive, but thriving, for over a year and a half! It might be a touch dusty from its prominent spot in the sun, but its vibrant green leaves are a testament to perseverance, even for a self-proclaimed plant enthusiast who has had past, less successful encounters with these resilient beauties.

Why a Mobile Plant Dolly is a Game Changer for Your Home & Plants
Many people laud jade plants for their low-maintenance nature, yet I once sadly lost a mature one after many wonderful years. So, witnessing this current specimen flourish in its lush green glory brings me immense joy every single day. It clearly enjoys its sun-drenched nook in our lakehouse, although it occasionally finds itself in a friendly territorial dispute over prime window real estate with our dog, Szuka. Whenever I attempt to move the plant for routine floor cleaning or simply to redecorate, Szuka swiftly claims its vacated spot, asserting her undisputed ownership of the entire wall of windows.
The truth is, I don’t move the jade plant often because it weighs an absolute ton! Its static existence, however, has led to a slight imbalance in its growth, as I haven’t been able to rotate it regularly for even sun exposure. This common issue, where one side of a plant grows more vigorously towards the light, is easily remedied with a mobile base.
The quest for an effortless solution to relocate this weighty botanical marvel began. I scoured online stores and local shops for functional and aesthetically pleasing plant dollies on wheels, but every option I found lacked the modern charm and seamless integration with my decor that I desired. During a separate online shopping excursion for project supplies, I serendipitously stumbled upon some beautifully low-profile casters. A lightbulb moment! A custom DIY plant dolly, crafted from an elegant walnut cutting board and these sleek casters, suddenly seemed like the simplest, most perfect solution. It promised to solve my plant-moving dilemma while enhancing, not detracting from, my home’s aesthetic.

Craft Your Own: Essential Supplies for a Modern DIY Plant Dolly
Gathering the right materials is the first step towards creating your functional and stylish plant caddy. Here’s exactly what you’ll need for this straightforward project:
- Round Wood Cutting Board: This serves as the sturdy and visually appealing base for your plant dolly. I opted for this specific one, made from solid walnut, for its durability and rich aesthetic.
- Casters with Plate: These are the wheels that will give your plant stand mobility. For ease of installation and stability, plate-mounted casters are ideal. These are the exact ones I purchased (I bought a pack of 10, but you will only need 4 for one dolly).
- 3/4″ Screws: The correct length is crucial to secure the casters without piercing through the top of your cutting board.
- Drill & Bit: A standard drill with a bit suitable for pre-drilling screw holes will be your primary tool.

Thoughtful Notes on Choosing Your Materials
To simplify this DIY wood plant dolly project and bypass the often tricky task of cutting a perfect circle, I opted for a pre-made solid walnut wood cutting board. While my online order was a bit of an investment, beautiful and affordable cutting boards are frequently found at home goods stores like HomeGoods and HomeSense. For those who enjoy upcycling, thrifting a suitable wooden tray or board could make this an even more budget-friendly and sustainable craft project.
If the luxurious look of walnut isn’t a priority or if you’re aiming for a more economical approach, alternative wood types are readily available. A bamboo cutting board, for example, can cost around $10, offering a light, modern aesthetic. Acacia wood presents a lovely mid-range option, typically priced around $30, with its attractive grain variations. So, if budget is a key consideration, feel free to explore these excellent alternatives to walnut!
When selecting your cutting board, consider its dimensions carefully. I recommend choosing a diameter that is **2 to 4 inches larger than the base of your flower pot**. This extra margin ensures optimal stability, preventing the pot from toppling over and allowing for better visual balance. Regarding thickness, I found that 3/4″ provided ample strength without adding unnecessary bulk. I wouldn’t advise going any thinner, especially for heavier plants, but a thicker board would certainly work and further enhance durability. My chosen board also featured a juice drip groove, which I thought might be handy “just in case” of overwatering. While I doubt I’ll ever need it (my jade plant rarely gets more than a modest drink), it’s a nice feature that doesn’t detract from the overall design.
For the casters, ensure they are plate-mounted, as these are far simpler to install on a flat surface like a cutting board compared to stem-mounted casters. Consider the load capacity of the casters; if you have an exceptionally heavy plant, opt for industrial-strength options. Also, think about the material of the wheels themselves. Soft rubber wheels are kinder to delicate flooring, while harder plastic or metal wheels might be more suitable for carpets or very durable surfaces. If you have active pets or children, investing in casters with a locking mechanism might be a wise choice to keep your plant securely in place.
Step-by-Step Guide: How to Assemble Your DIY Plant Dolly
This project is incredibly beginner-friendly, requiring just a few minutes and basic tools. Follow these steps to assemble your custom rolling plant stand:
- Position the Casters: Begin by placing the four casters equally spaced around the underside of your cutting board. Aim to position them approximately 1/8″ to 1/4″ from the edge. The wider the casters are placed, the more stable your plant dolly will be, so I carefully inset them just enough so they remain hidden from view when looking down at the plant from the top. This creates a clean, floating aesthetic. Take your time to ensure even spacing; you can use a ruler or a simple visual estimation to get it right.
- Mark the Screw Holes: Once each caster is perfectly positioned, use a pencil or a fine-tipped marker to clearly mark where each screw hole aligns on the wooden board. Double-check that all four casters are still aligned before moving on.
- Pre-Drill the Holes: Carefully remove the casters. Now, using your drill and an appropriate drill bit (one that is slightly smaller in diameter than your screws), pre-drill the marked holes. Pre-drilling is a crucial step that prevents the wood from splitting when you drive in the screws, especially in harder woods like walnut. It also ensures a smoother, more secure attachment.
- Attach the Casters: Place the casters back into their marked positions, aligning the holes precisely. Insert your 3/4″ screws into the pre-drilled holes and, using your drill, carefully screw them in until they are snug. Be mindful not to overtighten, as this can strip the wood or damage the caster plate. A valuable tip: to prevent screwing all the way through your cutting board, mark the desired screw depth on your drill bit with a piece of tape. This acts as a reliable “poor man’s depth guide,” ensuring you stop drilling at the correct point.

And just like that, you’re done! That’s truly how incredibly simple it is to craft this modern DIY plant dolly. If you’ve been searching tirelessly for a rolling plant pot dolly that perfectly complements your home’s decor but have been disappointed by the lack of stylish options on the market, now you have all the instructions to create a custom piece that’s both functional and beautiful.

Enjoying Your New Mobile Plant Stand: Observations & Tips
I am absolutely obsessed with the elegant look and flawless functionality of this DIY plant dolly on wheels! The rich, dark walnut wood perfectly complements our flooring, creating a cohesive and sophisticated aesthetic. Furthermore, these particular casters glide with such remarkable smoothness that moving even the heaviest plants becomes an effortless task. Despite the significant weight of the jade plant, the dolly remains incredibly stable. It’s not one of those flimsy solutions where a slight nudge sends your plant careening across the room. We need to purposefully apply force to move it, which is an excellent safety feature, especially in a busy household. With such smooth casters, a lighter plant might indeed go skittering across the floor if brushed against, so this stability is truly appreciated.
An unexpected benefit? Our dog, Szuka, quickly learned on Day One that the formerly immovable jade plant now possesses the power of mobility. This revelation has made her surprisingly gentle and cautious around it, which is quite adorable to witness! For those with more enthusiastic furry friends – whether overzealous pups or curious kitties – casters that feature a locking mechanism, like these charming options, could be an excellent and worthwhile investment to prevent accidental bumps or adventurous investigations.
Beyond the practical advantages, this mobile plant caddy offers incredible versatility in home styling. You can easily rotate your plant to ensure even growth and light exposure, preventing it from becoming “kitty womper” – lopsided – towards a single light source. It also simplifies cleaning under your pots, protecting floors from water rings and scratches. And, of course, the ability to effortlessly reconfigure your plant arrangements means endless possibilities for refreshing your living space.

If you embark on this rewarding project and create your own custom DIY plant dolly, I would absolutely love to see your finished creation! Share your pictures and experiences; let’s inspire each other to make our homes more functional and beautiful, one DIY project at a time.
Pin This Project for Future Inspiration!
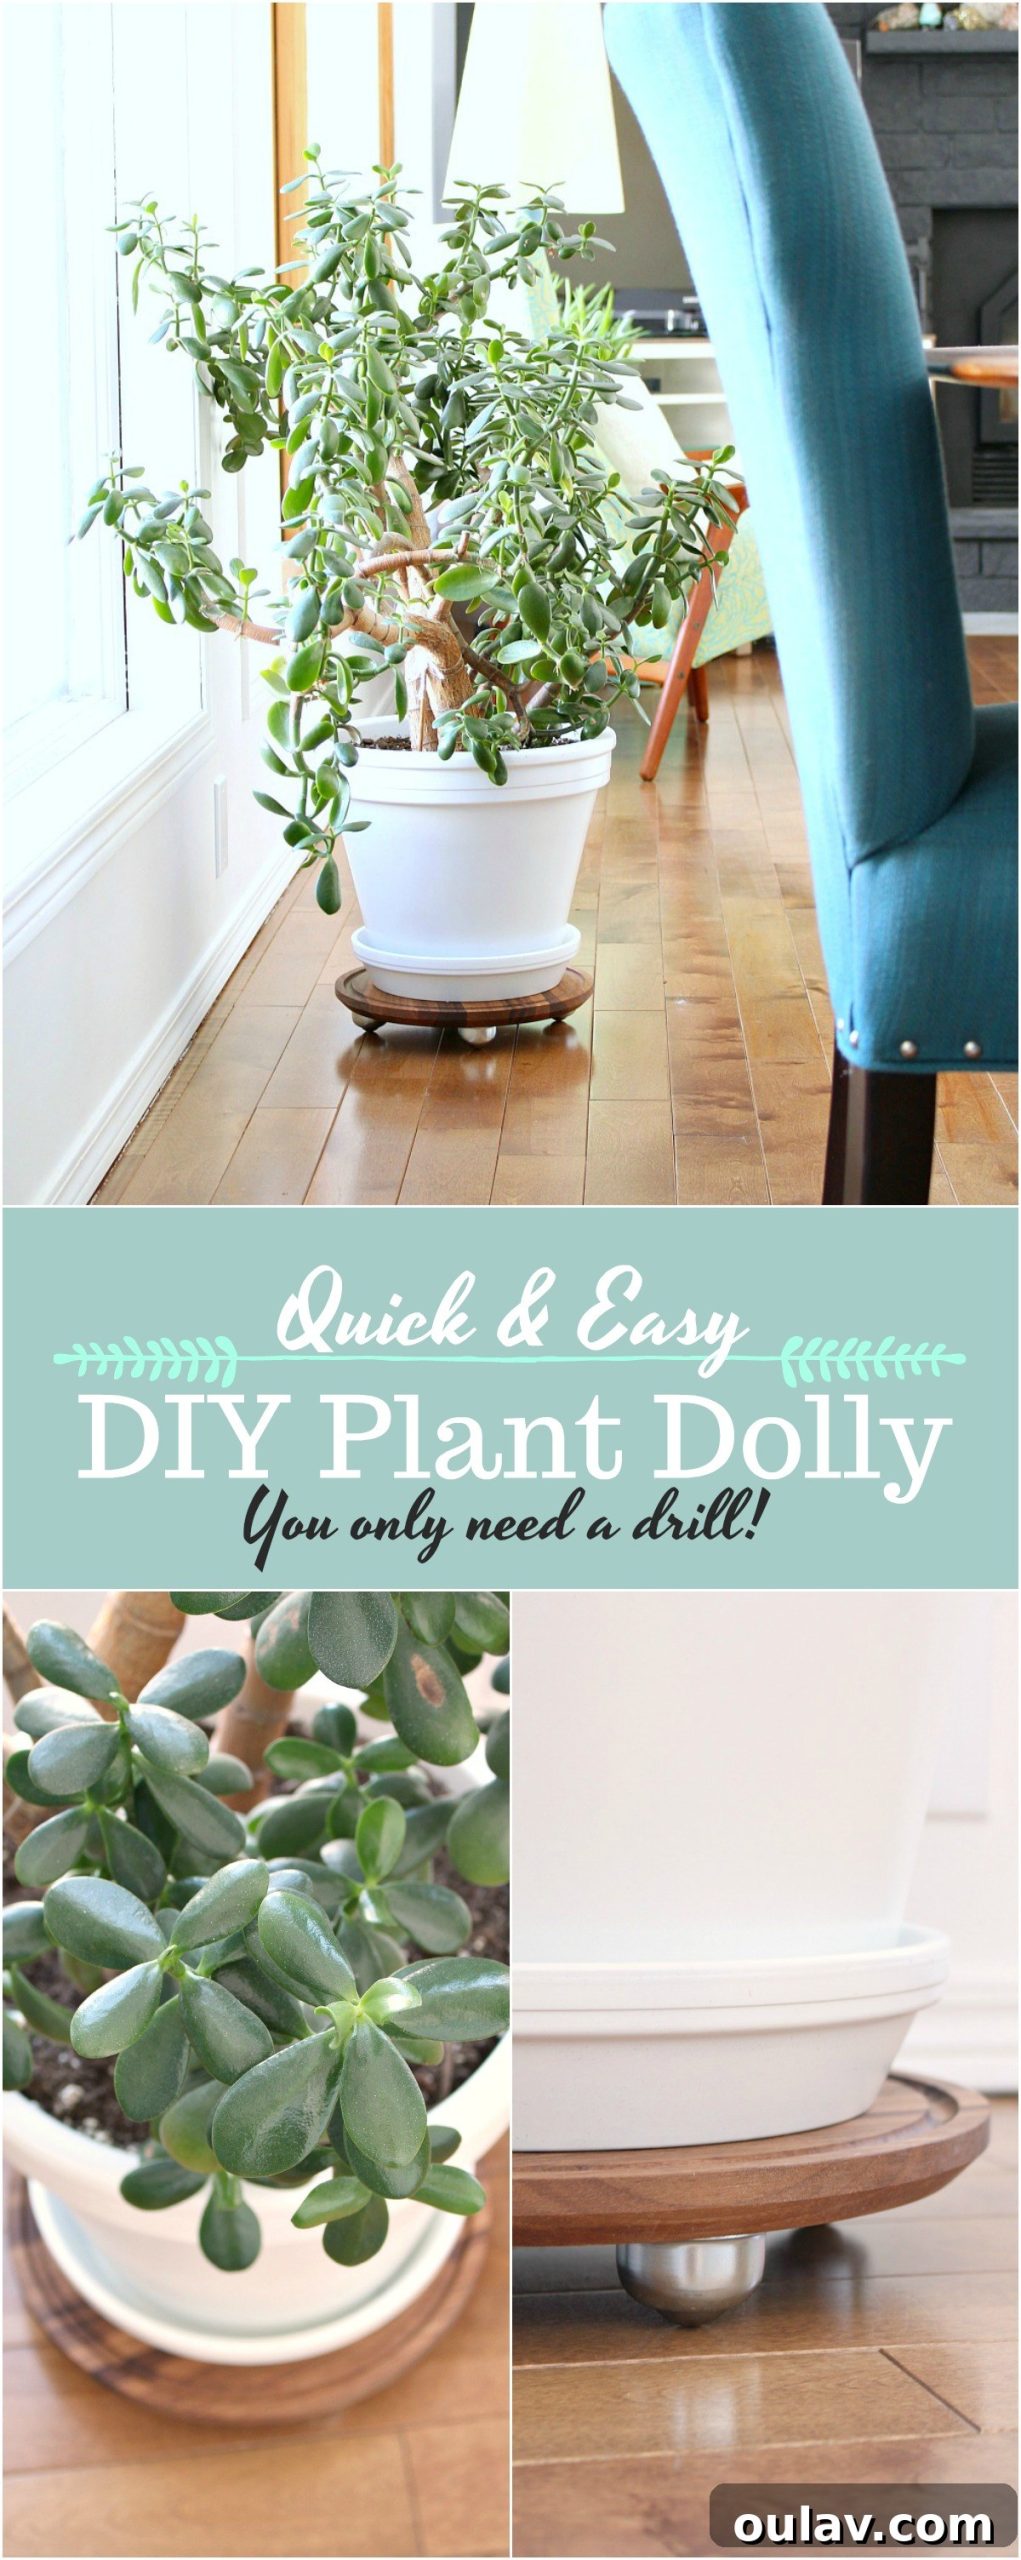
P.S. That elegant white planter was also a DIY project featured here previously – and I’m delighted to report it’s holding up absolutely perfectly, adding another touch of personalized charm to our plant collection.